






What does an eaves apron do, and how should it meet the gutter?
Roof coverings
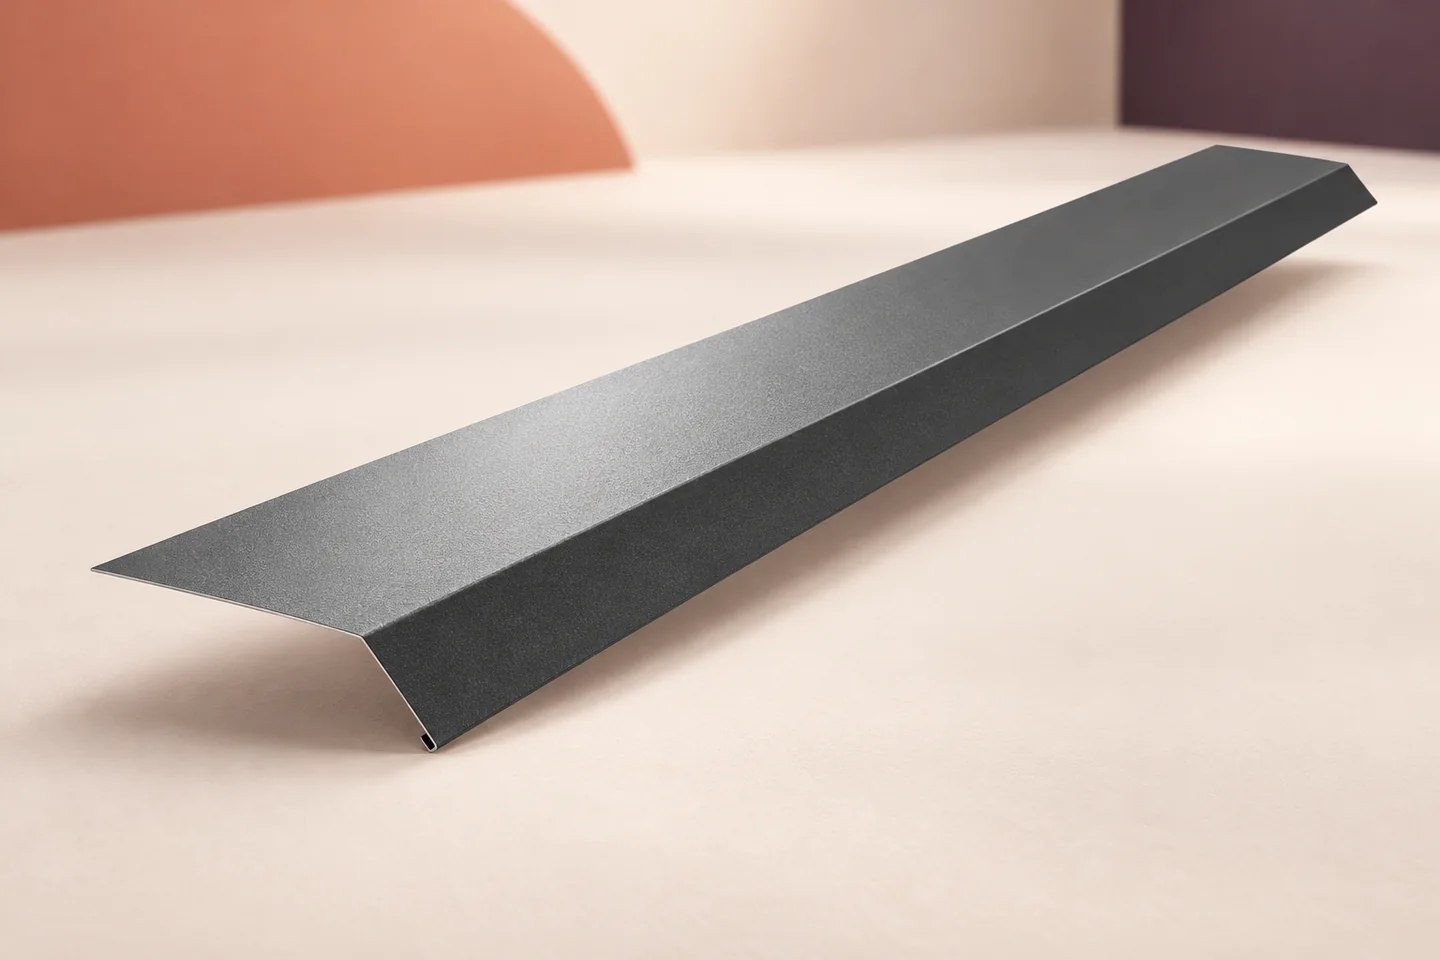
An eaves apron guides runoff from the lower edge of the roof into the gutter. Check it in section, showing the roof overhang, drip edge, gutter brackets and fascia together. Trace two paths: water on the roof covering and water draining off the underlay. Depending on the design, these paths may discharge together or separately. Where there is a ventilated cavity, the apron and bird guard must also leave room for air to enter. Before ordering a full run of folded metal, test a short sample against the actual roof profile and gutter.
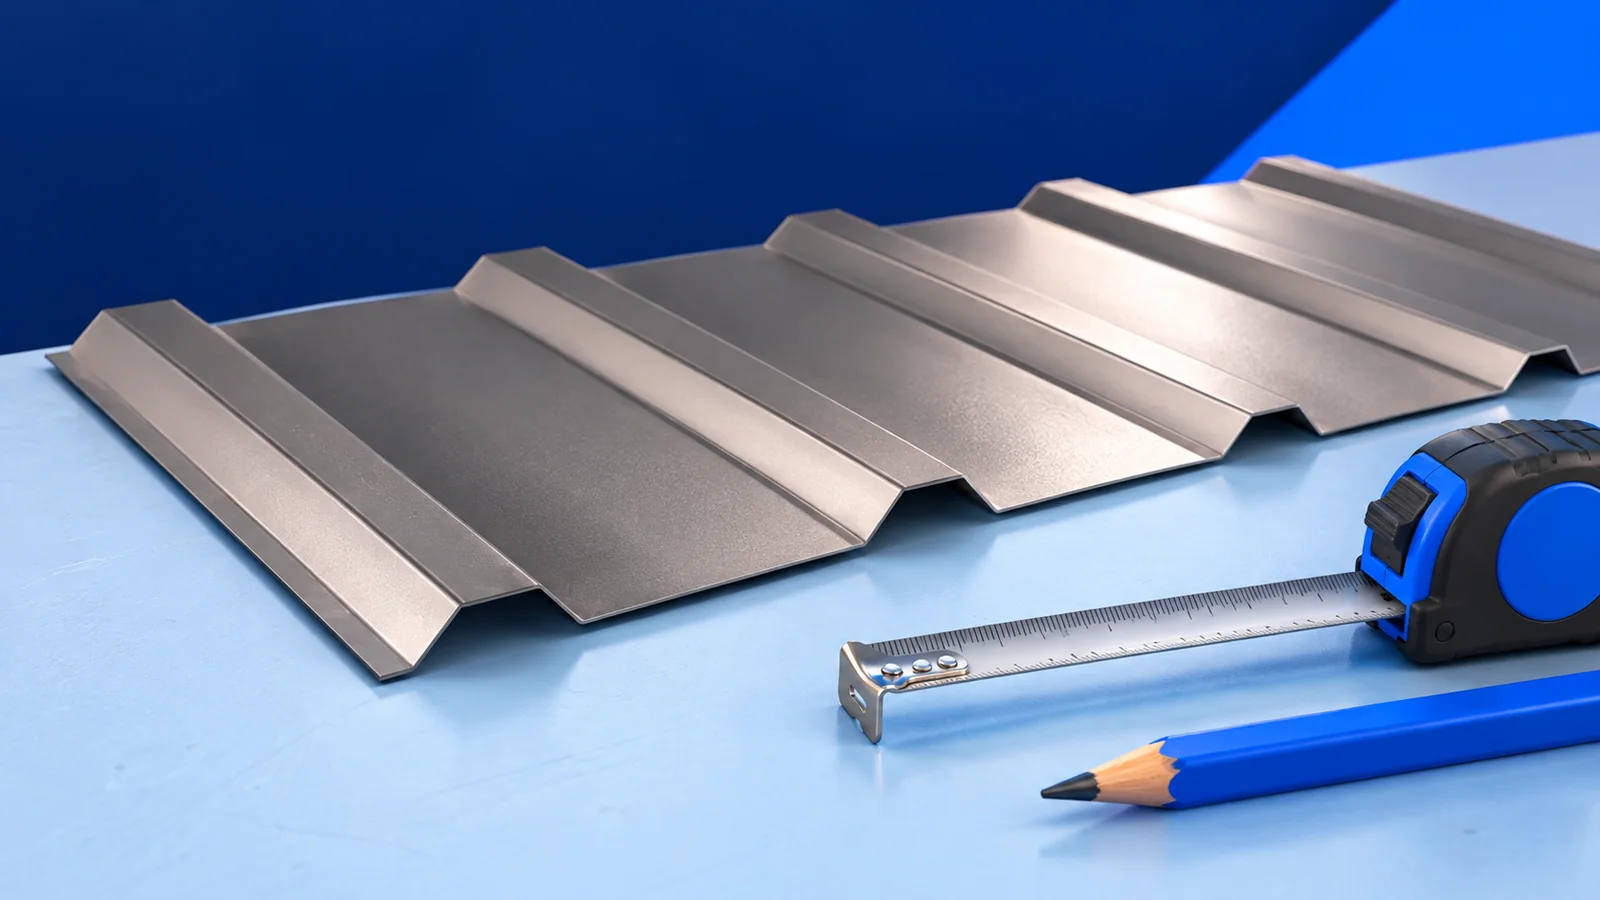
What is the eaves apron for?
The apron forms the discharge edge at the foot of the slope. Its folds guide water to the intended point and help prevent it tracking back beneath the covering. This depends on the sheet overhang and the position of the gutter. Assess the whole eaves cross-section rather than the apron alone.
A fascia flashing below or behind the gutter serves a different purpose: it may protect the fascia board or other trim. Names can be ambiguous, so order from a dimensioned sketch. Two flashings in the same colour are not interchangeable; the folds and intended water path matter.
How should the flashing meet the gutter?
Place the gutter to intercept runoff. The apron should discharge neither behind the back rim nor beyond the outer edge. Coordinate gutter brackets, fascia and roof overhang. If the detail is wrong, shifting just one component may not correct it.
Allow for snow and ice. A gutter set too high can be more exposed to sliding snow. The correct arrangement depends on the system and roof design. No single bend profile suits every pitch and rib height. Settle the detail before ordering made-to-measure flashings.
Where should the roof underlay drain?
Water below the covering also needs an outlet. Terminate the underlay at the eaves as required by the design. Some details drain it into the gutter; others provide a separate discharge. Check the construction and membrane requirements before adopting a detail from another roof.
Support the membrane and avoid hollows that hold water. Connect it to the flashing as specified. Check its resistance to light if any part remains exposed. A neatly fitted outer flashing tells you nothing about an unsupported or poorly terminated membrane behind it.
How do you keep the eaves ventilation open?
Where the space beneath the covering is ventilated, keep its inlet clear. The apron, eaves comb, mesh and soffit must leave the required free opening. A bird guard should exclude birds without closing the air path. A few visible holes do not demonstrate sufficient free area.
T18 and T35 trapezoidal sheets and tile-effect sheets have different shapes at the lower edge. Do not fill every opening with foam. Distinguish a designed ventilation opening from a joint that needs protection against wind-driven rain.
How should joints and fixings be formed?
Join apron lengths in the direction of drainage and in accordance with the flashing detail. Select the lap and fixing method to suit the material and geometry, allowing for thermal movement. A long, rigidly restrained length can buckle even if it is straight on installation day.
Fix into the specified substrate and avoid unnecessary penetrations in the main water path. Remove swarf and protect cut edges according to the coating instructions. The flashing needs stable, straight support; forcing it down onto a distorted edge can leave it rippled.
What indicates a problem and what should you check?
Staining on the fascia, drips behind the gutter or a wet soffit can indicate trouble at the eaves. The apron is not always the cause. Check the gutter position, the membrane termination and water arriving from higher up the roof. Trace the route before deciding on a repair.
At handover, inspect how the layers meet and check both drainage and ventilation. Photograph the detail before the soffit is closed. Although the apron is a small item in the order, its fit with the gutter and covering affects the protection of the timber at the roof edge. Resolve it before laying the first sheet.
When ordering, state the developed blank width and the dimensions of the individual folds. The visible face width is not sufficient for fabrication. Trial-fit a short length before producing the full run to check contact with the gutter, roof and substrate without having to remake metres of flashing.

Free quote
What to include in your enquiry
Tell us how you plan to use the material, the dimensions and the quantity you need. Include the thickness, grade or variant name, along with the delivery town or your preferred collection branch. For a specific product, add its name or a link to the product page. We will reply to the email address you provide to discuss availability and the terms of your order.

Read next
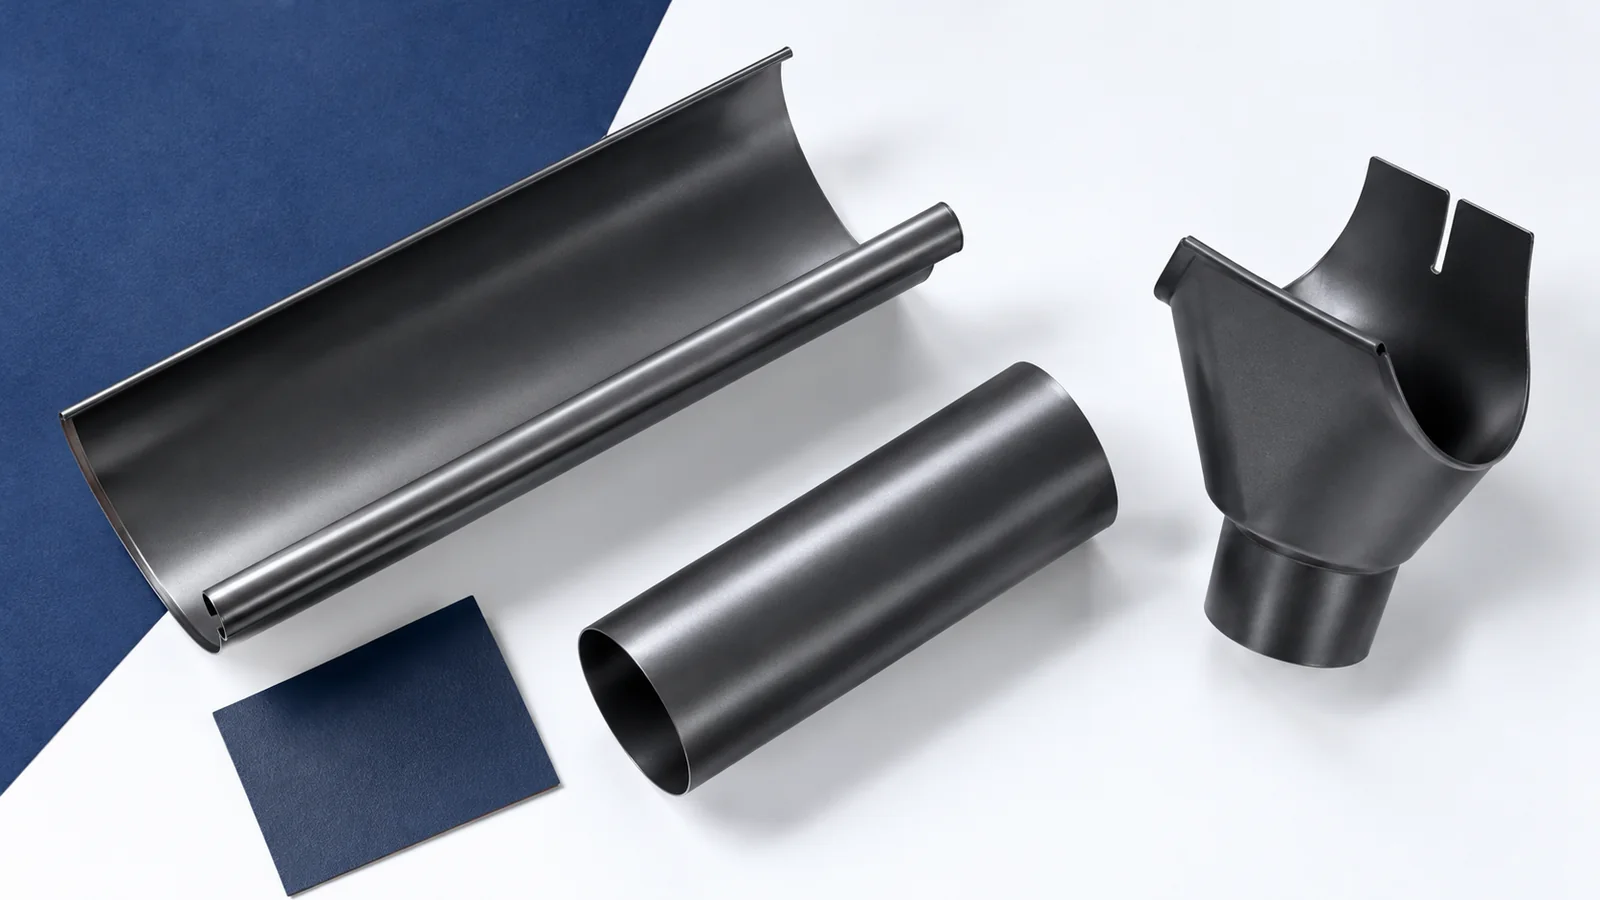
Place the downpipe gully where the downpipe meets the drainage line, and set its cover to the finished ground level. Check more…
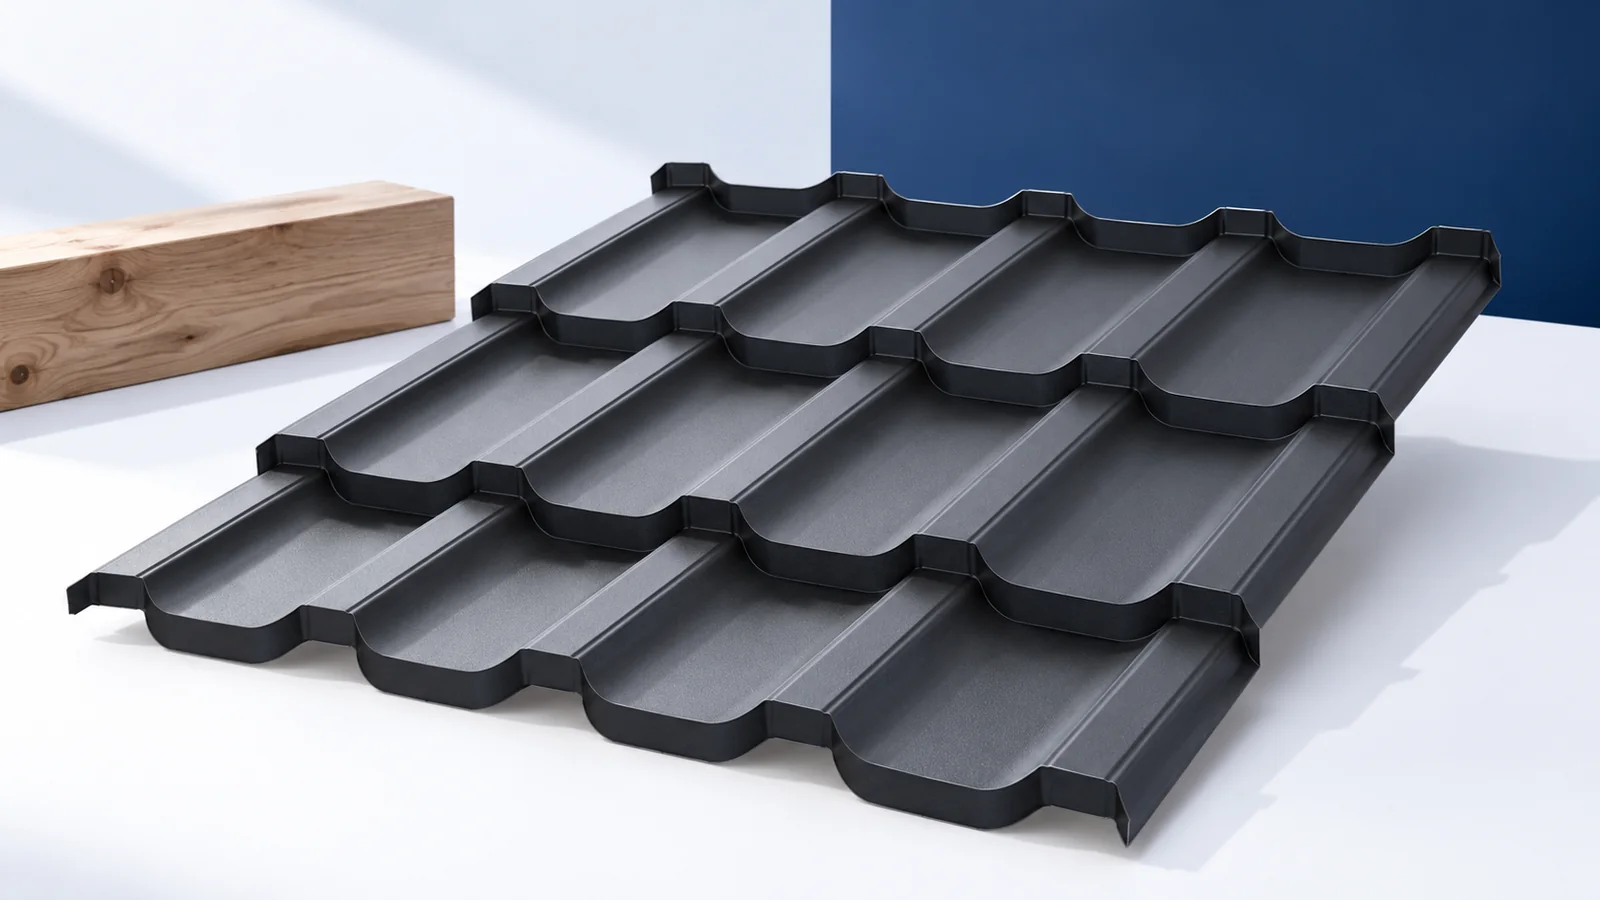
Take a sample of the profiled roof sheet outside and view it at the planned pitch beside the façade finish, window frame…
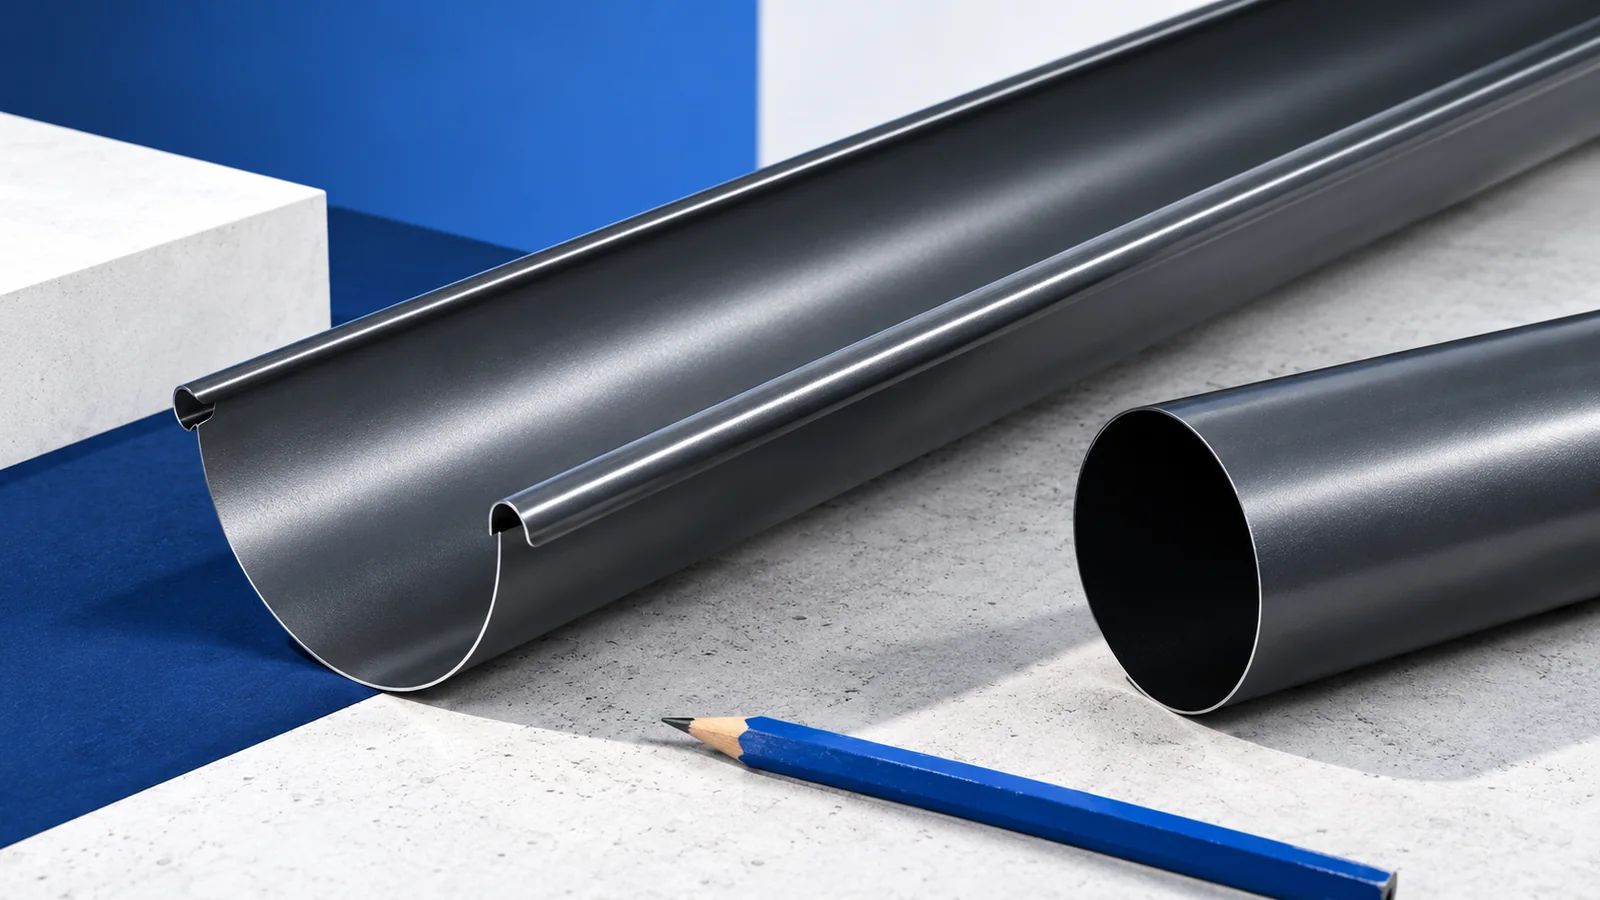
Mark the area draining to each outlet on the roof plan before choosing the gutter shape. Use the supplier’s sizing tables to…

Order EFYOS BLUE SMART A boards from the falls plan. Start at one outlet. Mark its catchment boundary, outlet level, high points…
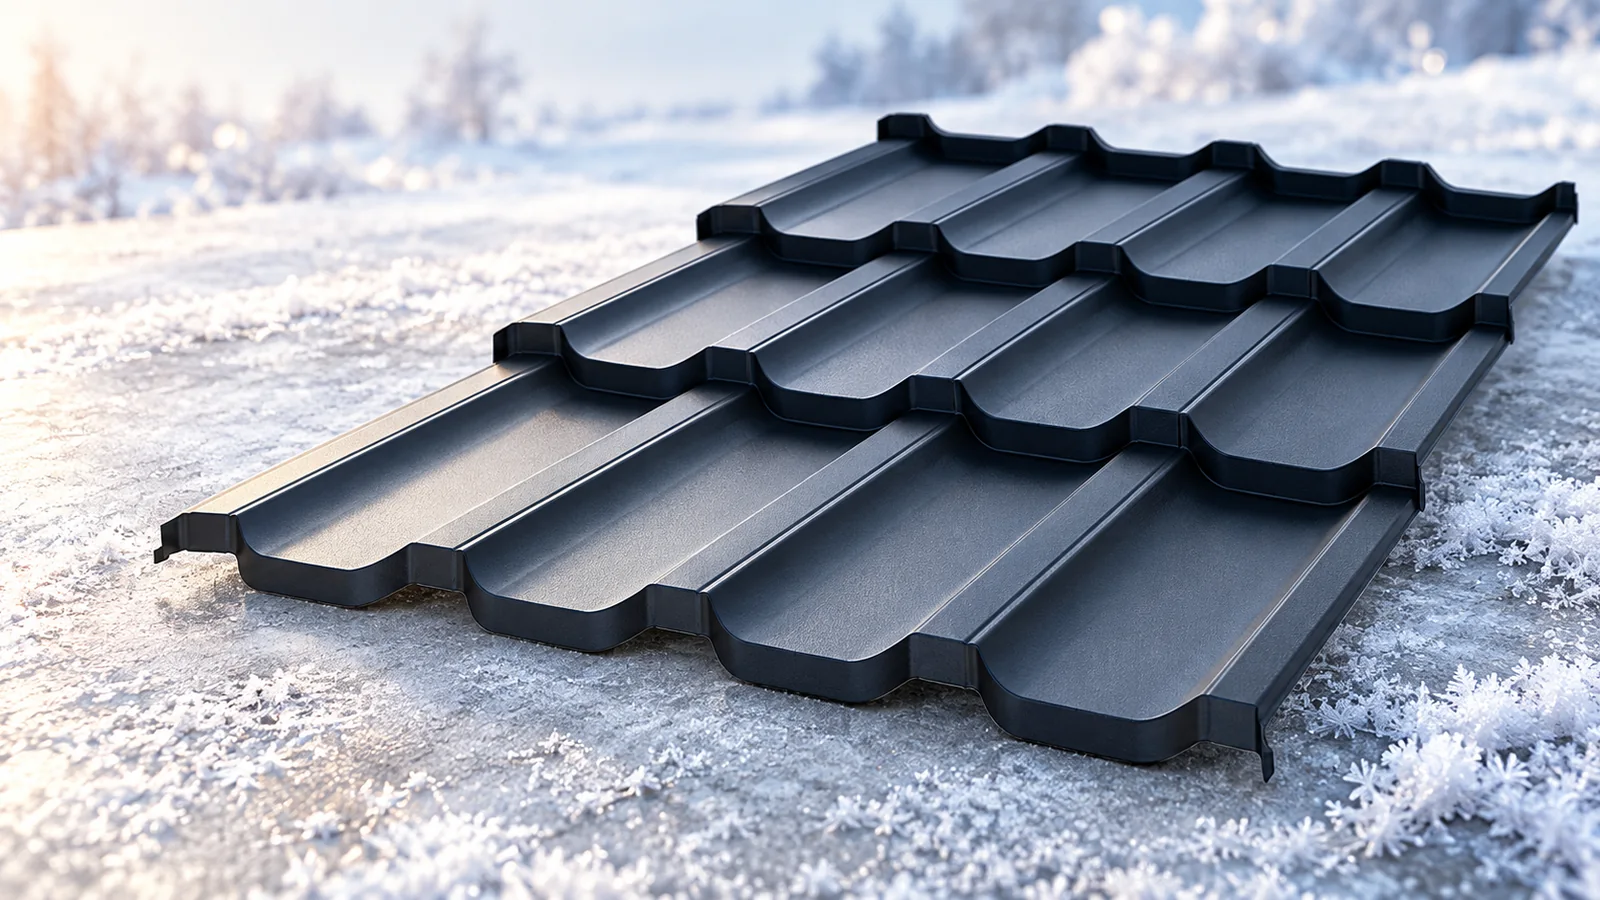
Before the first prolonged frost, have known leaks and loose flashings repaired and trace the drainage route from gutter to discharge point.…
At the eaves, rainwater must pass from the profiled outer facing of the roof panel into the gutter without running behind the…
A gutter vacuum can remove loose leaves from the eaves. To check that the drainage is ready for winter, follow the water…
Plan roof access around the maintenance task, the equipment involved and how often people need to reach it. An occasional gutter inspection…
