






PIR sandwich panels for walls, roofs and specialist joints
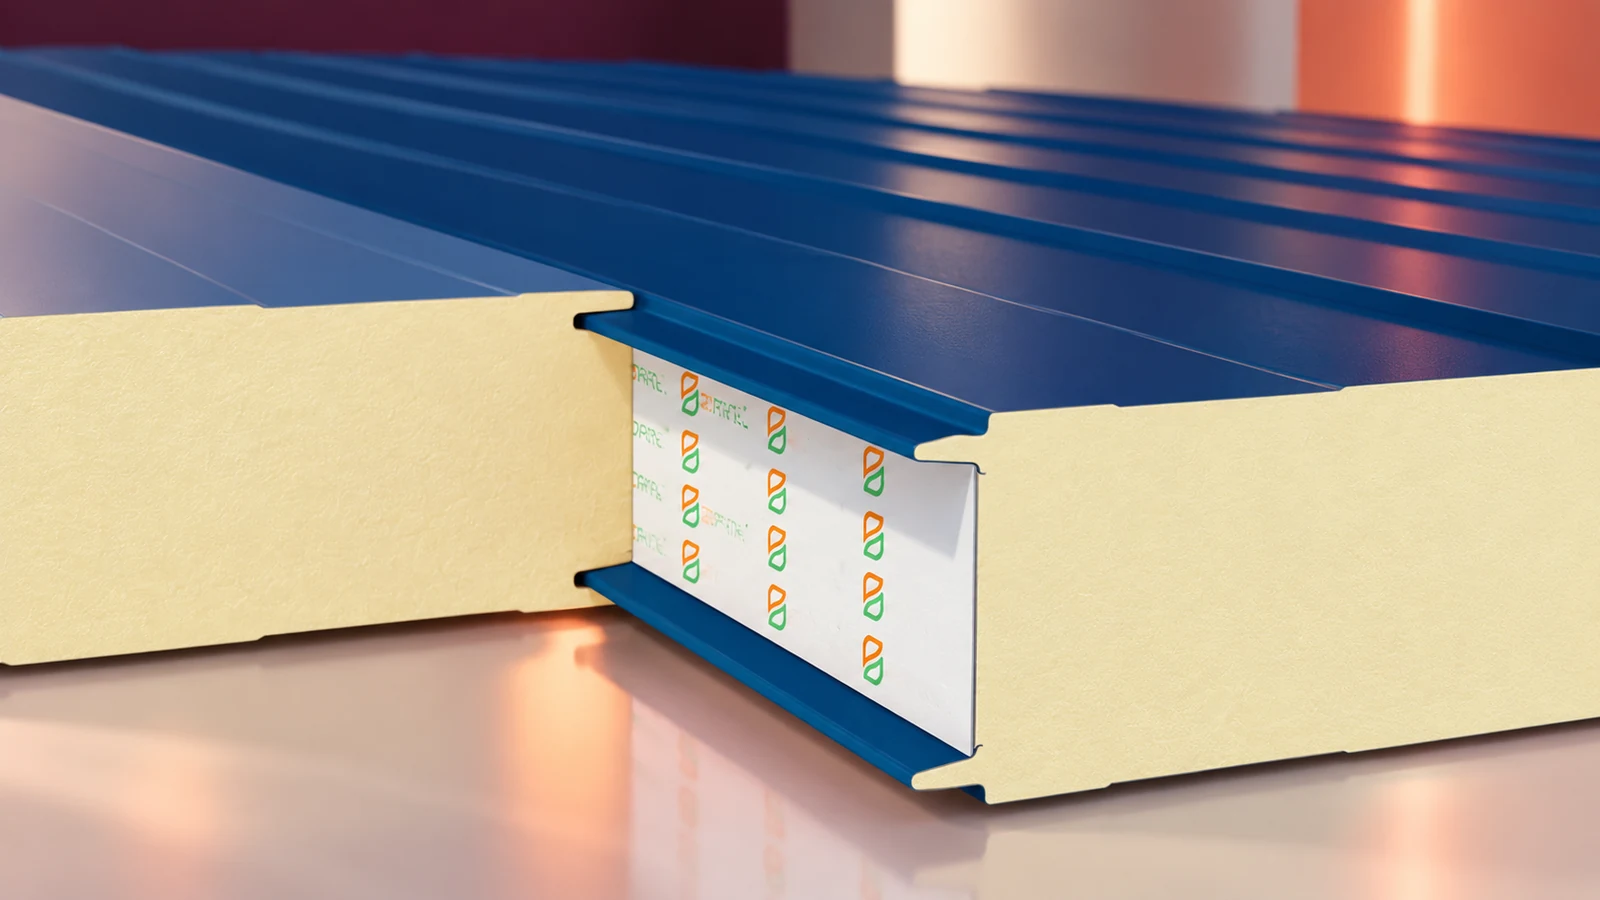
PIR sandwich panels are factory-bonded elements with an insulating core and metal facings. They are made for walls, roofs and specialist enclosures such as cold stores. Identify the joint, fixing method, facing specification and design requirements when selecting a thickness. Thin foil-faced PIR boards serve a different purpose as insulation layers. This guide explains how to identify a panel, compare its documents with the design and specify the complete envelope for a quotation. Each manufacturer’s example describes a particular product. Check its designation before using its performance figures for a panel with similar dimensions.
Start with the intended use
The manufacturer’s product overview separates PIR wall and roof systems and identifies wall panels with different fixing details. Each designation refers to a construction system. Use the range overview together with the data sheet for the specific family to check the differences.
State whether you need an external wall, internal partition or roof. For a wall, specify horizontal or vertical installation and whether fixings should be visible. For a roof, include the roof plan, pitch and penetrations. These details rule out panels that meet the price and thickness specification but belong to the wrong system.
Thickness, facings and thermal performance
Compare the U-value of each complete panel. Record the outer and inner sheet thicknesses and coating type alongside the conductivity of the core. Manufacturer catalogues list these separately because the designation “100 mm PIR” leaves several characteristics unspecified.
Quote the project’s thermal requirement exactly. If an alternative is permitted, request documentation showing equivalence for the required properties. A shared core type alone cannot demonstrate that. Set out the fire requirements and the exposure on each side of the envelope separately.
Design the joint and supports together
Supply support spacing, bearing widths and a structural layout. Ask the supplier or designer to check the applicable load and deflection table. The permissible span varies with loading and panel configuration even at the same thickness. A drawing provides the information the floor area alone cannot convey.
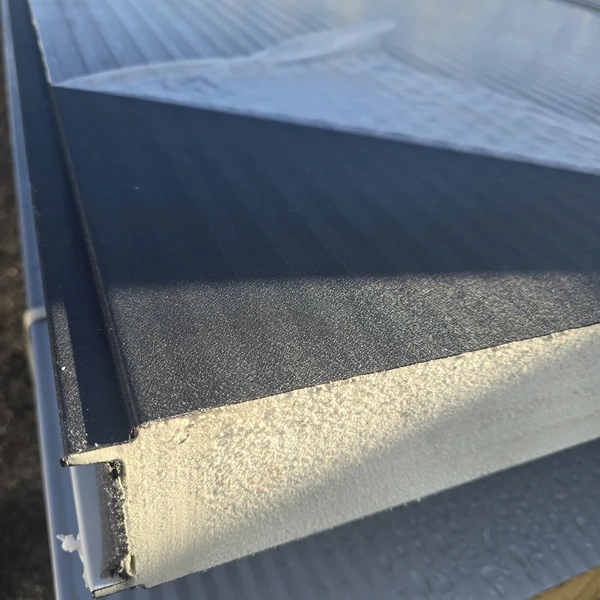
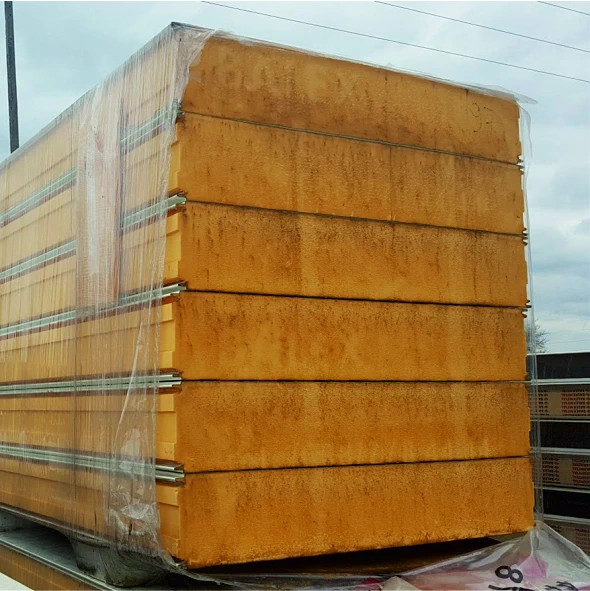
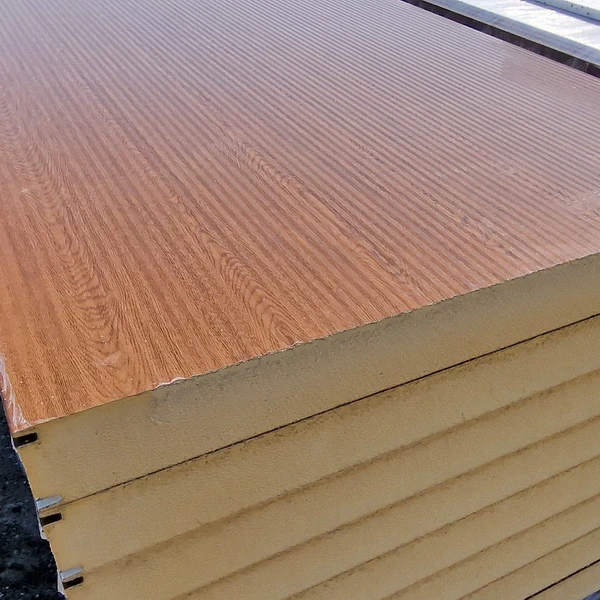
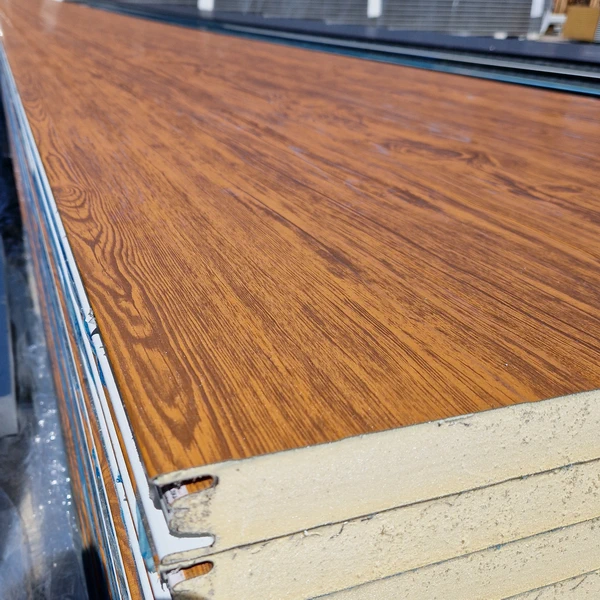
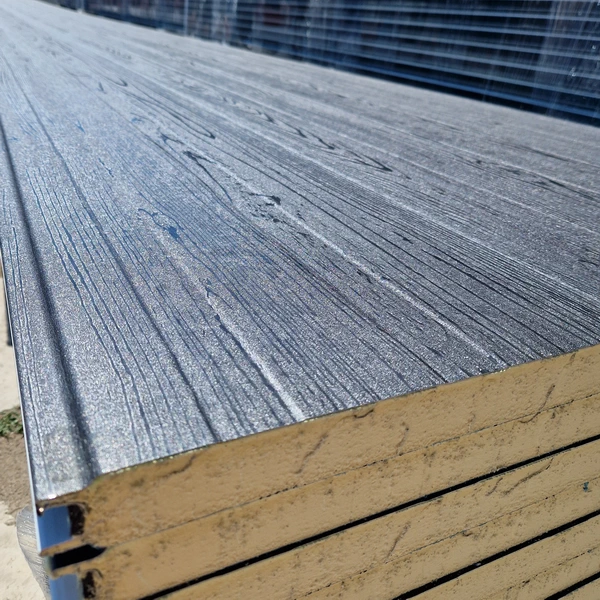
For extensions, photograph the cross-section and label, measure the cover width and identify the manufacturer. Even two metre-wide panels can have incompatible joints. Use installation instructions specific to the chosen system for jointing, fixing and preparation of the supporting structure.
Roof and cold-store selection
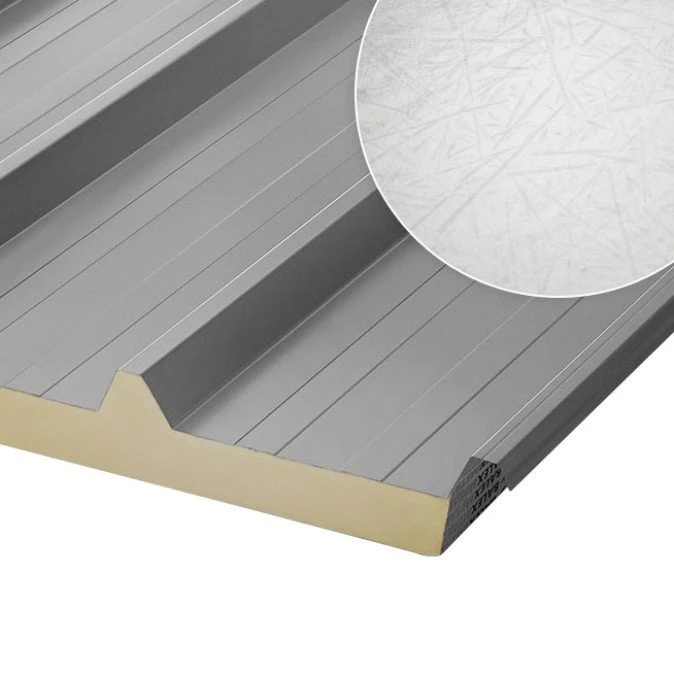
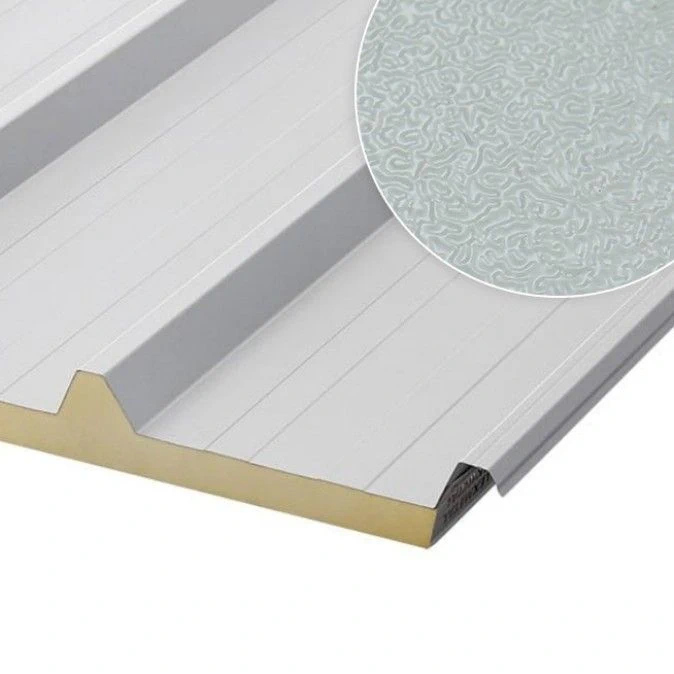
The manufacturer’s instructions distinguish uninterrupted roofs from roofs with transverse joints or rooflights. They also specify fixing locations and accessories. Check the minimum pitch in the relevant roof system manual against the design. It can vary with the roof details.
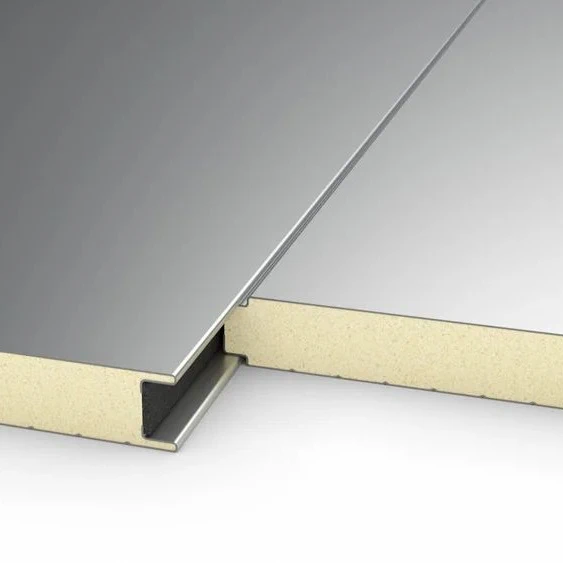
The cold-store panel in the example has a labyrinth joint and a dedicated seal. Its manufacturer describes use down to −30 °C. Read that temperature against the data sheet for this particular panel. Assess service temperature, humidity and all enclosure details together when specifying a cold store.
Compare the cost of the complete enclosure
Prepare lengths and piece counts. Check cover width, openings and opportunities to reuse offcuts. Request separate lines for panels, flashings, fasteners, seals, transport and unloading. Mark items supplied by the installer to prevent omissions or double orders.
Compare the same units on the same VAT basis. A catalogue price from another brand does not establish the price of the available batch. For second-grade panels, ask for defect descriptions, photographs of joints and facings, and documents covering the lot. Decide whether that batch fits the work before judging the saving.
Details to agree before ordering
Confirm type, use, core and sheet thicknesses, colour, coating, cover width, lengths, design requirements, accessories and delivery date. Plan the delivery sequence and site preparation. Check labels and visible damage before installation, while the packs are still accessible on the ground.
Browse our panels and accessories or send drawings for a free quote. For insulation with thin facings, see the separate guide to PIR insulation boards. Identifying the required product family at the outset shortens the search.

Free quote
What to include in your enquiry
Tell us how you plan to use the material, the dimensions and the quantity you need. Include the thickness, grade or variant name, along with the delivery town or your preferred collection branch. For a specific product, add its name or a link to the product page. We will reply to the email address you provide to discuss availability and the terms of your order.

Read next
A calculator can compare insulation thicknesses quickly if the inputs describe the actual construction. Common errors involve the wrong board, inconsistent units…
A timber house for year-round use must meet the requirements for a dwelling. In Poland, using timber does not in itself determine…
Start with the fire requirements in the building design and the function the roof must perform. A PIR roof panel can meet…
Choose the waterproofing and insulation for a flat roof together. The deck, layer order, fixing method and intended use determine which combinations…
Choose the core for the job the wall or roof must do. Mineral wool and PIR offer different combinations of insulation, weight…
Every centimetre counts when insulating from the inside, particularly in a hallway or under a sloping roof. PIR boards can reduce the…
A roof over a heated pool has to withstand warm, humid air and the chemicals used to treat the water. Specify the…
A home can use little energy in operation and still have significant environmental impacts from its materials, maintenance or replacement work. Reducing…
