






How do you connect a new sandwich panel roof to an existing building?
Sandwich panel roofs
At a glance
An extension roof needs a junction that keeps rain out while allowing for movement between the existing building and the new frame. Before selecting sandwich panels, survey the existing wall, ring beam, roof and proposed supports. Establish the roof levels and where water will drain. The original drawings may omit later alterations, so take measurements and arrange local opening-up where necessary. Record corrosion, cracking, damp and misalignment. Repair defects that will become inaccessible once the roof is installed. A panel can reduce the number of roof layers, but the support and abutment details still need to suit the existing building.
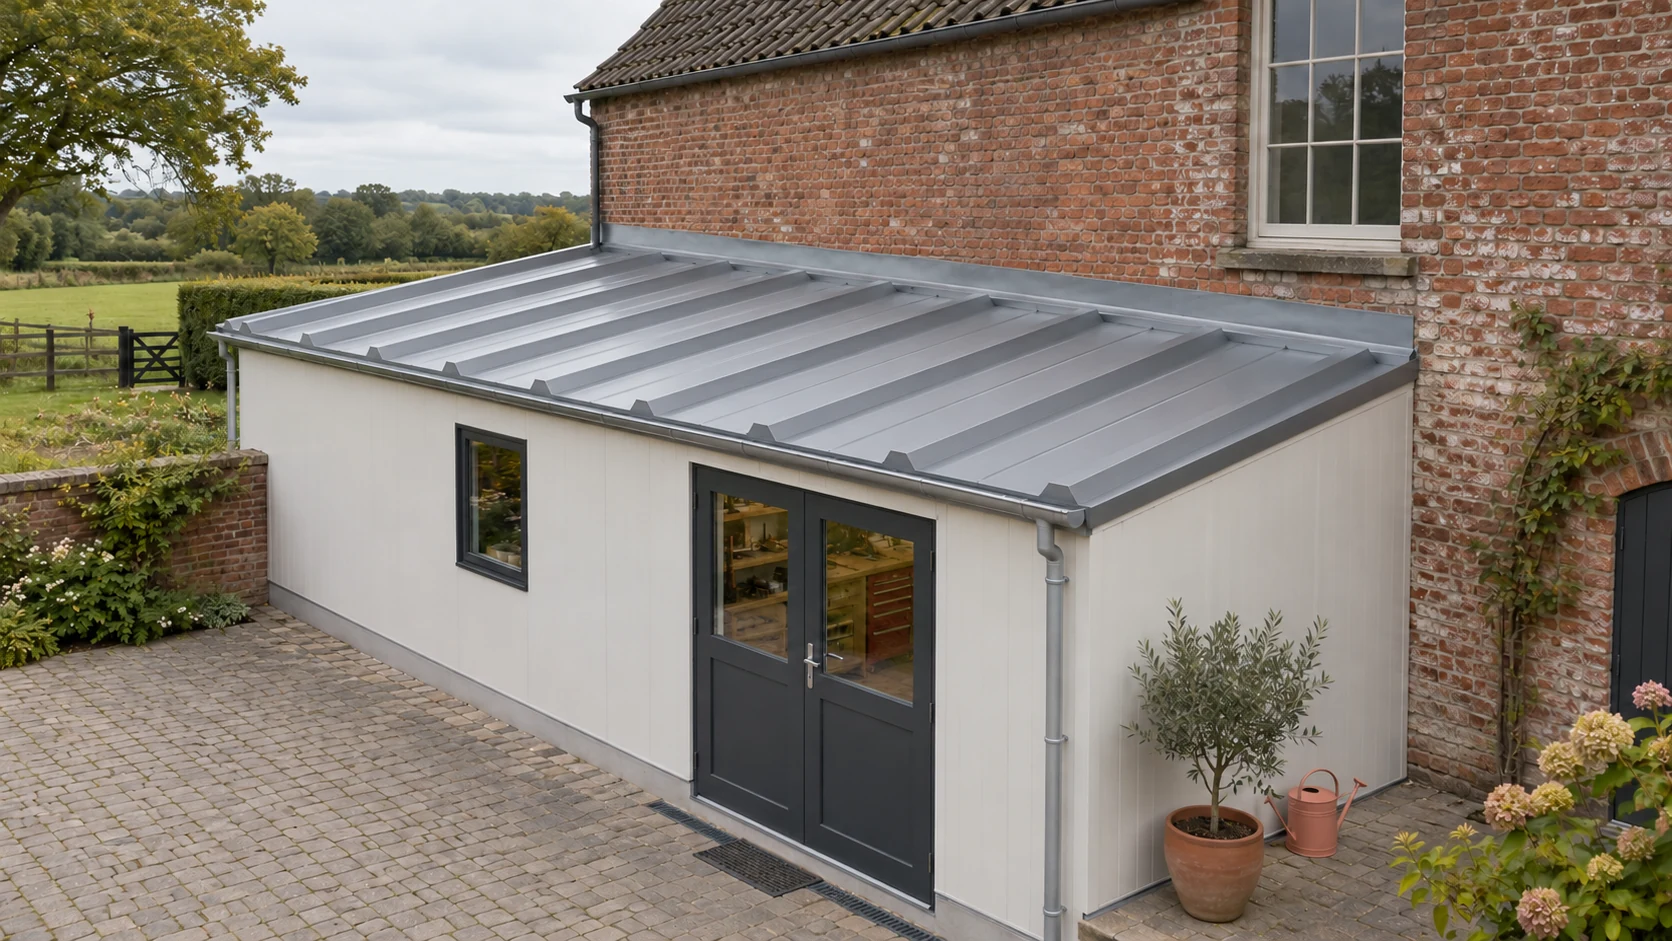
Survey the parts that will stay
Identify the existing members that will carry the new loads. A similar arrangement on a neighbouring building gives no proof of capacity. Have the designer assess the load path all the way to the foundations. Even an extension with its own frame needs a designed connection to the existing structure.
Check loads and differential movement
An extension changes roof geometry and the effects of snow and wind. Snow can drift against a higher existing wall, creating a local load. A span table for a simple exposed roof cannot account for that condition by itself. Select panels, supports and fixings for the actual arrangement.
The new frame may settle or deflect differently from the original structure. Design the junction to stay weathertight through the expected movement. Determine movement allowances and any expansion joint from the design. A rigid flashing or an arbitrary gap left on site cannot establish the required movement capacity.
Set the levels and trace the drainage route
Measure the levels at the wall, supports and eaves. Check the panel manufacturer’s minimum pitch for the chosen arrangement. End laps, rooflights and other interruptions may affect it. Allow for tolerances and deflection so water will not pond on the finished roof.
Coordinate the old and new drainage systems. Trace runoff from the higher roof and check that its discharge point is protected. Size gutters, outlets and overflows for the catchment and building layout. Agree downpipe positions and any penetrations before installation.
Design the wall abutment
Shape the wall abutment to shed water outwards and prevent it from getting behind the flashing. Check the substrate, fixing method and freedom of movement. A surface bead of sealant works only as part of a detail suited to both the roof covering and the wall.
On the inside, continue the insulation and airtight layer across the junction. Metal parts can create a thermal bridge, particularly in a heated extension. Show the core closure and seals on the drawing. Leave them accessible for inspection before closing the ceiling or wall lining.
Plan how to keep the building weatherproof during work
Sequence strip-out, support installation and closure of the new roof. If the existing building is occupied, protect the interior from water and debris. Arrange temporary weather protection before work begins so the programme can cope with rain while the roof is open.
Check access for delivery and lifting. On a confined site, panel length can determine whether installation is feasible. Resolve the choice of lengths and joints before production. Include lifting equipment, safe work at height and securing the elements in the installation plan. Never use panels as improvised working platforms.
Inspect the junction separately at handover
At handover, inspect flashings, seals, core closures and drainage, particularly where new materials meet existing roof layers. Check surfaces around cuts and remove debris as instructed by the manufacturer. Keep photographs of concealed components taken before covering them.
Arrange another inspection after the first rainfall and temperature changes. A crack at the junction can be a sign of movement that needs investigating. Record the as-built detail and limits on subsequent alterations. Reassess the roof before adding equipment or making a new opening.
Questions and answers
Can a lightweight panel be supported on any existing wall?
No. Assess the wall, bearing, connections and full load path. A light roof still has to resist snow and wind and meet the structural requirements.
Is sealant enough at the roof-to-wall junction?
Sealant is one part of the detail. The junction also needs suitable flashing, fixings, drainage and enough movement capacity for the two structures.

Free quote
What to include in your enquiry
Tell us how you plan to use the material, the dimensions and the quantity you need. Include the thickness, grade or variant name, along with the delivery town or your preferred collection branch. For a specific product, add its name or a link to the product page. We will reply to the email address you provide to discuss availability and the terms of your order.
Read next
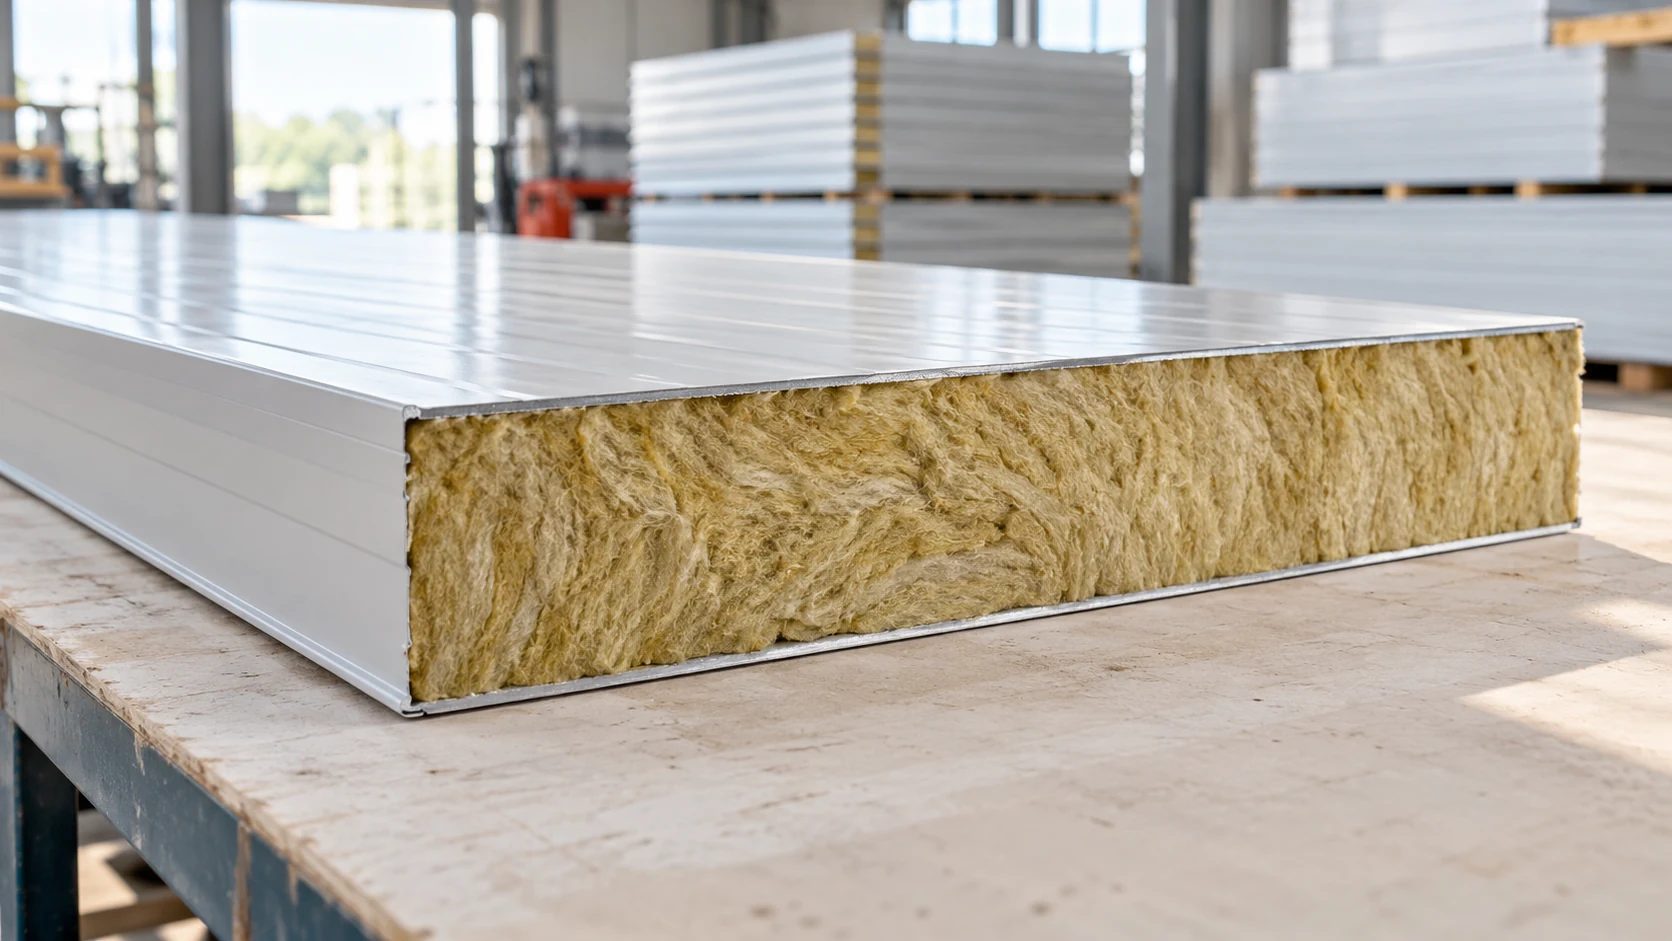
In Polish, “płyta obornicka” is a common name for a sandwich panel used to enclose a building. A typical panel has two…
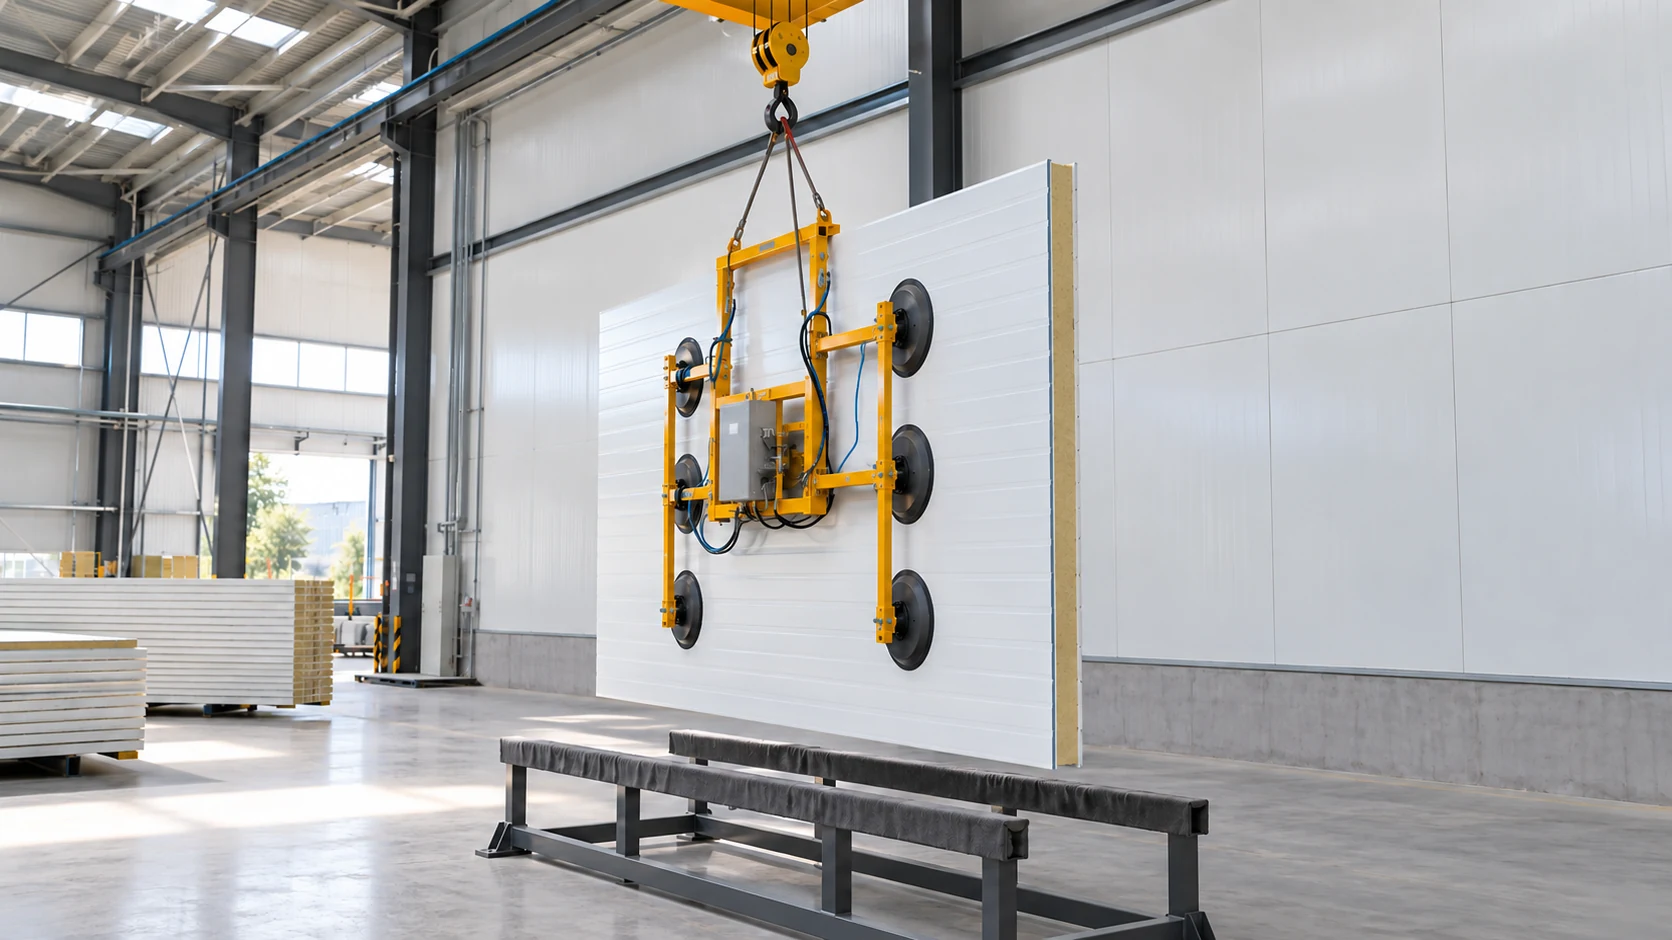
Wall panels and their junctions with the roof need an agreed installation sequence. Identify the work that must be inspected before the…
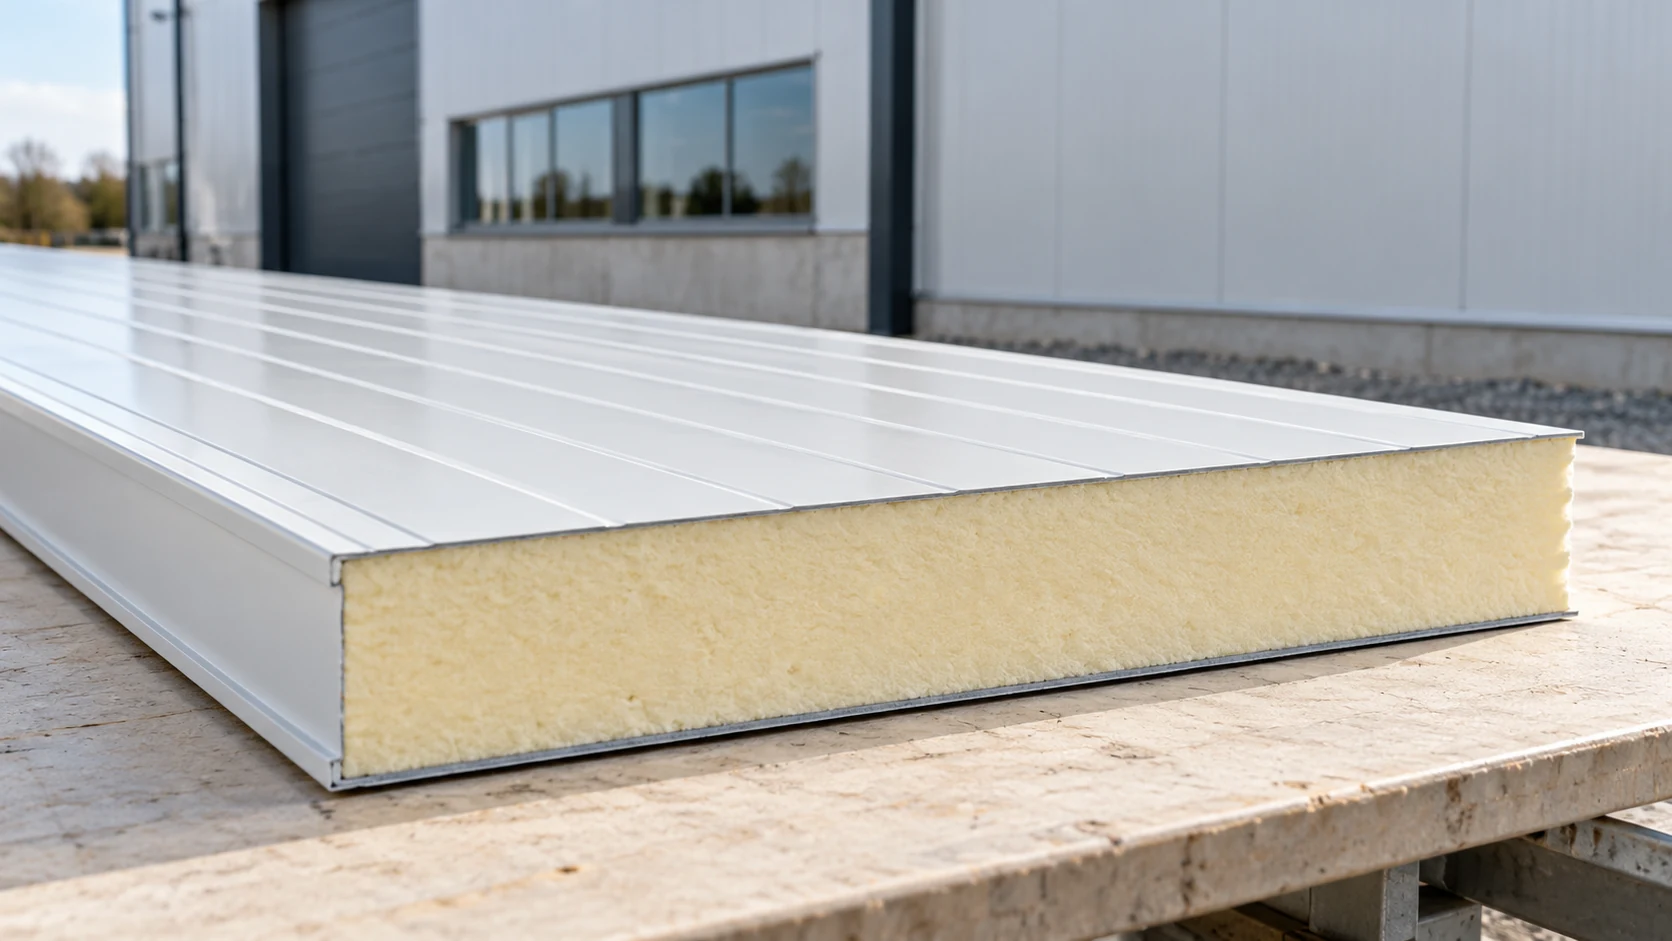
A sandwich panel relies on its core and facings acting together. Each part performs a different job, and the joints connect the…
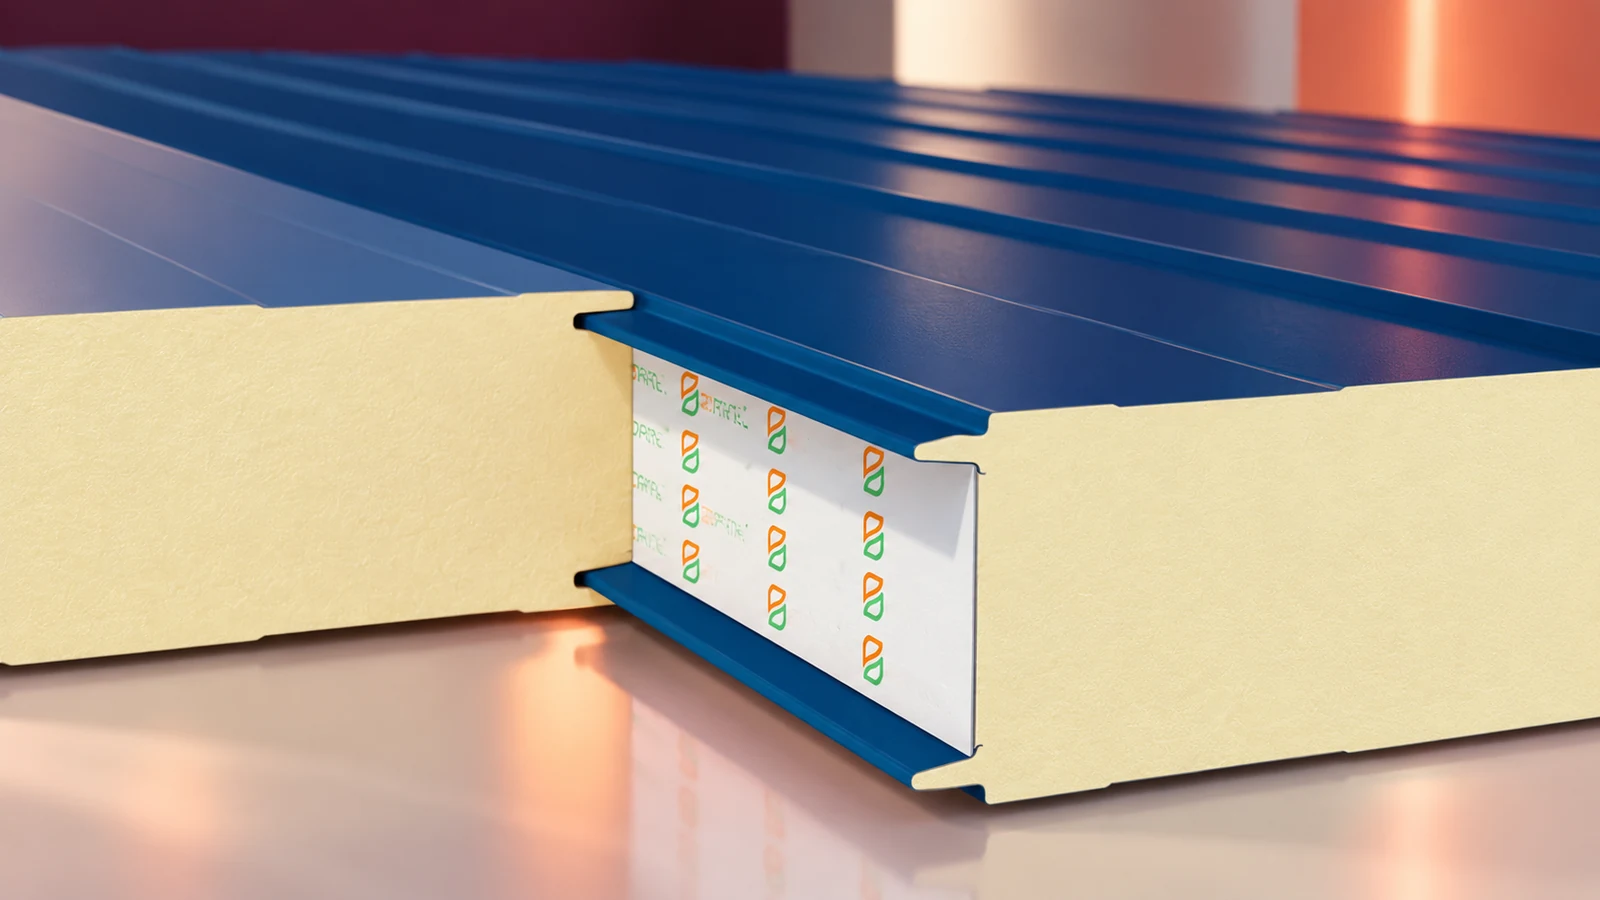
PIR sandwich panels are factory-bonded elements with an insulating core and metal facings. They are made for walls, roofs and specialist enclosures…

A rate per square metre may cover fixing the panels alone or much of the work on the building envelope. Before choosing…

The instructions for your roof covering tell you where PV mounts may be fitted, how to seal penetrations and how to protect…

A large yard and a long product list do not guarantee a complete order. Look for someone who will confirm the exact…
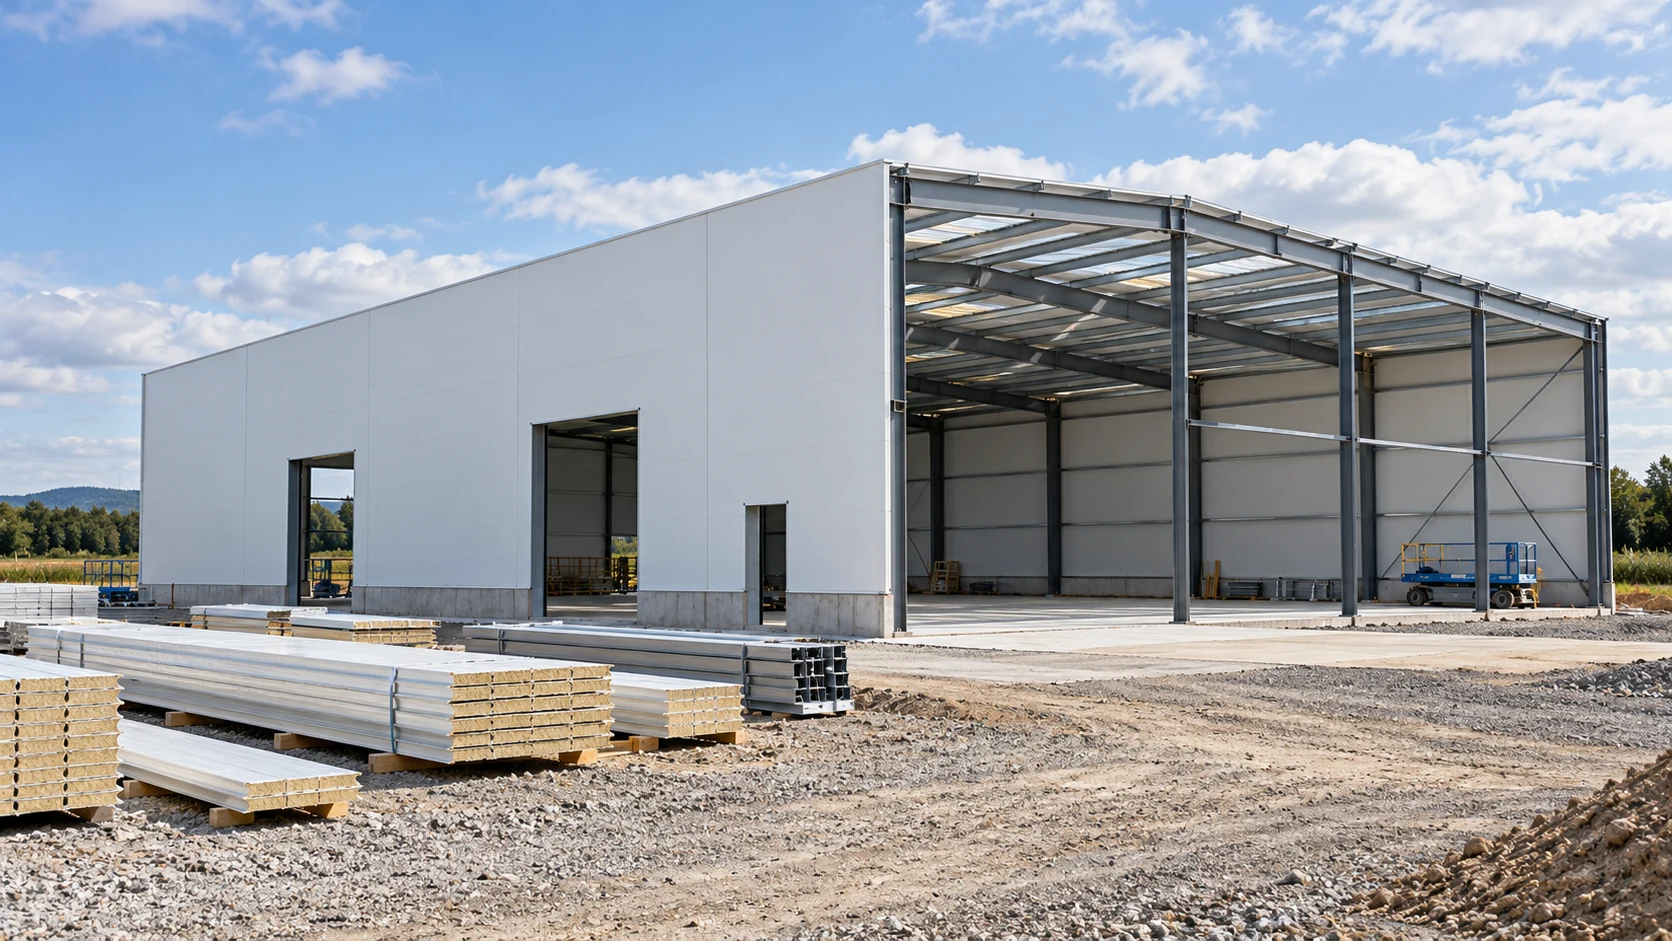
The total price of a building tells you little about when you will need the money. Budget separately for site preparation, the…
