






Installing sandwich panels: from the first survey to handover
Installation and inspection
At a glance
Wall panels and their junctions with the roof need an agreed installation sequence. Identify the work that must be inspected before the next layer conceals it. The six stages below cover site organisation; fasteners, tolerances and working conditions must suit the design and the panels actually delivered. Give the crew drawings of supports, openings and connections. Check the structure on site for line, level, plumb, bearing surfaces and steel protection. If the frame is out of tolerance, agree how to correct it before enclosing it. The cladding is not there to hide frame errors.
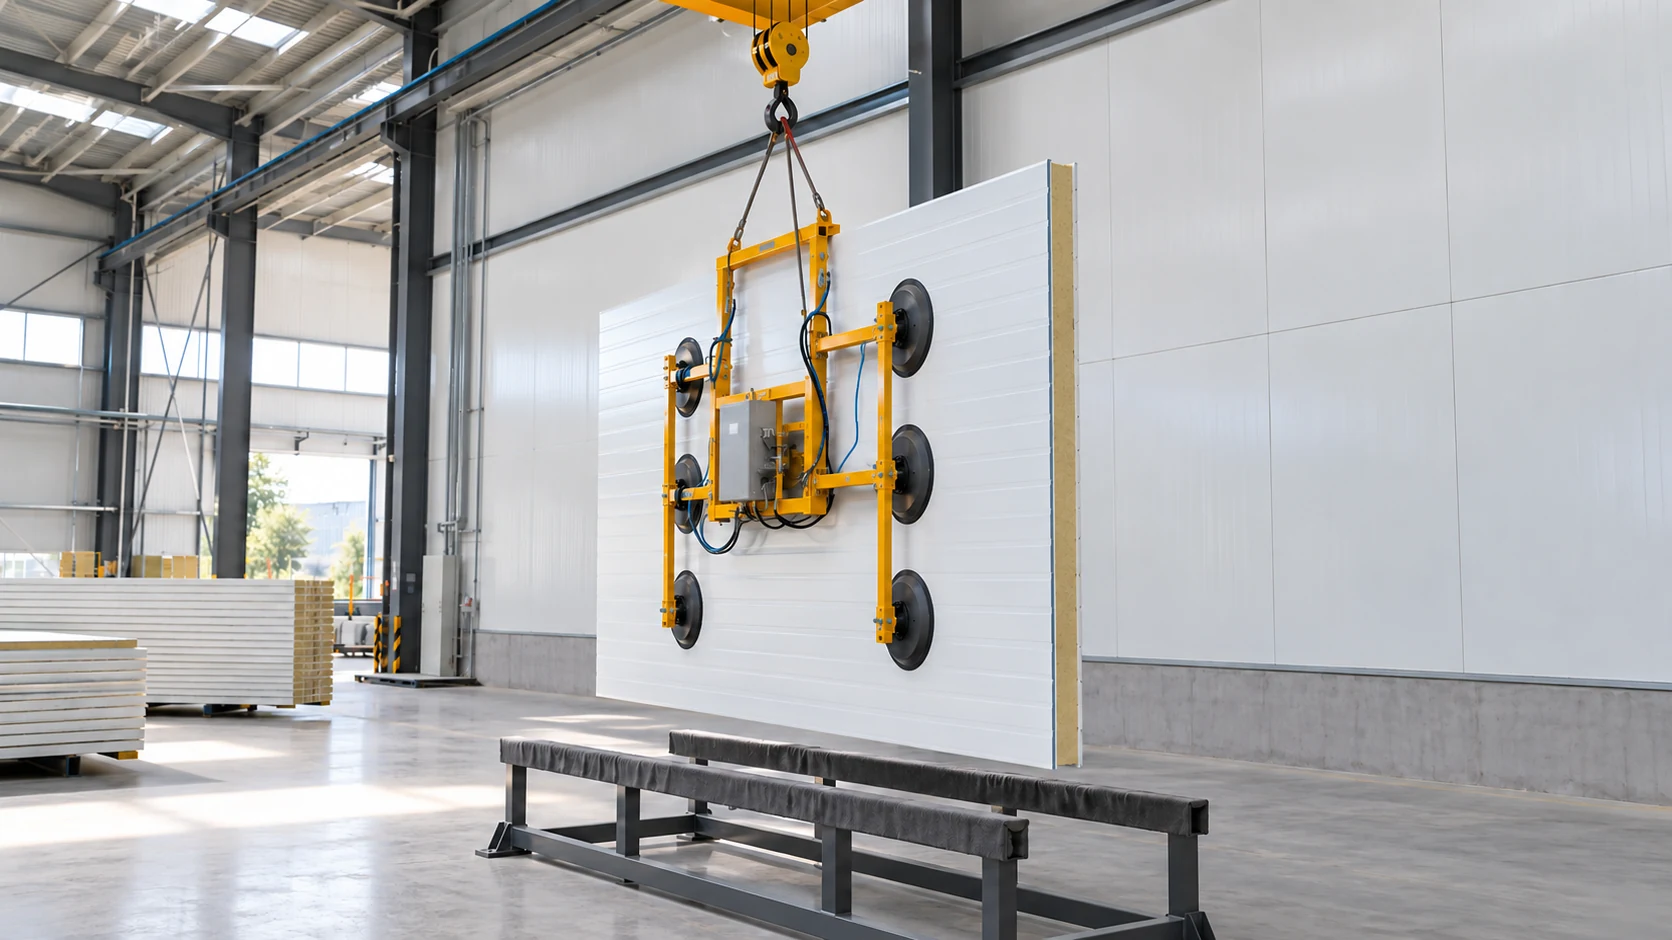
1. Check the structure that will carry the panels
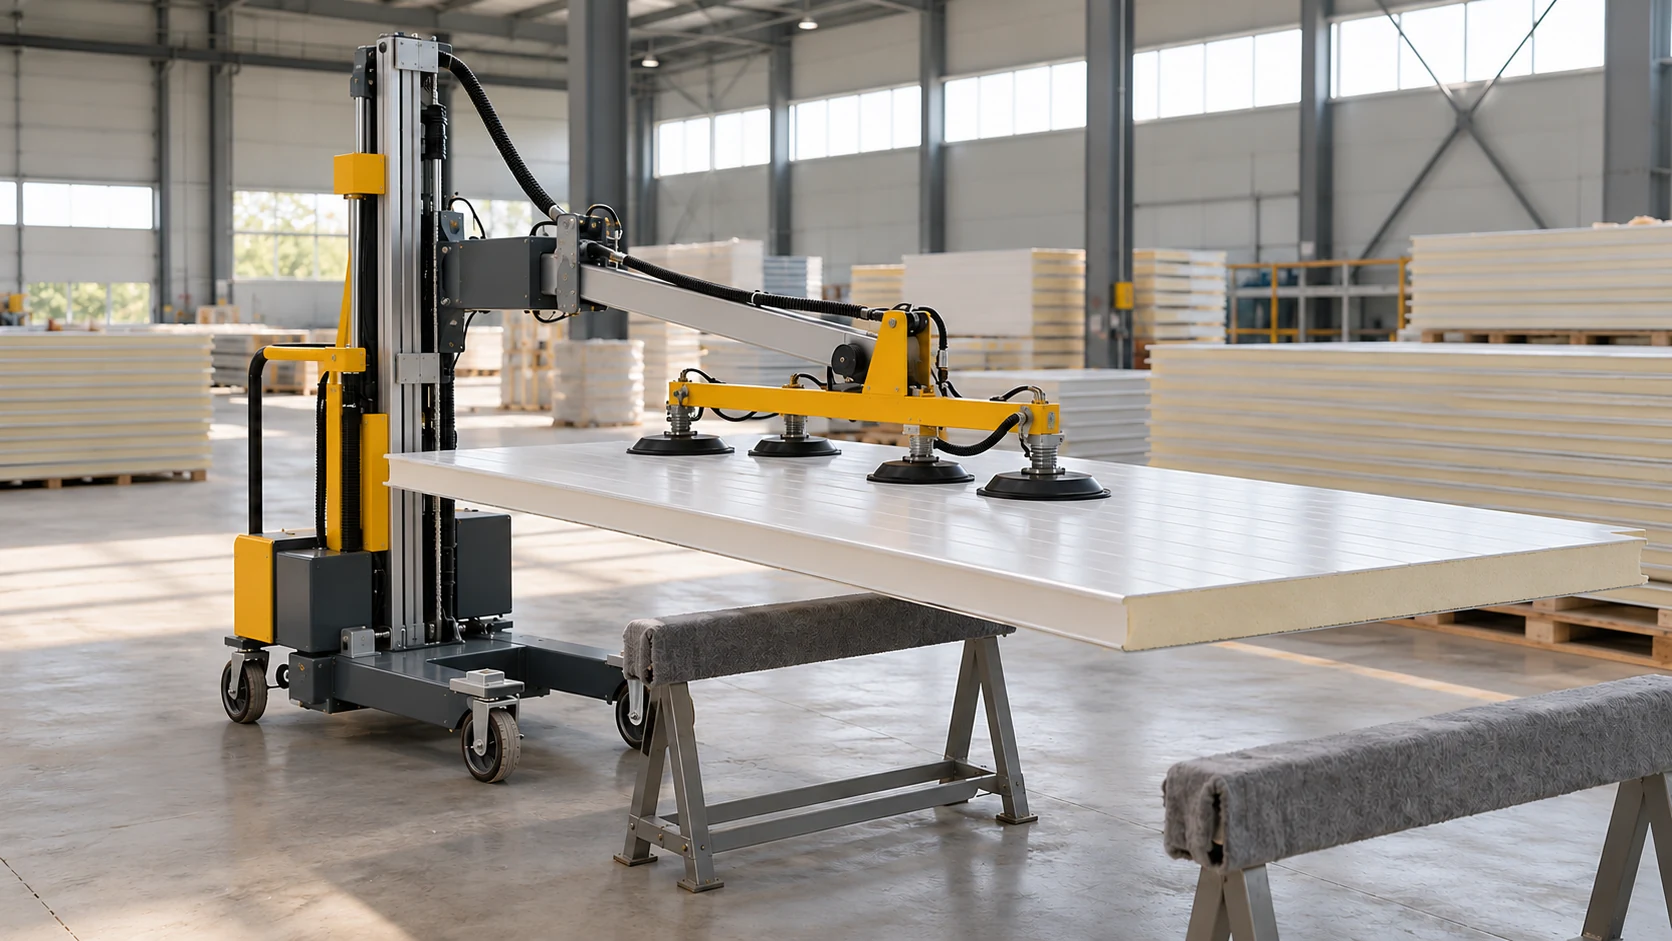
Check access to fixings and space for equipment. Walk the route from the pack to the installed position. A narrow passage, uneven standing area or lack of turning room can stop a lift. The lifting plan must match the instructions for both panel and equipment.
2. Sort the packs and prepare the base details
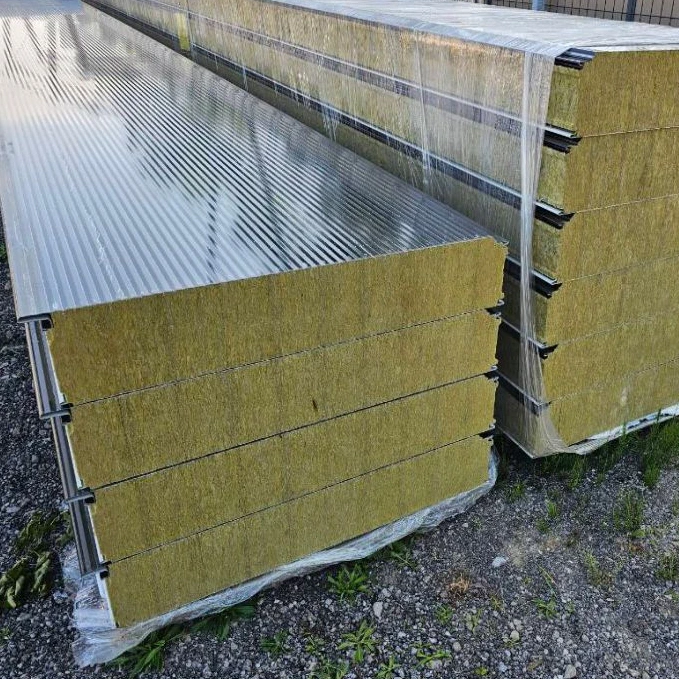
Match pack labels to the schedule. Check lengths, facing orientation and joints. Report defects before installation while individual pieces are traceable to a batch. Arrange the panels so they can be picked up in order without dragging them across coated surfaces.
At the foot of a wall, agree the sequence of plinth parts, tapes and seals. Some must go in before the first panel. Record the checks with a photo and measurement; access later may mean dismantling a substantial section of finished wall.
3. Set out the wall and position the first panel
Work out where the last panel, corner and opening trims will fall. Moving the setting-out line slightly can change the final strip width. Decide this before fixing the first panels rather than allowing the layout to drift as each piece is fitted.
Align the first panel in both planes. Fit the following panels within the system tolerances. Maximum joint pressure is not always correct: the core and interlock design may require a defined gap. Follow the actual product detail.
4. Inspect fixings and cuts as you go
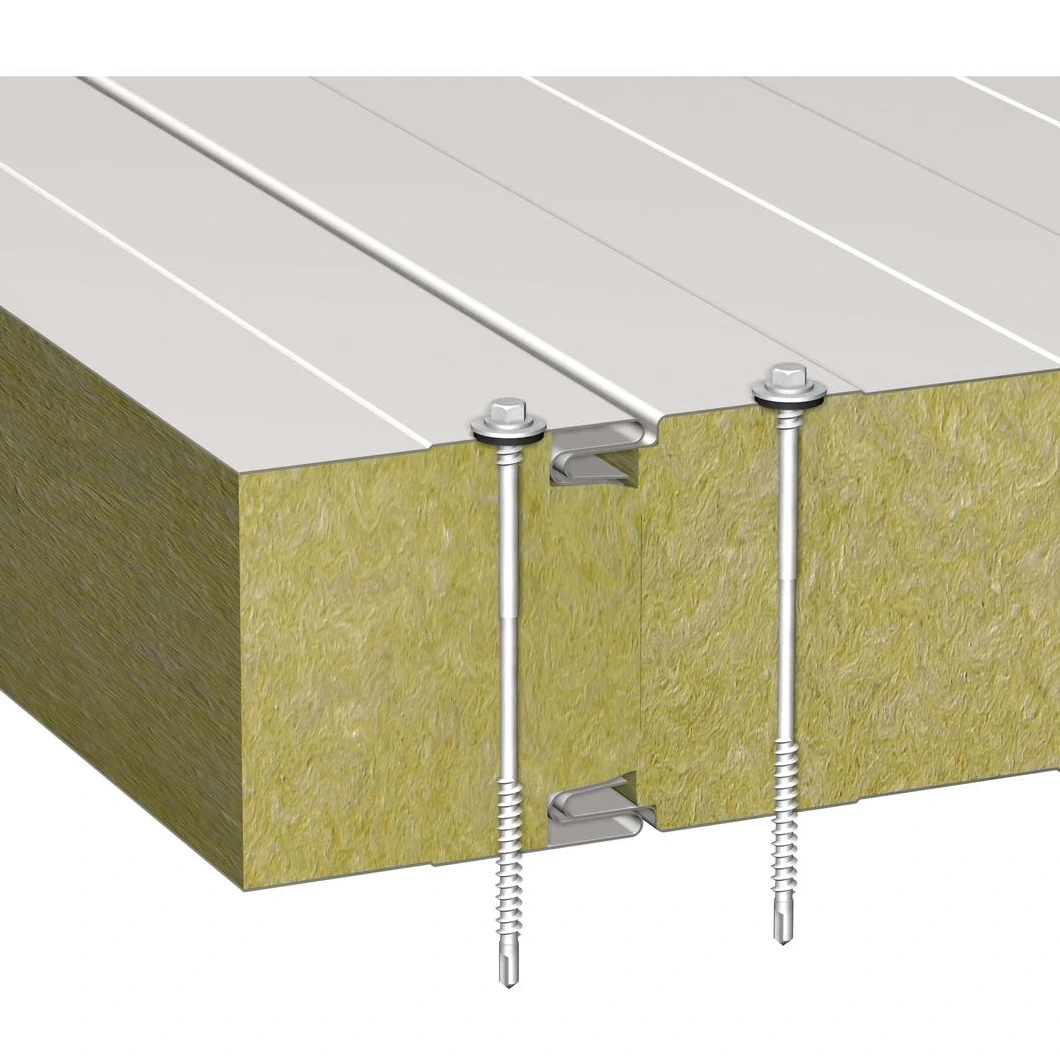
Select fasteners for the substrate, fixing thickness and exposure. The design sets quantities and positions. A guided driver with seating control helps keep screws aligned. Inspect seating pressure and the surrounding facing after installation.
Plan the cutting and drilling sequence. Protect surfaces from sparks and hot swarf; use tools approved for the material and remove swarf from both accessible sides. Establish the correct coating repair method before applying touch-up material.
5. Complete junctions with adjoining elements
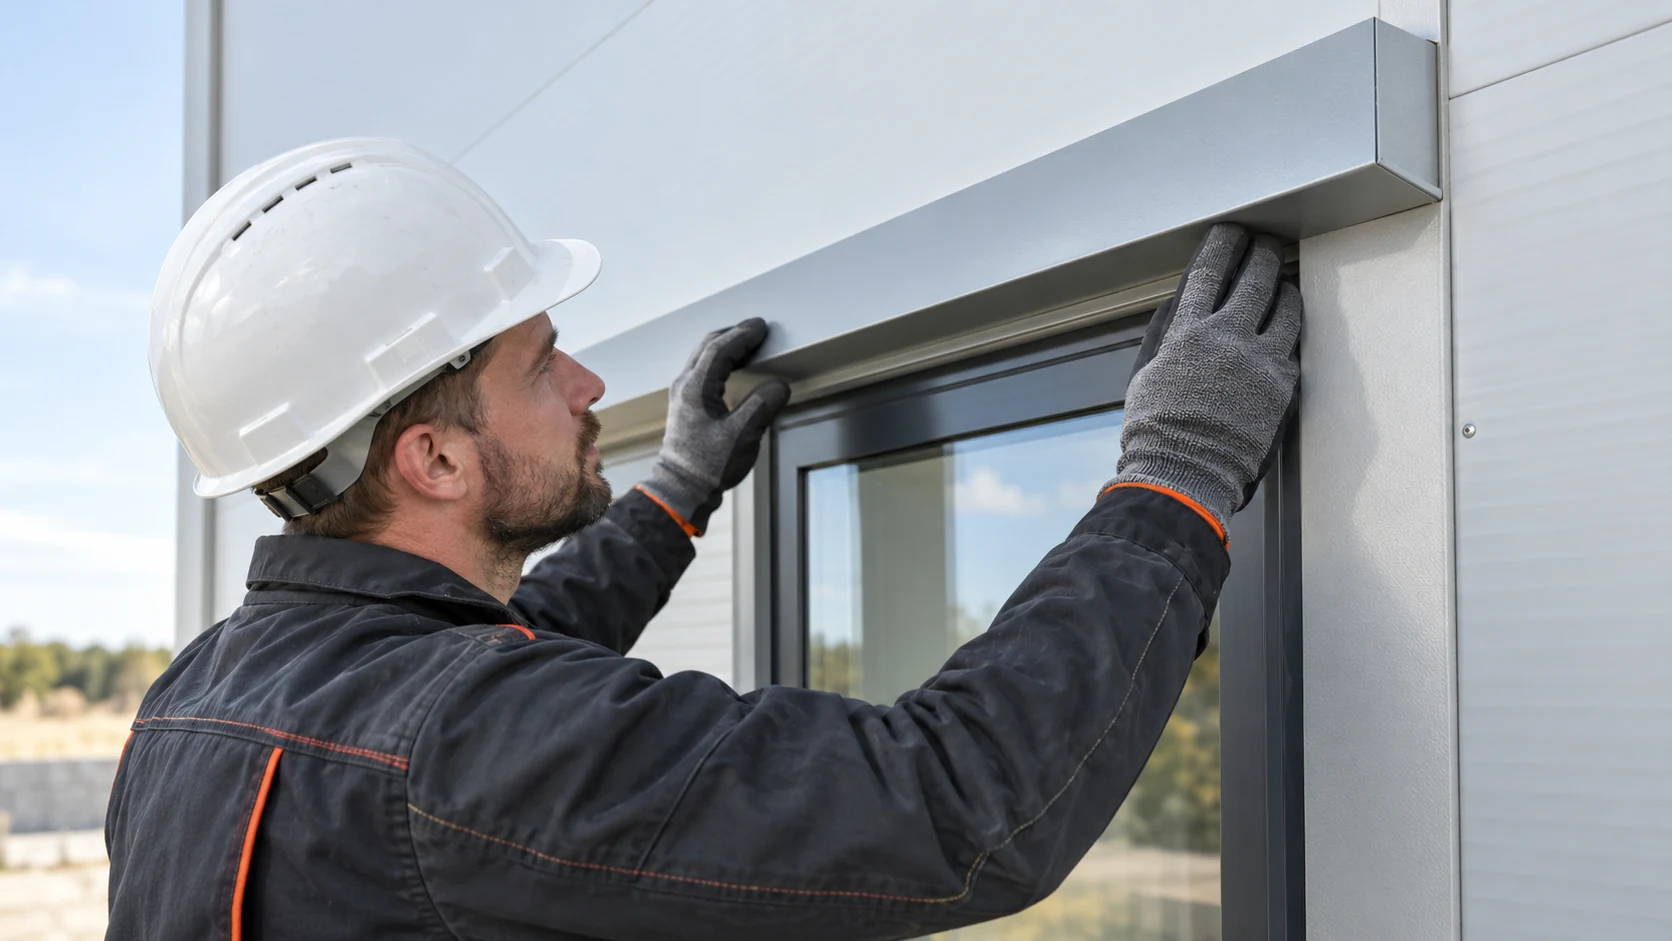
Window, door and vehicle-door junctions must maintain the specified sealing and insulation continuity. Fix frames independently as designed, not into incidental offcuts of the facing. Coordinate service penetrations with the envelope design too.
Install flashings in layer order to protect edges, shed water or close a joint. A neat trim does not prove the concealed detail is correct. Inspect before final closure, while tapes can still be repositioned or missing seals fitted.
6. Hand over the envelope and its records
Inspect surfaces, edges, fixings, flashings, openings and areas exposed to water. Make sure protective film has been removed. Distinguish light soiling from coating damage and agree how to address it. Use the contract and technical documents to define acceptance.
Hand over panel identification and maintenance instructions, photographs of hidden details and a record of changes. Plan future inspection access. Tell later trades that new holes or suspended loads require assessment even where the finished surface looks uniform.
Questions and answers
Can panels be installed on an uneven frame?
Check tolerances and agree corrections to the supports first. Pulling panels against significant unevenness may damage facings or connections.
When should details be photographed?
Before concealment, especially at plinths, corners and openings. Photos supplement measurements and inspection records; they do not replace them.

Free quote
What to include in your enquiry
Tell us how you plan to use the material, the dimensions and the quantity you need. Include the thickness, grade or variant name, along with the delivery town or your preferred collection branch. For a specific product, add its name or a link to the product page. We will reply to the email address you provide to discuss availability and the terms of your order.

Read next
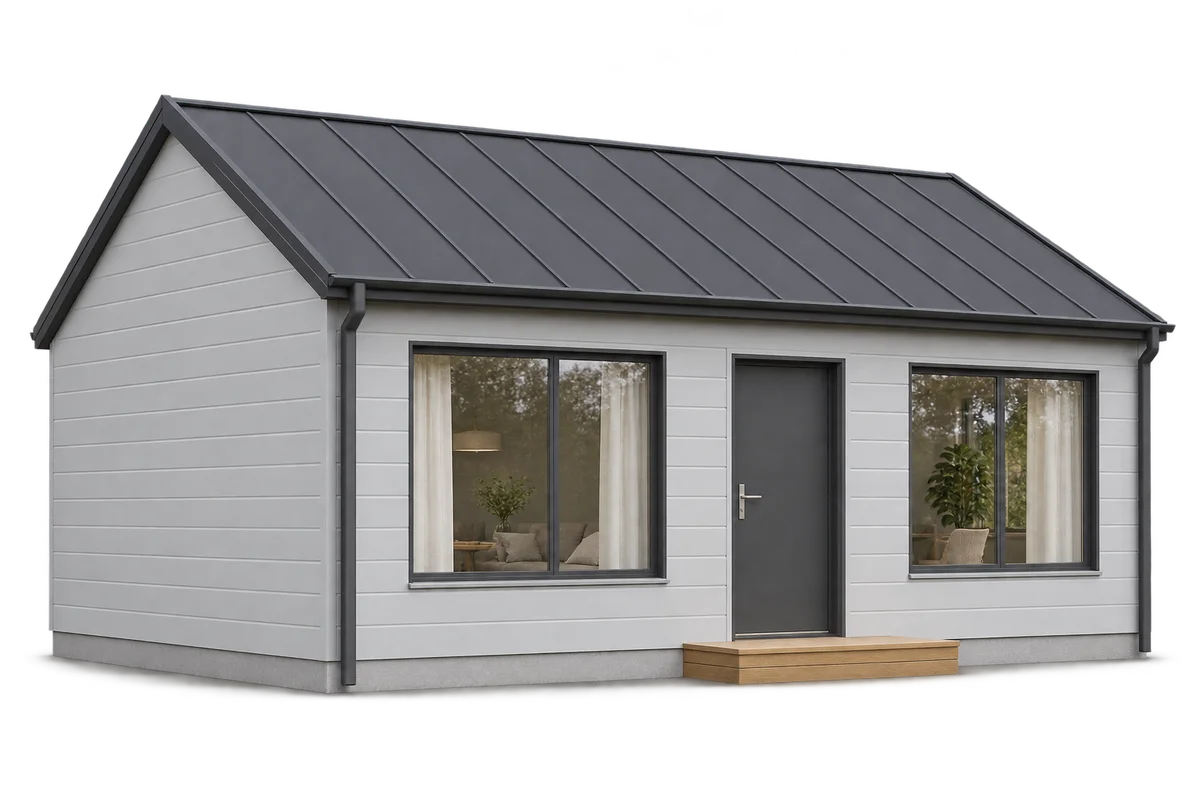
A future extension to a sandwich panel home should be described before choosing the envelope and locating openings. The ability to remove…
A rate per square metre may cover fixing the panels alone or much of the work on the building envelope. Before choosing…
Two panels of equal thickness may have different cores, facings, joints and intended uses. Start with the building requirements: thermal performance, loads,…
Choose roof panel thickness by comparing complete configurations against the building design. Start with indoor temperature, humidity and heating hours. A warehouse,…
Inspect sandwich panel work in stages while each junction is still accessible. Start with the frame, then inspect the first panel and…
An old warehouse can often be adapted to store potatoes without building a new hall. Three things must work together: an airtight…
Harvest sets the deadline for work on a potato store. Allow time to assess the building, order materials, install them and test…
The end wall of a hall scheduled for a future extension has two different jobs over time. Today it keeps out the…
