






How do you choose the right joint for a timber beam?
Roof coverings
The position of a timber joint determines which forces it has to transmit. A splice over a post can use the bearing directly, whereas a splice partway along a span may also have to transmit bending. Mark the proposed joint on the framing drawing before choosing a notch, hanger or steel plate. The designer needs the timber grade and dimensions, the direction of the loads and the way the pieces can move relative to one another. The finished detail should identify every fastener and show where it goes. Inspect the cut timber and the fixings before concealing them.
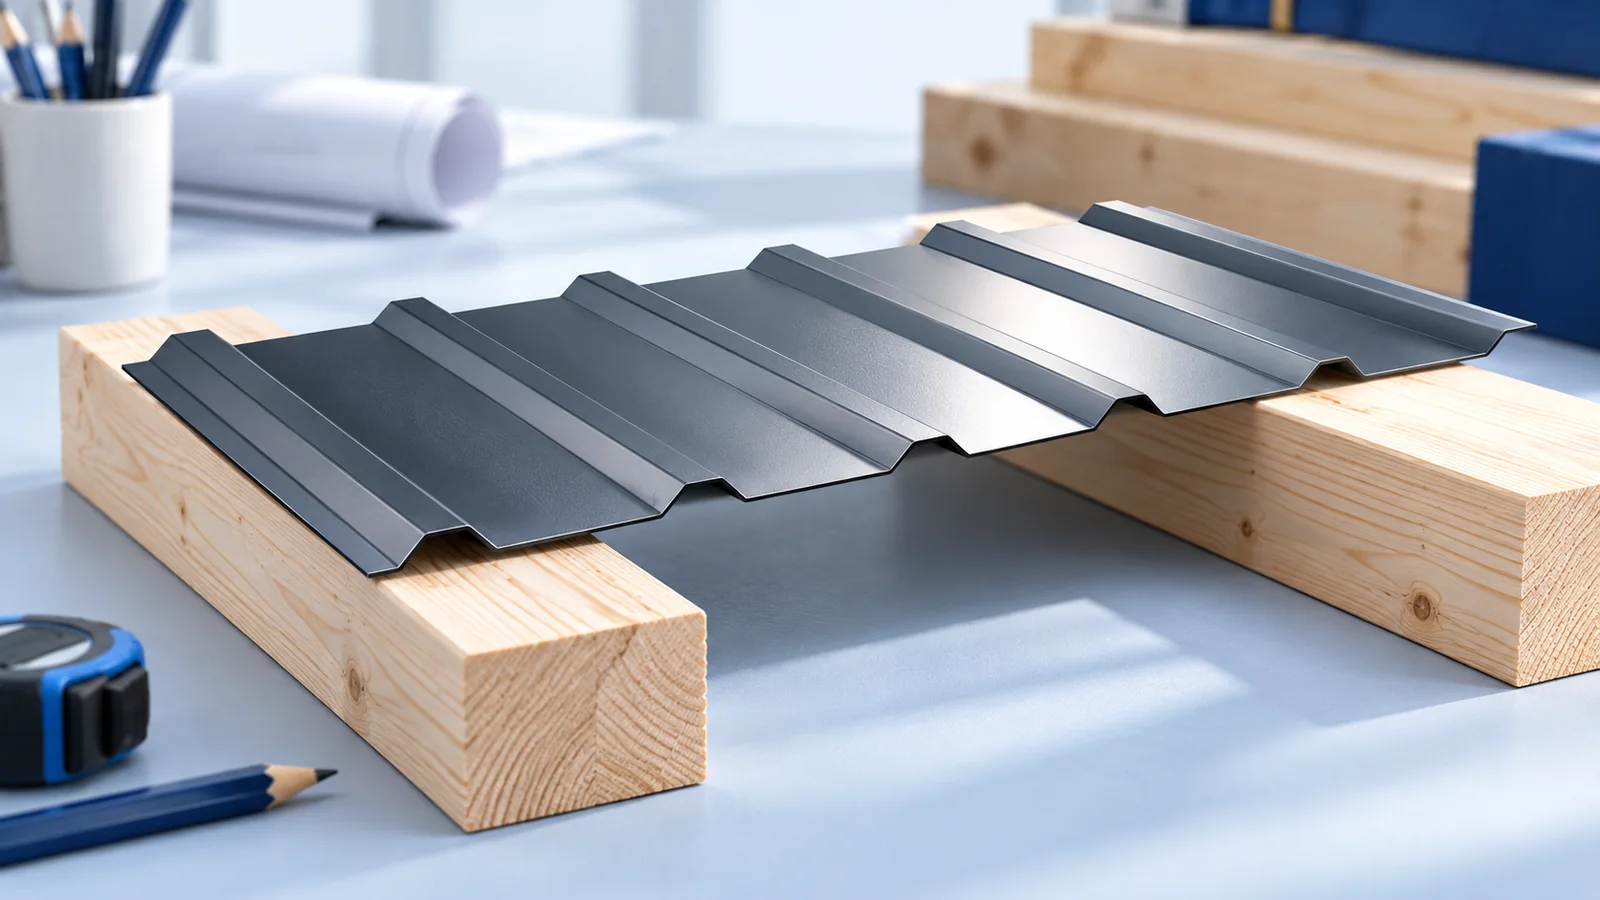
Why does the position of the joint matter?
A beam carries loads to its supports, and the internal forces vary along its length. The most convenient place to join two pieces may therefore be structurally unsuitable. A splice above a post and one at midspan can require entirely different details. Check before transferring a detail from one part of a roof to another.
The joint may have to carry compression, tension or shear. Some arrangements also transmit bending moments. Shape the joint to suit those demands, allowing for slip and rotation under load. Closely fitting timber faces alone do not establish the capacity of the connection.
When are traditional timber joints suitable?
Notches, laps and other shaped cuts can transfer some loads through contact between the timber faces. They require accurate workmanship and enough sound timber in the remaining section. A deep notch can weaken the beam precisely where the load is high.
Mechanical fasteners often supplement traditional joints, for example to prevent the pieces separating. Wind can reverse the effect of the roof’s own weight. The design should address load cases in which contact pressure alone will no longer hold the joint together.
What do steel connectors contribute?
Angle brackets, hangers and other connectors define how the timber is to be assembled. Their capacity depends on the intended use, the supporting member and the fasteners used. Similar-looking brackets can differ in steel thickness, hole pattern and function. A photograph alone will not identify a suitable product.
Read the specification for the required nails or screws. Similar length alone does not make another fastener suitable. A countersunk screw, a general-purpose nail or a plasterboard screw does not acquire structural approval by fitting through the hole. The connector and specified fasteners work as an assembly.
How should fasteners be laid out?
Maintain the specified distances to timber ends and edges. Placing fasteners too close together can split the wood. Drilling an extra hole in a steel connector to fit another screw alters its geometry and can take the joint outside its assessed configuration.
Some connectors have documented partial fastening patterns with their own load capacities. Use only the holes and fasteners specified for the chosen pattern. A fastener count without their positions cannot tell the installer how to reproduce the assessed joint.
How should you prepare the timber and sequence the work?
Check the timber dimensions, surface condition and moisture content. Each piece should bear where shown. If a beam does not fit, find the cause and check the tolerances before making the connection. Pulling crooked pieces into position with improvised bolts can distort the assembly.
Plan the erection sequence so the frame is stable at each stage. Temporary support or bracing may be needed until it is complete. Avoid unplanned holes or cuts once the beam is carrying load. In an alteration, establish how to support and unload the existing frame before starting work.
Assess visible cracks by their position and direction. A crack does not automatically rule out the timber, but one near a connection needs attention. If in doubt, have the structural designer assess it. Covering the crack with an extra plate without calculation does not establish that the joint is adequate.
What should the contractor receive and what needs inspecting?
The drawing should show the joint location, timber sizes, steel parts and full fastener layout. Specify corrosion protection for the service environment as well. A dry interior and an open-sided shelter expose steel to different moisture conditions. Galvanised finishes are not all suitable for the same exposure.
Inspect the work against the drawing before the frame is covered. Keep photos and product markings, and obtain confirmation of equivalence before substituting materials. The joint needs enough steel and fasteners, correctly arranged, to carry the forces at its particular location.

Free quote
What to include in your enquiry
Tell us how you plan to use the material, the dimensions and the quantity you need. Include the thickness, grade or variant name, along with the delivery town or your preferred collection branch. For a specific product, add its name or a link to the product page. We will reply to the email address you provide to discuss availability and the terms of your order.

Read next

A business frontage should make it clear where visitors can enter on foot, where vehicles turn in and which areas are open…

Start by marking the gate, driveway and individual fence bays on a plan. At the driveway, check the view of the street…
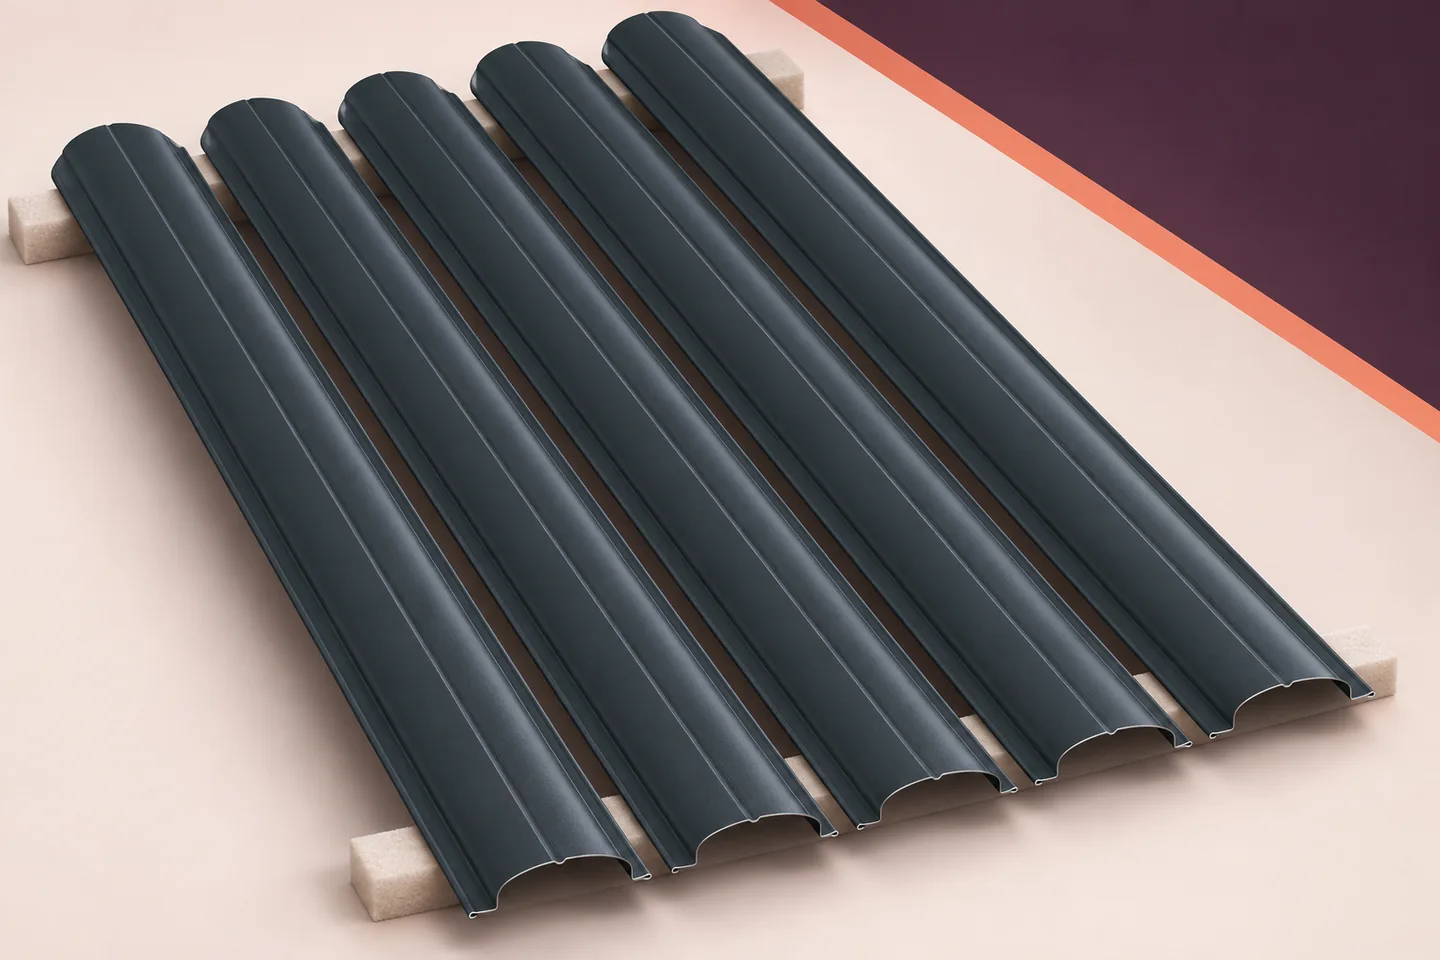
Two quotations for the same length of fencing can cover very different work. One supplier may price only the pickets, while another…

The catalogue price of a house plan covers only part of the cost of the documents you need to build. Check whether…
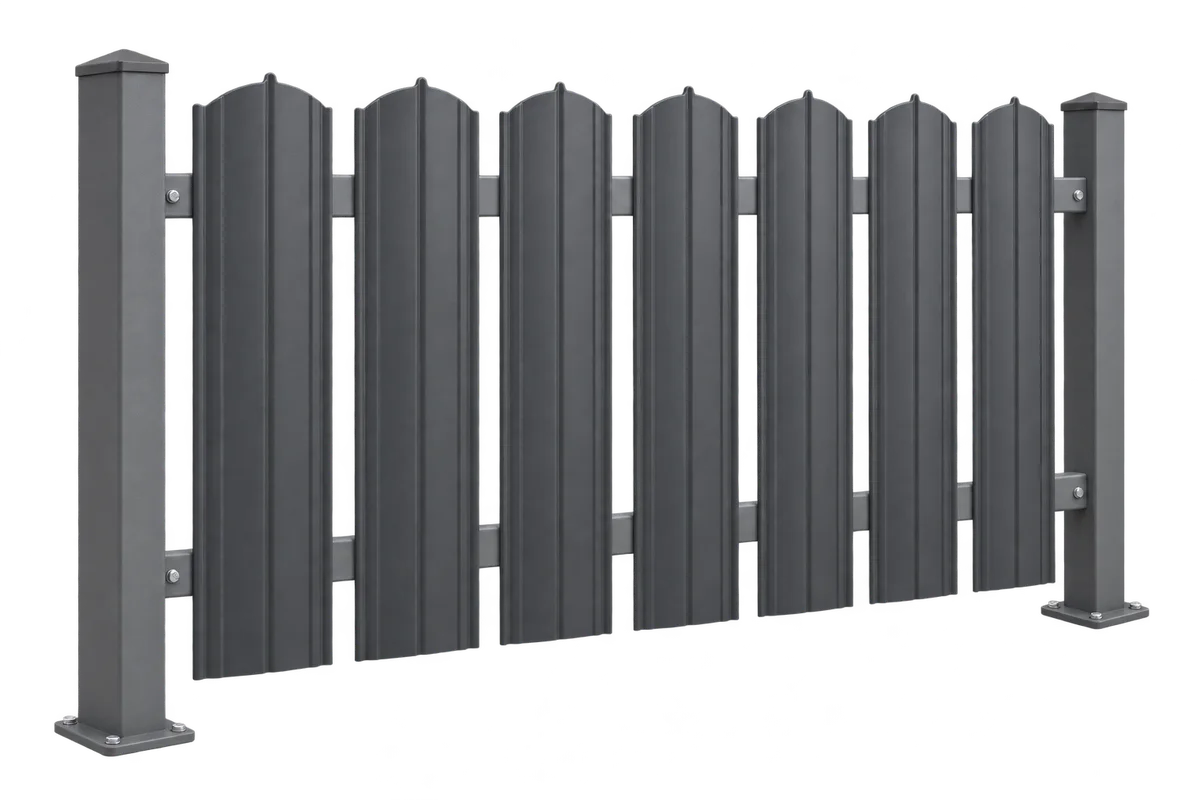
Start by measuring the clear opening between the finished posts beside the gate. Measure the width of a finished picket and draw…
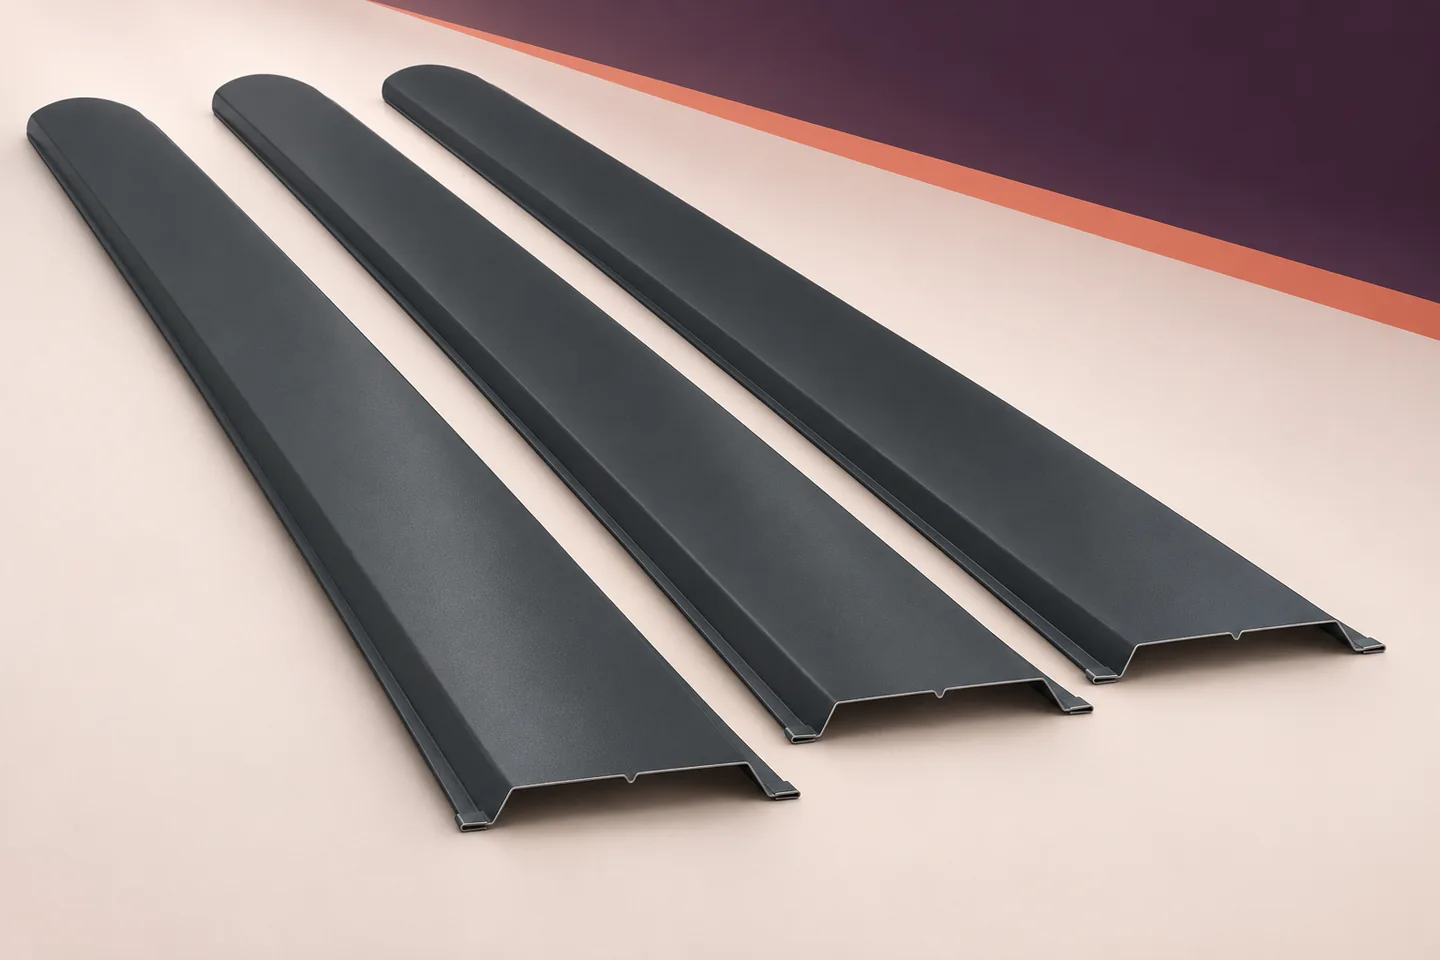
A fence and a sandwich panel façade can share a colour scheme while performing different jobs. The panels form the building envelope.…
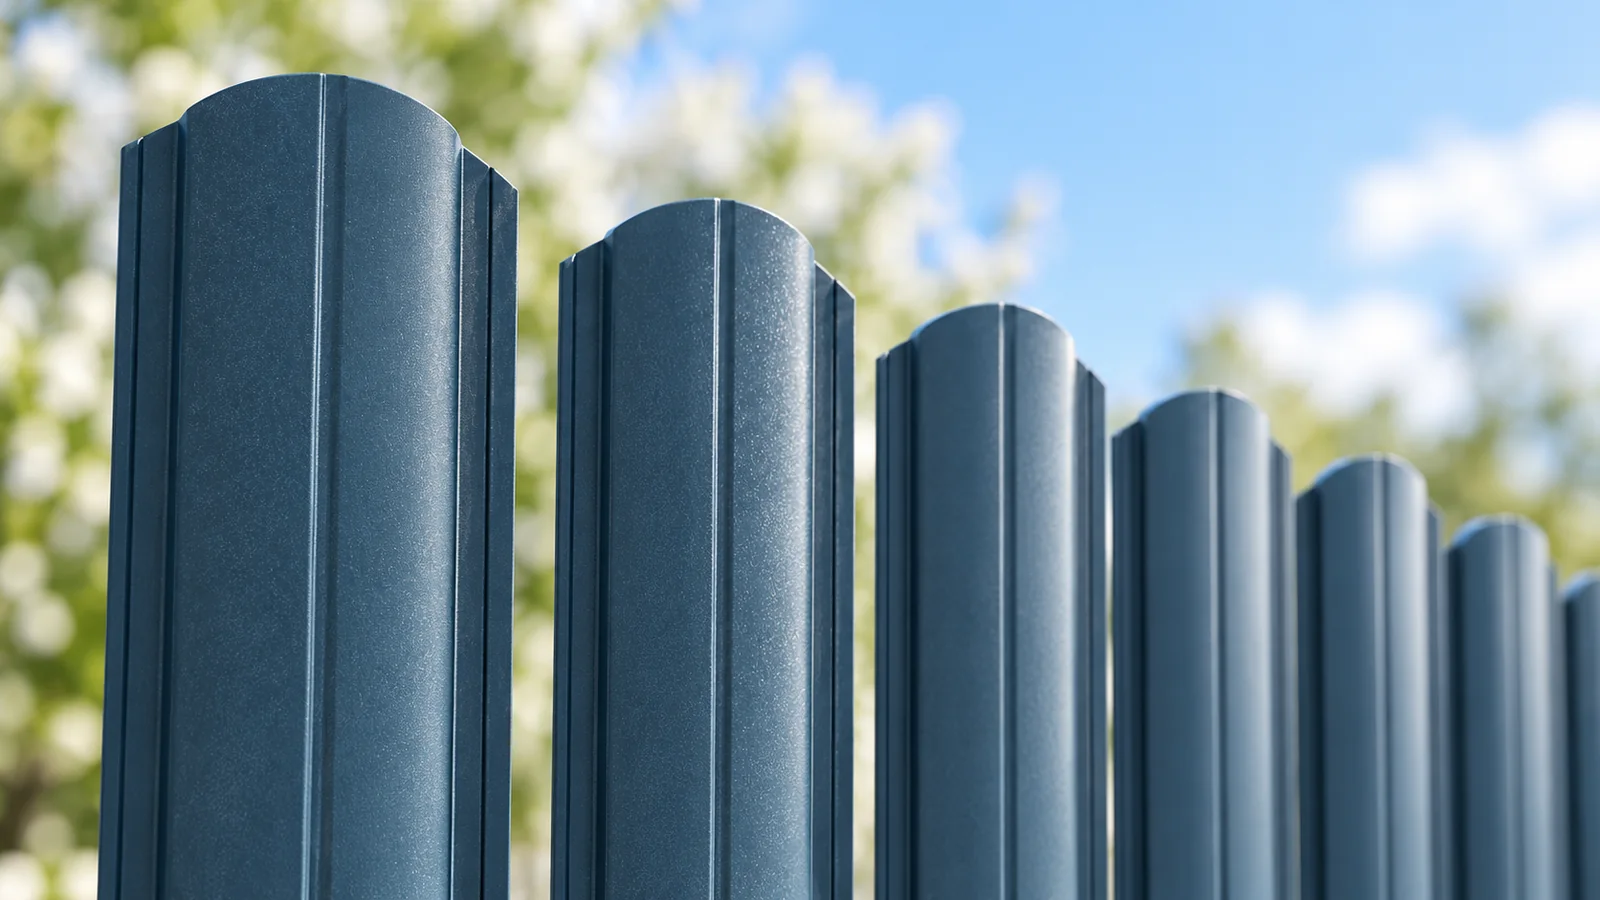
Steel pickets make it possible to vary the look and privacy of a fence without changing the height of every panel. The…
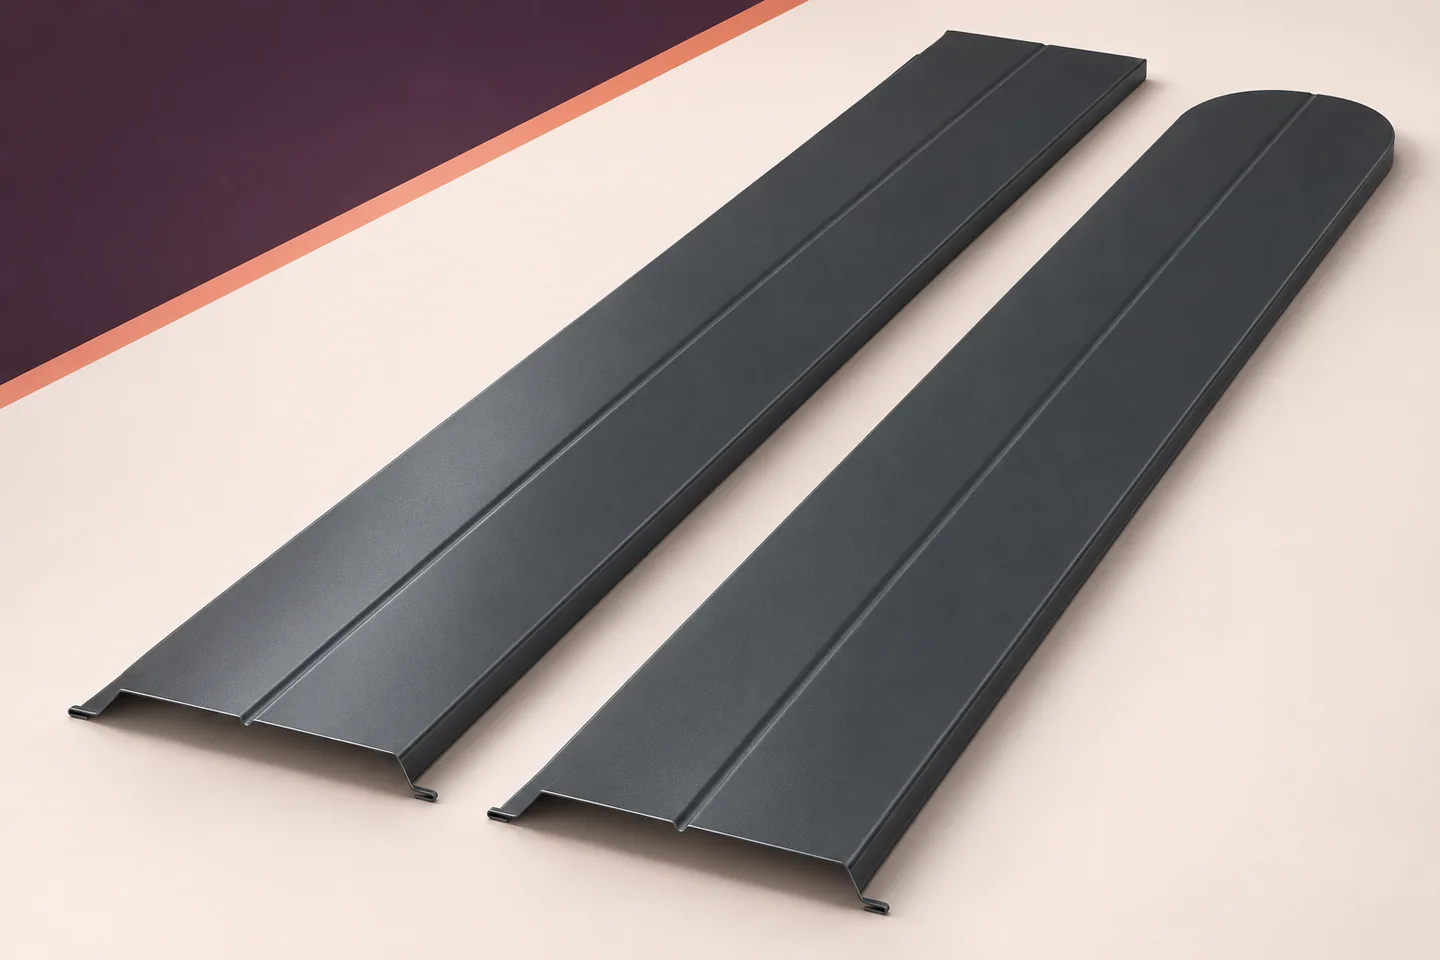
Horizontal fence slats can give the area around a warehouse, workshop or farm building a consistent appearance. Before choosing a profile, check…
