Which timber connectors suit each part of a frame?
Roof coverings
Choose a timber connector by following the load from one member to the next. A joist hanger supports a beam end, an angle bracket connects faces at an angle, and an anchor takes force into the supporting material. For each position, read the capacity table for the intended load direction, timber section and fixing pattern. The product reference alone is only part of the order: list the specified nails, screws or anchors as well. Check their corrosion protection for the exposure and keep the fixings labelled by location so the assembly on site matches the drawing.
How do the main connector types differ?
Start by identifying the two parts to be joined. A joist hanger provides a seat for the end of a timber member. An angle bracket connects faces meeting at an angle and takes loads in the directions given in its documentation. Straps and flat connectors work in different configurations. An anchor transfers load to a substrate such as concrete.
Products in the same family are not necessarily interchangeable. Hangers vary in seat design, fastening pattern and permissible beam sizes. A light assembly bracket may be unsuitable for a structural joint. Check the data sheet for the exact model before ordering.
What should you look for in a capacity table?
Use the table for the substrate and installation method shown in the design. Check timber grade, member thickness and load direction. A capacity listed for one direction is not a general lifting capacity and cannot simply be used for loading in another direction.
Distinguish characteristic resistance from design resistance. Their use depends on the design rules and service conditions. Dividing the weight of the roof by the number of brackets is not a valid way to size each connector. Loads can be uneven, and wind can change the direction of loading.
How are the nails and screws selected?
The connector and its fasteners work together. Diameter, length and head shape all affect performance. Use the fasteners identified in the documentation. Where it permits two fastening methods, each may come with its own capacity. Replacing nails with screws does not automatically increase it.
Lining or finishing screws may fit a bracket hole yet have unsuitable strength or head geometry. Choosing bolts solely by length has a similar drawback. Order the connector and its required fasteners together to make substitutions on site less likely.
Must every hole take a fastener?
Read the fixing diagram for the product. Some connectors allow more than one pattern. An approved partial nailing pattern may have a lower capacity or suit a different load case. Follow both the number and positions of the nails; the choice of empty holes is part of the design.
Avoid drilling extra holes, trimming a connector or bending it forcibly to fit. These changes can alter its performance. If it will not fit at the support, check the selected type. A different connector or a revised design may be needed before the work can be accepted.
How do moisture and corrosion affect selection?
A dry interior, an open shelter and a humid room expose steel to different conditions. Choose the connector coating and fastener material for the actual environment, checking that the metals are compatible. A silver-coloured surface alone gives no reliable indication of protection in service.
Timber also needs protection from standing water around the joint. Where a lining will conceal an area vulnerable to leaks, consider how it can be inspected. Even a suitable protective coating cannot correct poor drainage. Keep the service conditions consistent with the design assumptions.
What belongs on the order and inspection list?
Specify the connector type, dimensions, quantity, full fastener set, substrate and required protection. For a substitute, confirm its capacity in the intended configuration. A similar-looking replacement may need a different nail count or installation procedure.
Check product markings against the order on delivery. At inspection, check that connectors bear correctly, all specified fixings are in place and the timber edges are sound. Photographs taken before concealment support later checks. Each fitting should have a defined structural purpose.
For a large delivery, sort connectors and fasteners by installation location. Screws of similar lengths are easily mixed up in a common bin. Retain the packaging and labels so the correct steel part is installed with its matching fastener set.

Free quote
What to include in your enquiry
Tell us how you plan to use the material, the dimensions and the quantity you need. Include the thickness, grade or variant name, along with the delivery town or your preferred collection branch. For a specific product, add its name or a link to the product page. We will reply to the email address you provide to discuss availability and the terms of your order.

Read next

Specify XPS separately for each part of the project. Insulation beneath a loaded slab, against a basement wall, in a cold store…
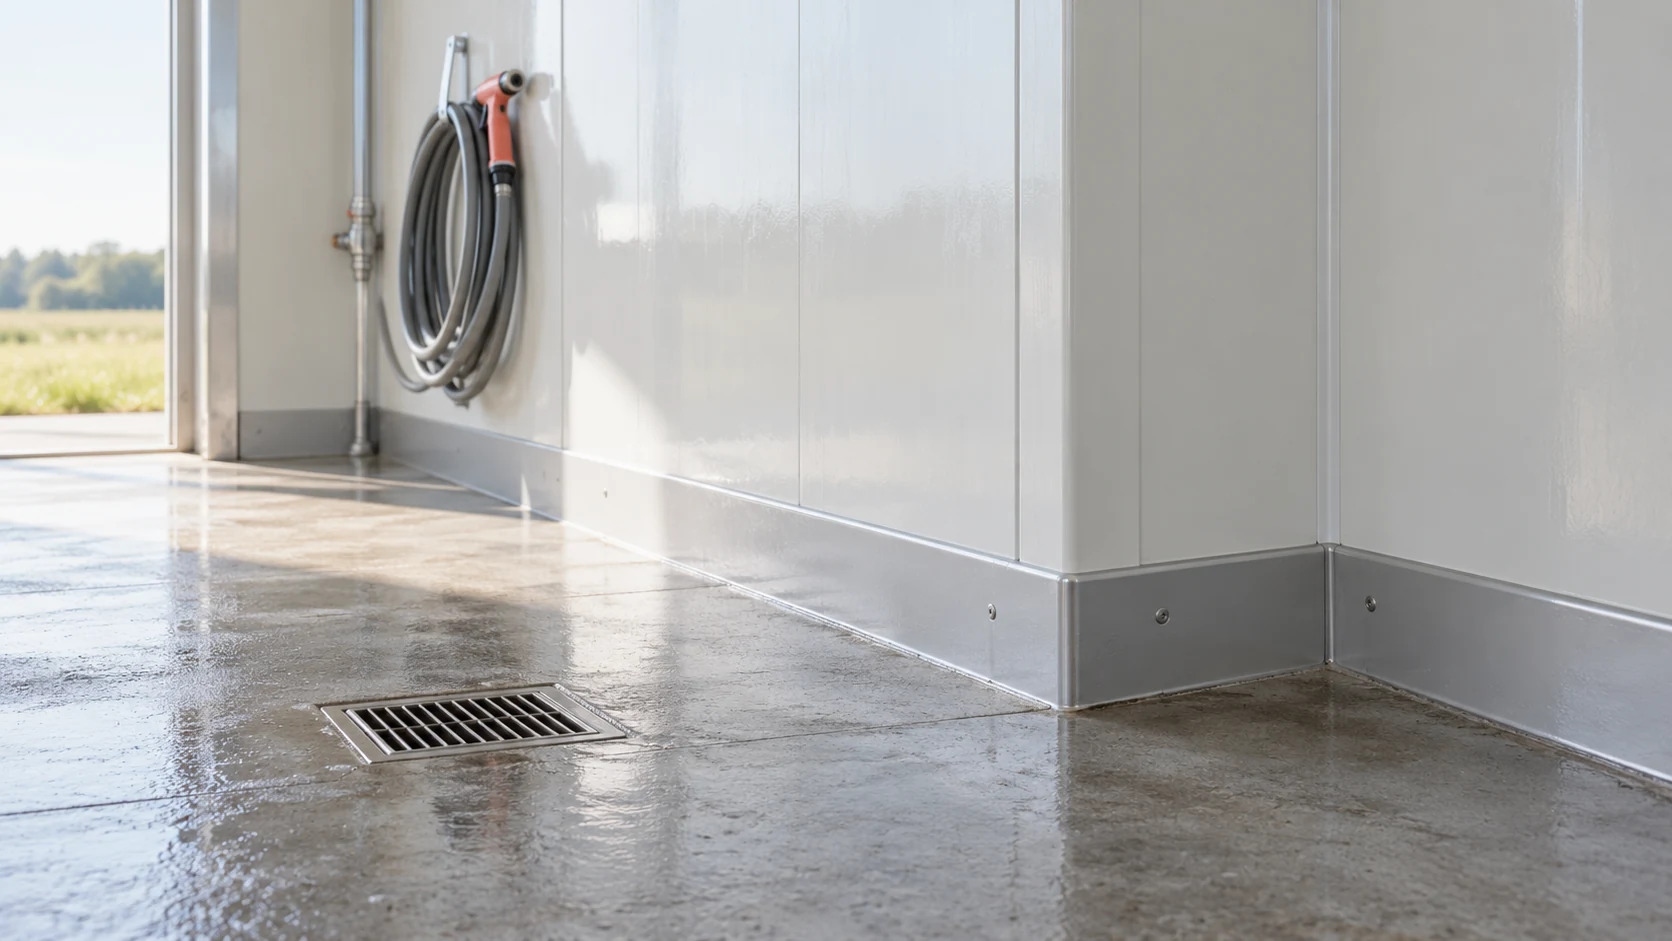
Wash water and substances present in a livestock building act on joints, fasteners and cut edges as well as on the broad…
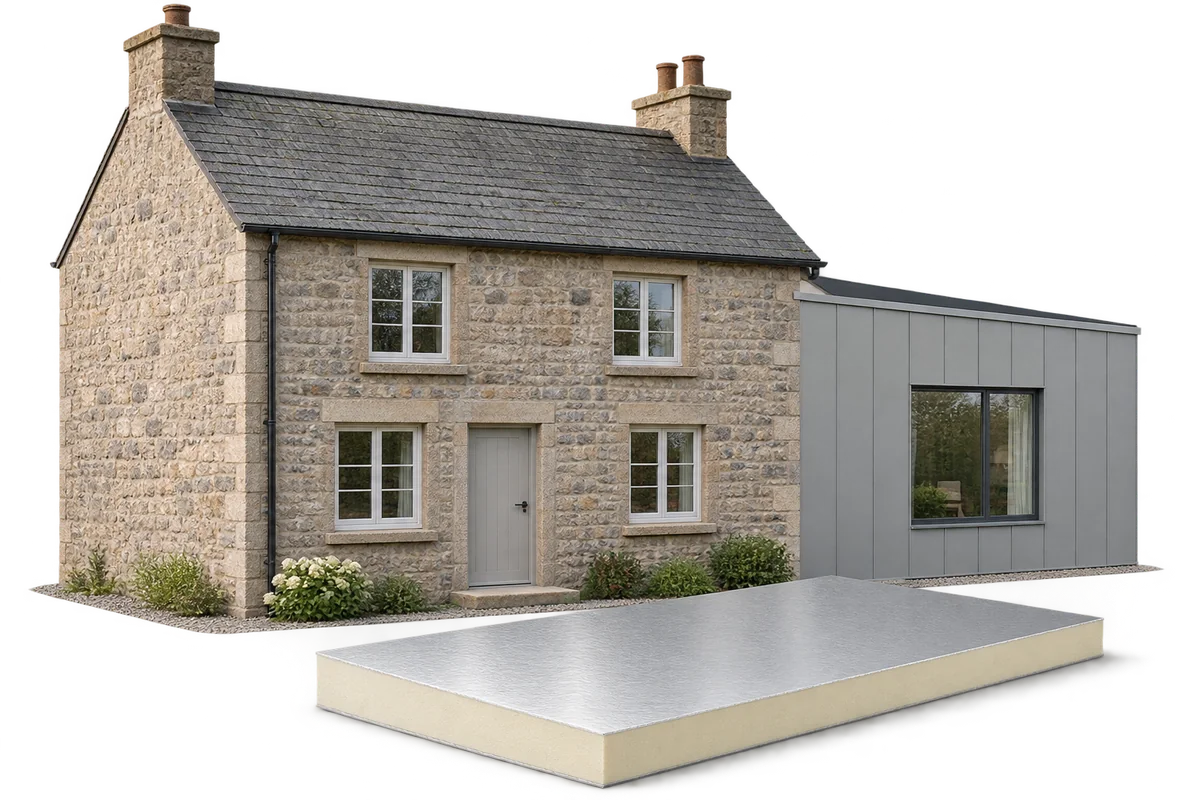
Before altering an old house, describe the proposed work and assess the building’s condition. This gives the designer a basis for deciding…
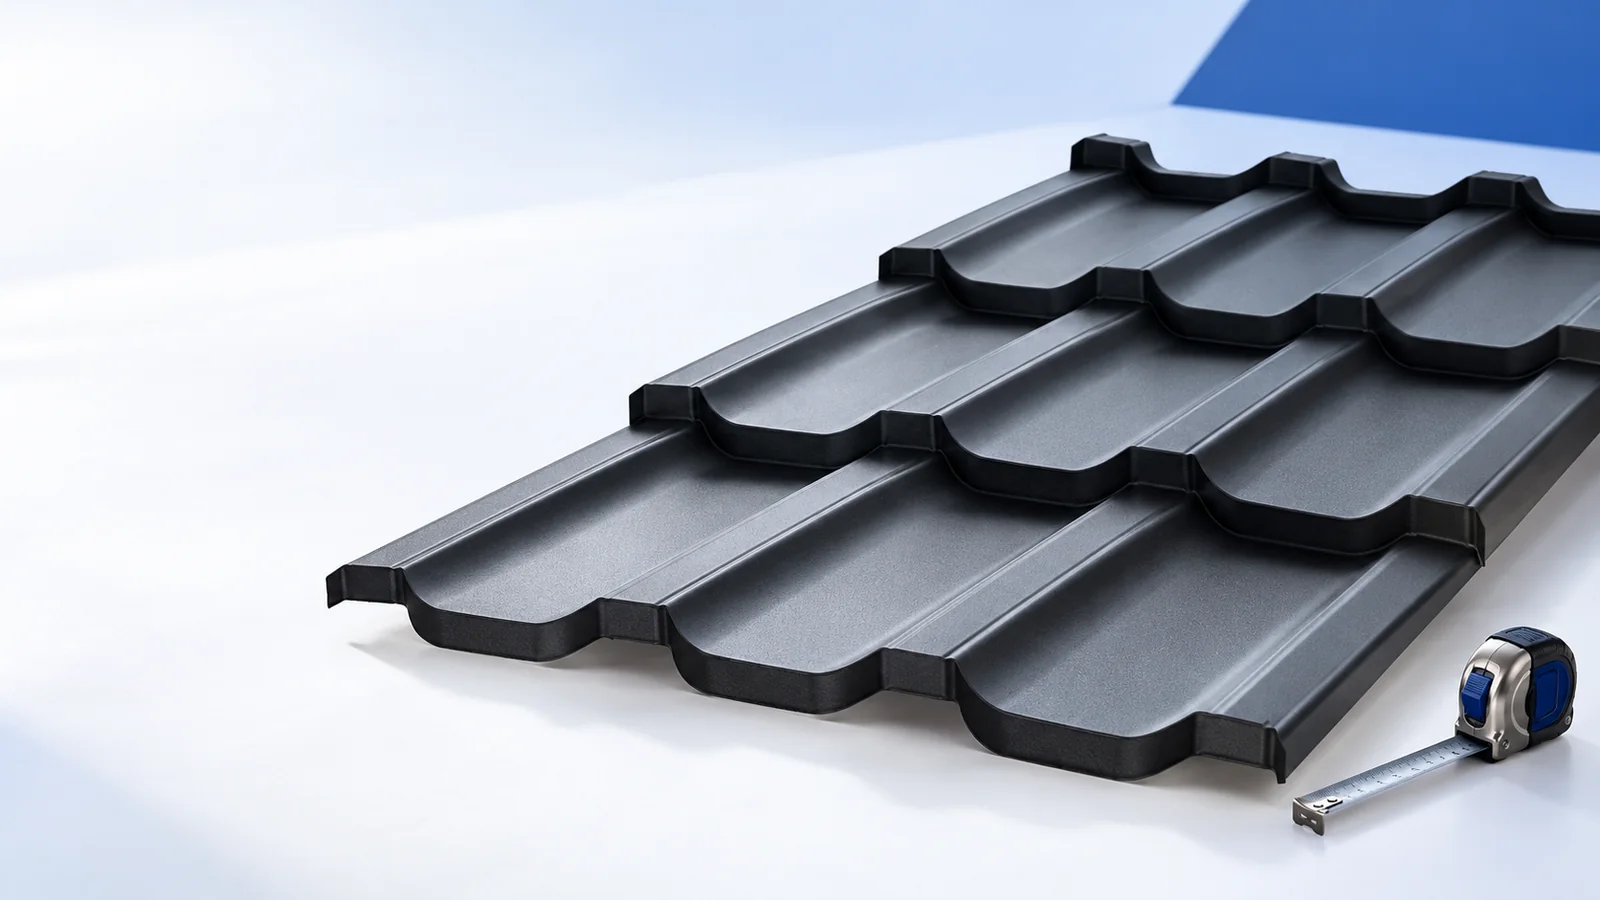
Ask the supplier for a sheet layout based on measurements of the completed roof frame. It should identify the profile, coating and…
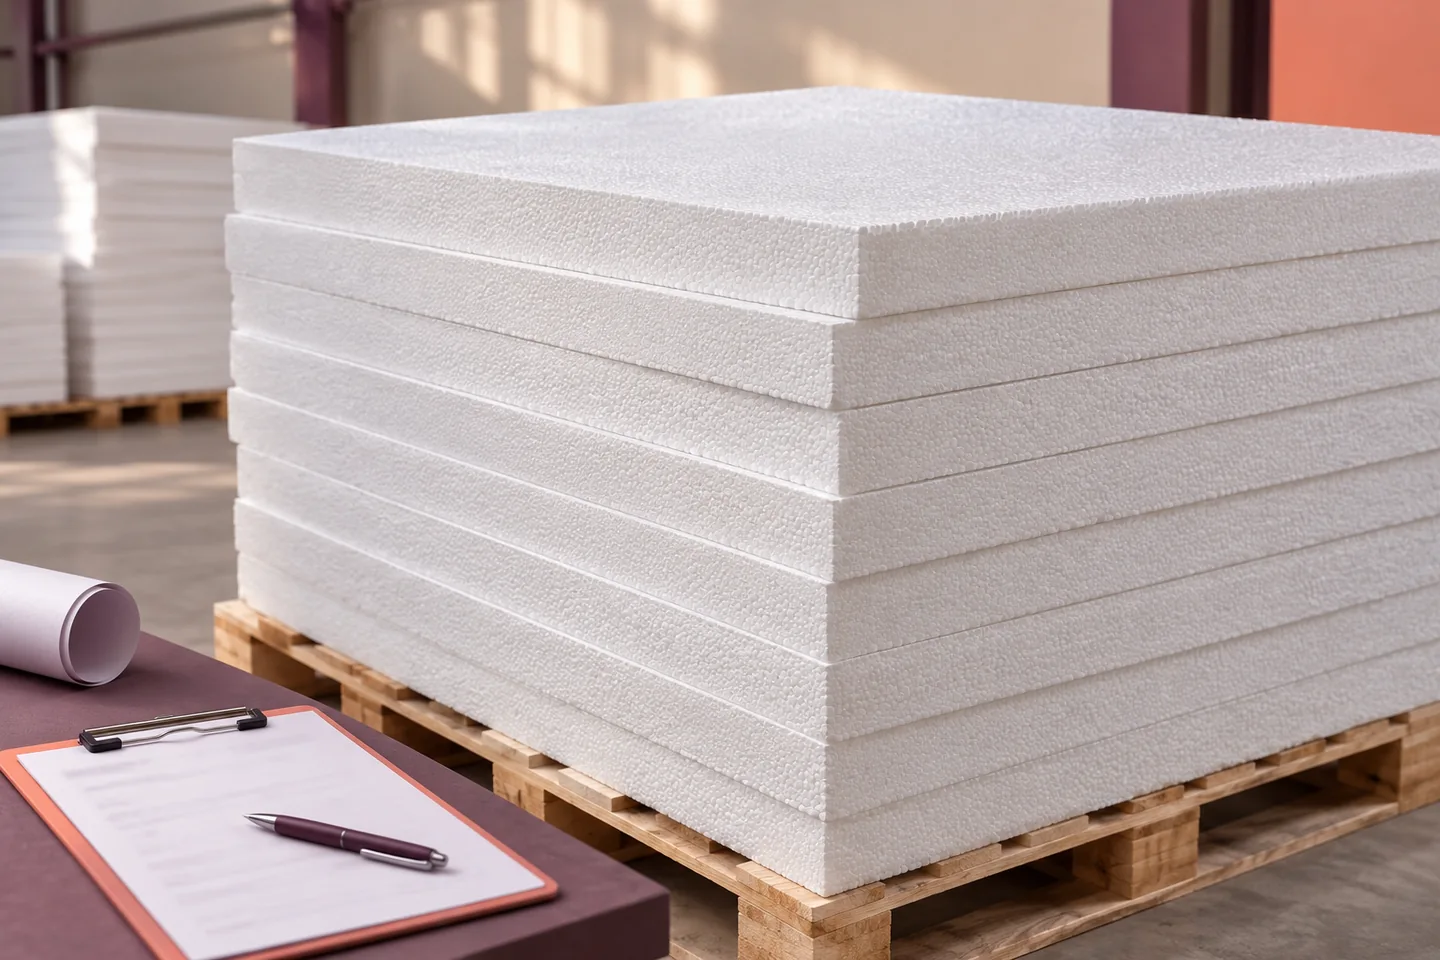
Give each use of expanded polystyrene its own order line, identified by the zone or grid reference on the drawings. Two boards…

Start with the conditions on either side of the wall. Will the building store dry goods, house a workshop or contain a…

Compare XPS offers by the cost per square metre of the finished insulation layer in each part of the building. Check the…
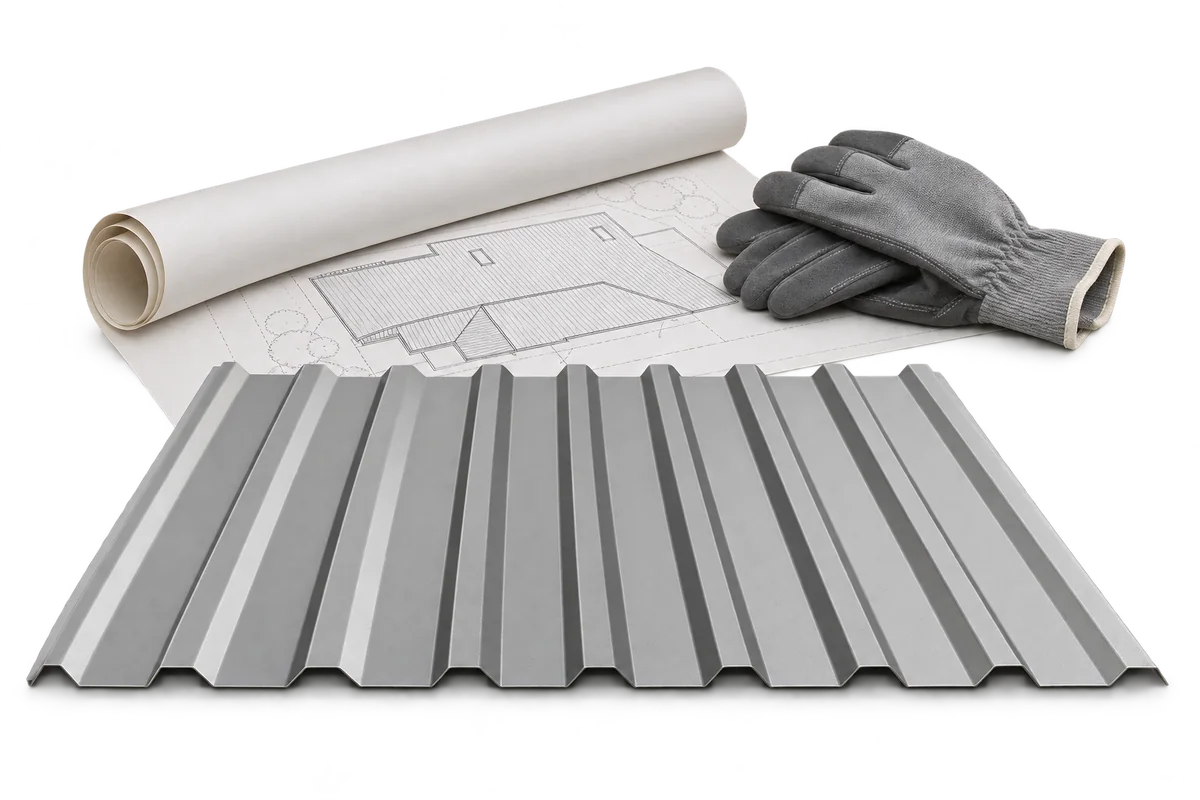
Removing an old asbestos roof and buying its replacement are separate expenses. A grant may cover only one of them. Before ordering…