How to install gutters that carry roof runoff away from the building
Roof coverings
Lay out the drainage starting at the downpipes. For each outlet, mark the area draining to it, the intended fall of the gutter and the route to the discharge point. Check the system’s capacity before setting the brackets. At the eaves the roof edge and flashing must direct water into the gutter, while its position should take sliding snow into account. Use compatible connectors and allow the lengths to move as temperatures change. At handover, follow the path all the way to the receiving drain, tank or infiltration system; a watertight gutter joint proves only one part of that route.
Where should you start when sizing the system?
Record the roof dimensions, slope geometry and outlet positions. A long gutter serving a large roof collects a different flow from a short gutter on a small extension. The number of downpipes matters too. Use the system data and drainage design rather than selecting a gutter to fit the fascia width alone.
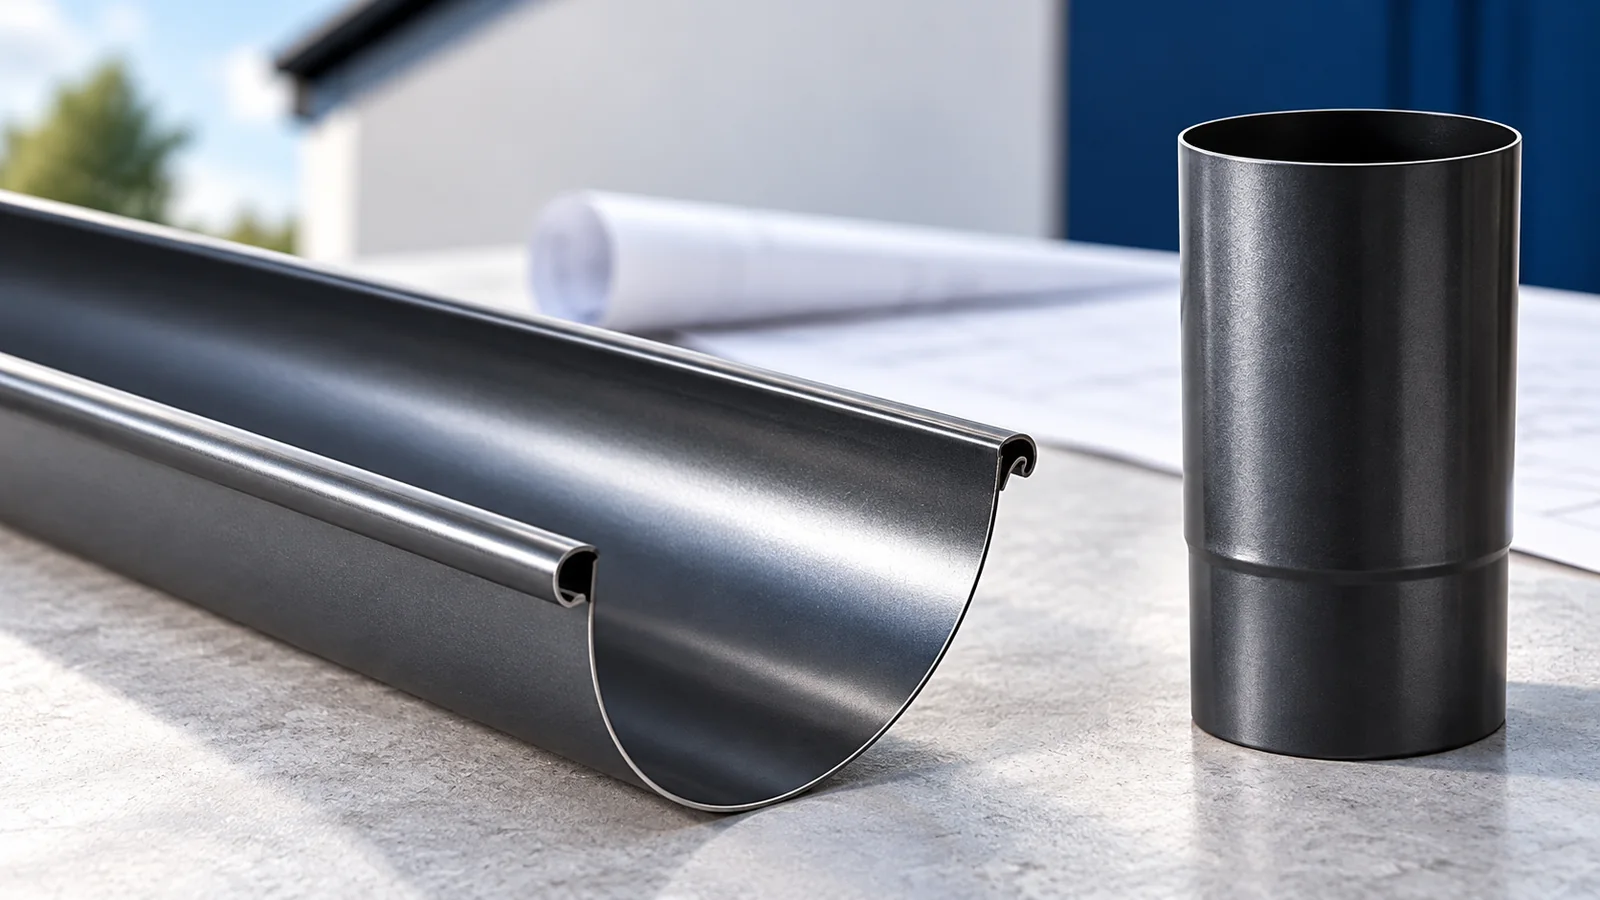
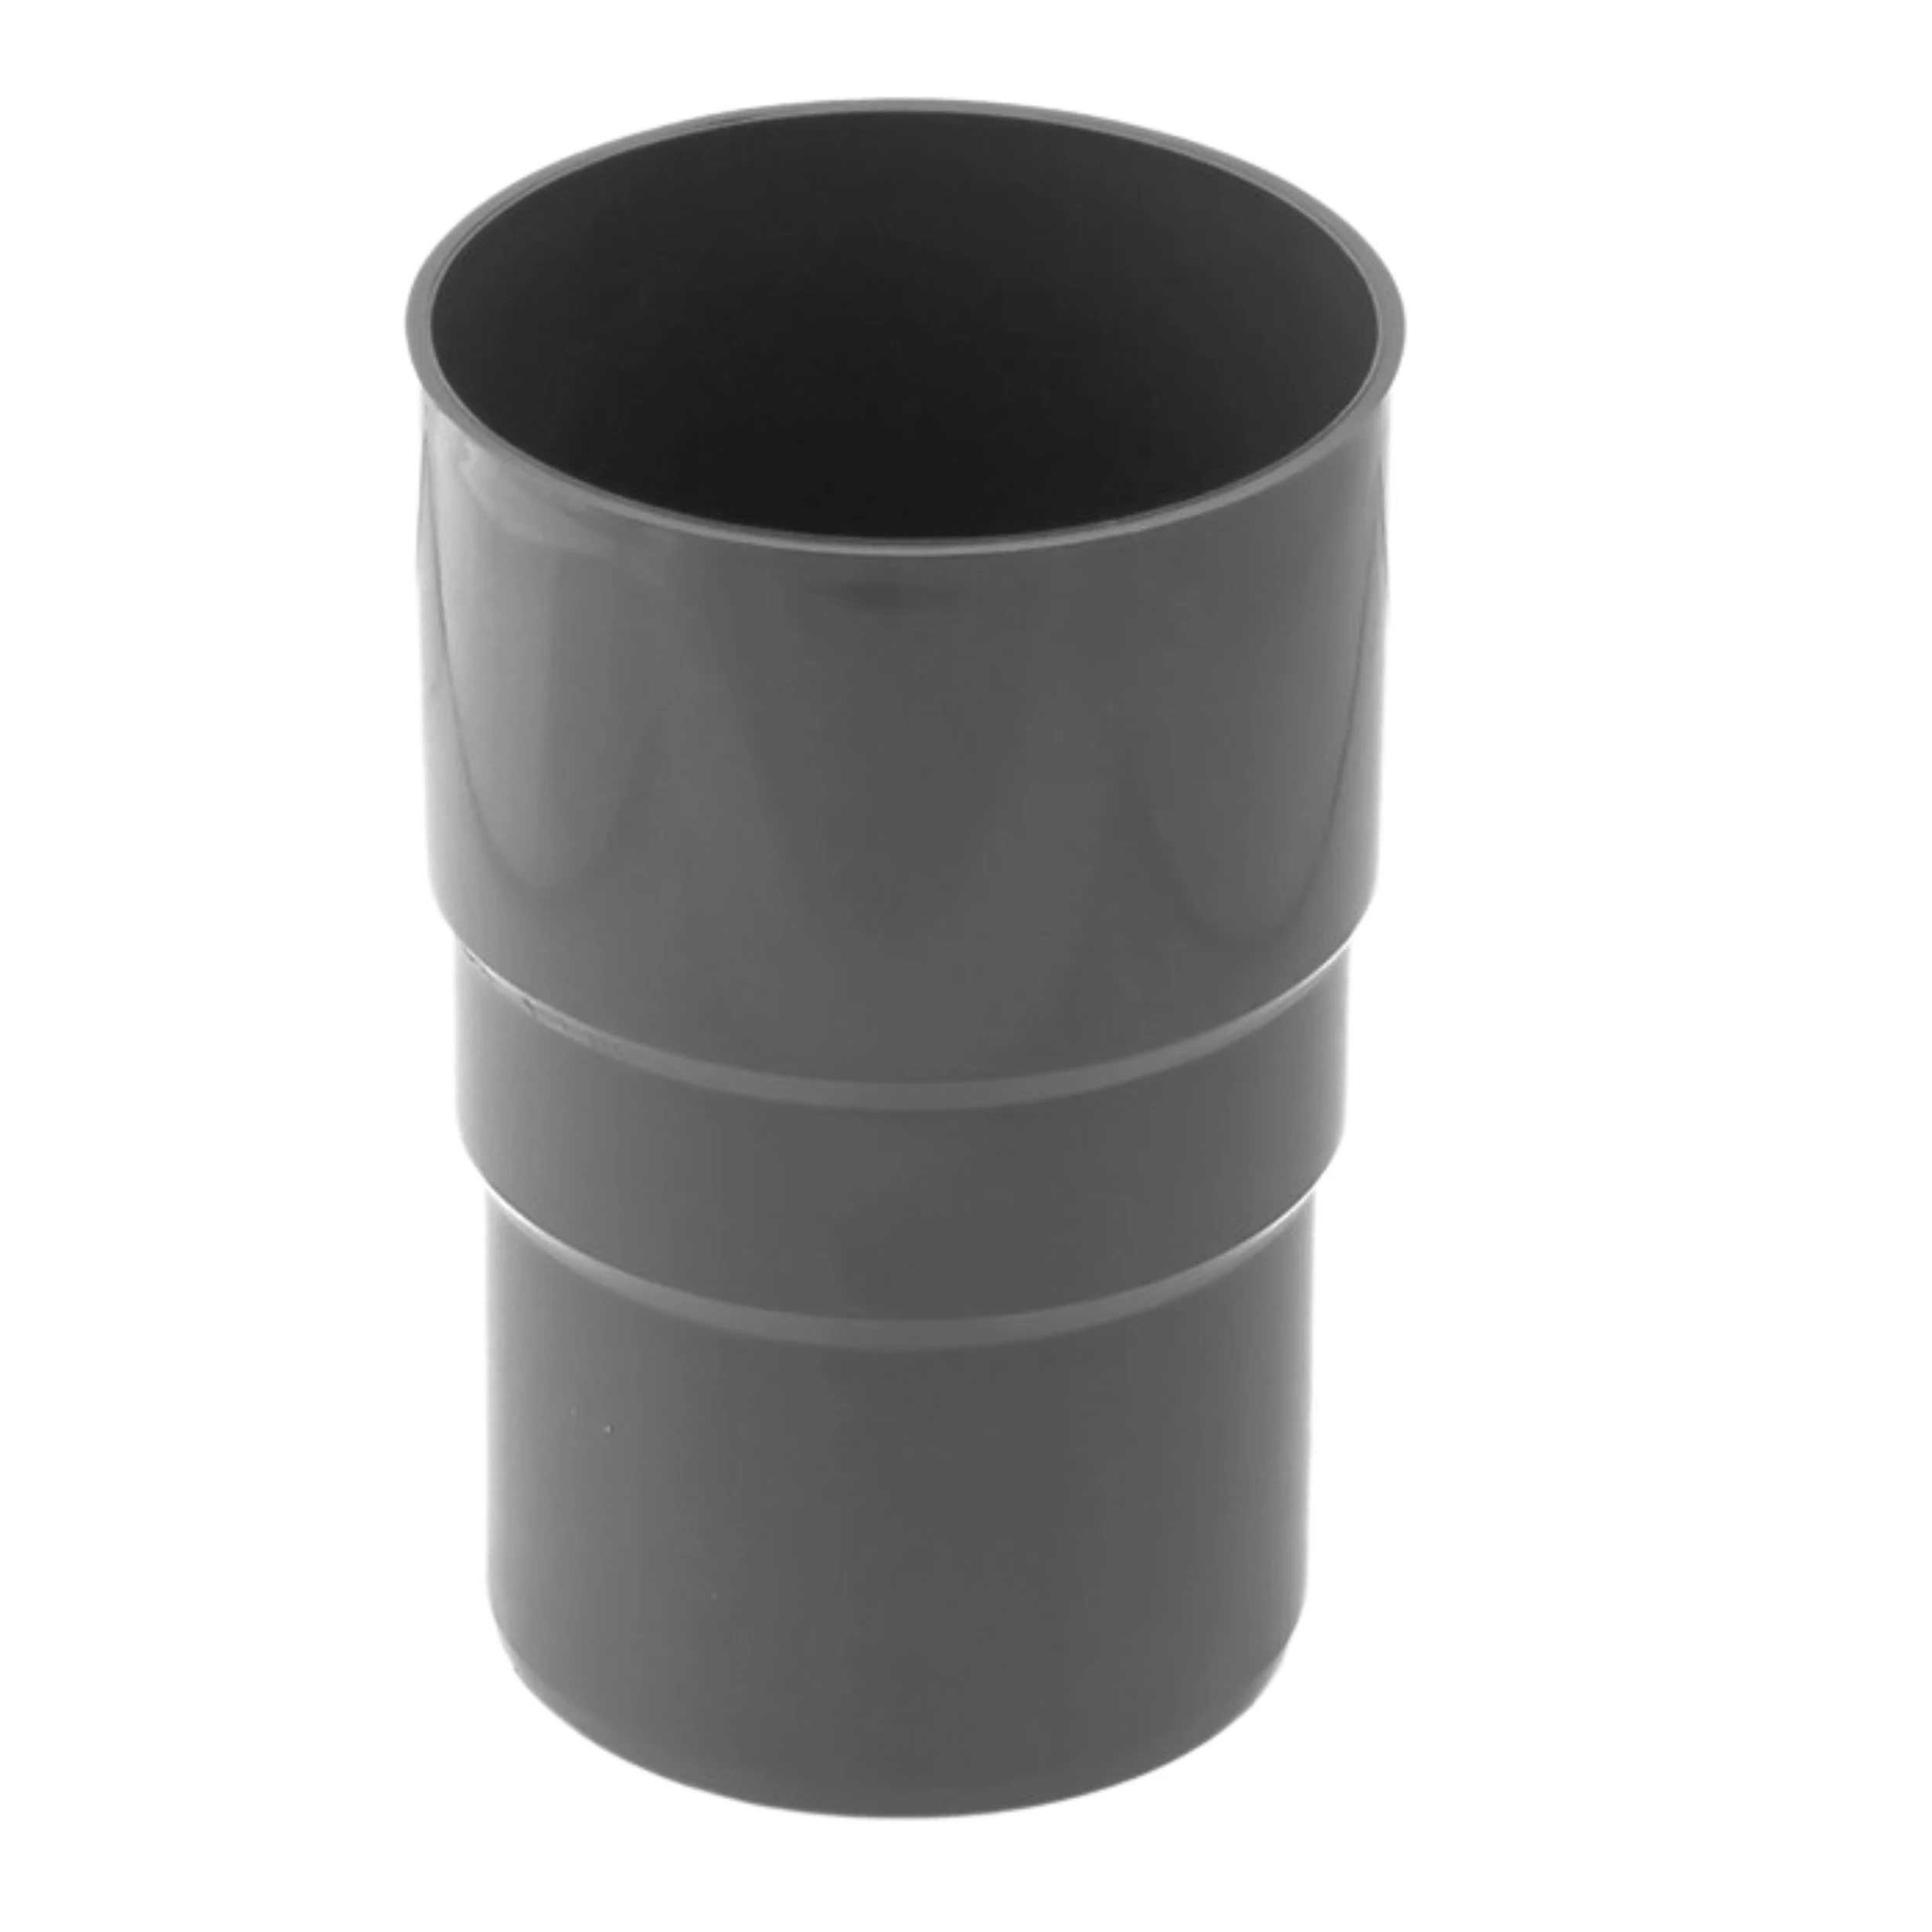
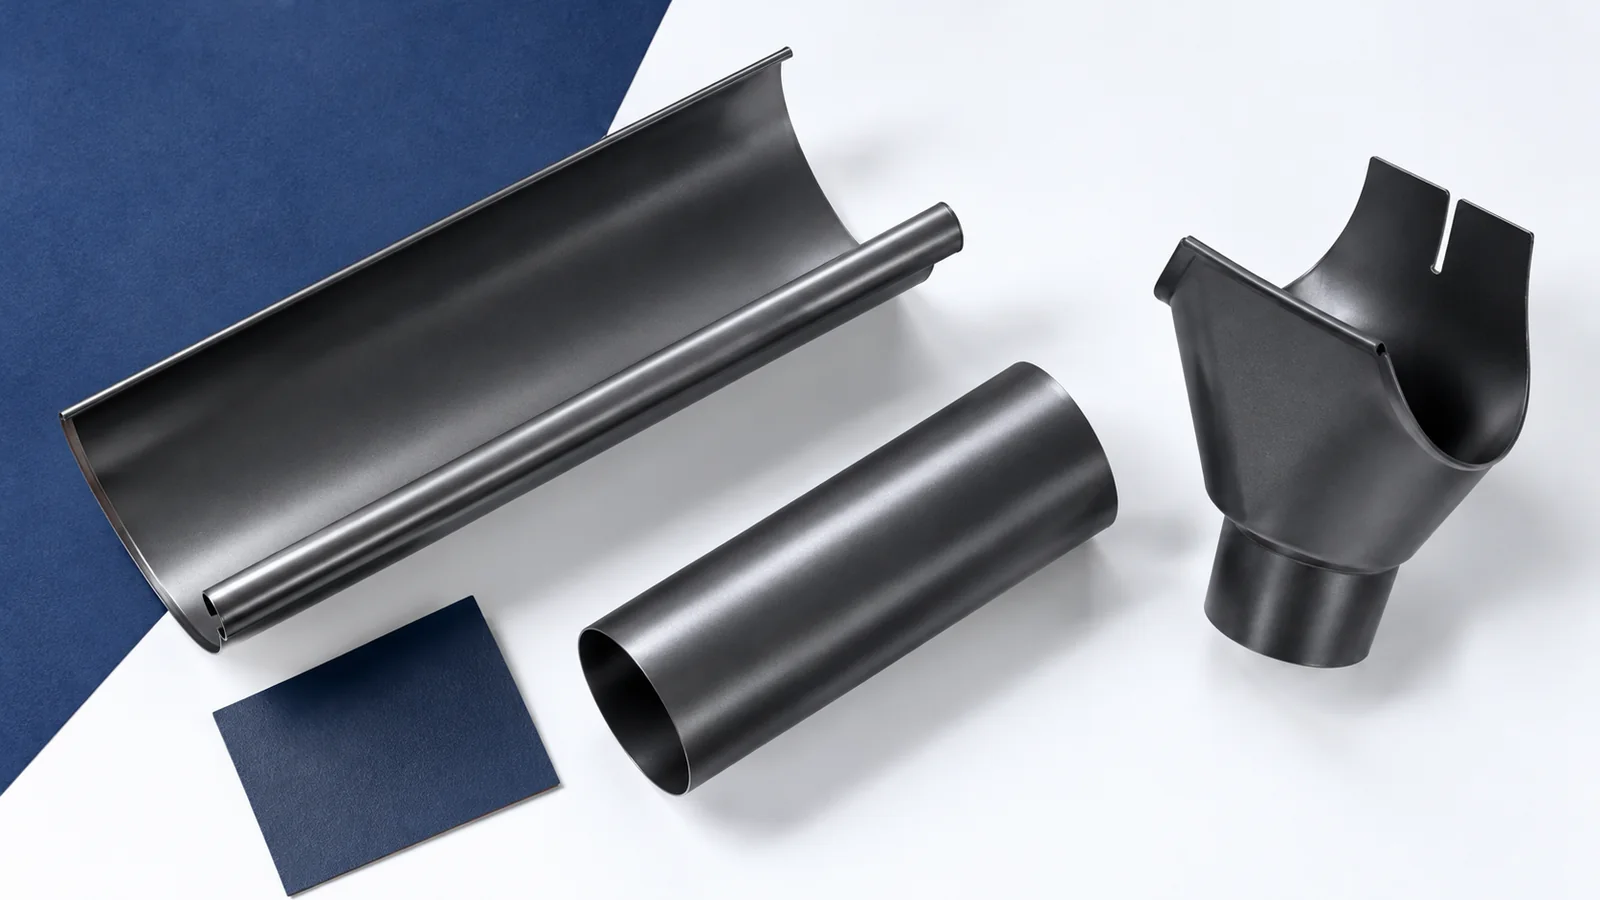
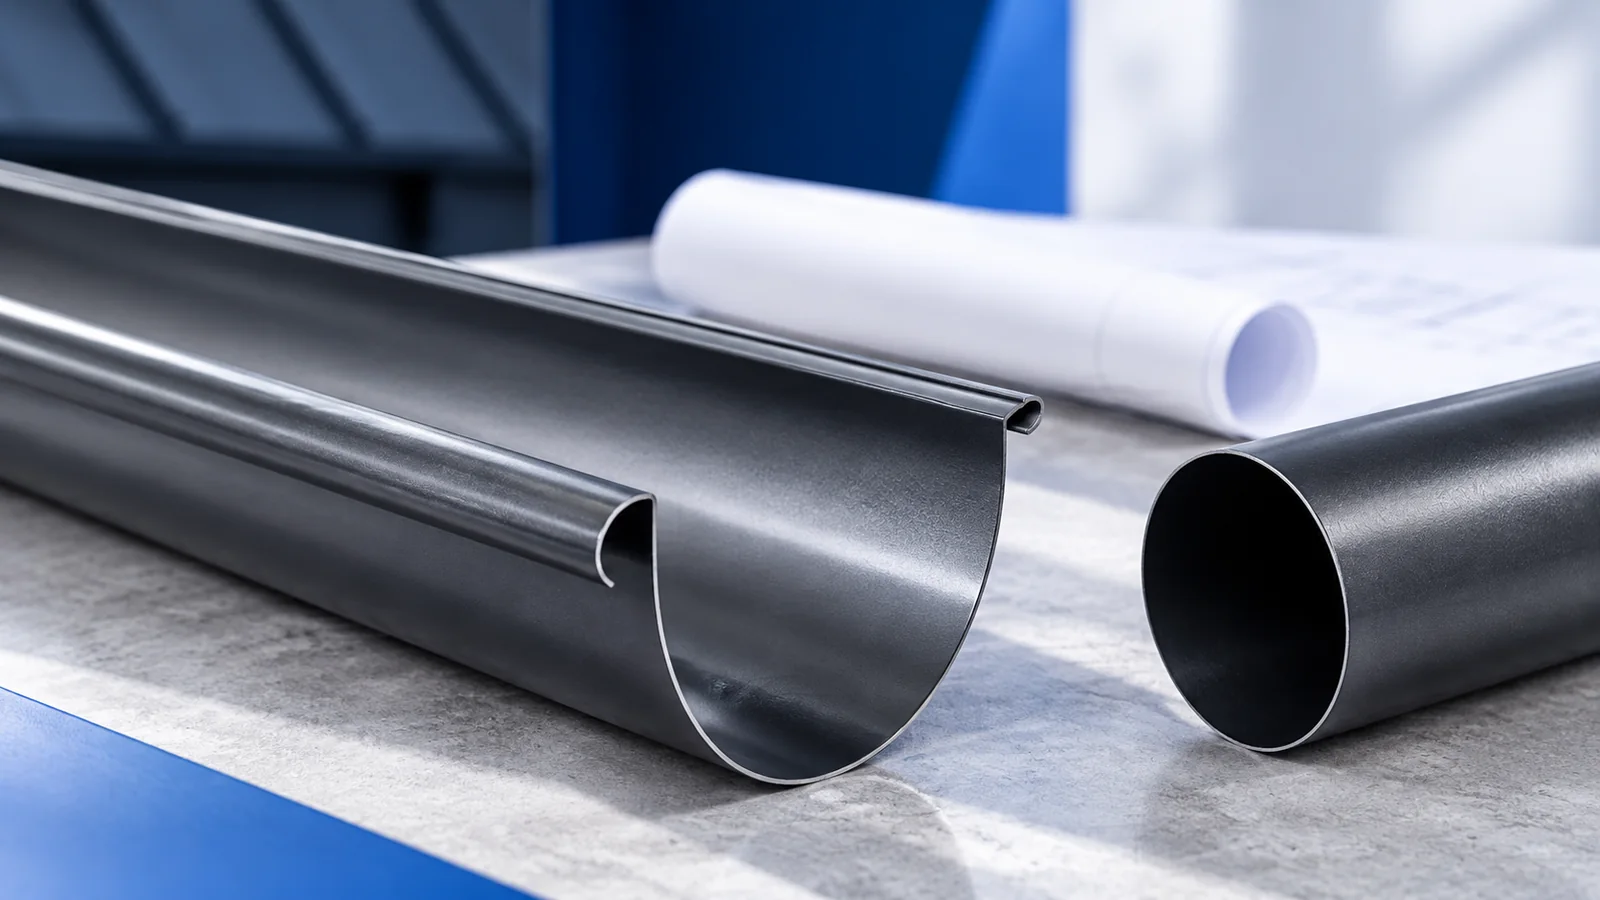
Choose the material and shape of all components. Similar diameters do not make connectors from different systems interchangeable. Steel and plastic gutters can require different assembly methods. Order compatible brackets, corners, outlets and stop ends so that both sealing and thermal movement work as designed.
Where should the gutter sit relative to the roof?
Runoff should enter the gutter rather than overshooting it or passing behind it. Set the position in relation to the roof overhang and eaves flashing. Allow for sliding snow: a gutter set too high may be more exposed to damage. Follow the roof geometry and the system detail.
Set the fall towards each outlet to suit the specified system; there is no one value for every gutter. A long run can drain in more than one direction. Mark the outlet positions first and set the bracket line afterwards to achieve the intended levels.
How should brackets and downpipes be fixed?
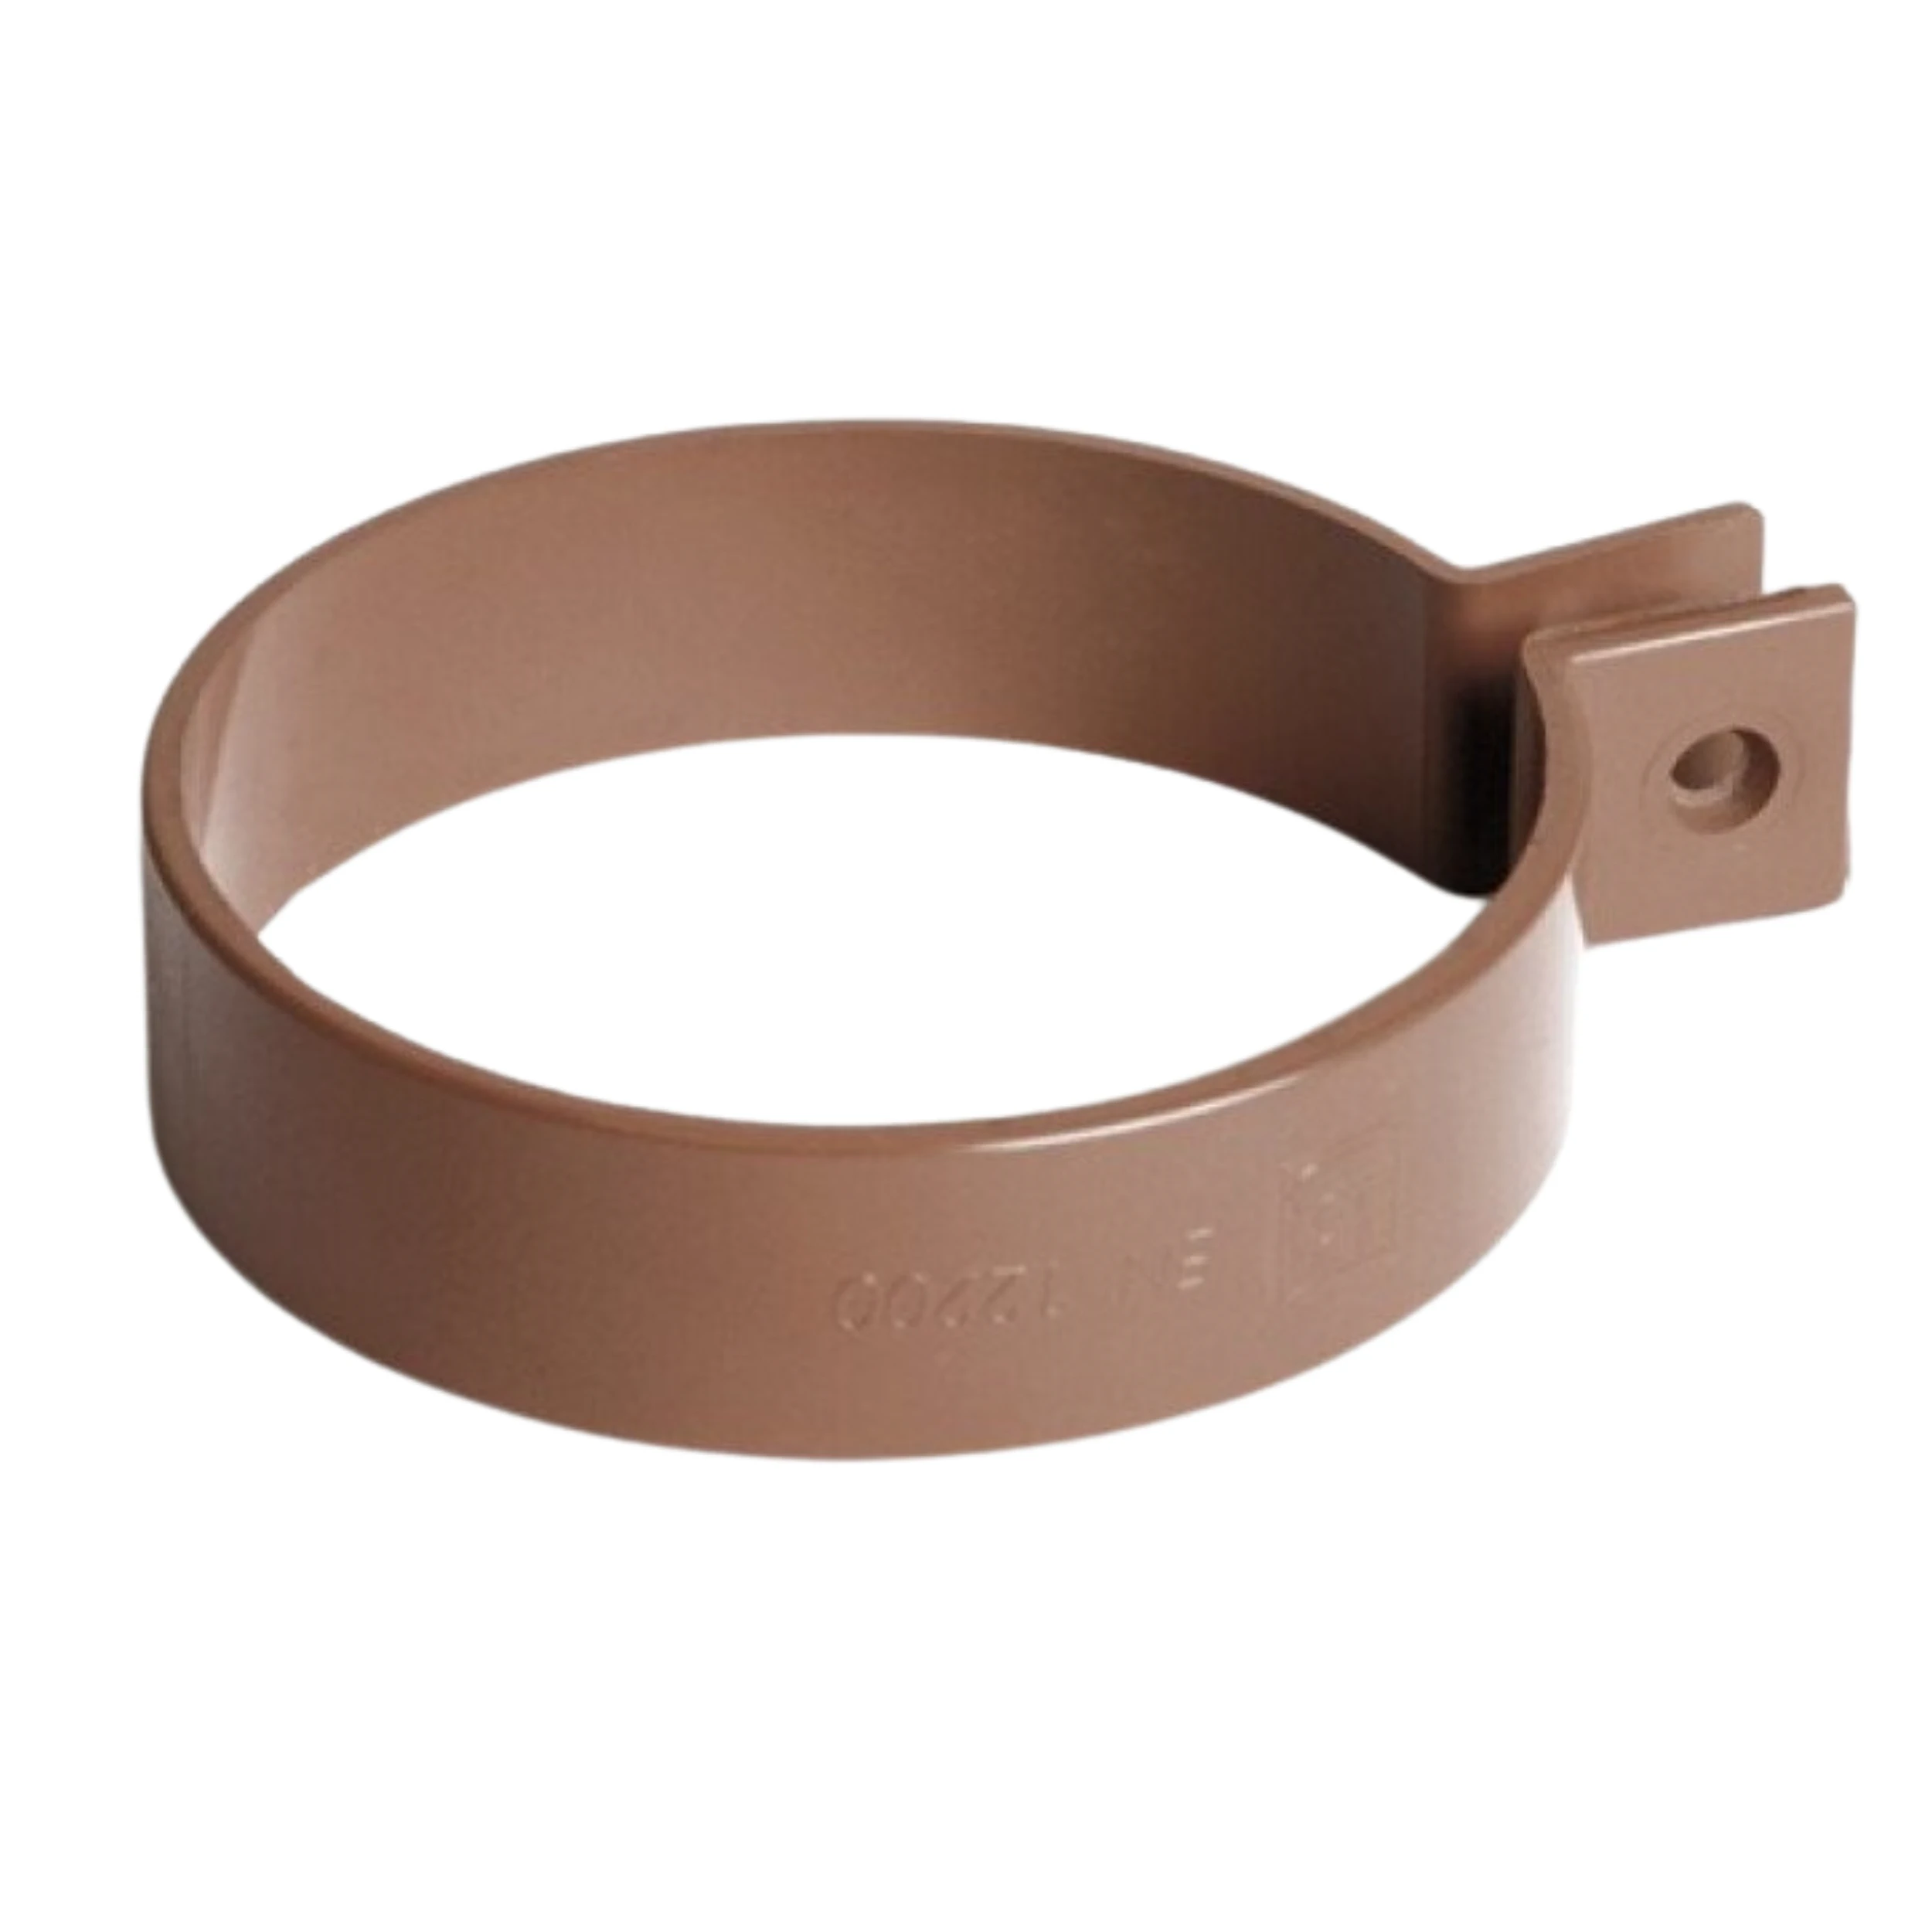
Use brackets made for the intended fixing point. The supporting member must carry the loads; a decorative cover or thin cladding alone may not provide sufficient anchorage. Follow the specified bracket spacing and provide any extra supports required at joints.
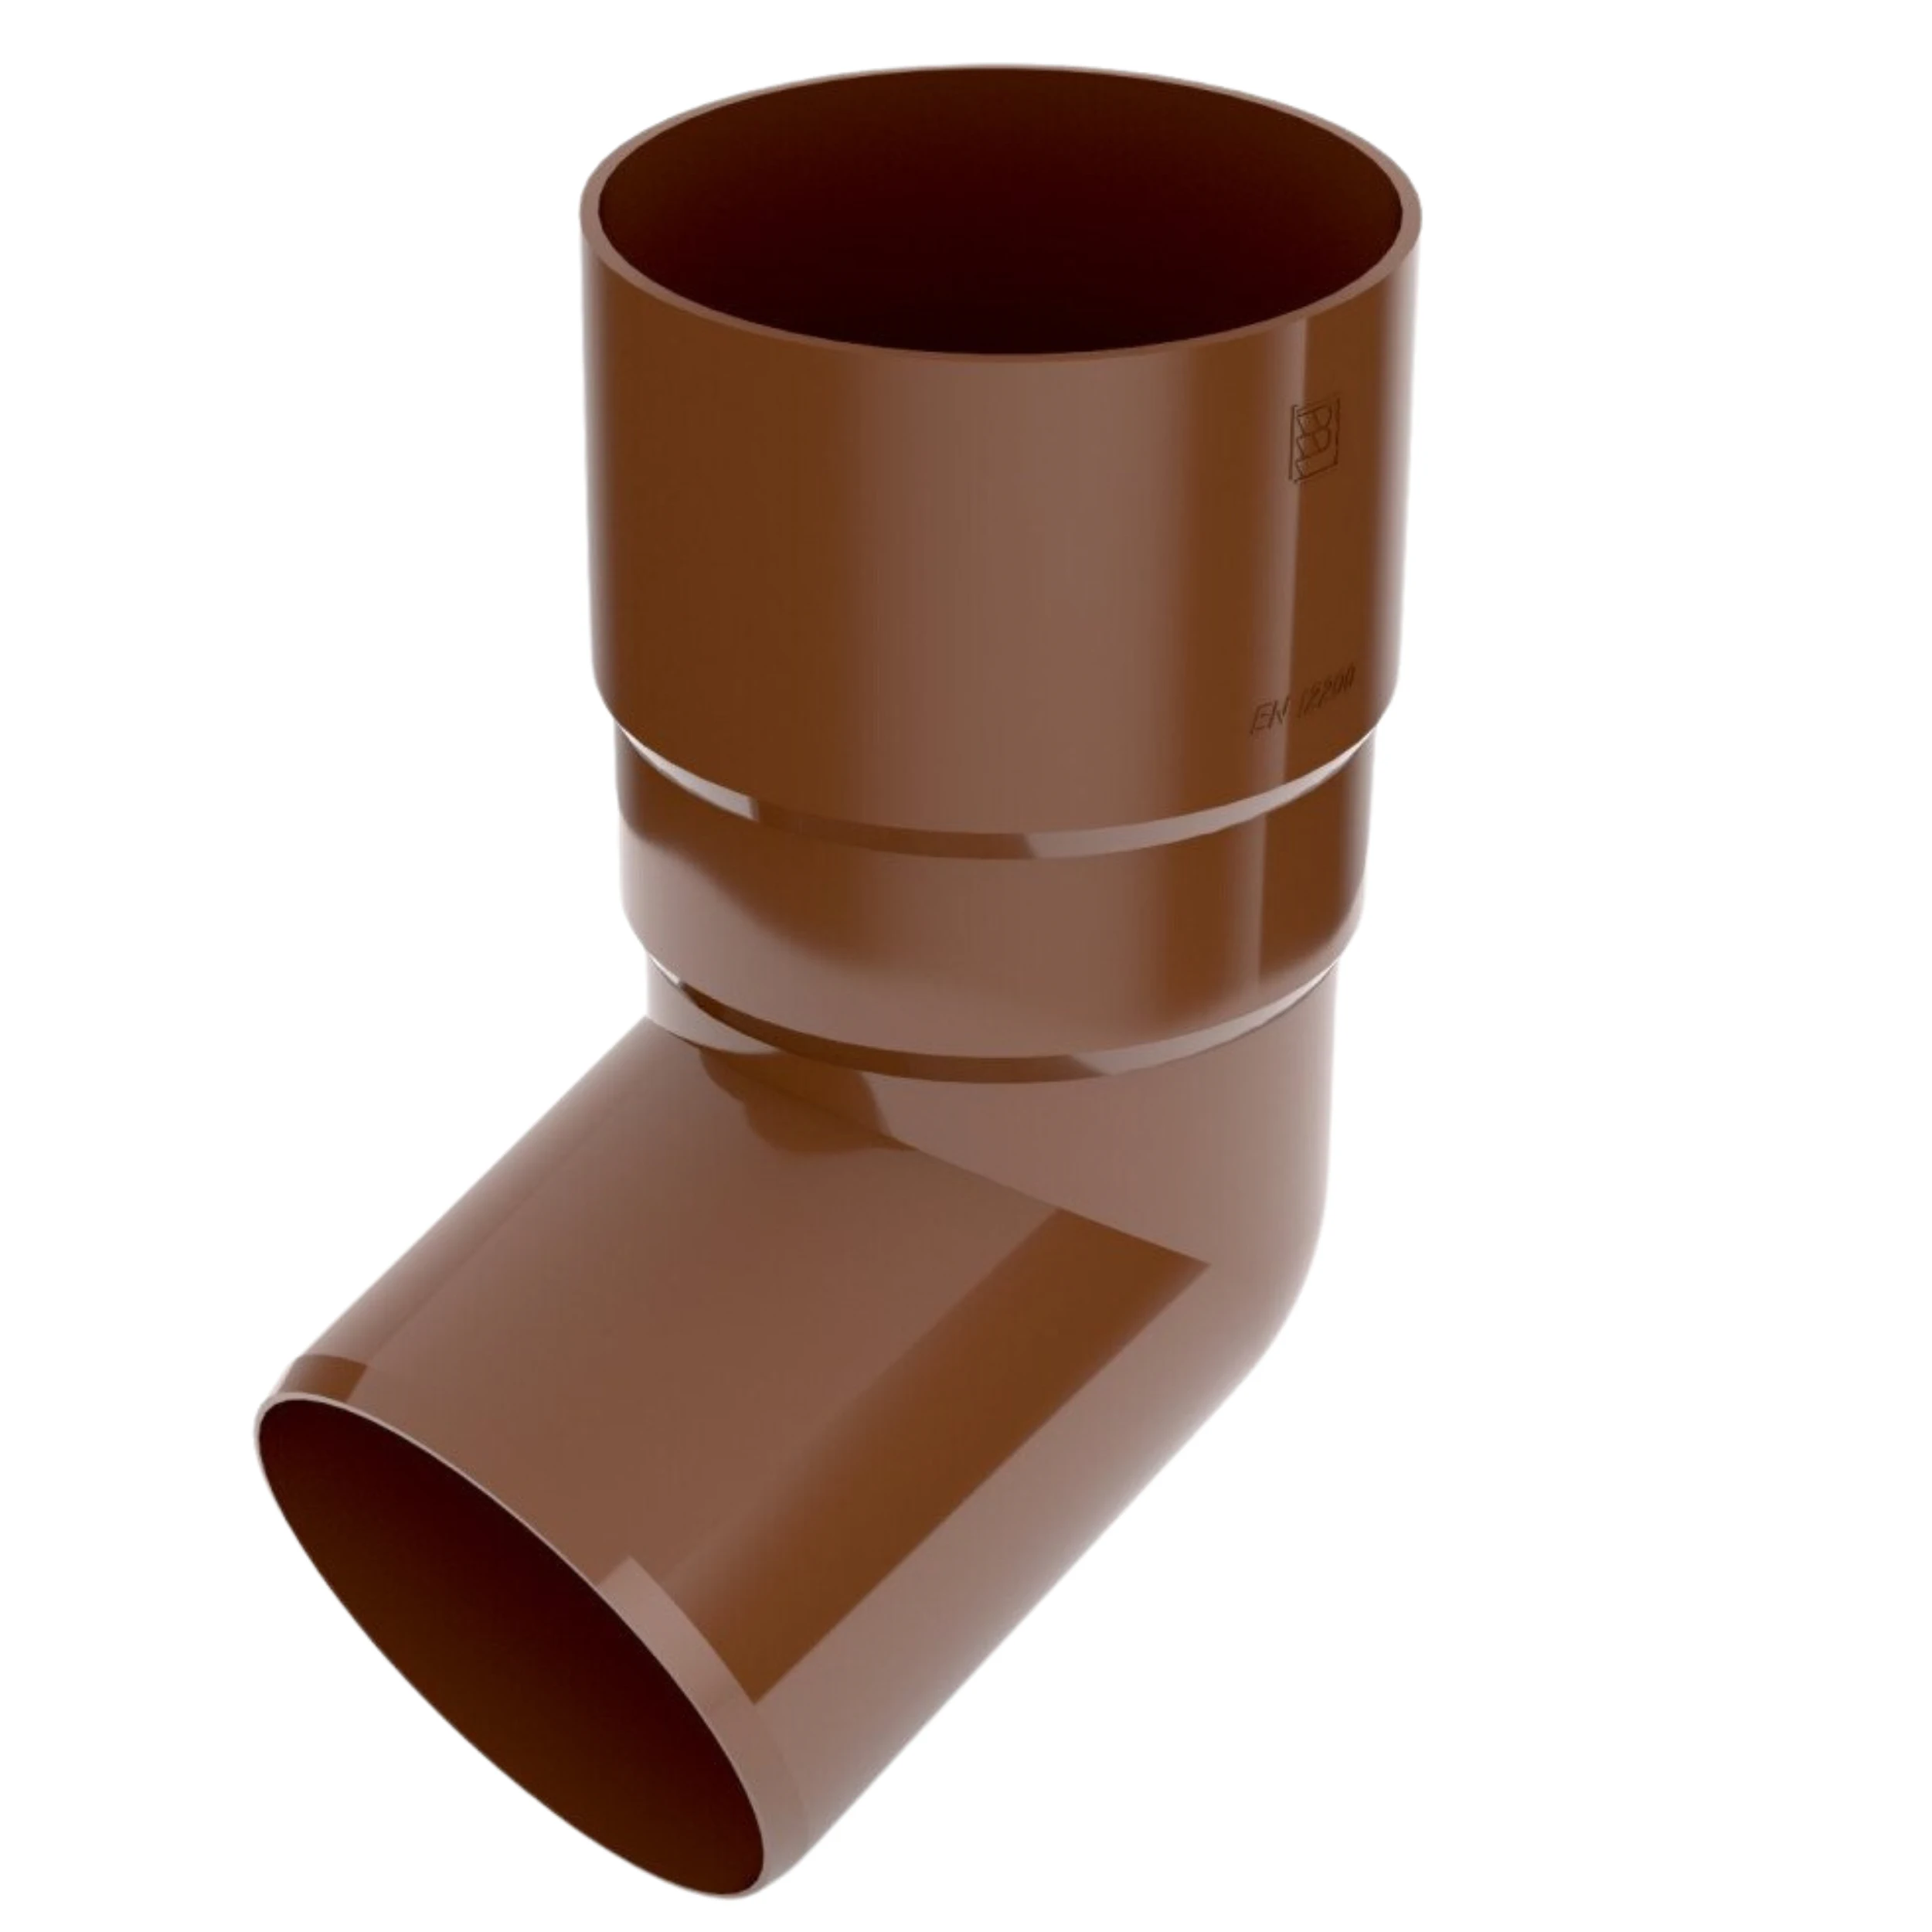
Secure downpipes with appropriate wall brackets. Through thick external insulation, anchor into a suitable load-bearing substrate without crushing the insulation. Arrange bends to permit flow and cleaning. Check for conflicts with windows, entrances, services and future paving.
How do you allow for changes in temperature?
Gutters and pipes change length as temperatures vary. The designated joints must allow that movement. Restraining a section at the wrong point can distort it or open a leak. The detail depends on the material and connector design.
Do not glue a joint designed to slide in a seal, or omit adhesive from a bonded joint. Check the permitted installation temperature, particularly for plastic fittings and sealants. Follow the specifications for surface preparation and clearances.
Where should the downpipe discharge?
Plan the discharge with the site layout and local drainage conditions. Water discharged at the foot of the wall can soak the ground around the foundations. Connect to the intended receiving system, or use infiltration where suitable for the soil and design. A nearby pipe is not necessarily a suitable connection.
A silt trap or inspection opening helps intercept debris or check the flow. Keep it accessible after paving and planting. If the downpipe feeds a tank, provide for overflow. A well-sized gutter cannot compensate for inadequate capacity downstream.
What should be checked at handover and afterwards?
Check falls, joints, brackets and outlets. A controlled flow test can reveal ponding but does not replace observation in real rainfall. Inspect the eaves flashing interface and remove swarf and scraps that could collect at the outlet.
Set inspection intervals to suit the surroundings, especially where trees shed leaves onto the roof. Arrange safe access and avoid loading a ladder against the gutter in a way that deforms it. Maintenance covers the whole drainage route, from the roof edge to the intended discharge point.
Observe the gutter from a safe position during or after the first heavy rain. A local overflow may indicate misalignment, debris or an outlet with insufficient capacity. Record the location and conditions so the installer can find the cause before attempting to reseal joints.

Free quote
What to include in your enquiry
Tell us how you plan to use the material, the dimensions and the quantity you need. Include the thickness, grade or variant name, along with the delivery town or your preferred collection branch. For a specific product, add its name or a link to the product page. We will reply to the email address you provide to discuss availability and the terms of your order.

Read next
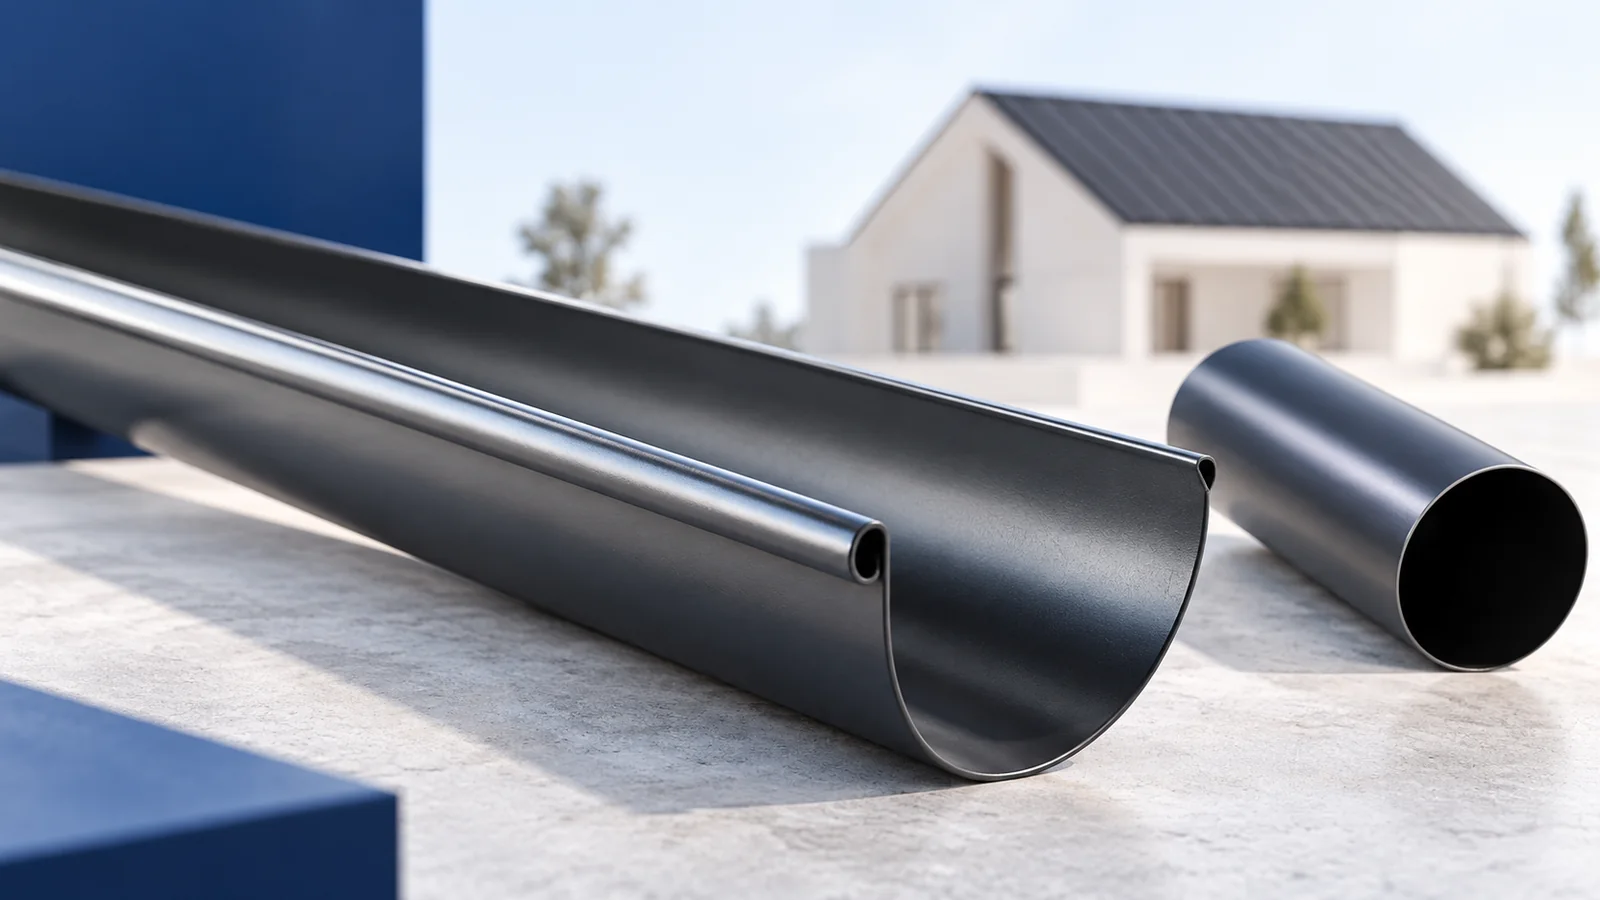
A complete roof price covers the load-bearing structure, the layers beneath the covering, the covering itself and the details that keep water…
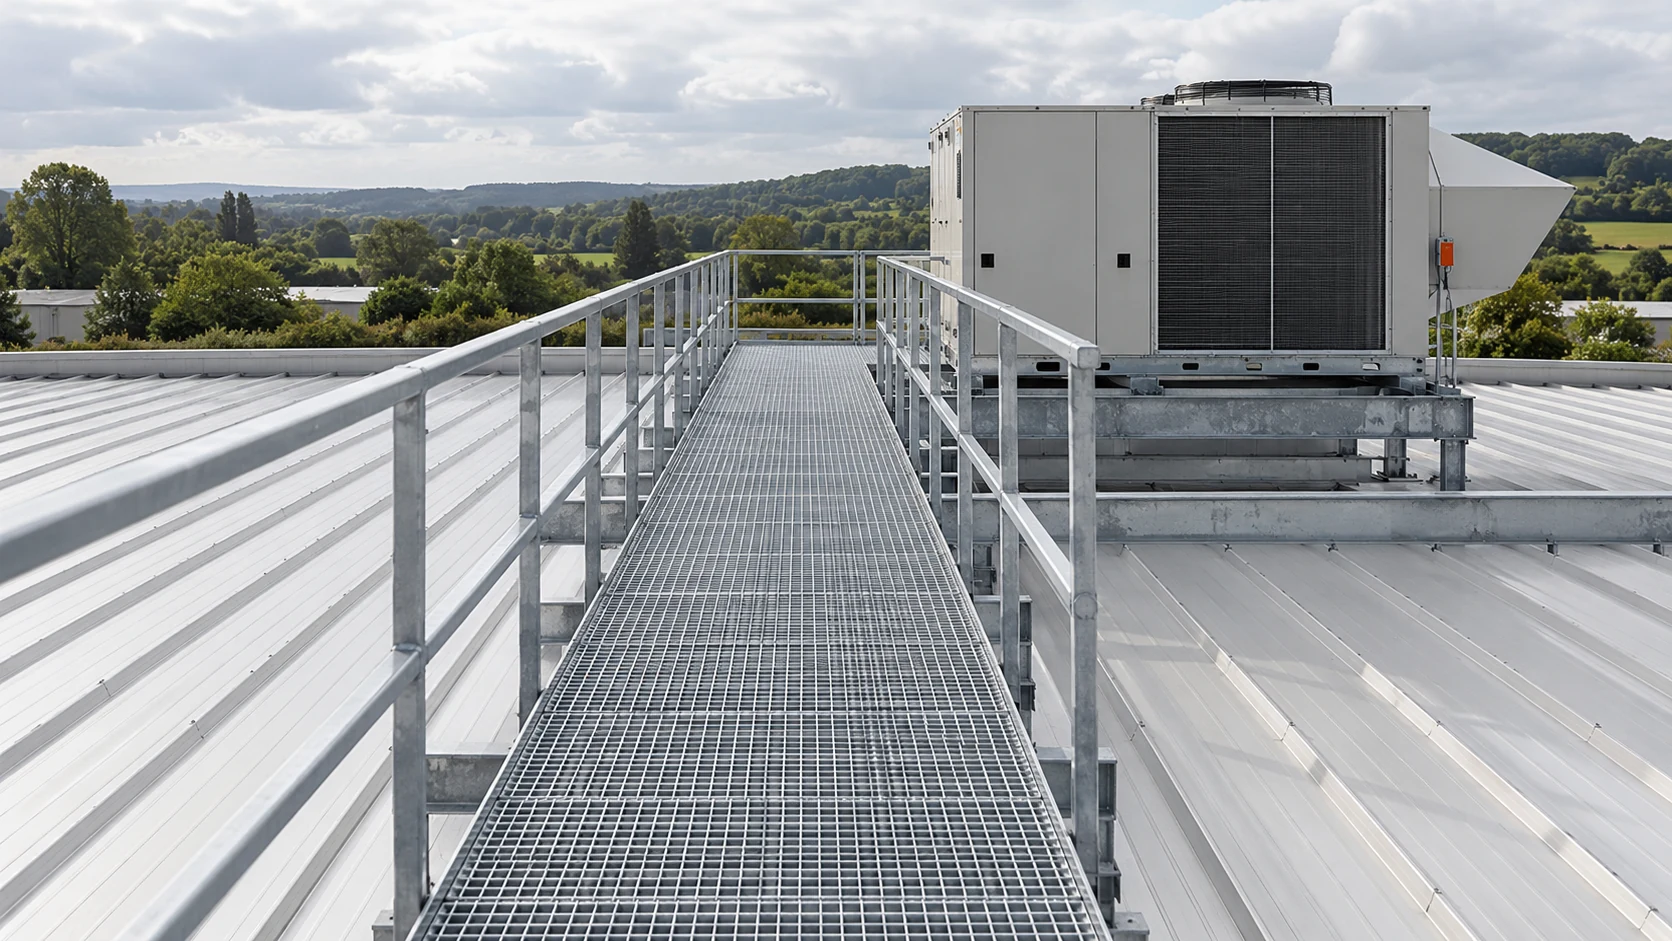
Plan roof access around the maintenance task, the equipment involved and how often people need to reach it. An occasional gutter inspection…
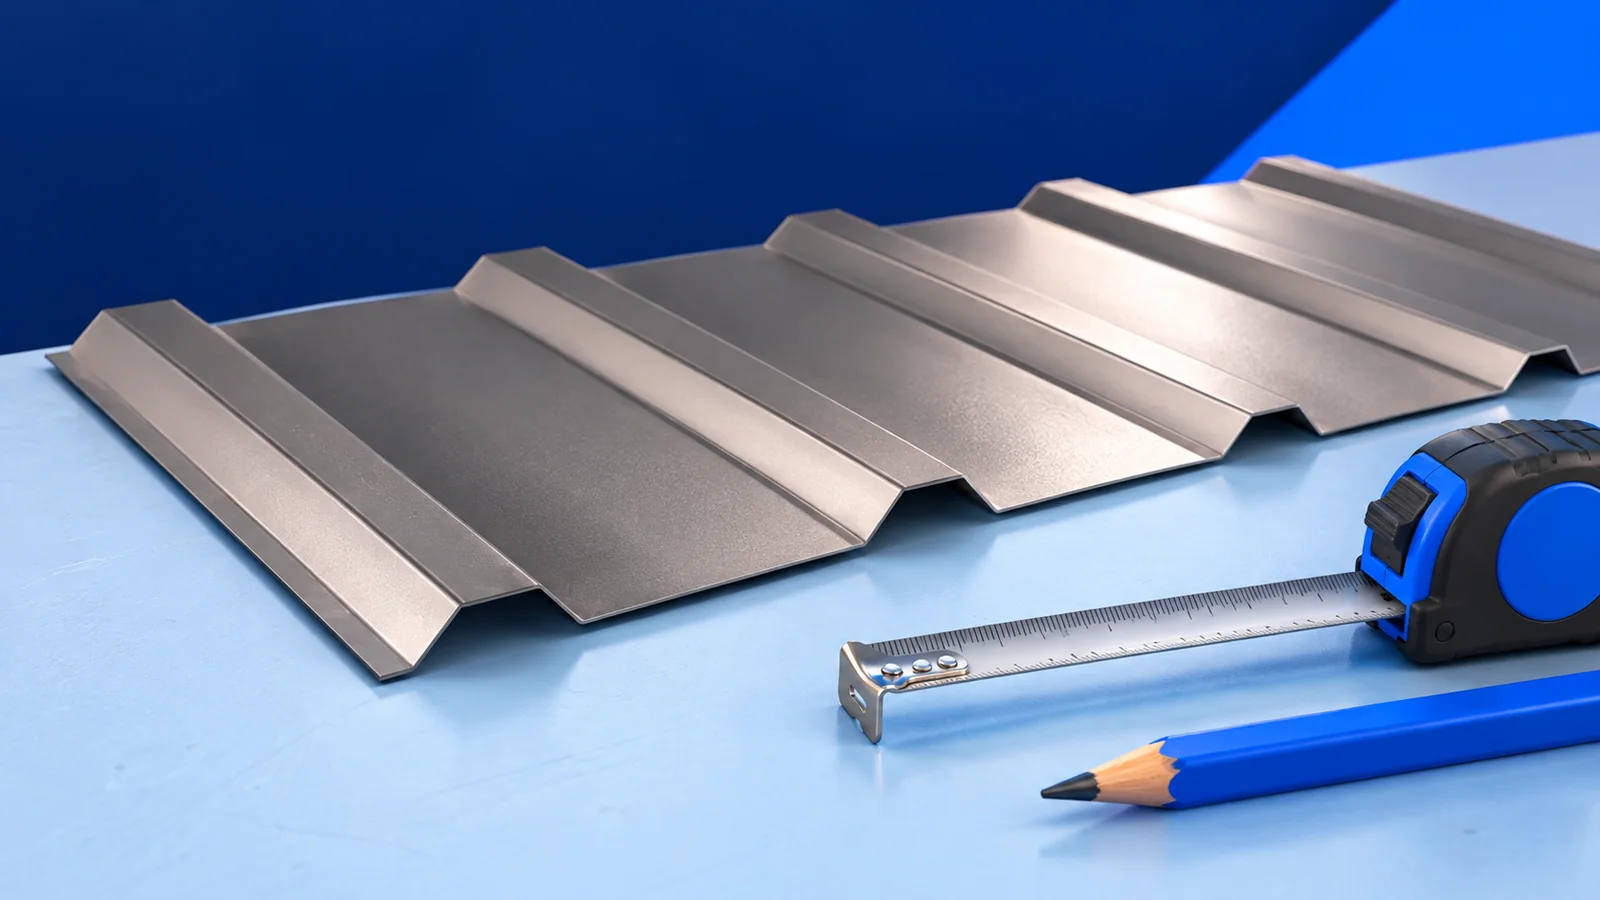
An eaves apron guides runoff from the lower edge of the roof into the gutter. Check it in section, showing the roof…
Place the downpipe gully where the downpipe meets the drainage line, and set its cover to the finished ground level. Check more…
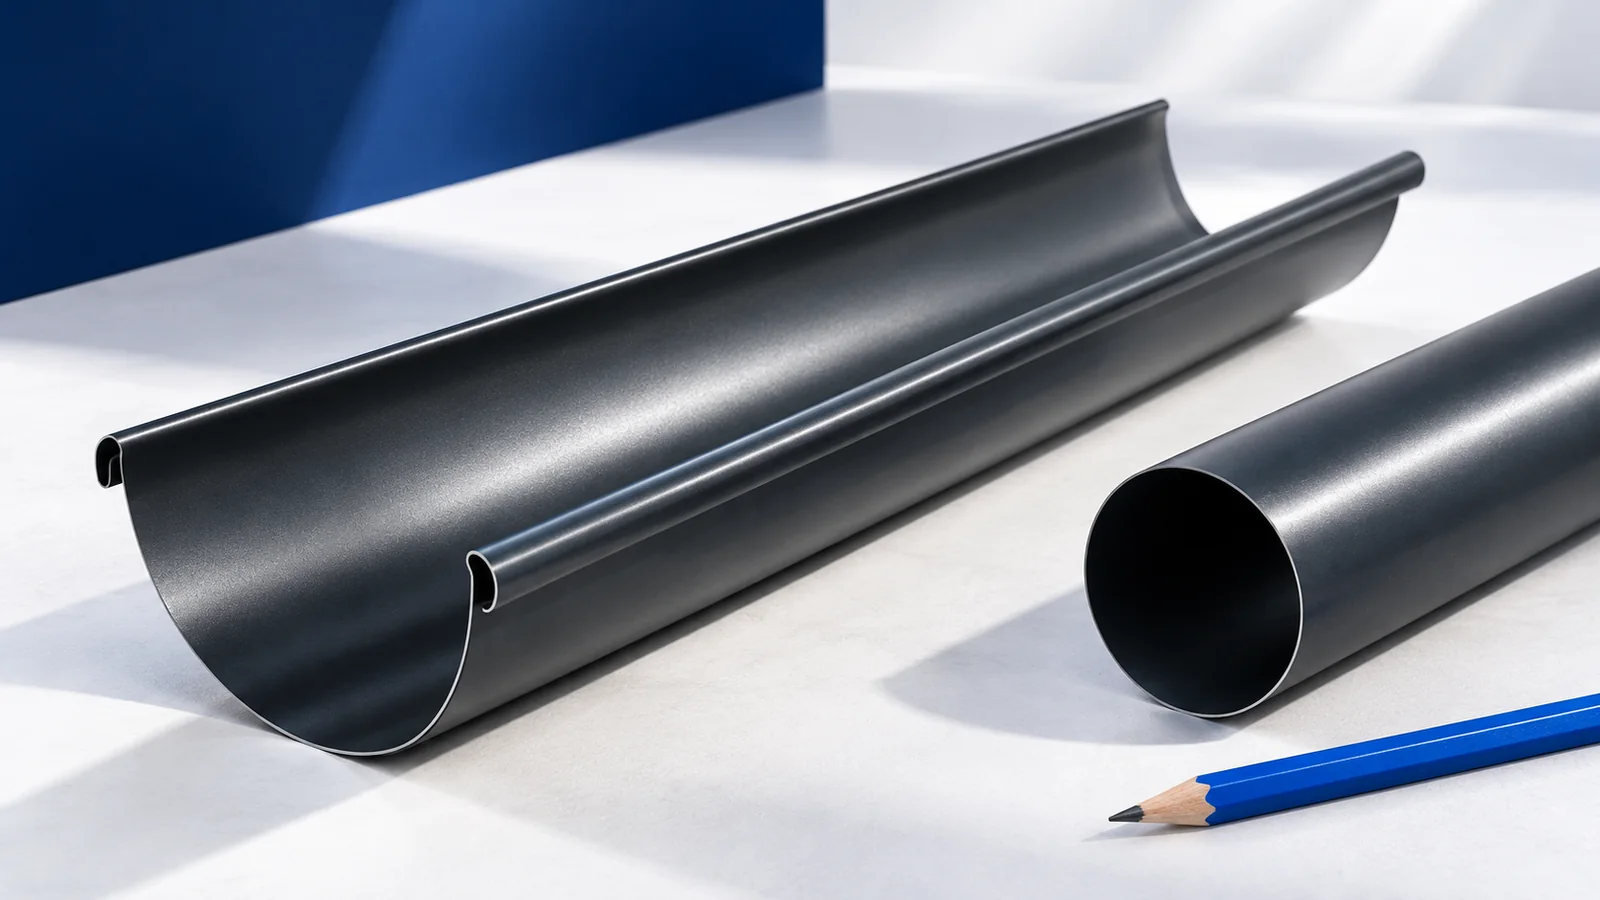
Size the drainage before comparing steel with PVC. Mark the roof area feeding each gutter, the valleys that concentrate runoff and the…
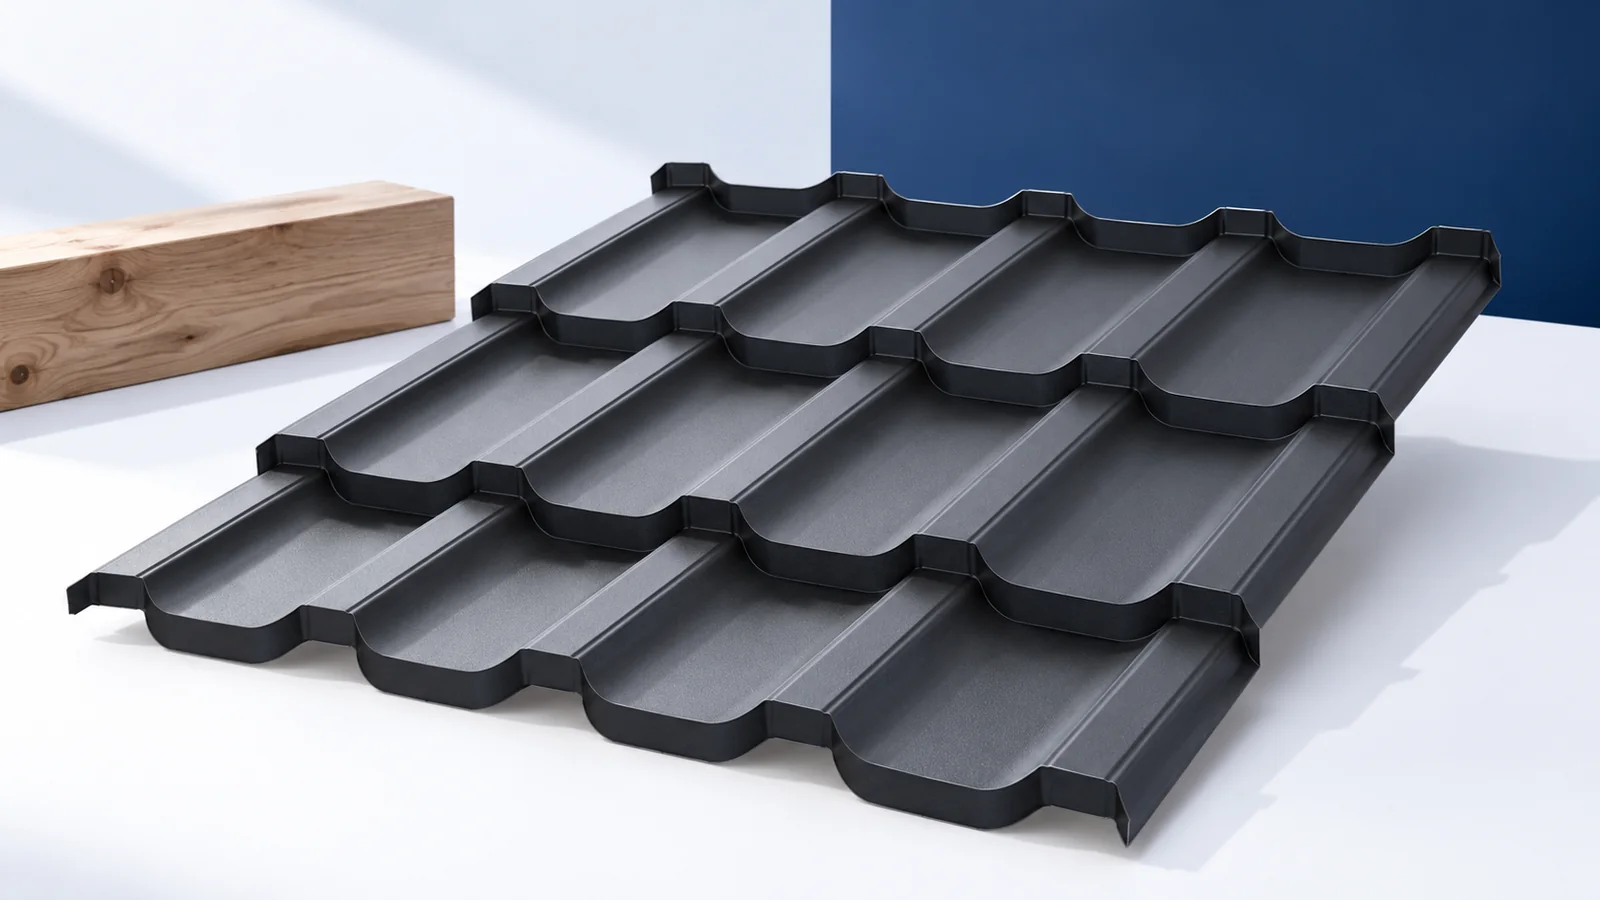
Take a sample of the profiled roof sheet outside and view it at the planned pitch beside the façade finish, window frame…
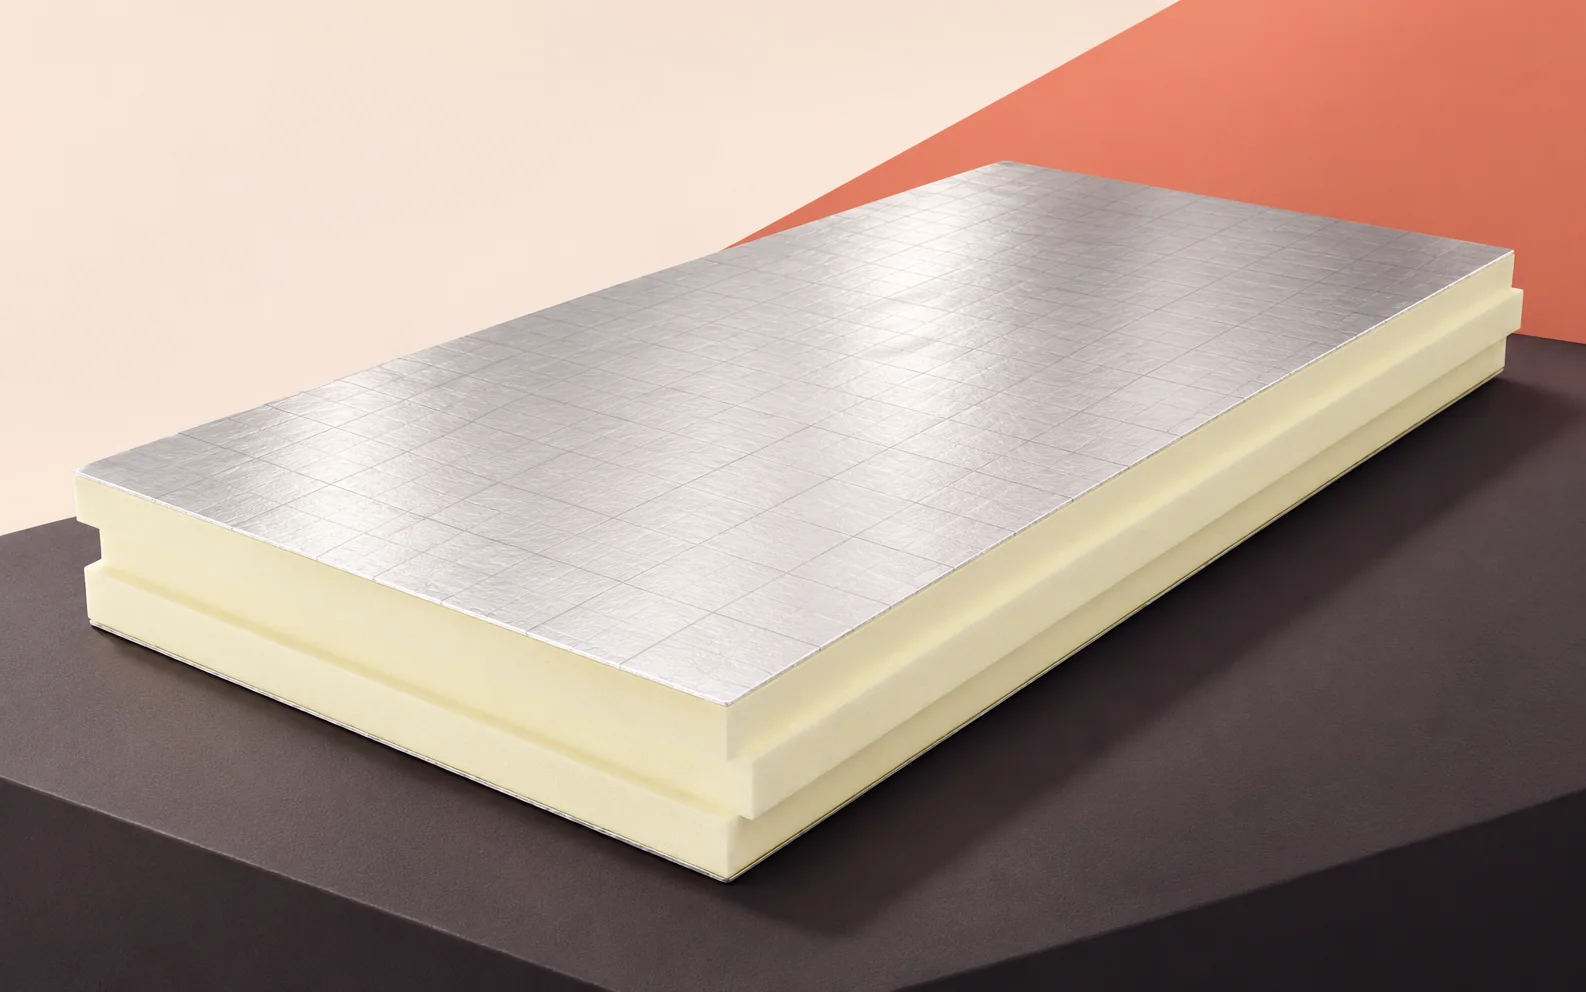
On a flat industrial roof, design the insulation, waterproofing, outlets and rooftop plant together. PIR boards can reduce the thickness and weight…
Square gutters emphasise the straight edge of a metal roof. Their outline tells you little about how much rainwater they can carry.…