






Inspecting industrial building flashings before the cladding crew leaves site
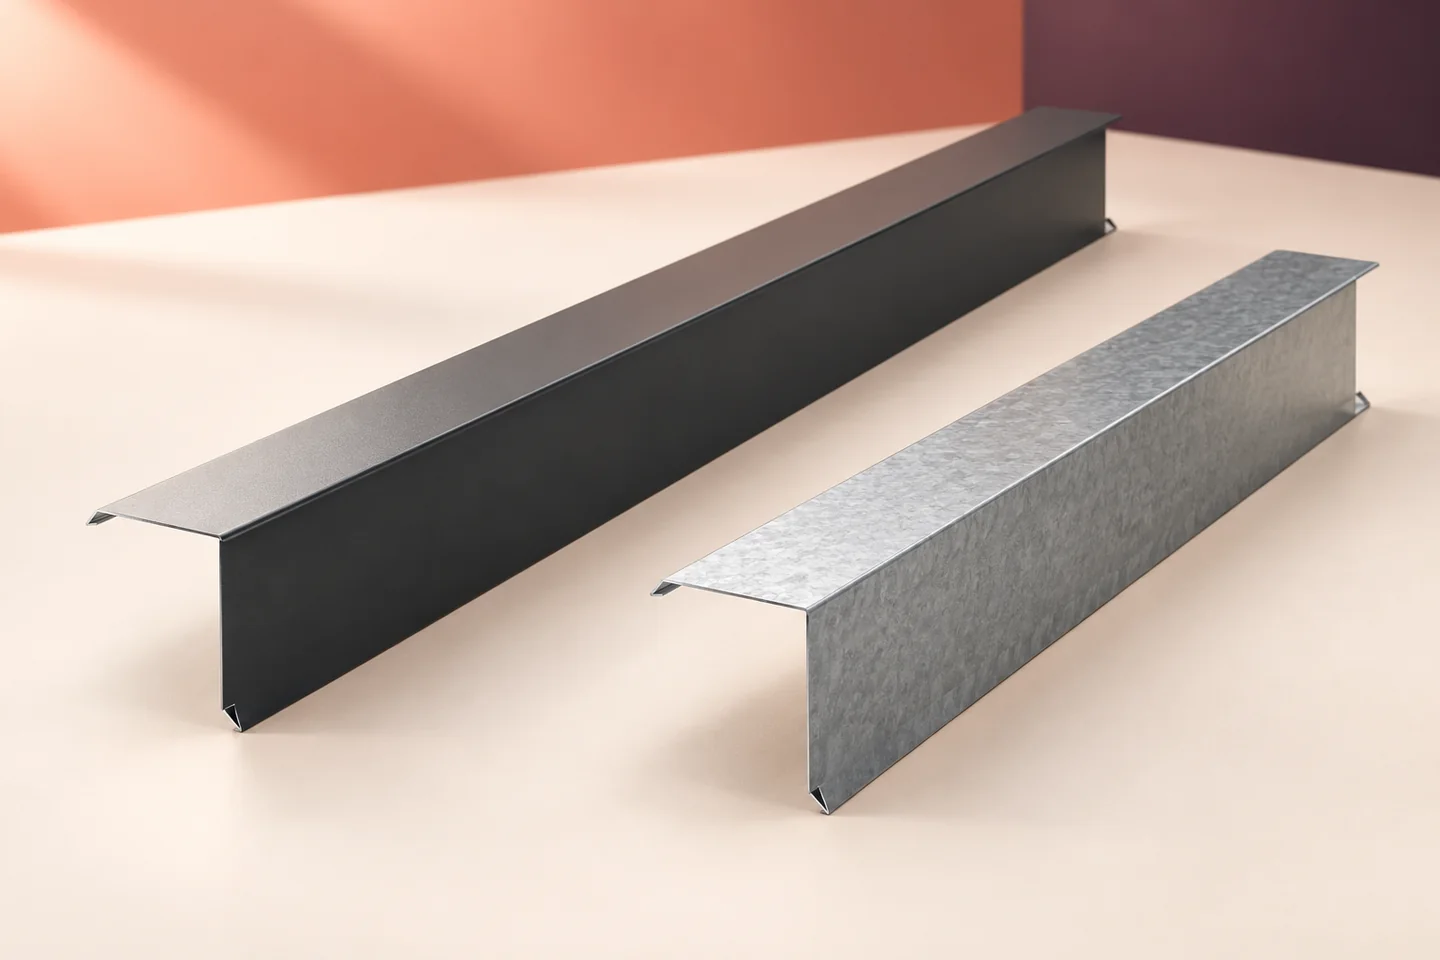
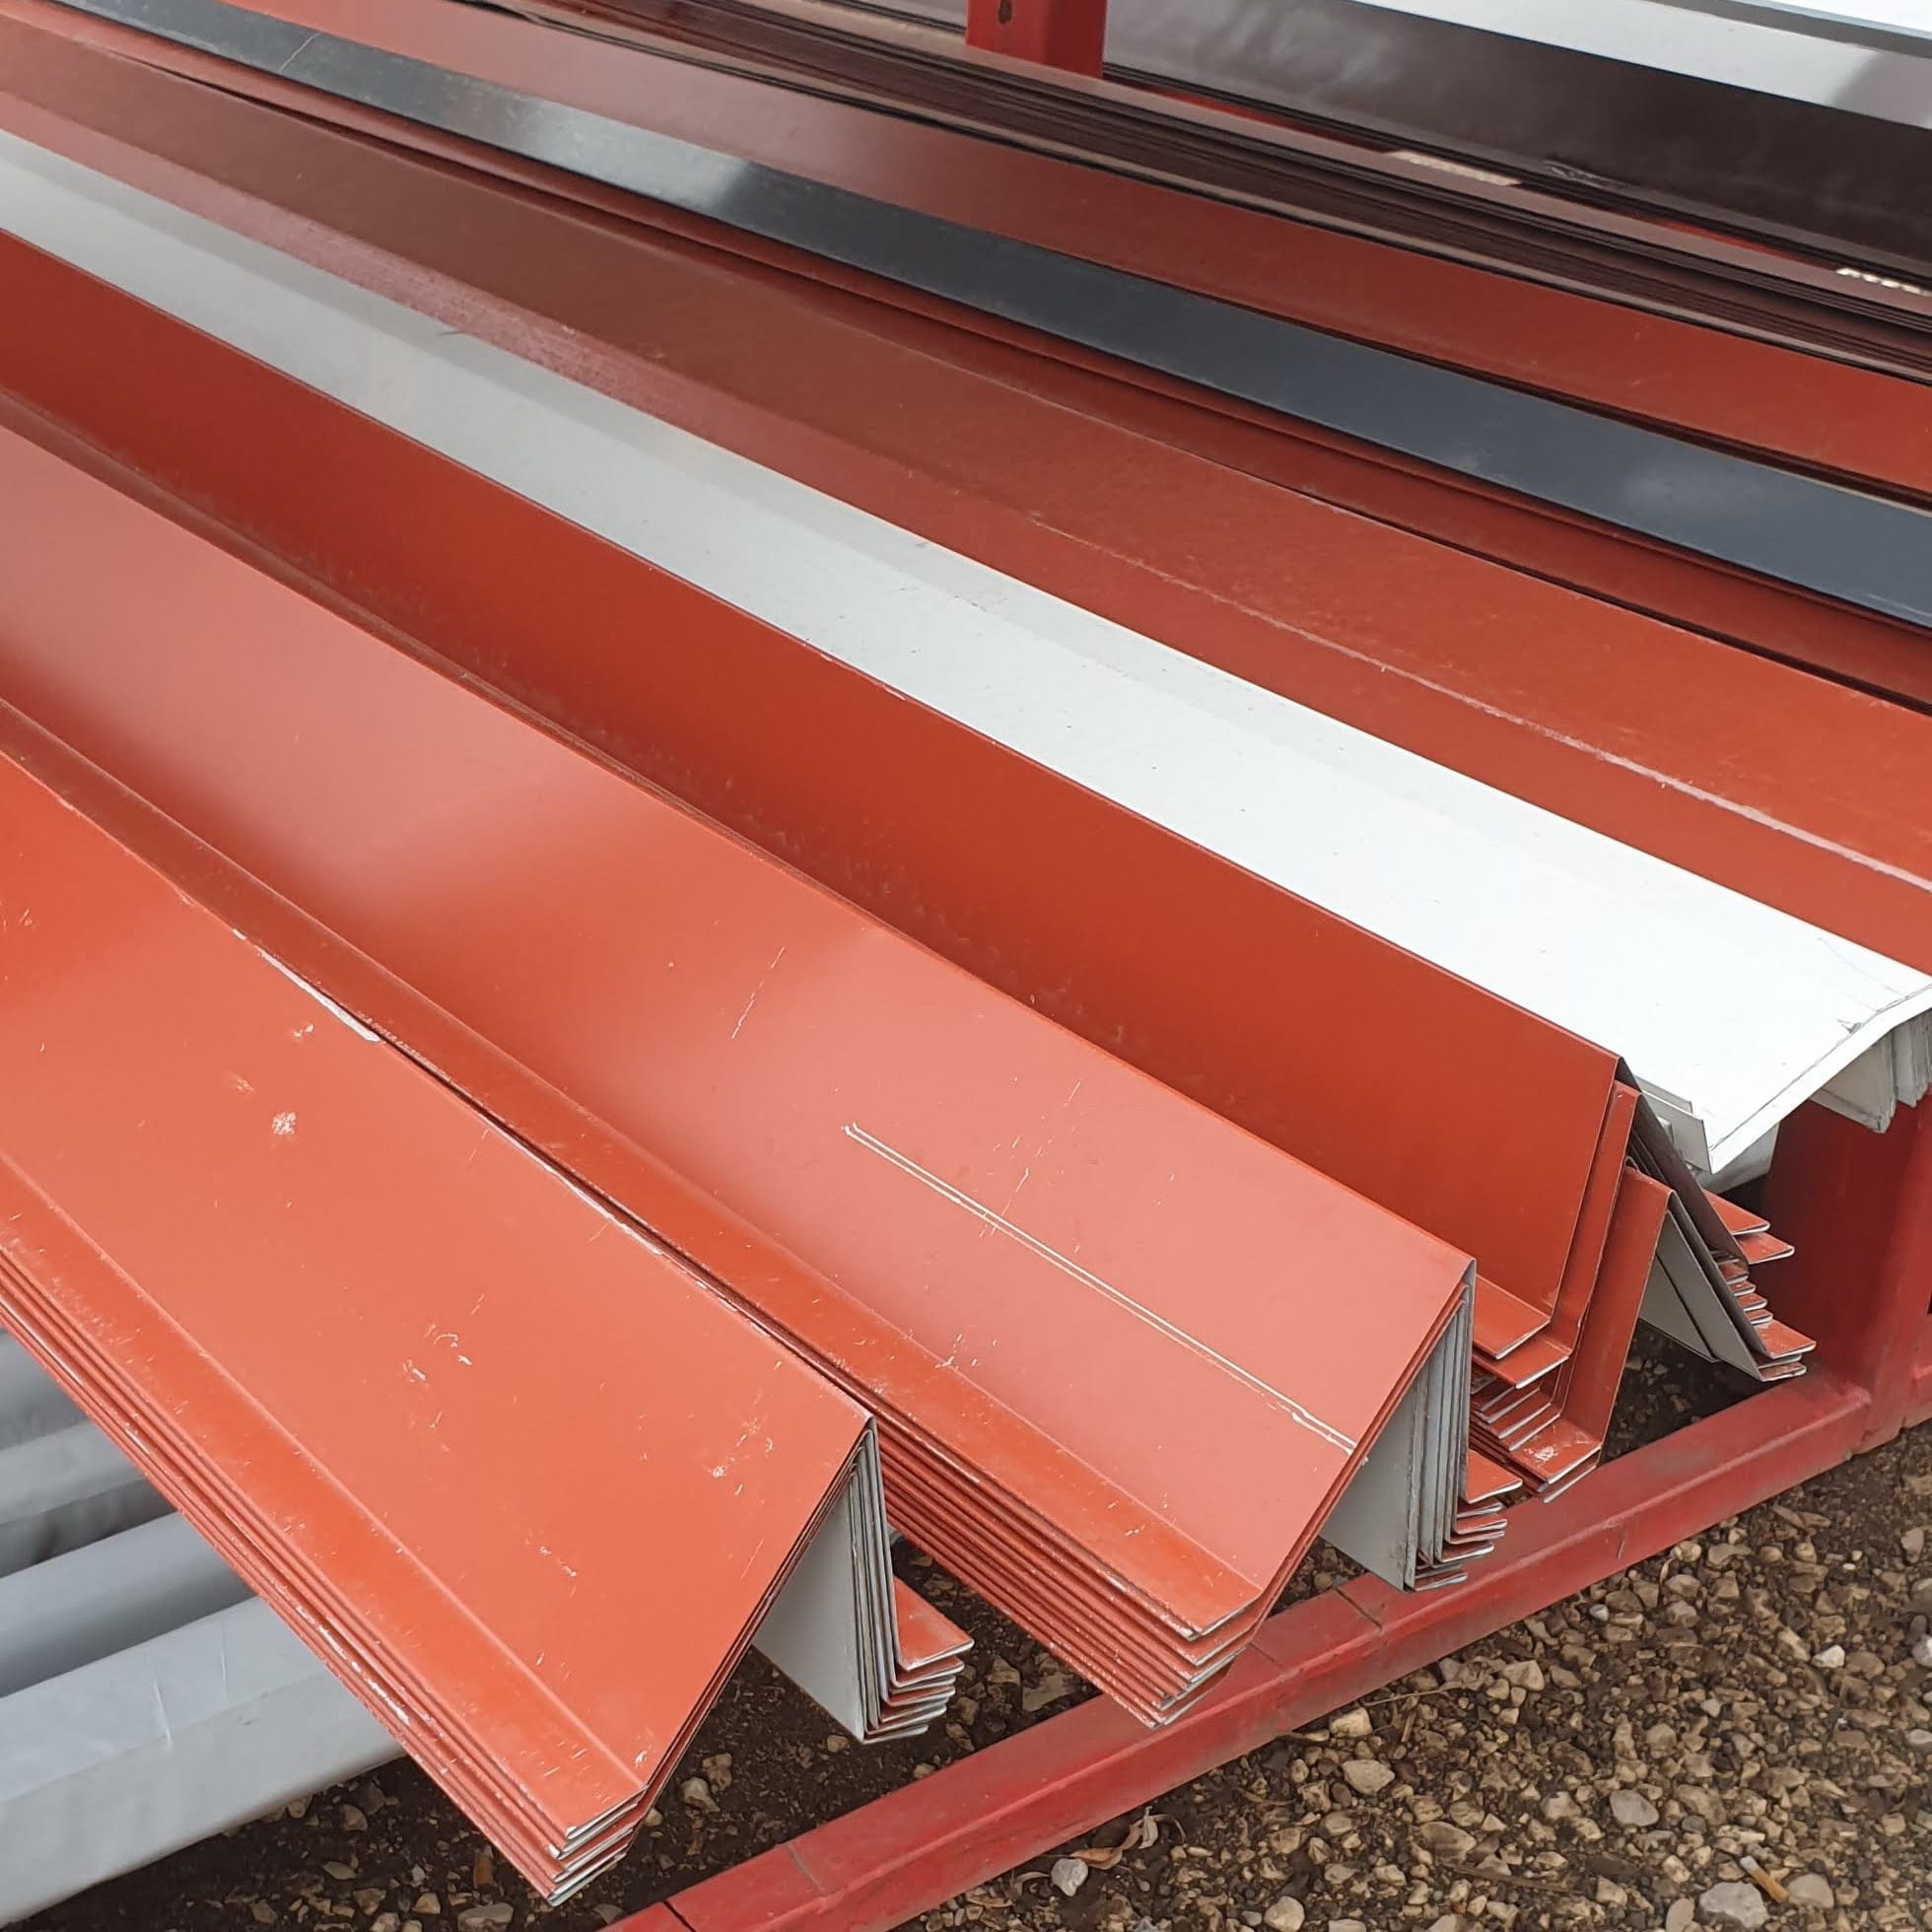
Sheet metal flashings
Inspect the concealed parts of each cladding junction before fitting its final cover, then inspect the finished flashings at handover. A photograph of a straight ridge cap cannot show whether the panel ends were closed or the seal beneath it was continuous. Agree inspection points with the installer before work starts. For each detail, compare the supplied parts with the drawings, check the fixings and trace the water path through every lap and change of direction. Record the location of photographs and repairs, and remove swarf before it stains the coating.
In this guide
Inspect the work in stages
On a large building, identify photographs by grid line and detail number so each inspection can be traced to its location. Assess the work against the approved drawings and the materials actually supplied. Resemblance to a detail on another building is not evidence that this one was built correctly.
Check delivered pieces against the schedule
Check material, thickness, folded section, lengths and quantities. Match verge trims to the panel thickness and gable arrangement and starter profiles to the wall-base detail. For bespoke items, make sure the drawing is the correct revision, particularly where dimensions changed during construction.
Identify the coated face and check mirrored items. A piece folded the wrong way may expose the reverse surface; where the two faces have different purposes this is more than a cosmetic defect. Confirm galvanised, aluminium-zinc-coated and colour-coated sheets from the documentation rather than appearance alone.
Trace runoff over the roof and façade
Follow the route from ridge caps, valleys and verge ends to the gutter aprons. Inspect laps wherever the direction changes. A reversed lap or a pocket can direct water behind a cover. Ends at eaves and corners often reveal more than a long straight stretch of neatly folded metal.
On the walls, examine opening surrounds, corners and plinths. Assess chimney and service penetrations against their individual details. A large bead of visible sealant is not a sign of quality on its own: the product, its position and the shape of the junction must work together.
Distinguish panel fixings from flashing fixings
Checking the covers does not establish that the main panel fixings are correct. Verify that the panels are attached to the specified substrate as designed, then check the separate flashing attachments. A thin trim cannot correct a missing support or a poorly fixed panel.
Check fastener type, spacing and condition. An overtightened washer or distorted sheet may require correction. Do not add screws wherever a surface happens to be accessible. Where the detail allows thermal movement, verify that the installed connections can still move as intended.

Remove installation debris and assess surface damage
Remove filings, offcuts and loose metal fragments; they can stain or damage the cladding. Look for trapped protective film at laps and fixings as well. Remove it as directed for the sheet, rather than leaving it as permanent protection for the building.
Inspect surfaces for scratches and dents. The appropriate repair depends on the coating and the extent of the damage. A local touch-up does not restore a deformed section or replace corroded sheet. Distinguish a removable mark from a defect that requires replacement, and record the location and scope of each agreed repair.
Hand over records for future inspections
Hand over records of the materials, coatings, seals and significant changes from the design. Retain fabrication drawings for special flashings so replacements can be ordered without measuring the original folds again. Identify the locations that need periodic cleaning and inspection.
Explain how to check outlets, joints and surfaces without damaging them. Set inspection intervals to suit the building’s exposure and the material supplier’s recommendations. The handover record provides a baseline for distinguishing later wear from an installation defect and choosing a suitable repair.
Questions and answers
Are photographs of the finished cladding enough for acceptance?
No. Photographs of the exterior do not show every layer beneath the flashings. Inspect and document the connections before covering them as well.
Must swarf be removed even where it cannot be seen from the ground?
Yes. Swarf affects the coating whether it is visible or not. Pay particular attention to areas where water or dirt collects.
Can the same paint be used for every scratch?
No. Choose the repair material and method for the coating and the extent of damage. Deep or widespread defects may need different treatment.

Free quote
What to include in your enquiry
Tell us how you plan to use the material, the dimensions and the quantity you need. Include the thickness, grade or variant name, along with the delivery town or your preferred collection branch. For a specific product, add its name or a link to the product page. We will reply to the email address you provide to discuss availability and the terms of your order.
Read next
Inspect the supporting steelwork before the first sandwich panels go on. Once a wall bay or roof slope is covered, connections that…
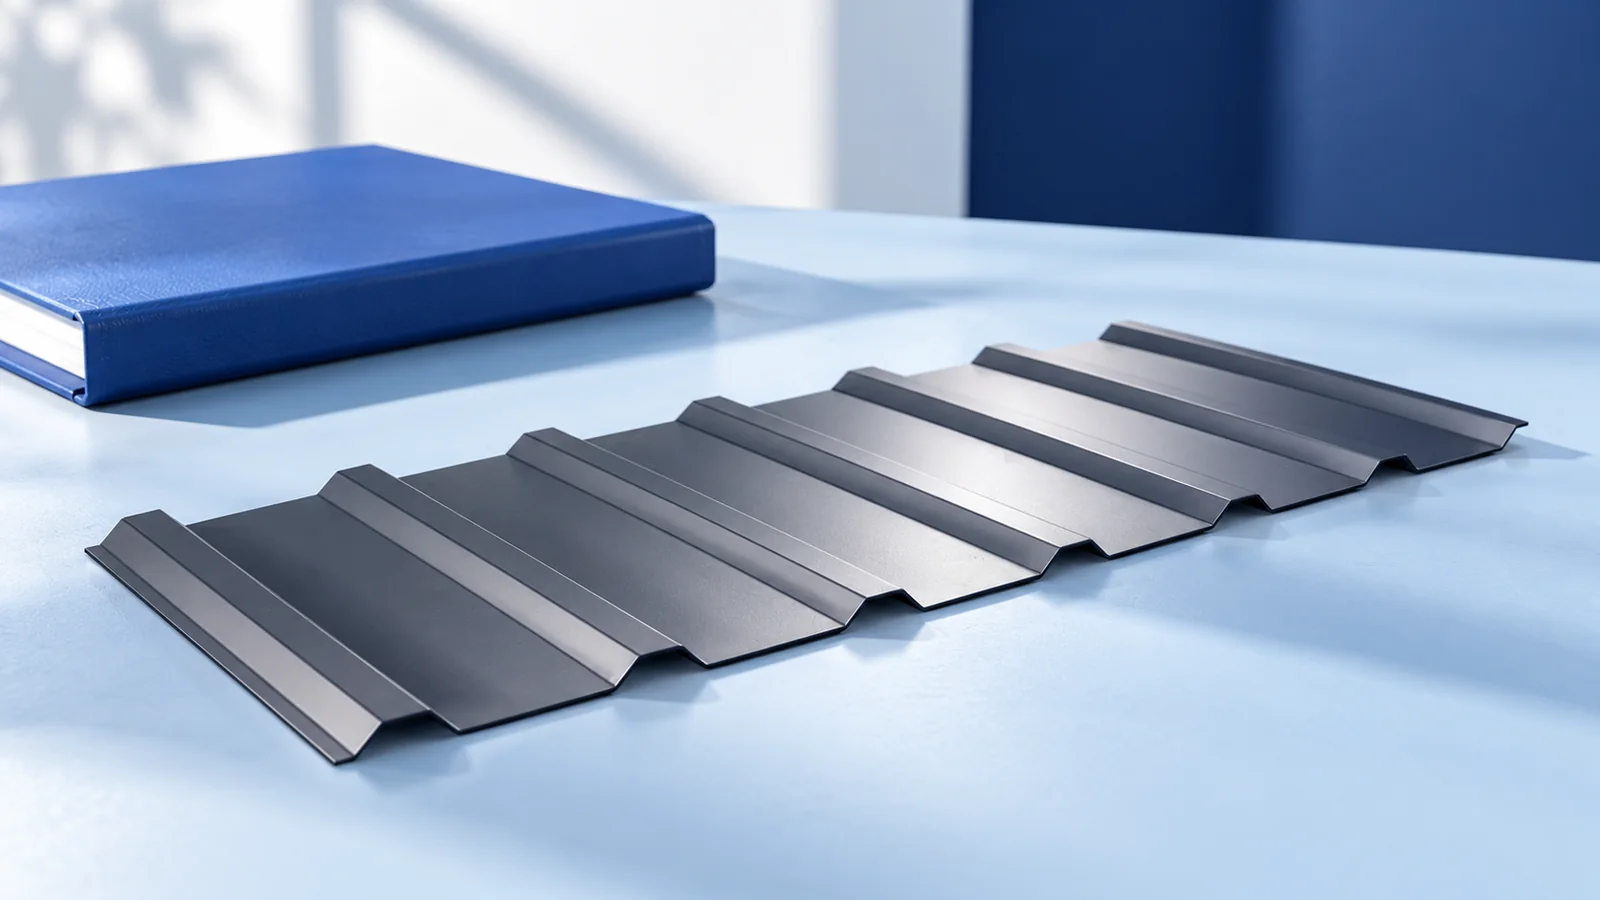
Give every supplier the same roof drawing and ask what it costs to deliver a finished, weathertight roof. A price per square…

Large boards give fewer joints, but waste depends on the layout. Small boards are easier to carry up narrow stairs and fit…
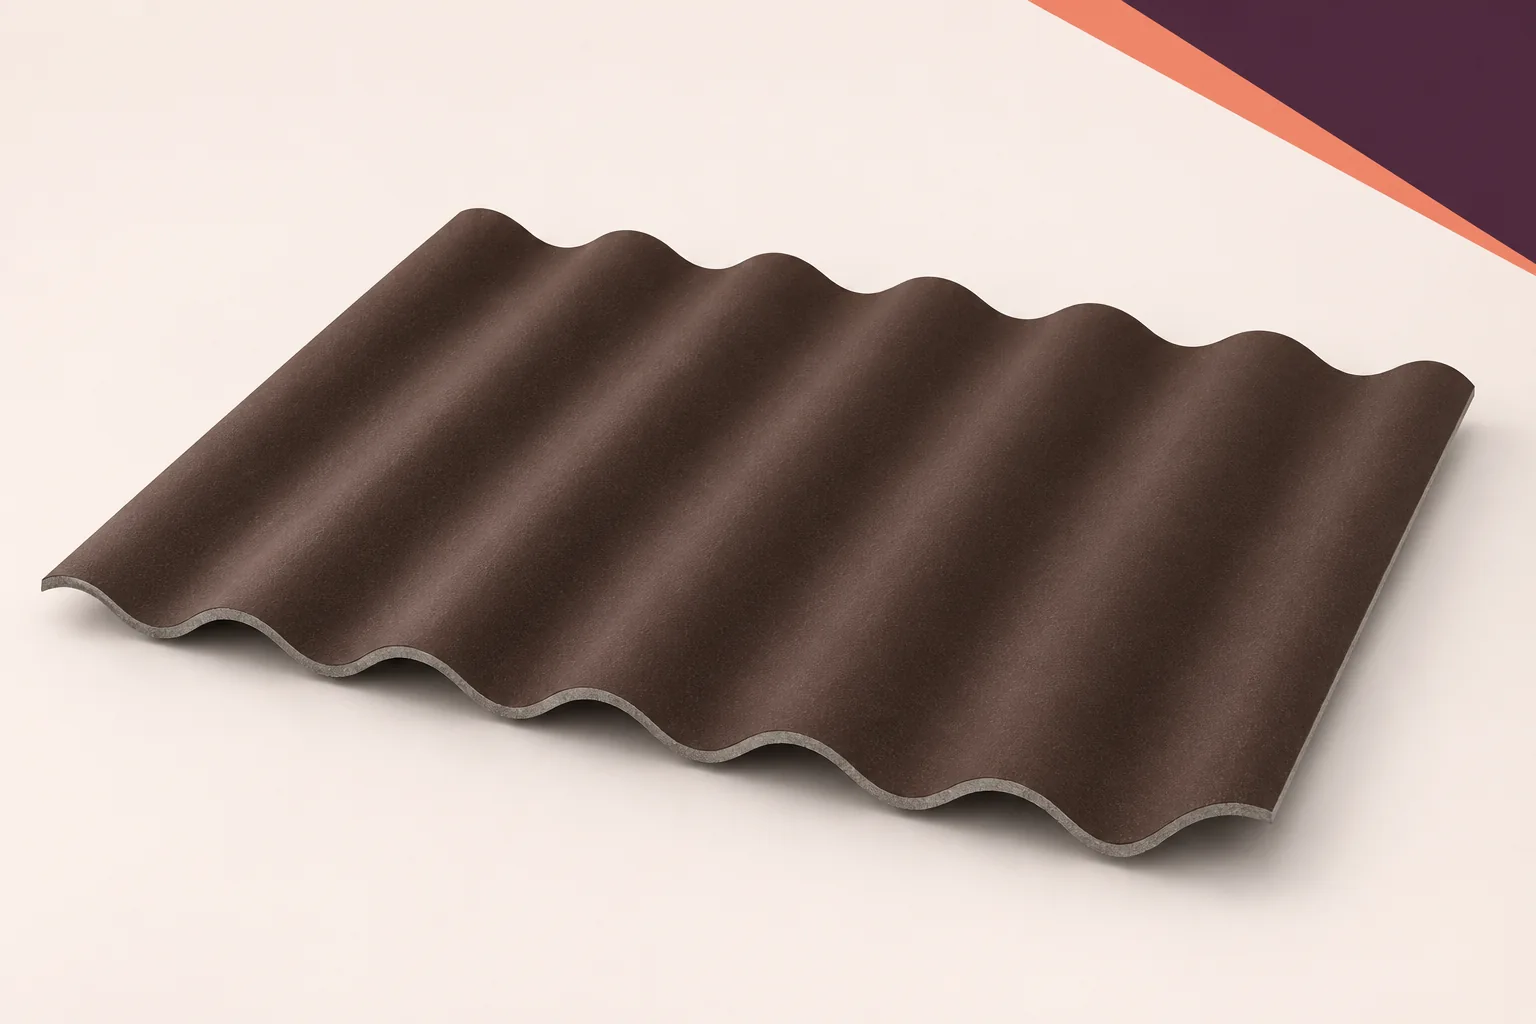
A roof sheet’s reaction-to-fire classification describes a particular product. Assess the fire resistance of the roof assembly separately, taking account of the…
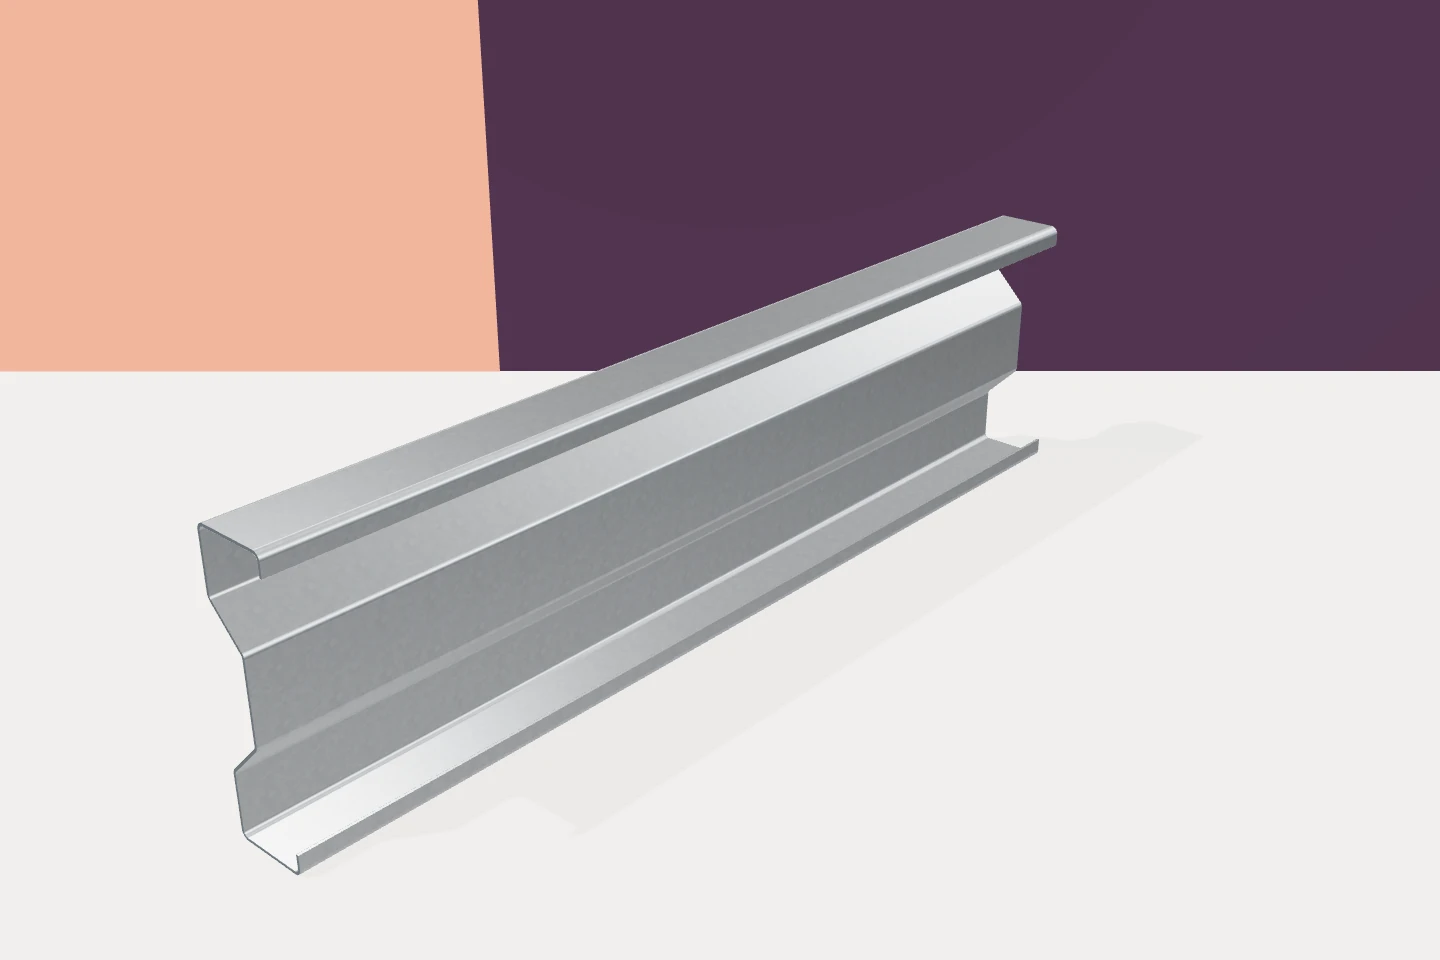
Selecting a cladding rail involves checking the bearing flange, fastener positions and alignment as well as section resistance. Cold-formed sigma sections have…
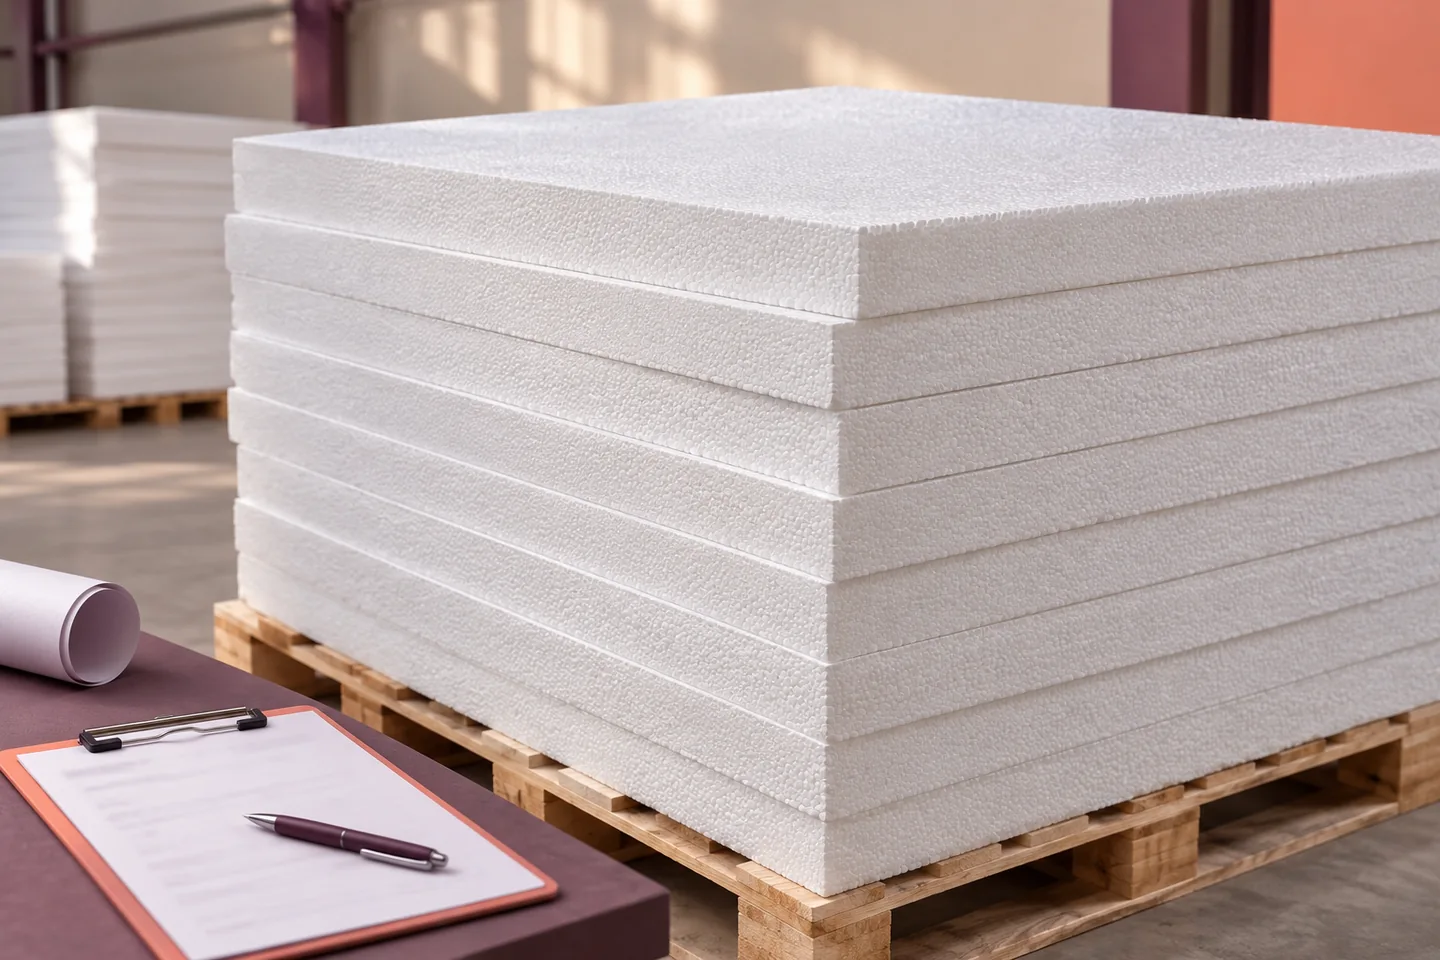
Give each use of expanded polystyrene its own order line, identified by the zone or grid reference on the drawings. Two boards…
When steel purlins support corrugated fibre-cement roofing, design the sheets, fasteners and steelwork together. Check the design loads, distances between supports and…
When swissporPIR Alu arrives for several industrial buildings, assign each pallet to a specific work area before lifting it to the roof.…
