






Laying modular tile-effect steel sheets on a pitched roof
Roof coverings
The first row sets the direction of every module above it. Start with the installation drawing for the exact profile and mark the eaves line, first batten and direction of overlap. Check the underlay and ventilation inlet before covering them. Lay a small starting section and check it for square against the eaves while adjustment is still possible. Fixing points and washer compression must suit the selected system. At valleys and chimneys, plan cuts and flashings together so that the remaining pieces are supported and water has a clear route off the roof.
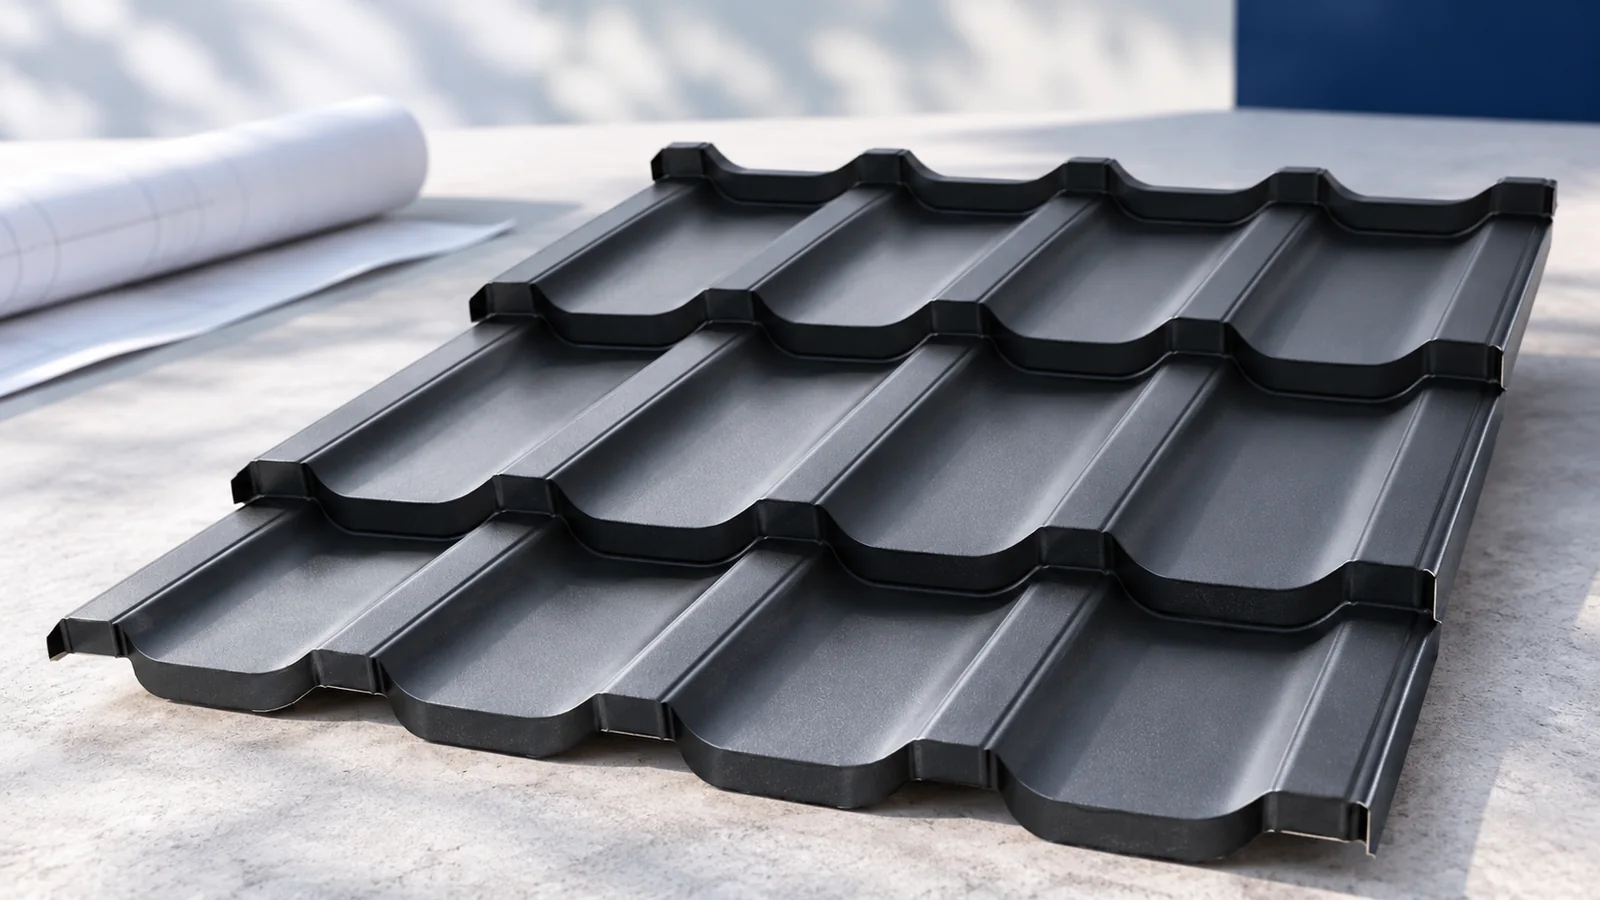
Which model-specific dimensions do you need?
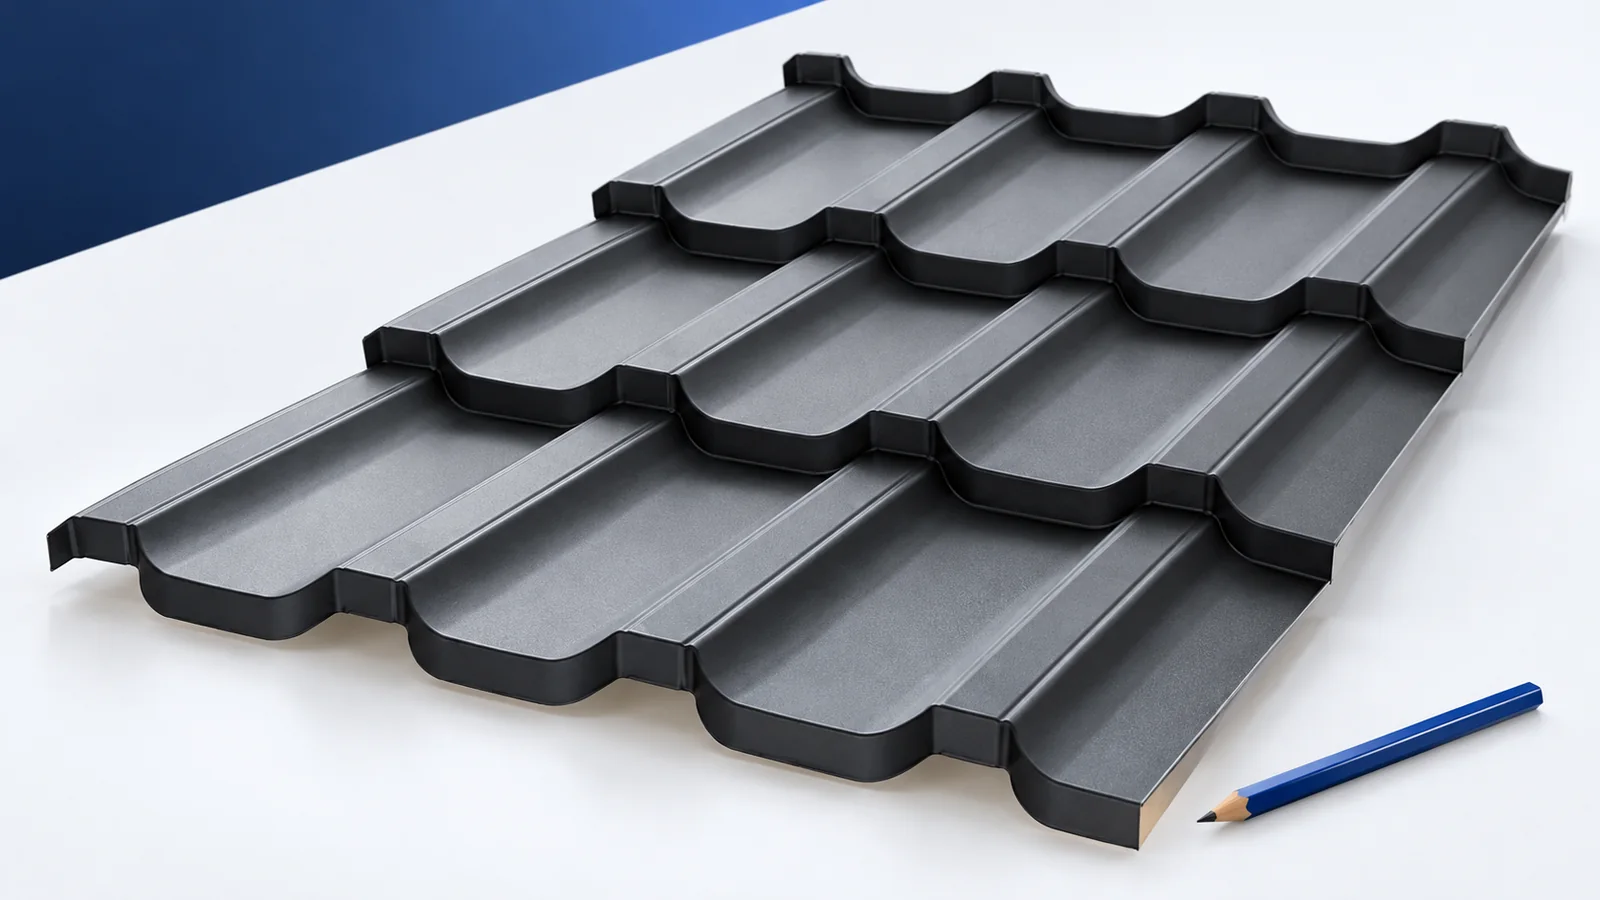
Identify the exact model, its effective dimensions, minimum pitch and substrate requirements. A panel with effective cover of 1140 × 700 mm and a 350 mm tile step is one product example. Use the figures for the sheets delivered to the site.
The instructions specify the laying sequence, fixing points and joint detail. Note the lap direction and the first-row arrangement. Similar-looking profiles may use different joints, and following the wrong drawing can lead to uneven rows and leaking laps.
How do you prepare the battens and eaves?
Check the plane of the roof, its diagonals and the eaves line. Each pressed step needs support at the position shown for that profile. Read the first spacing at the eaves separately before marking the repeating batten gauge up the slope.
Complete the underlay and drainage details first. Membrane, counterbattens and ventilation inlet must follow the roof design. Correct uneven battens before laying the panels. Pulling a sheet down onto them with screws places it under strain.
How do you align the first panels?
Set the first modules out from the prepared eaves reference line with the specified overhang and laps. They determine the line of the rows across the slope. The next sheets should fit naturally without stretching a joint or distorting a pressed section.
Check the starting section for square and sight along the rows of steps. Correct drift before fixing a large area. Gradually widening the joints to compensate changes the overlap and leaves a visible step between rows.
Where and how should the screws be fitted?
Use the screw positions shown for the selected module. Some profiles have designated points near a pressed step. The pattern for trapezoidal steel sheets or another tile-effect profile may differ. Match the fastener to the substrate, sheet thickness and design load.
Seat the sealing washer as specified. Overtightening distorts the washer or sheet, while undertightening may leave a gap. Check corners and perimeter zones against the fixing plan because closer spacing may be required there.
How do you plan cuts at valleys and chimneys?
Plan cut pieces so each retains enough support and room for its fixings. Coordinate the cut edge with the flashing. Preserve the specified open drainage width along a valley even if a narrower strip of visible valley metal might look neater.
Use an approved cold-cutting tool. Hot particles from an angle grinder can damage the protective coating. Remove swarf from recesses and laps after cutting or drilling. Lift modules when moving them because grit trapped between sheets scratches the finish.
When should flashings and accessories go in?
Some flashings go on before the adjacent sheets, others afterwards. Follow the water path through each junction when planning the sequence. The ridge must keep out rain while preserving the designed ventilation route. Seal only where the detail calls for it.
Roof steps, walkways and snow guards require the correct supporting members. Provide any reinforcement while the structure remains open. This avoids fastening accessories to unsupported thin sheet or having to lift the newly laid roof to reach the supports.
What should you check at handover?
Inspect row alignment, laps, fixings and coating, including areas near walls, roof windows and penetrations. Remove protective film within the specified period. Clear swarf, spare screws and offcuts from the roof and gutters. Keep photos of concealed stages.
Work at height requires trained personnel and fall protection. Follow the system’s access instructions and account for panel support before stepping on the covering. At handover, collect the roof specification and care instructions alongside the inspection of the visible finish.

Free quote
What to include in your enquiry
Tell us how you plan to use the material, the dimensions and the quantity you need. Include the thickness, grade or variant name, along with the delivery town or your preferred collection branch. For a specific product, add its name or a link to the product page. We will reply to the email address you provide to discuss availability and the terms of your order.

Read next
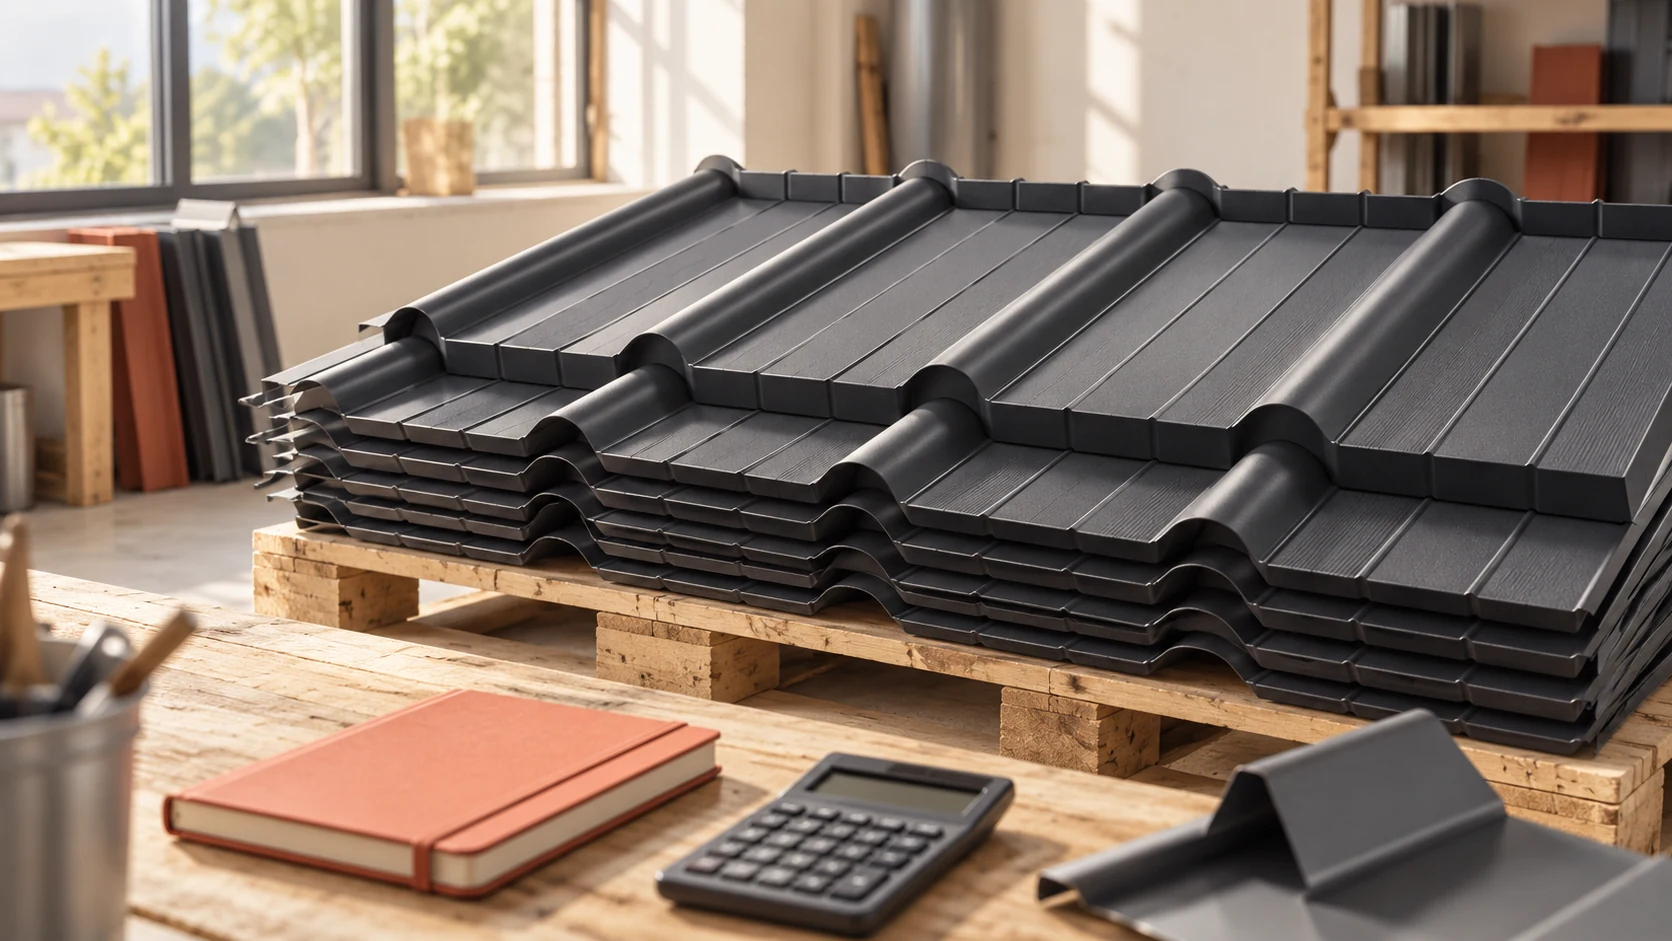
To compare prices, establish which square metre the supplier charges for, how much material the roof needs and what is included. Coating,…
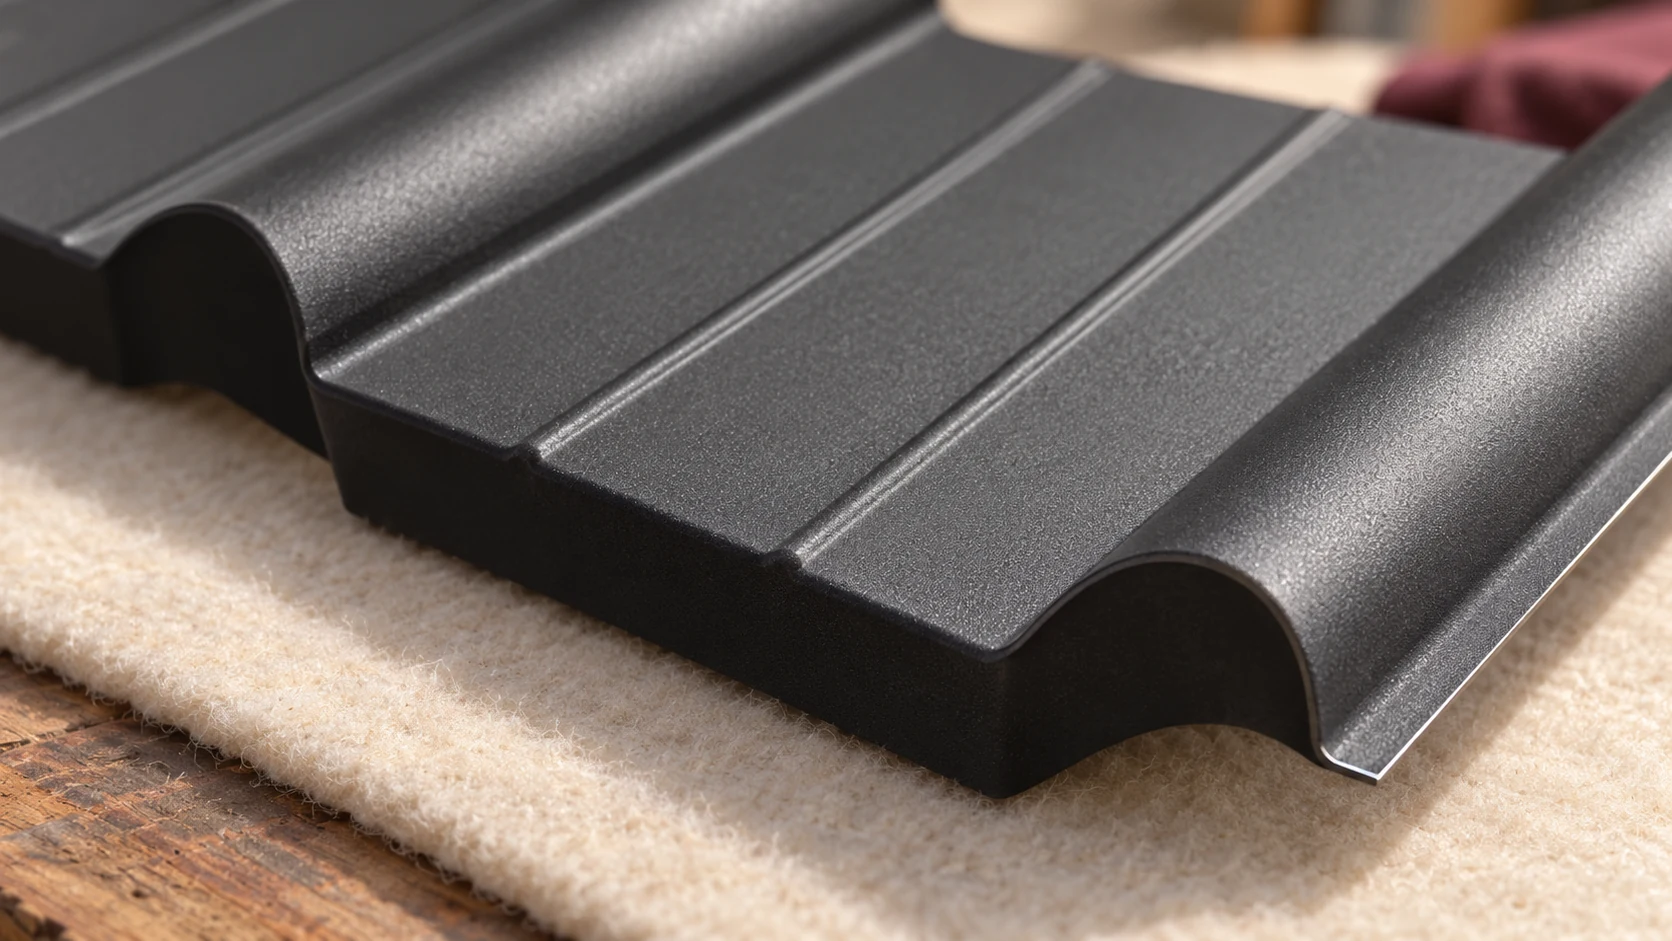
Colour is only one feature of a tile-profile roofing sheet. Under the finish is a steel core with protective layers, each serving…
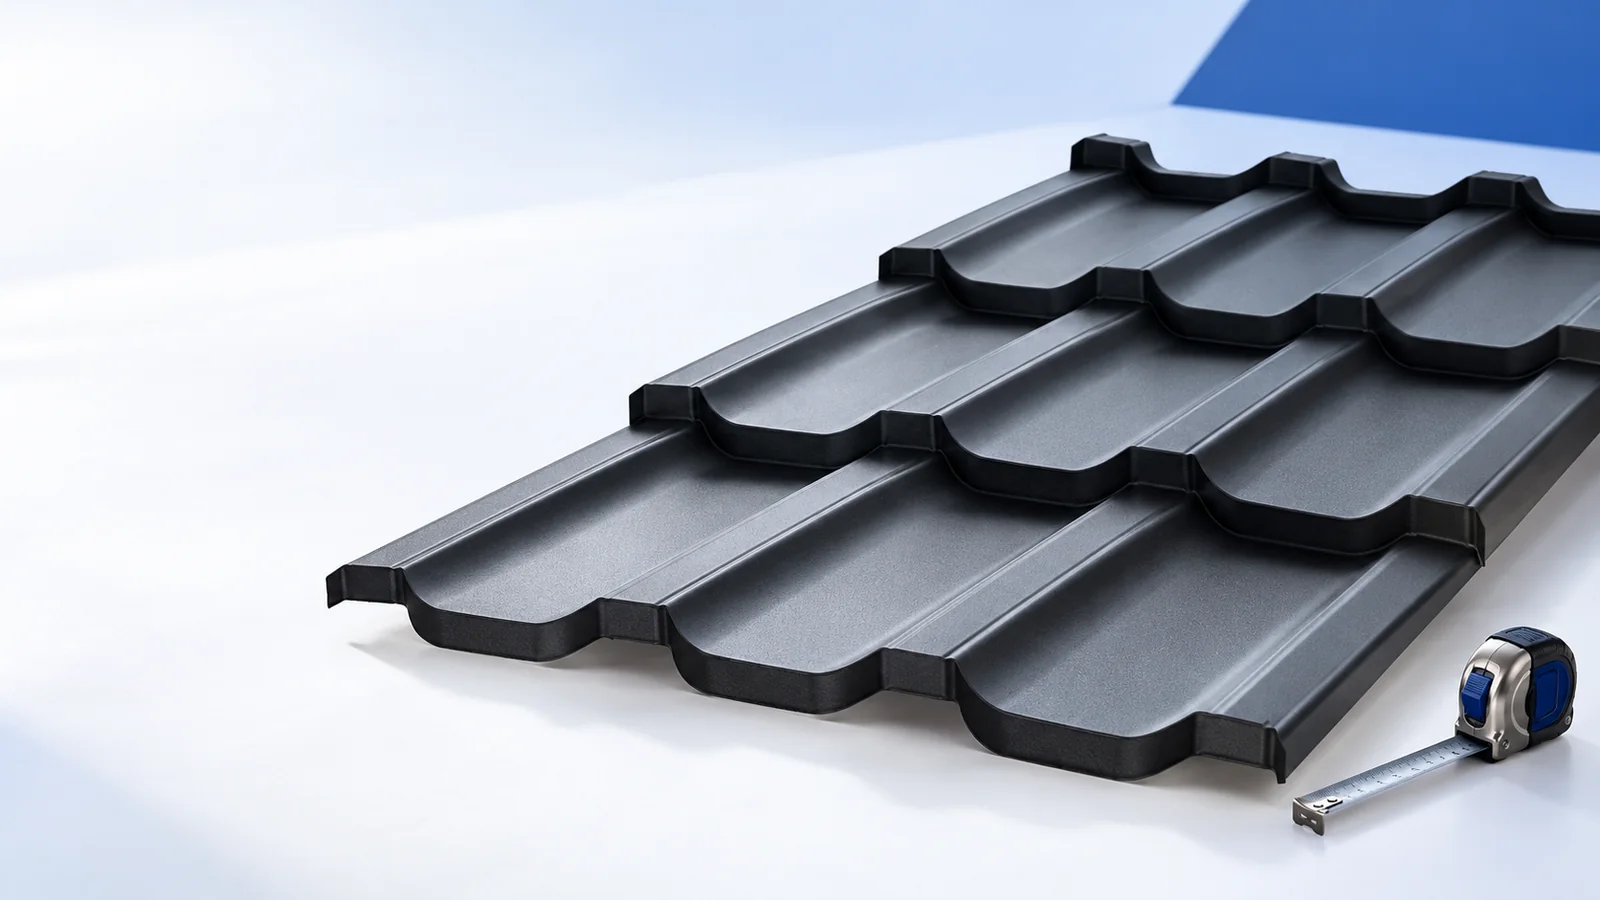
Ask the supplier for a sheet layout based on measurements of the completed roof frame. It should identify the profile, coating and…
The choice between one-course and two-course metal roofing sheets starts with a scale drawing of the roof. Mark the valleys, hips and…
Sheet format affects how a roof is delivered and installed. A long sheet can cover an uninterrupted strip of slope, whereas small…
Ask the roofer to explain one difficult junction on your drawings and show an example from a comparable job. This gives you…
Compare the weight of the proposed coverings per square metre of finished roof, then ask whether the roof structure can carry the…
Measure the upper and lower slopes separately before ordering a mansard roof covering. A profile suitable for the steep lower section must…
