Specifying termPIR ETX for the façade of a commercial building
PIR insulation
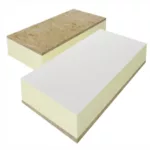
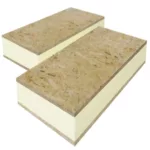
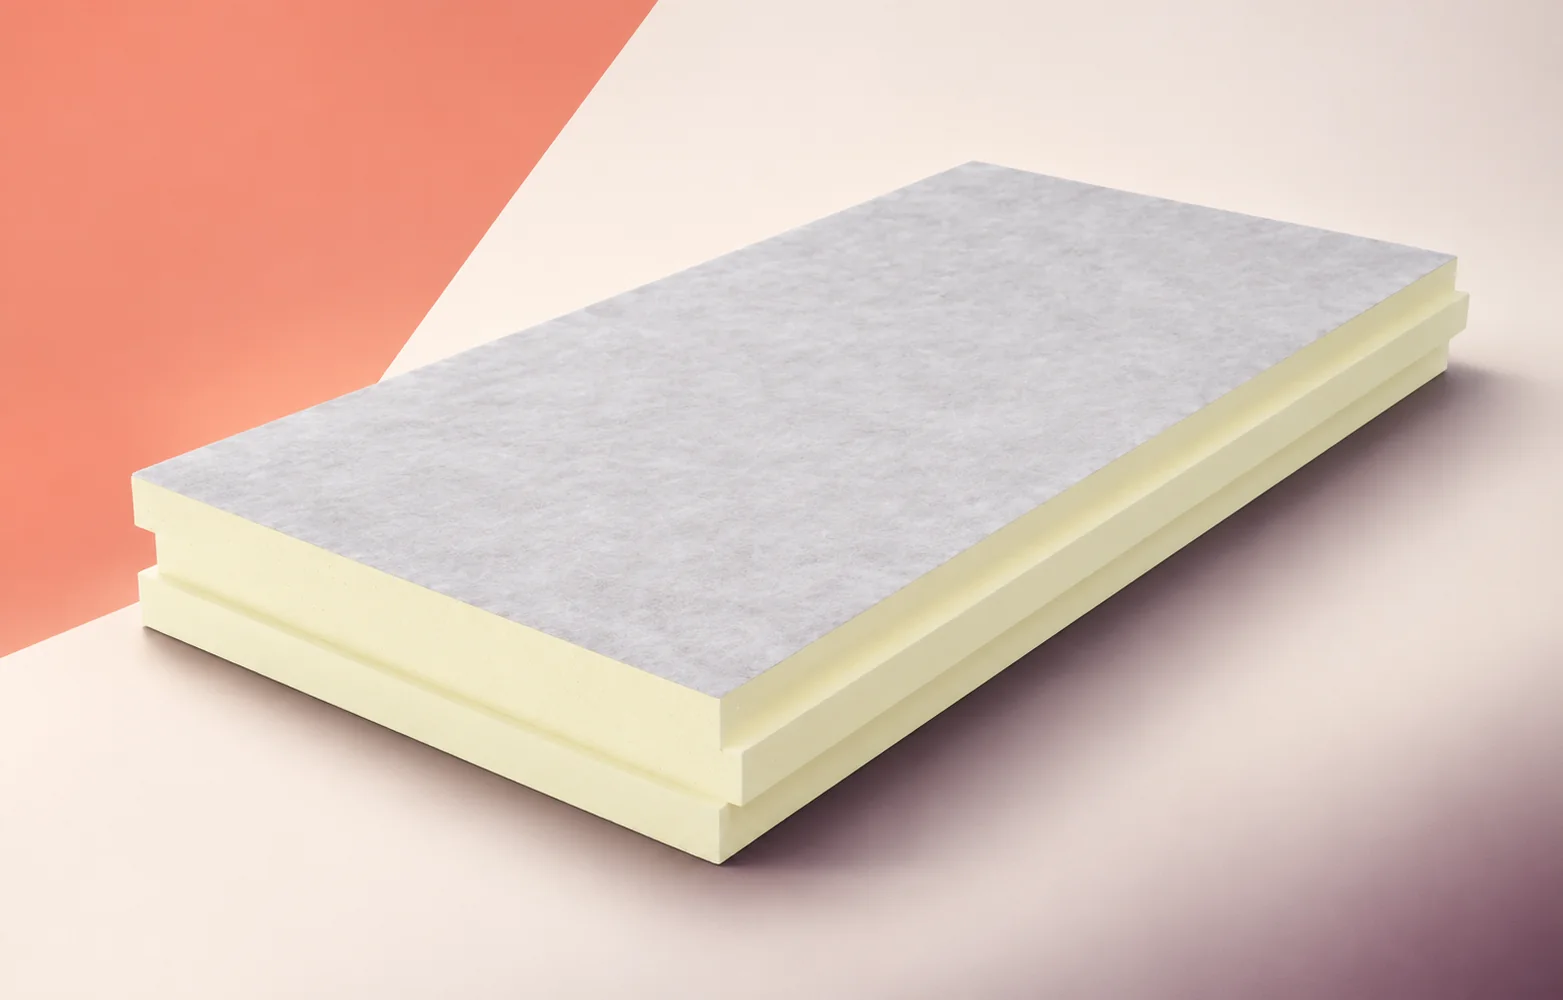
When specifying termPIR ETX external insulation for a commercial building, start the take-off at the windows. The width of the reveal limits the insulation depth at the frame, while the position of the finished façade determines the sill projection. The board has a rigid PIR core and a gas-permeable glass fleece facing for use in an external thermal insulation composite system (ETICS). Before ordering, establish which thicknesses the chosen system covers, what the fixings will anchor into and how the insulation meets the window. Mark corner fixing zones on the elevation. Allow at least one month between manufacture and installation, as the manufacturer requires.
In this guide
Measuring reveals and sills
Mark the exposed frame width, render line and sill position on a plan section through a typical window. Measure several windows. Frames set at different depths can require different cuts even where the openings are the same size.
Assign a detail from the selected ETICS documentation to each recurring reveal. Check that it covers the substrate, board type and thickness, and the render termination at the frame. Use that detail to measure the required profiles in linear metres.
Fixings in the main wall area and at corners
CS(10/Y)120 describes the board under compression. Specifying anchors requires other information, including the load-bearing substrate, wind action and anchor performance in that masonry. Mark the designed boundary of each corner zone on the elevation.
Distinguish the board from the finished façade when checking fire performance. The reaction-to-fire class of the uninstalled termPIR ETX board is F at 20–49 mm and E at 50–250 mm. Check the classification of the specified complete build-up against the project requirement.
Which conductivity applies to each thickness?
The ETX data sheet gives λD = 0.027 W/(m·K) from 20 mm up to but excluding 80 mm. From 80 mm up to but excluding 120 mm it gives 0.026, and from 120 to 250 mm inclusive it gives 0.025 W/(m·K). Pair each thickness in the schedule with its own value.
For example, the manufacturer lists a declared thermal resistance of 3.05 m²·K/W for an 80 mm board and 4.80 m²·K/W for a 120 mm board. At the window, a section through the wall-to-frame junction is also needed to assess heat flow.
Board orientation and checks at the first window
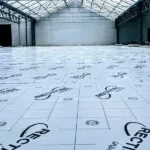
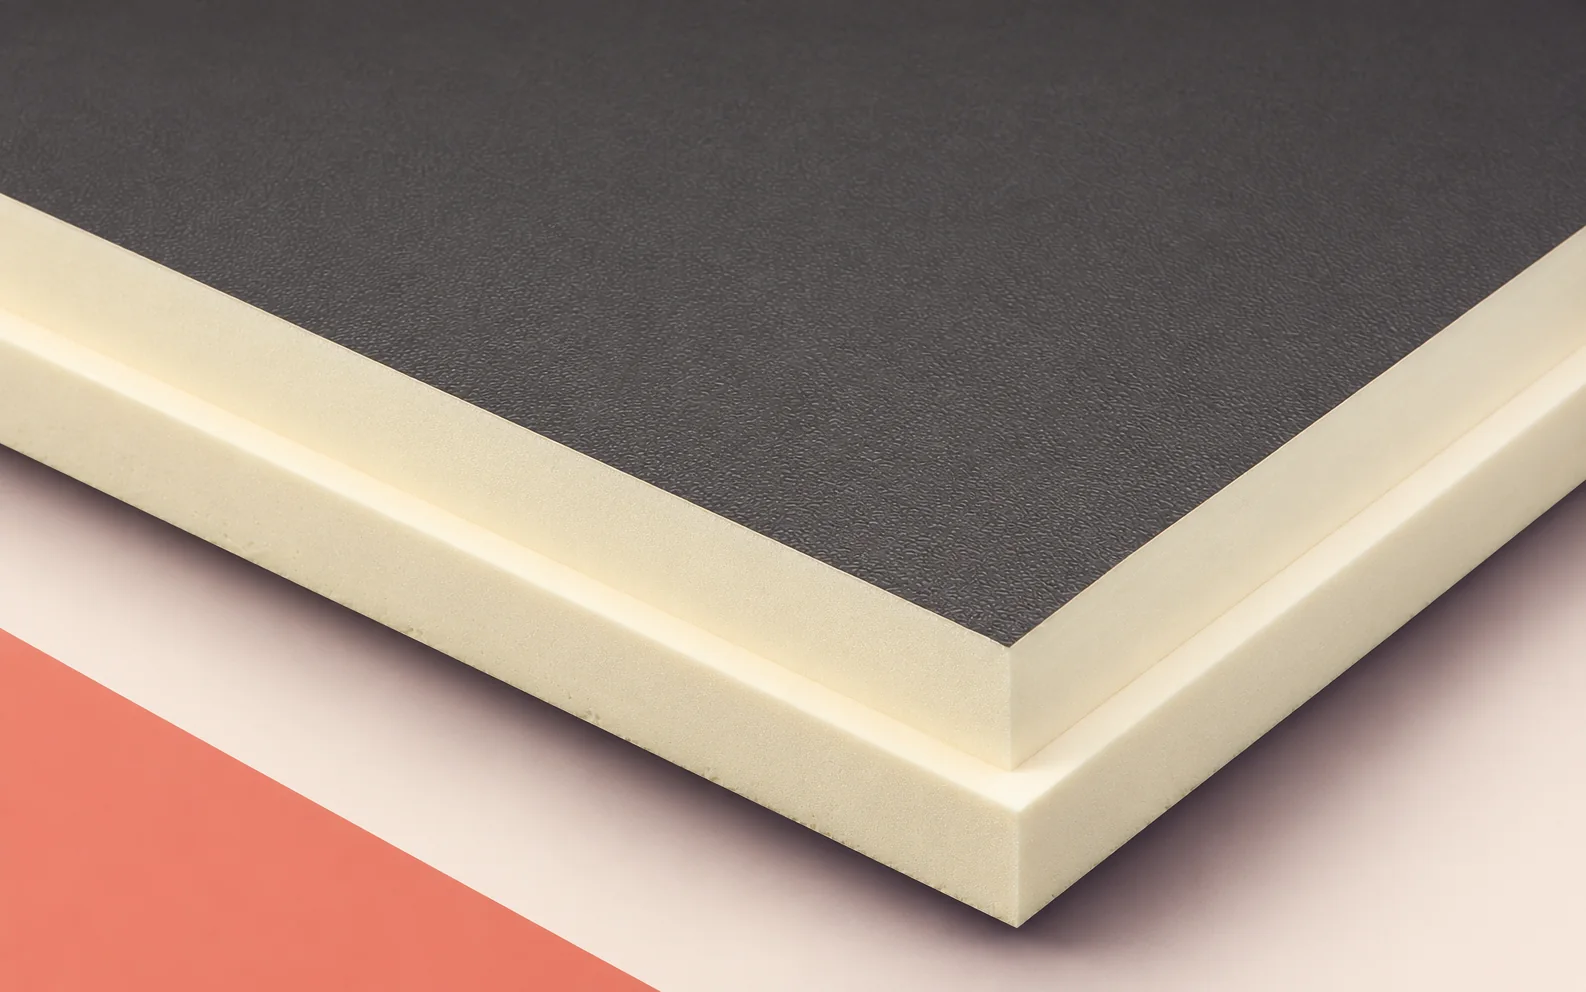
Show the crew the print on the board before bonding starts. In this system the printed face goes against the wall. Check the first board before the adhesive conceals the marking, then stagger the joints in successive courses.
At the first opening, compare the cuts around the window corners with the system drawing. Check the plane of the boards and the profile positions before applying the reinforced base coat. Record the measurements for the crews working on subsequent openings.
Assessing existing render before bonding
Map the existing wall by the condition of its finish. Mark detached render, peeling paint and damp areas before positioning pallets so the delivery leaves repair areas accessible.
Once unsound layers have been removed, inspect the surface that will receive the adhesive. It should be sound, even, dry and clean. Where efflorescence is present, establish the source of moisture before covering the wall. Record findings against the scaffold bay concerned.
Ordering materials for one elevation
The standard board measures 600 × 1200 mm. Use effective cover for profiled edges. For each elevation, allow for cuts around openings, reinforcement, fixings, profiles and sill flashings as specified in the system.
Read the manufacturing date on every pack. If two batches arrive together, assign each its earliest installation date, observing the required one-month interval. Allocate packs to scaffold bays so the right batch is available as work proceeds.

Free quote
What to include in your enquiry
Tell us how you plan to use the material, the dimensions and the quantity you need. Include the thickness, grade or variant name, along with the delivery town or your preferred collection branch. For a specific product, add its name or a link to the product page. We will reply to the email address you provide to discuss availability and the terms of your order.

Read next
Placing equipment on a roof insulated with BauderPIR FA requires the load at each foot and the load path to the structure.…
Start with the fire requirements in the building design and the function the roof must perform. A PIR roof panel can meet…
Harvest sets the deadline for work on a potato store. Allow time to assess the building, order materials, install them and test…
Every centimetre counts when insulating from the inside, particularly in a hallway or under a sloping roof. PIR boards can reduce the…
PIR insulated plasterboard combines thermal insulation with a surface ready for interior finishing. It can simplify refurbishment where space is tight and…

A changing room beside a cool factory hall calls for a different wall specification from an office between two heated rooms. Before…
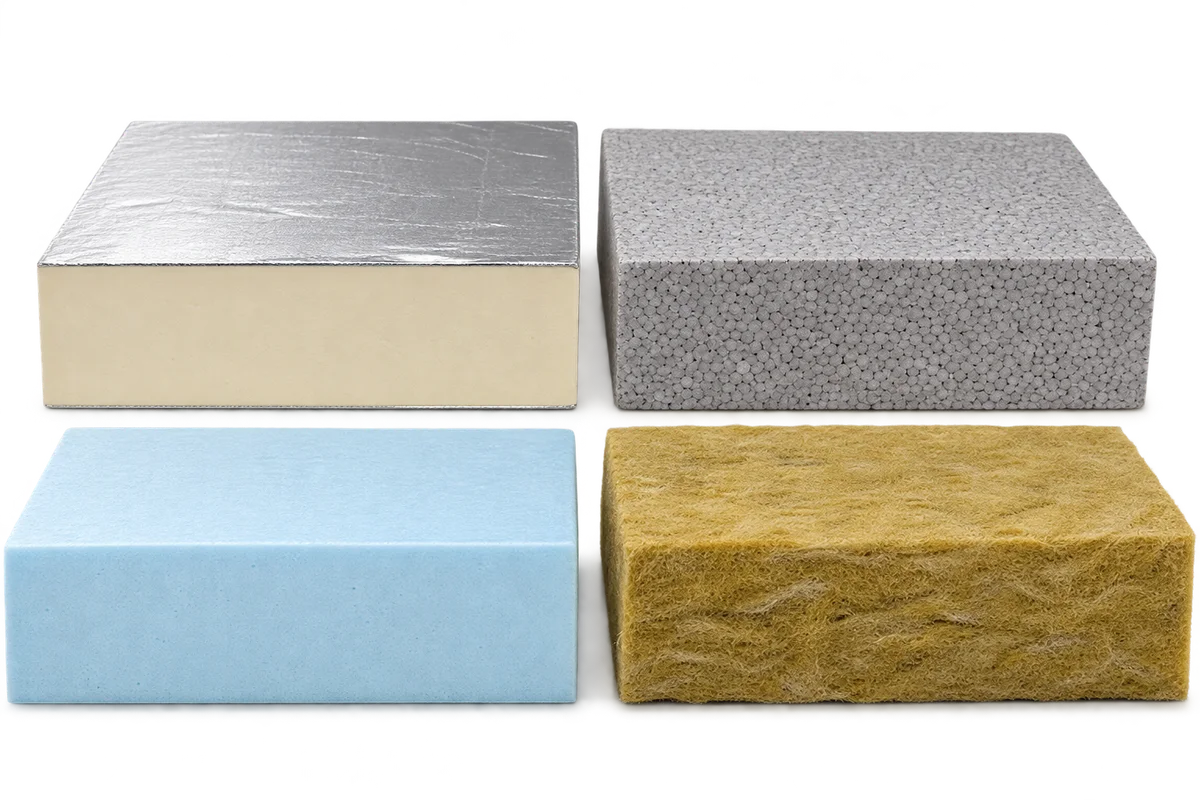
An environmental product declaration, or EPD, provides environmental impact data for the product it describes, but it is not a simple insulation…
On an industrial roof being refurbished, the space beneath the existing parapet flashing may determine which insulation fits. The termPIR MAX 19…