






How should a chimney be flashed on a metal roof?
Roof coverings
Look first at the side of the chimney facing the ridge. Runoff from the slope above reaches this side before the side flashings can carry it around the stack and the front apron can discharge it onto the sheets below. Trace that route on the actual sheet profile and plan another drainage route for water on the underlay. The flashing must meet the chimney finish securely while allowing for movement between stack and roof. Check system requirements before cutting, fixing or filling a gap. Photograph the upslope side before handover because it is often hidden from ground level.
Why is a chimney junction difficult to weatherproof?
The chimney interrupts the roof slope and its drainage path. The stack and metal covering can move relative to one another as temperatures change and the structure deflects. A rigid junction or an incorrectly arranged lap can open up over time.
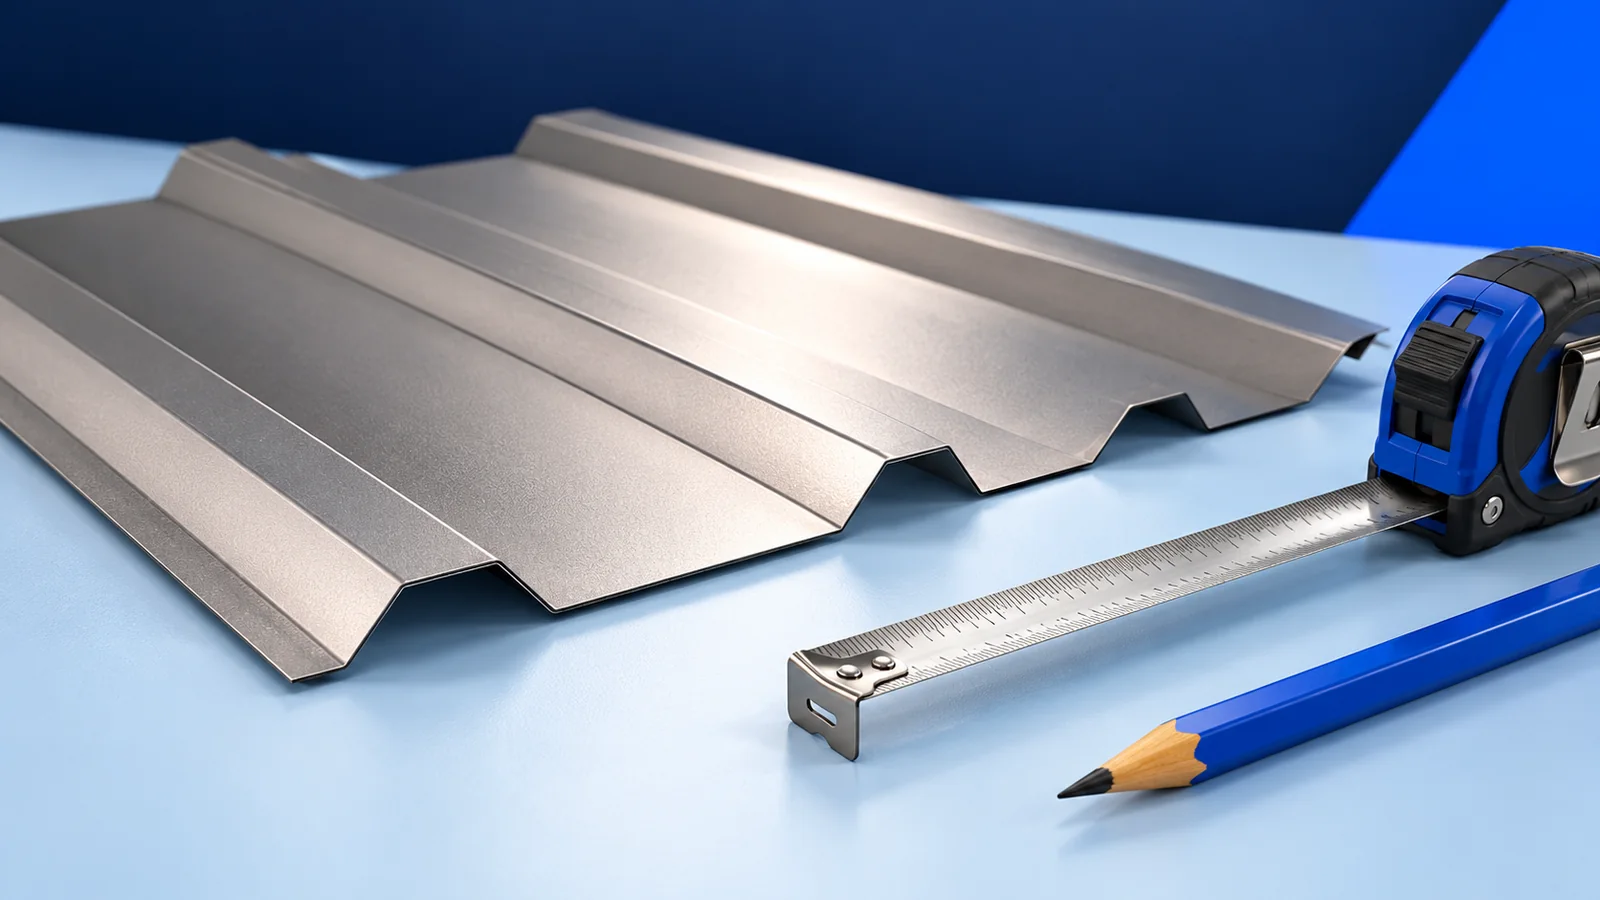
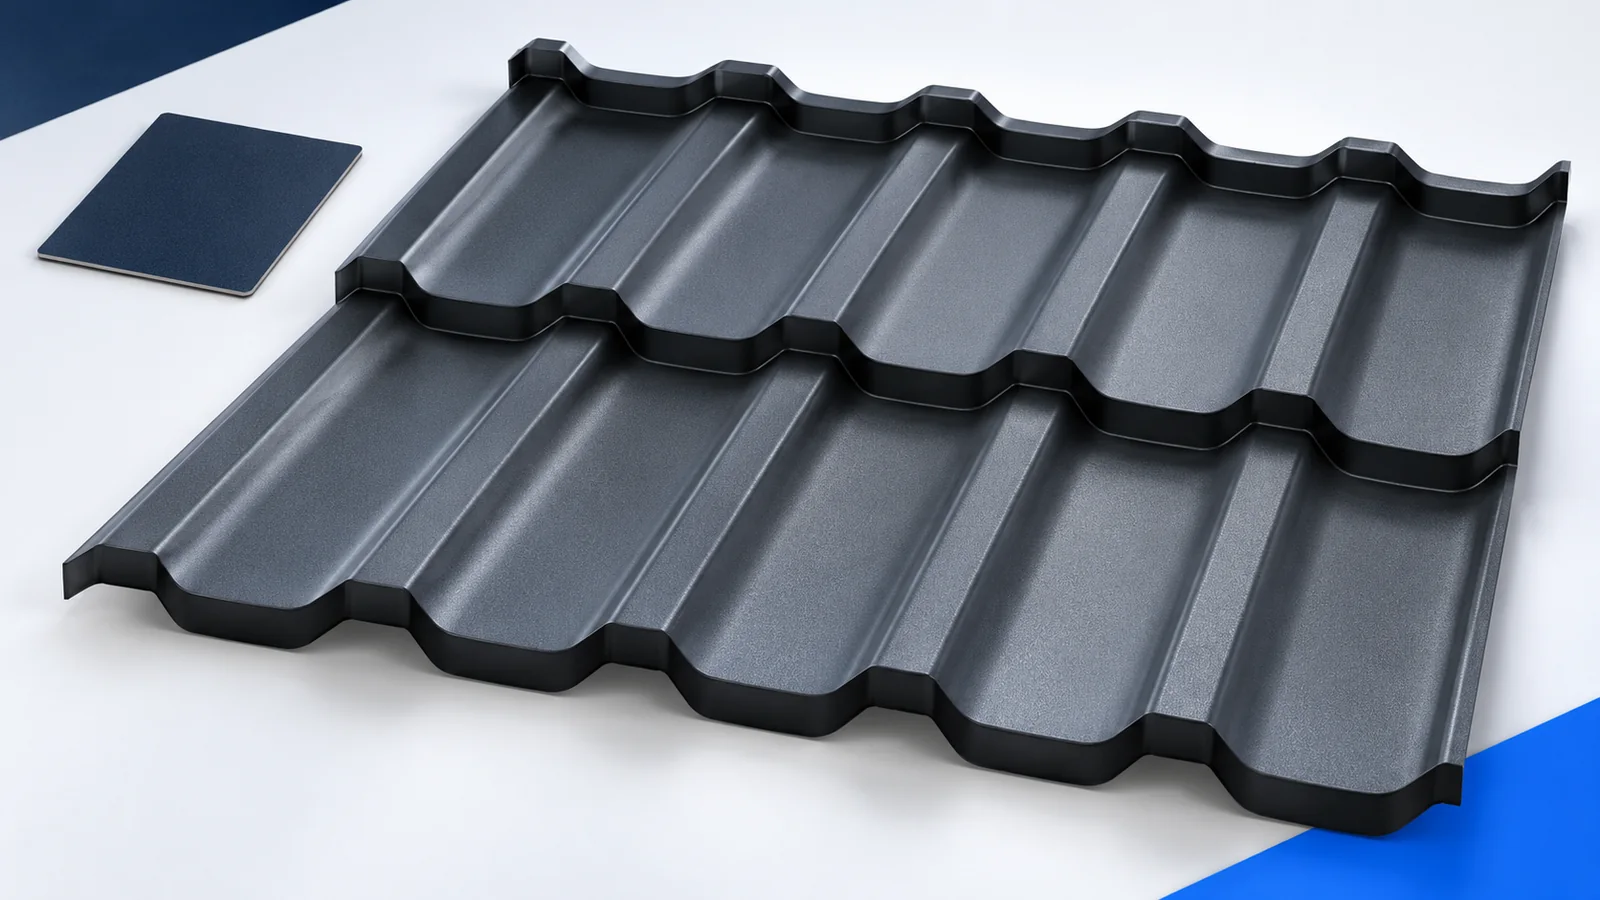
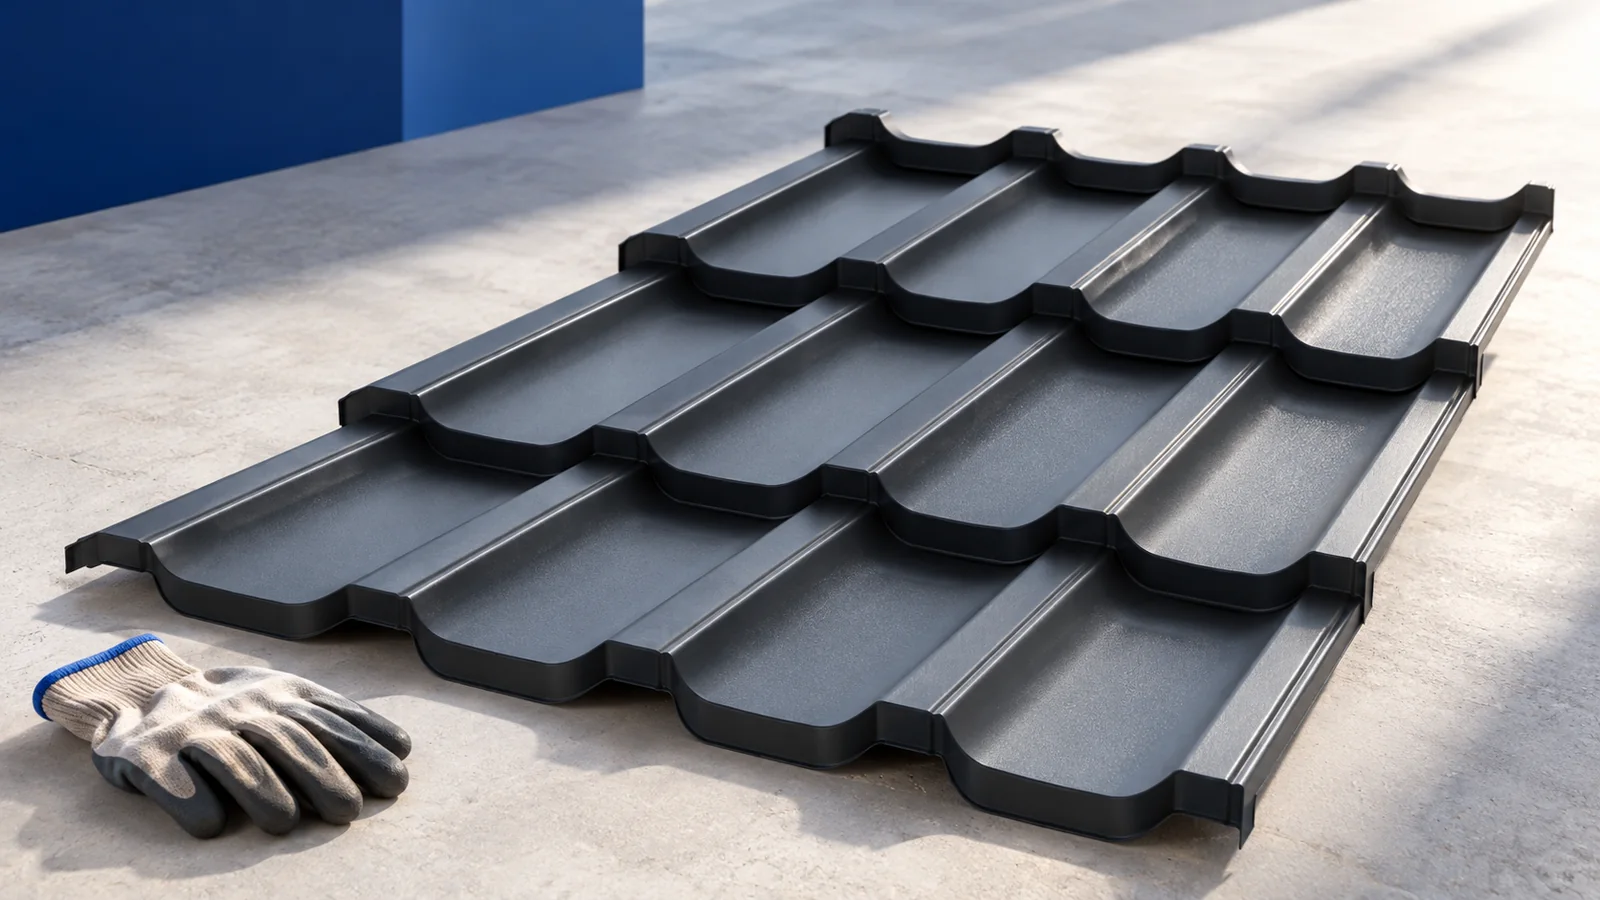
Tile-effect sheets have transverse steps; T18 and T35 sheets channel water along their ribs. A flat flashing detail will not fit each profile equally well. Check where water leaves the chimney area and whether a raised edge could trap it on the way.
Identify the chimney casing and finish on the drawings. Render and cladding present different fixing surfaces. An outer finish may not be able to carry the intended fasteners. Inspect the chimney itself before starting work on the roof covering.
What does each flashing component do?
The lower apron discharges onto the roof below, while the side flashings carry runoff along the walls of the stack. The back flashing intercepts water from above and diverts it sideways. Its shape depends on the width and position of the chimney and the roof area draining towards it. A short flat strip may be insufficient.
The upper edge against the stack needs a termination suited to its substrate and system. Do not make arbitrary cuts into a prefabricated chimney or damage its casing. Coordinate the fastening and sealing method with the instructions for both the chimney and the roof covering.
What needs to be detailed beneath the visible flashing?
The roofing underlay also needs a proper junction at the penetration. Provide a drainage route for water that reaches this level. A new surface flashing may leave the leak unresolved if the underlay connection is missing, particularly when replacing an older roof covering.
Observe the specified clearances and protection around parts that get hot. General-purpose expanding foam is not suitable for every gap around a chimney. Insulation materials differ in their behaviour in fire. The joint must meet the chimney system’s requirements even where the gap will be out of sight.
How should you select sheet metal and sealants?
Select flashing material for the roof exposure and check compatibility with adjacent metals. Consider corrosion protection as well as colour and texture. A broad flashing in a different shade can stand out more than small colour variations between roof sheets.
Use sealant as part of a detail that already sheds water. Match it to the substrate, temperature range and outdoor exposure, and prepare the surfaces as instructed. Adding sealant over a dirty, detached joint obscures the fault and gives an unreliable repair.
What should you inspect during installation?
Arrange laps so water passes over each lower piece. Keep unplanned penetrations out of concentrated flow paths. Cut the surrounding sheets to leave room for the designed flashings. A tight fit restricts movement, while excessively wide gaps are harder to cover reliably.
Remove swarf after cutting and inspect the coating. At corners, several flashing pieces meet; an incorrect fold or lap sequence can admit water. Include the ridge-facing side in the inspection, even if it cannot be seen from the yard. Keep a photograph for later checks.
How can you trace a leak?
A damp patch beside the stack does not pinpoint a fault in the lower apron. Water may travel from higher up the roof, enter through a cracked casing or come from another leaking detail. Trace its path before repairing the flashing. Where needed, the roofer should also inspect beneath the sheets.
Once the cause is known, replace damaged parts or revise the detail as required. Repeated applications of sealant can postpone an effective repair. For a quotation, provide photos from every side, identify the covering and describe the chimney. Arrange safe access on the roof for a complete inspection.

Free quote
What to include in your enquiry
Tell us how you plan to use the material, the dimensions and the quantity you need. Include the thickness, grade or variant name, along with the delivery town or your preferred collection branch. For a specific product, add its name or a link to the product page. We will reply to the email address you provide to discuss availability and the terms of your order.



Read next
Inspect a metal roof after winter from the ground and, where safely accessible, from the loft. Compare the eaves, gutters and sheet…
A concealed gutter can give a metal roof a straight eaves line if the detail leaves room for the gutter, the downpipe,…
Draw a section through the house and trace the heated space with a continuous line. In a cold loft the insulation can…
Compare tile-effect steel sheets by the square metre of roof they actually cover. For example, a Polish price list effective from 28…
Price the roof you need, not just the sheet you can buy most cheaply. An open terrace may need little more than…
A roof flashing takes rainwater past a point where the covering stops or changes direction. To draw up a flashing schedule, follow…
Every penetration interrupts the roof covering. Plan pipes, vents and brackets with the fibre-cement sheet layout before delivery. The services contractor needs…
Choose roof panel thickness by comparing complete configurations against the building design. Start with indoor temperature, humidity and heating hours. A warehouse,…
