






Installing roof sandwich panels: supports, joints and weatherproof details
Sandwich panels
Plan the joints before ordering roof sandwich panels. Show the supports, laying direction, end laps, rooflights and penetrations on the layout drawing. The manufacturer’s requirements for the particular panel determine such details as the seals, fasteners and preparation of the panel ends. Check the support lines before lifting the first panel: a fastener should not have to pull an element into line with a crooked purlin. During installation inspect each seal while it is still visible. At the eaves, ridge and openings, check how water leaves the roof and how the exposed core will be protected.
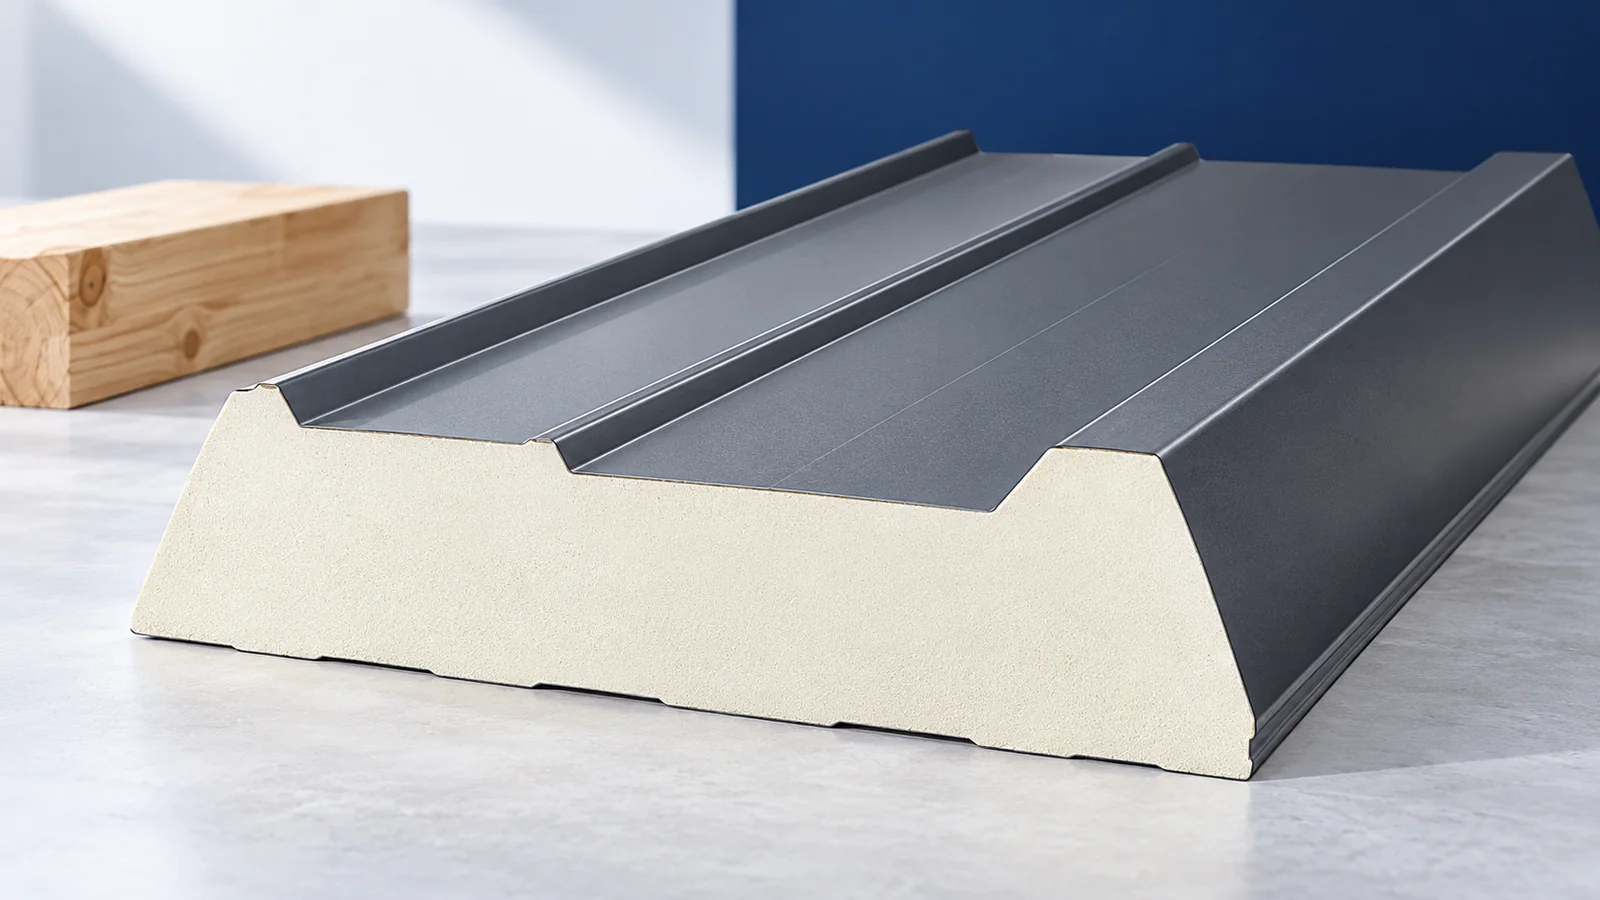
What should be checked before delivery?
The design should specify panel type and thickness, roof pitch, support spacing and fixings. Match the lengths to the roof and any end-lap positions. Set out rooflights and service penetrations early. An unplanned opening can impair load capacity or require additional framing.
Check delivery access and lifting arrangements before ordering. Long panels are sensitive to poor support and gusts of wind. Select equipment for their actual weight and geometry; methods used for short metal sheets may not be suitable. Include safe working at height in the installation plan.
If work is staged, protect the unfinished roof between shifts. Open edges and unclosed joints may need temporary protection from rain. Secure loose panels against wind. Arrangements for breaks and overnight protection belong in the installation sequence.
How should you inspect panels and prepare the supports?
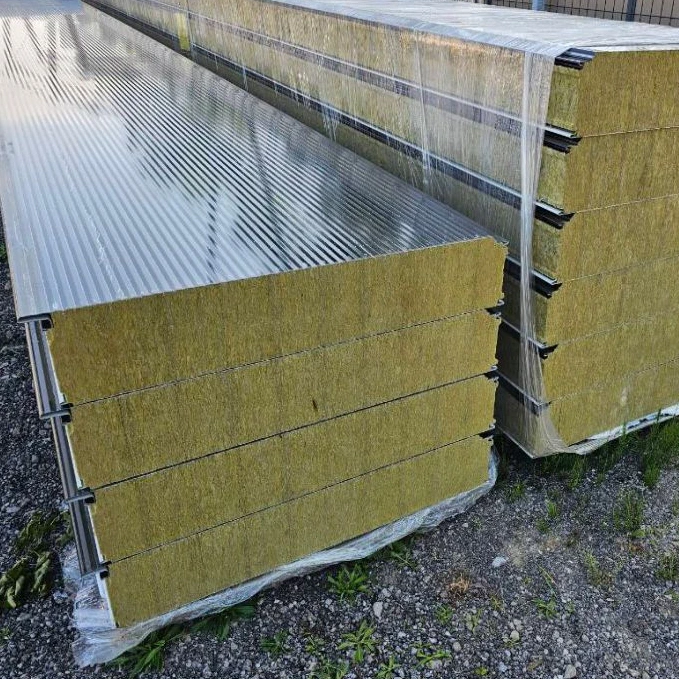
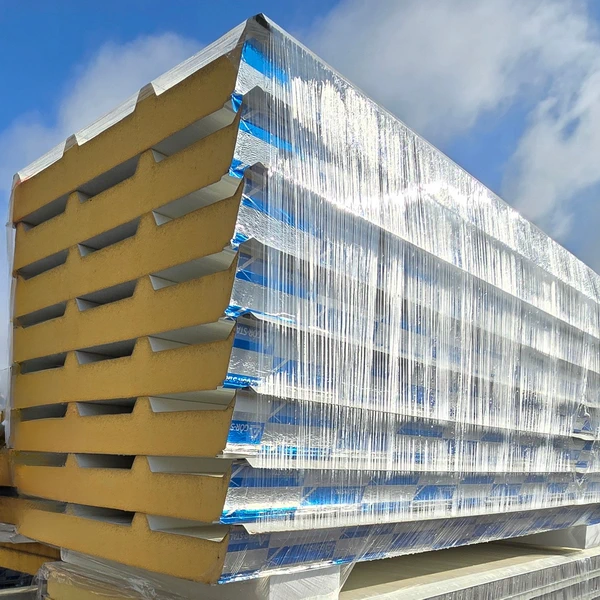
Inspect packaging, facings, edges and joints. A damaged joint can prevent a weatherproof fit even when the centre of the panel looks intact. Store panels as directed, protected from moisture and distortion. Peel-off film is not permanent storage protection.
Verify bearing widths, levels and alignment. Support spacing must match the load table used in the design. Do not force panels onto an uneven structure with their fasteners. Check supports for flashings and openings before laying; adding one afterwards can be difficult.
How do you set out and join the panels?
Align the first panel with the roof geometry and the laying direction of its side joint. Its position sets the line for adjacent panels. Check alignment at the eaves and the fit along the full joint. Do not force damaged edges together or cut away parts of the joint to make it fit.
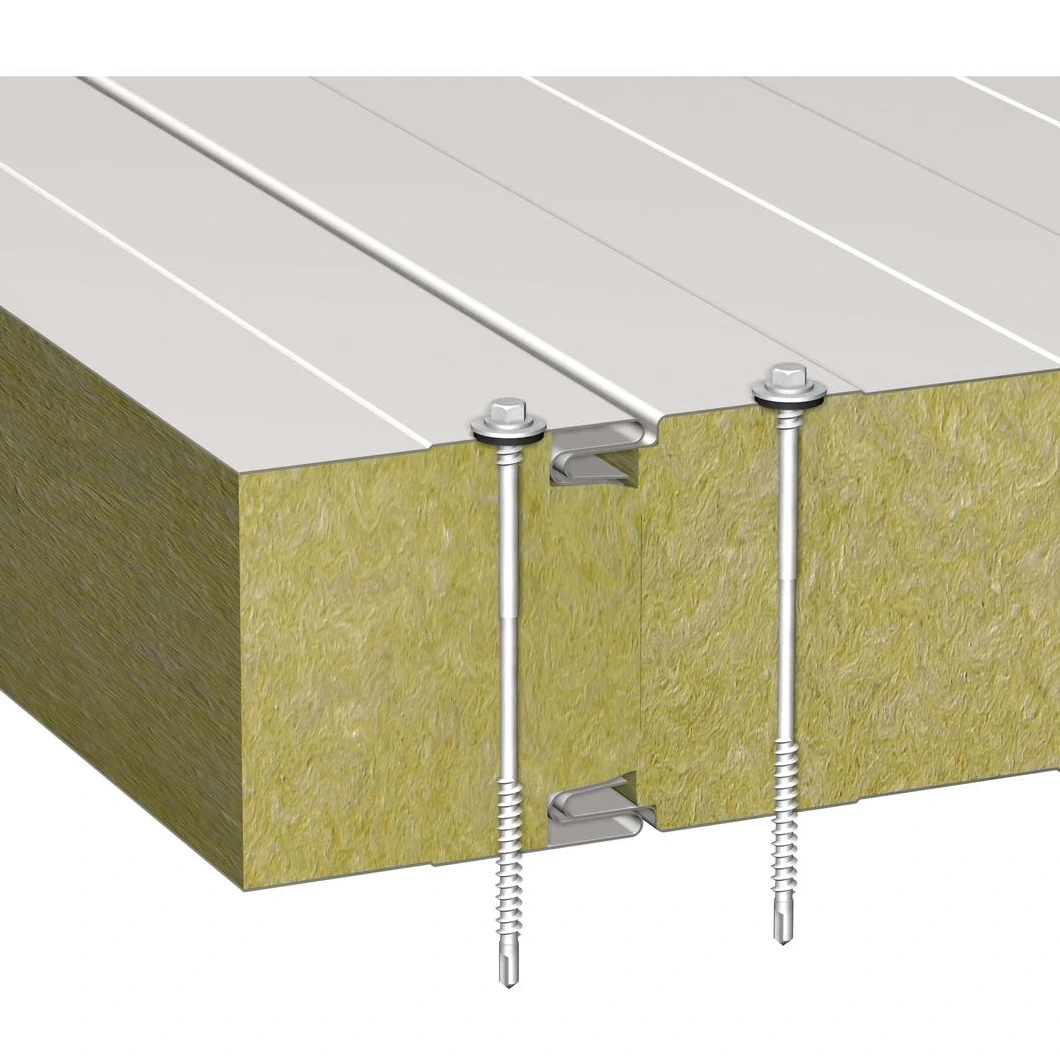
Place every seal where specified. Some are factory fitted; others are applied on site. A closed-looking joint does not prove resistance to rain or air leakage. In a heated building the internal air seal must be continuous. Dirt or moisture on the contact surfaces can impair sealing.
How should you form fixings and end laps?
Choose screws for the support material and thickness as well as the panel depth. The design loads govern quantity and layout. Use the specified washers and load-spreading components where required. Overtightening can damage the facing or crush the core locally.
An end lap needs prepared ends and a suitable bearing. The required overlap and seals depend on the system and pitch. A roof with end laps may need a steeper pitch than an uninterrupted run. Use panels prepared for the planned joint rather than improvising a lap from an arbitrary cut.
How are the eaves, ridge and openings finished?
Flashings shed rain, cover exposed core and close junctions with adjoining construction. They must fit the actual panel profile. Provide drainage at the eaves and the specified closure at the high point. Do not copy a ventilated batten-roof detail onto a sandwich panel roof.
Design each penetration separately; some need supplementary framing. Panels are not a general-purpose base for heavy equipment. After cutting, protect edges as specified and remove swarf. Use tools that do not overheat the facings. Sealant alone is no durable substitute for a correctly shaped flashing.
What should you inspect after installation?
Check side joints, end laps, fixings, coatings, wall connections and drainage. Remove protective film within the time and in the sequence specified. Clear swarf, seal offcuts and other waste. Inspect concealed locations before closing the flashings.
Keep photographs, panel and fastener specifications and records of design changes. Agree access rules and inspection arrangements. Do not place heavy packs anywhere on the finished roof without checking the permitted locations and loads. Careful preparation is what allows large panels to be installed efficiently without improvised alterations.

Free quote
What to include in your enquiry
Tell us how you plan to use the material, the dimensions and the quantity you need. Include the thickness, grade or variant name, along with the delivery town or your preferred collection branch. For a specific product, add its name or a link to the product page. We will reply to the email address you provide to discuss availability and the terms of your order.

Read next
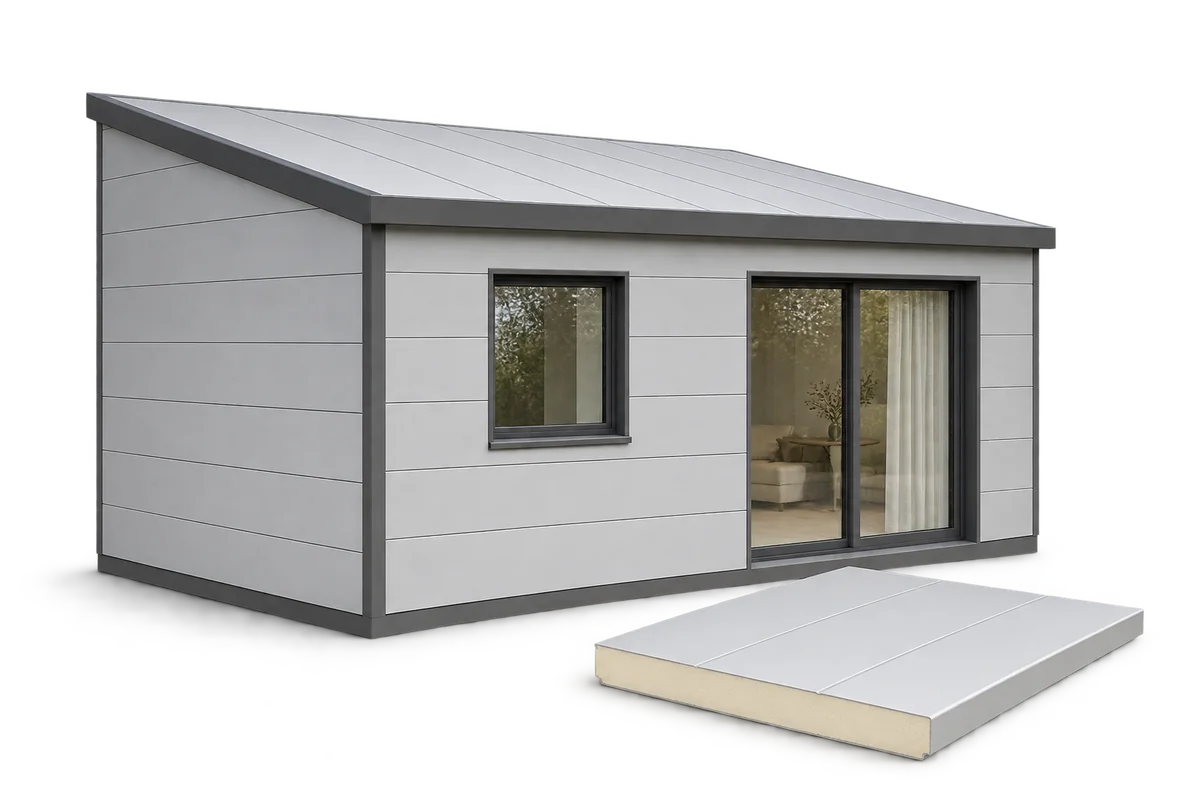
Sandwich panels can form the walls and roof of a home, but the panels alone do not make a complete building system.…
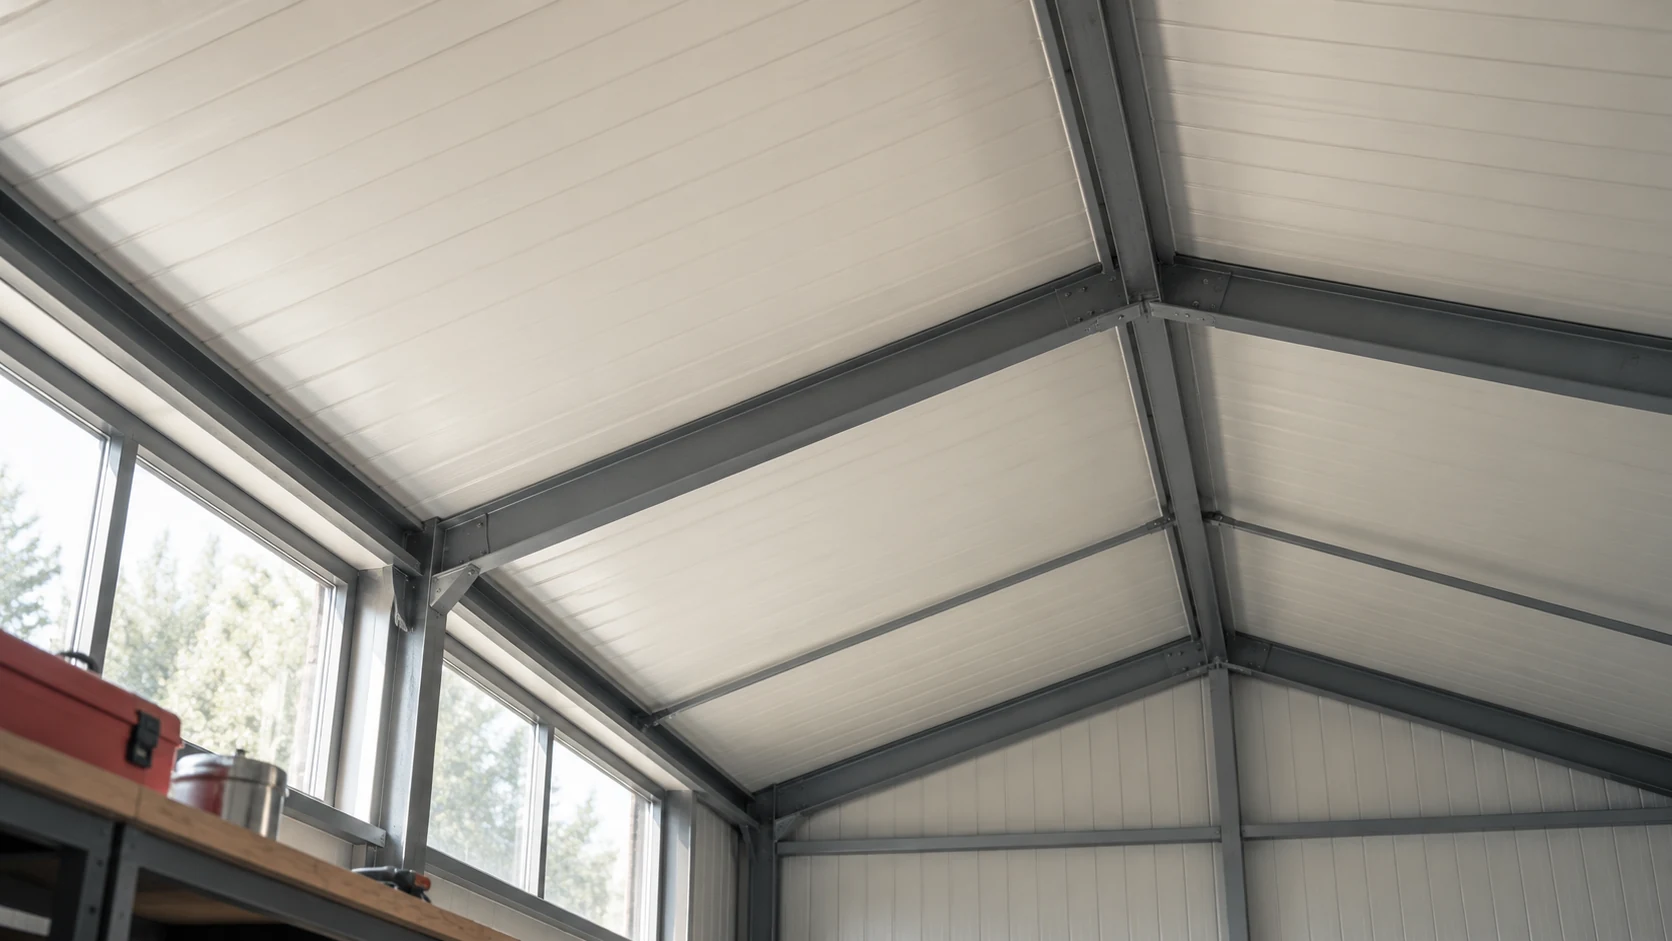
Extra insulation below a sandwich panel roof can reduce heat loss, but it also changes the temperature of the panel’s inner facing.…
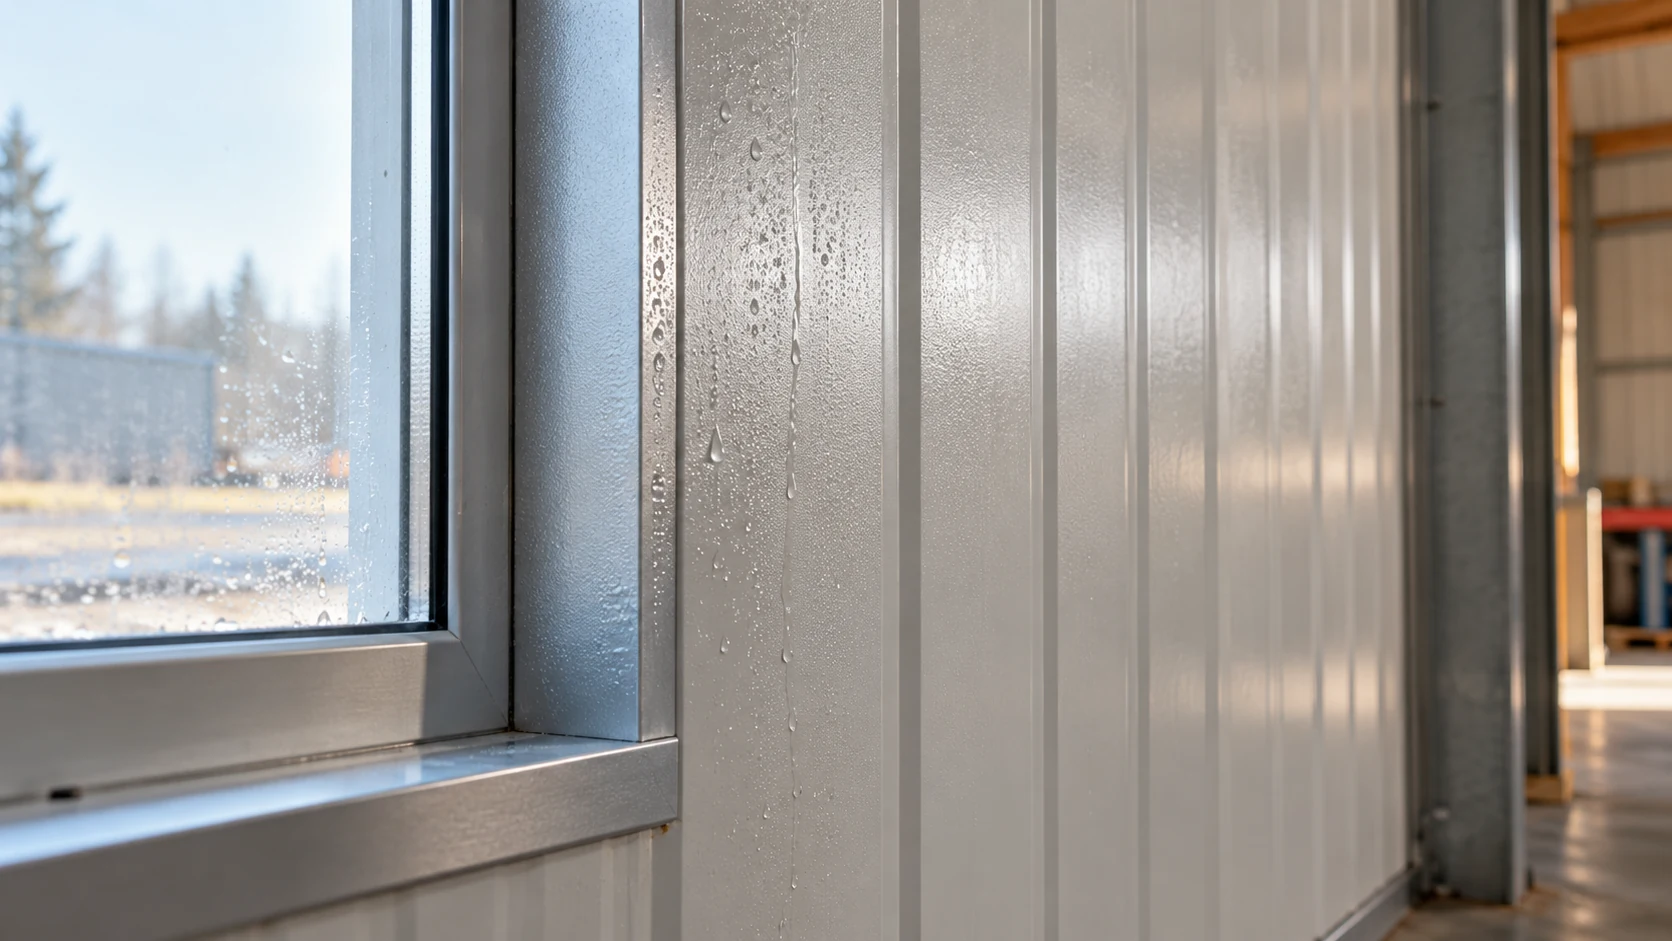
Water on a steel facing does not prove that the panel leaks. Rain, a leaking service or condensation on a cold surface…
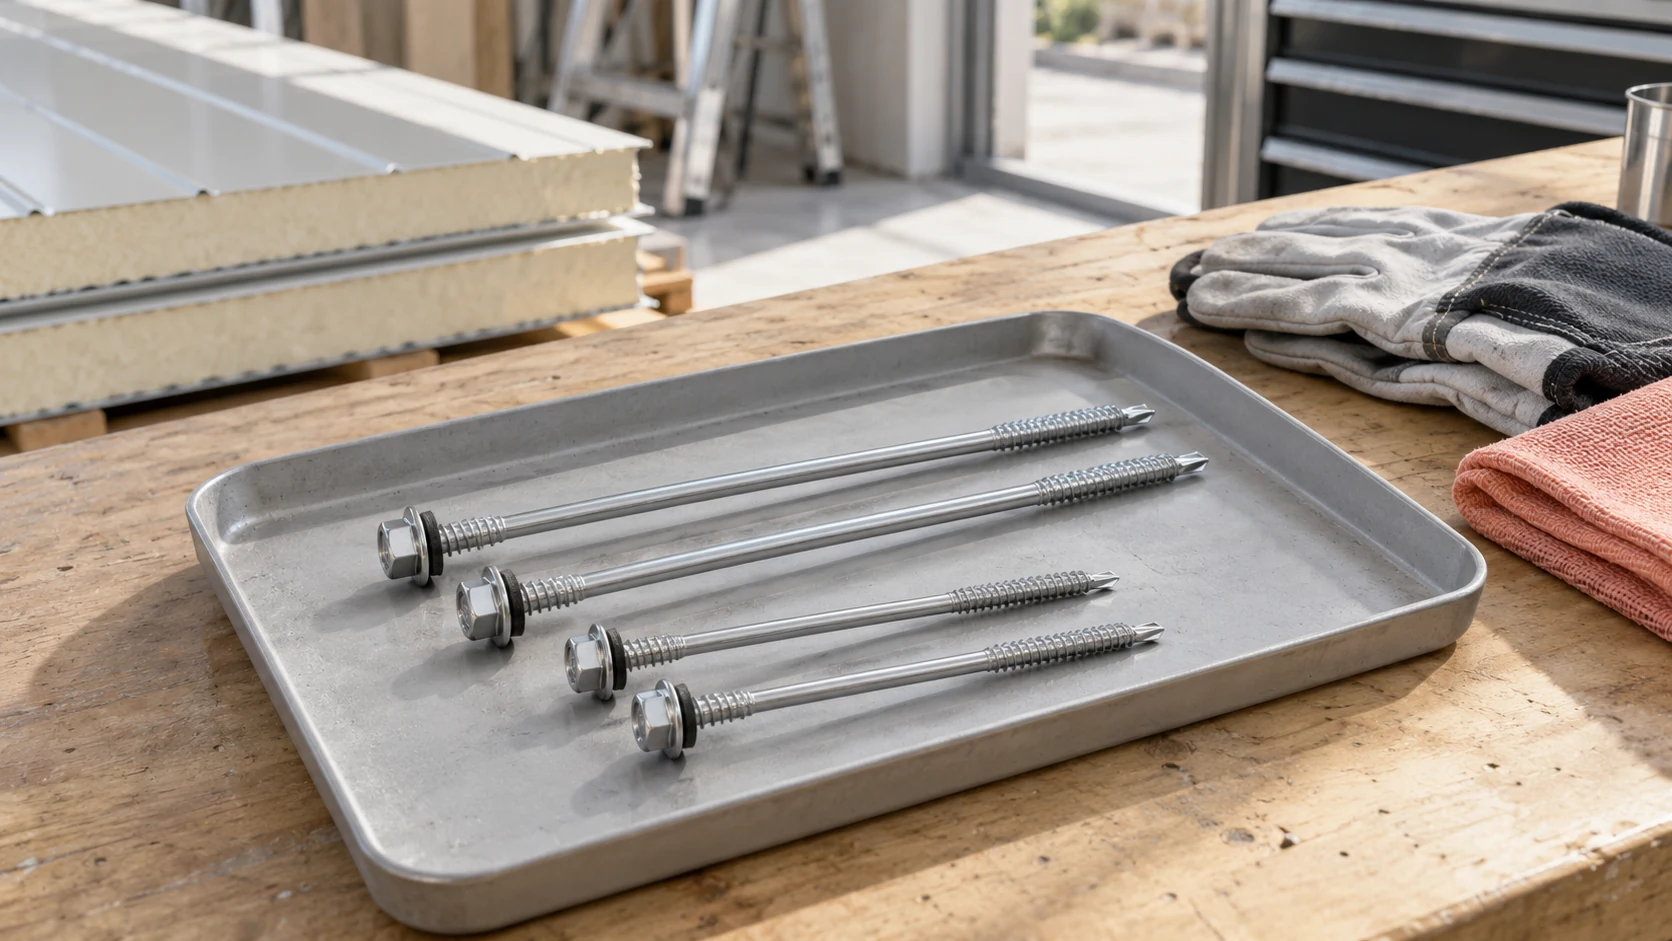
To work out how many screws to buy, start with the fixing layout for the building. It shows the panel joints, supports…
A good contractor can explain how they will build to your design, define exactly what their quote covers and show how each…
Behind a uniform façade, a 1990s house may have several different wall constructions. Some rooms may already have been altered, and drawings…
Plan a garage from the inside out. Draw the car with its doors open, then add shelving, bicycles and a clear walking…
Distance from the warehouse is a poor guide to the cost of delivering sandwich panels near Wrocław. A long trailer must be…
