






Corners and openings in sandwich panel walls: when to specify bespoke flashings
Sheet metal flashings
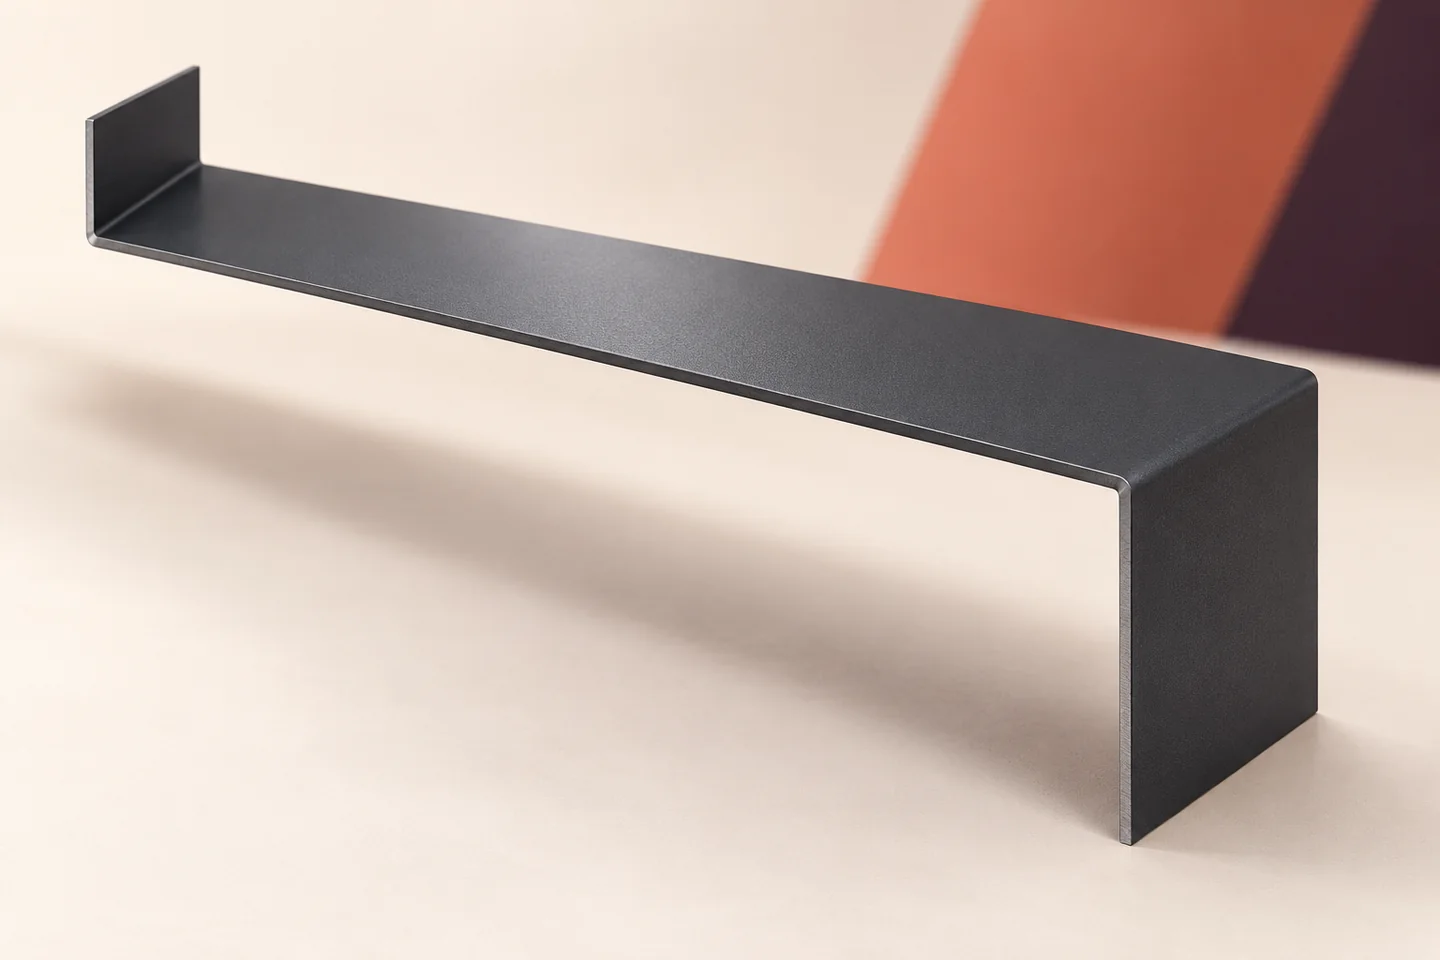
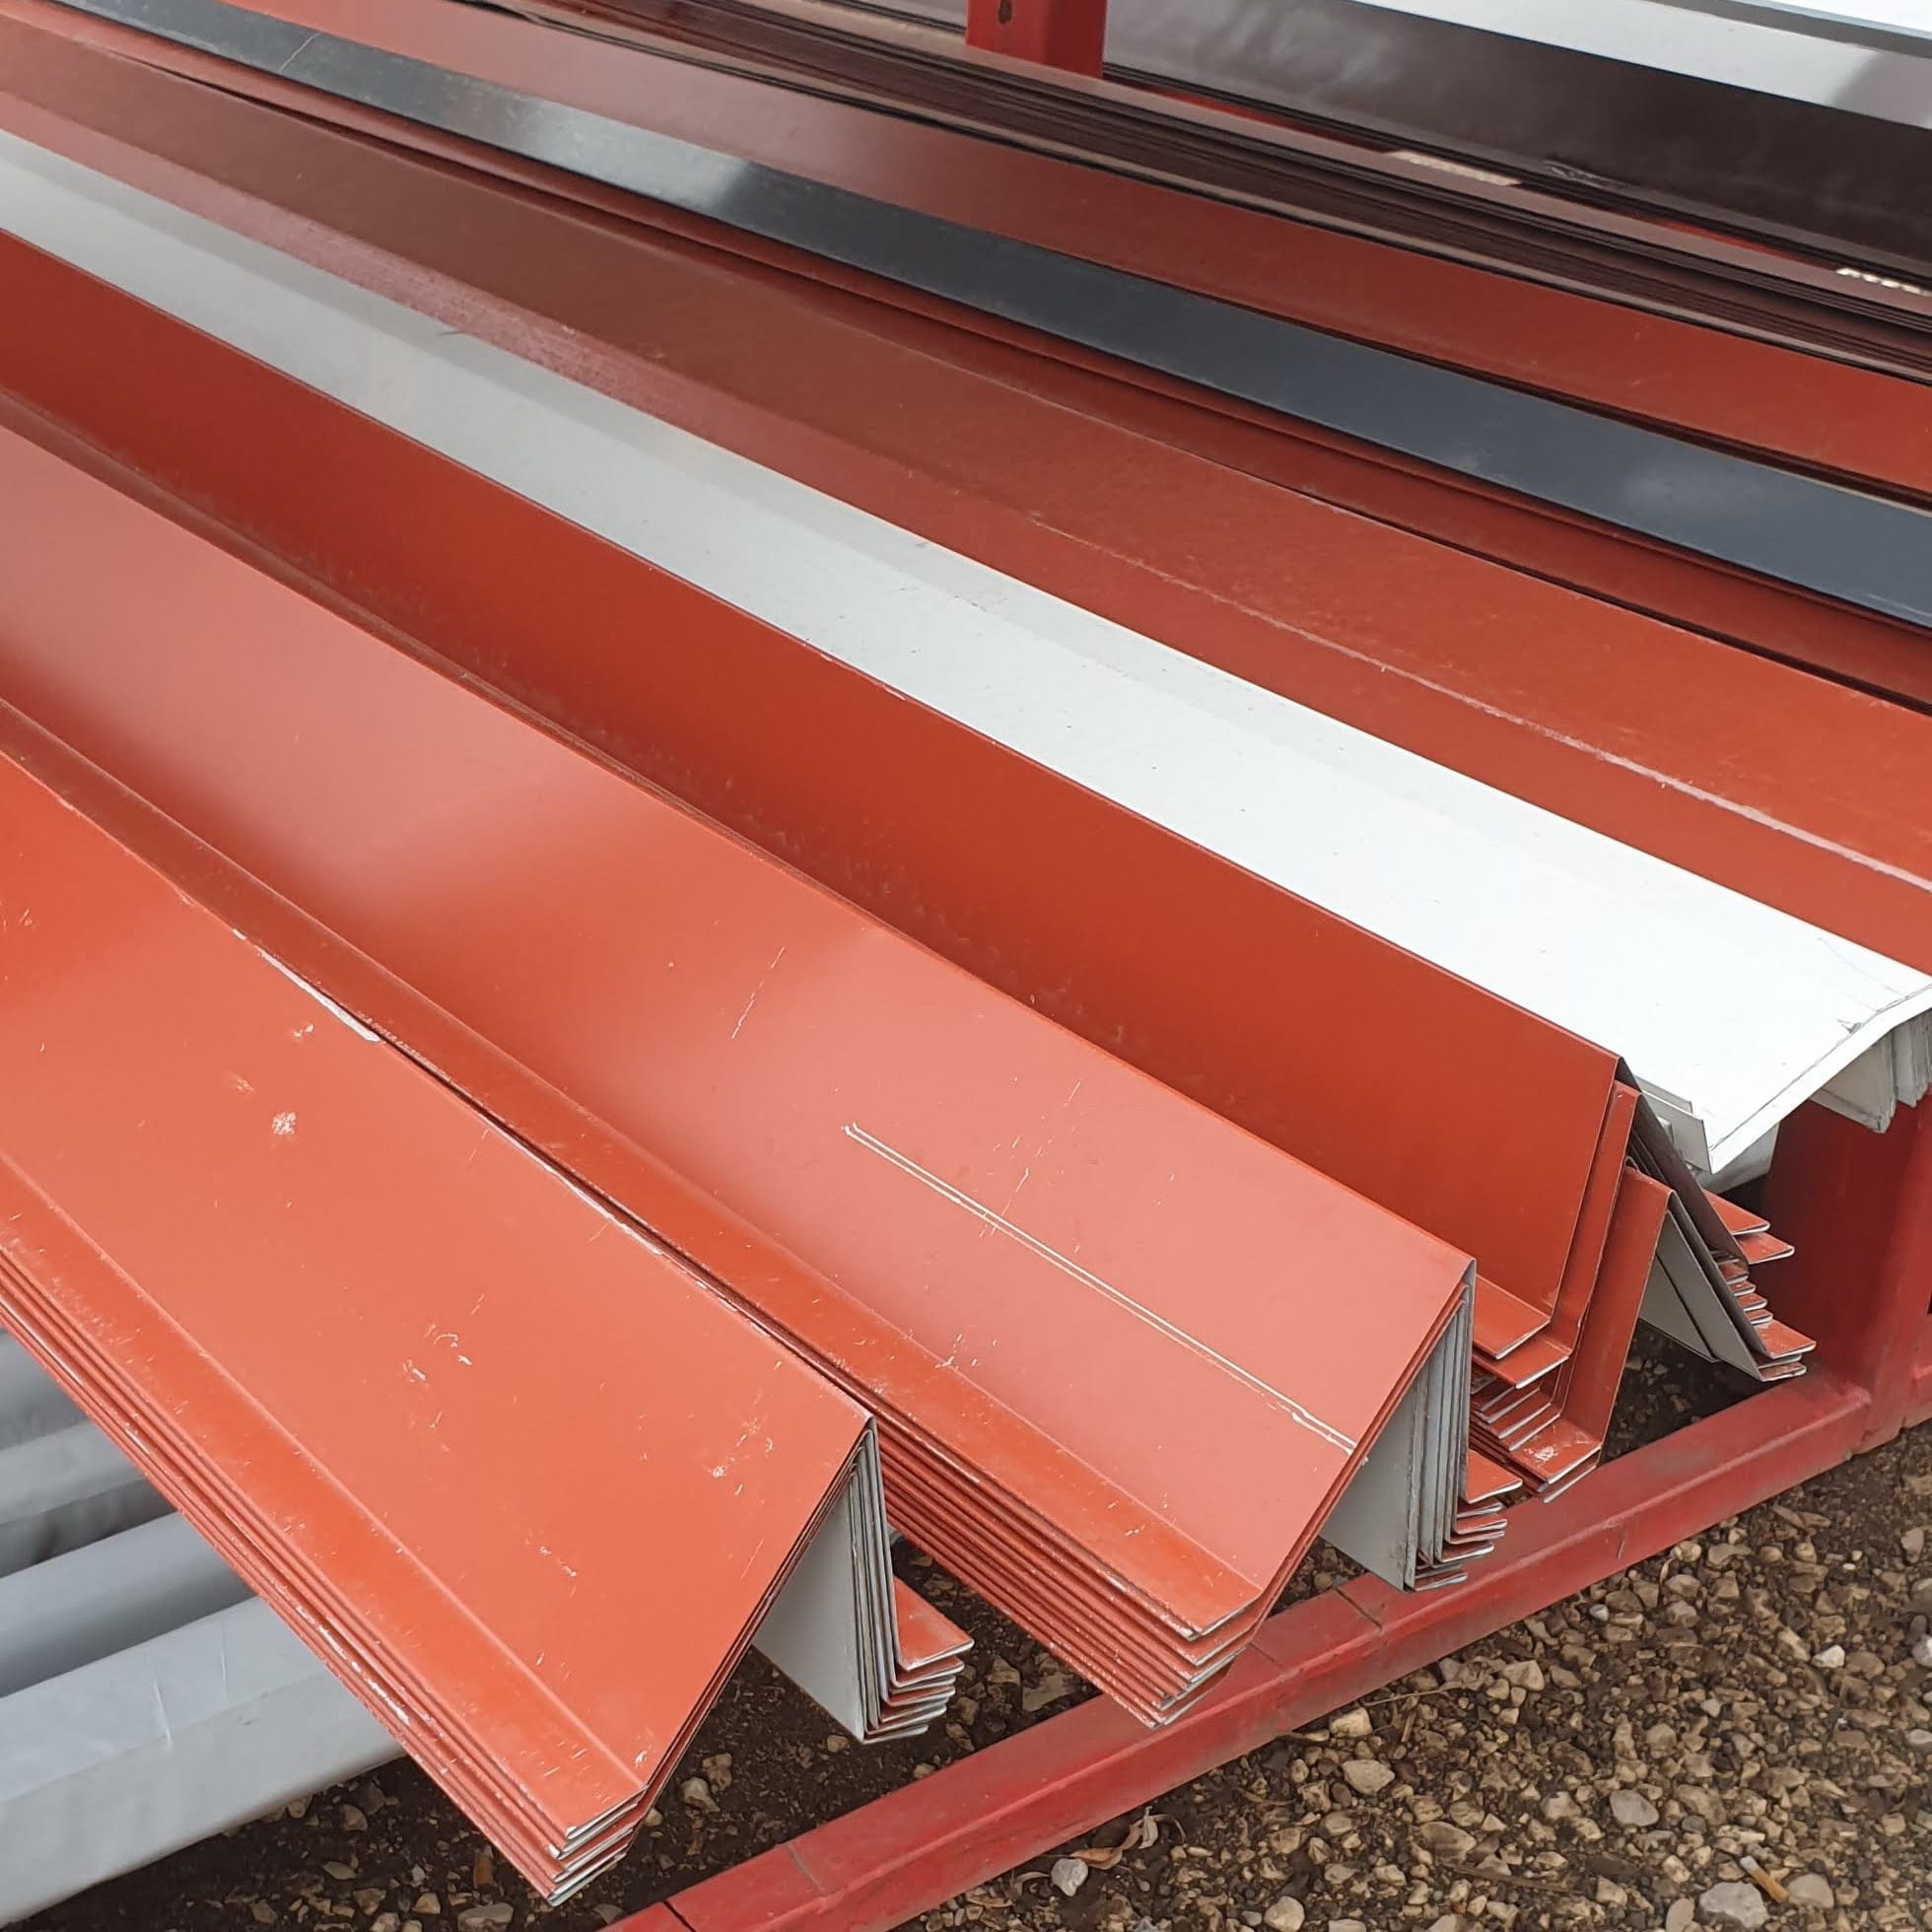
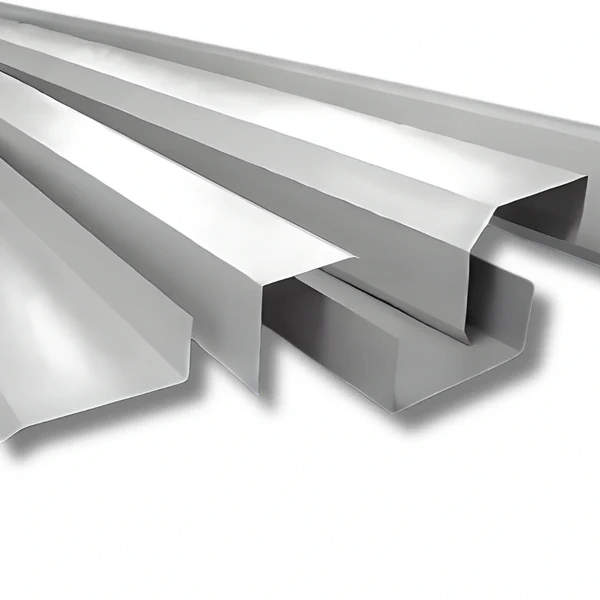
Two openings of the same width can need different flashings. Reveal depth, panel thickness, frame position and the way the facings end determine the folds at the head, jambs and sill. Use a bespoke flashing when a standard section cannot cover the junction and direct water out of it. Check the dimensions of the installed frame before fabrication, mark the exposed face and distinguish left- and right-hand parts. The trim finishes the joint; it does not brace the opening, support the door or window, or replace the tapes and seals behind it.
In this guide
Schedule openings by their actual dimensions
Compare the design dimensions with the prepared opening. Check straightness, diagonals and frame position before fabrication. Custom flashings should fit the agreed detail, not hide an unresolved discrepancy in the steelwork. Resolve significant deviations before ordering the complete set of trims.
Distinguish internal and external corner profiles
The type of corner determines the bend direction and which face is visible. A section that looks right in outline may show the back of the sheet after installation. Mark the exposed face, both leg dimensions and the actual angle if the corner is not square.
Cover the intended joint without restraining movement that the facings need. A long vertical joint may need a different solution from a short return beside a door. Do not replace a folded three-dimensional trim with a flat strip without checking what the joint must do.
Trace drainage at the head, jambs and sill
The head flashing works with the cladding above to keep runoff out of the joint. A sill or drip flashing below needs a clear discharge edge. Jamb pieces join the two zones. Detail their ends as carefully as the straight runs: an open corner can let water track behind an otherwise sound surround.
Set the sequence of assembly by the runoff direction and the frame detail, not just ease of access. Arrange laps accordingly. The metal trims do not replace specified tapes and seals. Show each layer in section before the surround hides the panel edges.
Separate cover trims from structural members
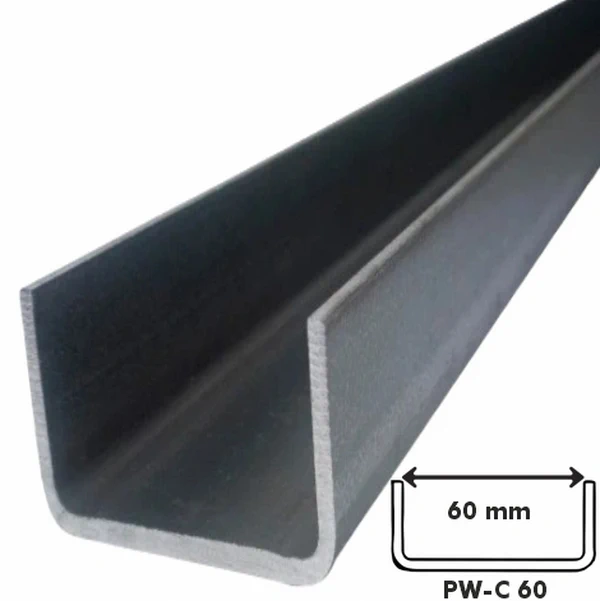
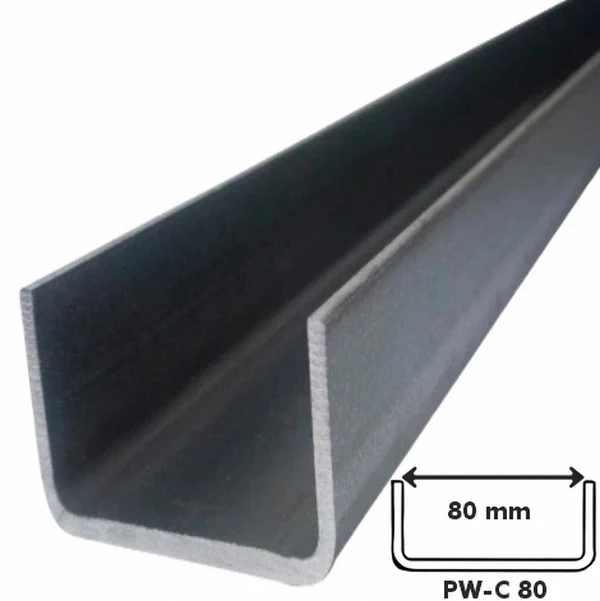
The structural frame around the opening and the door or window fixings must carry their design loads independently of the decorative trim. The same distinction applies at the wall base, where a starter support and a thin cover strip serve different purposes. Several folds and a stiff appearance are no proof of capacity.
Ask the fabricator to confirm that a special section can be folded as drawn. Structural parts also require design checks; manufacturability alone does not establish capacity. State the intended use on the order so a cover is not supplied where the project needs a support or frame member.

Specify the material and coated face for each piece
Choose galvanised, aluminium-zinc-coated or colour-coated sheet for the location and exposure. If both faces of a reveal are visible, specify the finish of each. A deep recess can expose a return hidden in a front elevation. Marking the fold orientation avoids surprises on site.
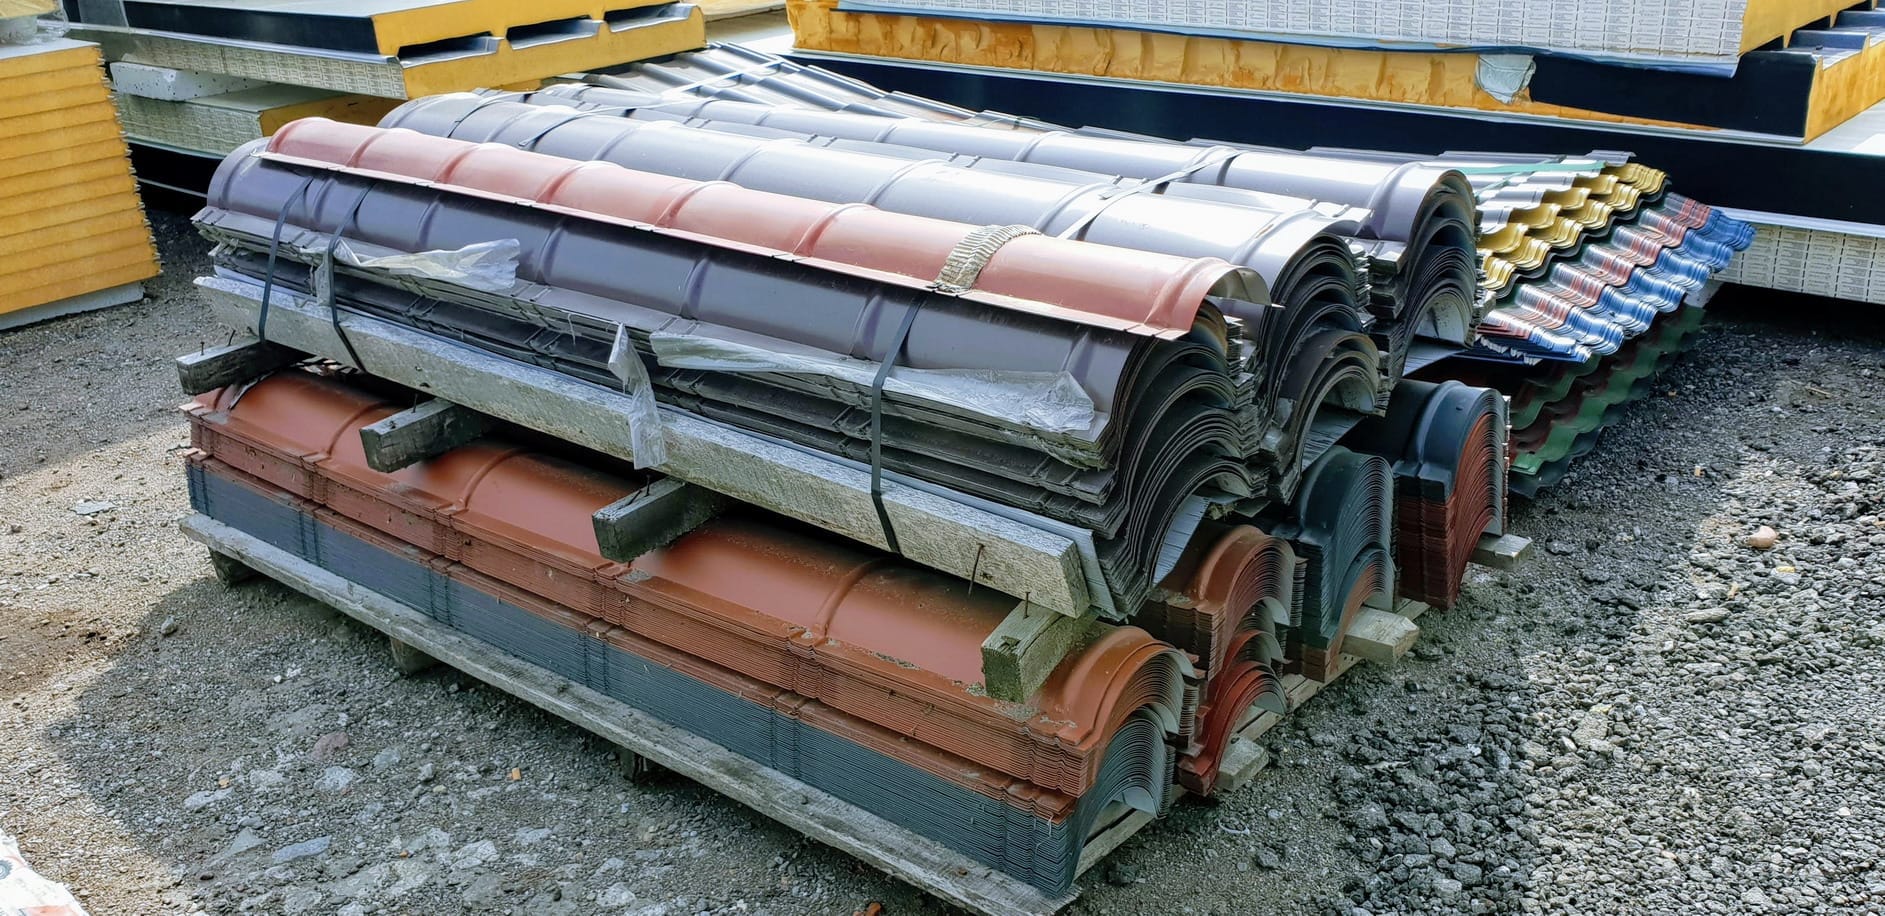
Verge trims, ridge caps, gutter aprons and chimney flashings can share a colour scheme without requiring identical materials. For an interior subject to washdown or deposits, also check compatibility between the coating and the cleaning agents in use.
Identify each detail and inspect before covering
Give every flashing type a reference linked to the drawing and installation position. Add the grid line or opening number on larger buildings to distinguish similar and mirrored pieces. Before proceeding with repetitive work, inspect a complete first opening, including its seals.
Inspect ends, fixings, cut panel edges and drainage paths. Photograph the layers that will be hidden, then remove swarf and waste after installation. With the parts and photos linked to the drawings, maintenance staff can identify the precise corner or opening on later inspections.
Questions and answers
Can one angle trim finish every side of an opening?
No. The head, jambs and sill may have different functions and drainage directions. Select the set for the actual wall section and the installed frame.
Can a cover trim replace a door frame?
No. The door frame and its fixings have structural requirements of their own. The trim finishes the specified joints.
How can similar parts be kept apart on site?
Use a detail number and drawing, identify the coated face and assign the piece to a particular opening. Mark left- and right-hand versions separately.

Free quote
What to include in your enquiry
Tell us how you plan to use the material, the dimensions and the quantity you need. Include the thickness, grade or variant name, along with the delivery town or your preferred collection branch. For a specific product, add its name or a link to the product page. We will reply to the email address you provide to discuss availability and the terms of your order.

Read next
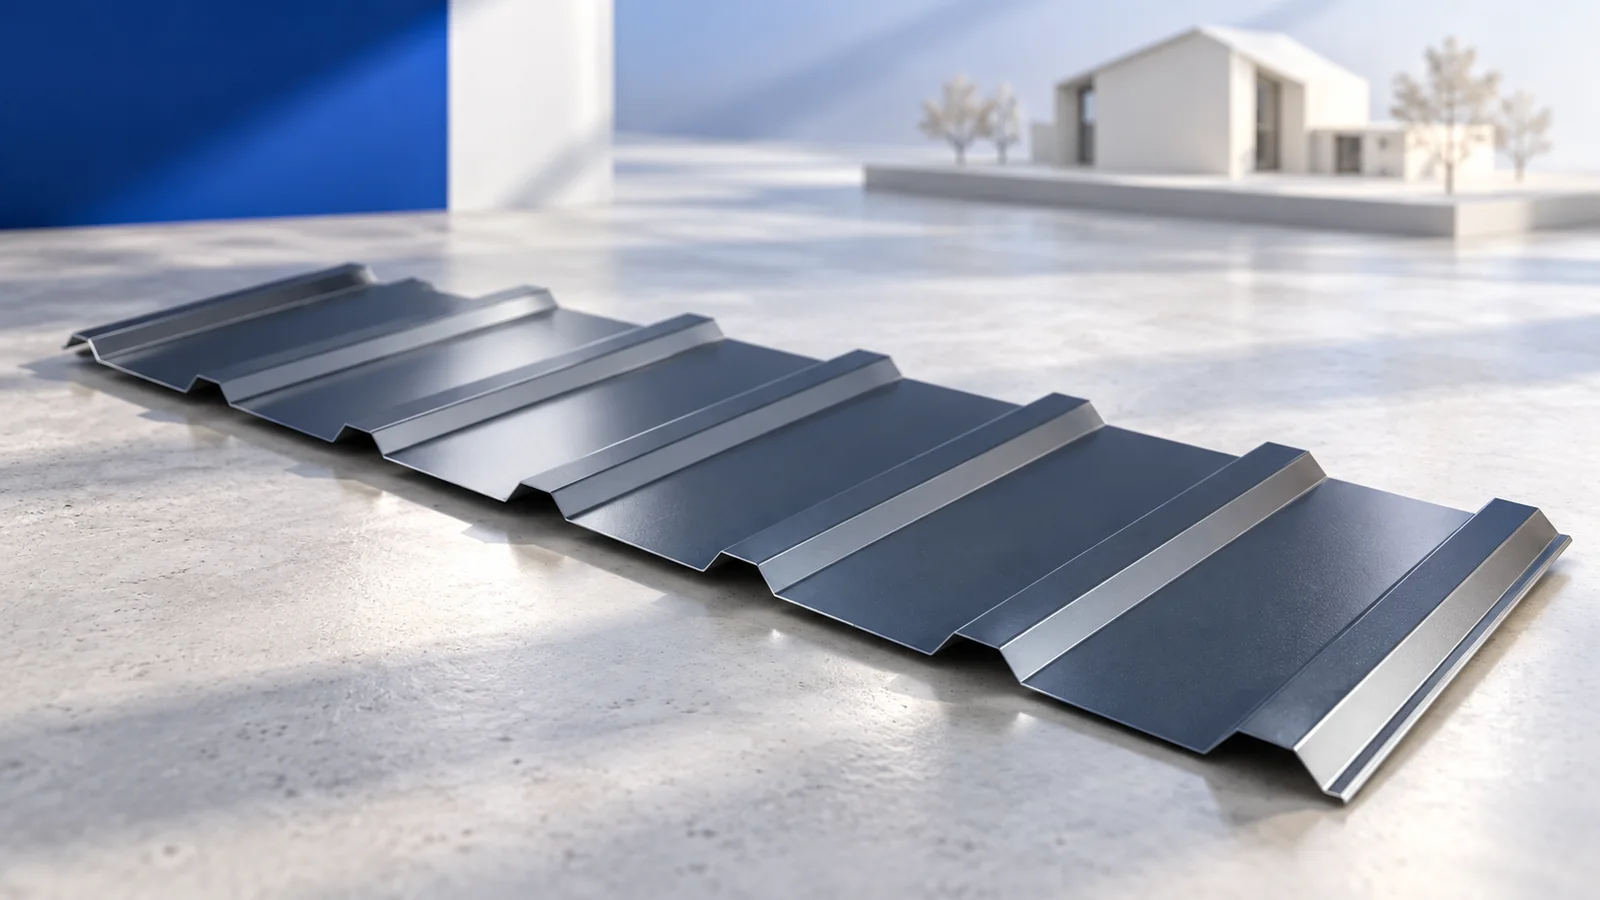
When comparing finishes for tile-effect steel roofing, read the material sheet alongside the colour sample. The steel core provides the mechanical properties.…
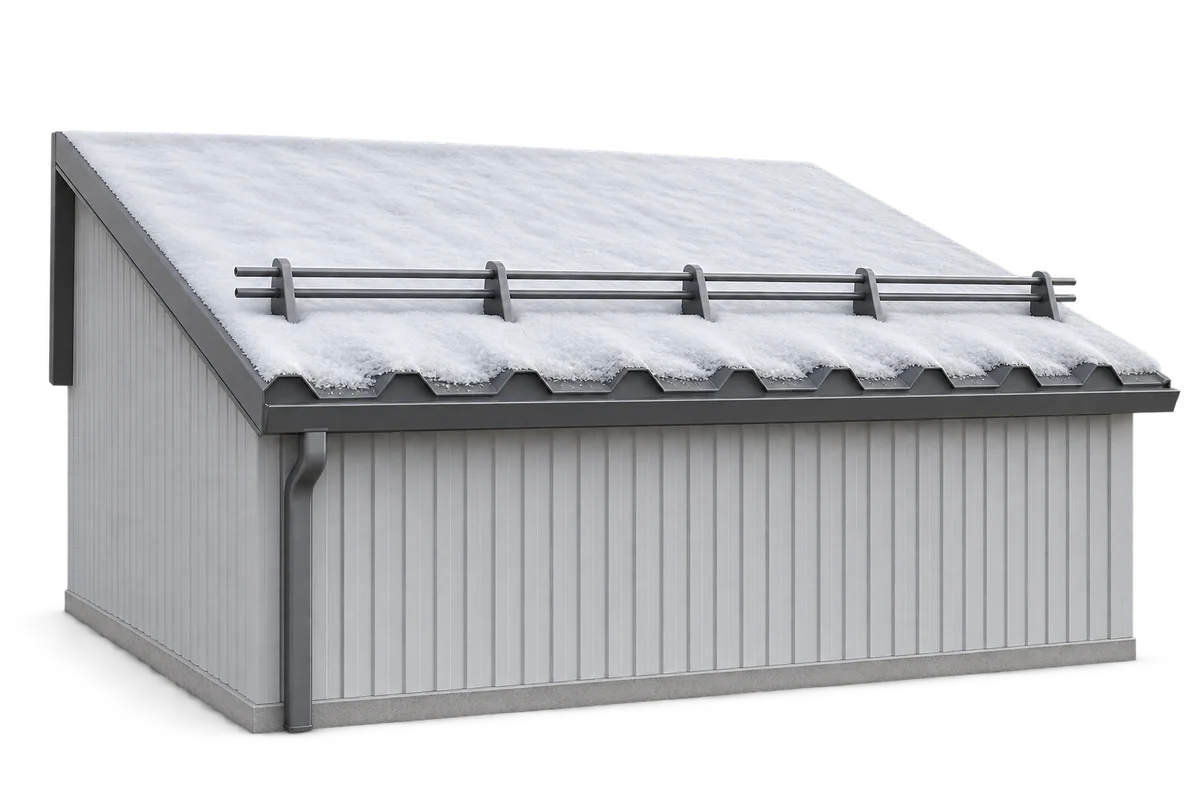
Snow depth alone does not tell you when a roof needs clearing. What matters is the weight and distribution of the snow…
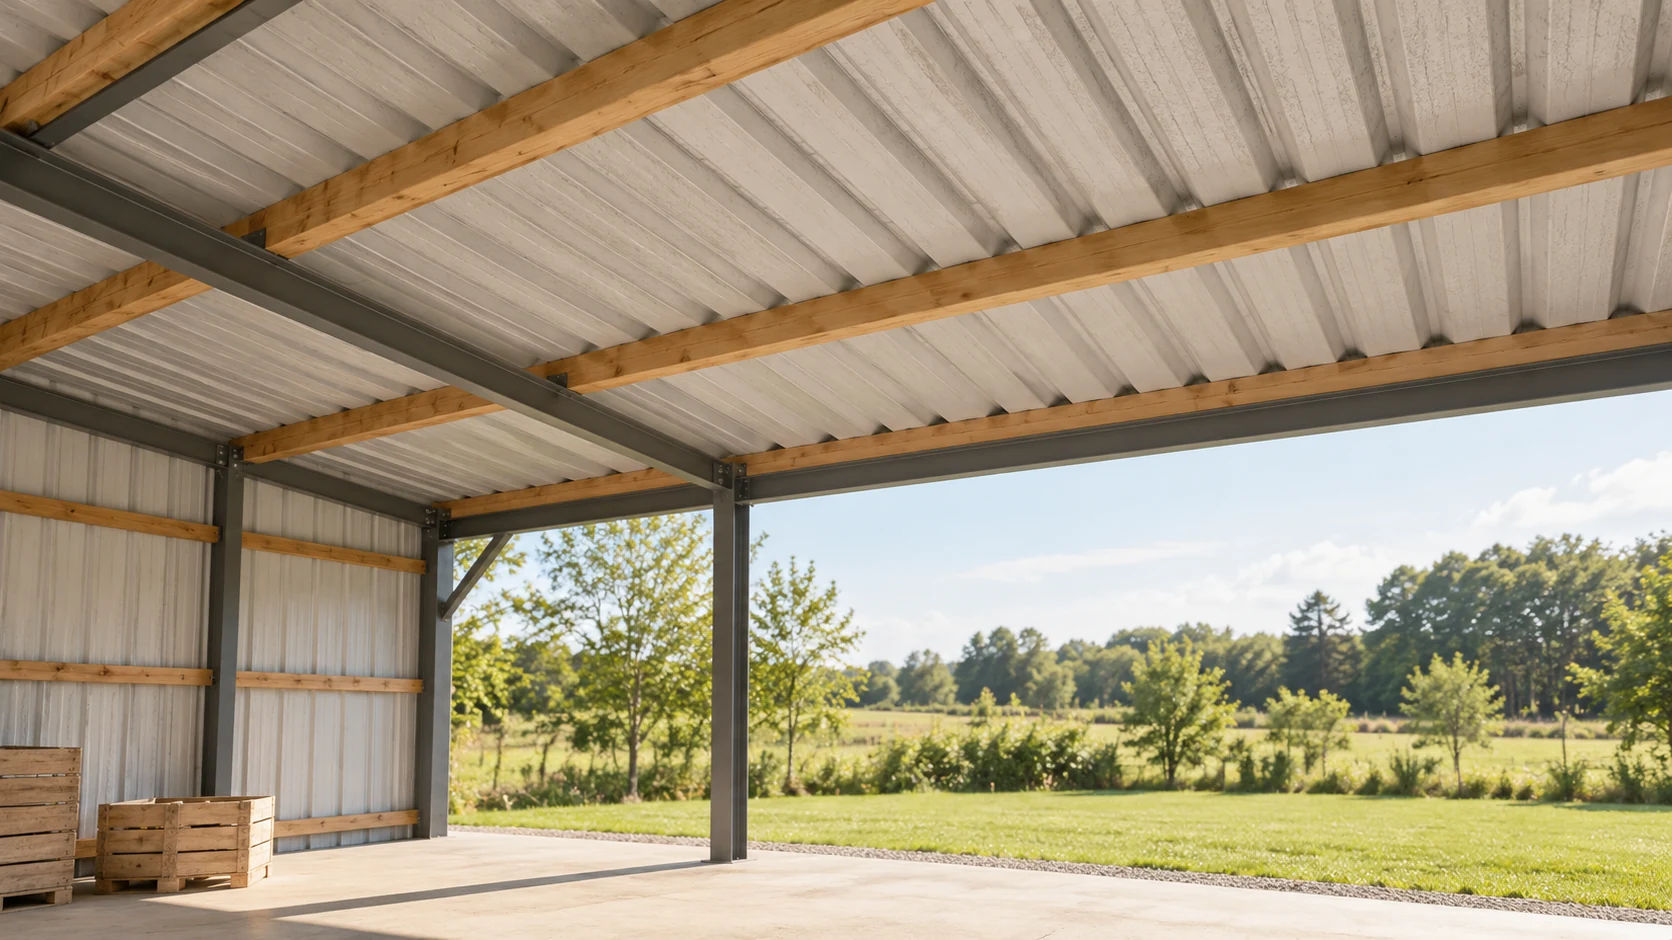
Fleece on the underside of a metal roof can reduce dripping when small amounts of condensation form. It stores moisture temporarily and…
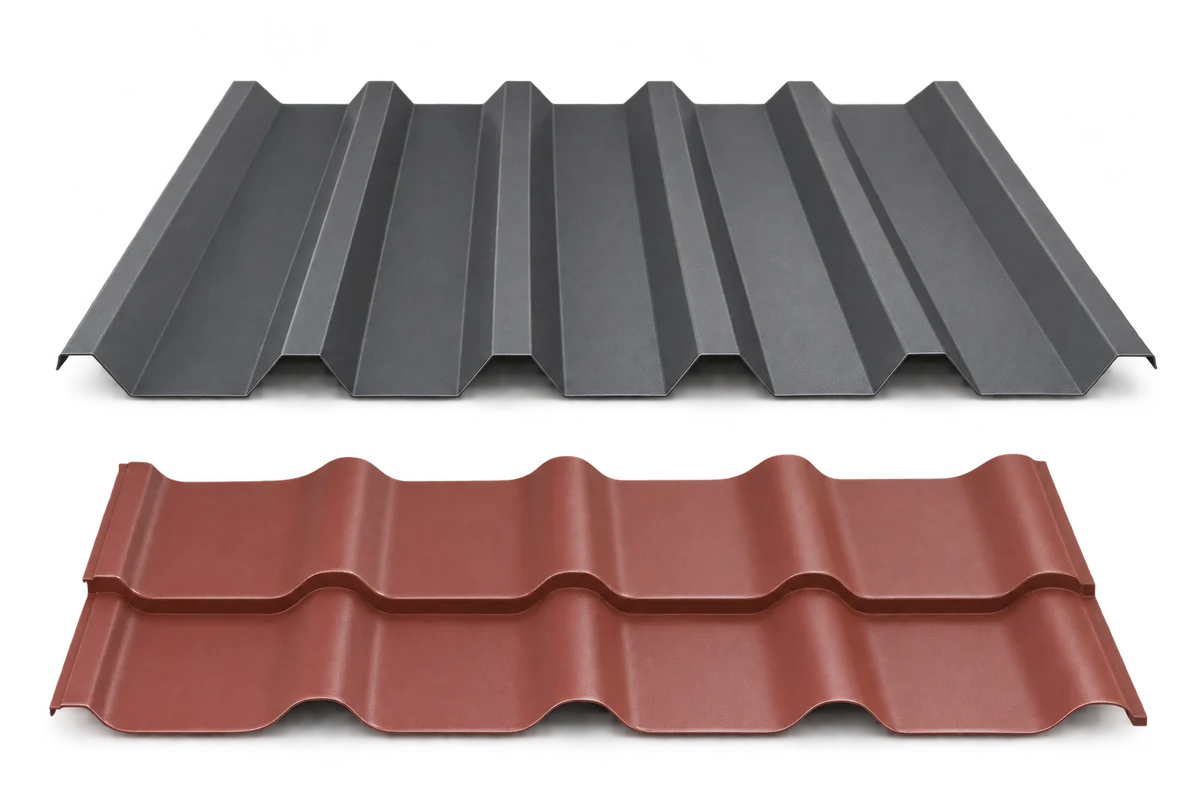
When choosing trapezoidal sheeting or metal roof tiles, also ask about later inspection and replacement of a damaged component. Beyond the new…
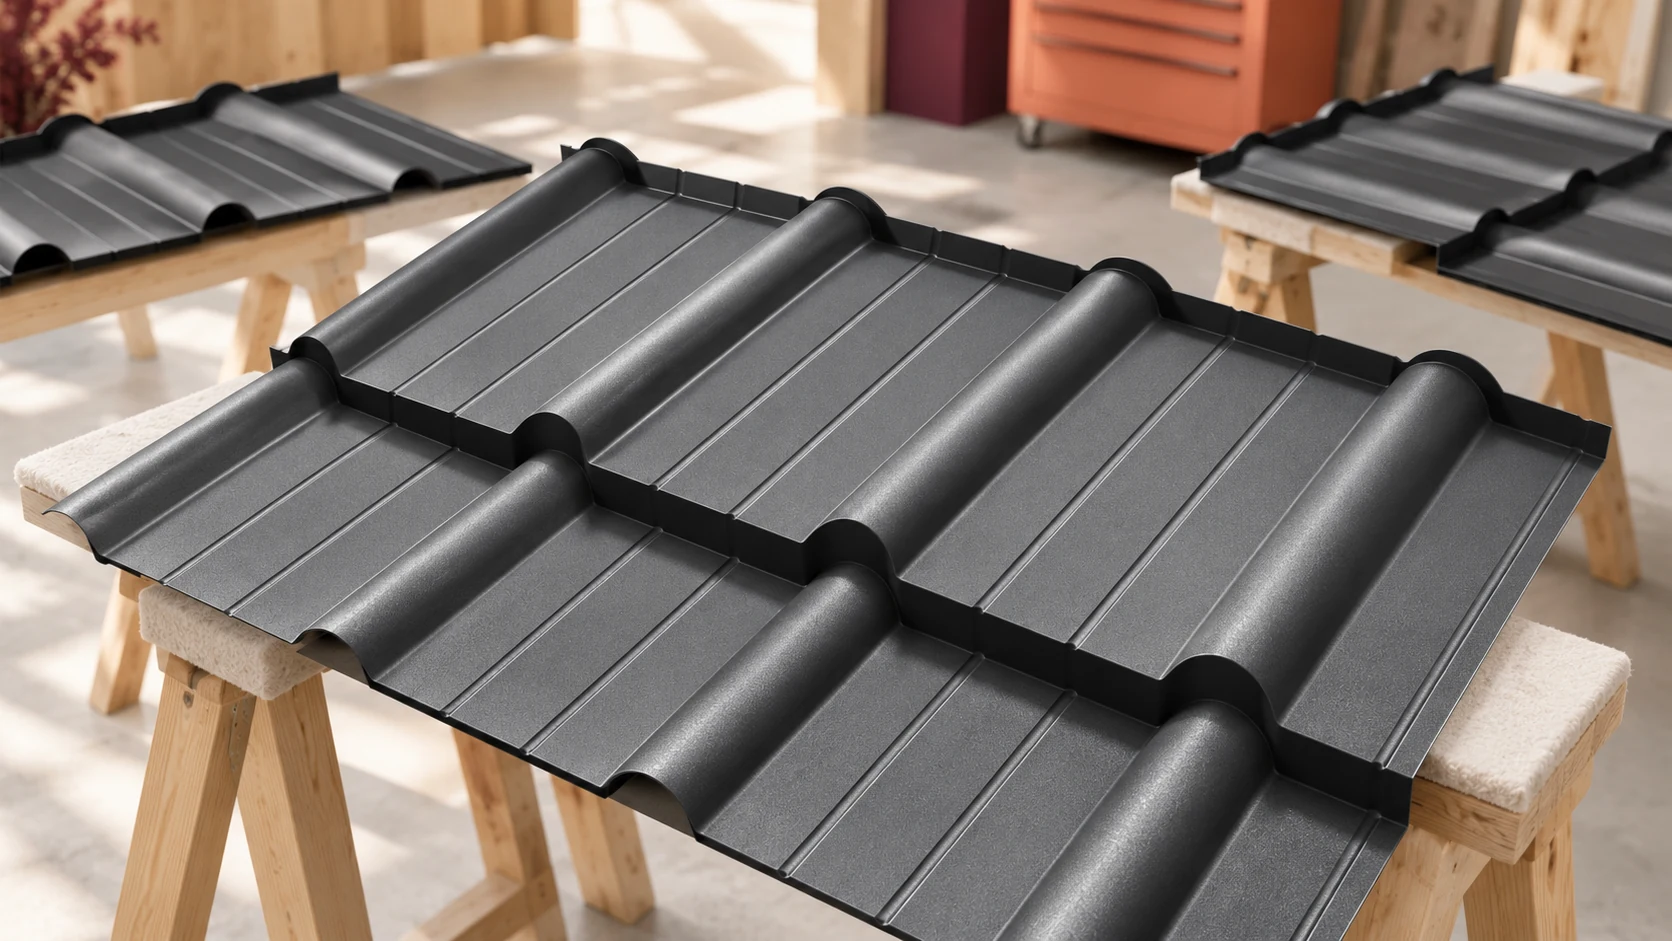
Sheet format affects how a roof is delivered and installed. A long sheet can cover an uninterrupted strip of slope, whereas small…
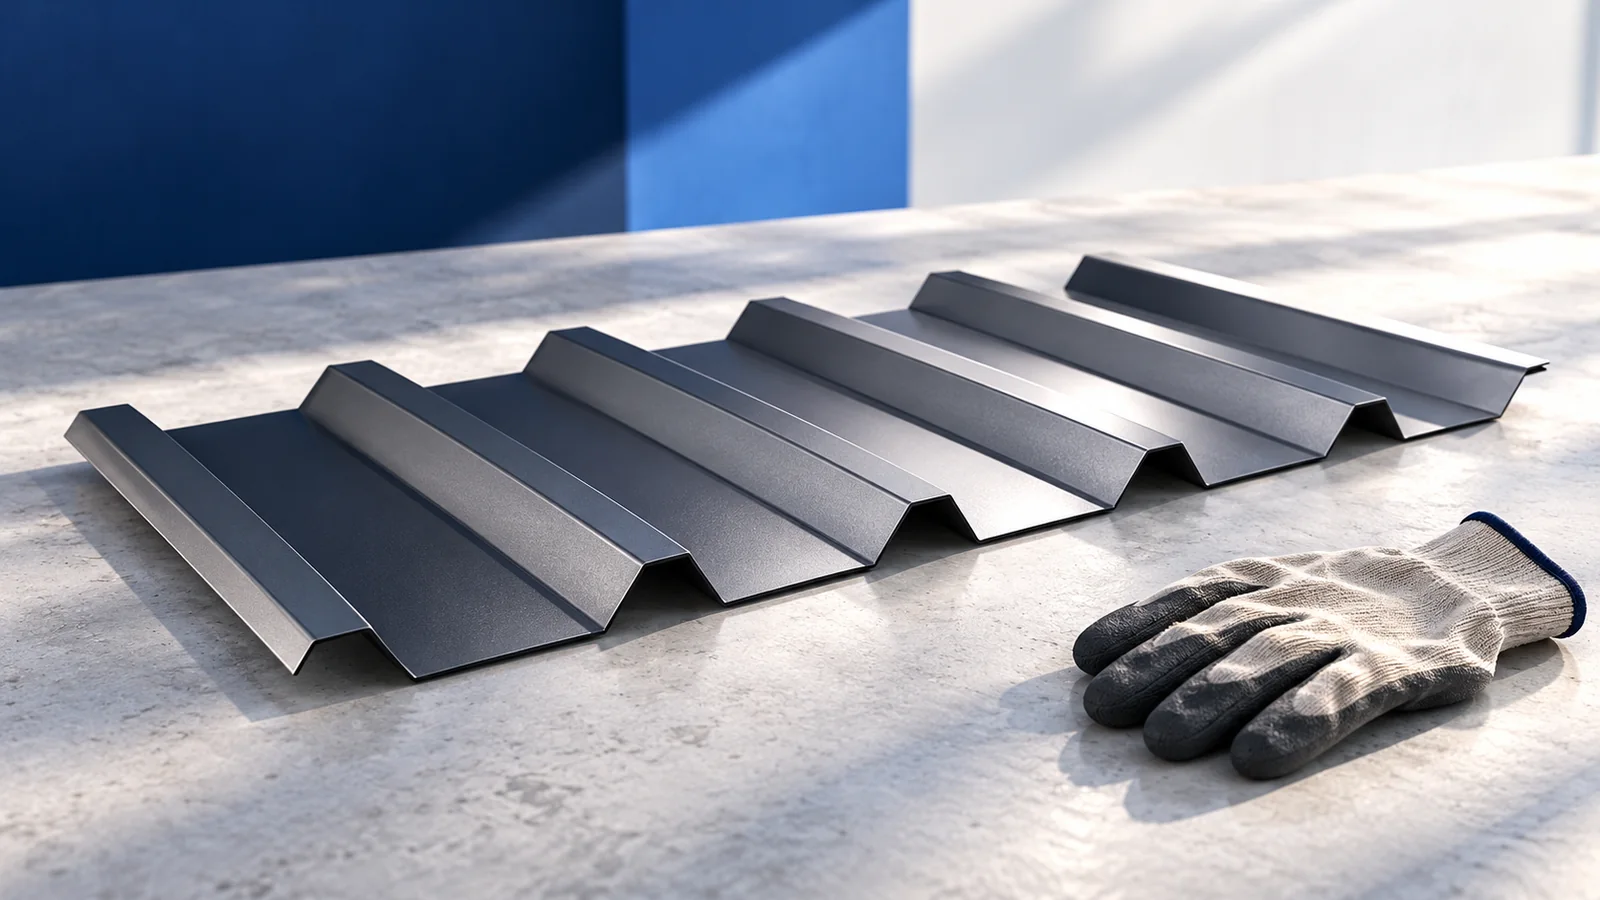
To assess a T35 roof sheet, put its cross-section drawing beside the purlin layout. The ribs are usually about 35 mm high,…
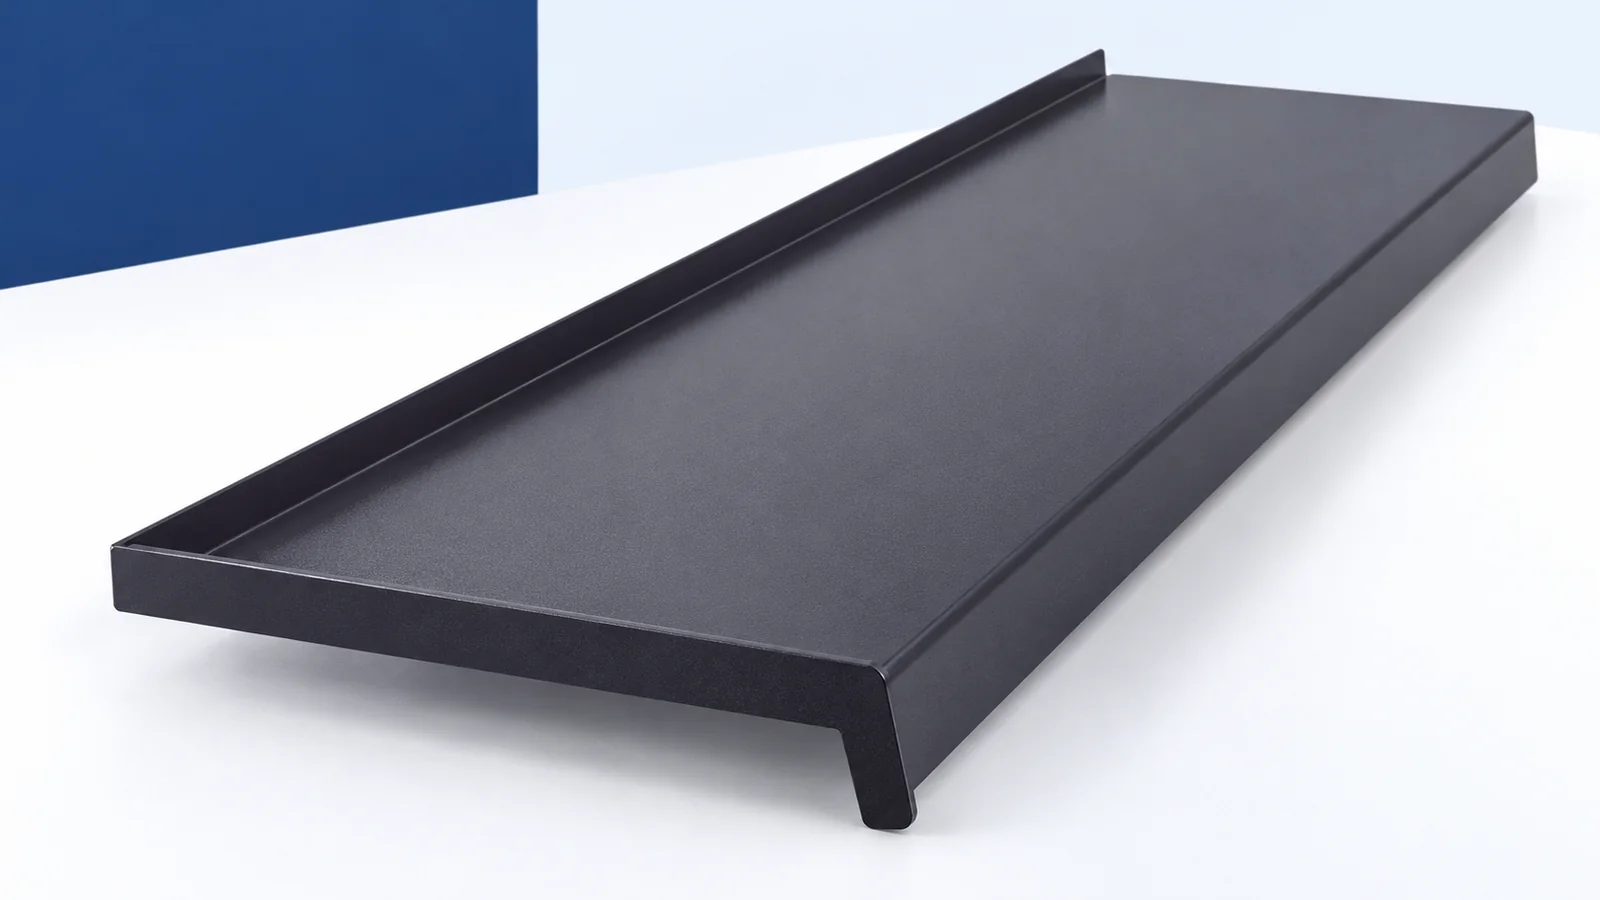
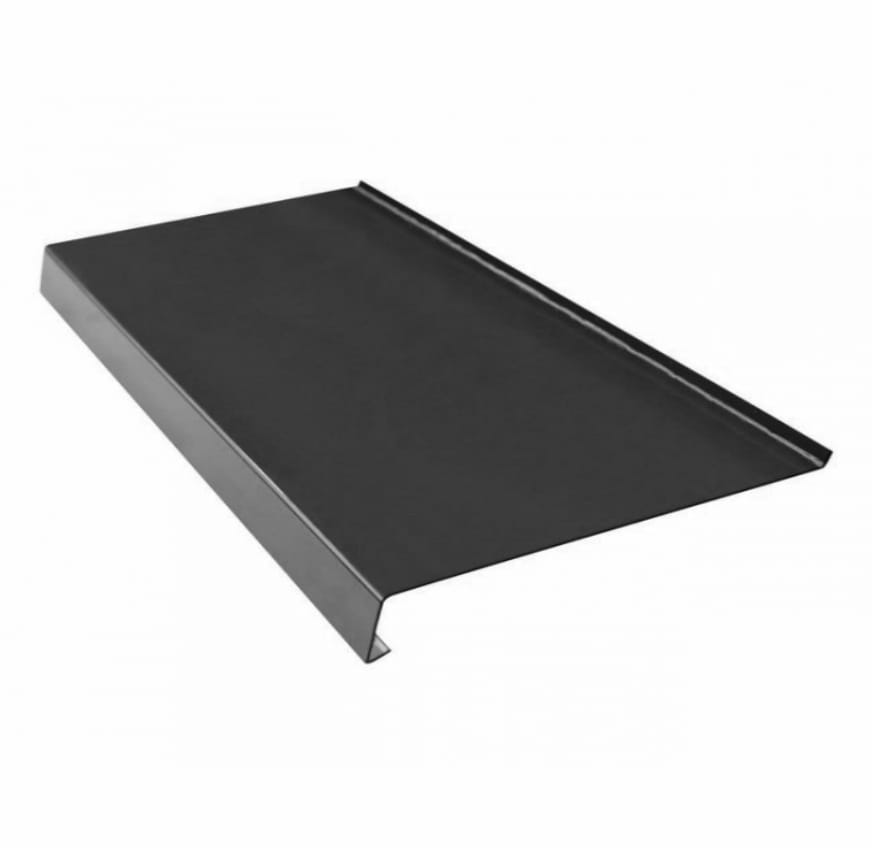
An external steel window sill is light to handle, can be folded to suit the opening and comes with a factory finish…
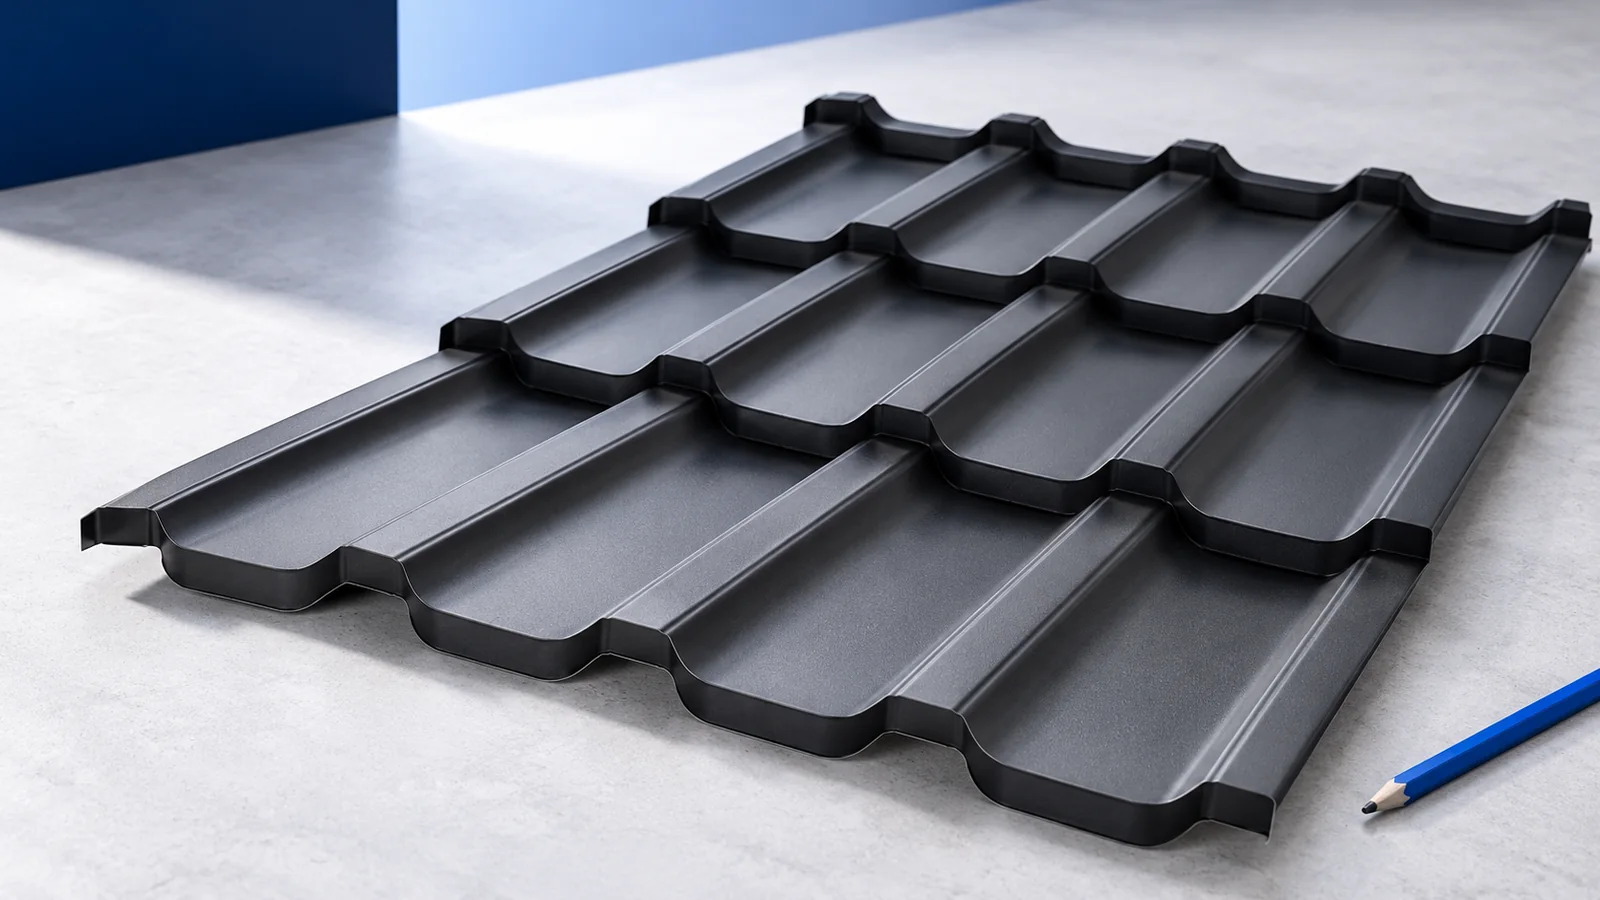
Before choosing a tile pattern, give each supplier the same measured drawing. Ask them to show which profile suits the pitch, which…
