






Planning roof upgrades across a housing estate
PIR insulation
Roof works across a housing estate can be tendered together, but each block needs its own survey. The height of a roof access threshold, the position of an outlet or the condition of the deck can determine the roof build-up. Where space is tight, compare the insulation thicknesses needed for the same thermal resistance. Plan ventilation penetrations and equipment fixings before laying the membrane. Adjust the heating controls to the demand after refurbishment. To assess the work, compare energy consumption, indoor temperatures and occupancy before and after the changes.
In this article
Survey each block separately
Record the metering period and which rooms were heated during it. This makes heat consumption easier to compare across blocks of similar size.
Mark leaks and signs of damp on the plan of each roof. Ask the property manager where residents have reported cold rooms or stuffy air. Use those observations alongside the energy assessment and the building condition survey when prioritising repairs.
Sequence roof and services work
If several blocks share a boiler plant, give the designer the retrofit dates for each building. Heat demand will change in stages. If the plant needs urgent replacement, consider how it will operate both while some blocks are still uninsulated and once the estate upgrade is complete.
Survey the roof terminals, vent pipes, outlets and maintenance routes. Raising the finished roof level changes the clearance at these details. If windows are replaced, check the air supply to the flats too. Agree the loads and fixings for any proposed solar array before completing the roof.
Compare build-ups at the access threshold
At a low threshold, draw the deck, falls, insulation and membrane upstand to scale. Compare boards using the declared thermal conductivity of each product. PIR may provide the required thermal resistance in a thinner layer. The section must also accommodate a watertight threshold and a clear drainage path.
For each option, confirm permissible loads, fixing method and compatibility between the facing and the membrane. If the tender also covers a rendered façade, specify that system separately. A board used beneath a roof membrane needs separate evidence of suitability for a rendered wall.
Price and inspect parapet and outlet details
List the roof area, flashing lengths and numbers of outlets and penetrations for each block. Price access, deck repairs and equipment reinstatement separately. The breakdown will show why two roofs of similar size can cost different amounts.
Agree when the contractor will present the deck and concealed layers for inspection. Mark the location of each photographed detail on the roof plan. Give the manager the dates of heating outages and restrictions on entrances and common areas so residents can be notified.
Set heating controls and assess rooftop generation
After insulation, check heat distribution between risers and temperatures on the top floor. Use those observations to set the controls and balance the system. If the estate programme also includes a school, match its heating schedule to teaching hours and periods of vacancy.
For rooftop solar, compare expected generation and consumption over matching hours. Annual totals can conceal a summer surplus and a shortfall in the heating season. Use the time profile when assessing a storage option.
Review performance after the heating season
After the heating season, compare delivered energy with the baseline period. Record differences in weather, indoor temperatures and the number of occupied flats. Account for price changes separately. If reporting an emissions reduction, identify the heat source used in the calculation.
Hand the maintenance team a roof plan showing access to outlets, repair locations and material specifications. Inspection records should identify details that need a further check or replacement. When planning the next phase, consider service life, repairability and what can be done with the materials when removed.

Free quote
What to include in your enquiry
Tell us how you plan to use the material, the dimensions and the quantity you need. Include the thickness, grade or variant name, along with the delivery town or your preferred collection branch. For a specific product, add its name or a link to the product page. We will reply to the email address you provide to discuss availability and the terms of your order.

Read next
An aluminium facing restricts vapour diffusion through a board, but the insulation also depends on its connections to floors, ceilings, windows and…
Choose the waterproofing and insulation for a flat roof together. The deck, layer order, fixing method and intended use determine which combinations…
Renovating an old industrial building need not mean replacing it. Sandwich panels can provide a new outer skin and insulate the walls…

When refurbishing an industrial roof, a single low threshold can determine the thickness available for swissporPIR Alu. The measured distance from the…
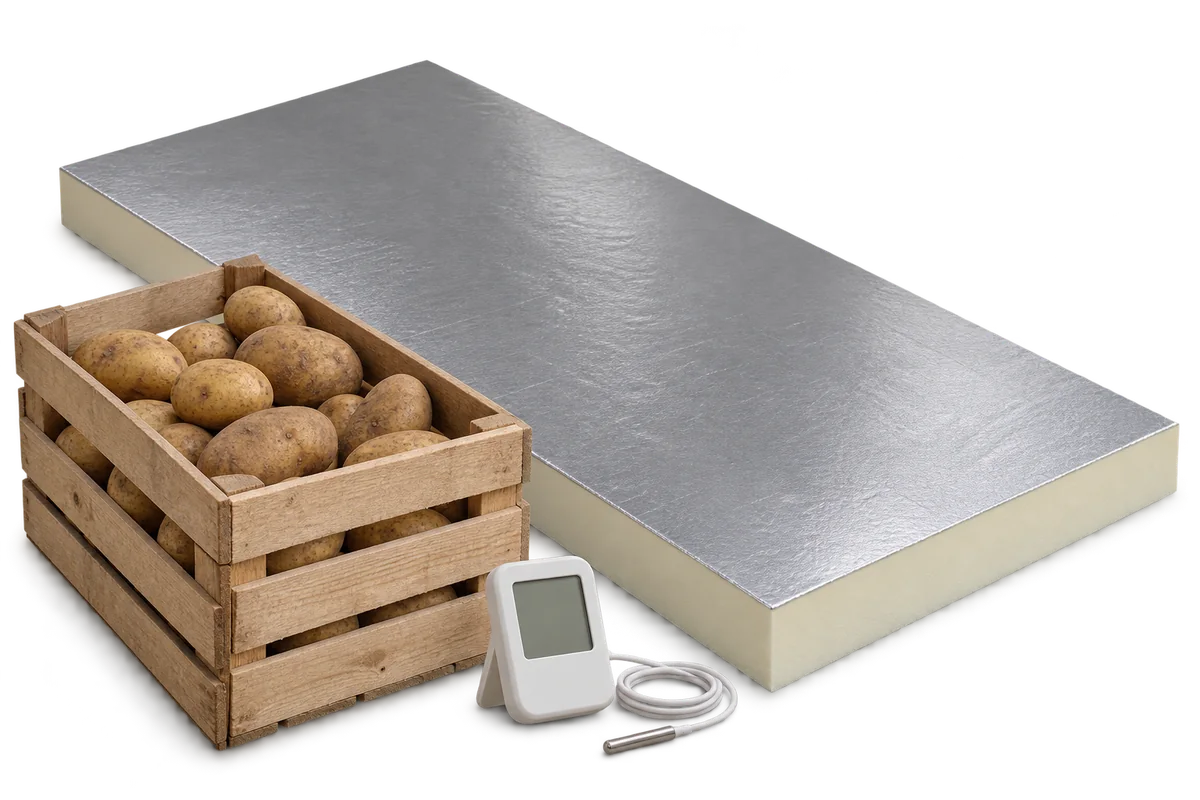
The withdrawal of a sprout suppressant formerly used in potato stores changed storage practices. Residues in older buildings need separate assessment even…

When ordering Thermano Compact for reveals, recesses and narrow perimeter strips, start with the dimensions of each insert. Two areas of equal…
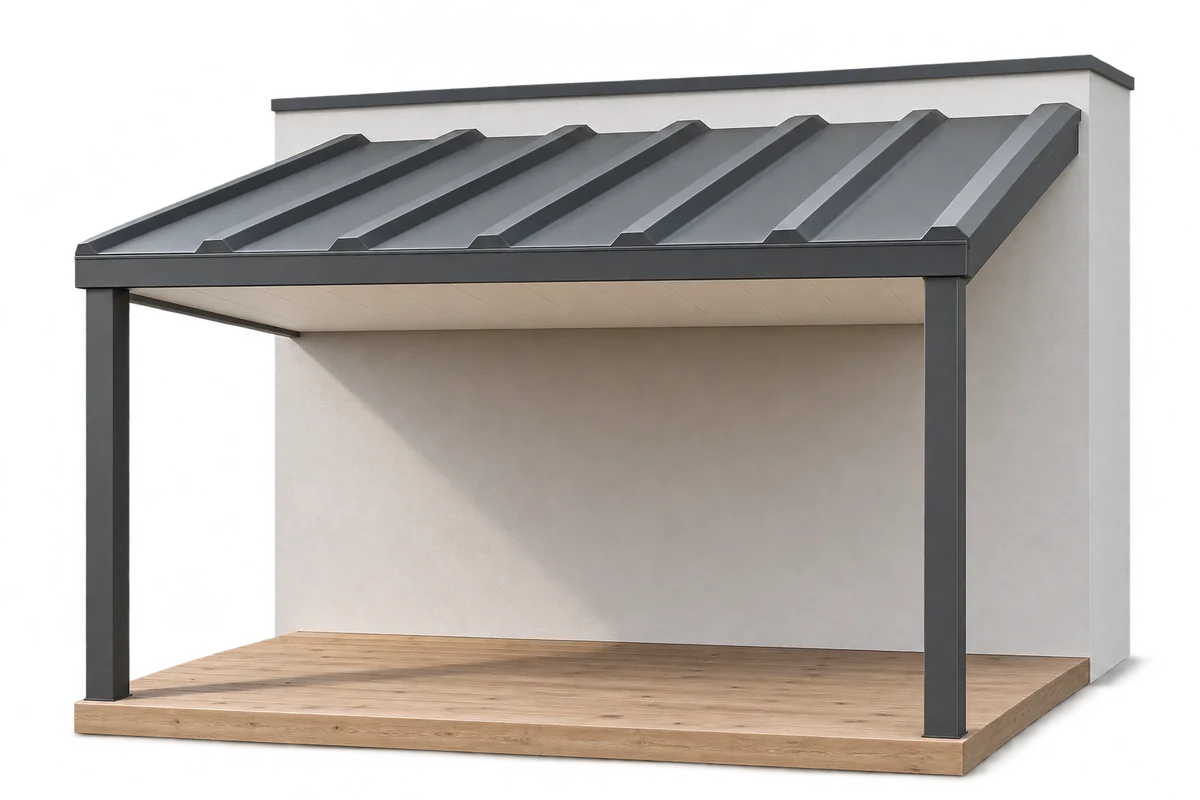
A canopy shelters the people on a terrace from rain and sun. If there is a heated room below, the terrace floor…
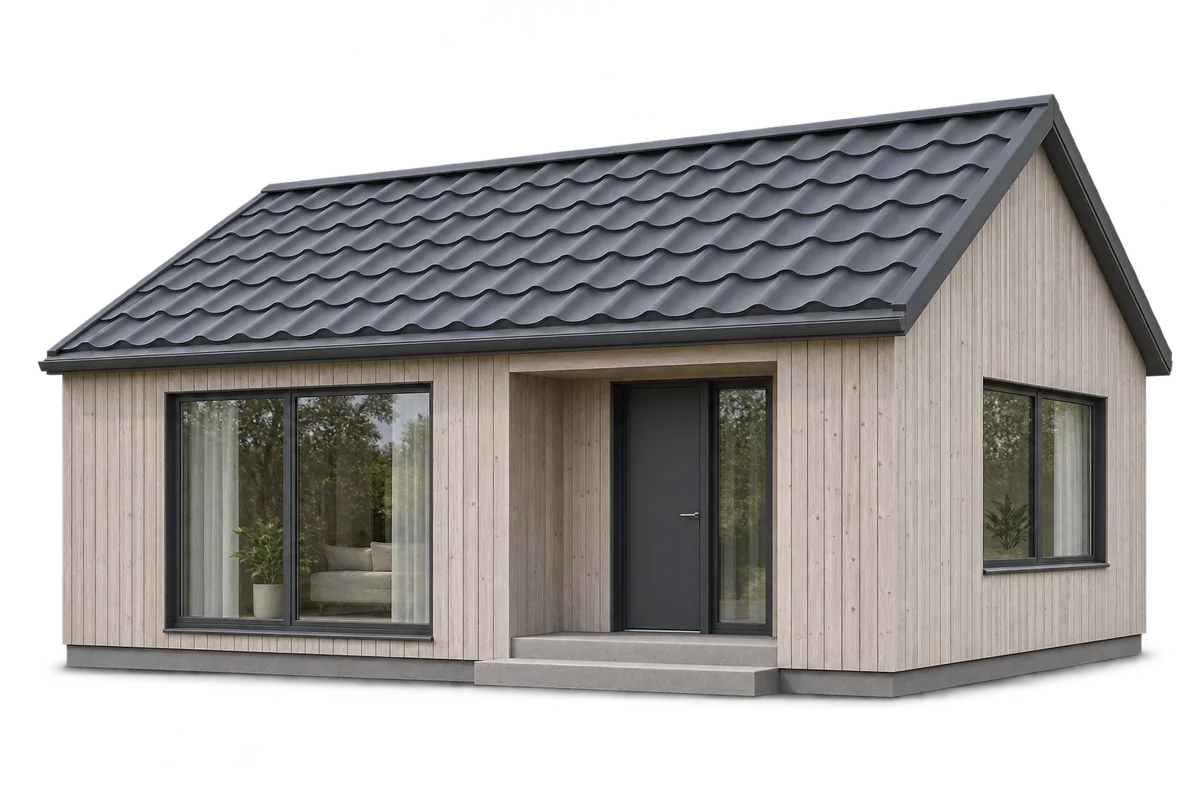
A timber house for year-round use must meet the requirements for a dwelling. In Poland, using timber does not in itself determine…
