






termPIR WS on an industrial roof. Matching the insulation and waterproofing
PIR insulation
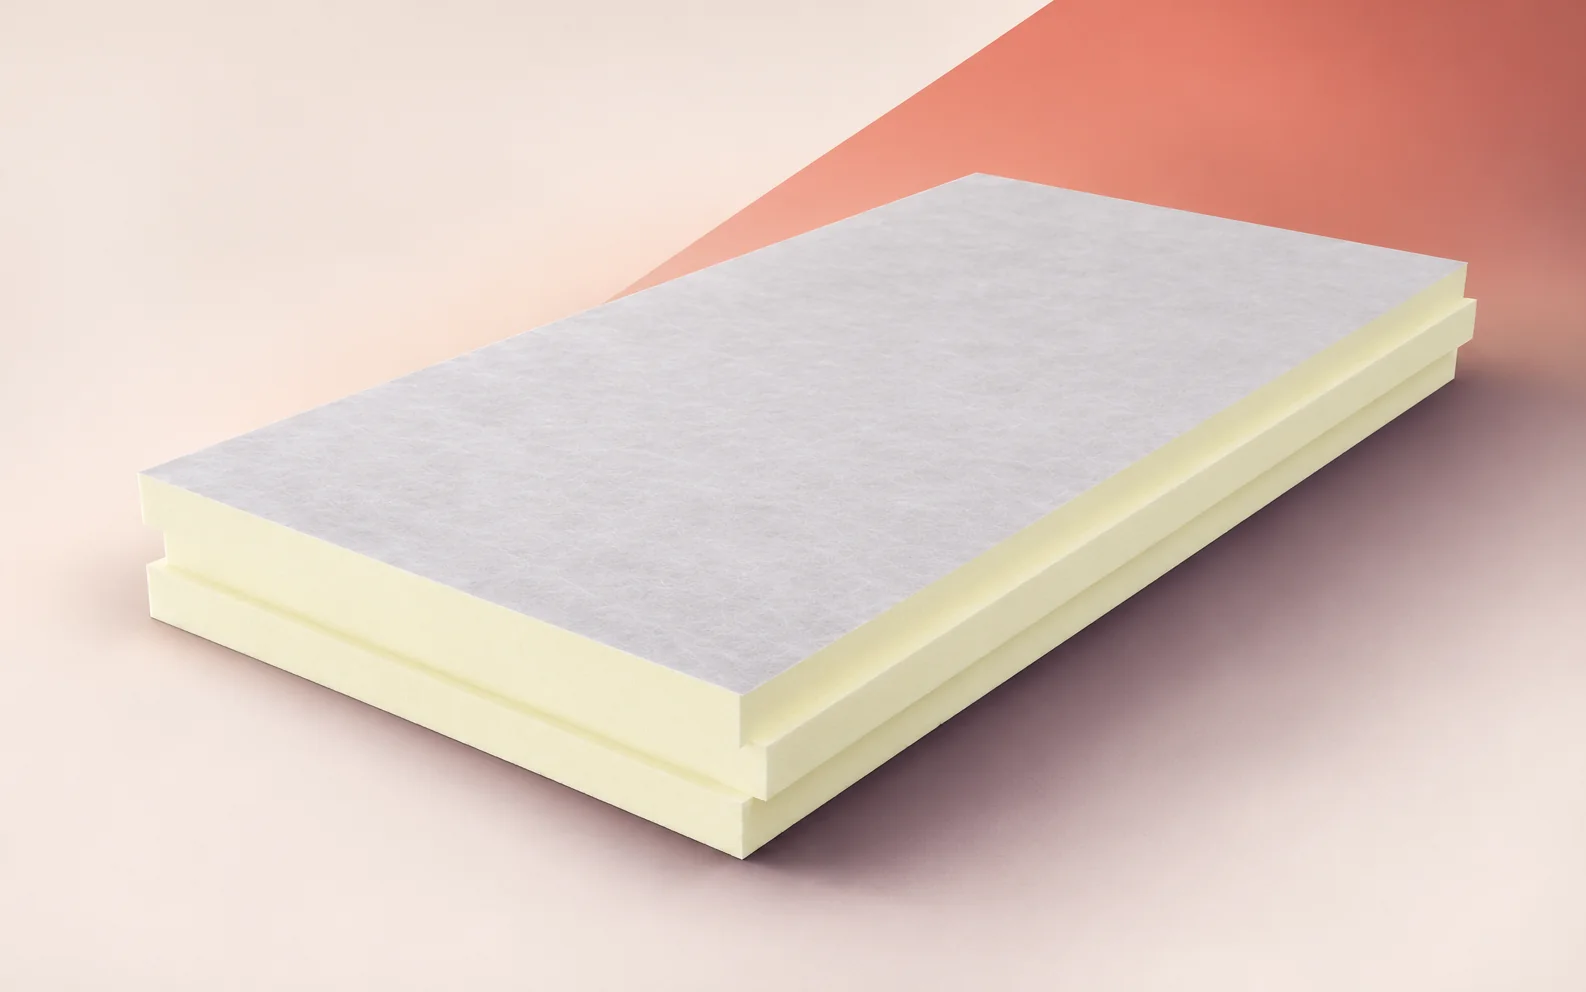
On a flat industrial roof, start by establishing how the waterproofing will be attached. The termPIR WS board has a rigid PIR core with gas-permeable glass fleece on both faces. For an adhered roof, the system documentation must cover the selected membrane and adhesive on that facing. A mechanically fixed assembly needs a fixing design for the actual deck. Mark the outlets, equipment supports and the end of each work section on the roof plan. Use the plan to allow for cut pieces, maintain service access and protect exposed insulation edges from water until the waterproofing is continuous.
In this guide
What sits directly on the fleece?
Name the material that will touch the termPIR WS in the roof section. If the membrane is to be bonded, locate the WS facing in the system instructions and check the specified surface preparation. Keep this information with the order.
For a mechanically fixed roof, show which layer will receive the fasteners. The fixing layout and accessories should follow the design for the roof and its wind zones. Give the contractor that drawing before pallets are positioned.
Maintenance access and equipment supports
Draw the route from the access hatch to the equipment and outline each foot. Foot traffic and a permanently loaded support require separate assessments of load distribution. The board’s CS(10/Y)120 designation refers to its compression test.
Identify the deck, insulation and covering in the fire documentation for the roof. The uninstalled WS board has reaction-to-fire class F at 20–49 mm and E at 50–250 mm. Check the classification applicable to the finished roof assembly.
A change in thickness at a low parapet
WS boards from 20 mm up to but excluding 80 mm have a declared conductivity of 0.027 W/(m·K). It is 0.026 from 80 mm up to but excluding 120 mm and 0.025 W/(m·K) from 120 to 250 mm inclusive. Match each value to the corresponding board thickness on the plan.
If the board is 70 mm at the parapet and 140 mm in the roof field, use 0.027 W/(m·K) for the first thickness and 0.025 for the second. Also check insulation continuity and the available waterproofing upstand height on the parapet detail.
Cutting boards around a roof outlet
Locate the outlet flange before cutting the final row. Dry-fit the pieces and check that the deck supports them up to the edge shown on the detail. Allow space around the outlet to form the waterproofing connection.
The square or profiled board edge controls the joints between full boards. A circular outlet creates a cut edge. Check the stability of the cut pieces and the fall towards the outlet before the roofer covers the area.
Keeping rain out at the end of a shift
Size each day’s work area so the crew has time to form a temporary weather seal at its open edge. Mark the direction of run-off from the adjoining roof and an alternative route for installation crews.
Protect the glass fleece from rain. After a break, inspect exposed boards and any edge where water could have entered beneath the insulation. Assess the material and agree how to deal with any affected area before covering it.
What a price for the finished roof should cover
Include the roof area, number of outlets and penetrations, and linear metres of parapet in the enquiry. Specify the board format, effective cover of the edge profile and the thicknesses required in each area.
When comparing quotations, check who has allowed for deck preparation, adhesive or fasteners and temporary seals during breaks. Give outlet detailing its own line item so that the total covers a finished roof that can drain.

Free quote
What to include in your enquiry
Tell us how you plan to use the material, the dimensions and the quantity you need. Include the thickness, grade or variant name, along with the delivery town or your preferred collection branch. For a specific product, add its name or a link to the product page. We will reply to the email address you provide to discuss availability and the terms of your order.

Read next
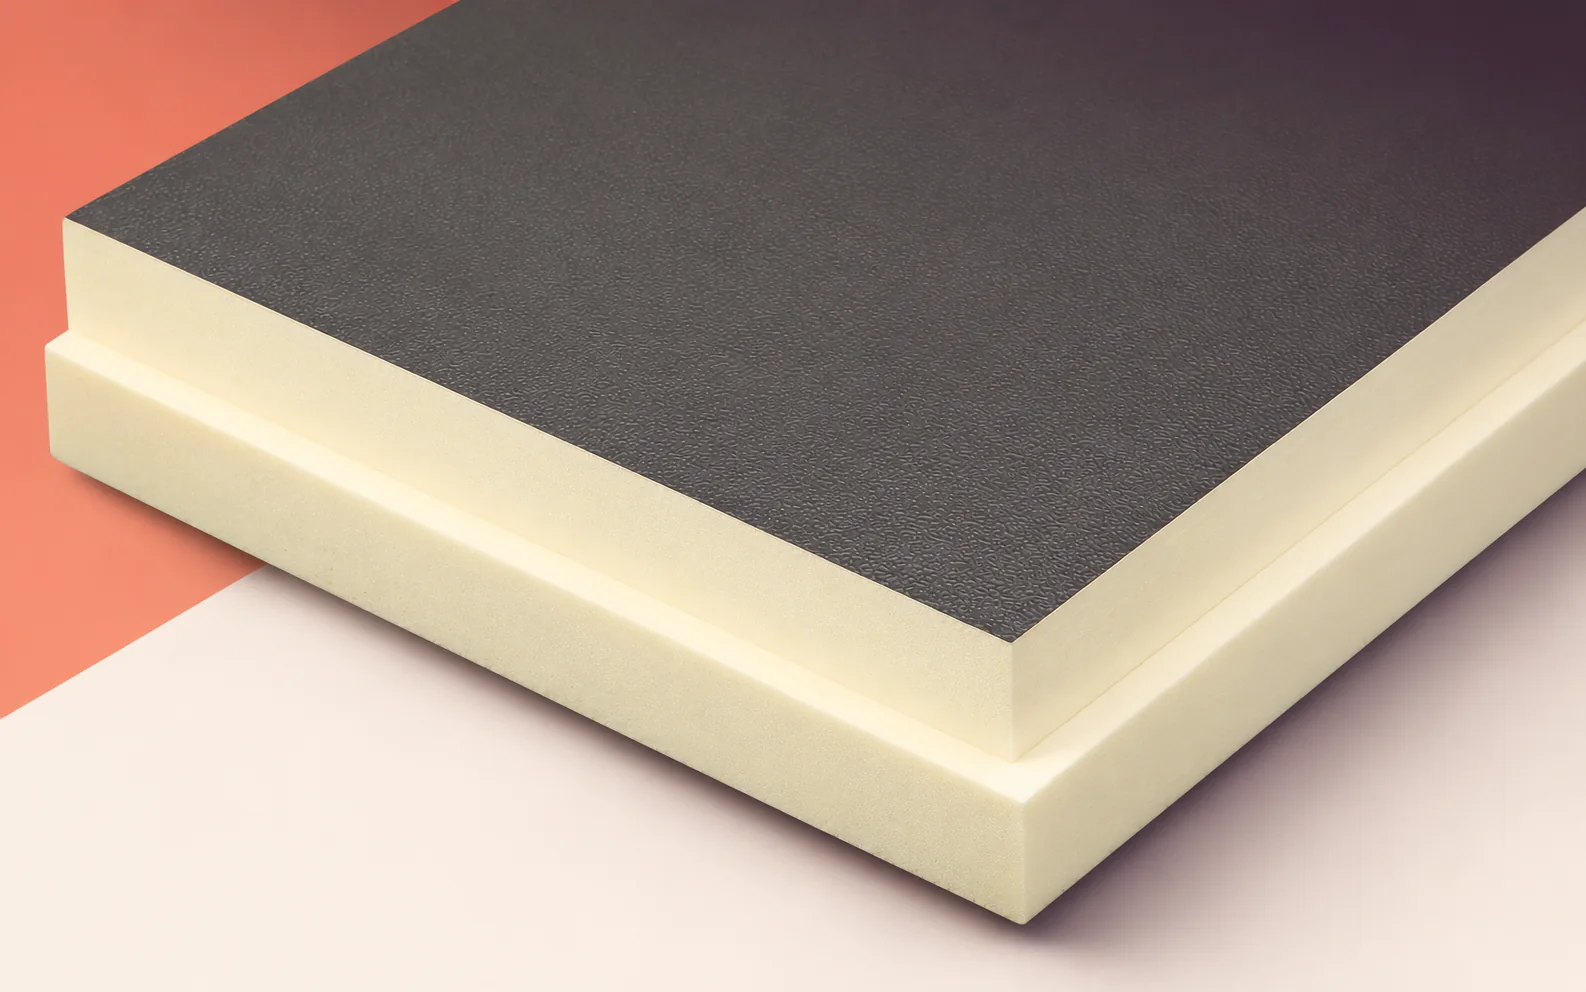
Use the installed dimensions of 2385 × 1185 mm when ordering BauderPIR FA for a warehouse roof. The external dimensions of 2400…
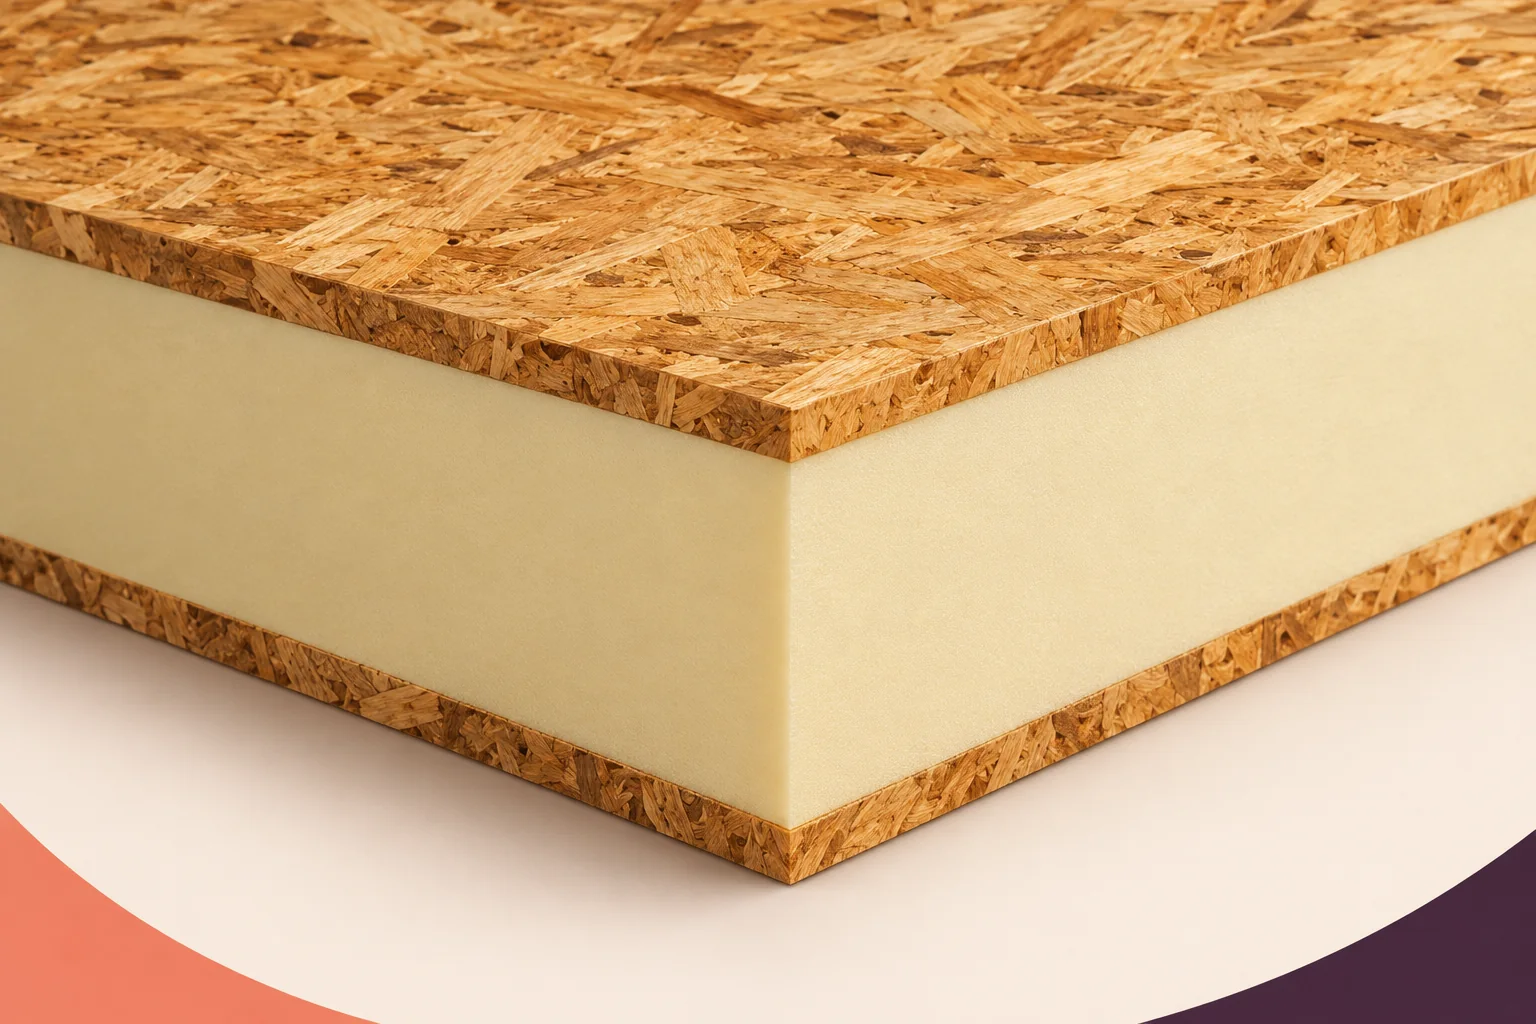
When comparing structural insulated panels, first identify what each quoted figure describes. Thermal conductivity, λ, belongs to a material. Thermal resistance, R,…
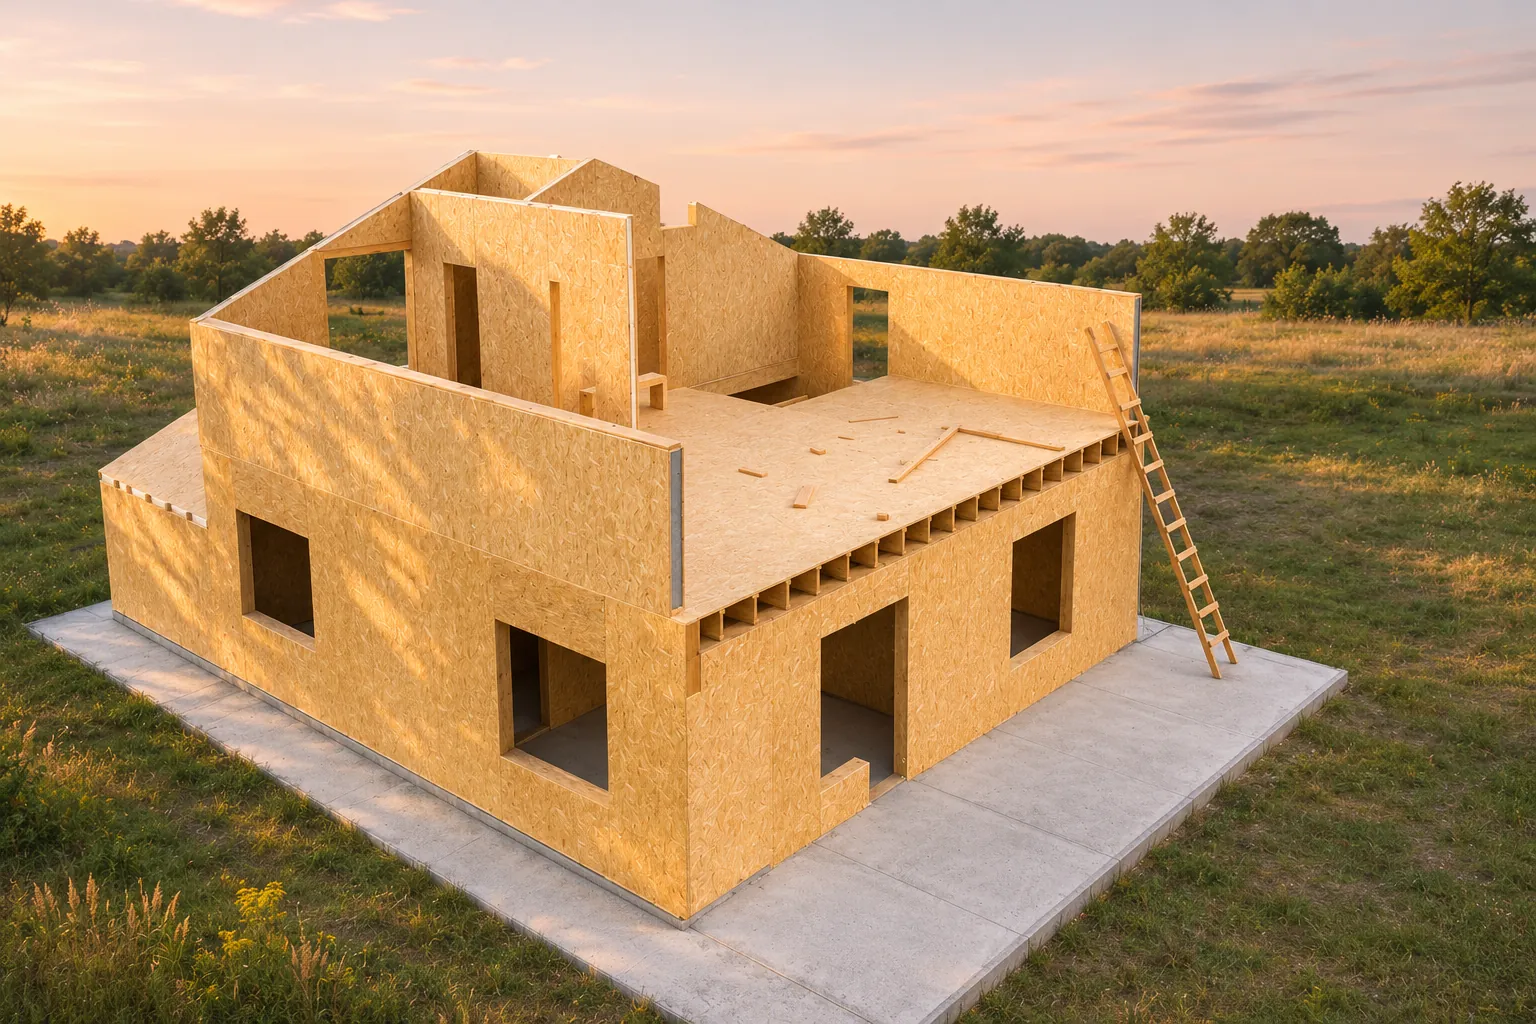
A home built with structural insulated panels (SIPs) can arrive as flat elements for assembly on site or as three-dimensional modules assembled…
When choosing Thermano ETICS for a rendered façade, start with a wall section through a window. It shows the space required for…
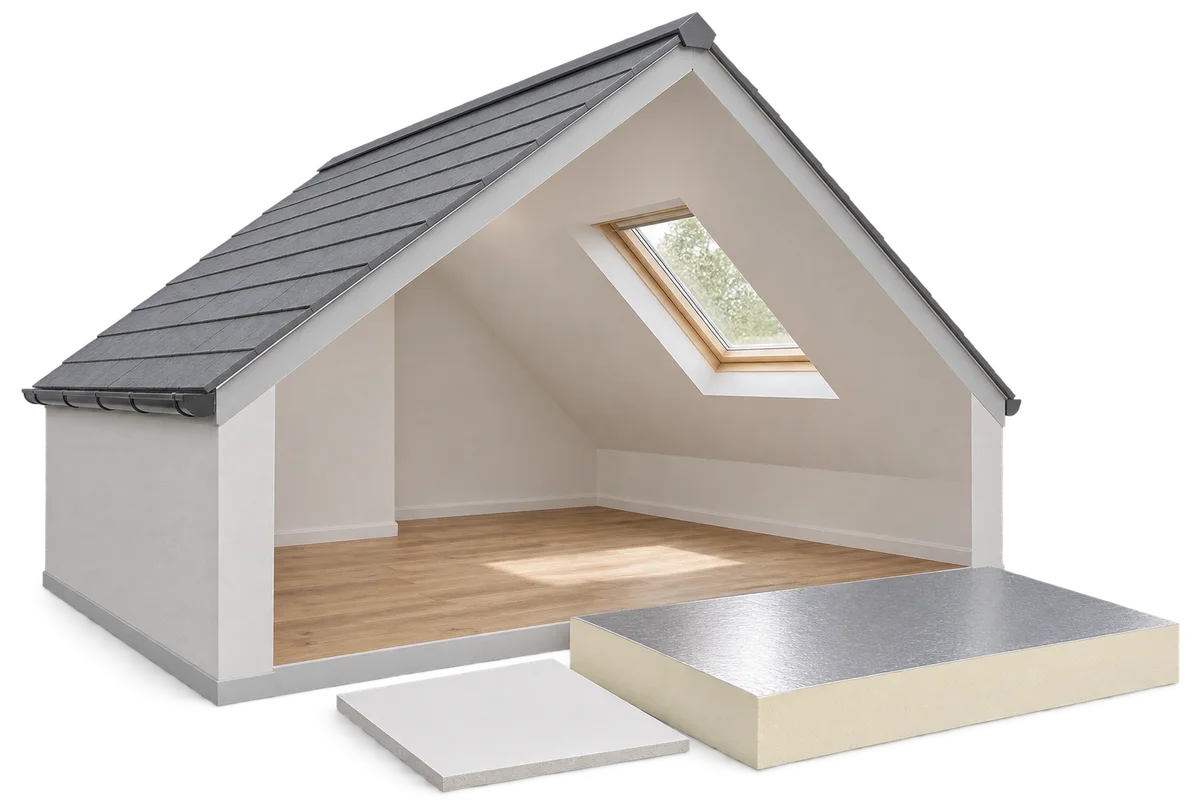
A loft fit-out starts well before the first plasterboard goes up. Inspect the roof, plan the insulation and establish how the layers…
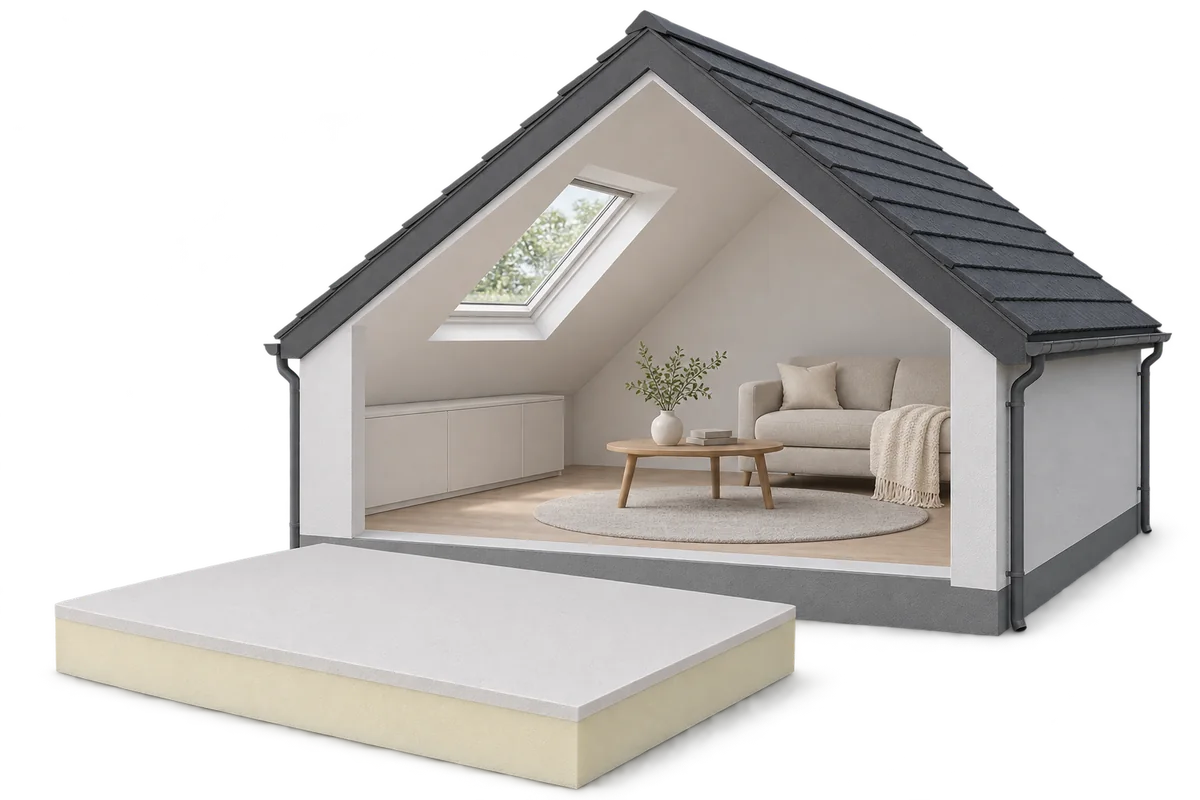
Insulating a loft from the inside can make it more comfortable without taking the roof covering off. PIR bonded to plasterboard provides…
A doorway between a corridor and a heated room reveals whether the floor build-up fits between the structural slab and the door…
When ordering Thermano Compact for reveals, recesses and narrow perimeter strips, start with the dimensions of each insert. Two areas of equal…
