Thermano ETICS on a façade. How to assess the composite board
PIR insulation
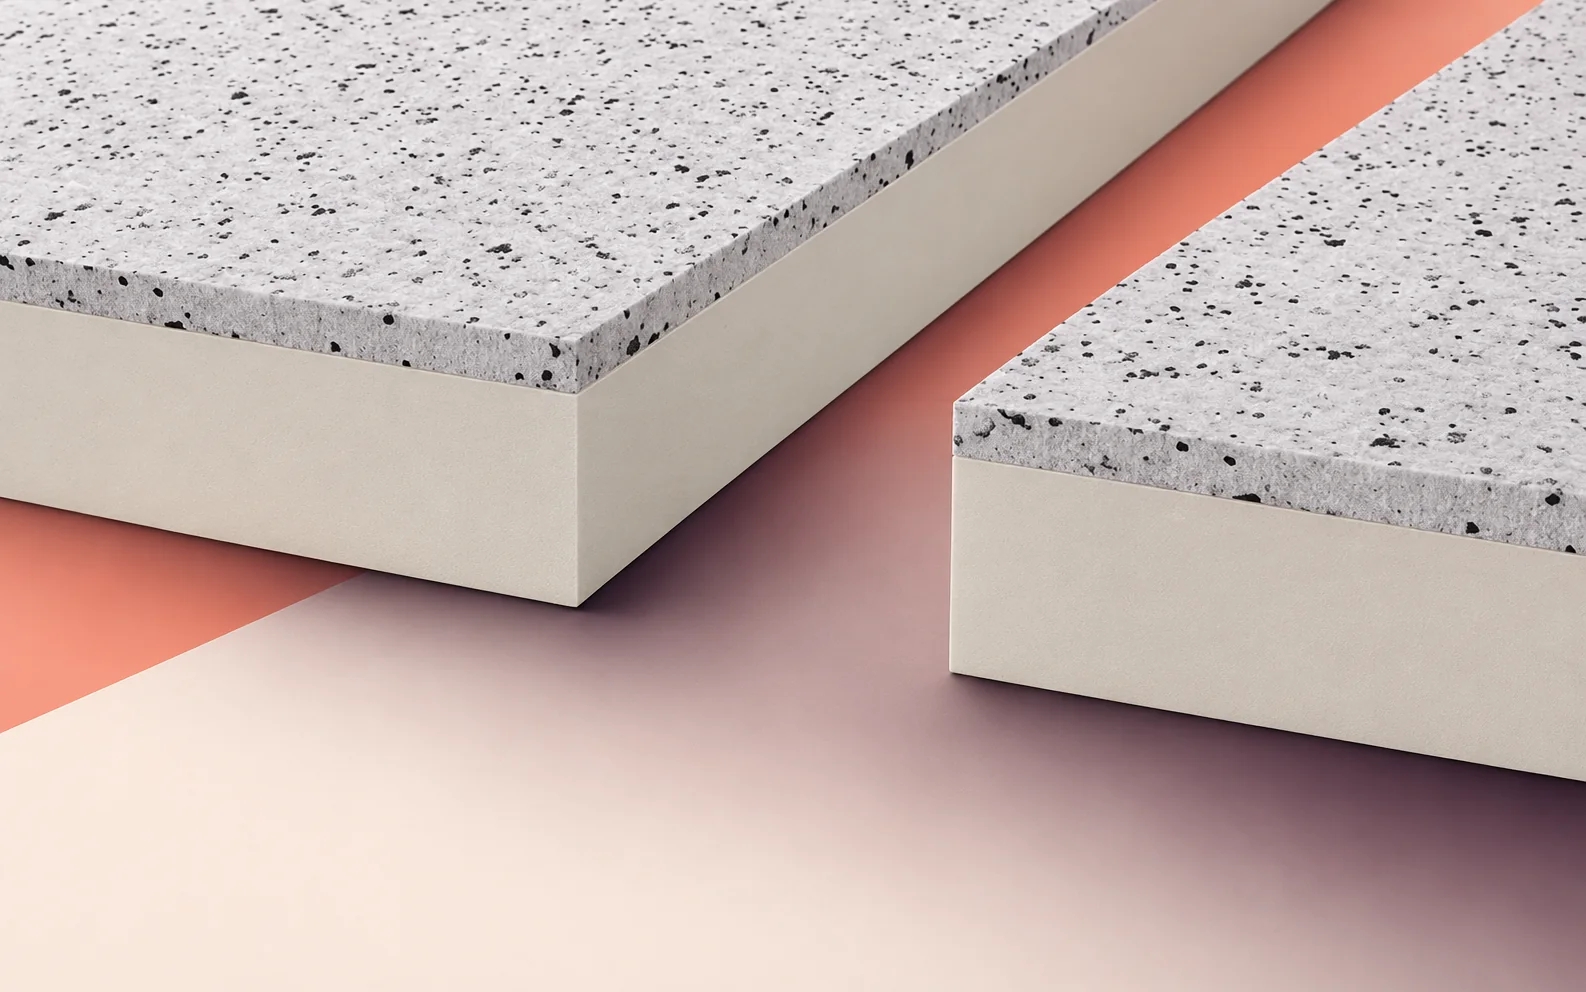
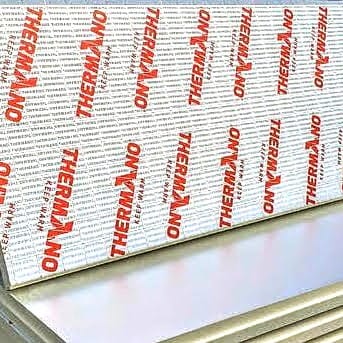
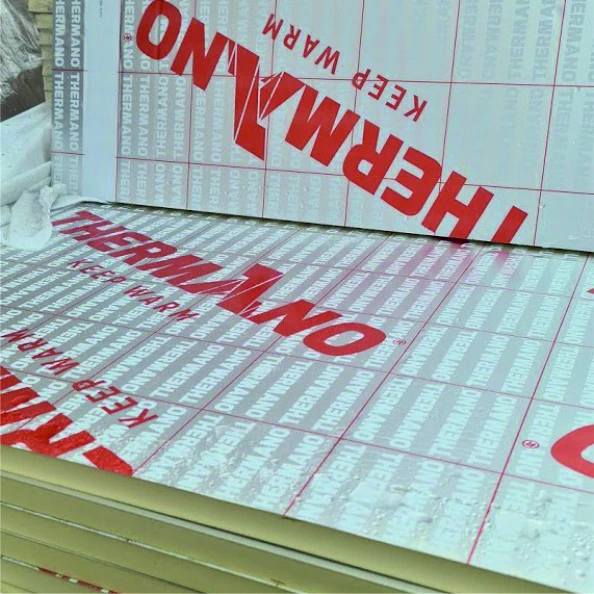
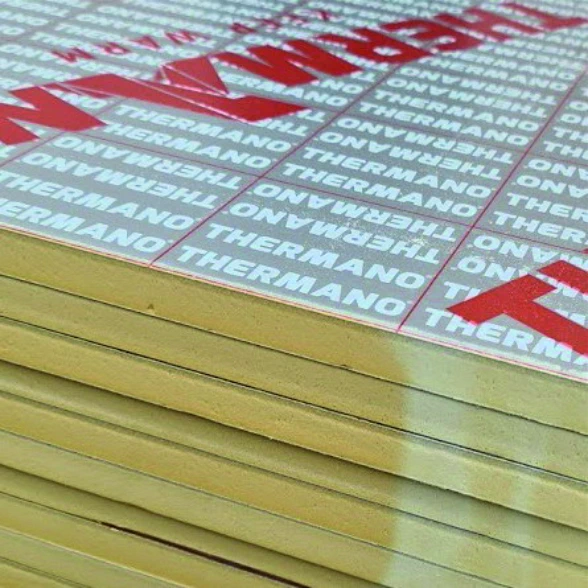
When choosing Thermano ETICS for a rendered façade, start with a wall section through a window. It shows the space required for the composite, the finished render line and the necessary sill projection. The board has a PIR core and a factory-applied outer layer of EPS 20 mm thick. The ordered thickness already includes both materials. Compare variants using the thermal resistance of the entire board. Mortar, fixings, reinforcement and render must suit the documented system for the building. This guide follows a row of windows from board selection and cutting through to inspection before the reinforced base coat conceals the joints.
In this guide
What the overall thickness includes
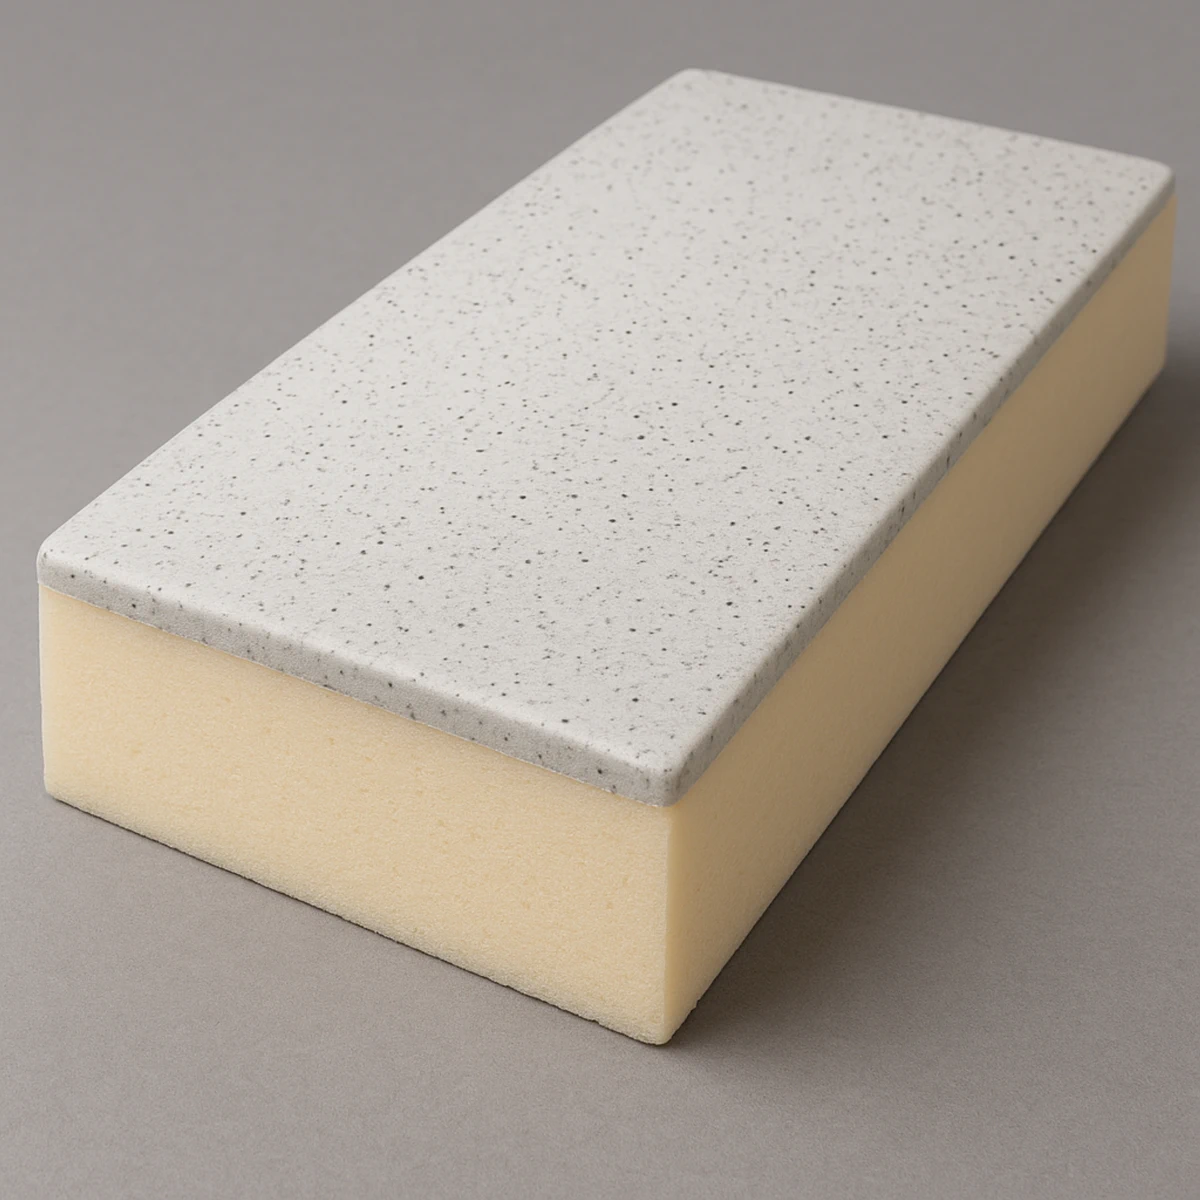
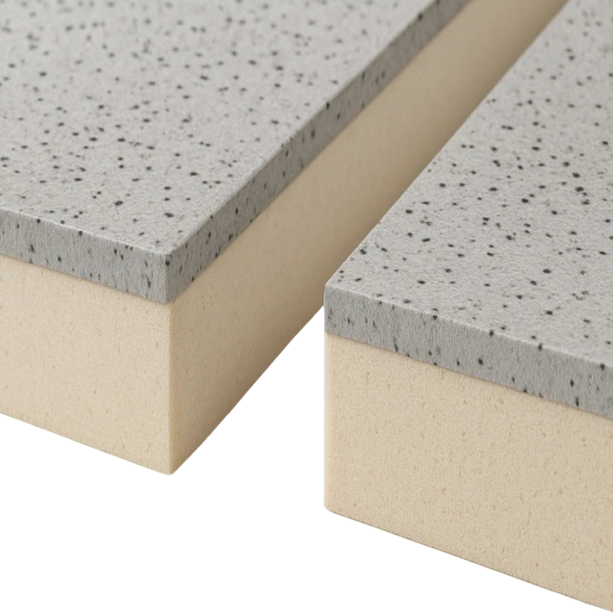
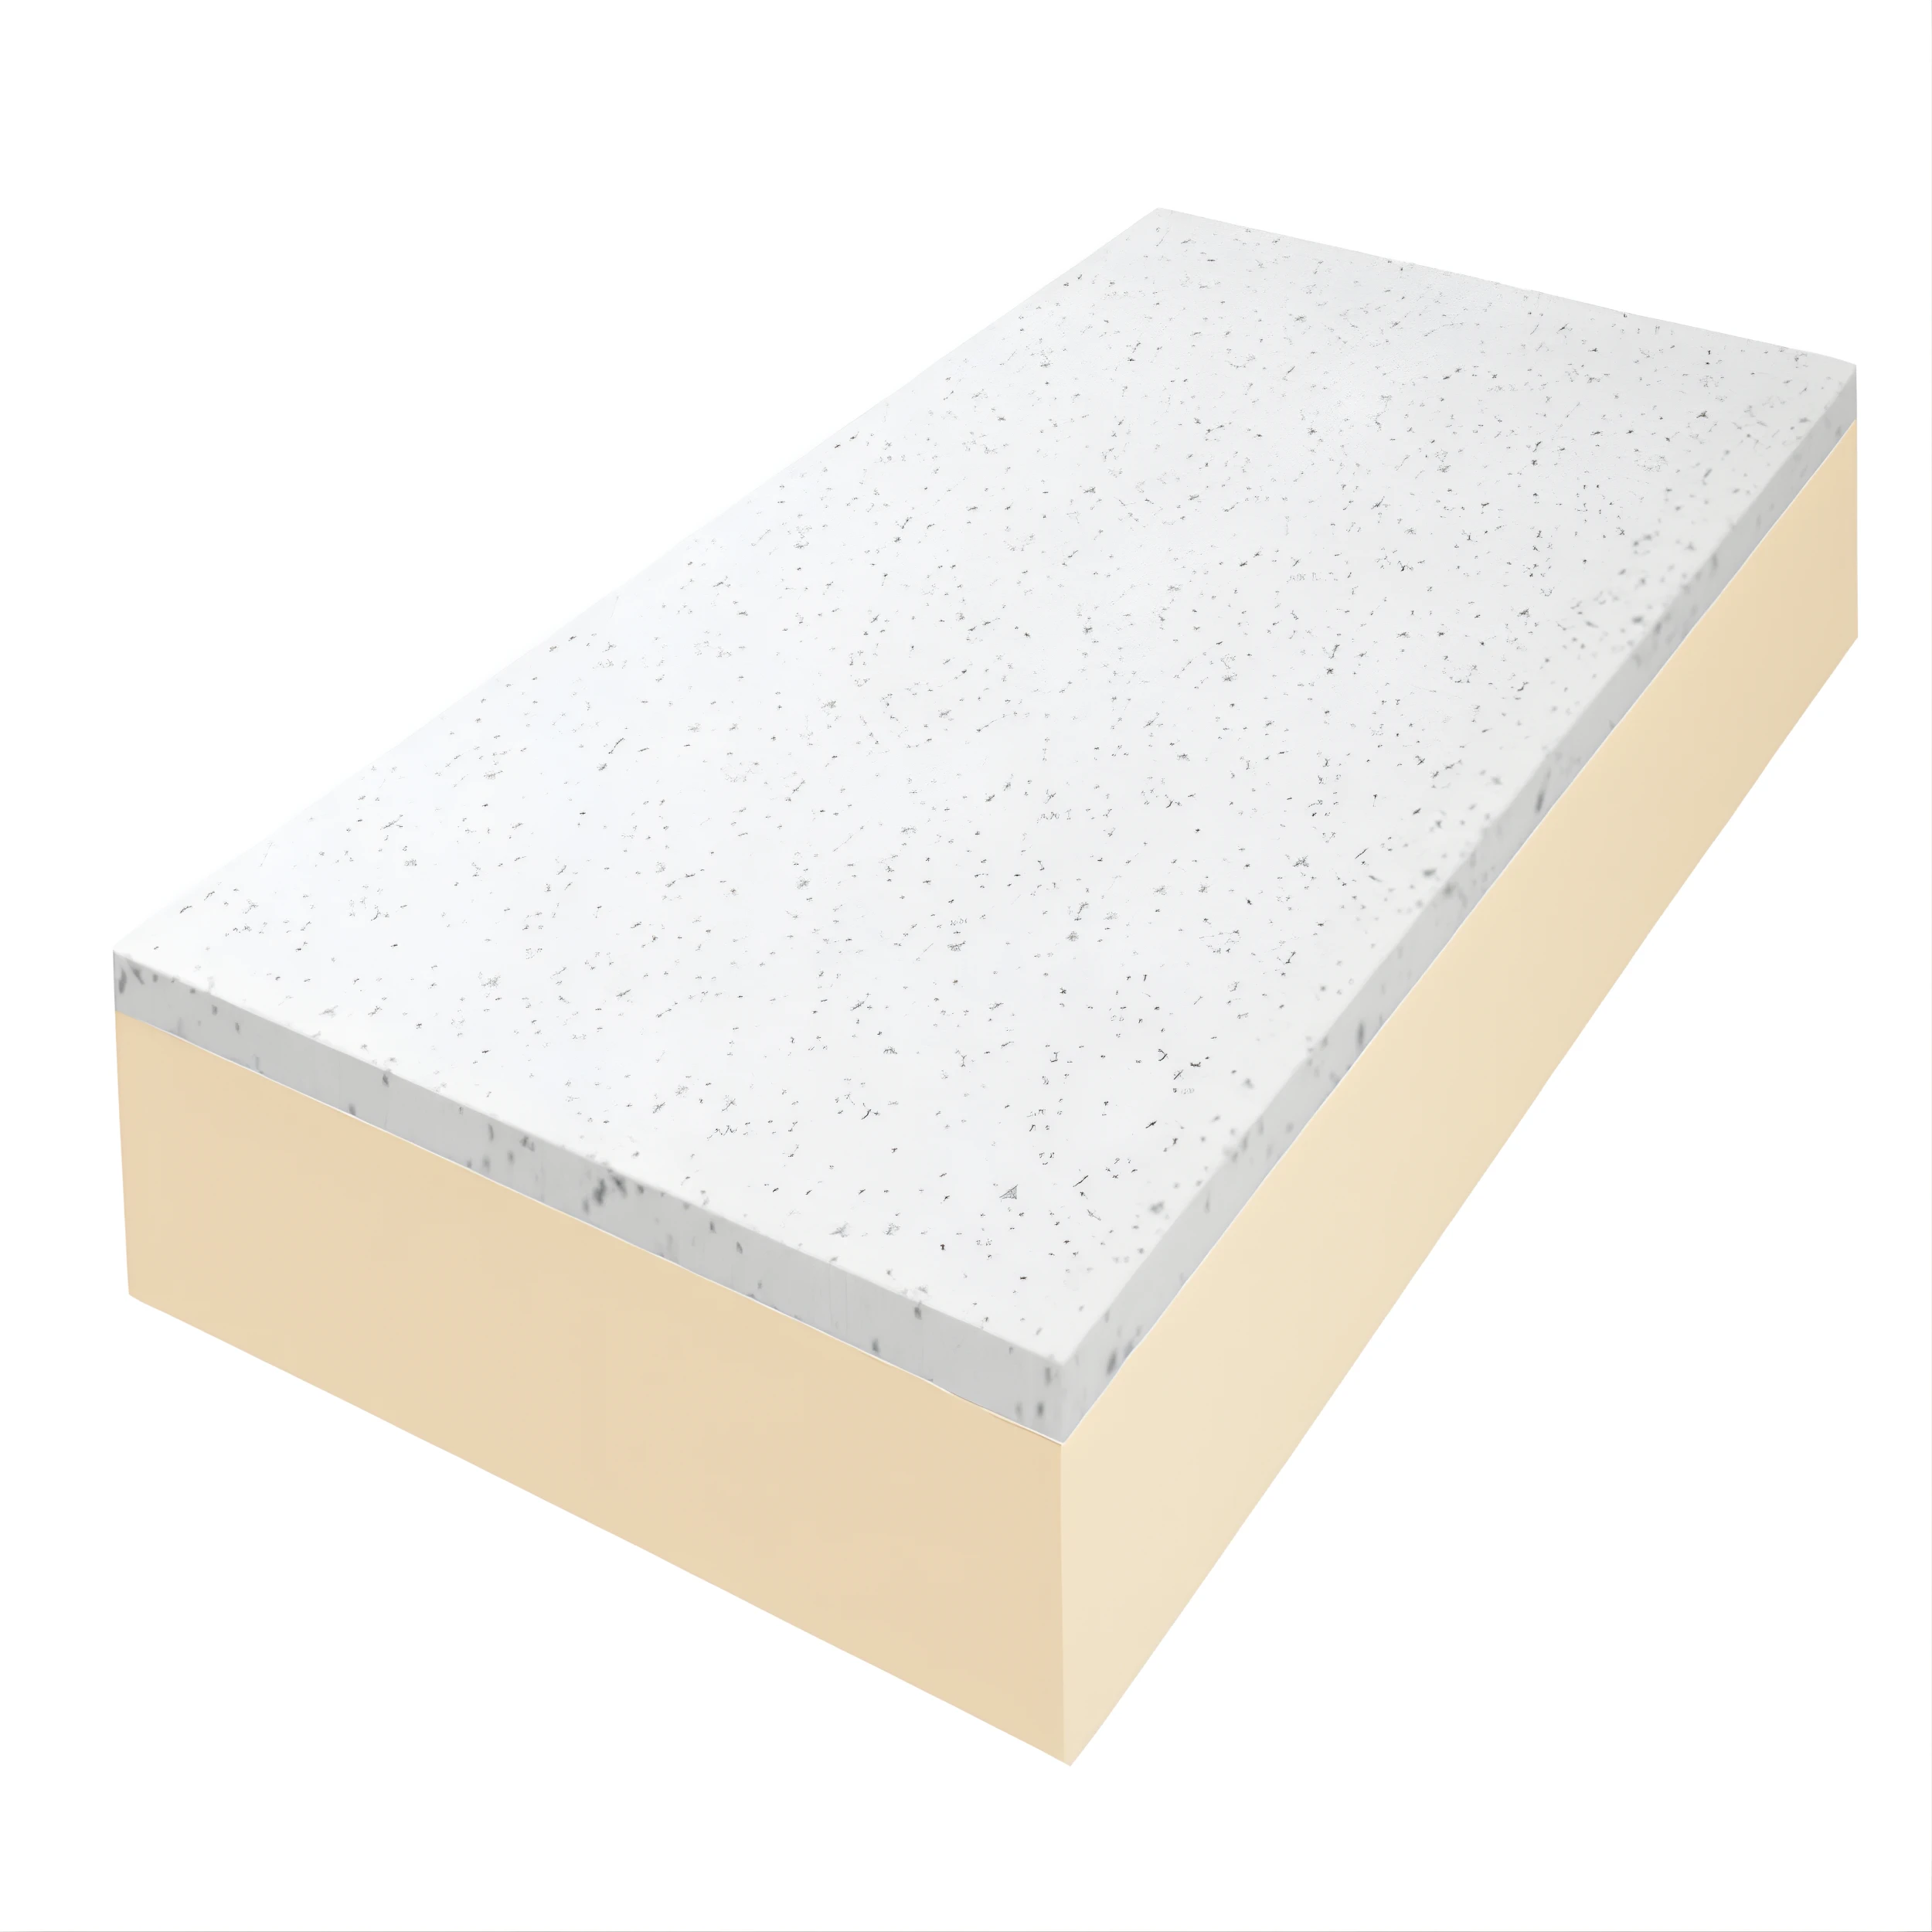
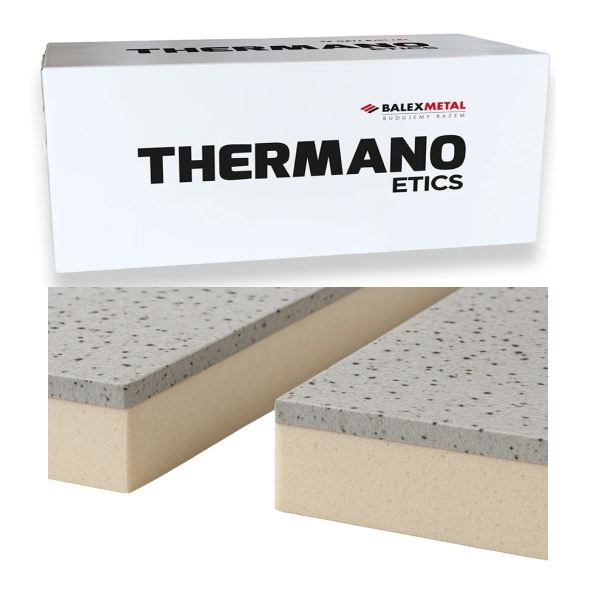
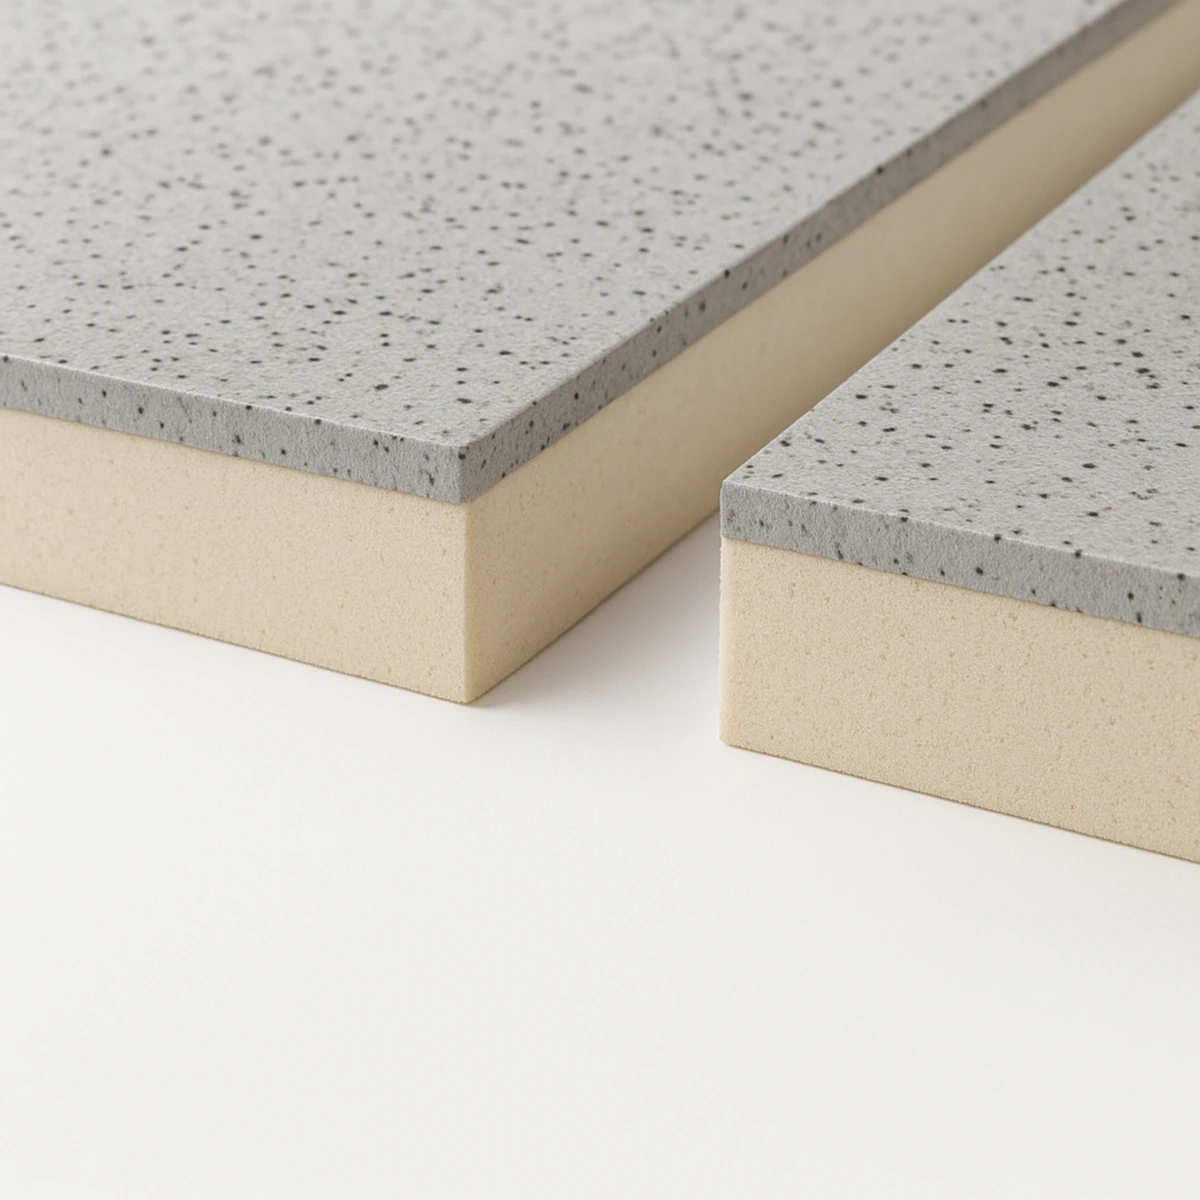
In the 120 mm variant, 100 mm is the PIR section and 20 mm is EPS. The PIR has multilayer facings containing aluminium. The EPS surface that receives the subsequent façade layers faces outwards.
Draw the substrate, both parts of the board and the finish as separate layers. If a specific reveal depth is required, the section shows where the frame will sit after insulation. It also avoids counting the 20 mm EPS twice when ordering flashings.
Comparing thermal resistance
The manufacturer’s table gives a thermal resistance of 3.95 m²·K/W for 100 mm Thermano ETICS and 4.82 m²·K/W for the 120 mm version. The difference of 0.87 m²·K/W applies to the composite alone. The conductivity of 0.023 W/(m·K) refers to the PIR section.
When comparing two designs for the same building, keep the masonry and the scope of corrections consistent. Assess the frame junction, lintel and elements passing through the insulation separately. The tabulated R value describes the uninterrupted board area.
Matching fixings to the substrate
For an existing wall, identify the material behind the render and the layers capable of carrying load. The fixing drawing should specify the fastener, anchorage and spacing in each façade zone. Account for differences between corner zones and the middle of the wall.
The board has a declared reaction-to-fire class of E. To assess suitability for the building, check the classification of the complete system in the proposed configuration. Verify that the composite, fixings, reinforced base coat and render match the documentation.
Setting out boards along a row of windows
Draw the 600 × 1200 mm BASIC square-edged boards on the elevation. Start at the narrowest pier between windows, then check the joint positions at both adjoining window heads. Coordinate the cutting pattern with the system reinforcement detail for openings.
Count full boards, pieces around openings and end strips separately. Floors with the same wall area can require different cutting patterns where one has narrow windows and the other extensive glazing. A schedule by window grid line helps organise deliveries to the scaffold.
Sills, plinths and top edges
On the sill detail, show the fall, end closures and drip position relative to the finished render. Measuring from the bare board leaves out the finish thickness. Inspect the frame junction while it is still accessible before the metal sill goes on.
Detail the plinth and wall head separately to suit their water exposure. Protect an open top edge during breaks in accordance with the installation procedure. Inspect that temporary protection in particular where another crew will install the flashings.
Inspection before reinforcement and after rendering
Before applying the reinforced base coat, record board type and thickness, photograph joints and fixings, and compare the first opening with the drawing. Identify deviations by grid line so the crew can find the precise spot before it is concealed.
After rendering, inspect the finished junctions at sills, penetrations and head flashings. The cost schedule should cover board and render areas, sill quantities, profile lengths and work at openings. These items allow like-for-like comparison of prices for the complete façade.

Free quote
What to include in your enquiry
Tell us how you plan to use the material, the dimensions and the quantity you need. Include the thickness, grade or variant name, along with the delivery town or your preferred collection branch. For a specific product, add its name or a link to the product page. We will reply to the email address you provide to discuss availability and the terms of your order.
Read next
Different insulation materials can work together in one building element when each solves a specific problem. PIR can keep the build-up thin,…
Use the installed dimensions of 2385 × 1185 mm when ordering BauderPIR FA for a warehouse roof. The external dimensions of 2400…

A changing room beside a cool factory hall calls for a different wall specification from an office between two heated rooms. Before…
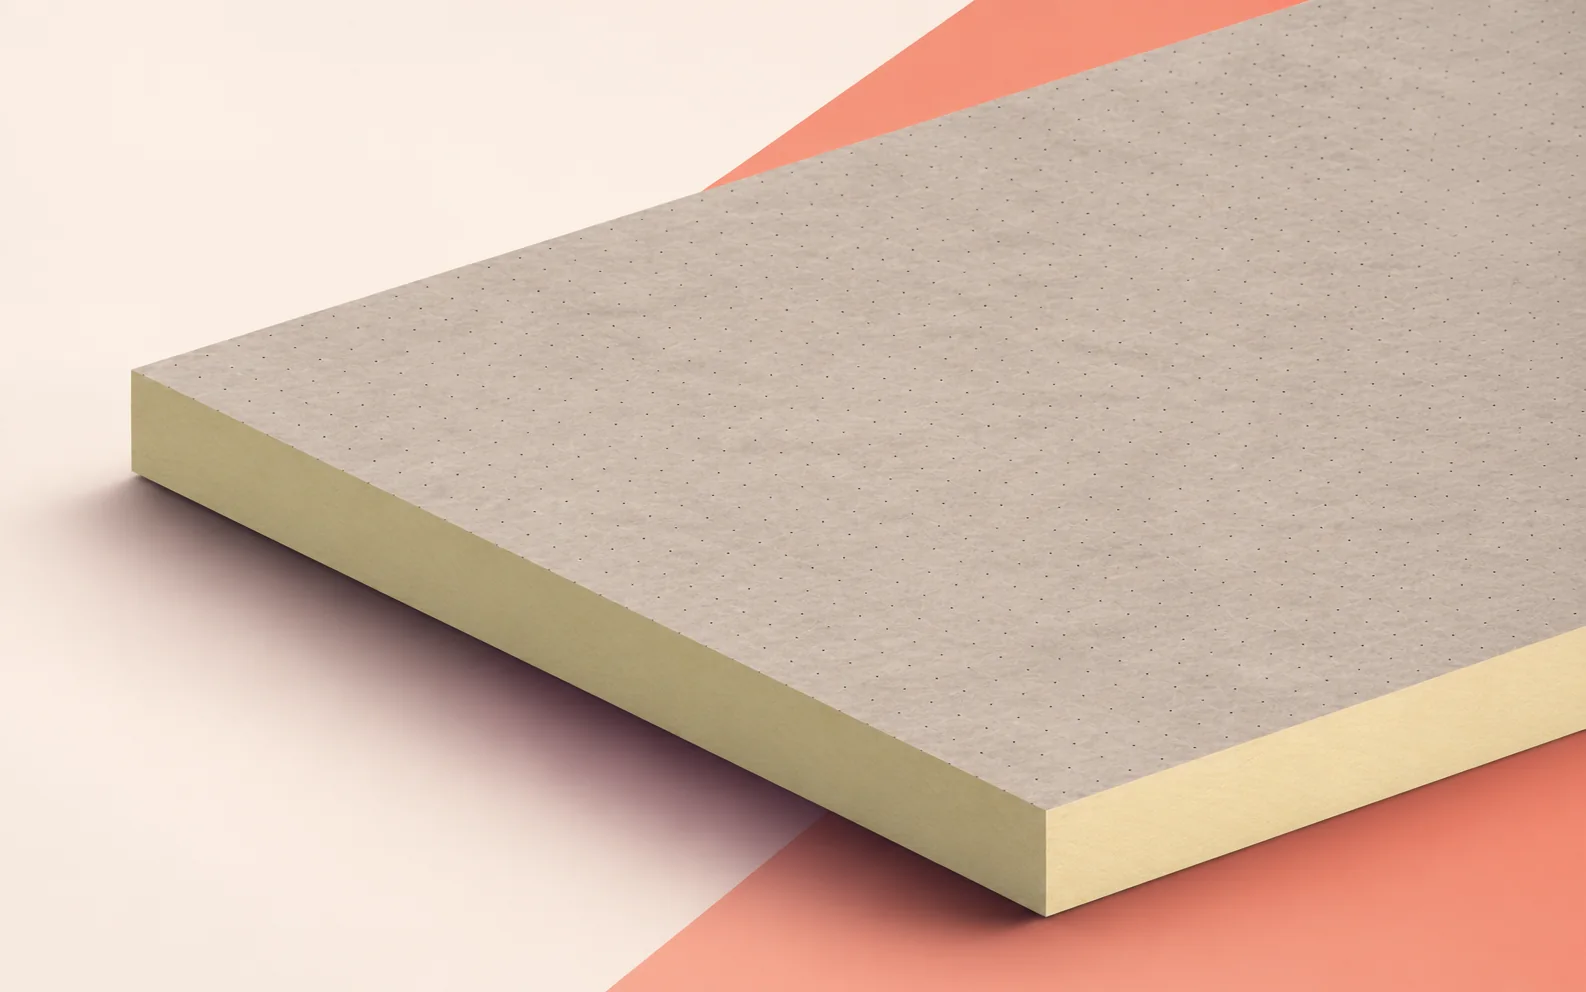
On a warehouse roof with bonded waterproofing, the suitability of Kingspan Therma TR27 depends on the combination of its facing, the adhesive…
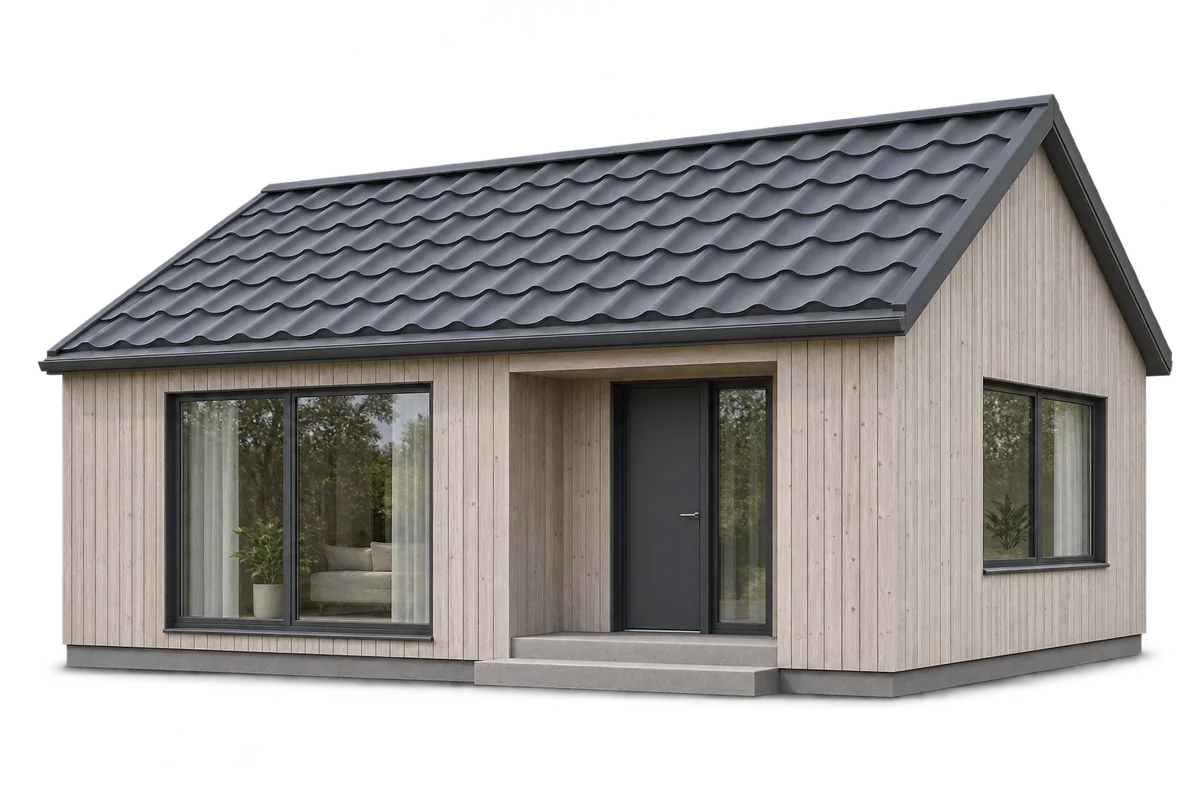
A timber house for year-round use must meet the requirements for a dwelling. In Poland, using timber does not in itself determine…
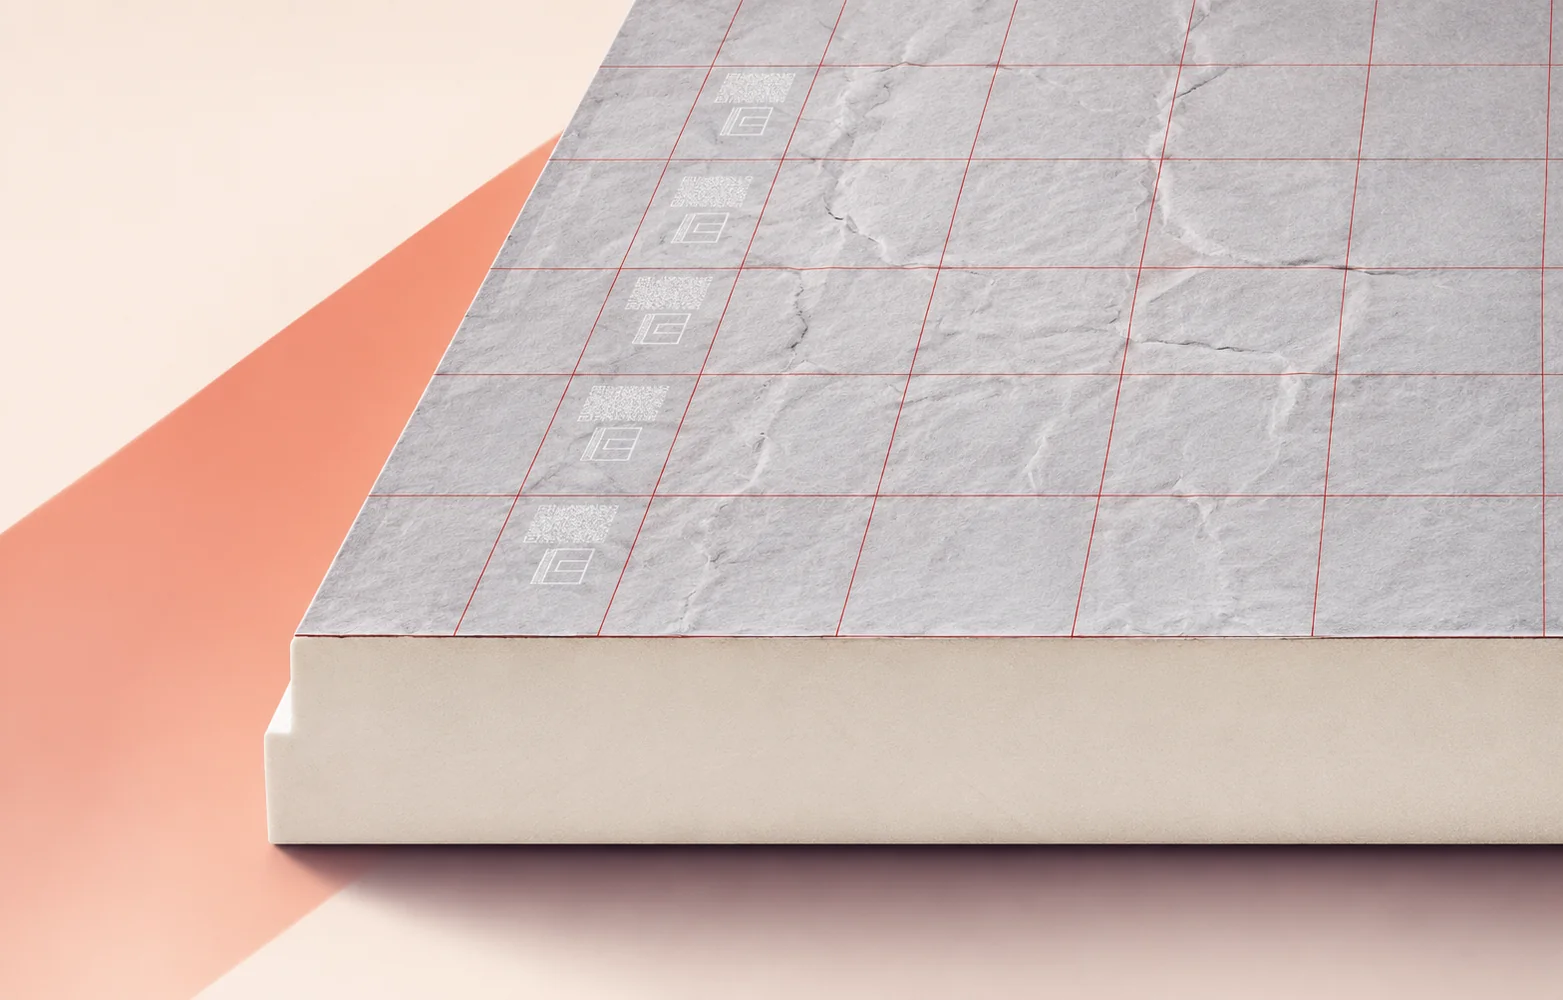
Three dimensions matter when ordering Thermano Deck for an industrial roof: insulation thickness, effective board cover and the distance between details that…
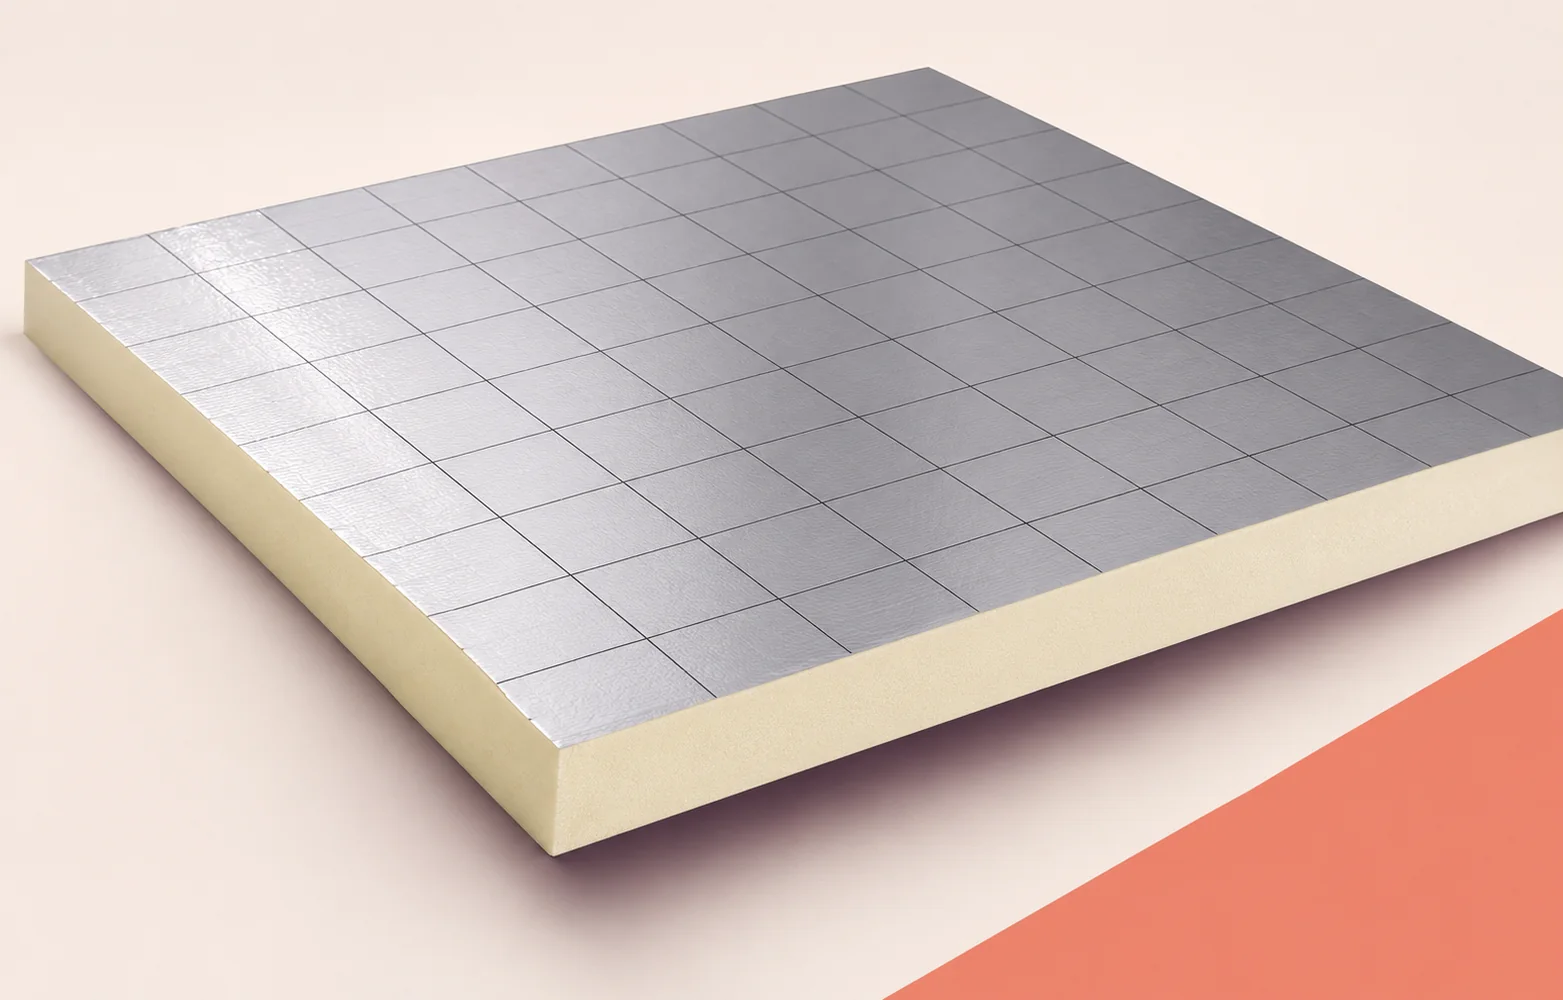
Lockers on feet, a circulation route and a heated office floor place different demands on the same floor build-up. When specifying Recticel…
A good contractor can explain how they will build to your design, define exactly what their quote covers and show how each…