






Recticel Powerroof for roof refurbishment. Working from above
PIR insulation
Above-rafter insulation with Recticel Powerroof allows much of a refurbishment to be carried out from outside. Whether the attic lining can stay depends on the condition of the rafters, the existing layers and access to their junctions. Before stripping the covering, establish how far the roof surface will rise at the eaves, rooflights and chimney. Check how the new counterbattens will be fixed through the insulation into the rafters. Board quantities depend on the installed cover dimensions of the tongue-and-groove edges. For the works programme, the deciding figure is how much exposed roof the crew can weatherproof that day.
In this guide
Open up a representative section
Open up a representative section at the eaves. Record rafter size and spacing, timber condition and the termination of the room-side layer. Check whether it can be connected to the wall without stripping the entire ceiling.
Mark the rafter centrelines on the working plan. Once the boards cover the timber, these lines locate the counterbatten fixings.
Fixing through the PIR layer
Screws transfer forces from the counterbattens into the timber. Their length, spacing and installation angle depend on insulation thickness, roof geometry, substrate and loads. Adding the board thickness to an old screw length does not establish the fixing design.
Powerroof declares CS(10/Y)150 in compression and a D-s2,d0 reaction-to-fire class. These figures describe the board. Fixing capacity and any required fire resistance of the roof assembly need their own evidence.
Eaves height after refurbishment
The manufacturer gives λ as 0.022 W/(m·K). Declared resistance is 4.50 m²·K/W at 100 mm and 6.35 m²·K/W at 140 mm. When comparing these versions, show the additional 40 mm perpendicular to the slope on the section.
Before ordering flashings, check the position of the gutter relative to the new covering edge. At rooflights, also measure the installation height and select flashing to suit the revised geometry.
Gross size and installed cover
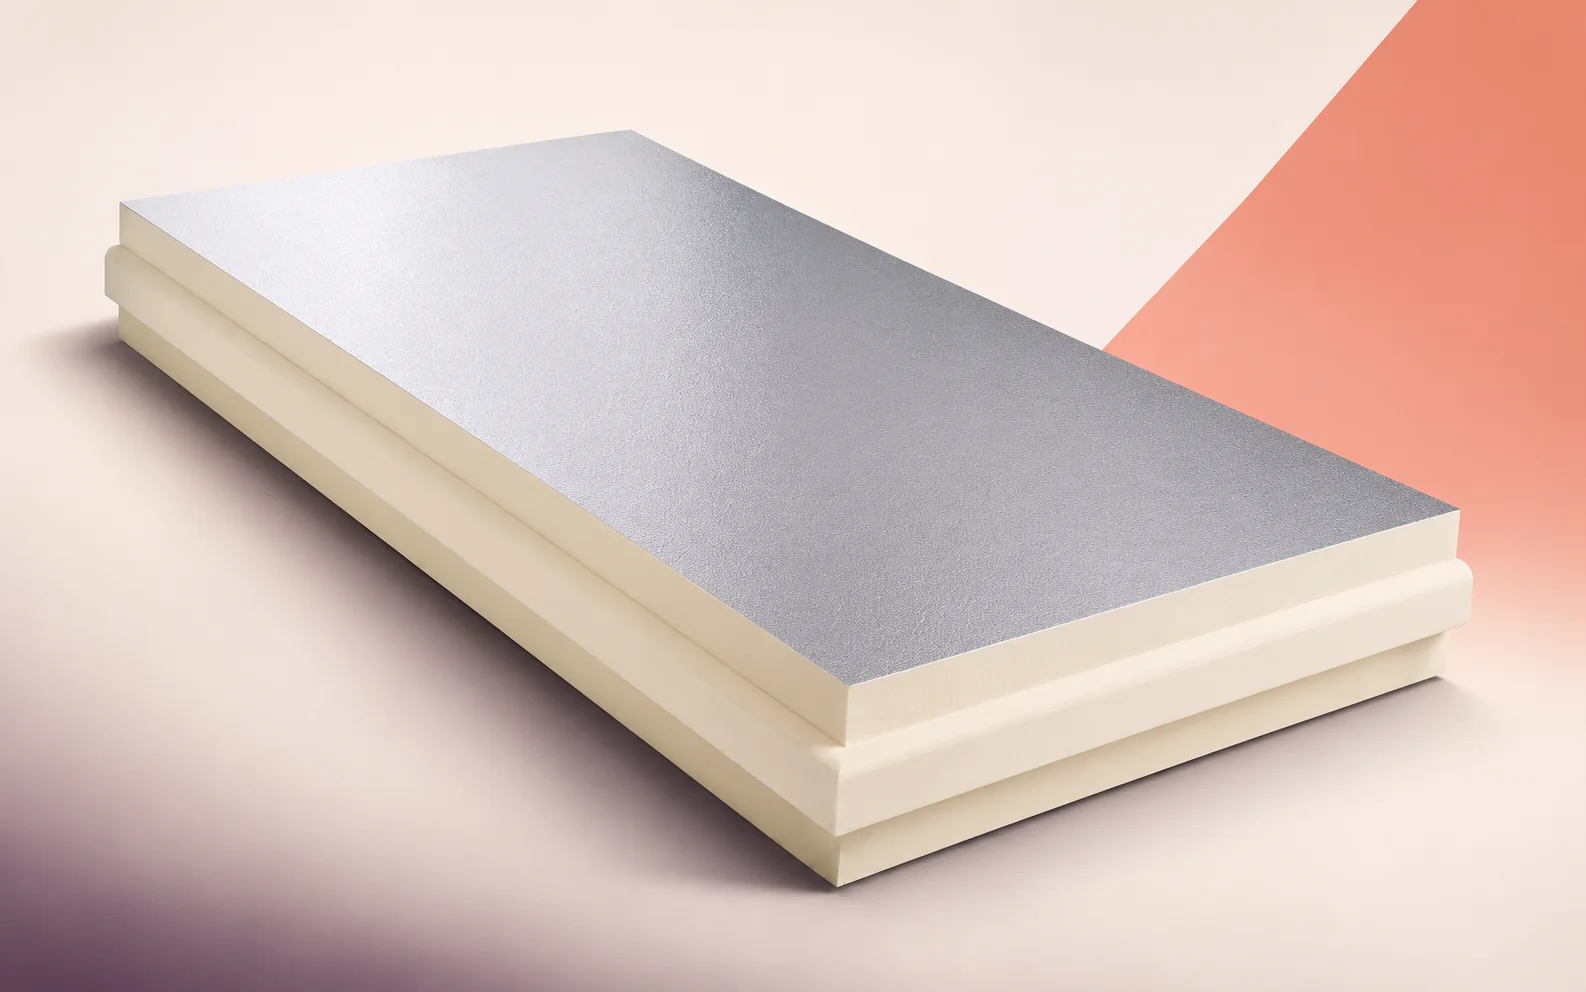
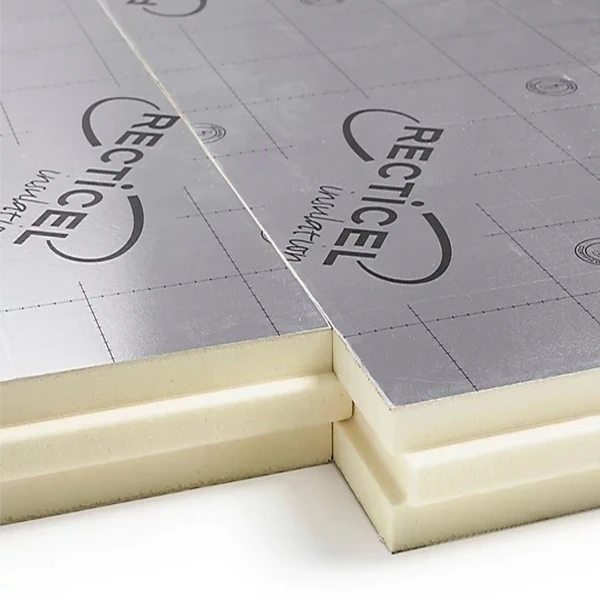
Gross board dimensions are 2400 × 1200 mm. Use cover dimensions of 2380 × 1180 mm, approximately 2.81 m² per full board, in the layout. The difference accumulates along a row as the edges engage.
Draw valley cuts and rooflight strips separately. Count a triangular offcut towards the next bay only after checking its tongue-and-groove orientation and the support it will need.
Drainage at rooflights and chimneys
Trace the drainage path on the roof underlay from the top corner of the rooflight to the eaves. Mark laps and the drainage provision above the window before battens conceal them.
At the chimney, obtain combustible-material clearances from the flue documentation. Detail this zone separately from rain flashing and coordinate both with the finished covering height.
Handing over the next strip of roof
Before opening the next strip, check that the preceding area is protected against rain throughout and has a secure eaves termination. Photograph rafter and opening details before concealment.
Price continuous insulation areas separately from work at windows, chimney, gutters and valley. State opening quantities and flashing lengths. Timber repairs identified only after stripping can then be recorded as a separate item.

Free quote
What to include in your enquiry
Tell us how you plan to use the material, the dimensions and the quantity you need. Include the thickness, grade or variant name, along with the delivery town or your preferred collection branch. For a specific product, add its name or a link to the product page. We will reply to the email address you provide to discuss availability and the terms of your order.
Read next
At a house viewing, the seller shows an invoice for PIR boards and photographs of a renovation. To connect these records to…
A canopy shelters the people on a terrace from rain and sun. If there is a heated room below, the terrace floor…
An environmental product declaration, or EPD, provides environmental impact data for the product it describes, but it is not a simple insulation…
PIR insulation can be useful where wall thickness is restricted. In a large building, choose the board to suit the frame, external…
Compare PIR and EPS roof panels against the same design brief. Set the required U-value, loads, fire performance and exposure conditions, then…
An energy retrofit works best when the roof, wall and floor insulation is planned together with windows, heating and ventilation. PIR can…
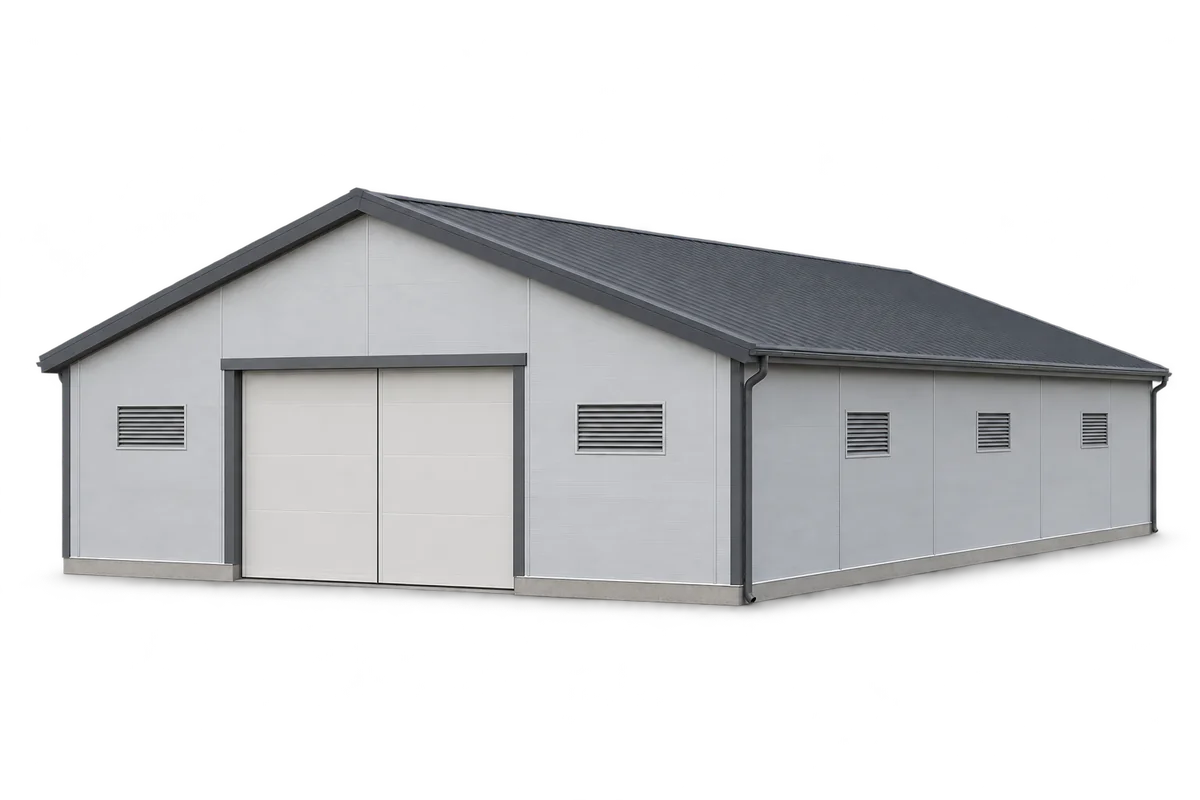
A well-designed pig house keeps conditions suitable for the animals, can be washed efficiently and is straightforward to operate. Insulated walls and…
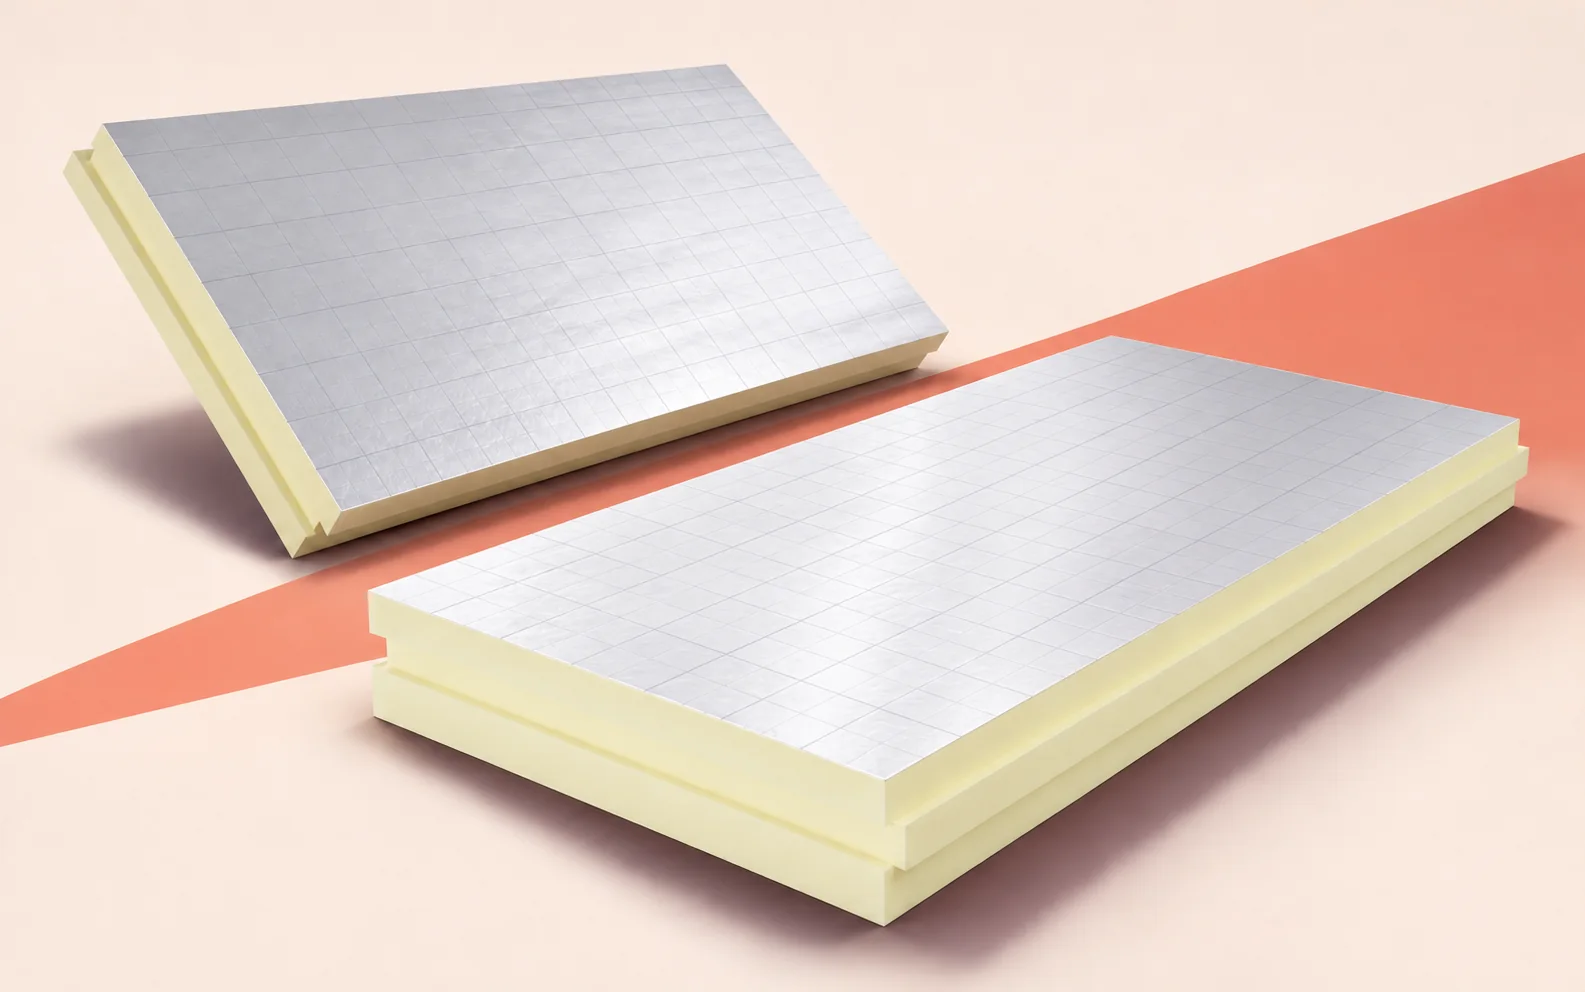
On a large roof, even a small change in insulation thickness can substantially alter the quantity ordered. Record the thermal conductivity, thickness…
