






How to plan maintenance walkways on an EPS-insulated roof
EPS and building insulation
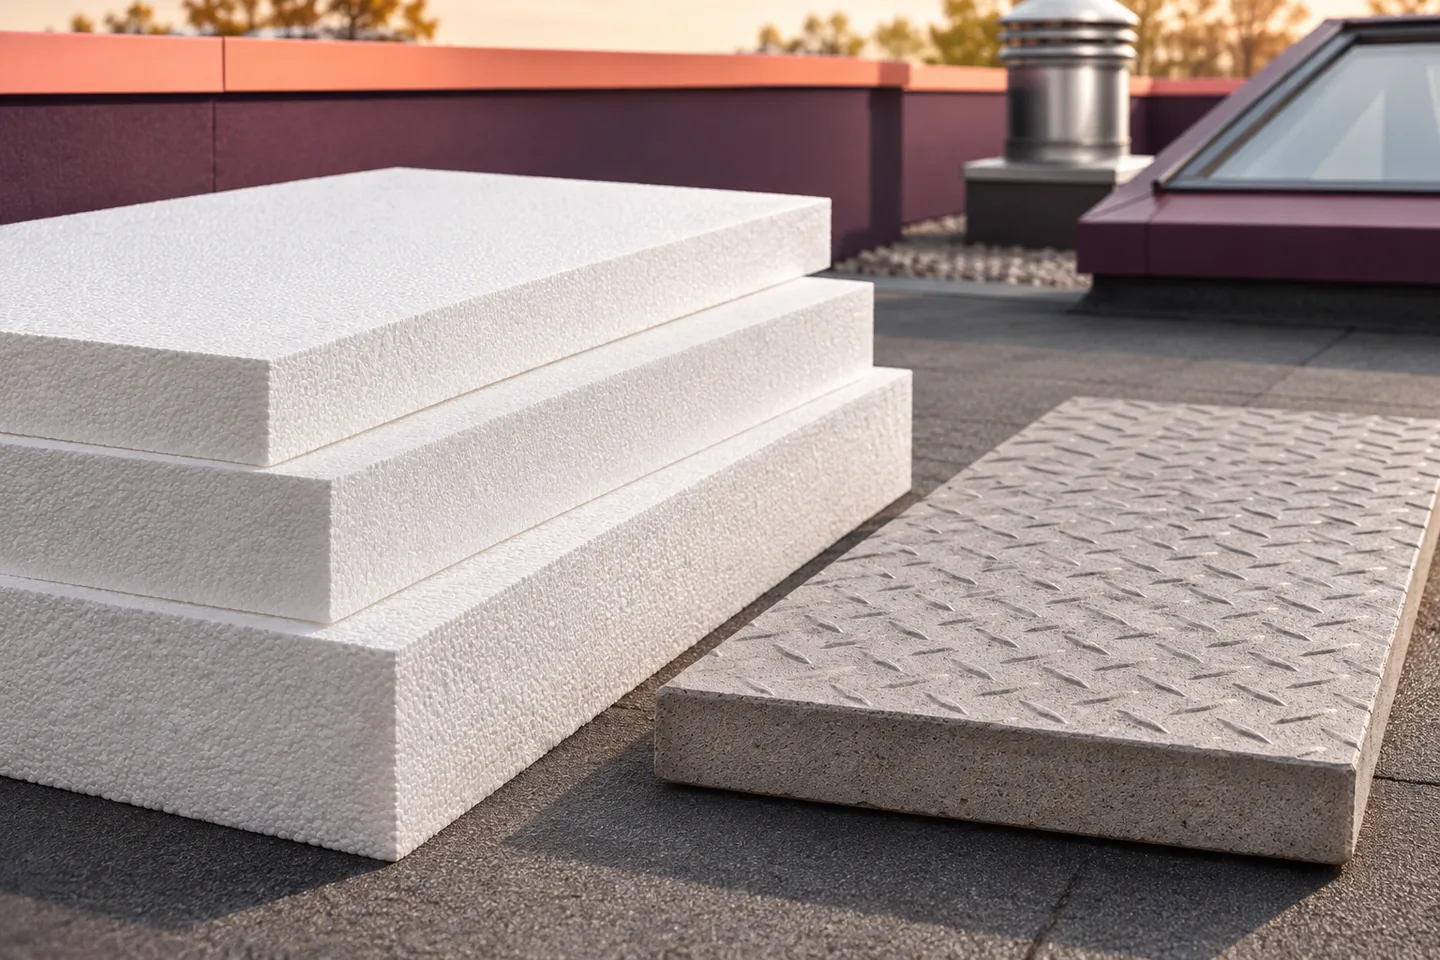
Plot the journeys a technician will actually make, from the roof hatch to each drain and item of plant. Allow room to work and specify what the technician will carry or move. A marked strip can guide people and a mat can protect the membrane against abrasion, but neither establishes how much load reaches the EPS underneath. Choose the surface and its supports for the complete roof build-up. Check the pressure under feet, ladder feet and wheels, the permanent weight of the walkway and the route rainwater takes to the outlets.
In this guide
Lay out access routes before positioning plant
Start with the access point and mark where a technician must stand to open a unit, remove a cover or reach a drain. A narrow strip beside the equipment may leave too little working space. Coordinate the route with fall protection, inspection points and the roof access plan before traffic establishes a path of its own.
Identify the layers beneath the membrane
On a new roof, specify the build-up beneath the route from the outset. On an existing roof, establish the grade and thickness of the EPS and the sequence of layers. Where the drawings are incomplete, investigation or a trial opening may be necessary. The appearance of the membrane alone tells you little about the insulation’s resistance to foot traffic.
Investigate soft spots, depressions and uneven areas before covering them. A thicker mat can conceal a defect and make its cause harder to find. Assess a person’s foot, a ladder foot and a trolley wheel separately, since each applies a different pressure to the build-up.
Distinguish surface protection from load distribution
A protection layer can reduce abrasion and the risk of puncturing the membrane. Its ability to spread pressure depends on its stiffness and bearing area. A walkway unit designed for discrete supports needs those supports in their specified positions.
Where a raised walkway or load-spreading slabs are specified, include their own weight and the imposed load. Check material compatibility wherever pads touch the membrane and fit a separation layer if required. Detail edges and restraints so that the assembly cannot chafe the membrane or shift in the wind.
Check temporary and sustained loads
Foot traffic creates short, localised loads. A permanent walkway also bears on the roof between visits. The CS(10) value describes EPS under compression at 10% deformation in a test. It does not establish how many service visits the roof can withstand.
For permanent supports, consider creep and the deformation the roof detail can tolerate over time. A small indentation can change the bearing conditions or collect rainwater. Include temporary handling loads too. Setting down a heavy spare part may impose more local pressure than a person walking past.
Keep drainage paths open
Trace the fall of the roof beneath the proposed route, including pads and supports hidden below the walking surface. Water must be able to cross the route where needed. Leave enough space to clear each outlet without having to dismantle a long section of walkway.
Inspect the roof after rain and record any standing water that persists. During subsequent visits check fixings, edges and the condition of pads. A worn pad can concentrate pressure at one point and damage the membrane it was intended to protect.
Document use and inspect the finished route
The operating instructions should show the route, permitted ways of moving tools and places where materials may be set down. State any limits on trolleys or ladder supports in terms a new service contractor can use, even when the original roofer is no longer present.
EPS manufacturers include Paneltech, Arsanit, Genderka and Swisspor. Select the board for the expected use and the documented roof system. At handover, walk the full route, check that outlets remain accessible and examine the membrane for installation damage. A usable route also helps keep traffic off the rest of the roof.

Free quote
What to include in your enquiry
Tell us how you plan to use the material, the dimensions and the quantity you need. Include the thickness, grade or variant name, along with the delivery town or your preferred collection branch. For a specific product, add its name or a link to the product page. We will reply to the email address you provide to discuss availability and the terms of your order.

Read next
Follow the insulation line in a section through the roof edge. It must connect the EPS on the roof with the façade…
Give each use of expanded polystyrene its own order line, identified by the zone or grid reference on the drawings. Two boards…
EPS 200 can be suitable beneath a garage floor if the slab and insulation are designed for the actual loads. A car…
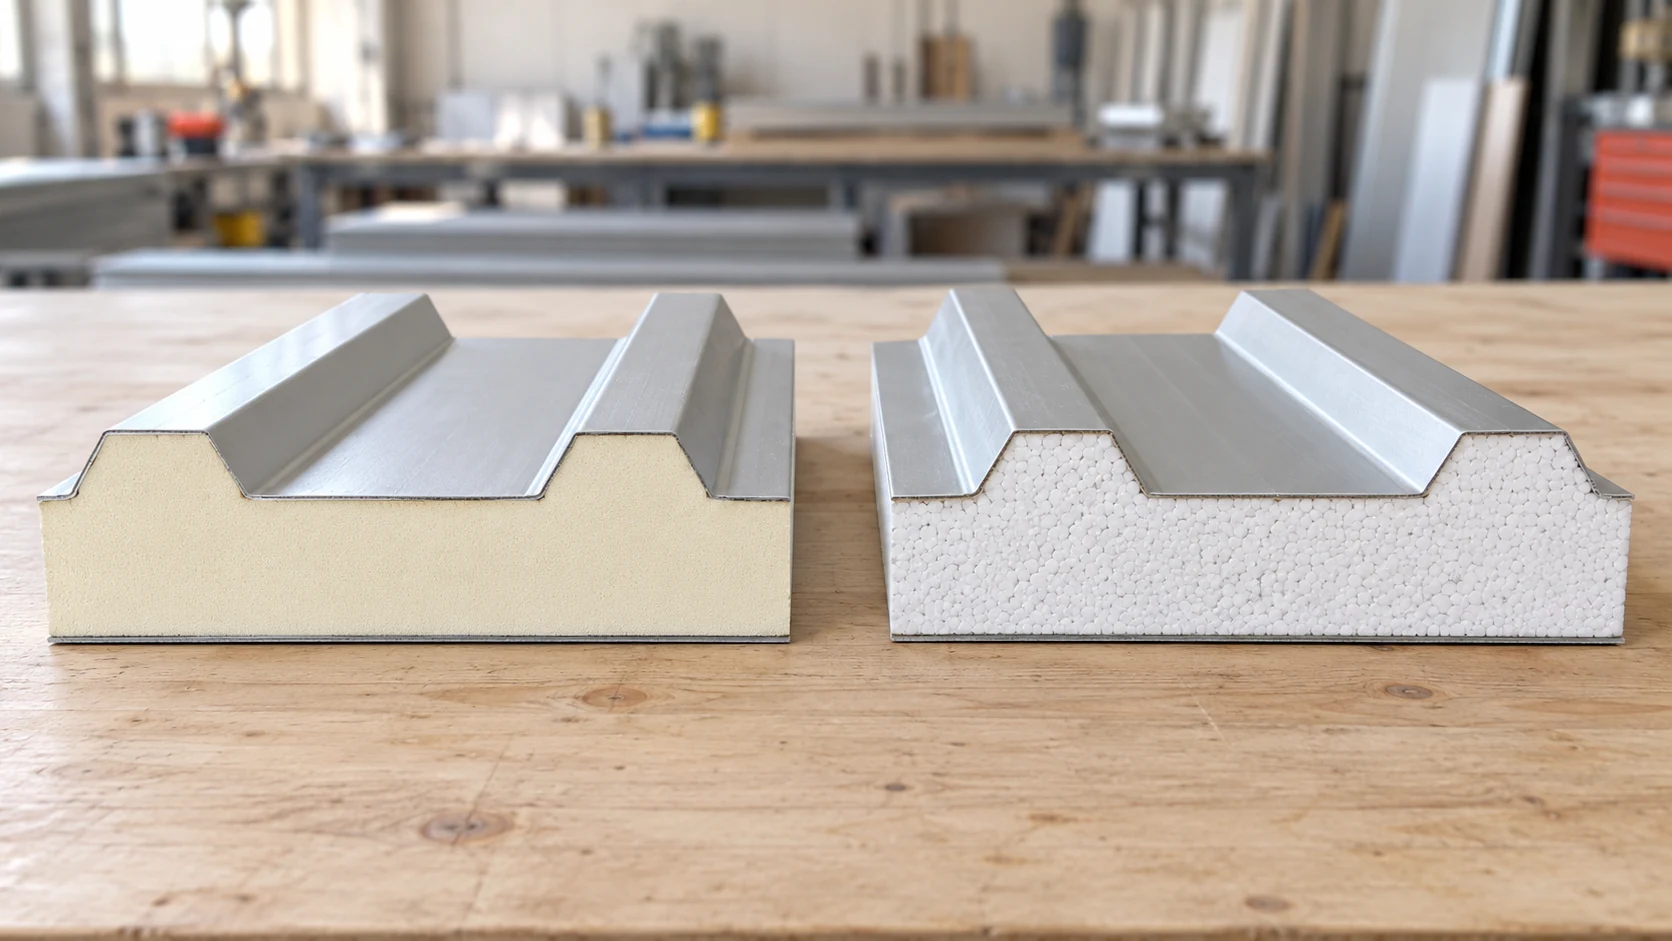
Compare PIR and EPS roof panels against the same design brief. Set the required U-value, loads, fire performance and exposure conditions, then…
On a section through the edge of the hall, trace the insulation from beneath the floor to the base of the wall.…
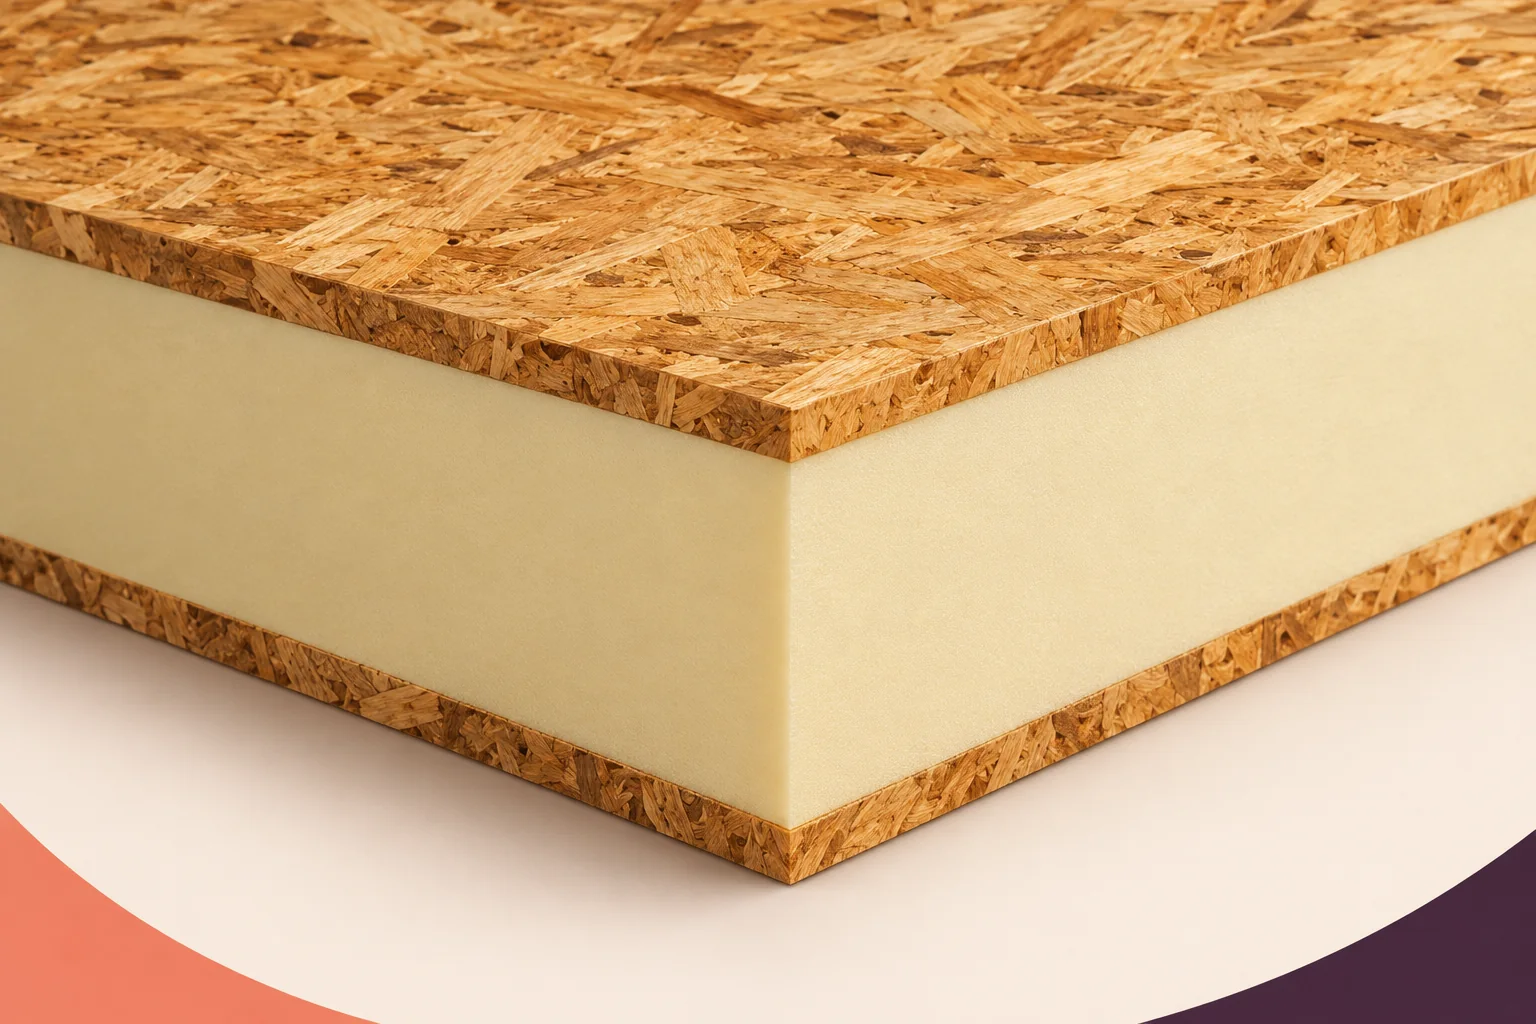
When comparing structural insulated panels, first identify what each quoted figure describes. Thermal conductivity, λ, belongs to a material. Thermal resistance, R,…
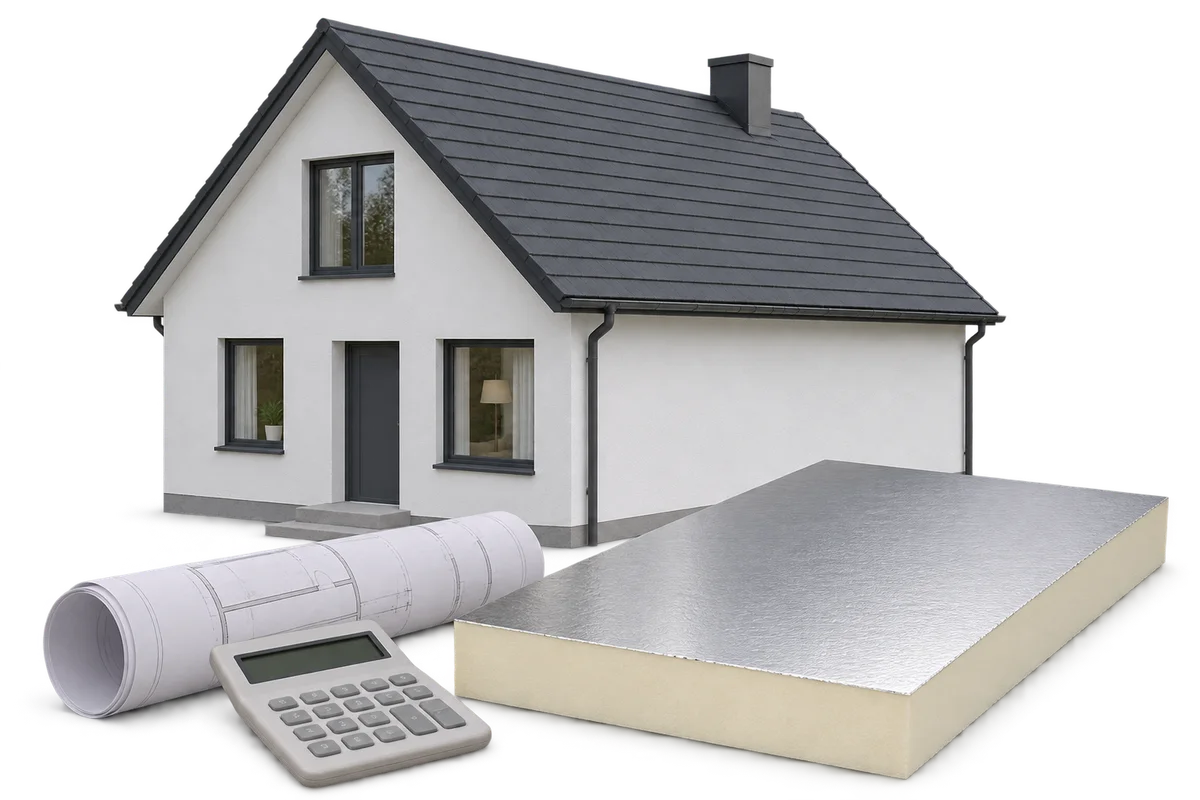
Assessing insulation costs need not stop at the installation invoice or a simple payback figure. Comparing solutions can also involve how the…
Before fitting solar panels to an existing EPS-insulated roof, identify what will carry each mounting foot. Record the roof structure, insulation grade…
