How to flash a chimney on a trapezoidal steel roof
Metal roofing
At a glance
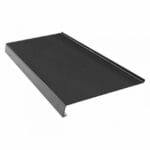
The junction between a chimney and a metal roof acts as a small drainage system. It collects water upslope, directs it past the chimney and returns it to the covering below. The detail must also accommodate movement. Watertightness depends on the complete junction. Before ordering flashings, record the chimney dimensions, roof pitch and distance from the ridge. Inspect the finish on the chimney walls. Flashings need a stable substrate, and loose render must be dealt with. Identify the chimney type and the required clearances between the flue and surrounding materials.
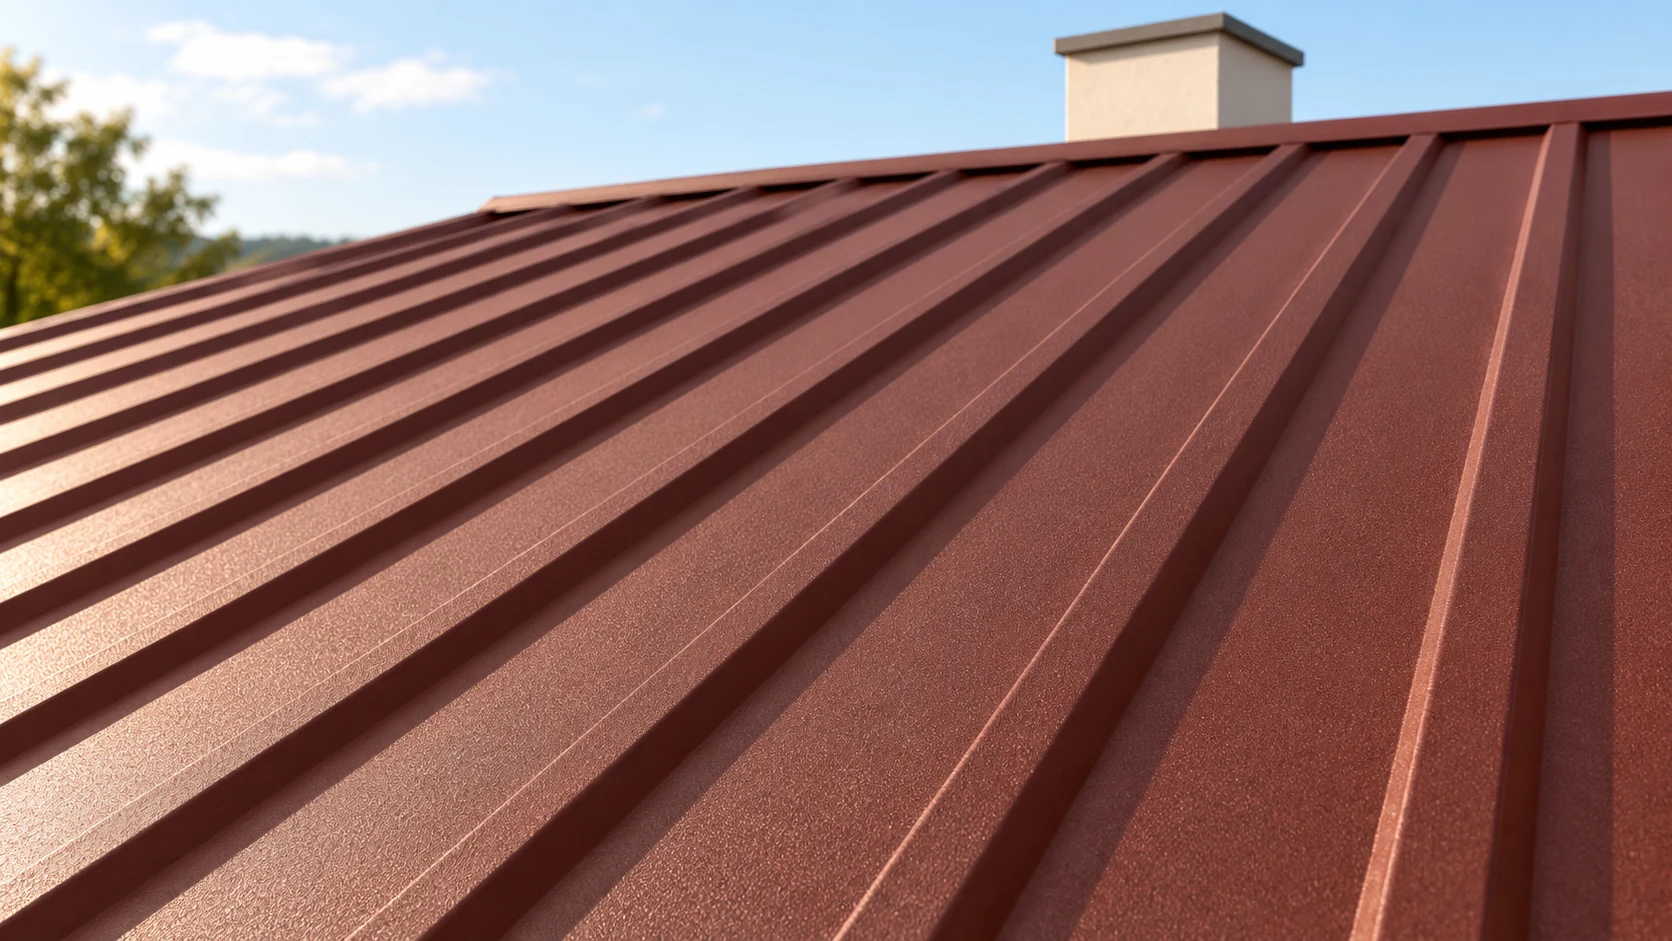
Record the chimney construction and position
Check whether the proposed detail fits beneath the chimney cladding. Its thickness and fixing method determine how the seal can terminate. On an existing roof, examine old holes and sealant residues. Old layers may prevent new components from seating properly. Resolve questions about the flue before roof work begins.
Assess runoff from the ridge
Allow space behind the chimney for water draining from the upper roof. A larger catchment increases the importance of diverting runoff to either side. A wide chimney or one set at an unusual angle may need a separate diverter. Have the designer or an experienced roofer select the detail.
Leave the upslope side accessible for inspection and cleaning. Leaves can obstruct flow even when the sheet is intact. Keep the drainage space clear of improvised fillers. Trace where water on the underlay will discharge. The layer under the metal needs its own detail at the penetration.
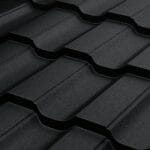
Match the apron to the actual sheet profile
Rib height and pitch determine the flashing line across the sheet. A flashing formed for another profile may leave gaps or dam water unnecessarily. Base its dimensions on measurements and the installation detail. The width of a flat strip alone says little about the finished junction.
Allow for hems, bends and laps in the cutting dimensions. Mark the coated face. A compatible tape or profiled seal can form part of the assembly but cannot provide missing fall. Check materials against the coating and service temperature. Avoid combining unidentified offcuts from earlier jobs.
Include an end-on photograph of the profile with the sketch. A distant view of the chimney does not show the flanges to which the flashing must fit.
Allow movement between masonry and roofing
Roof and chimney can move differently. The sheet responds to temperature changes, and the roof structure carries varying loads. The detail must accommodate the expected movement. A rigid joint made by bonding all the pieces together can crack at the interface.
The upper termination must keep water from getting behind the flashing. It may require separate counterflashing, fixings or substrate preparation. Any chase depth depends on chimney construction. Do not drill into the flue simply to make a termination strip easier to fix.
Lap the layers in the direction of flow
Each higher component should shed water onto the next lower one. This applies to aprons, sides and joints with the roof covering. Decide the sequence before closing the roof. Adding a missing part later may require removing neighbouring sheets.
Position fasteners so they avoid unnecessary holes where water collects. Spacing depends on the chimney and profile. Cut the metal with tools suitable for its coating and remove all swarf afterwards. Loose particles can rust and stain an otherwise sound roof.
Inspect the detail before it is concealed
Request photographs of the underlay and pieces hidden beneath the metal. Inspect the corners, back of the chimney and lower termination from the outside. Look for ponding, incomplete laps and distortion. Check the chimney walls for damage caused by the fixings.
Record the materials and work in the handover notes. Agree on a check after the first heavy rainfall. A dry interior at a sunny handover can conceal a defect. Even a correctly formed junction needs periodic inspection. Plan access for the chimney sweep and roofer from the outset.
Questions and answers
Can chimney flashing tape replace every metal flashing?
That depends on the complete approved system. Tape alone cannot correct poor drainage geometry or an unstable substrate.
Can I order flashing from the chimney dimensions alone?
You also need the roof profile, pitch, chimney position and the detail connecting to its wall.

Free quote
What to include in your enquiry
Tell us how you plan to use the material, the dimensions and the quantity you need. Include the thickness, grade or variant name, along with the delivery town or your preferred collection branch. For a specific product, add its name or a link to the product page. We will reply to the email address you provide to discuss availability and the terms of your order.
Read next
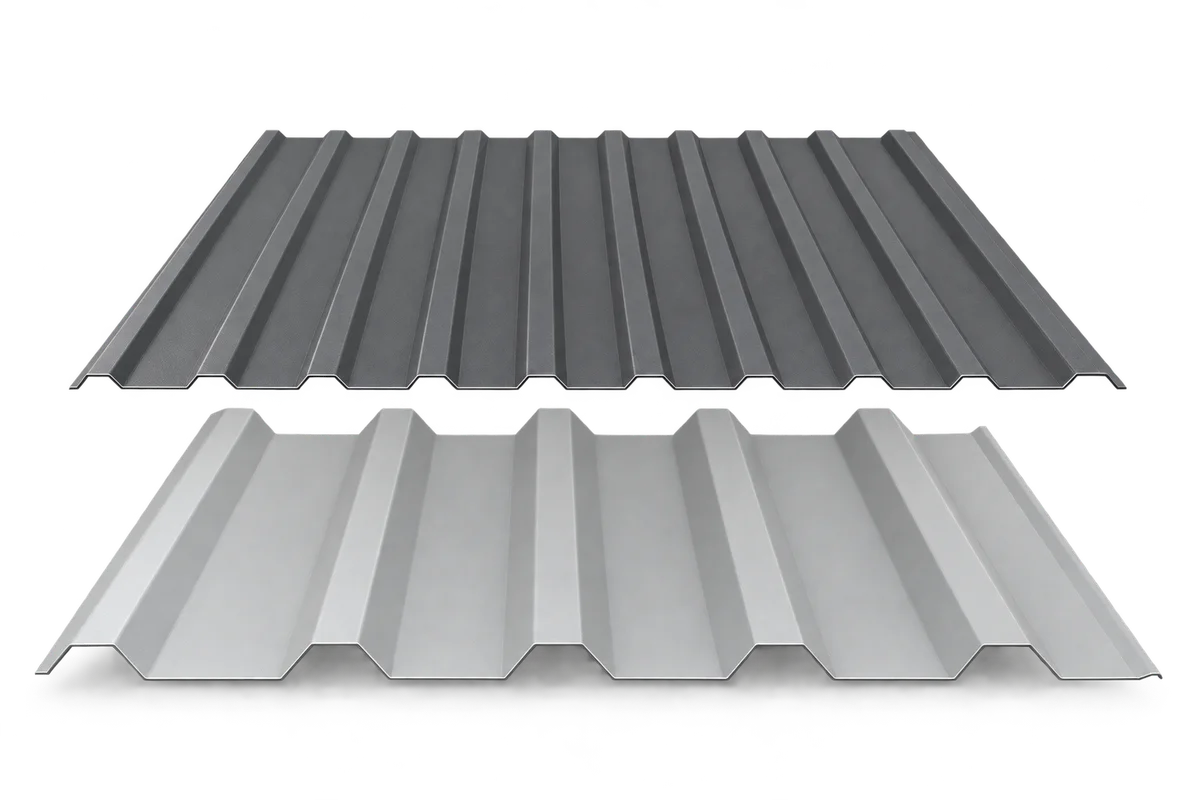
Before agreeing the length of trapezoidal sheets, trace their route from the truck to the installation point. A sheet cannot be folded…
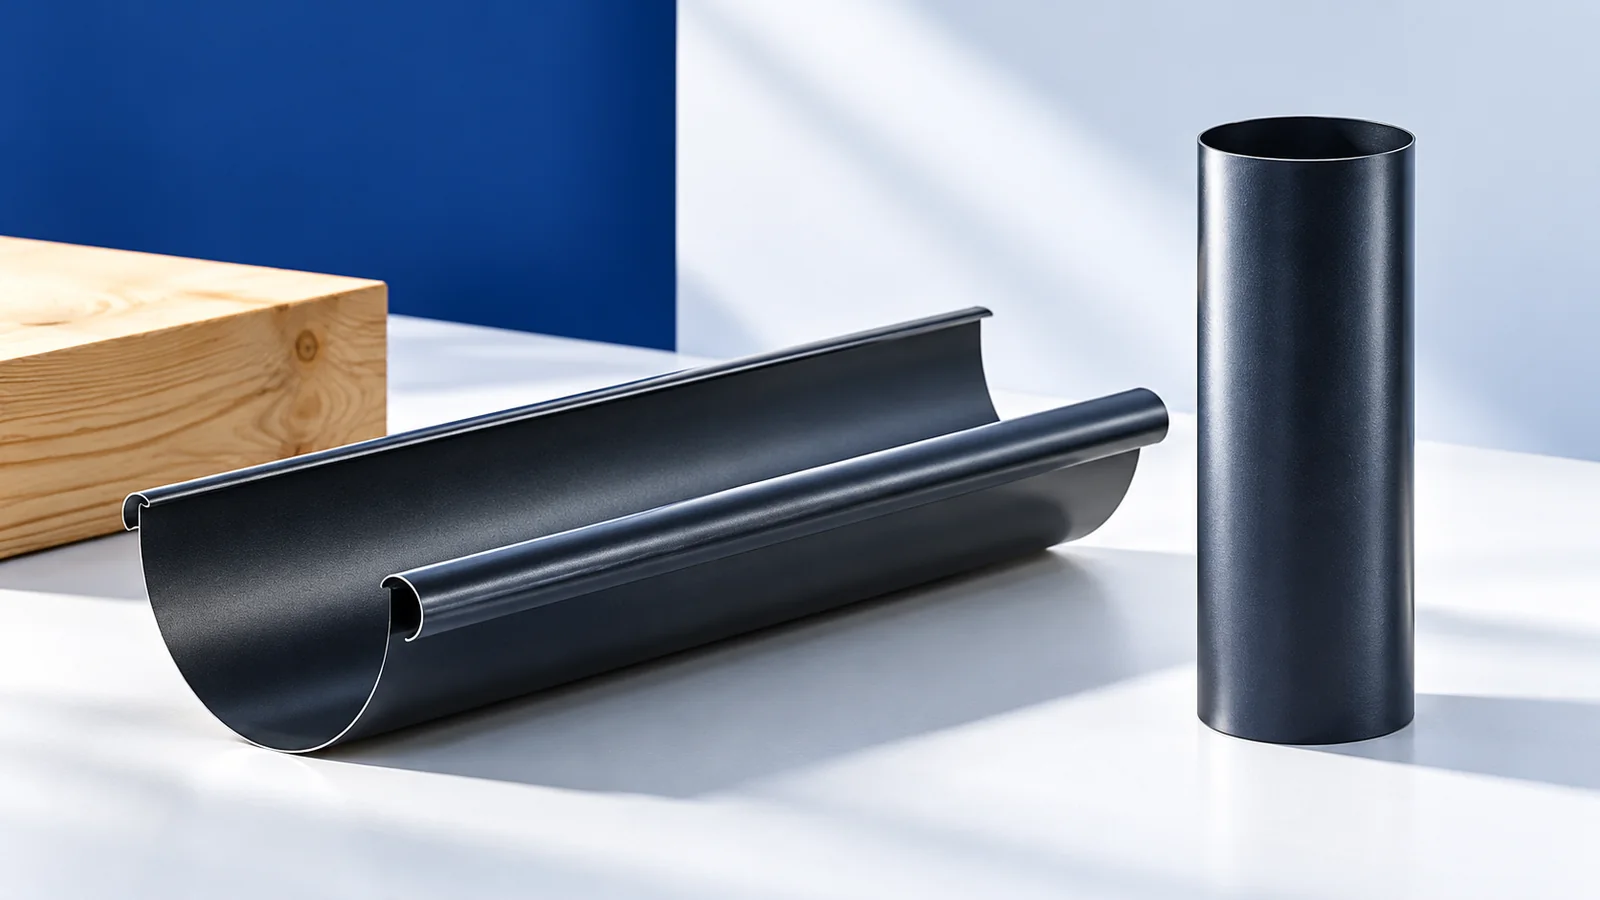
To select gutters for a metal roof, mark the area draining to each outlet on a roof plan. A valley may concentrate…
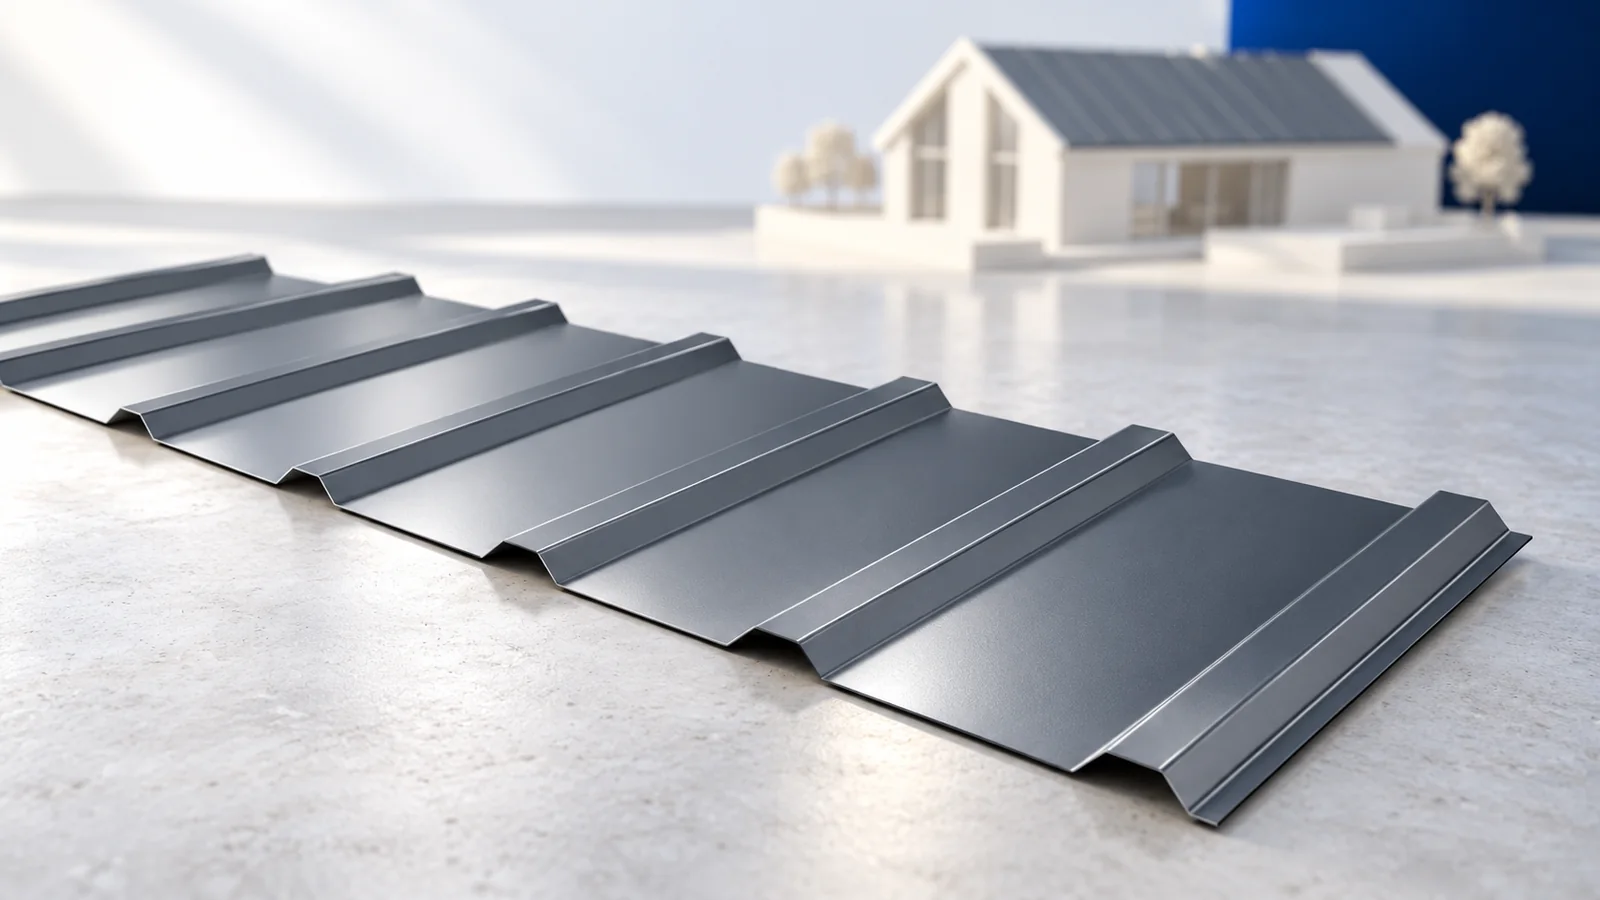
A good installation plan for T18 or T35 starts at the eaves, before the first sheet goes up. Check the diagonals of…
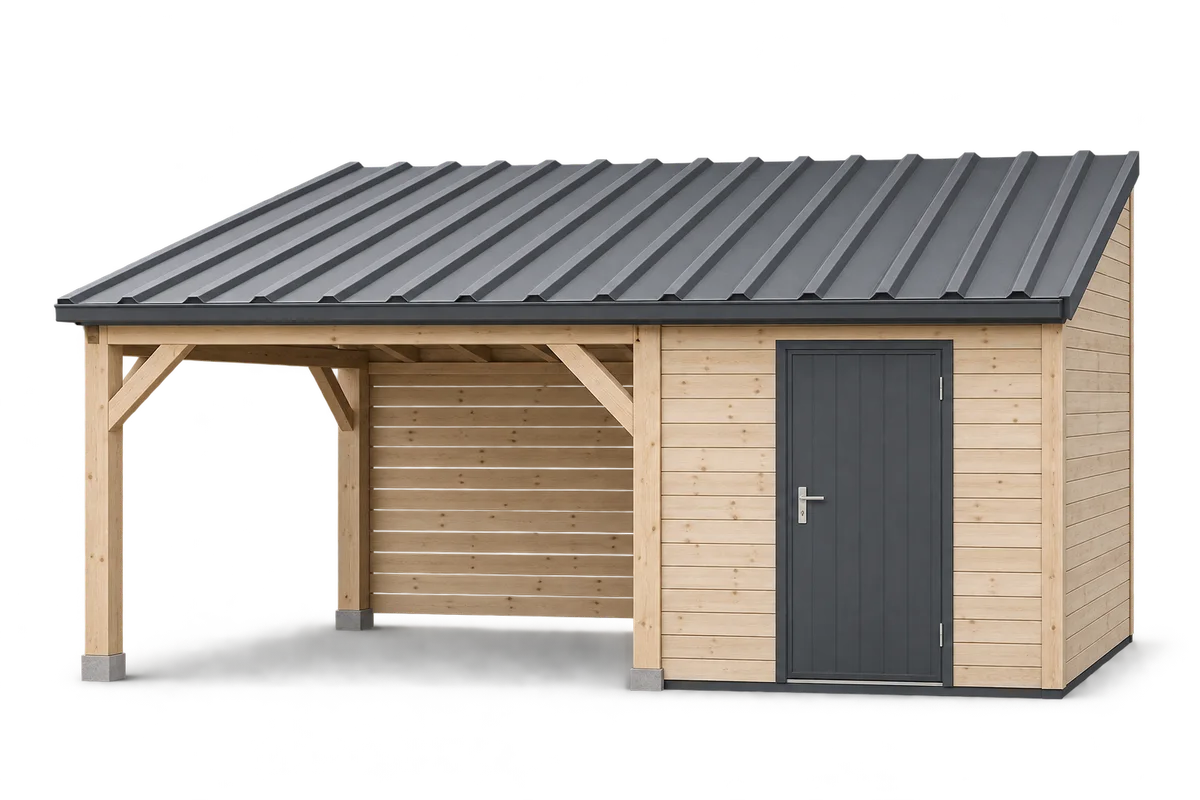
A store beside a carport used by several people is best planned around activities that may happen at the same time. One…
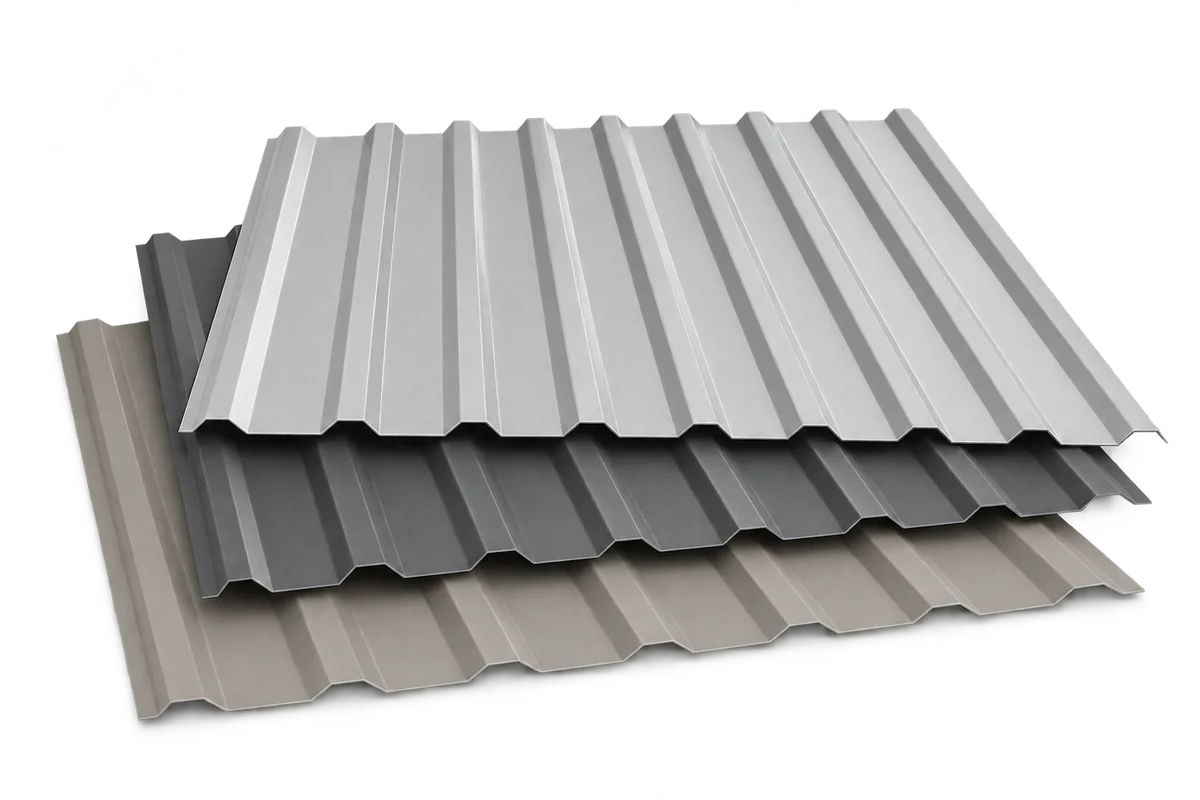
Trapezoidal steel sheets can quickly enclose a roof or facade once the supporting structure is ready. The sheets are lightweight, come in…
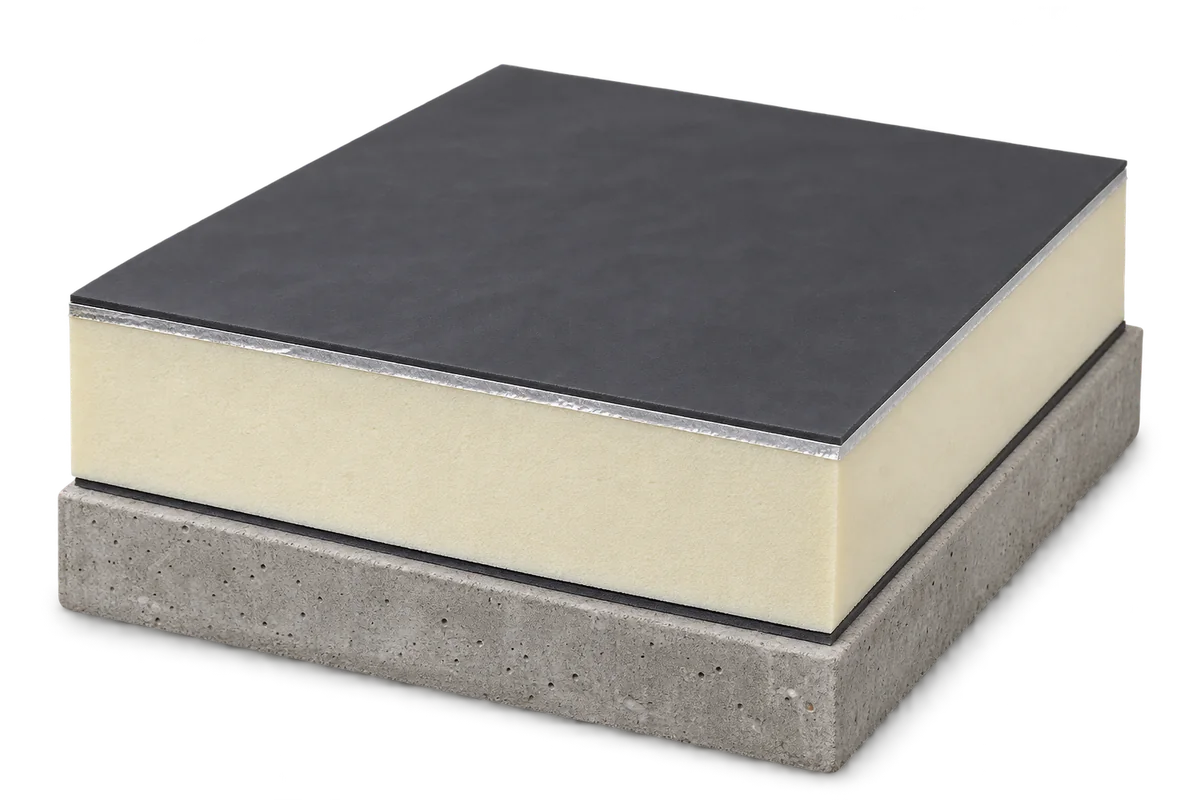
A flat roof consists of several layers that work together. The structure carries the loads, insulation reduces heat loss and waterproofing keeps…
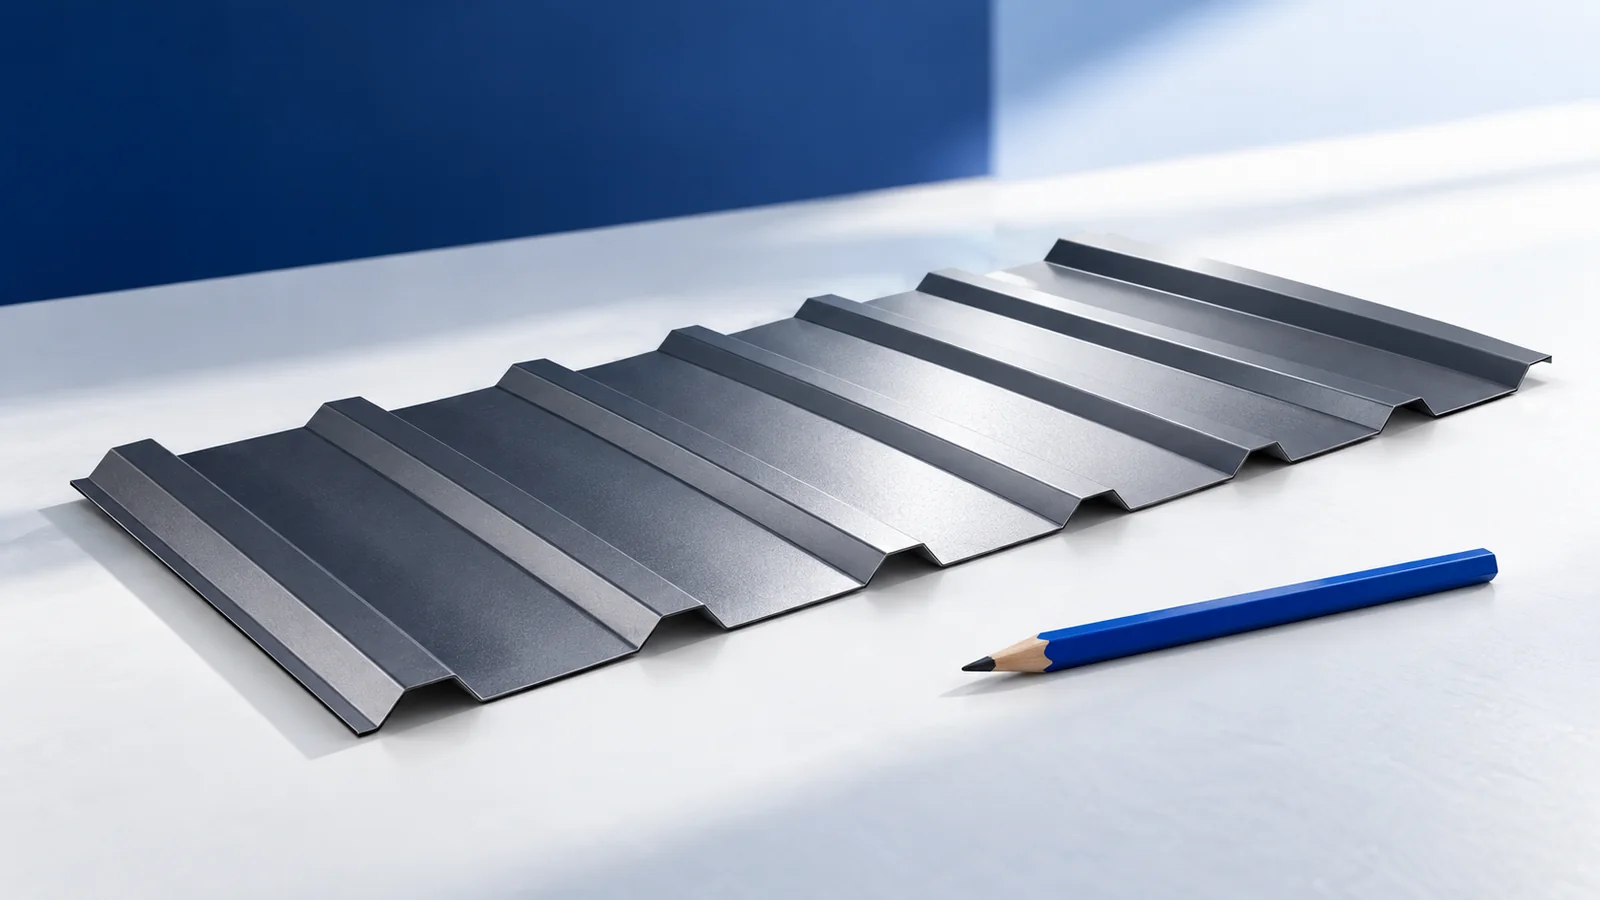
For an open shelter or carport, select the roof sheet together with the supports and anchors. Wind can reach the underside, and…
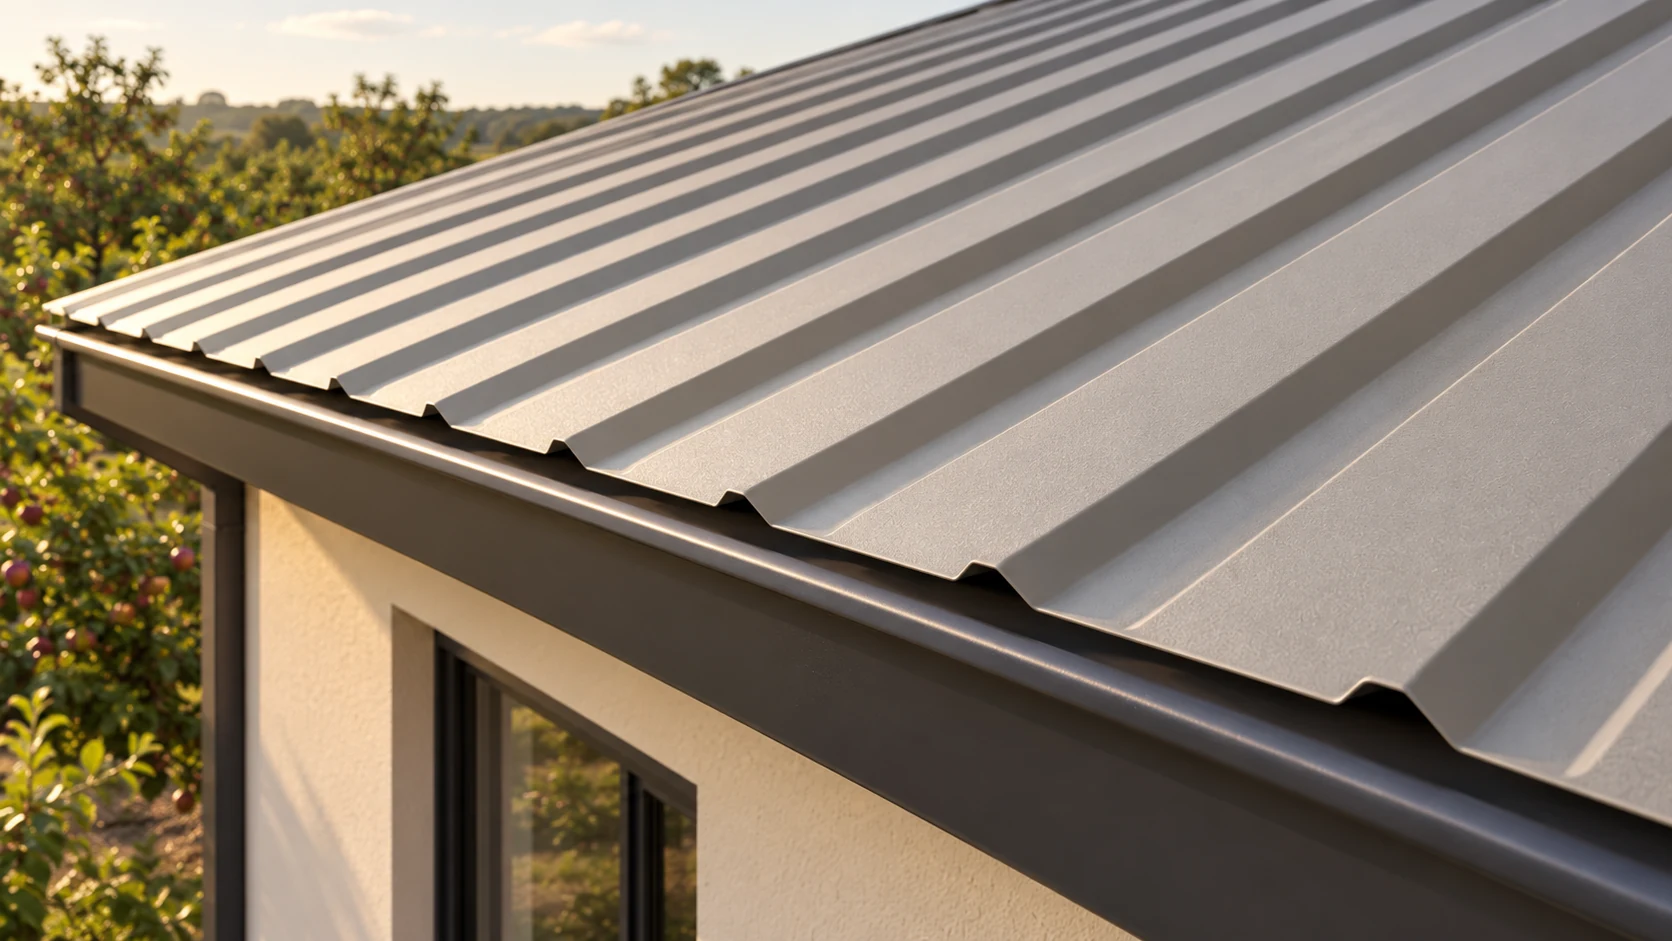
Start with the building and its supporting structure before comparing trapezoidal steel sheet prices. Choose the material, draw up a sheet layout,…