






How to plan a mineral wool panel wall from design to handover
Mineral wool panels
At a glance
A mineral wool wall project runs more smoothly when each decision produces a usable document or drawing. Describe the building’s operation, then choose the system and panel layout. Order all the components needed for the details. Inspection begins at the first connections, before flashings conceal them. Consider a factory extension with a warehouse and a plant room. Record temperatures, operating hours, humidity and planned equipment. Mark vehicle routes and washdown areas. Each can influence the coating, panel thickness or impact protection at the base of the wall.
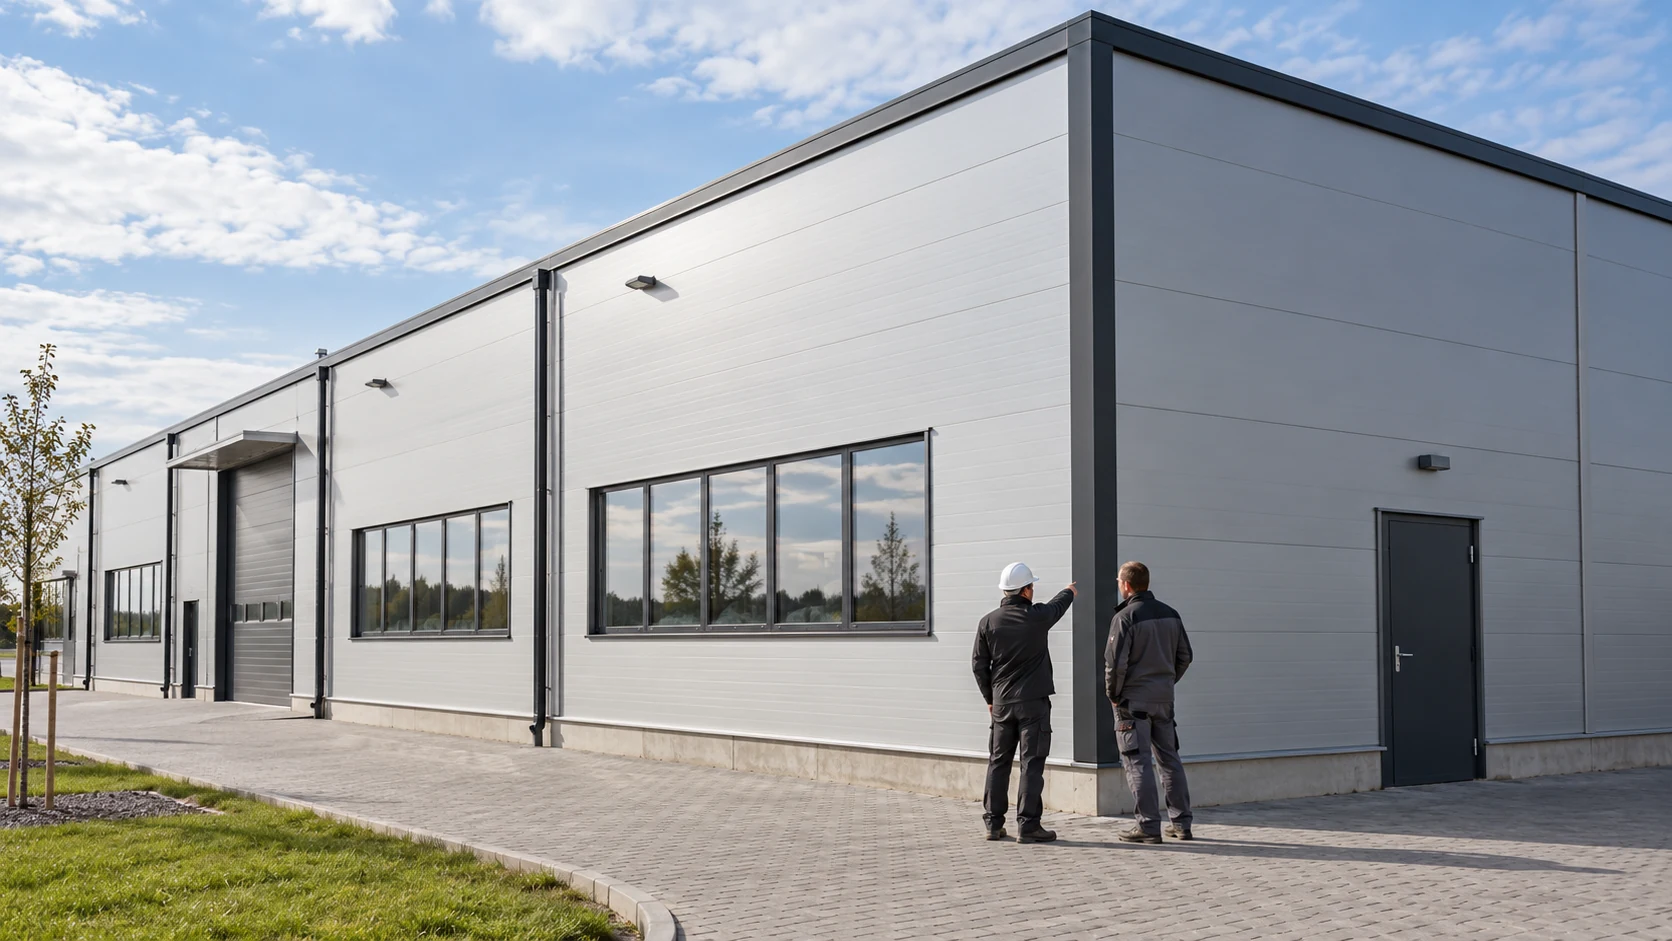
Describe future building operations
Identify planned changes too. If part of the warehouse will later be heated, include that scenario in the comparison. The first deliverable is a brief description of each zone’s function so designer and supplier work to the same assumptions.
Set the performance requirements
List thermal, fire, structural and, where relevant, acoustic requirements for each wall. Distinguish the façade from internal partitions and mandatory performance from owner preferences. Then compare thicknesses and exposed or concealed fixing systems.
Confirm the selection for the exact core and facings using the applicable data and classification conditions. The second deliverable is a specification that identifies what to buy and lets the site team check what arrives. A note saying “wool panel” will not do either.
Coordinate panel joints and openings
Mark panel modules, supports, doors, vehicle entrances and service penetrations on the elevations. Agree details at plinths, corners and roof edges. Narrow strips beside openings may need a revised layout or another support. A drawing is easier to correct than panels cut to size.
Coordinate openings with service contractors. A duct added after ordering may cut through a joint or leave part of a panel unsupported. The third deliverable is an agreed shop drawing and length schedule. Refer later changes to that version.
Mark future service access on the drawings. Plant room doors, grilles and equipment connections must remain accessible after cladding. A small shift in the panel layout may simplify repairs; an ill-placed cut can make removal impossible without disturbing adjacent panels.
Order the complete set of components
Order panels, flashings, fixings and seals for the agreed details. Distinguish ordered area from installed cover area. Agree pack sequence, unloading and storage. In an operating building keep delivery traffic clear of routes users need.
Assign responsibility for measurements and cuts. Record how shortages and transport damage will be handled. The fourth deliverable is a complete order with a delivery plan. An invoice for square metres alone does not ensure all the parts to close the wall are on site.
Set inspection points during installation
Approve the frame geometry before installation. Check direction, level, cover width and fixing of the first panel, then inspect recurring joints and opening details. Seals must be in their specified position before concealment; later confirmation may require dismantling.
Photograph key stages and keep brief notes. Remove swarf and repair coating damage by the appropriate method. The fifth deliverable is an installation record with deviations explained. Do not leave inspection until the façade hides the supports and joint interiors.
Hand over the wall with maintenance instructions
Give the operator product documents, as-built drawings and inspection and cleaning instructions. Identify fire-resisting walls in the building records. Agree how leaks, impacts and damage are reported so future service crews do not have to guess.
The sixth deliverable is a maintenance plan suited to operating conditions. Include joints, flashings, surfaces and points exposed to water. The wall remains in service after acceptance: good records make repairs and alterations easier without needing to reconstruct the original design each time.
Questions and answers
When should panel type and thickness be selected?
After defining the wall functions and requirements, but before final detailing and ordering the cladding frame. Coordinate the selection with supports, openings and installation conditions.
What records should remain after handover?
Keep product documents, current drawings, evidence for key details and maintenance instructions. Add photographs of concealed joints and records of agreed changes and repairs.

Free quote
What to include in your enquiry
Tell us how you plan to use the material, the dimensions and the quantity you need. Include the thickness, grade or variant name, along with the delivery town or your preferred collection branch. For a specific product, add its name or a link to the product page. We will reply to the email address you provide to discuss availability and the terms of your order.
Read next
A roof calculator helps you organise measurements and estimate material quantities. Start by distinguishing the area of the roof slopes from the…
Whether insulation work qualifies for a grant depends on the scheme, the building, the work proposed and the thermal performance required of…
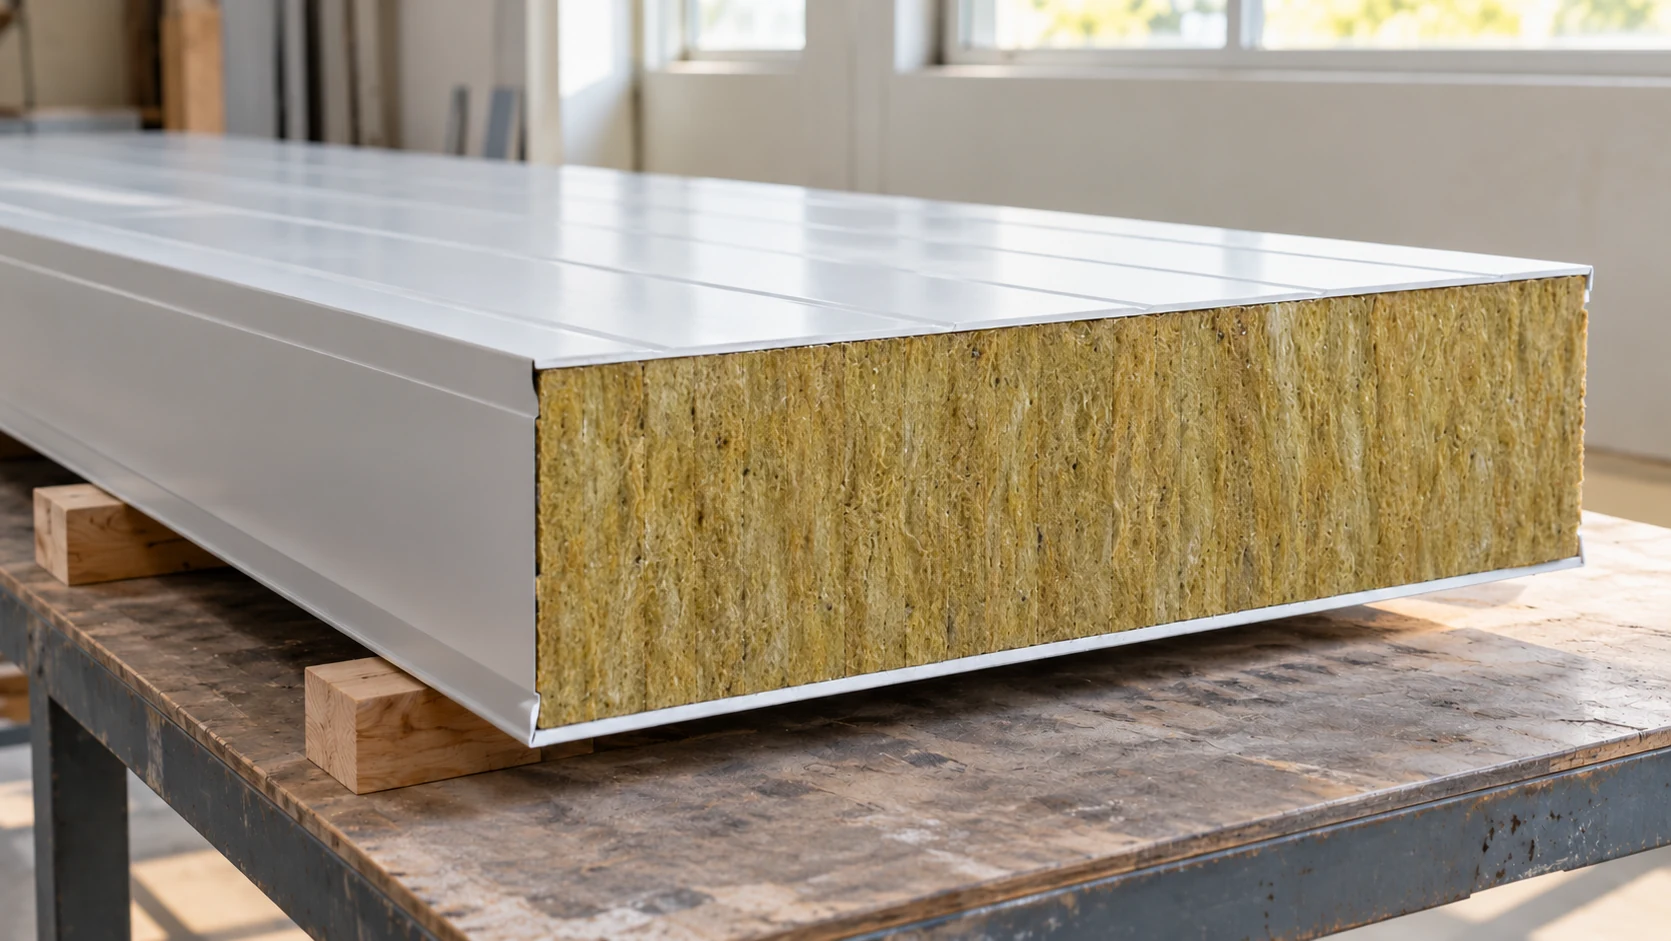
Mineral wool panels combine finished facings, insulation and defined fire performance. Choosing them affects wall thickness, weight and installation, so consider all…
Metal roofing can suit both a traditional house and a simple contemporary building. The pattern of the profile, the proportions of each…
Insurance for a house under construction should reflect the stage the work has reached. An open structure faces different risks from a…
In Poland, the procedure for starting building work depends on what you intend to build or alter, where it stands and which…
A sandwich panel price refers to a particular product and unit of sale. Check whether the quote is for a square metre…
When replacing a roof, start with the existing building. The price of sheets or tiles accounts for only part of the work.…
