






IDELCO Smartbuild System: specifying a prefabricated SIP wall and its insulation
PIR insulation
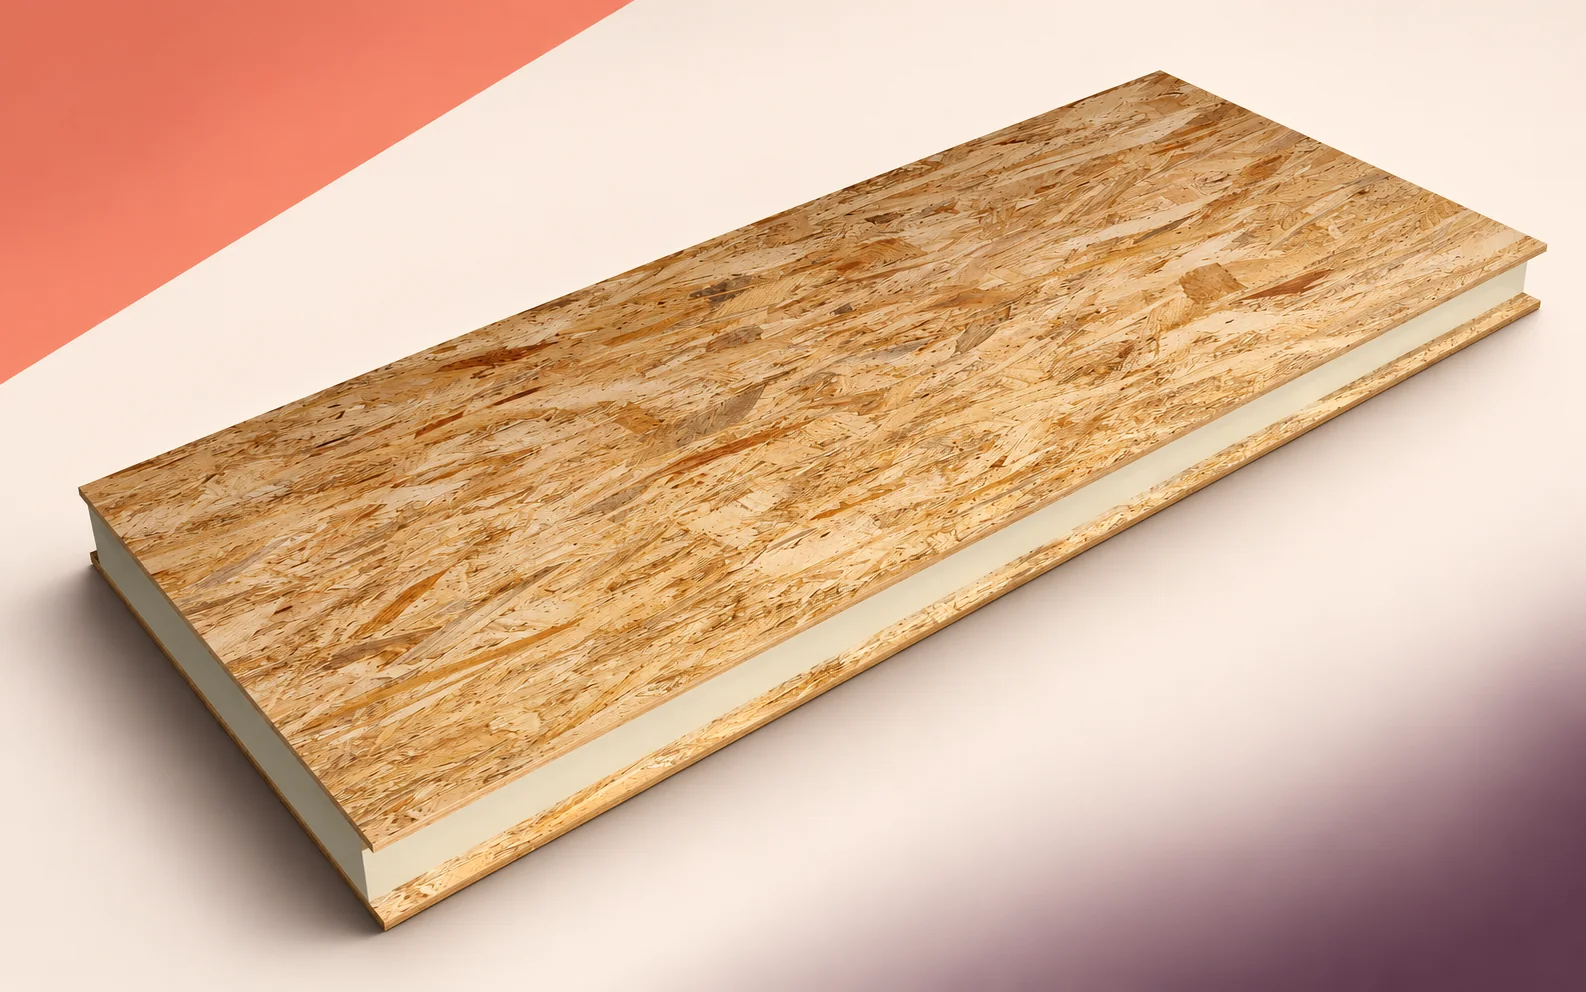
In the IDELCO Smartbuild System, the item ordered is a prefabricated element with a defined position on the erection drawing. An α-therm SIP panel consists of a PIR core and OSB facings that work together structurally. Plot door openings, service penetrations and supports on the same drawing before fabrication. At delivery, match the panel reference to the grid line, orientation and drawing revision. This helps the crew place similar-looking elements in their intended positions and inspect each connection before the finishes conceal it.
In this guide
What makes up the wall?
Break down the section into the OSB-faced panel, connections to adjacent elements and layers added on site. At each joint, mark the load-transfer component and the seal line. This allows connectors, seals and finishes to be allocated to the correct items in the order.
Which values belong in the thermal assessment?
Thermal conductivity λ in W/(m·K) describes the core material. Thermal transmittance U in W/(m²·K) relates to a specified build-up and thickness. If a schedule gives a number without units, consult the panel sheet to establish which quantity it represents.
Record the conditions attached to the U-value, including facings and any joints included in the calculation. In the whole-elevation assessment, allow for opening perimeters, corners and the foundation junction. Two elevations with the same panel area can have different lengths of these junctions.
From the openings schedule to the fabrication drawing
Give each opening a grid reference, sill or invert level, width and height. Coordinate service sizes and sealing space with the installers. Before fabrication release, compare the penetration schedule with the panel structural drawing.
If an opening moves after delivery, identify the element and give the designer the exact dimensions of the proposed change. Cutting the OSB facing may alter the load path. File the agreed method and any reinforcement detail against the individual panel reference.
Inspecting the first corner
Before erecting the corner panels, measure the grid position and bearing level on the foundation. Mark the survey points on the drawing so a later offset can be traced. Take permissible tolerances from the erection documents for the system.
Inspect the corner from inside and outside. Photograph the mechanical connection, seal continuity and drainage detail at the bottom edge. Label the record with both panel numbers before subsequent layers cover the junction.
Structural loads and fire requirements
Checking structural capacity requires data for the specific panel, support positions, loads and connections. At an opening, also establish how loads pass down its sides. Data for thin-faced insulation boards are insufficient to specify a prefabricated structural element.
Apply fire requirements to the assembly in its intended configuration. Check the type and number of lining layers, joint closures and service penetrations covered by the classification document. Record the details actually installed in the as-built documentation.
How do you compare two quotes for the same wall?
Ask bidders to itemise shop drawings, prefabricated elements, transport, unloading and erection. List connectors and sealing materials separately. Use the drawing to identify where each contractor’s work ends at the foundation and roof.
At unloading, check references and facing condition. Coordinate the packing sequence with the erection crew, particularly if there is room for only one bundle on site. Identify who protects exposed edges during breaks in the work.
Two similar walls with different openings
Consider two successive grid lines with panels of the same width, only one of which has a ventilation opening. Label each with its grid line, panel number and external face. Check the opening location at the first grid line before the crew fixes the second wall. This is easier than swapping connected panels later.

Free quote
What to include in your enquiry
Tell us how you plan to use the material, the dimensions and the quantity you need. Include the thickness, grade or variant name, along with the delivery town or your preferred collection branch. For a specific product, add its name or a link to the product page. We will reply to the email address you provide to discuss availability and the terms of your order.

Read next
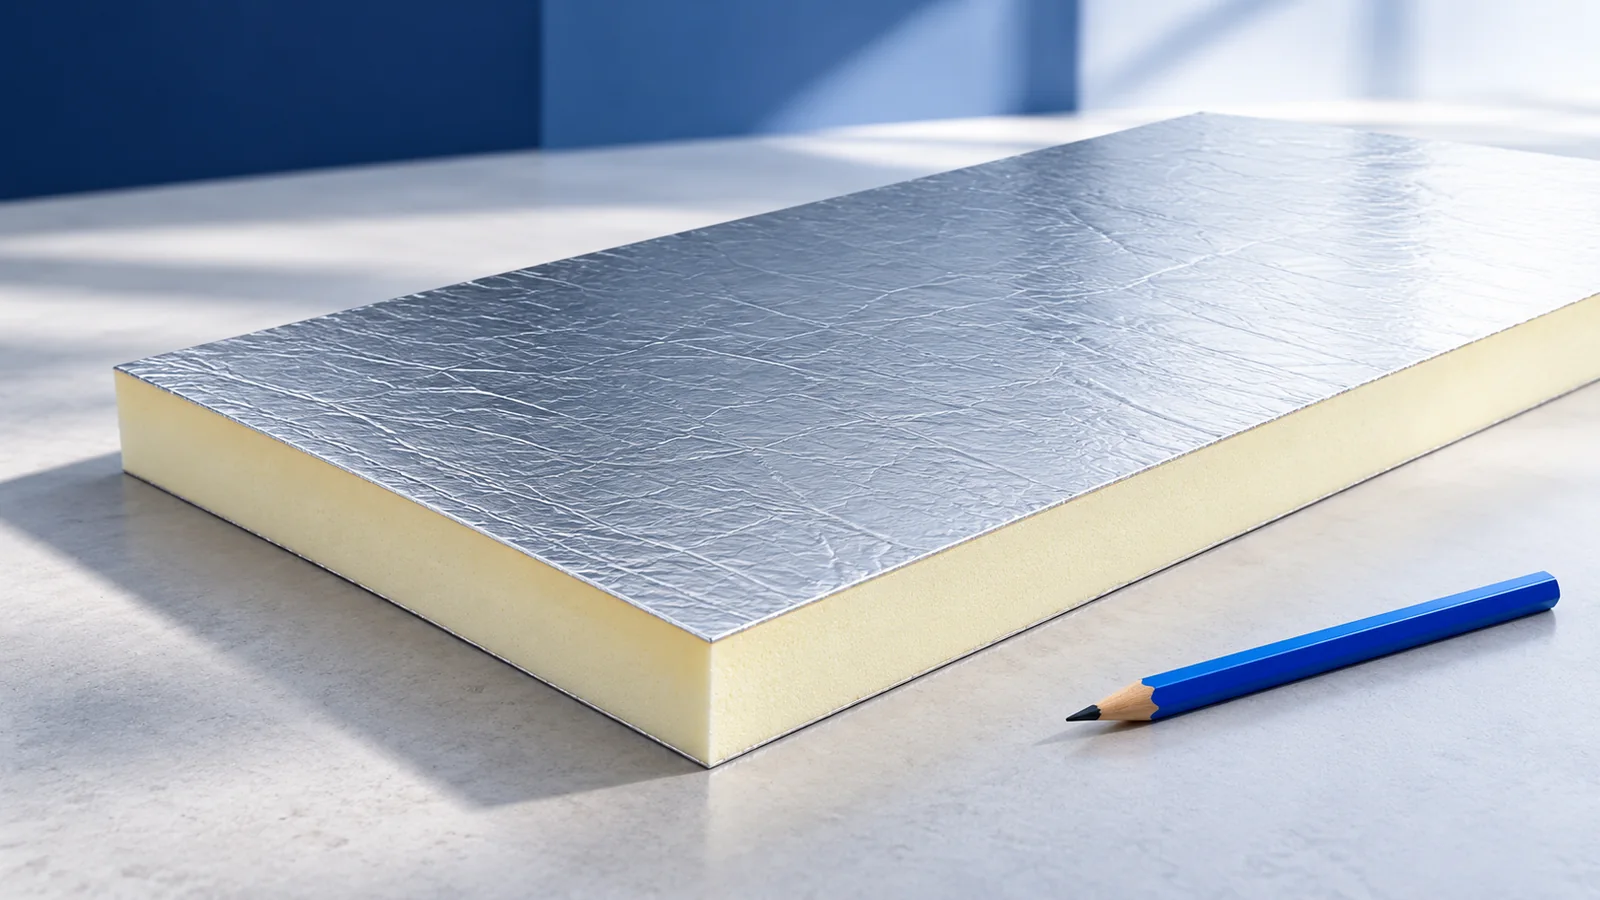
First decide what you want to keep warm: the rooms in the roof or the floor below an unused loft. Draw the…
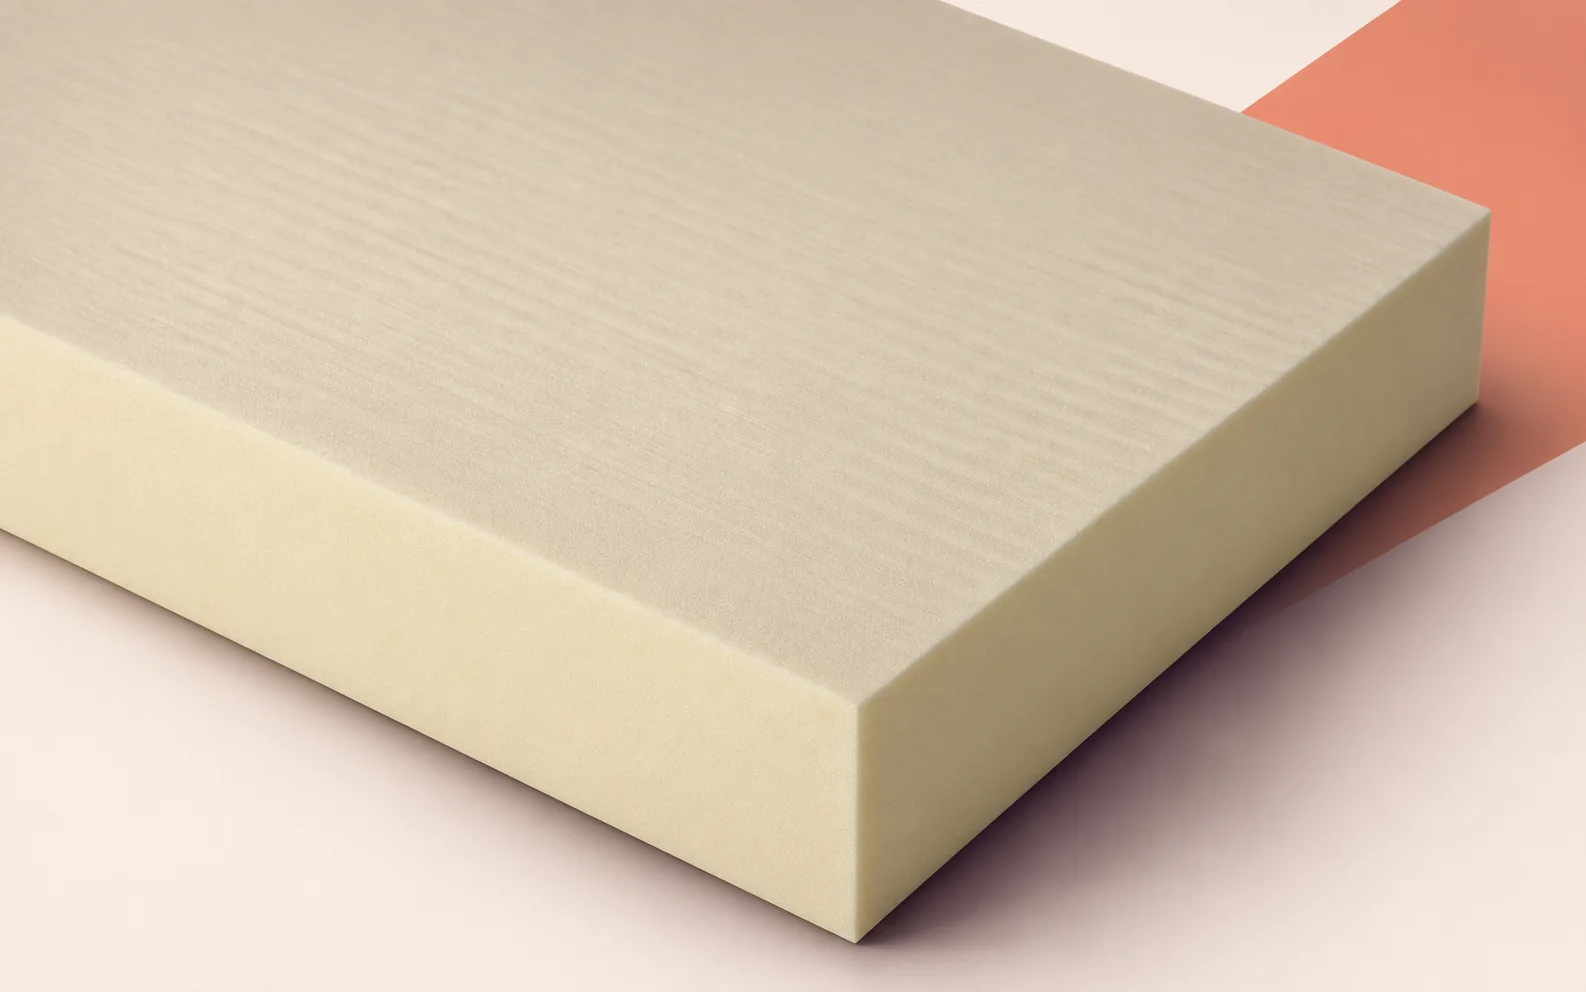
When laying BauderPIR T, first set out the valley that will carry water to the outlet. Mark levels at both ends and…
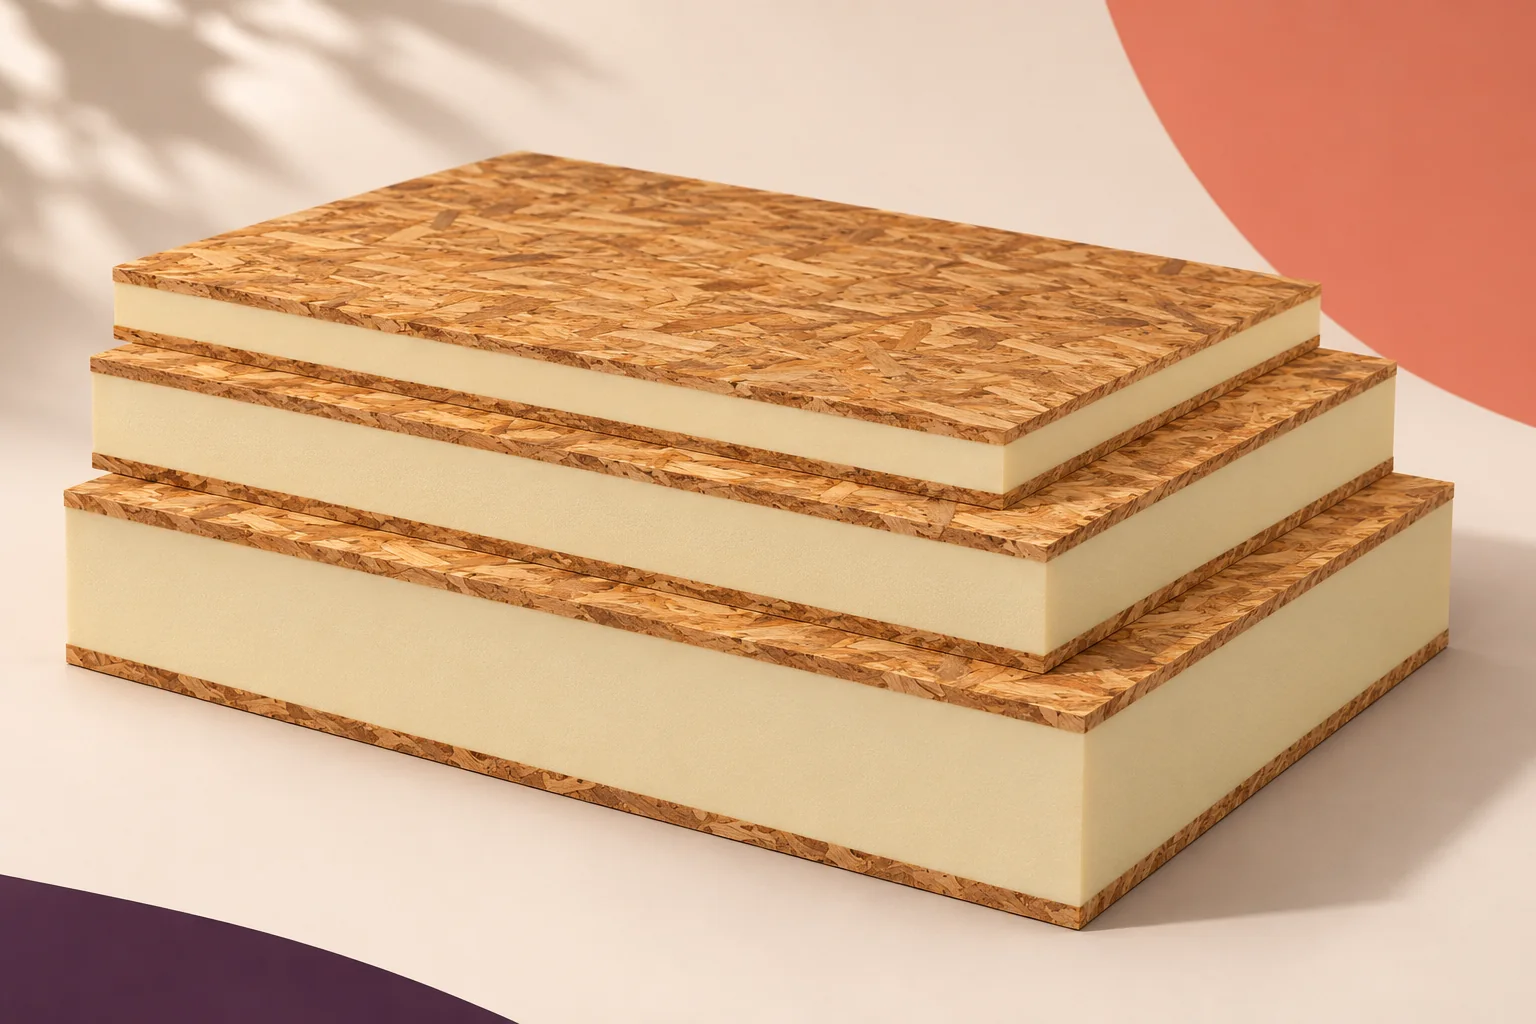
Choose a structural insulated panel (SIP) for its position in the building. In a wall, loads must pass around openings. In a…
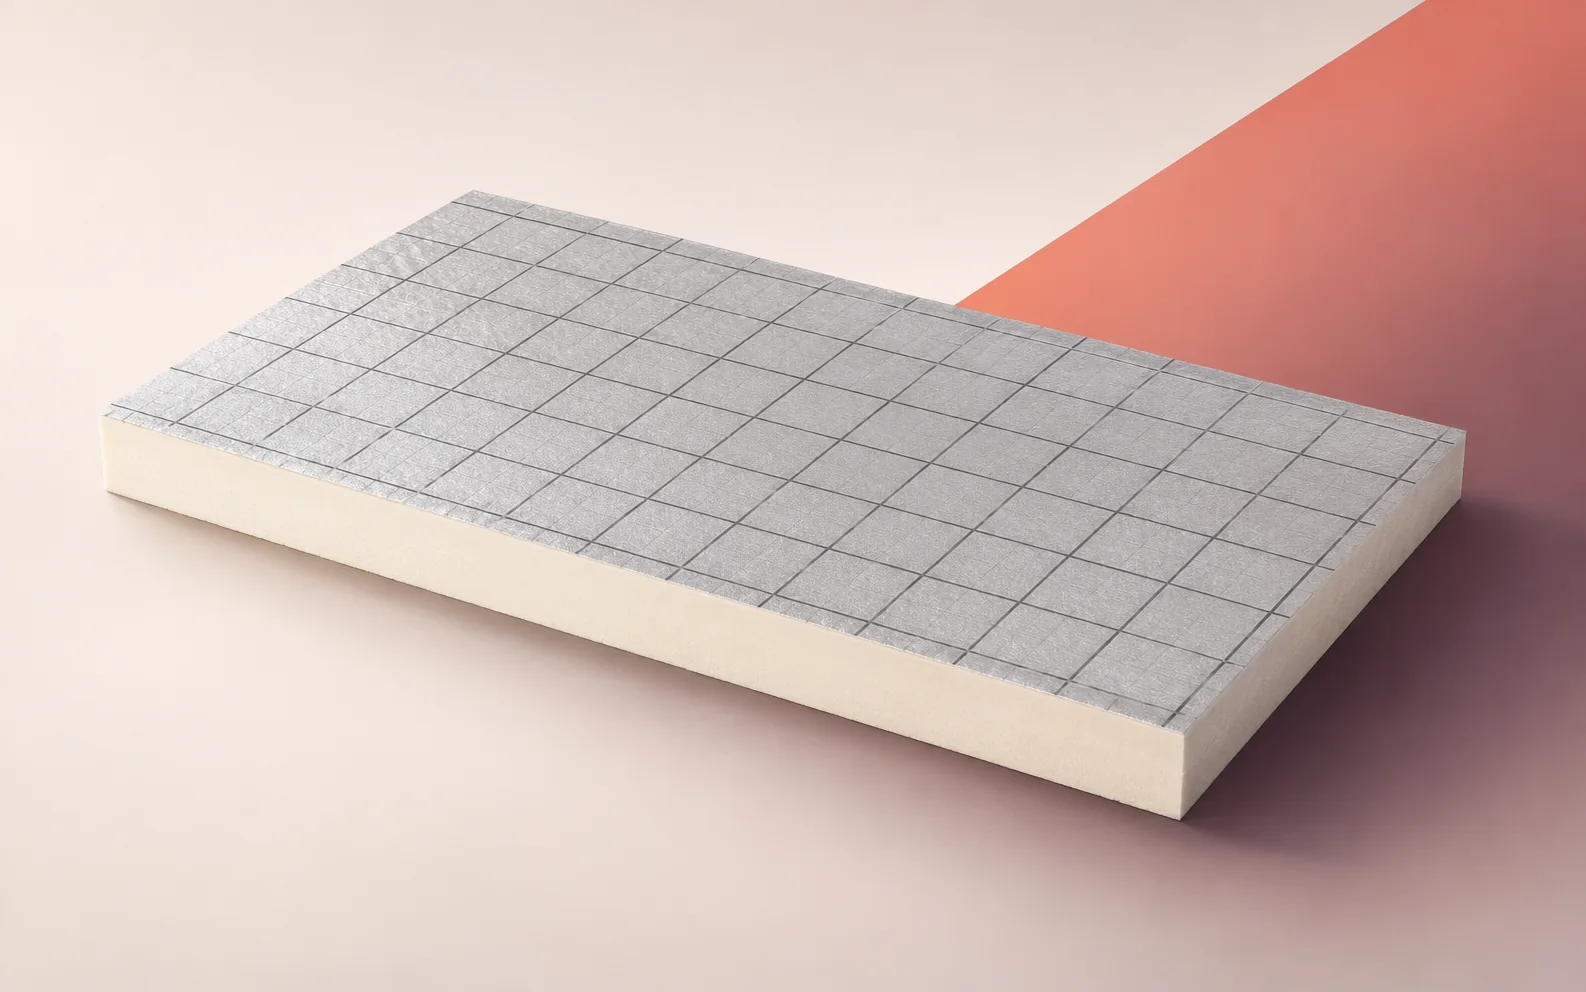
How should you set out IDELCO α-therm ROOF PIR boards on an industrial flat roof? Start with a plan showing rooflights, plant…
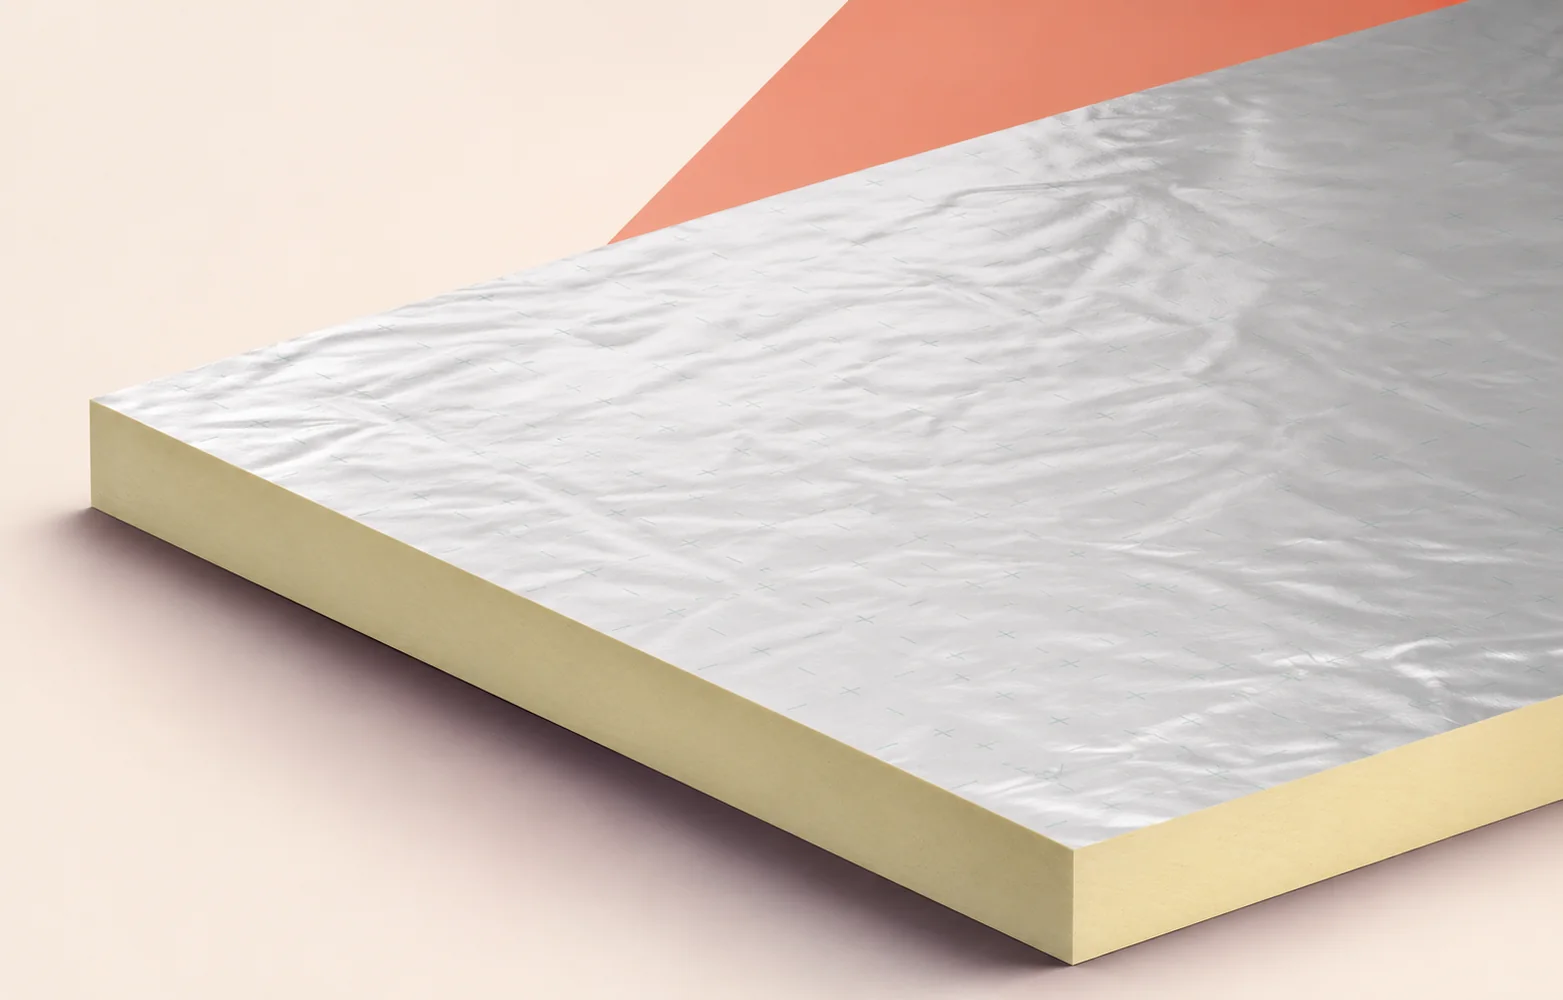
Will a rooflight kerb still have enough height for a watertight flashing after insulation is added to a lightweight industrial roof? With…

On a warehouse roof with bonded waterproofing, the suitability of Kingspan Therma TR27 depends on the combination of its facing, the adhesive…
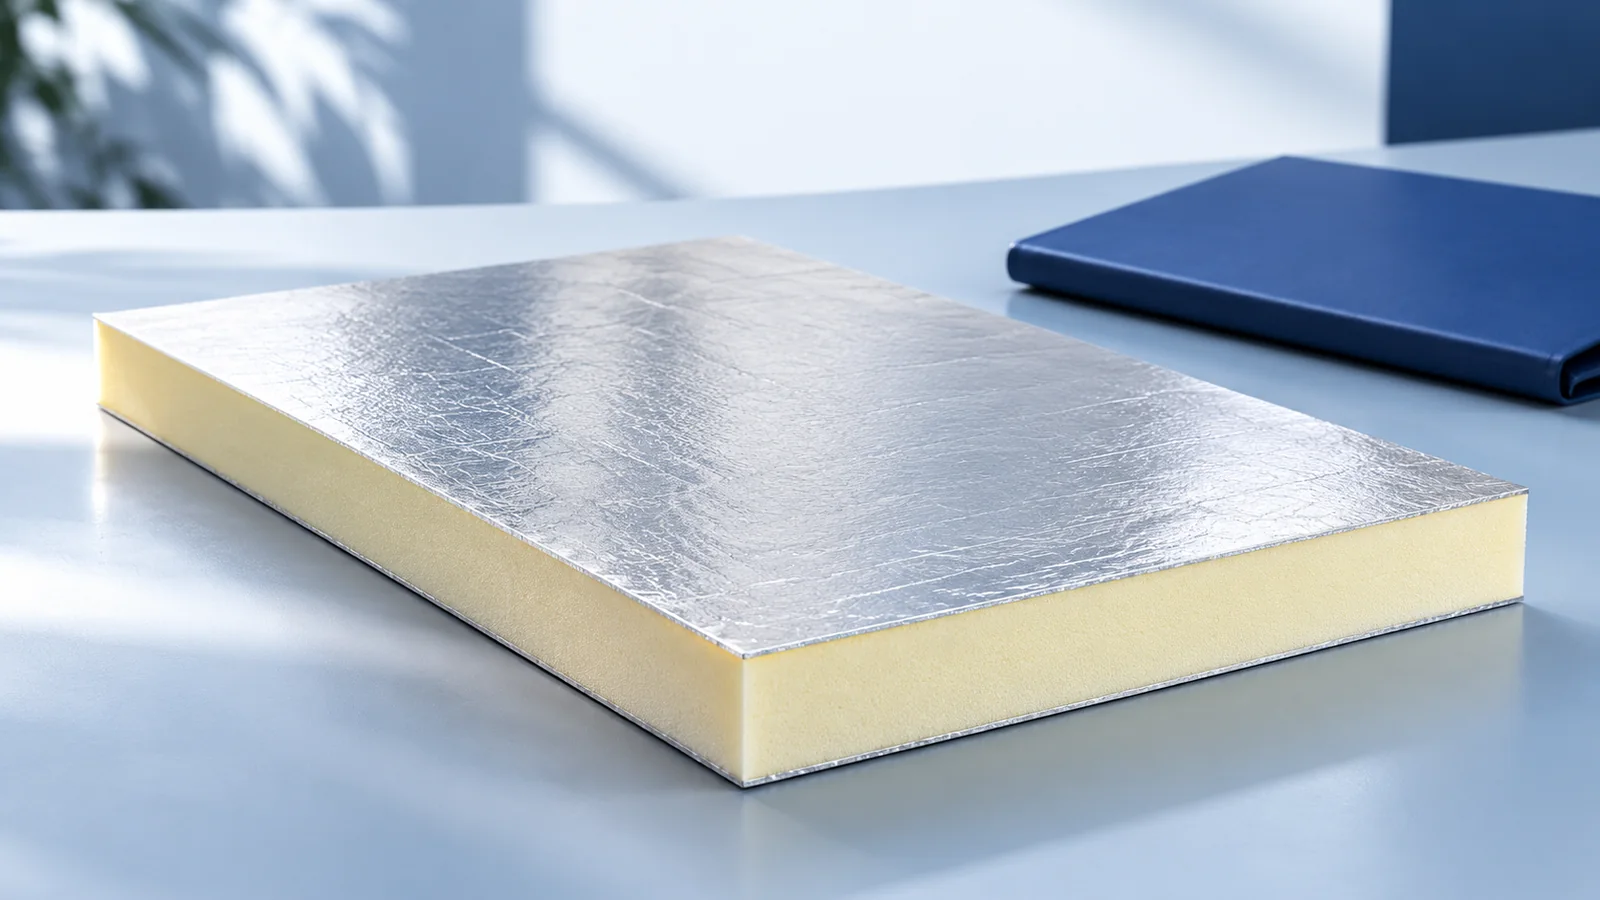
In a passive house, the roof is part of a continuous envelope around the heated rooms. Draw that boundary in section and…
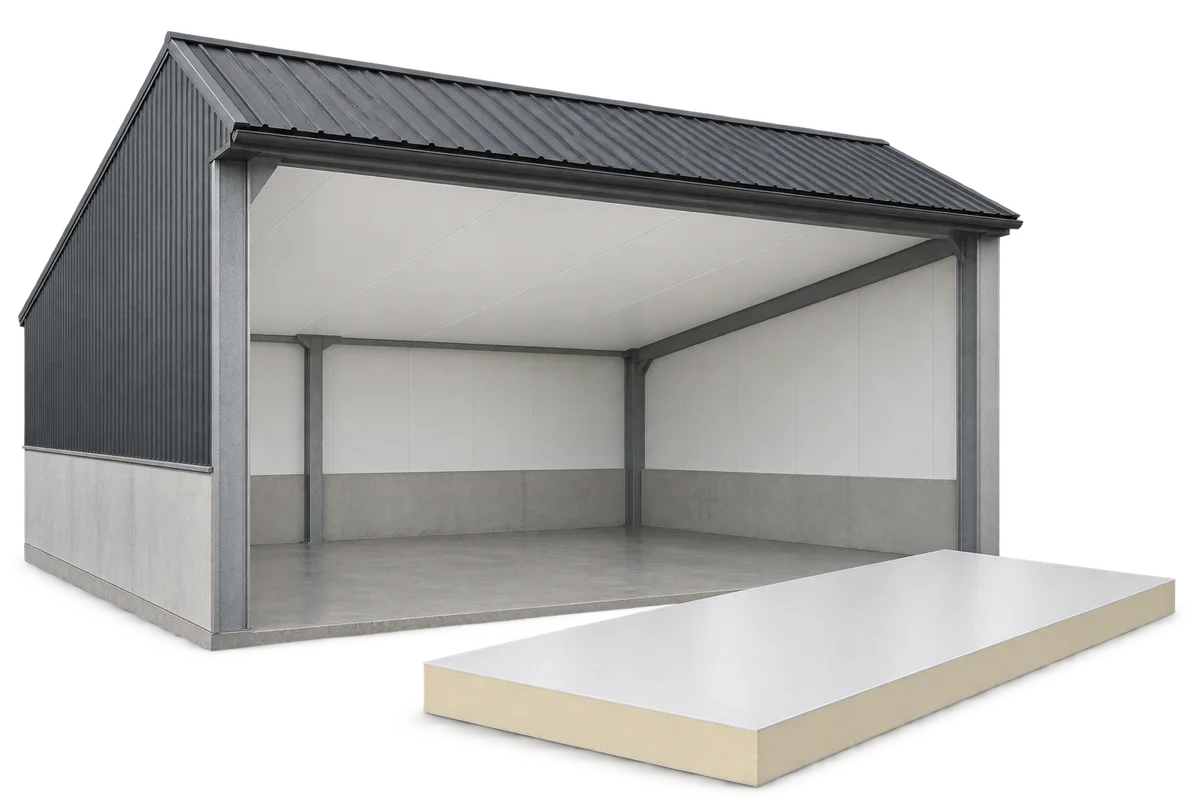
An internal ceiling can separate a heated or climate-controlled room from the roof void. In a cattle shed or warehouse, its appearance…
