BauderPIR T on large roofs. Setting out valleys, falls and plant zones
PIR insulation
When laying BauderPIR T, first set out the valley that will carry water to the outlet. Mark levels at both ends and wherever the valley changes direction. The fall marked on a tapered board describes one plane. Where two planes intersect, the gradient along their common line can differ. Check the longitudinal profile of the valley separately, particularly beside plant bases. Transfer the plan to the roof using one datum for deck and insulation levels. This allows a step in the route to the outlet to be identified before waterproofing.
In this guide
Tracing the route from high point to outlet
Follow the drawing from the highest corner of the field to the outlet. Mark a survey point at each break and record its offset from the building grid so the measurement can be repeated after insulation is laid.
Identifying the tapered boards
Mark the outlet, field boundary and every obstruction the water must pass on a drawing shared by the roofer and services installer. If adjacent fields drain to separate outlets, show the watershed between them.
Calculating the rise along a run
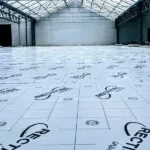
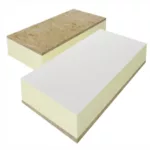
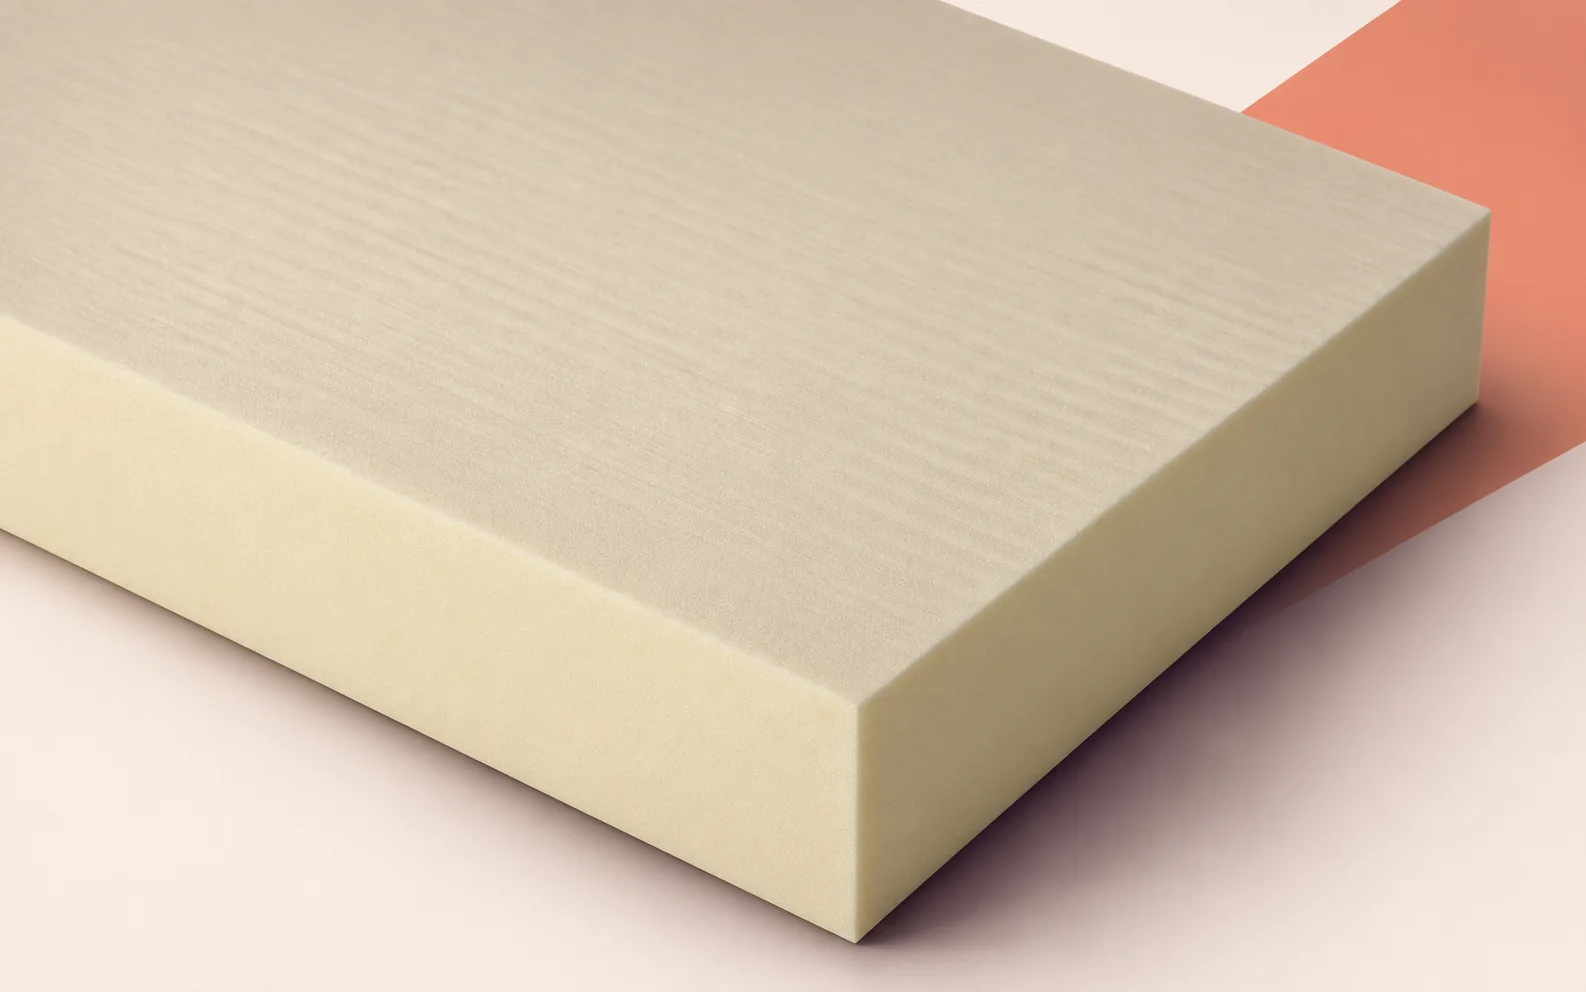
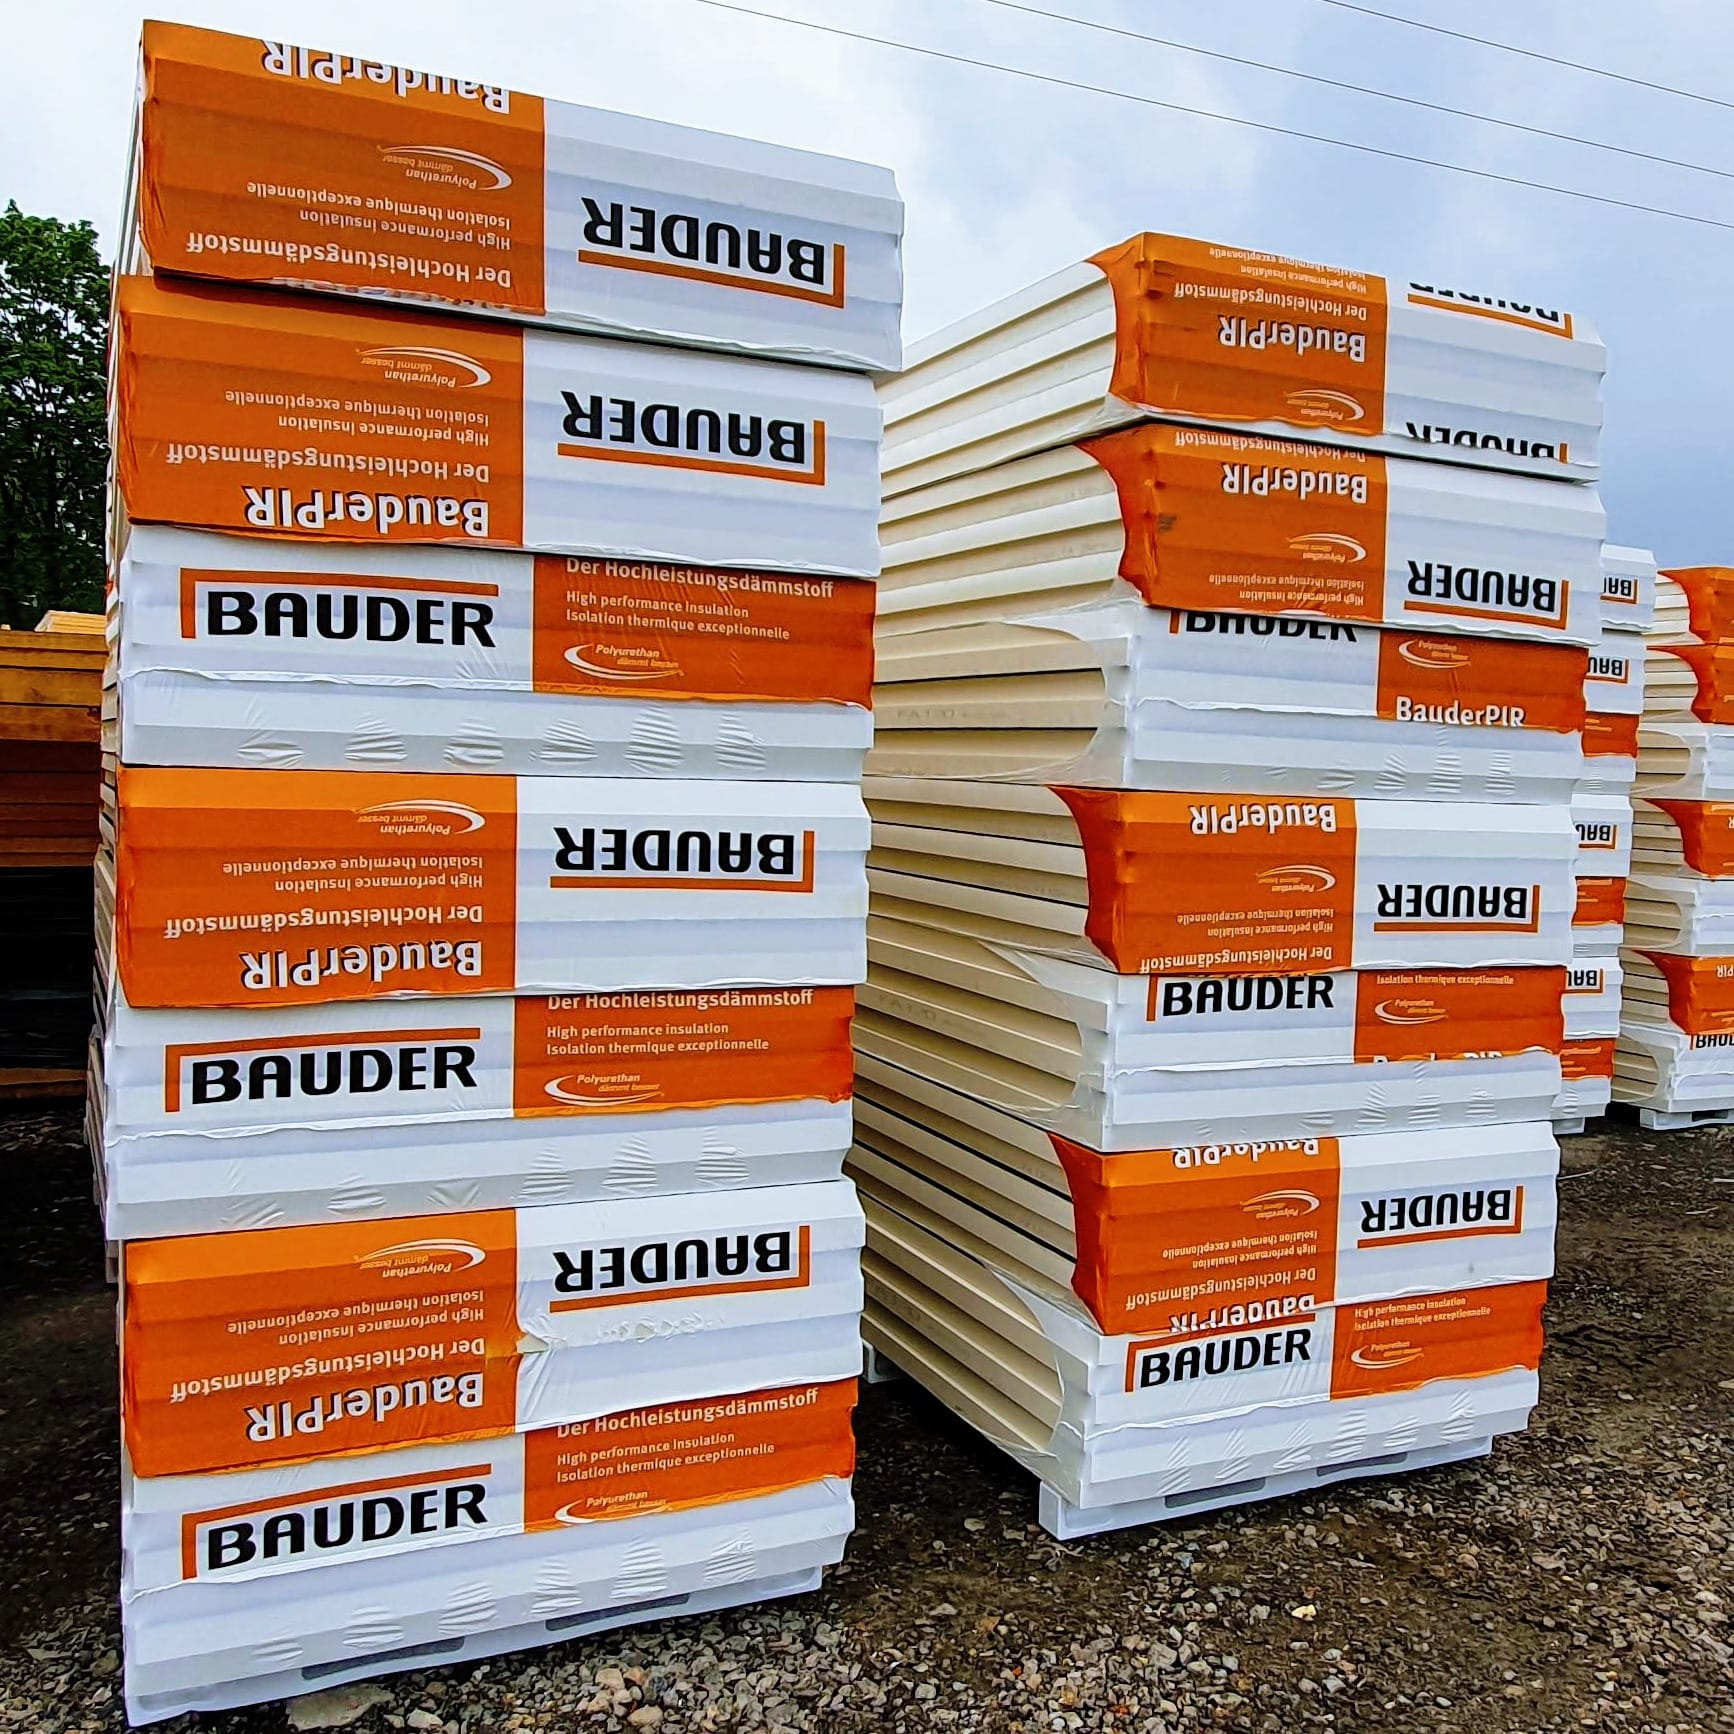
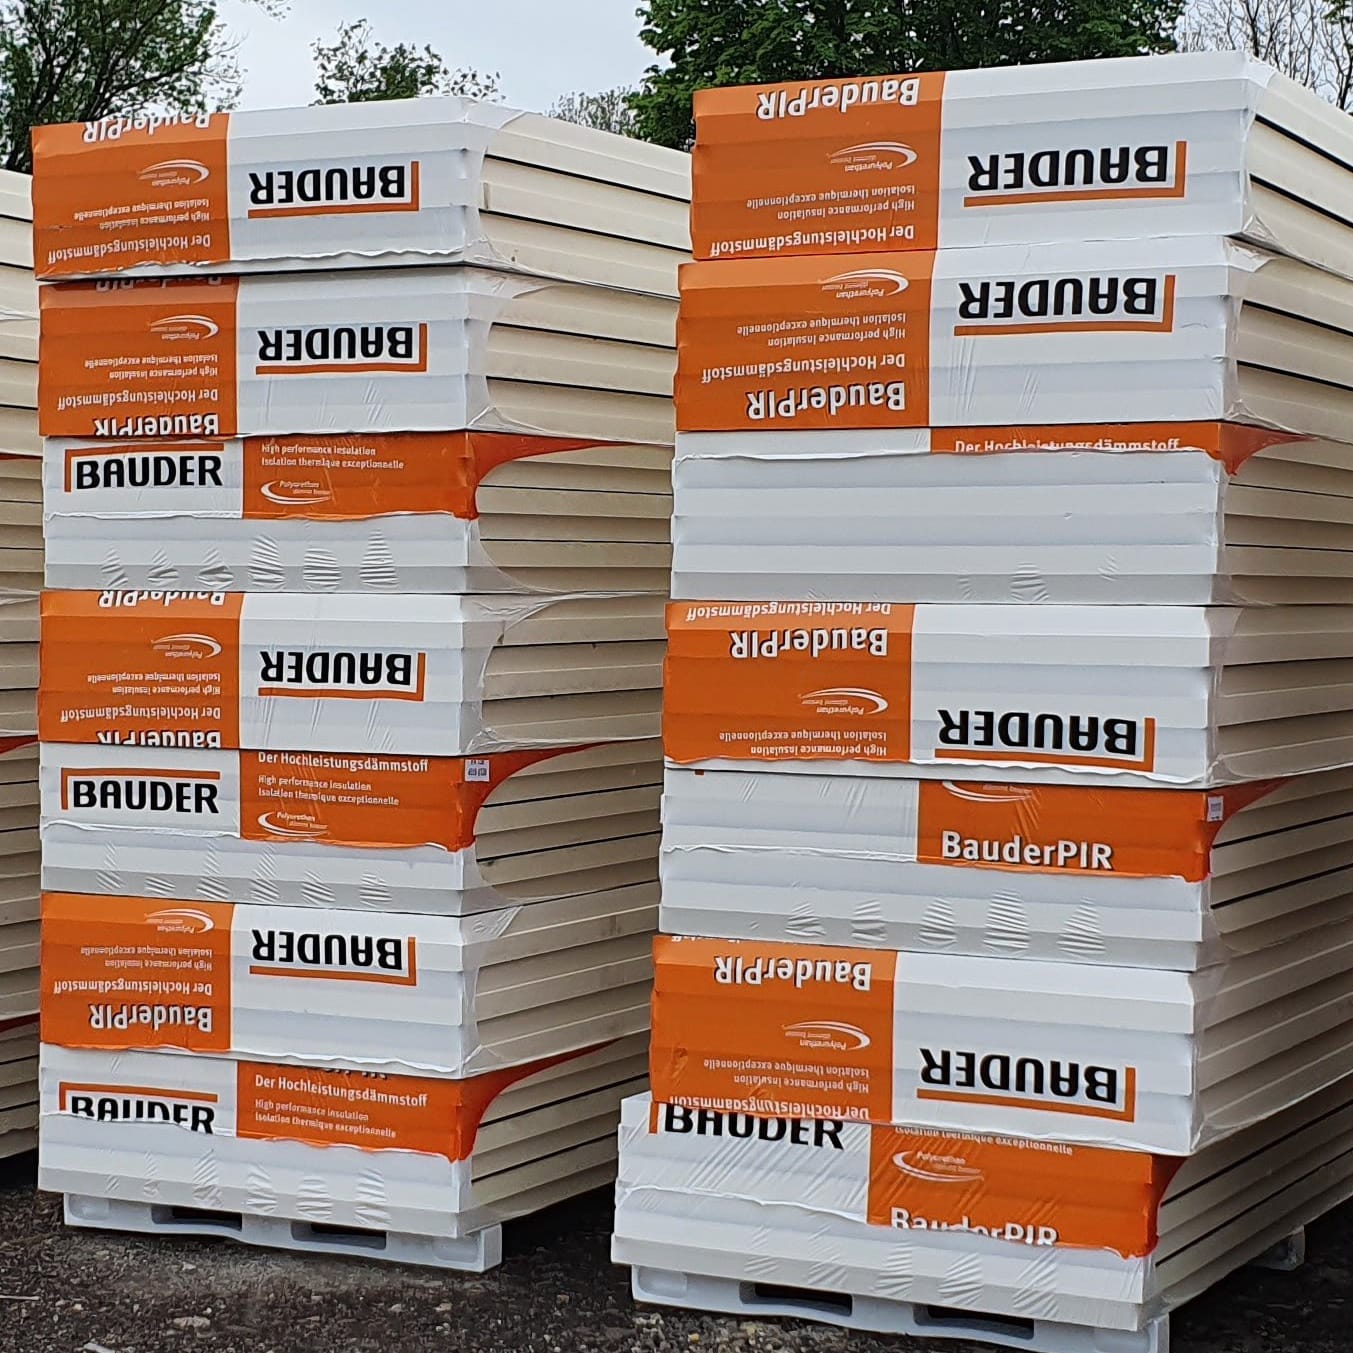
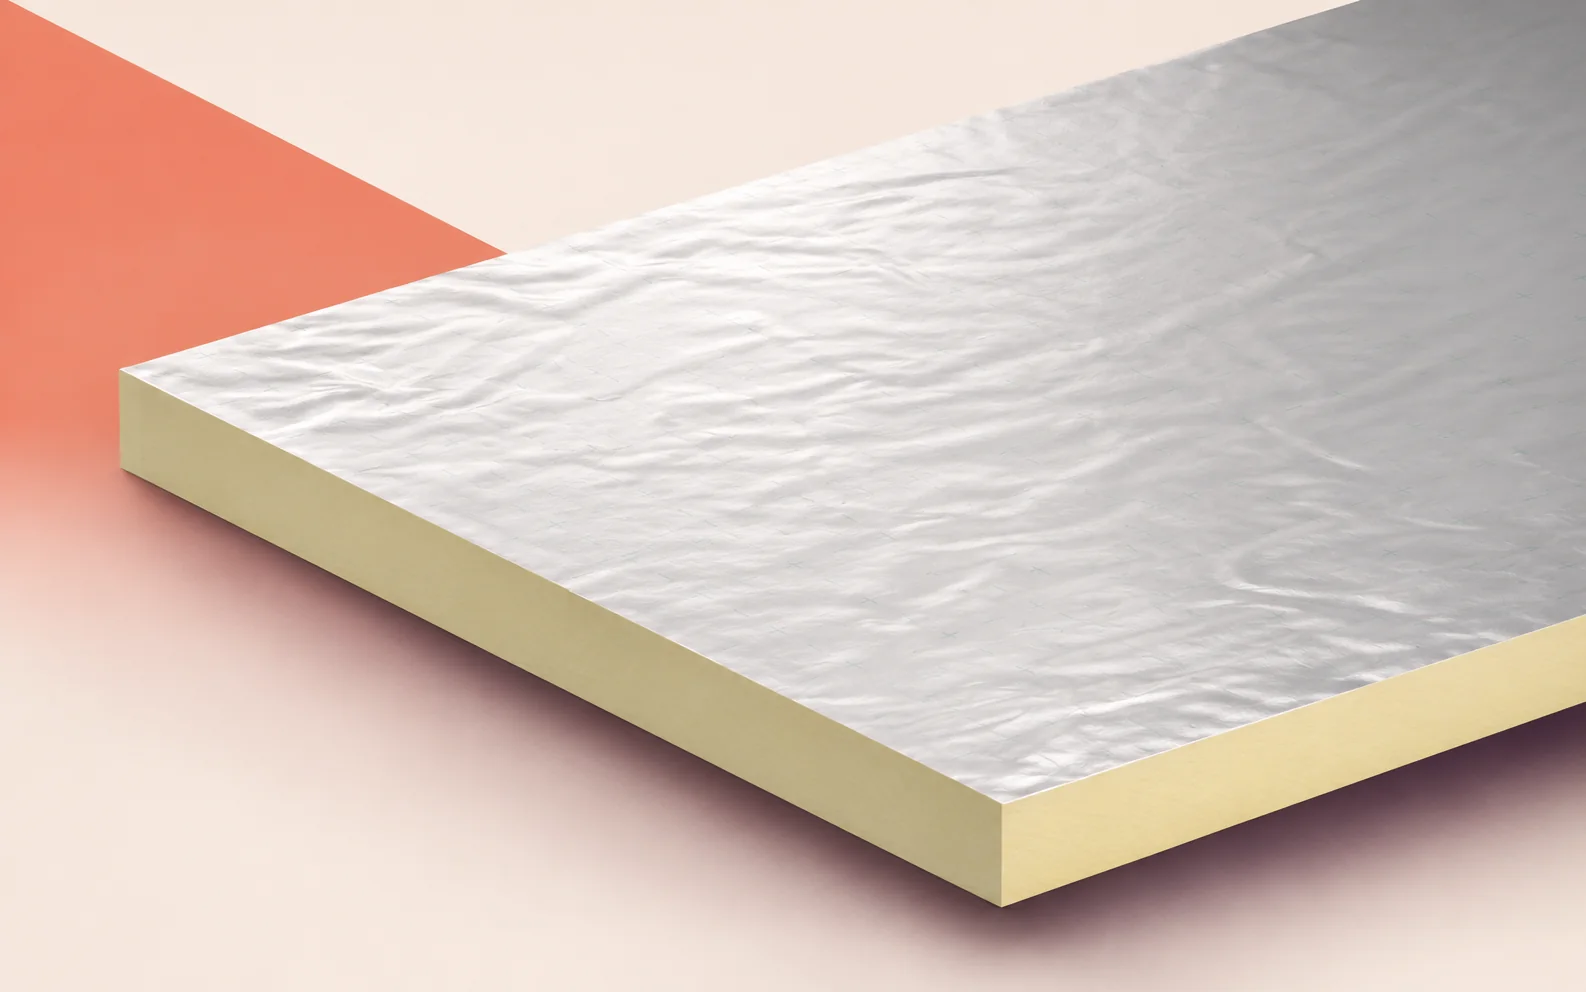
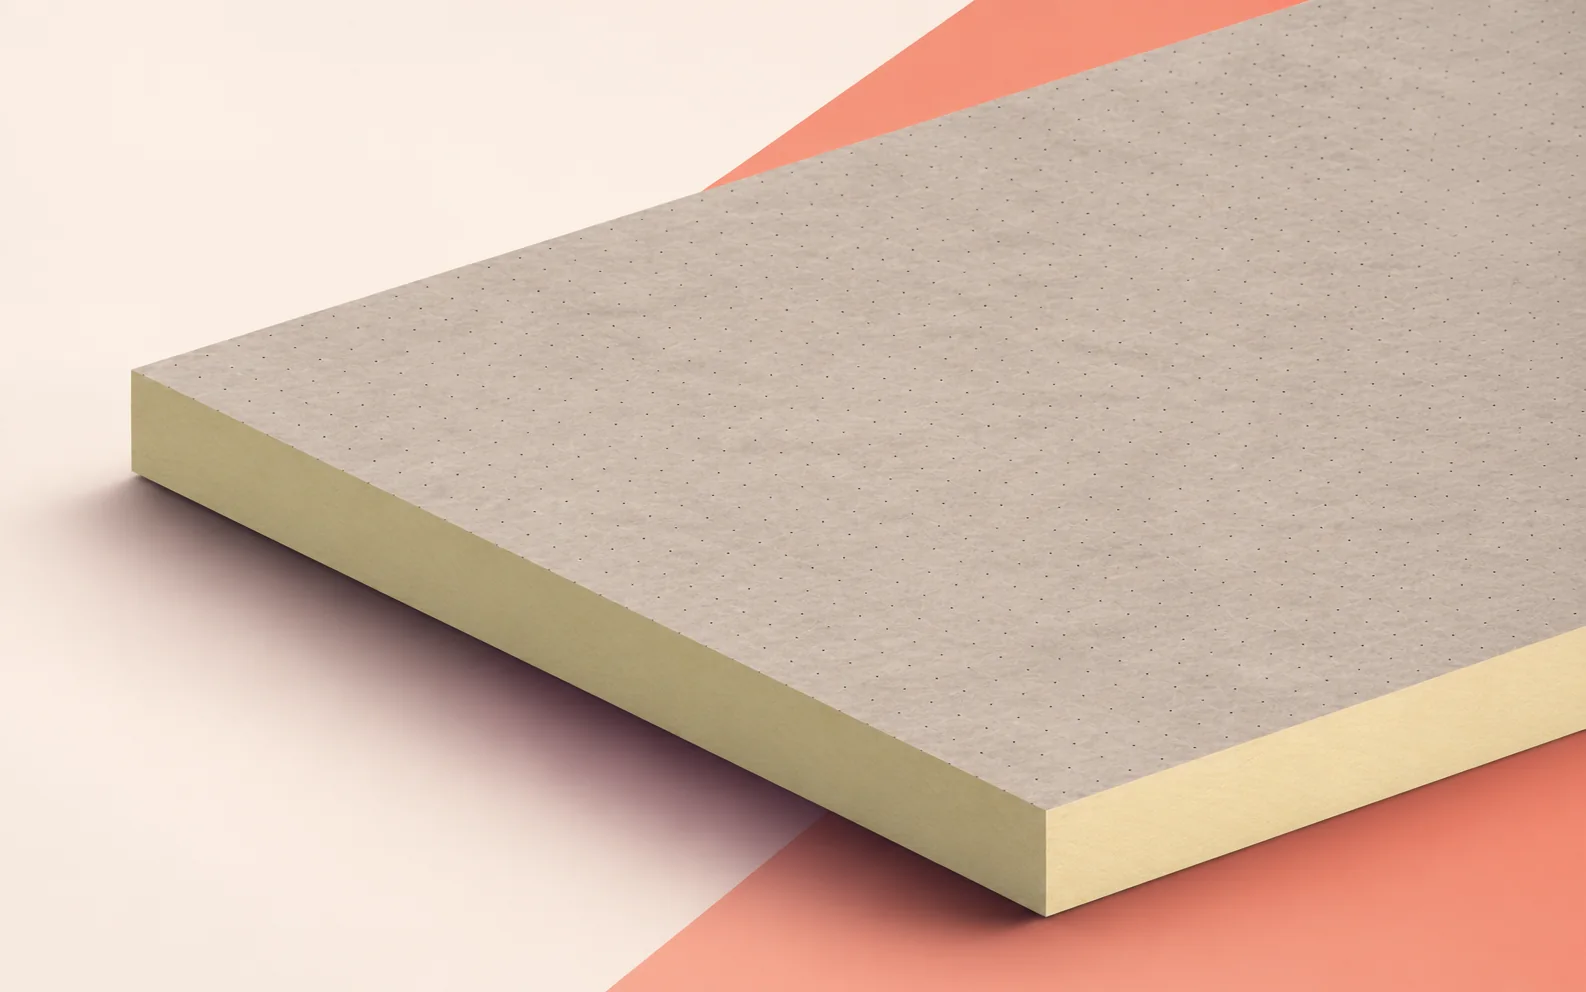
BauderPIR T is a 1200 × 800 mm square-edged board with no factory facing. The Polish data sheet lists gradients from 1 to 5% in increments of 0.5 percentage points. Check the specified fall and end thicknesses against the pallet markings and layout.
Along the line of steepest fall, a 4.80 m run at 2% gives a 96 mm level difference. Add this to the low-end level. If the deck itself slopes, include it in the same section to establish the final surface profile.
Measuring along the valley
Check the valley starting at the outlet. Measure successive surface levels upstream and compare them with the longitudinal profile. A local dip followed by a step can trap water even when the two end levels of the run are correct.
Routing water around plant bases
Once the plant base is in place, compare its actual footprint with the valley line. If it blocks the flow path, send the designer its surveyed position and the levels on both sides. Add the agreed diversion to the plan before cutting the tapers.
Inspection before waterproofing
Before waterproofing, match board numbers to the drawing, survey the field junction and inspect the fit at the outlet flange. Record readings against the survey point numbers and document repairs after remeasurement.
As-built drainage plan
On the handover plan, trace each valley to its outlet and mark existing diversions around services. If the roof is altered later, new equipment positions can be assessed against the entire drainage route.

Free quote
What to include in your enquiry
Tell us how you plan to use the material, the dimensions and the quantity you need. Include the thickness, grade or variant name, along with the delivery town or your preferred collection branch. For a specific product, add its name or a link to the product page. We will reply to the email address you provide to discuss availability and the terms of your order.
Read next
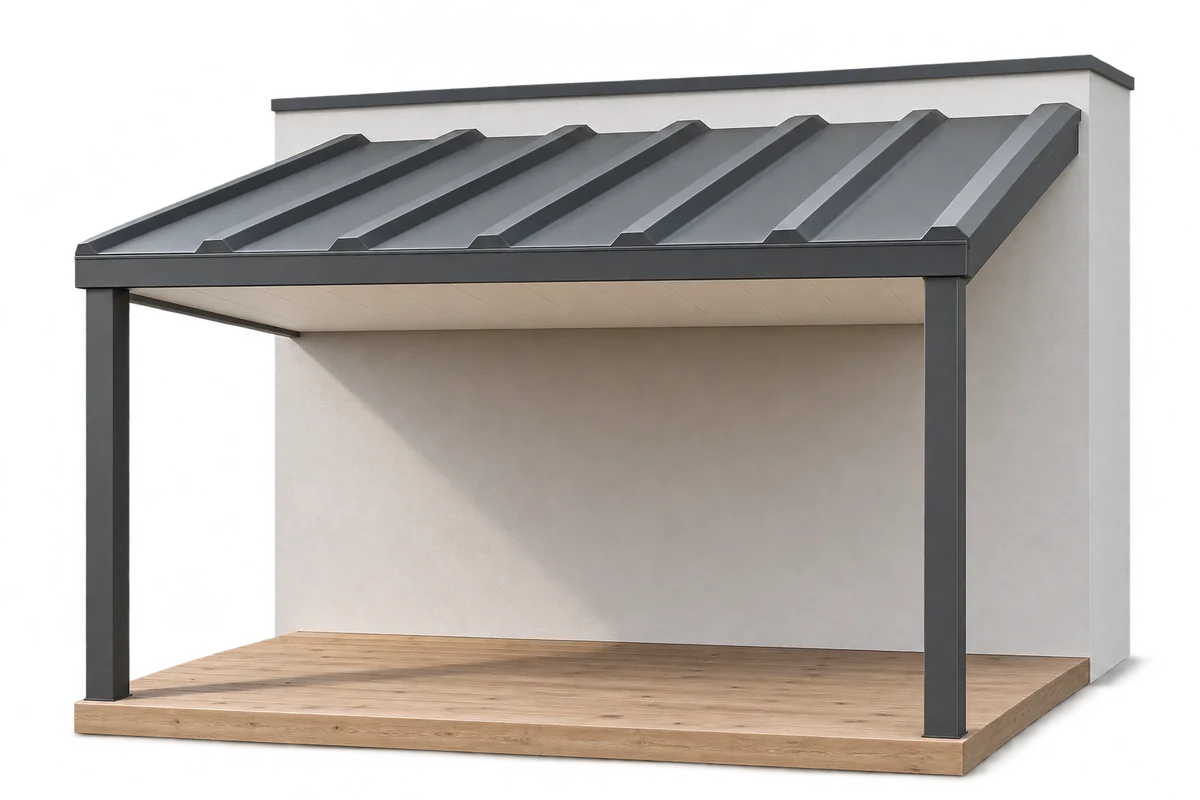
A canopy shelters the people on a terrace from rain and sun. If there is a heated room below, the terrace floor…
Choose insulation for each part of a commercial building by asking what the finished wall, floor or roof has to do. A…
On a flat industrial roof, start by establishing how the waterproofing will be attached. The termPIR WS board has a rigid PIR…
An unheated warehouse wall and the envelope of a continuously heated office face different conditions. In a workshop, the time doors stand…
Divide the roof into the open field and the services strip before choosing an EFIGREEN ALU+ XL board size. Full boards fit…
How much space is available for Kingspan Therma TF70 at a doorway between a changing room and a factory corridor? Measure from…
On a large project, compare PIR and XPS zone by zone. The choice depends on thermal performance, delivery logistics and conditions in…
On a warehouse roof with bonded waterproofing, the suitability of Kingspan Therma TR27 depends on the combination of its facing, the adhesive…