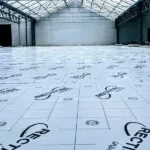
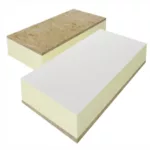
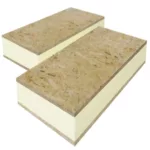
IKO enertherm ALU TG over large areas. Checking tongue-and-groove joints
PIR insulation
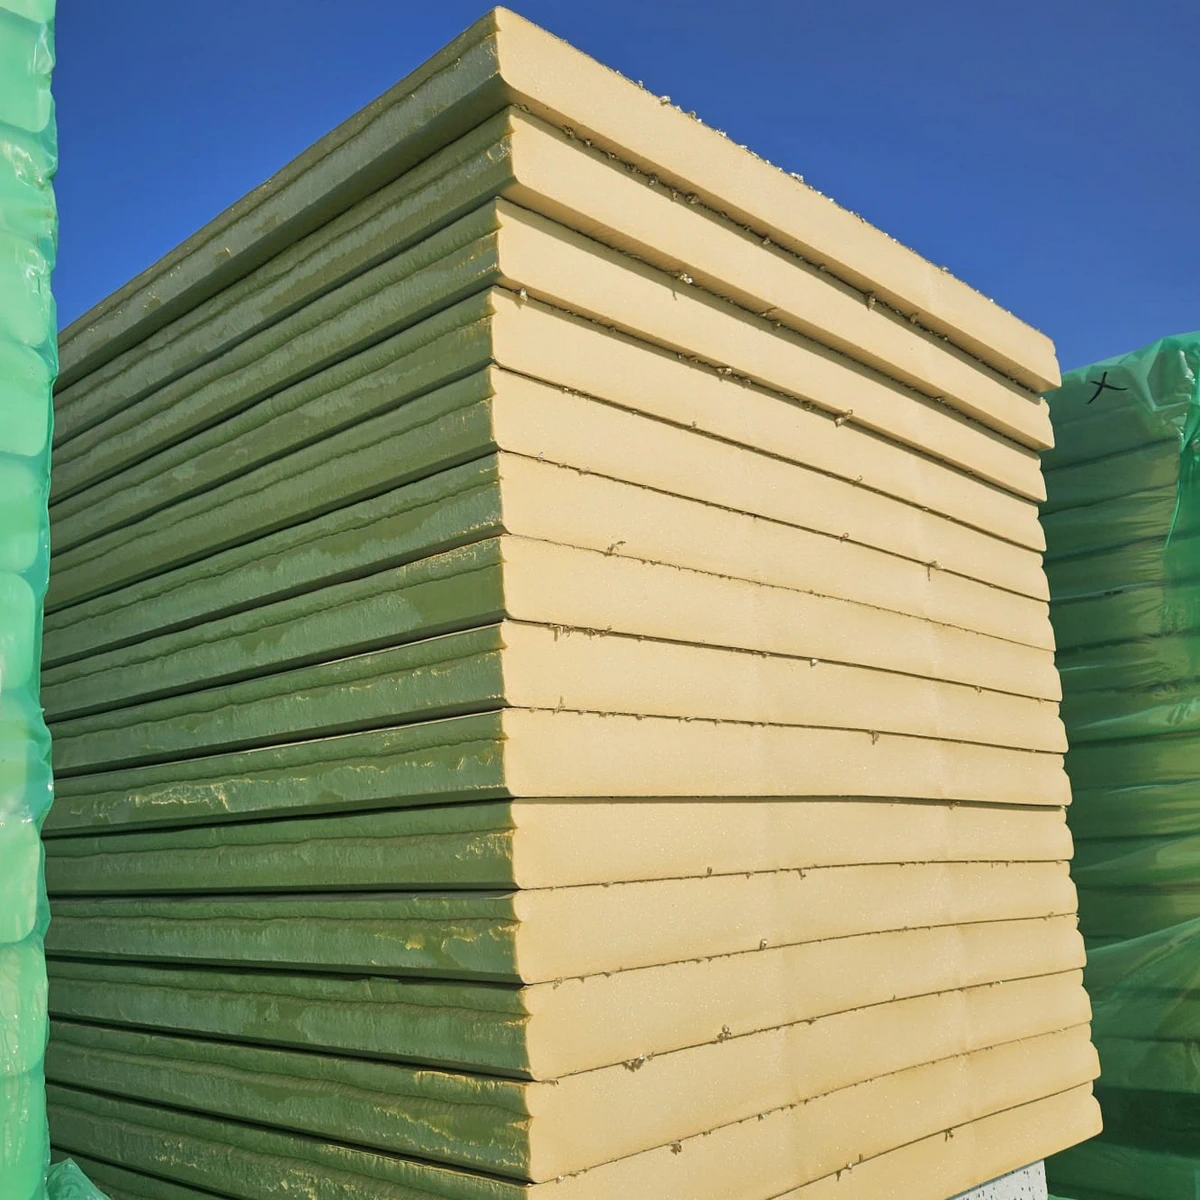
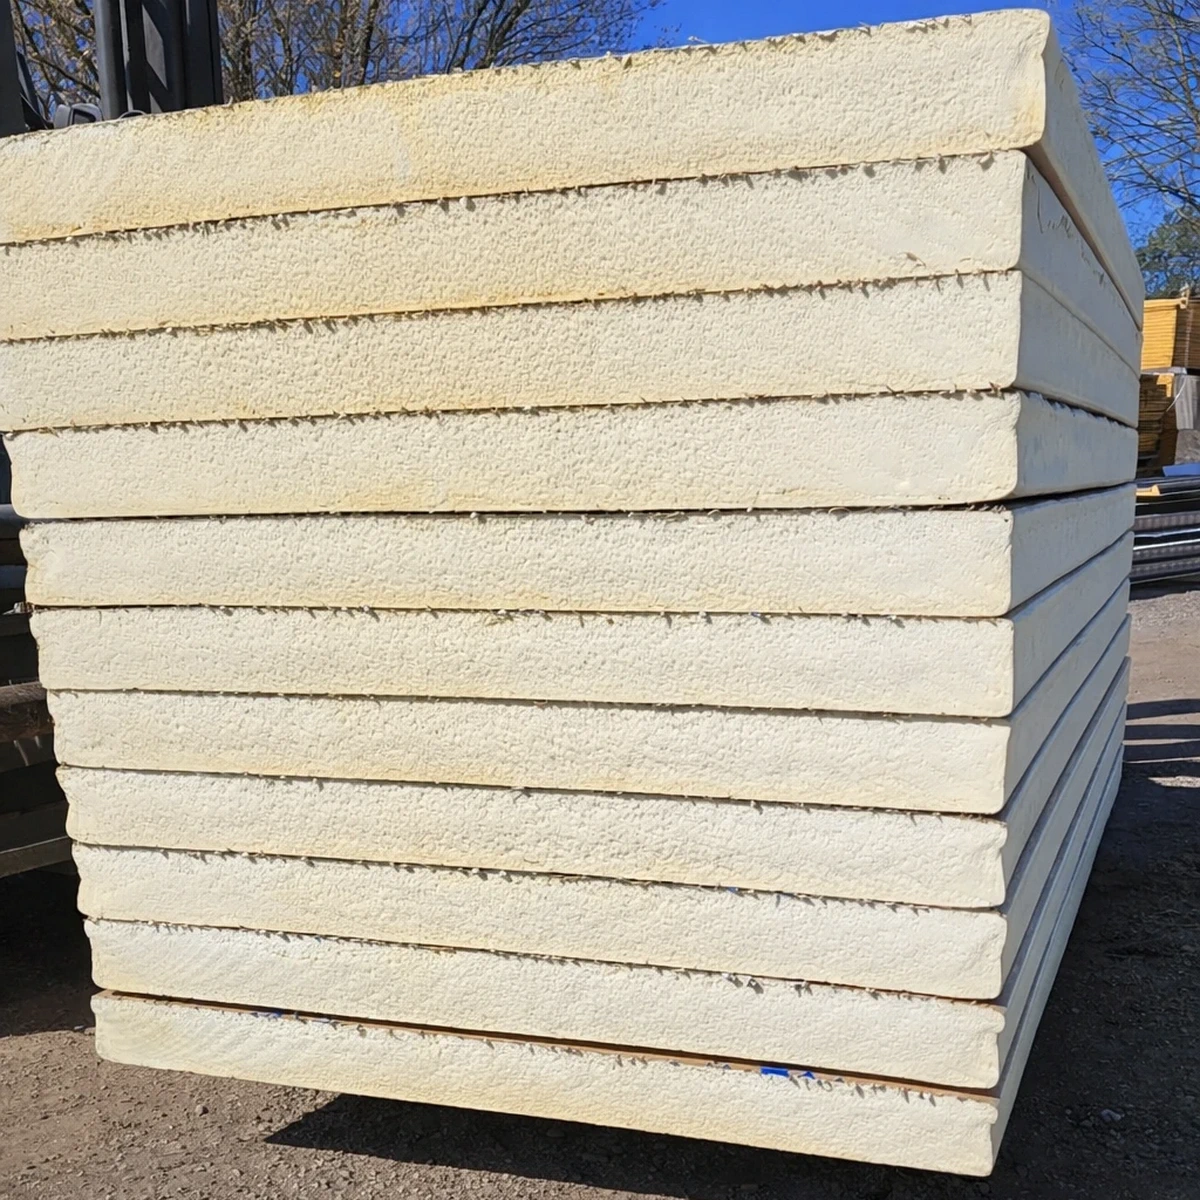
For IKO enertherm ALU TG, choose the laying direction before cutting the first row. The tongue on one factory edge must slide into the groove of the adjoining board. A column, recess or final strip may leave too little room for that movement. Mark these positions on the plan and draw the cut edges. Dry-fit the first row using the actual positions of obstructions. This shows where an offcut can be reused and where a fresh board with the edge profile in the correct position is needed.

In this guide
A trial row beside columns
Use different symbols for tongue and groove on the plan of one bay. Add an arrow for the insertion direction. Rotating a board by half a turn changes the profile’s position relative to an obstacle even though the rectangular dimensions stay the same.
What TG means on the order
Start the trial at the column base that projects furthest. Check that the next board can slide in and lie flat. If it fouls the base, adjust the layout before cutting the remaining rows.
Locating the last strip
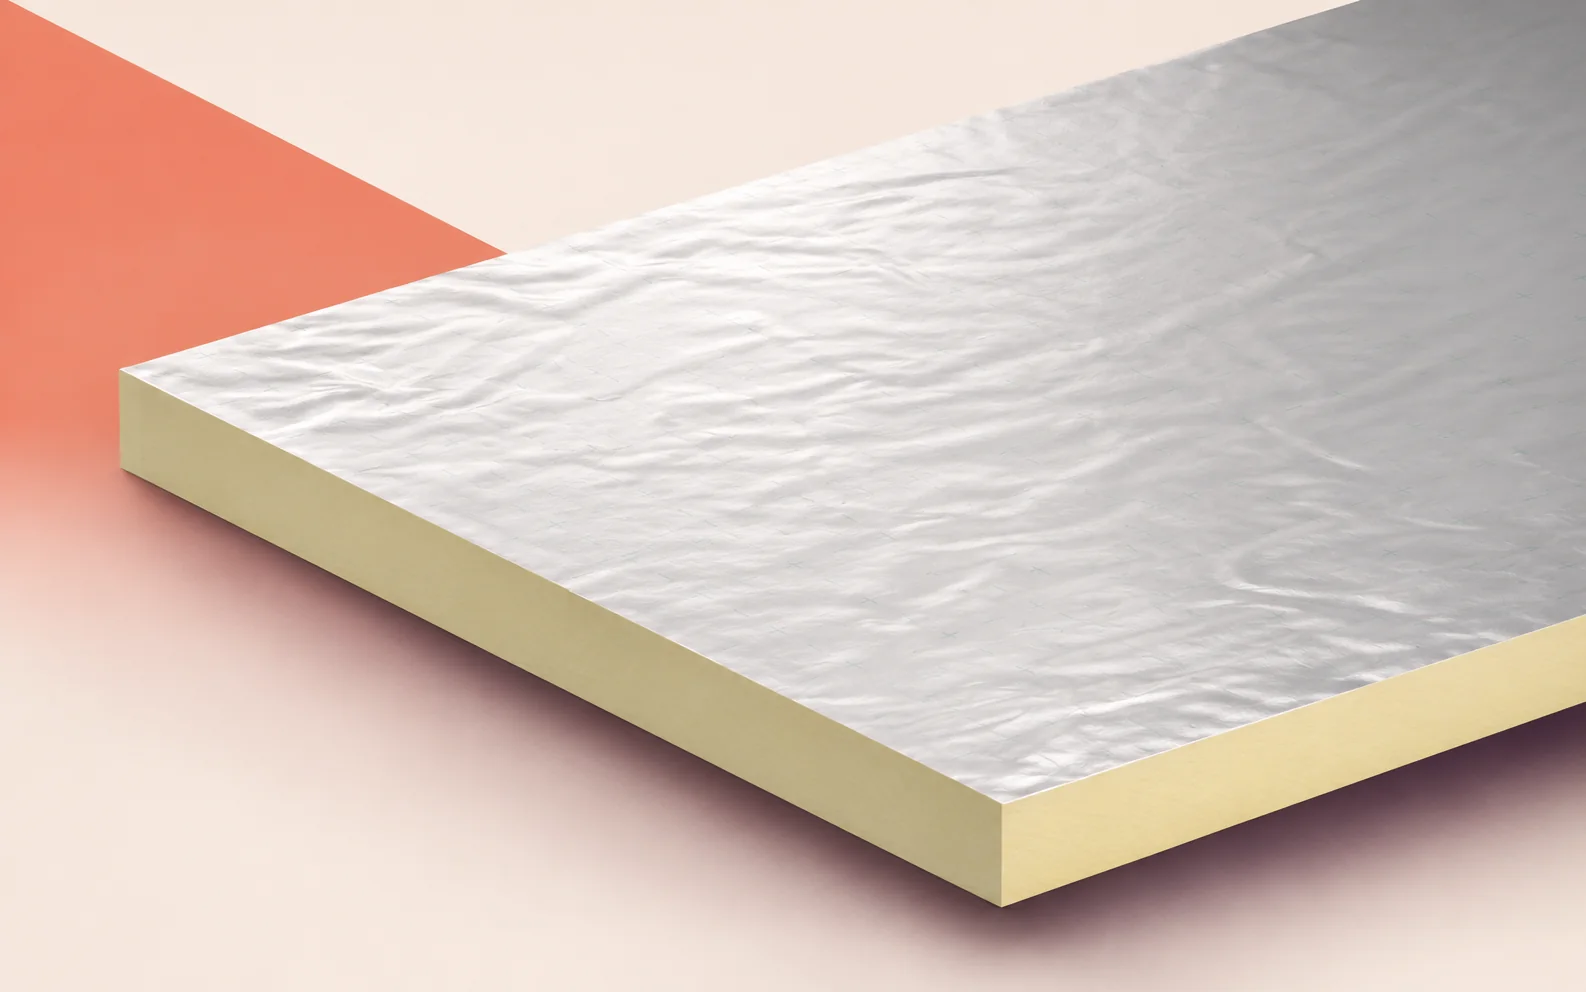
TG denotes tongue-and-groove edges. The board has an aluminium laminate on both faces and declared λD of 0.022 W/(m·K). At delivery, compare the designation, thickness and edge profile with the specification for the roof or wall area.
Measure the field width at both ends of the row. Set out full boards using the quoted variant’s cover dimension. If a narrow strip remains at the end, try adjusting the first strip on the drawing and recheck joint positions beside the columns.
Cut pieces with a factory edge
Before cutting, mark the edge that must retain its factory profile on the top face. Where two plain cut edges meet, use the joint and support detail specified for that location.
Checking joint engagement
Place a straightedge across the joint. A step may indicate debris in the groove, a damaged tongue or an uneven substrate. Inspect these points before laying the next row. Check airtightness and water protection against the assembly design.
Sorting and labelling offcuts
Mark each retained piece with its dimensions and edge type. Store tongued and grooved offcuts separately. Before reuse, also inspect the laminate along the cut.
Inspecting joints before covering
Photograph the closure of the last row and a typical joint at a column. Identify the grid line and side of the building. If a later penetration requires a section of insulation to be removed, the crew can establish the orientation of the adjacent joints.

Free quote
What to include in your enquiry
Tell us how you plan to use the material, the dimensions and the quantity you need. Include the thickness, grade or variant name, along with the delivery town or your preferred collection branch. For a specific product, add its name or a link to the product page. We will reply to the email address you provide to discuss availability and the terms of your order.

Read next
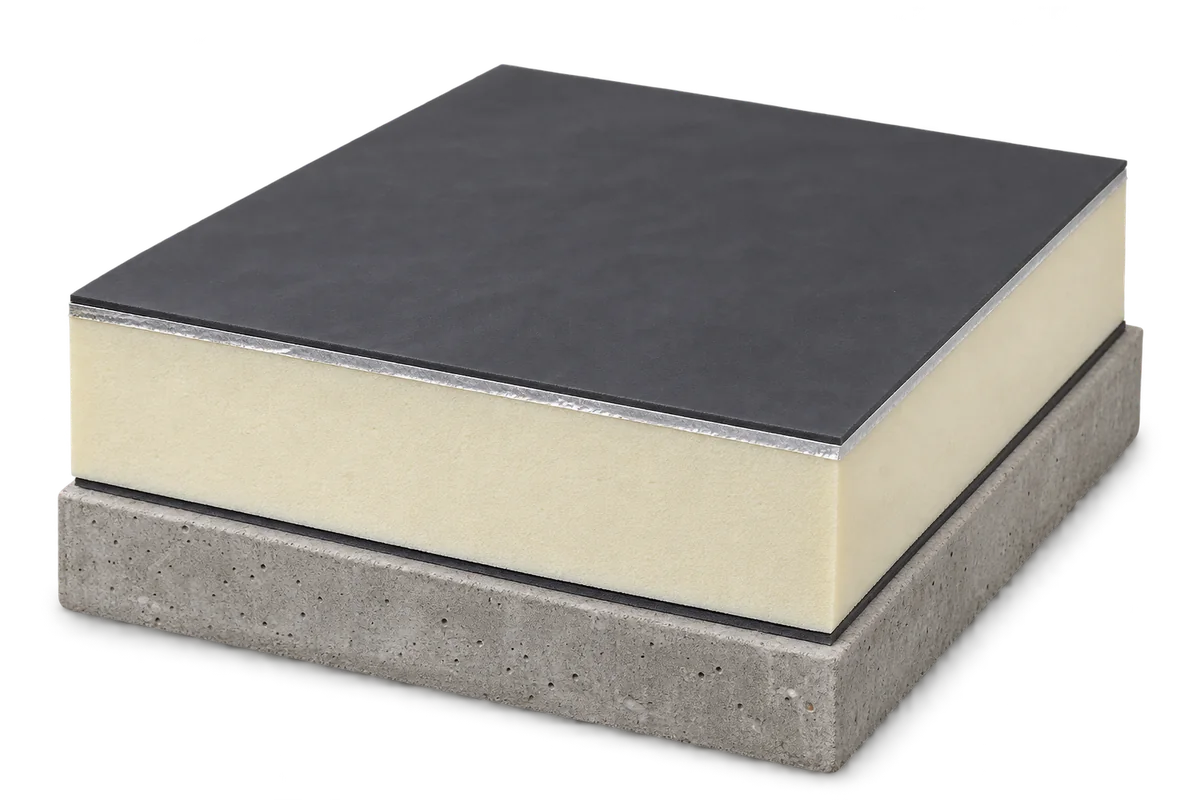
A flat roof consists of several layers that work together. The structure carries the loads, insulation reduces heat loss and waterproofing keeps…
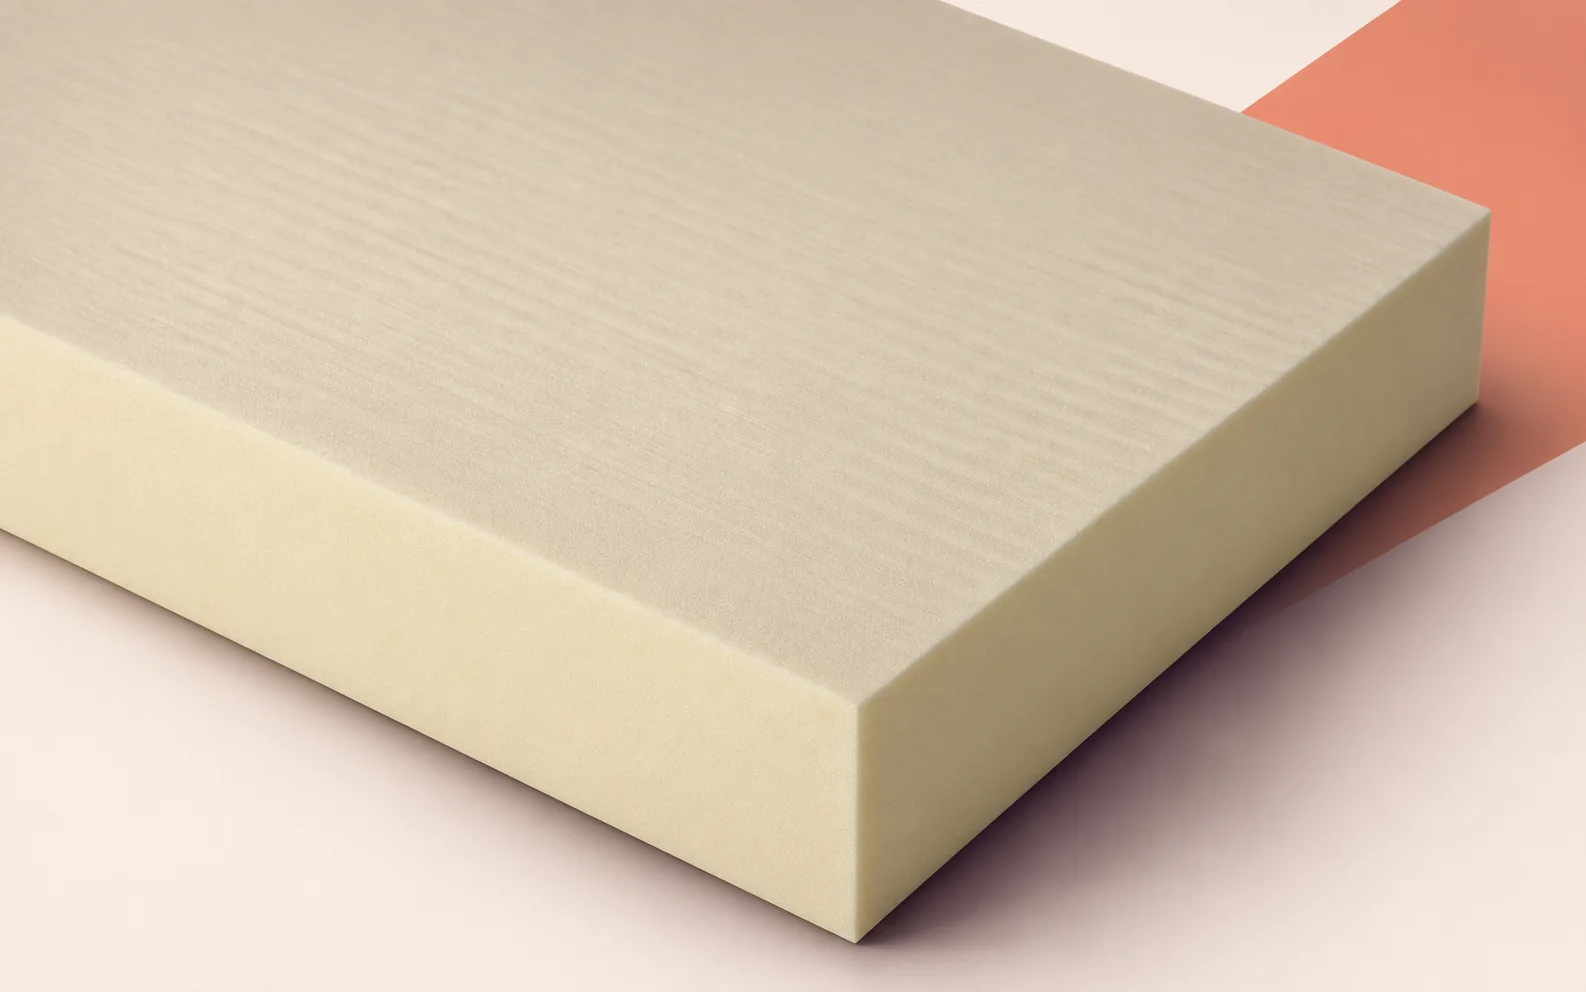
When laying BauderPIR T, first set out the valley that will carry water to the outlet. Mark levels at both ends and…
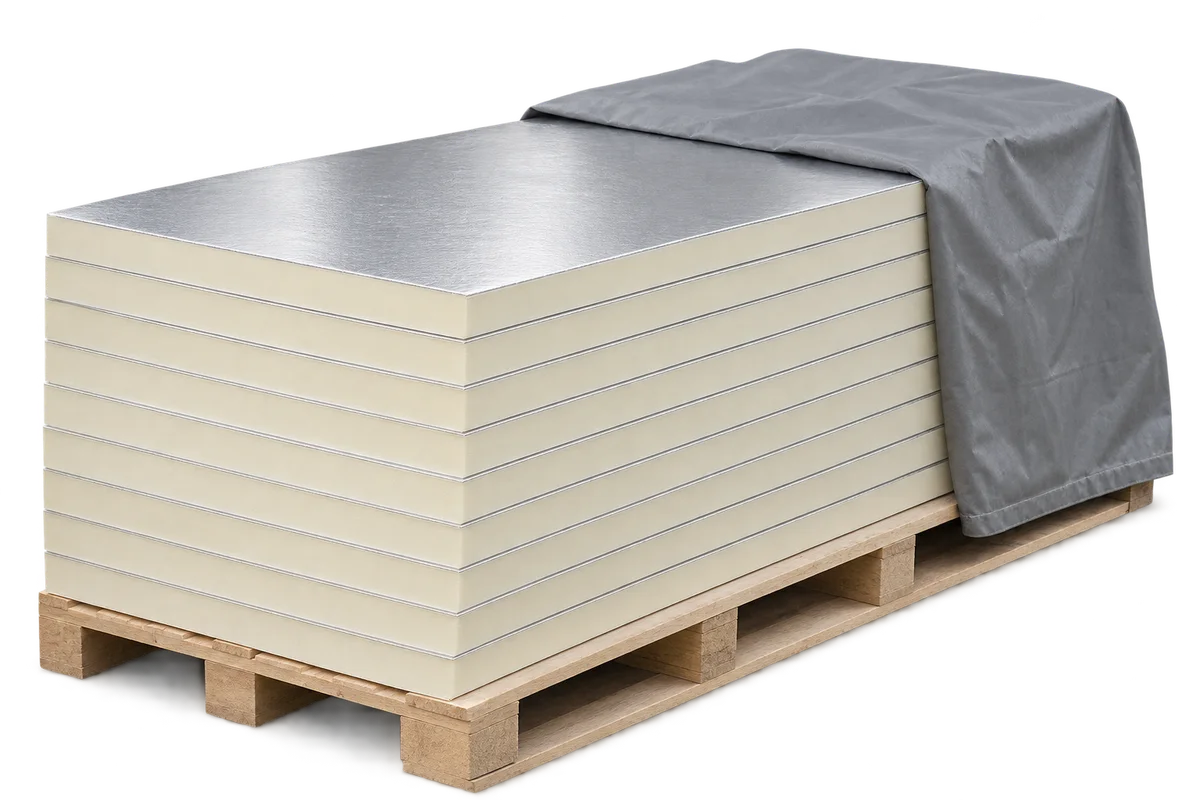
At a house viewing, the seller shows an invoice for PIR boards and photographs of a renovation. To connect these records to…
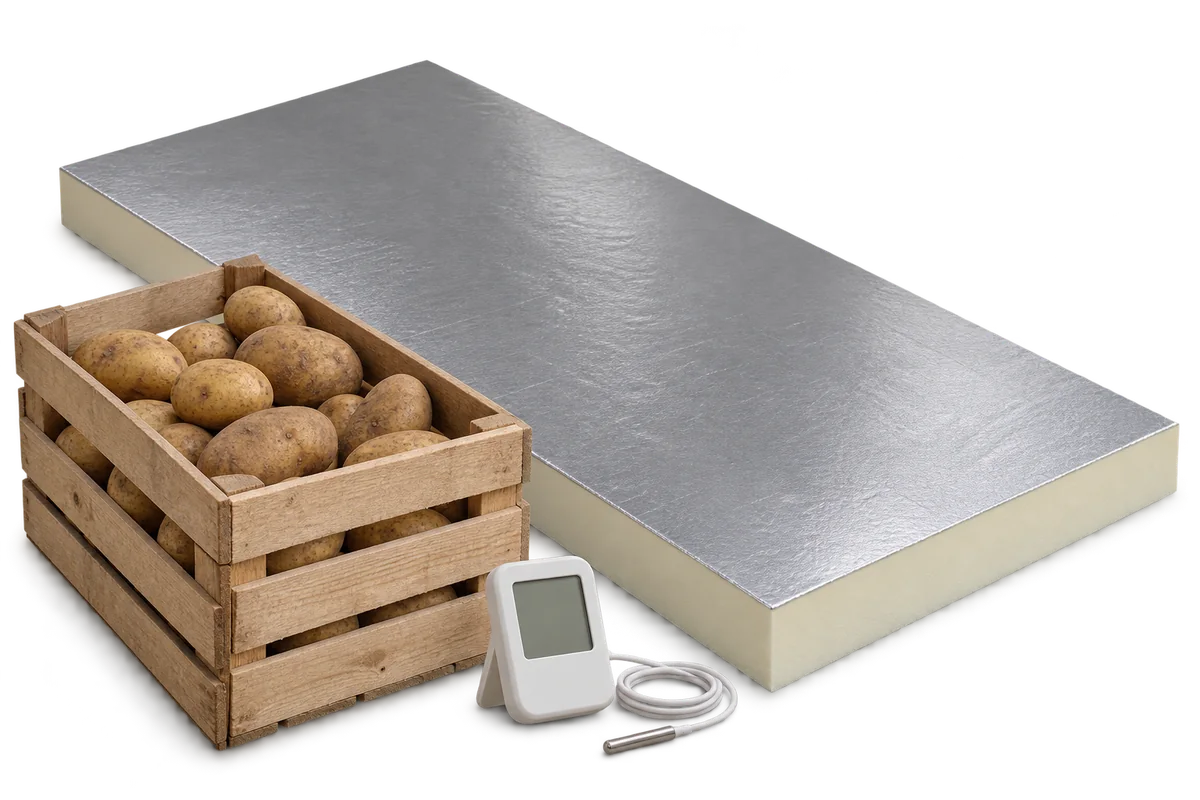
The withdrawal of a sprout suppressant formerly used in potato stores changed storage practices. Residues in older buildings need separate assessment even…
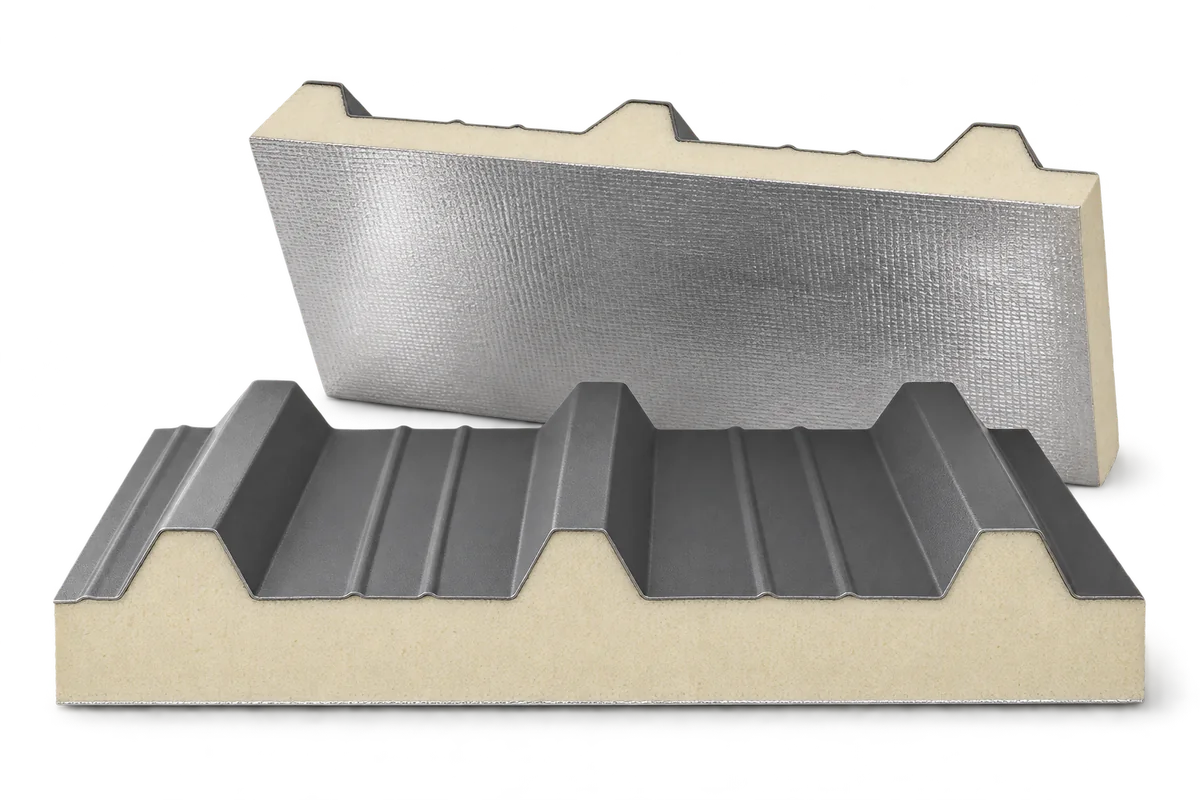
Renovating an old industrial building need not mean replacing it. Sandwich panels can provide a new outer skin and insulate the walls…
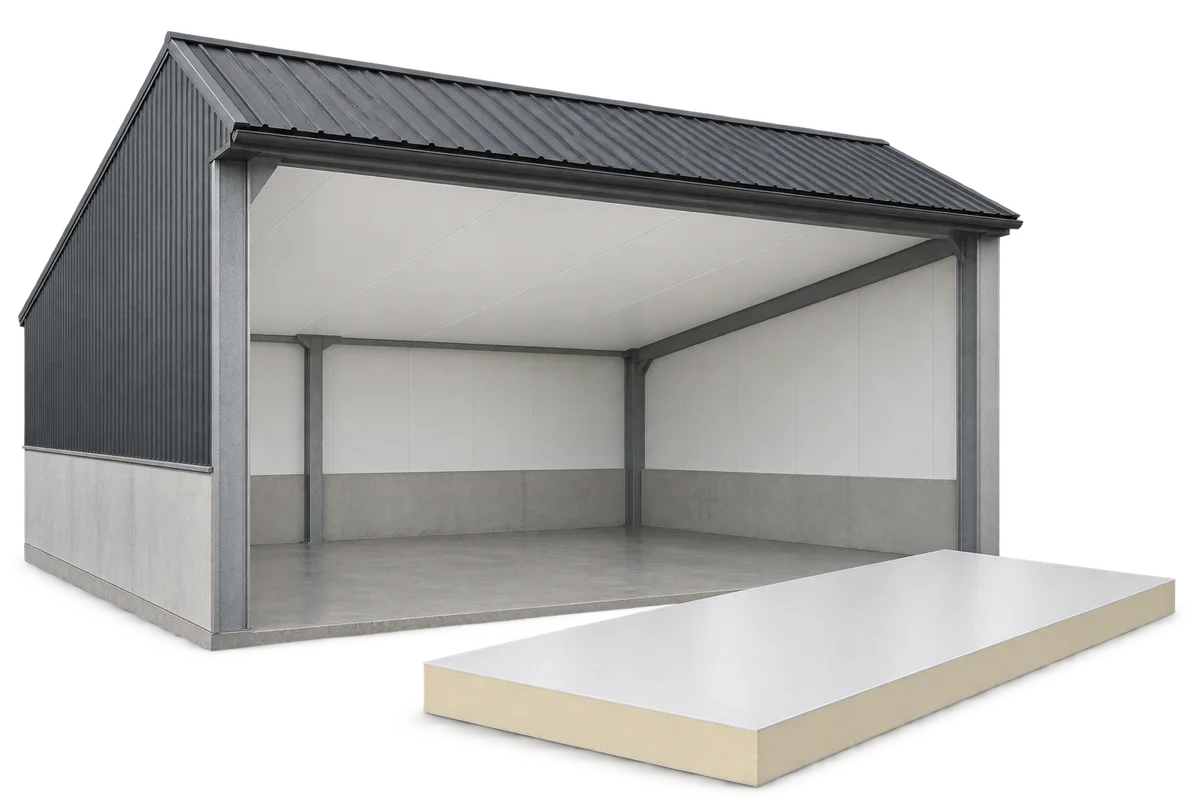
An internal ceiling can separate a heated or climate-controlled room from the roof void. In a cattle shed or warehouse, its appearance…
How much space is available for Kingspan Therma TF70 at a doorway between a changing room and a factory corridor? Measure from…

A cold surface, poor ventilation, rain penetrating the façade and a leaking pipe can leave similar marks. Several causes can coexist. Before…