






How can you spot sandwich panel installation errors before closing the façade?
Sandwich panel installation
At a glance
Inspect sandwich panel work in stages while each junction is still accessible. Start with the frame, then inspect the first panel and its fixings before the crew repeats the detail across the wall. Compare support spacing and alignment with the drawings. Check openings and bearing surfaces, particularly at industrial doors. Resolve missing supports and misaligned rails before installing the cladding. Tightening screws to pull a panel against a crooked frame can distort the facing. Once flashings cover the joint, even a flat-looking façade can conceal problems with fixings, insulation or seals.
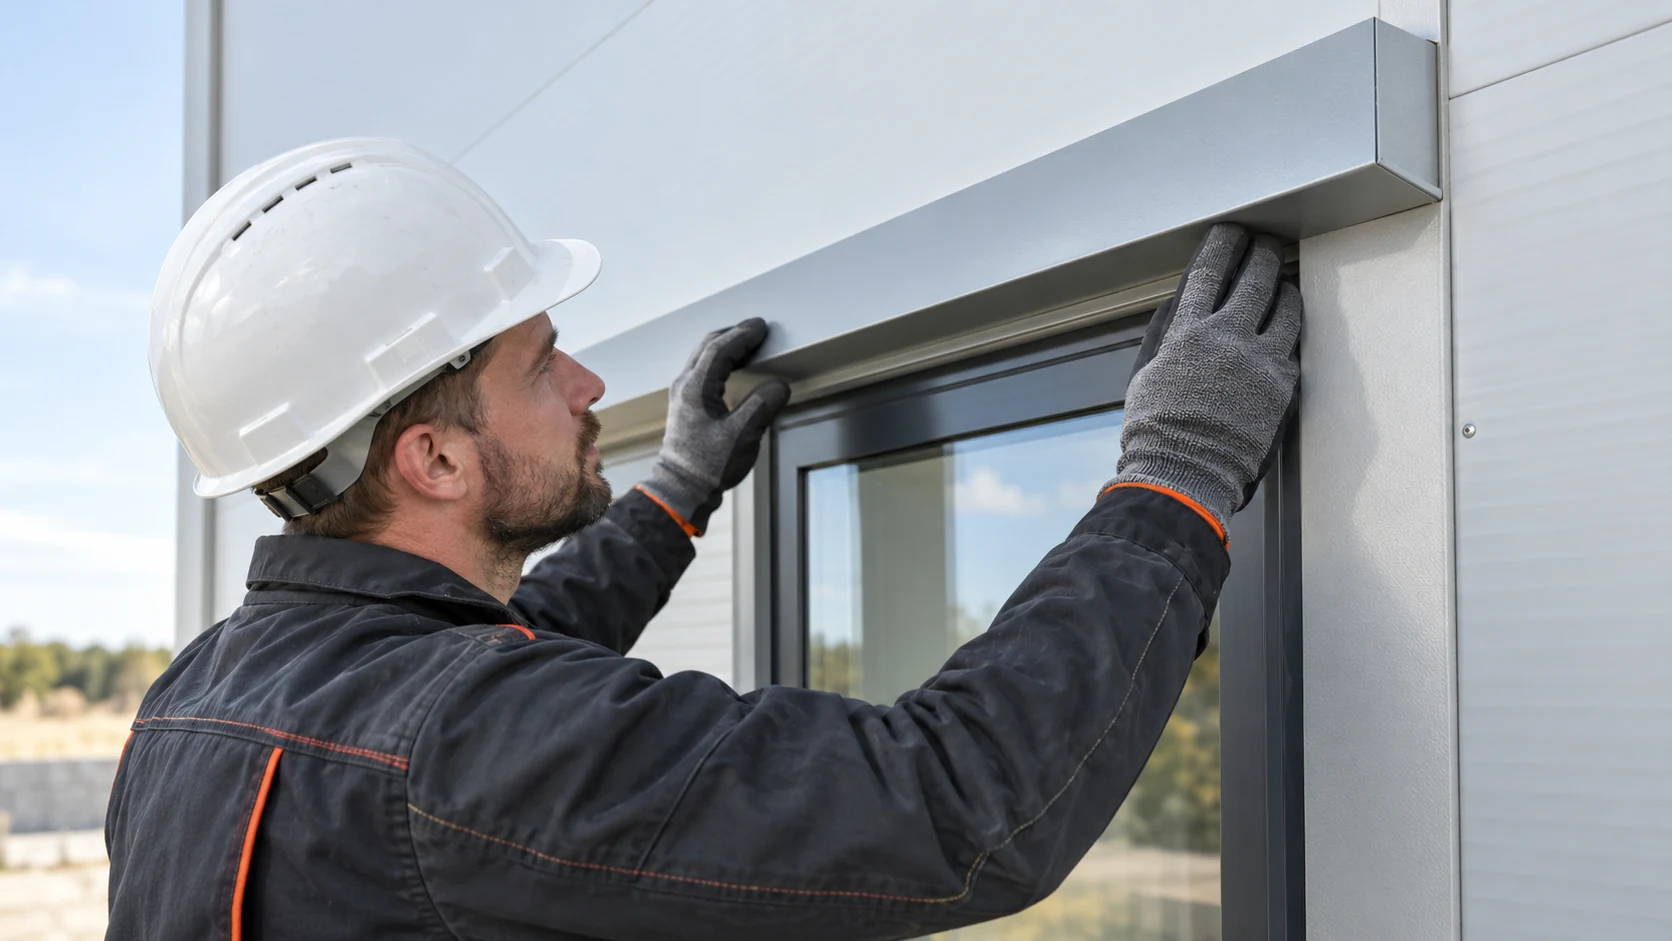
Inspect the frame before unloading
Agree the unloading area and the order in which packs will be needed. Unplanned handling can damage panels. Inspect the delivery before moving material around the site. Recording material condition separately from frame acceptance helps trace defects and decide on repairs.
Check the first installed panel
The first panel establishes the line for the rest. Check alignment, outer face, cover width and plinth connection. Compare the setting-out with the opening positions on the drawing. A small repeated error may show up only at the last corner, when several panels have to come down.
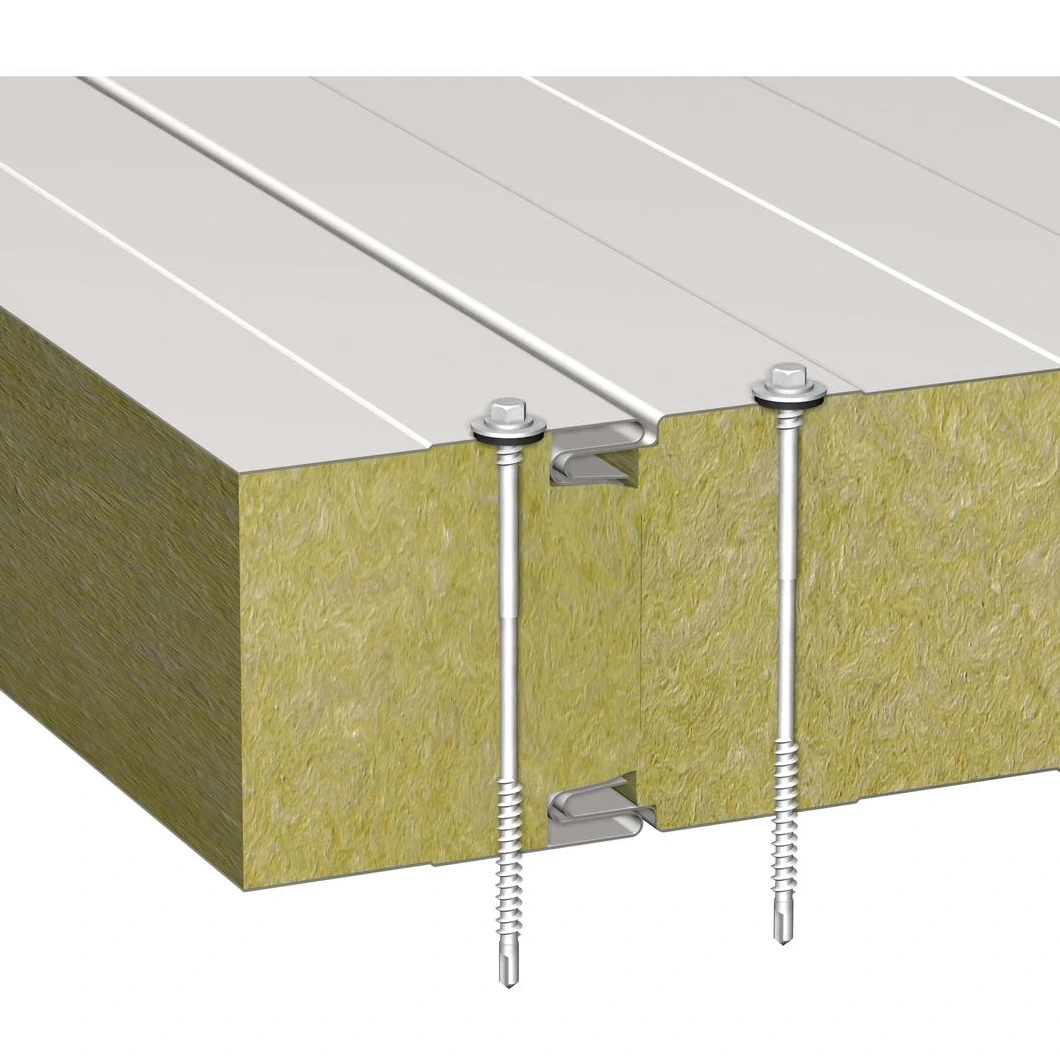
Check fastener type and tool setting. Inspect washer seating, facing condition and engagement in the support. Seeing a screw head gives no assurance that the support was hit correctly. Approve the first connection before repeating it across the wall.
Record the approved setting as a reference. Recheck it when the panel batch, support type or tool operator changes. Spotting a change in washer compression or joint position early limits the number of panels needing correction.
Inspect joints and fixings as work proceeds
Inspect joint engagement and the position of the seals specified for the system. An even surface can hide a missing seal. Check concealed fixings before the next panel covers them, and record what was inspected at that point.
Respond to stripped holes, distorted washers and local dents as they appear. Identify a repair that maintains load capacity and weathertightness before adding a screw nearby. For fire-rated walls the repair must also remain within the approved assembly detail.
Look behind flashings before closing them
Inspect reveals, corners, plinths and roof junctions before fitting cover trims. Trace the insulation and water drainage route. Verify that seals are in the specified positions. A wide flashing may conceal a gap or missing support while leaving the underlying defect in place.
Pay special attention to late service penetrations, which may have missed earlier design checks. Inspect the framing and seal around each opening. Where fire performance is affected, check the appropriate penetration detail. General-purpose foam or a trim strip alone gives no evidence of the required performance.
Remove debris and check the finish
Remove drilling and cutting swarf before it spreads over the coating or starts to rust. Check cut edges and the protective film. Remove the film within the manufacturer’s timeframe. Film left too long can become hard to remove and hide surface damage at handover.
Use a cleaning method suitable for the coating. Abrasives and unsuitable solvents can damage it. Match touch-up material to the sheet’s protective finish. Assess substantial distortion or delamination separately, as a cosmetic repair may leave the panel’s performance impaired.
Hand over a record of the installed work
Record panel variants, fixings and seals actually used. Include photographs of concealed work and agreed deviations. Compare opening positions with the drawings and incorporate changes made on site. This record provides a reliable basis for later inspections and repairs.
Hand over the maintenance instructions and identify locations needing particular attention. Agree how the operator should report leaks or impact damage. Each inspection record should show which function of the envelope was checked before access was lost.
Questions and answers
Does a flat-looking façade prove correct installation?
No. Flashings can conceal defects in supports, seals or fixings. Inspect the work before covering it and keep as-built records.
Can every badly seated screw simply be tightened?
No. Inspect the washer, hole, facing and substrate. Further tightening can make the damage worse. Choose the repair according to its cause and the requirements of that connection.

Free quote
What to include in your enquiry
Tell us how you plan to use the material, the dimensions and the quantity you need. Include the thickness, grade or variant name, along with the delivery town or your preferred collection branch. For a specific product, add its name or a link to the product page. We will reply to the email address you provide to discuss availability and the terms of your order.

Read next
From the floor, a chip in a pale barn ceiling can look like a small stain. Before washing, mark the spots where…
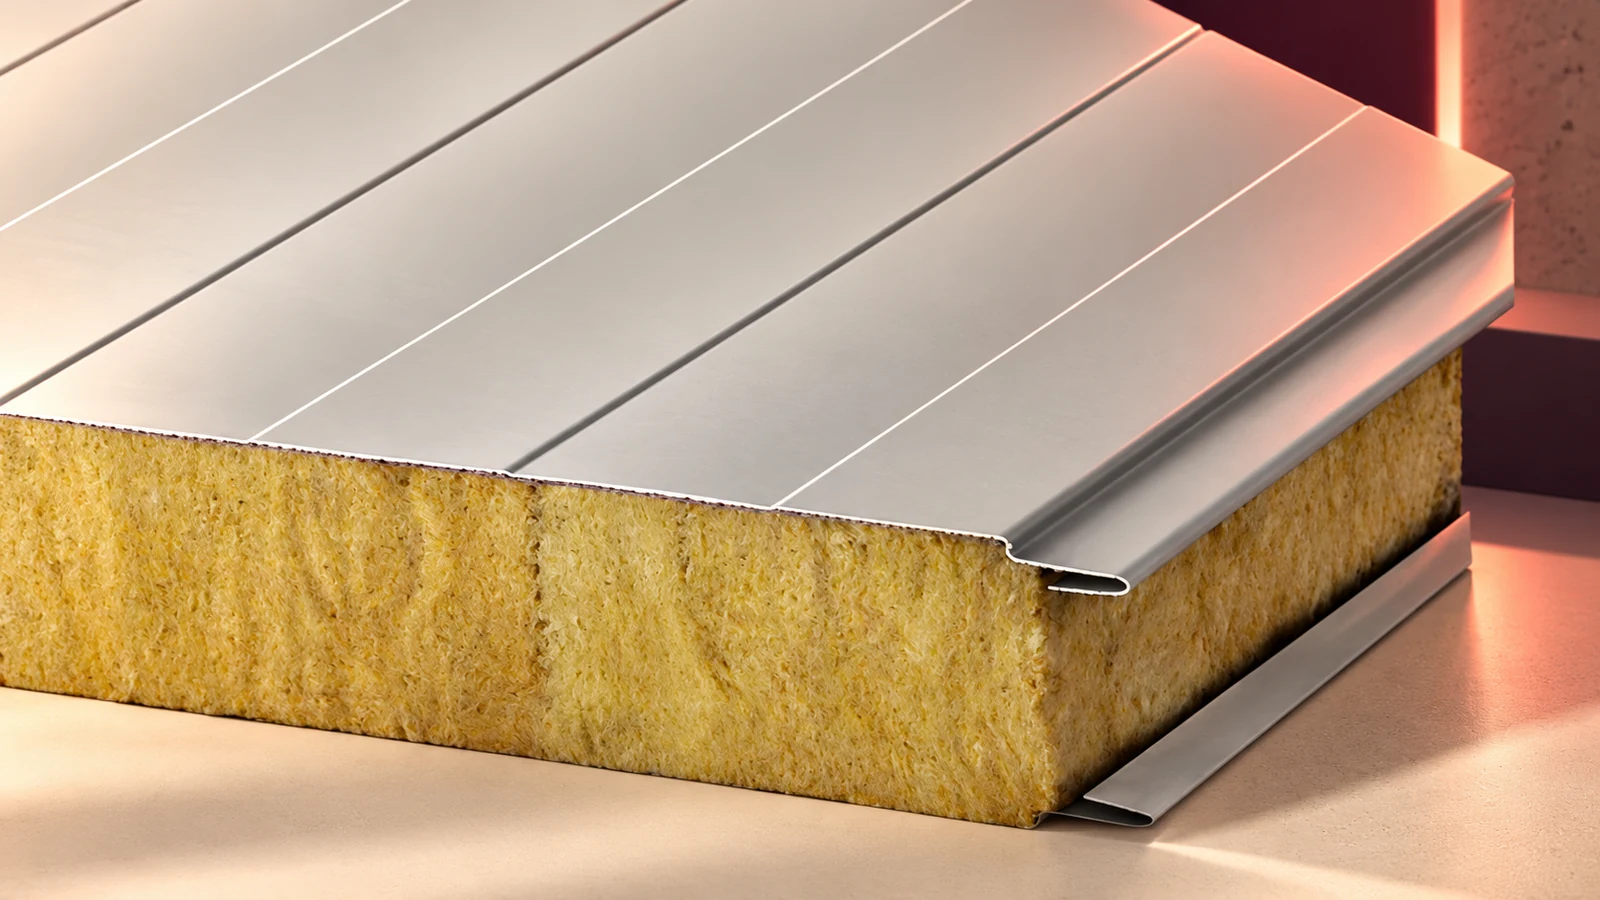
Mineral wool sandwich panels have metal facings bonded to an insulating core. They are used for walls and roofs. Each model needs…

A rate per square metre may cover fixing the panels alone or much of the work on the building envelope. Before choosing…
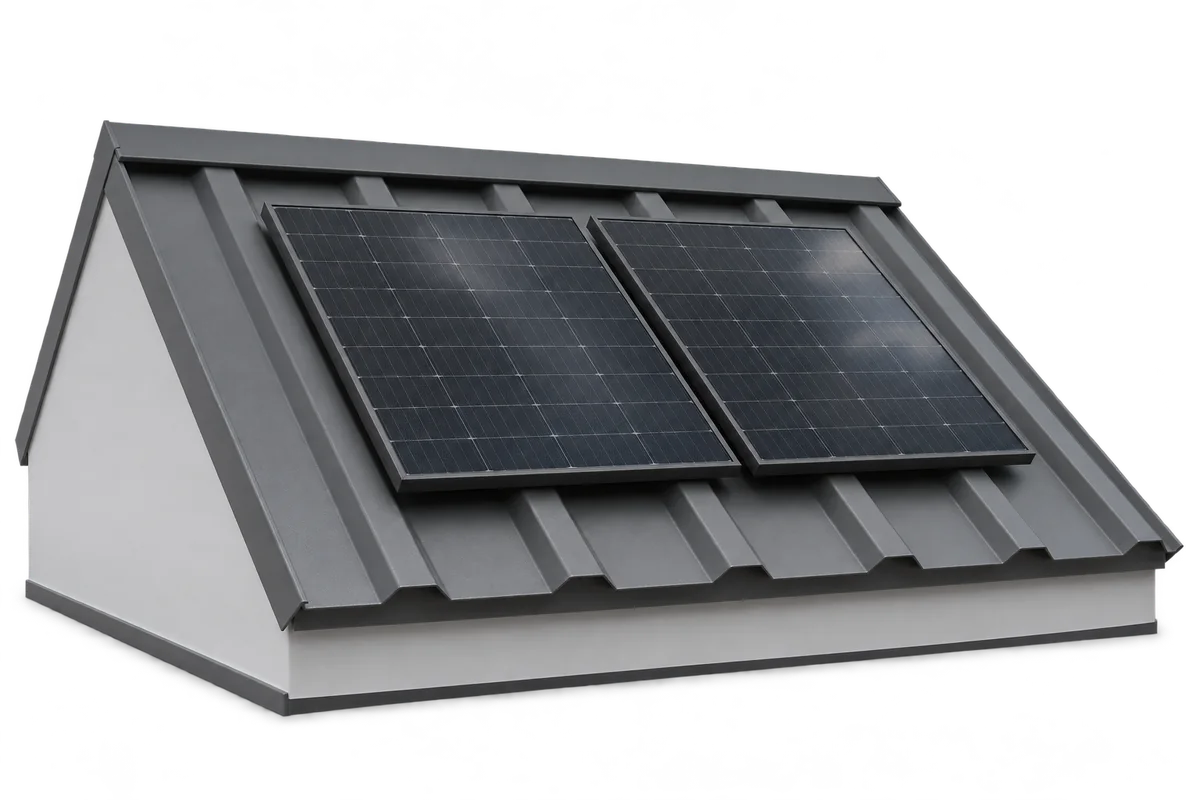
The fixings for a photovoltaic array must suit the specific roof and the loads it will carry. Metal tile roofing, trapezoidal sheets…
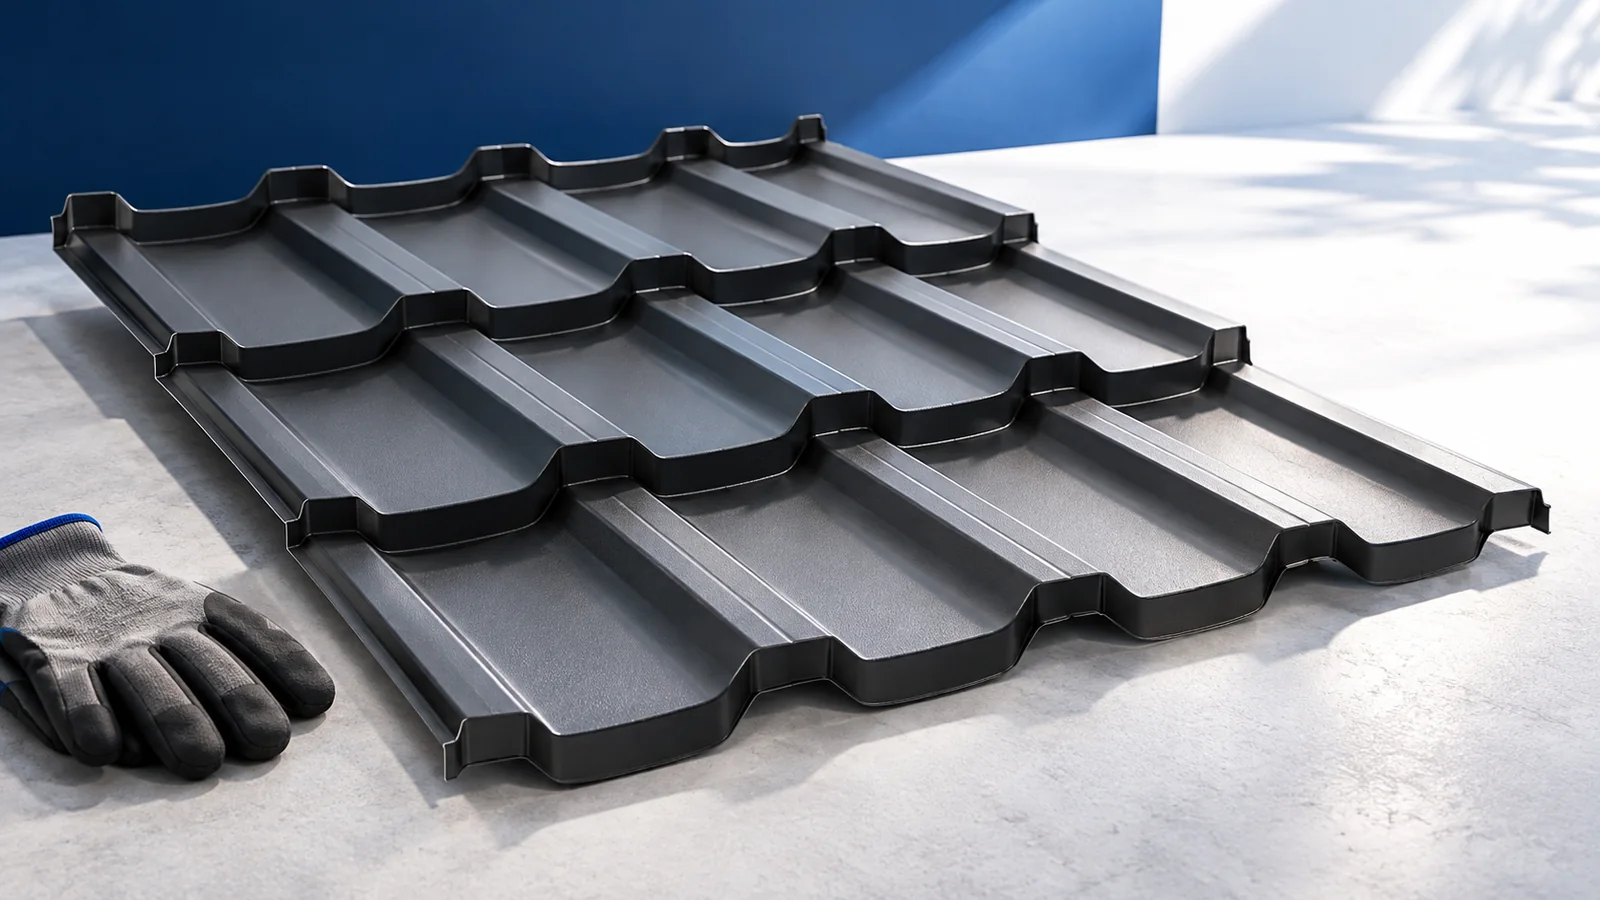
A factory-made roof panel can combine the weather skin, insulation and inner lining in a single lift. Whether that saves work depends…
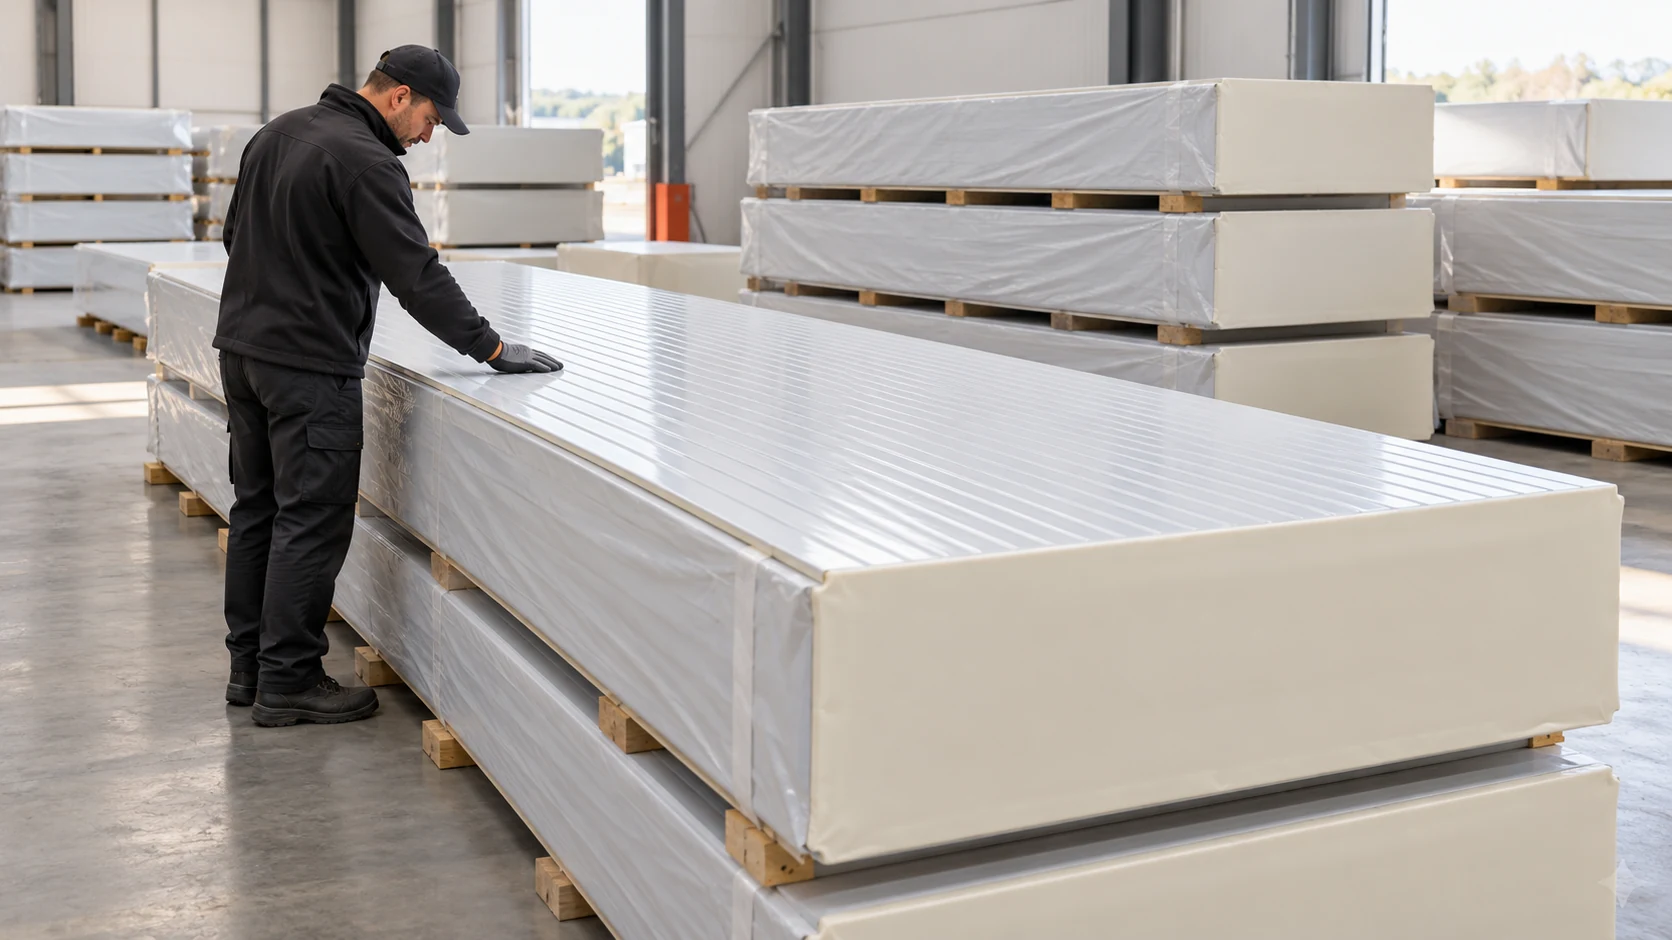
Polish sellers use the informal term “płyta obornicka” for different sandwich panels. It does not identify the core, fire classification or suitability…
Behind a uniform façade, a 1990s house may have several different wall constructions. Some rooms may already have been altered, and drawings…
Start with the area that will actually go into the building. A low price per square metre can mean unsuitable lengths or…
