How to plan roof panel installation before the first lift
Installation and inspection
At a glance
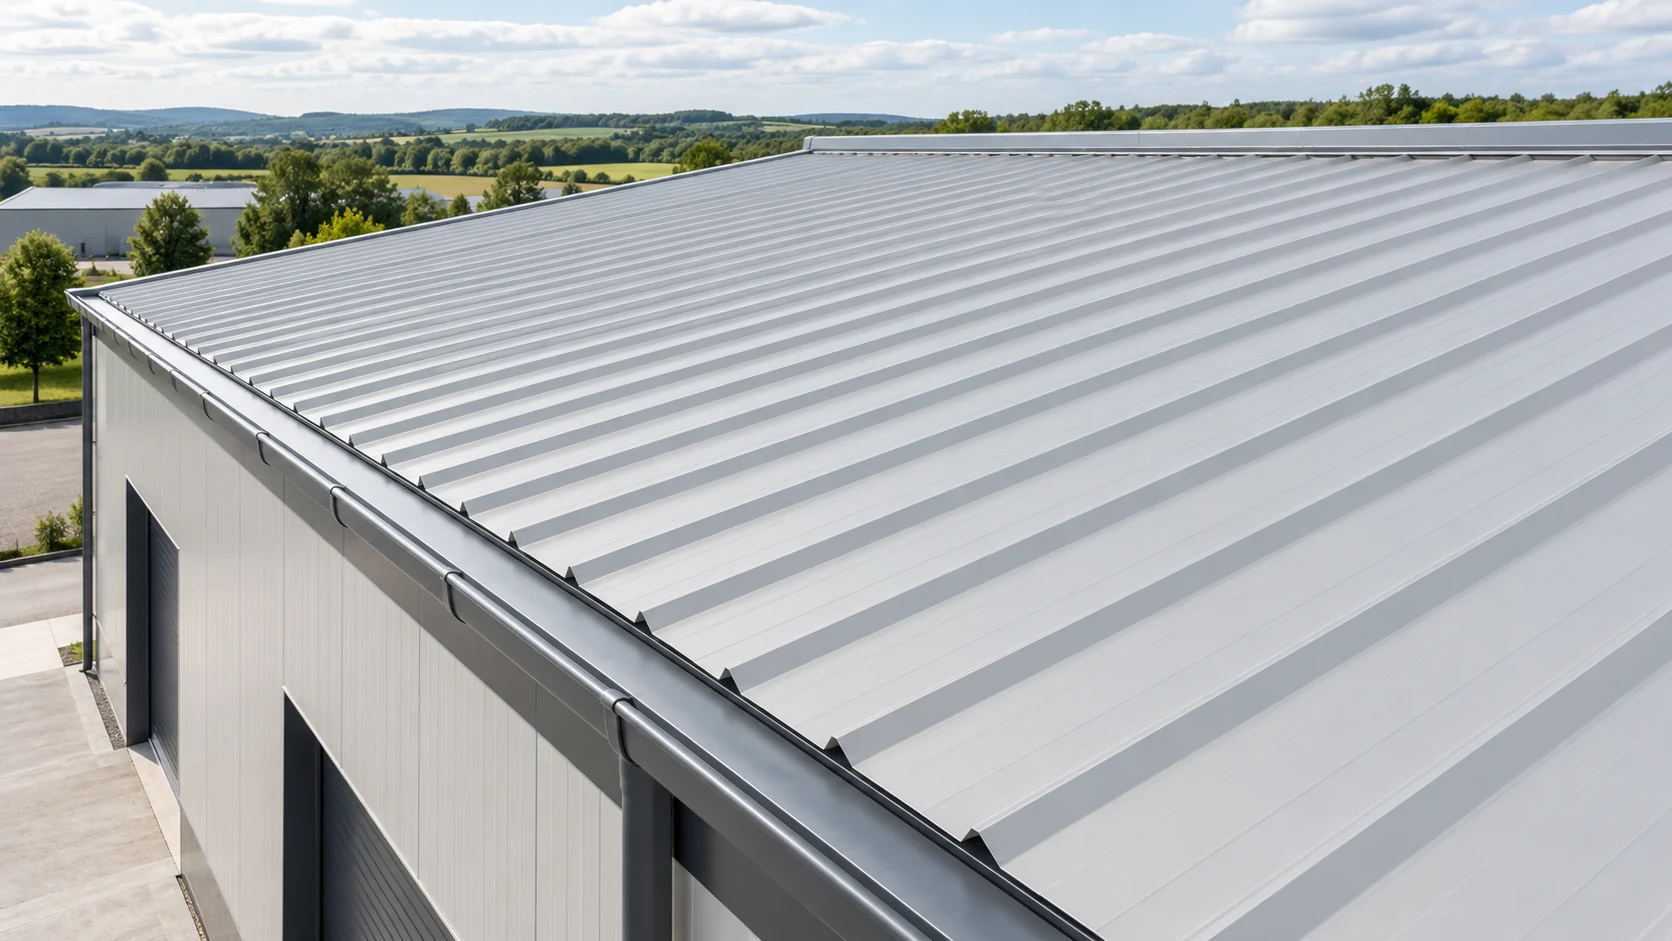
Most problems with a sandwich panel roof are easier to correct before the first lift. Check the supports, laying direction, crew equipment and edge details, and decide which joints must be inspected before they are covered. Have the roof drawings, panel schedule and system instructions on site. The design must establish loads, support layout and fasteners. Compare the steelwork with the drawings: check purlin alignment, bearing surfaces and coating condition. Pulling a facing down harder with screws is not a way to straighten a frame that is out of line.
What must be ready before the crew starts?
Agree protection at edges and openings, crew access routes and communication before work. An installed panel’s strength does not make it unrestricted walking space. The work plan governs access, erection loads and any temporary material storage locations.
How do you coordinate laying order and weather?
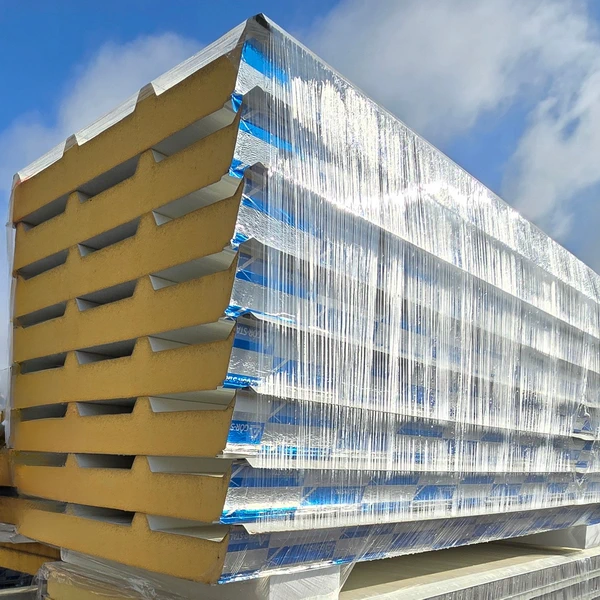
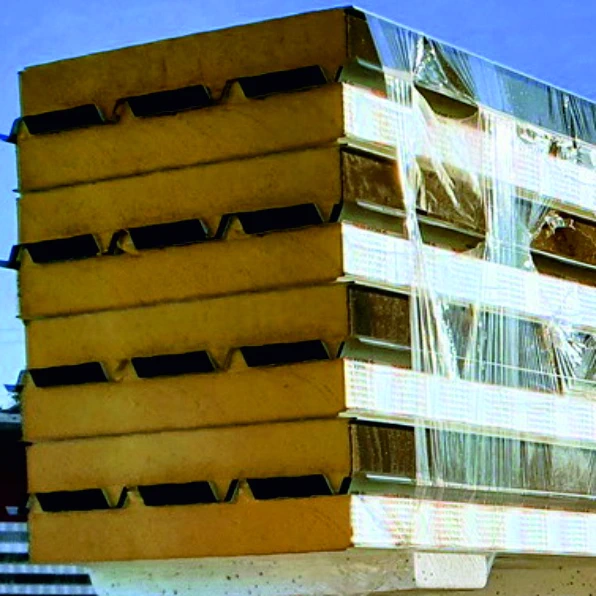
Arrange packs in installation order. Identify the outside face, lap direction and end preparation. Check the position of the first panel especially carefully: an angular or directional error can accumulate across the roof slope.
Schedule work within limits for the panels, sealants and lifting equipment. Wind acts on the large panel surface; rain, ice and hot dark facings also affect the operation. There is no universal weather threshold. Apply the most restrictive limit for the operation in question.
How should panels be lifted and prepared?
Choose lifting points and equipment for the length, weight, core and facings. A vacuum lifter must suit the actual surface. Carry out any required trial before routine lifts. Prevent uncontrolled rotation and protect the joints from damage during movement.
Set up a cutting station. Use tools suitable for both coated steel and the full panel section; a grinder that overheats the edge can damage corrosion protection. Remove swarf as work proceeds. Peel back or remove protective film in time to close all joints correctly.
What needs checking before tightening the fixings?
Check that the panel is positioned correctly and the joint fits as specified. Tapes and seals belong in the locations shown on the detail. A straight-looking seam from above does not confirm continuity of insulation or of seals that will be concealed.
Fastener type, number and positions depend on the design and panel configuration. Use a driver that allows controlled seating. Too little or too much pressure may impair the washer and facing. Do not copy fixing positions from a photograph of another roof system.
How are ridges, eaves and penetrations finished?
Inspect these details separately. Maintain insulation continuity at the ridge and finish both sides. The eaves must discharge into the designed drainage, and the exposed core end needs the specified protection. A wide flashing cannot make up for poor bearing or a broken seal.
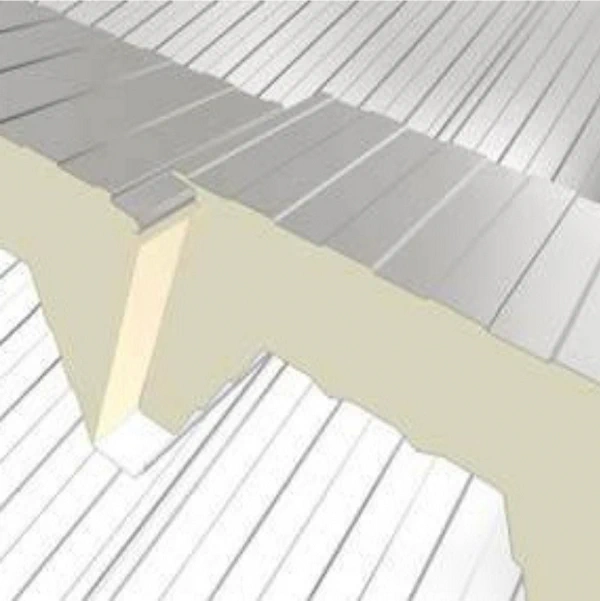
Agree service penetrations before cutting. They may need extra supports and water-diverting details. Where panels join end to end, follow the system’s end-lap detail. Minimum pitch and other requirements can differ from a roof with single-length panels.
How do you inspect the roof before removing access equipment?
Inspect fixings, seals, edges and cuts. Remove swarf, scraps of film and loose objects. Check flashings while the contractor still has safe access. Agree a watertightness inspection method suitable for this roof.
Include the material schedule and photographs of critical details before concealment in the handover file. Agree future inspections and service access. Later trades must not cut penetrations or attach services at arbitrary points. Explain those limits to the building user.
Questions and answers
Must roof installation always start from a particular side?
The roof layout, laps and instructions for the selected system determine the direction. Establish it before delivery and before sequencing the packs.
May packs of panels stay on the roof overnight?
Only where the design and agreed storage plan permit it. The structural load, support and restraint against wind need a separate assessment.

Free quote
What to include in your enquiry
Tell us how you plan to use the material, the dimensions and the quantity you need. Include the thickness, grade or variant name, along with the delivery town or your preferred collection branch. For a specific product, add its name or a link to the product page. We will reply to the email address you provide to discuss availability and the terms of your order.
Read next
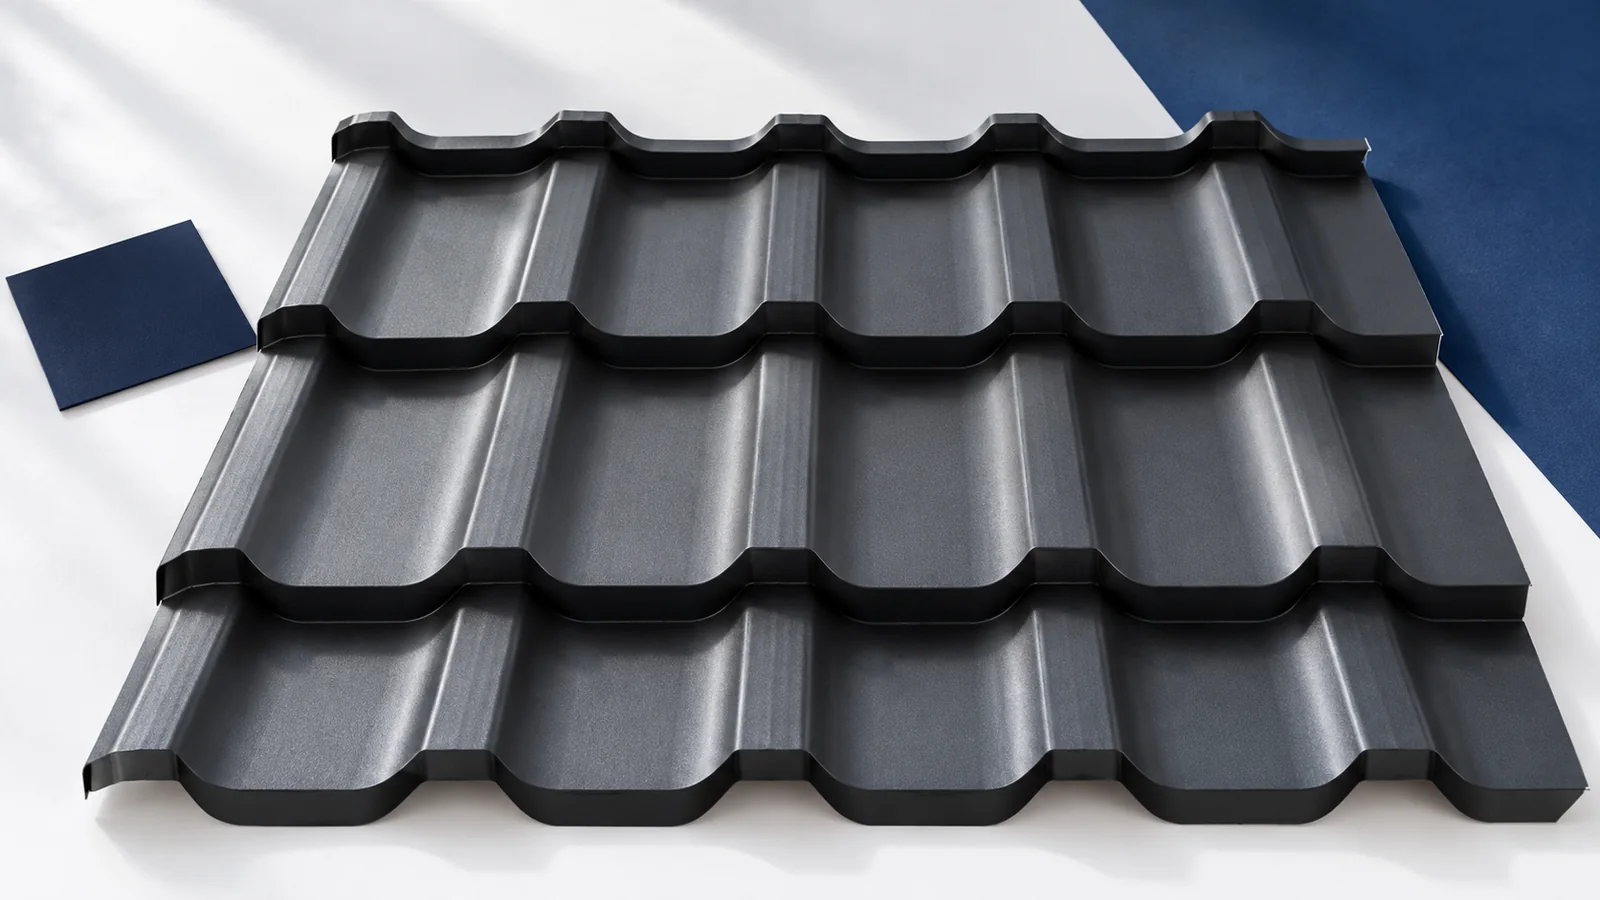
The first course of tile-effect roofing sets the alignment of every sheet above it. Before laying it, check the eaves line, diagonals,…
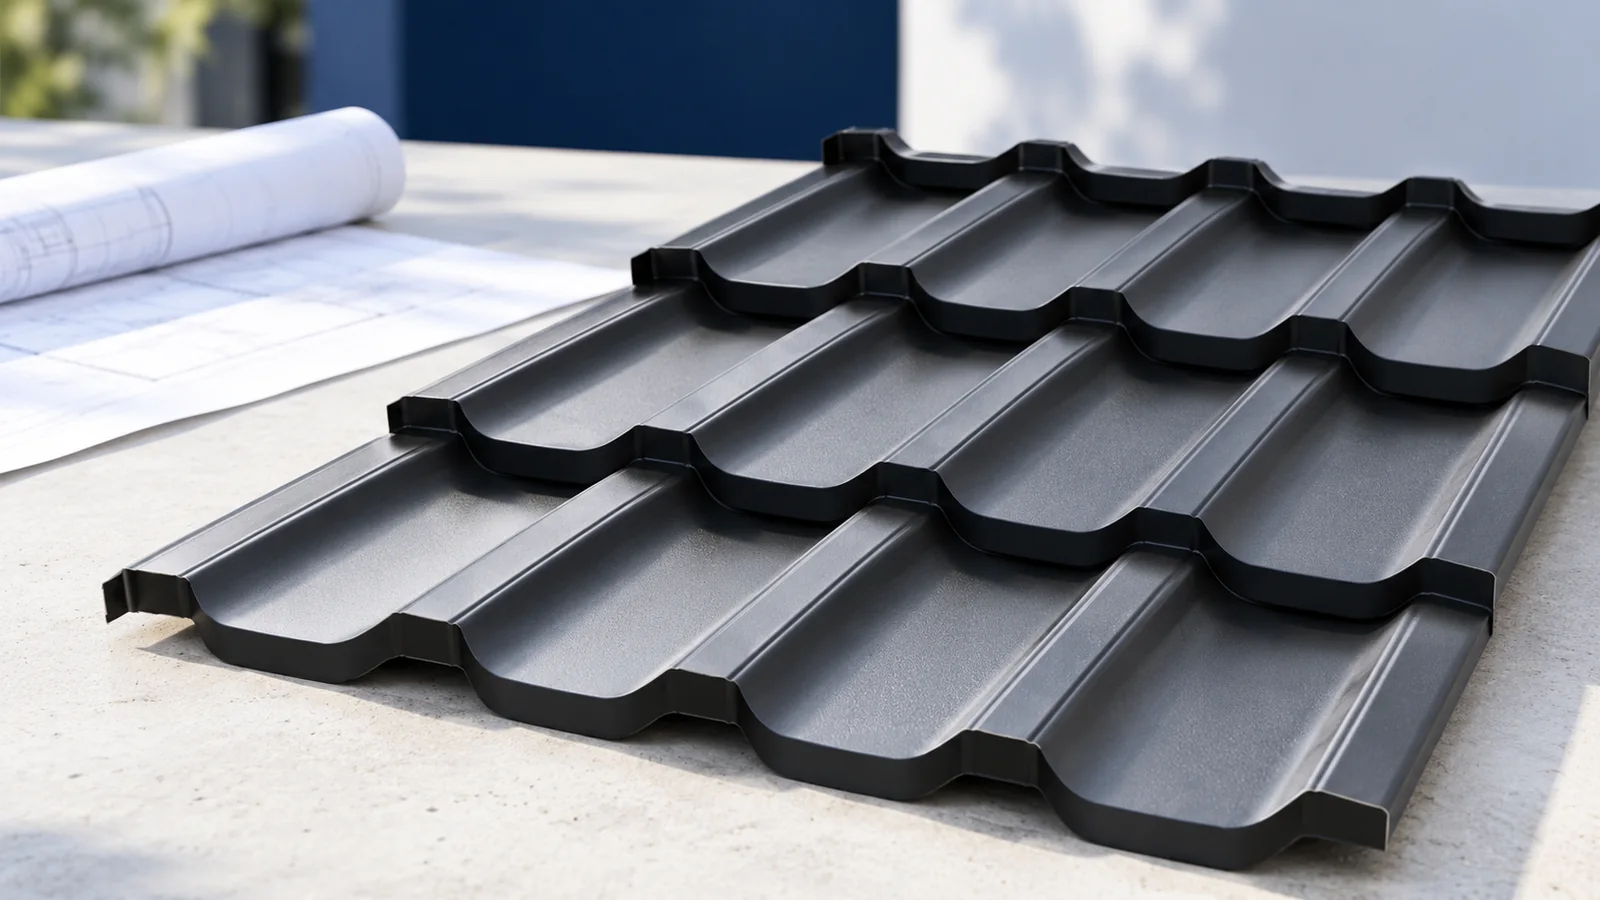
A metal roof can carry a photovoltaic array when the mounting system suits the particular roof and the structure can take the…
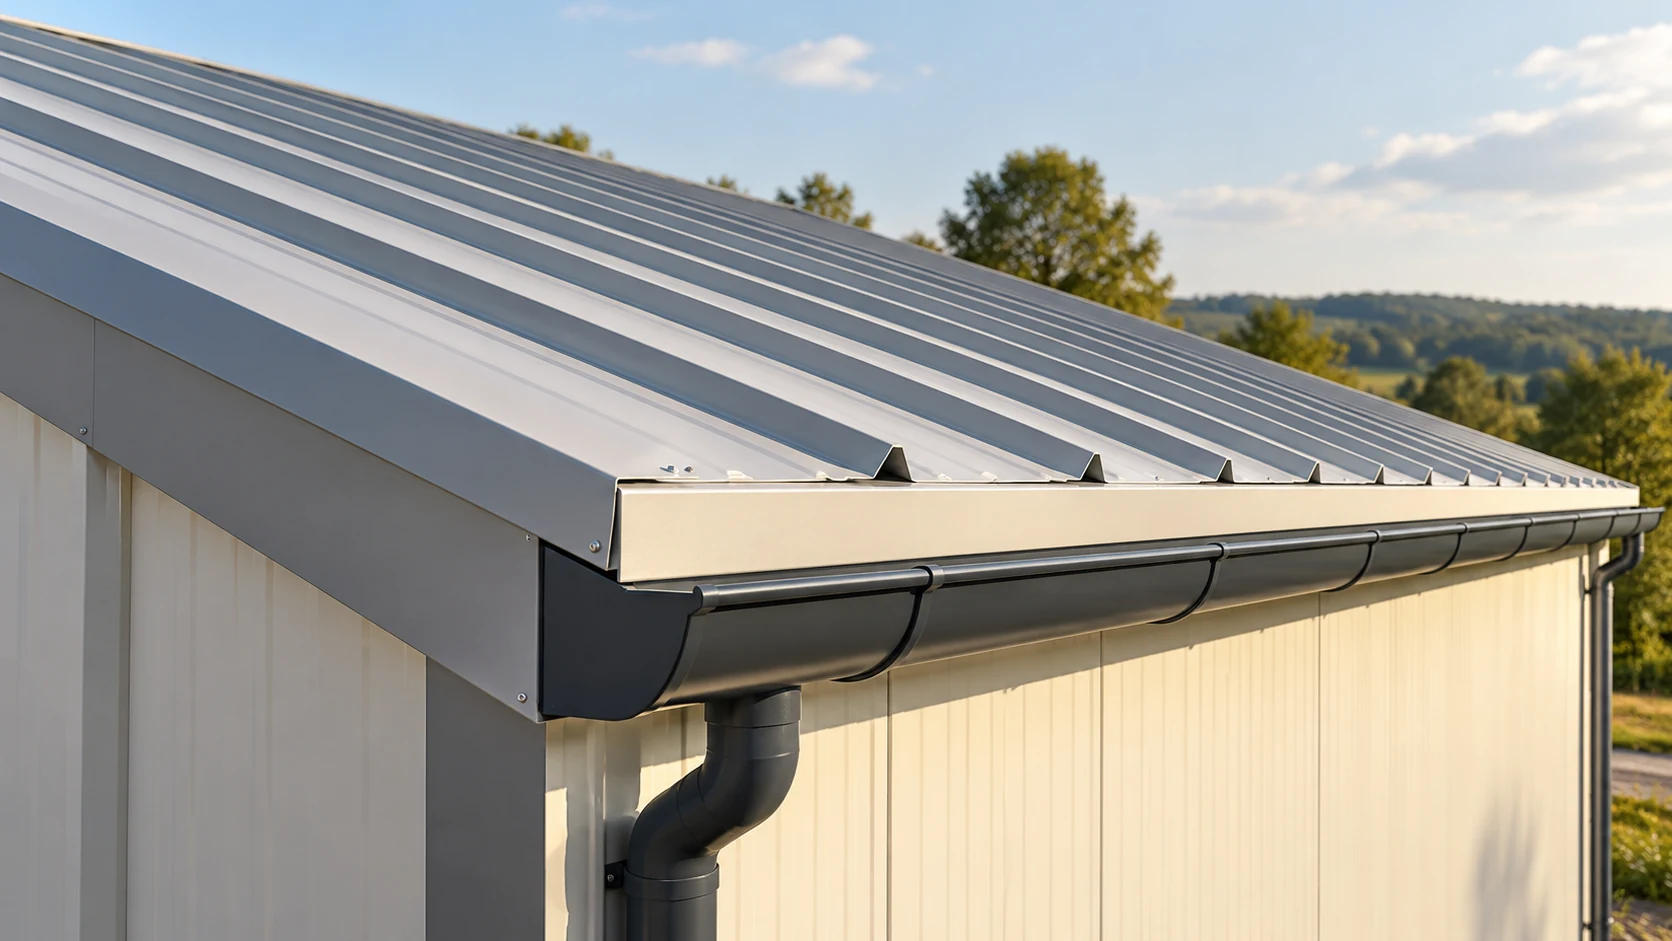
A roof estimate starts with slope dimensions and ends with the weatherproof details. Distinguish the area to be covered from the quantity…
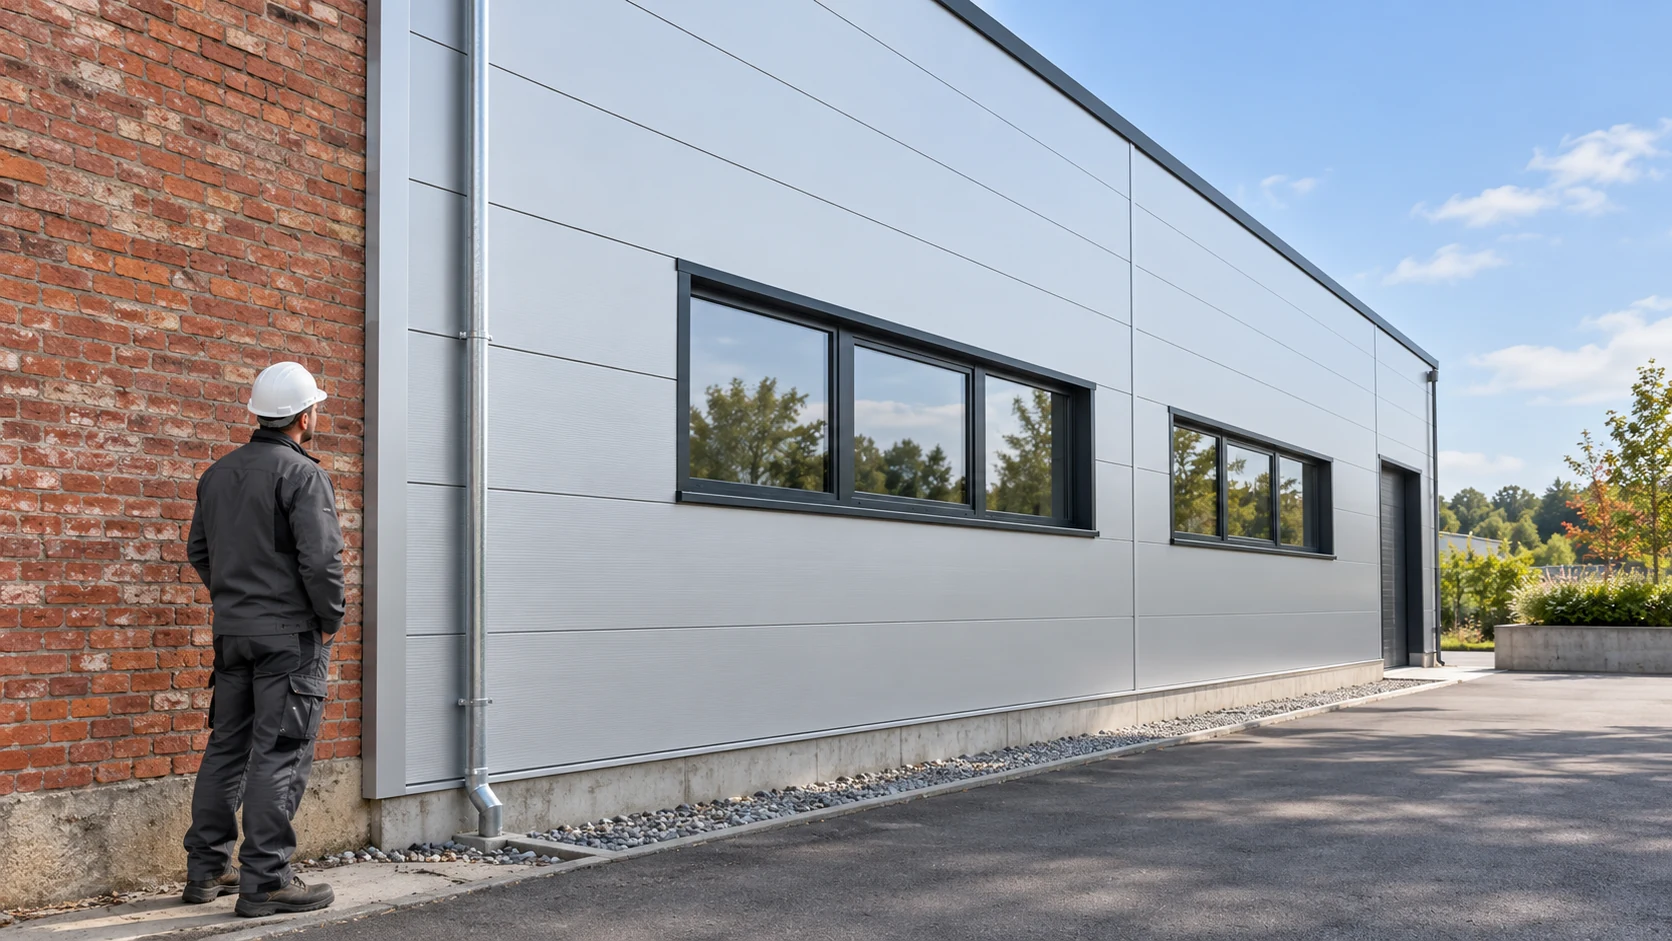
Before cladding an existing masonry wall, establish its condition and how the new loads will reach the structure. Panels should not conceal…
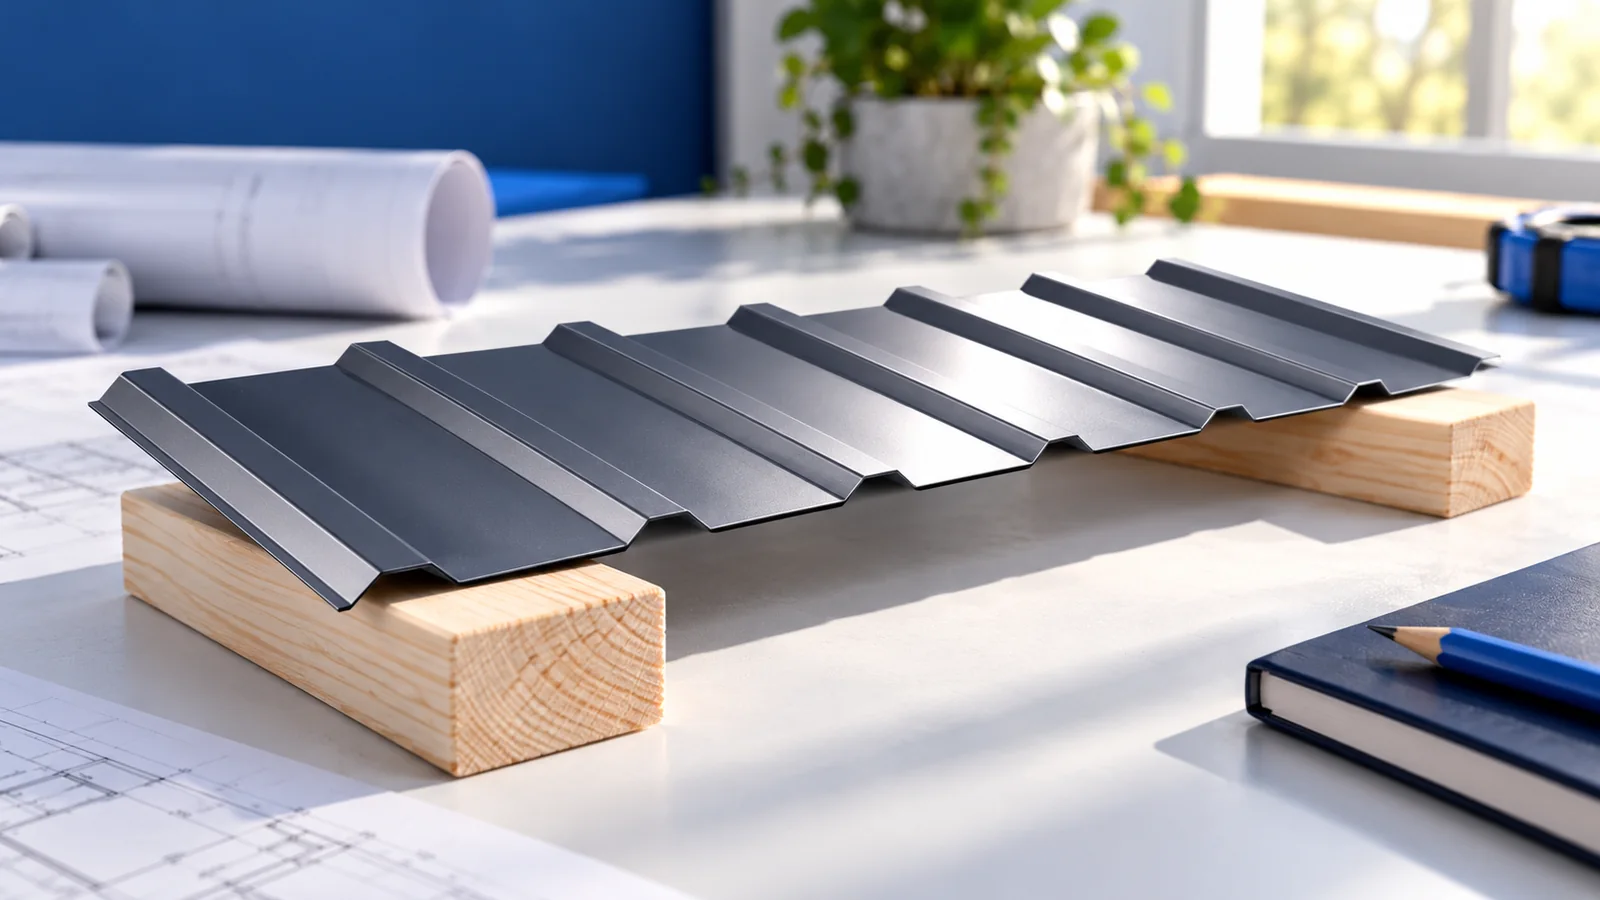
A wall plate forms the bearing between the rafters and the supporting wall in many timber roofs. Its size, joints and anchors…
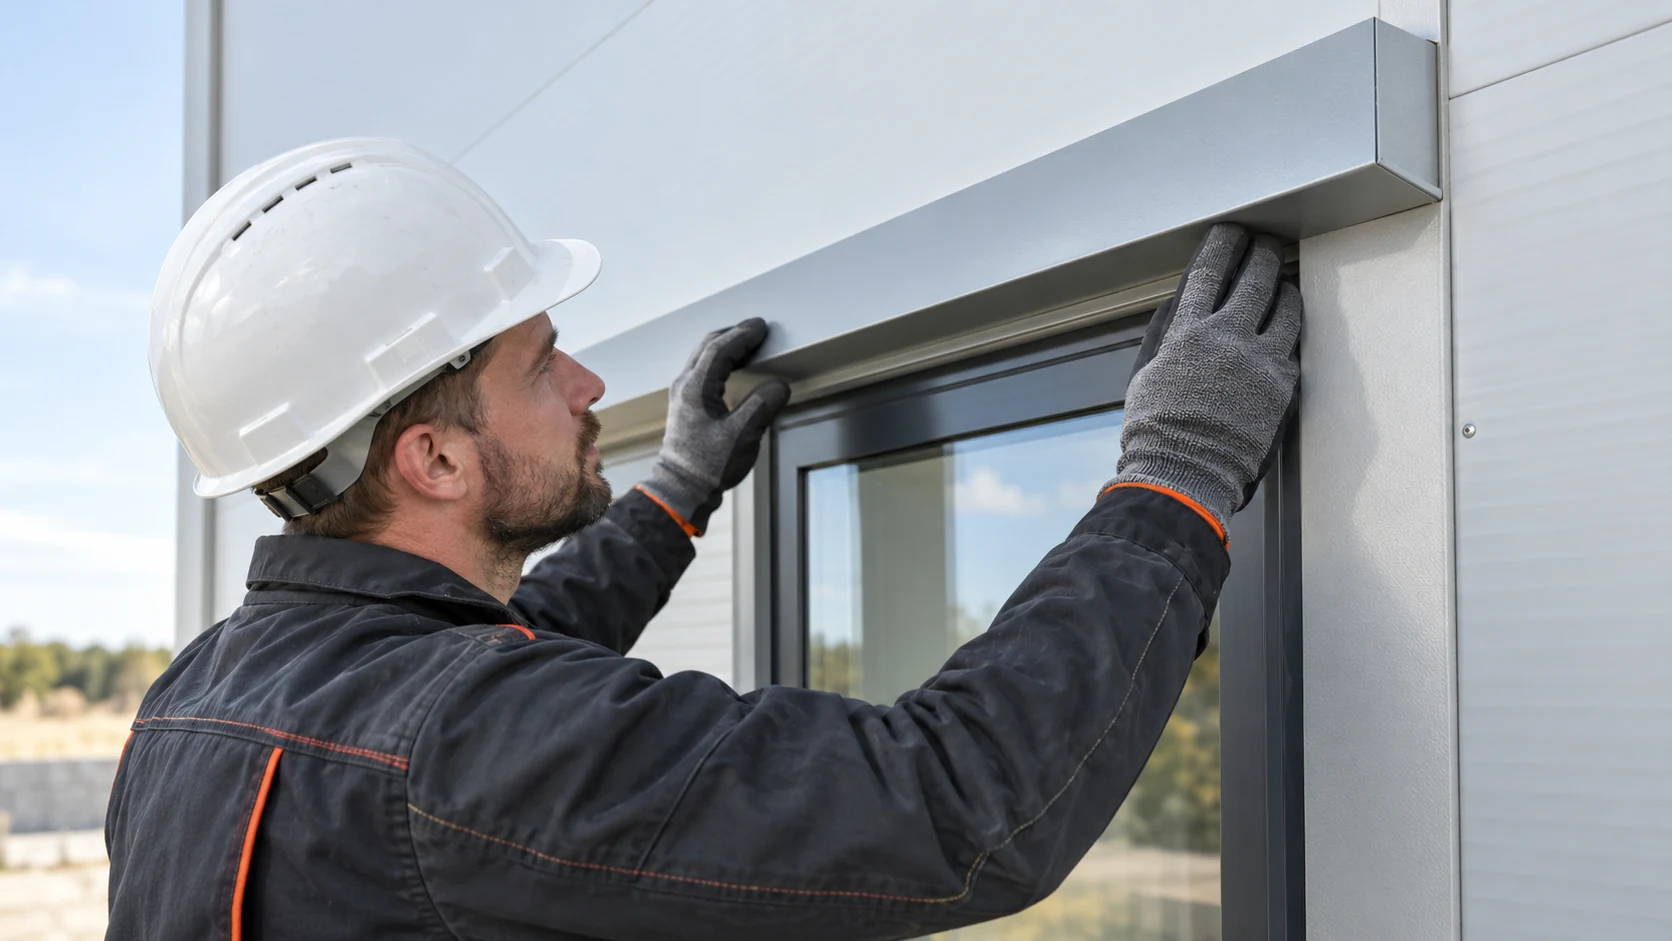
Inspect sandwich panel work in stages while each junction is still accessible. Start with the frame, then inspect the first panel and…
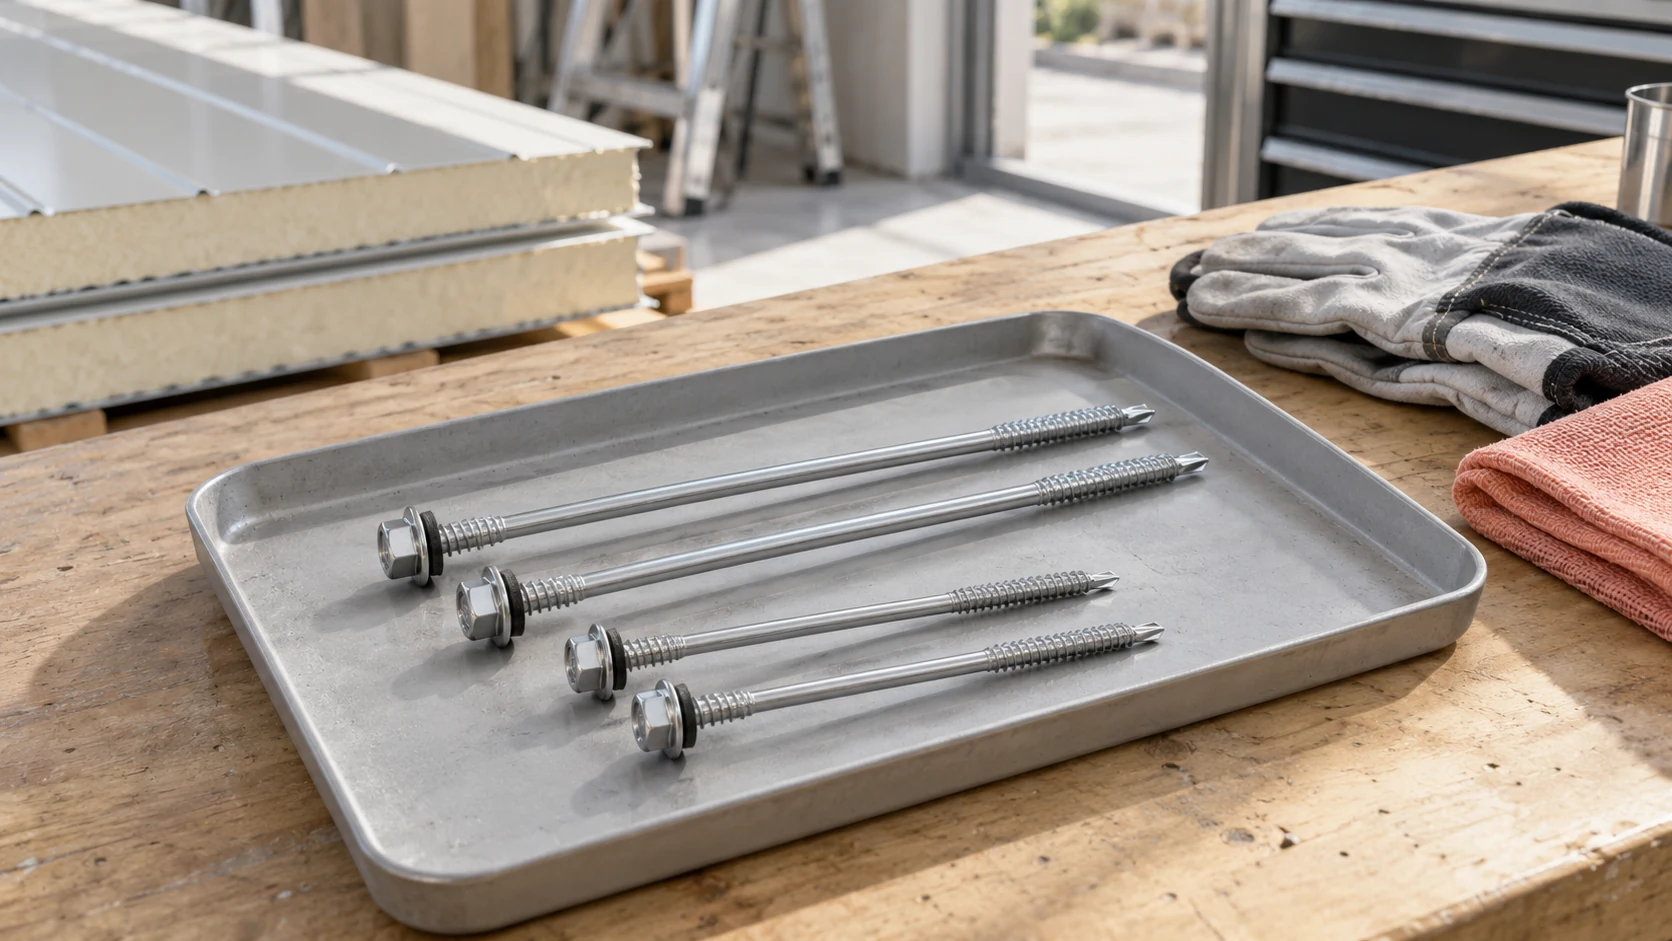
To work out how many screws to buy, start with the fixing layout for the building. It shows the panel joints, supports…
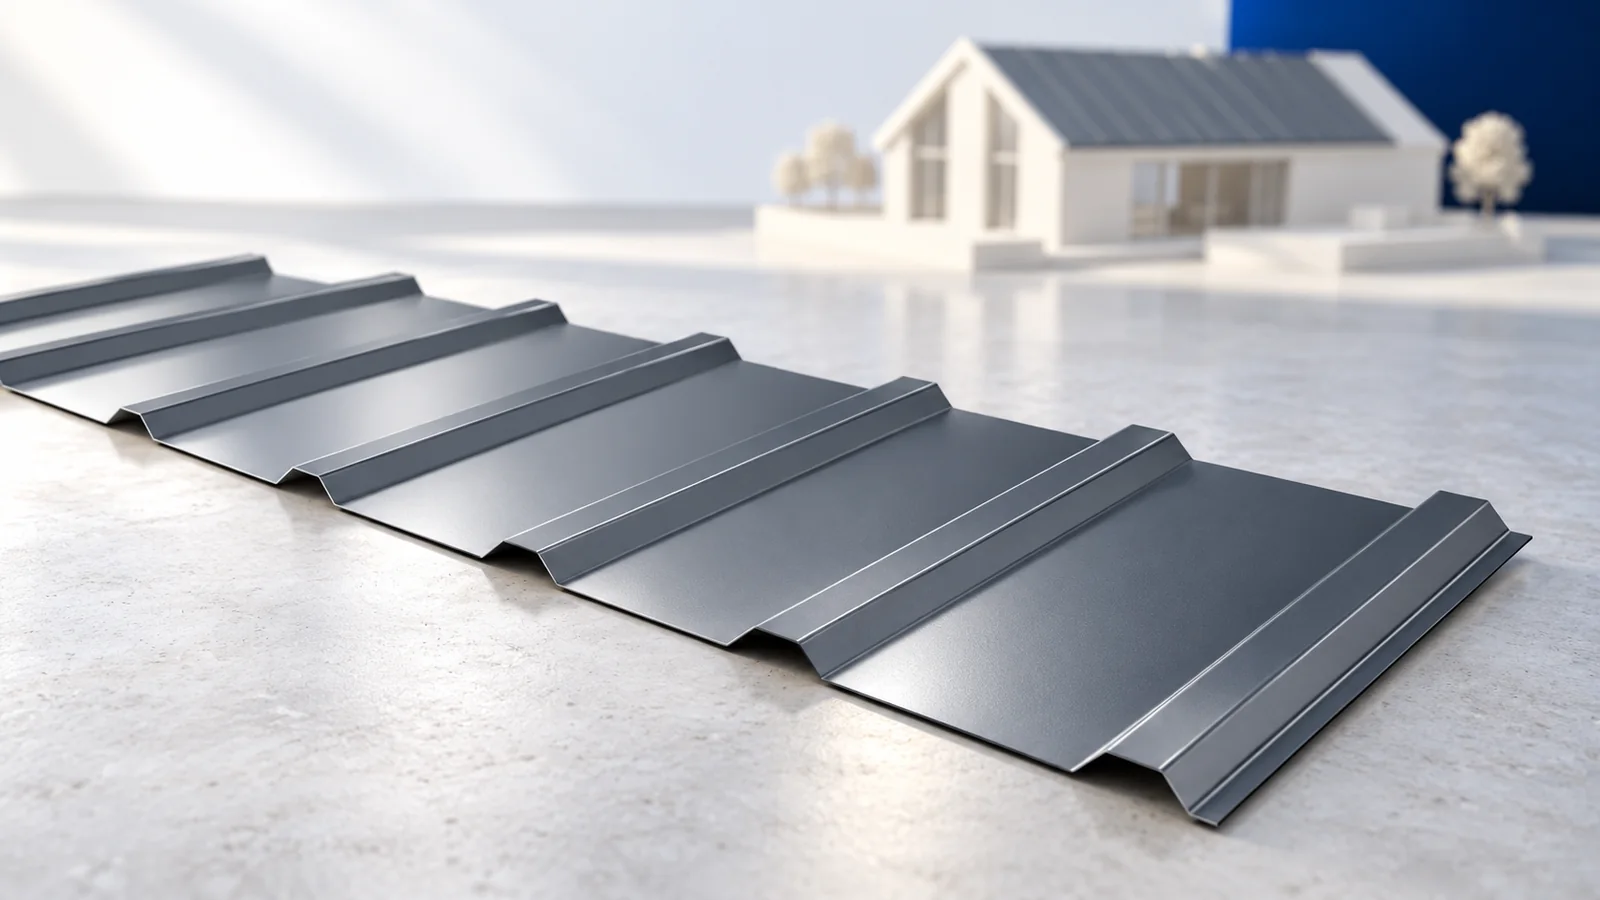
A good installation plan for T18 or T35 starts at the eaves, before the first sheet goes up. Check the diagonals of…