Planning swissporPIR Alu installation on a large pitched roof
PIR insulation
Installing swissporPIR Alu above the rafters raises the roof covering relative to the eaves, roof windows and chimney. On a large slope, start by drawing a strip from eaves to ridge through one roof window. This section shows the drainage path, the connection to the wall insulation and the path of the screws from counter-battens into rafters. Measure the existing components on site. Check whether the other windows are set at the same height. Divide the slope into sections the crews can fix and weatherproof before the end of the shift.
In this guide
A section through one roof window
Show the rafters, PIR, underlay, counter-battens, battens and covering on one drawing. At the window frame, mark where each layer terminates. Check the window instructions for the permitted flashing position relative to the new roof surface.
From wall plate to gutter
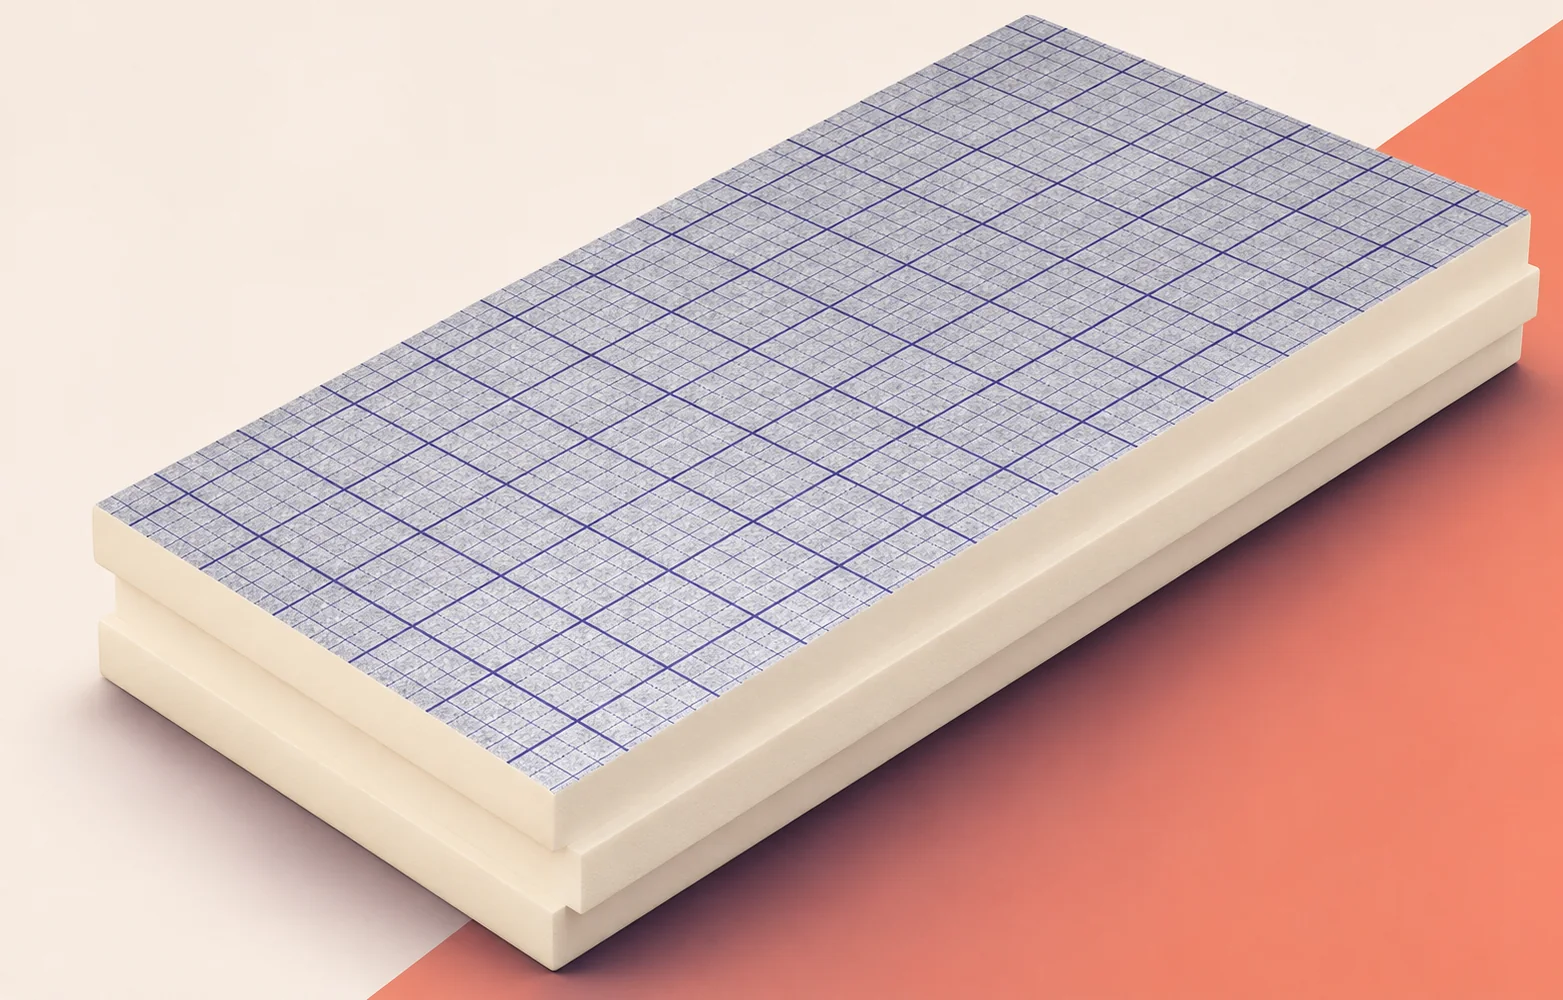
The PIR layer provides continuous insulation across the rafters. The manufacturer declares a thermal conductivity of 0.022 W/(m·K) for swissporPIR Alu. At the wall head, trace the wall insulation all the way to its junction with the roof board.
At the eaves, mark the edge of the covering and the termination of the underlay separately. Check both against the eaves flashing and gutter. A trial fit shows whether the fascia and gutter brackets suit the revised height.
Locating rafters beneath the insulation
Check timber condition and alignment before laying boards. Measure the actual rafter spacing and mark their centrelines where they will remain visible after covering. This matters especially in an existing roof where spacing can change on either side of a window.
The screw transfers forces from the counter-batten through the insulation into the rafter. Take length, angle and spacing from the roof design and the fastener documentation. Recheck embedment in the timber if the PIR thickness changes.
Two connections at the window frame
Above the window, trace the water path along the underlay. Form laps, drainage above the frame and seals around penetrations in accordance with the window and membrane instructions. Photograph the upper corner before fitting the flashing.
On the loft side, locate the airtight layer in section and identify where it joins the frame. Leave the lower corners accessible for inspection. The gas-tight board facing alone cannot seal the perimeter of the opening.
The chimney and a sunlit loft
At the chimney, obtain clearances and material requirements from the documentation for the installed flue system. The swissporPIR Alu board has reaction-to-fire class E. Establish the insulation termination and chimney flashing detail before cutting the first board.
When assessing summer temperatures, include window orientation and area, shading and air exchange. Two rooms beneath identically insulated slopes can reach different temperatures if one has a large unshaded west-facing window.
Pricing the raised roof line
Measure eaves, ridges and valleys by length, and count windows and chimneys individually. Raising the roof affects each detail differently. Record the flashing type at windows and the width and support for valley flashings.
Mark which flashings can be made from a repeatable template and which require measurement after the counter-battens are in place. This lets you order bent pieces to the installed dimensions and include fabrication time in the roofing schedule.
Where to finish for the day
If the crew can lay insulation around three windows in a shift but weatherproof only two, finish the section at the second. Agree the position of the protected edge with the incoming crew. When work resumes, inspect that edge and the previous day’s windows first.

Free quote
What to include in your enquiry
Tell us how you plan to use the material, the dimensions and the quantity you need. Include the thickness, grade or variant name, along with the delivery town or your preferred collection branch. For a specific product, add its name or a link to the product page. We will reply to the email address you provide to discuss availability and the terms of your order.

Read next
A damp basement should not be assessed in the same way as a heated upstairs room. In summer, warm air entering a…
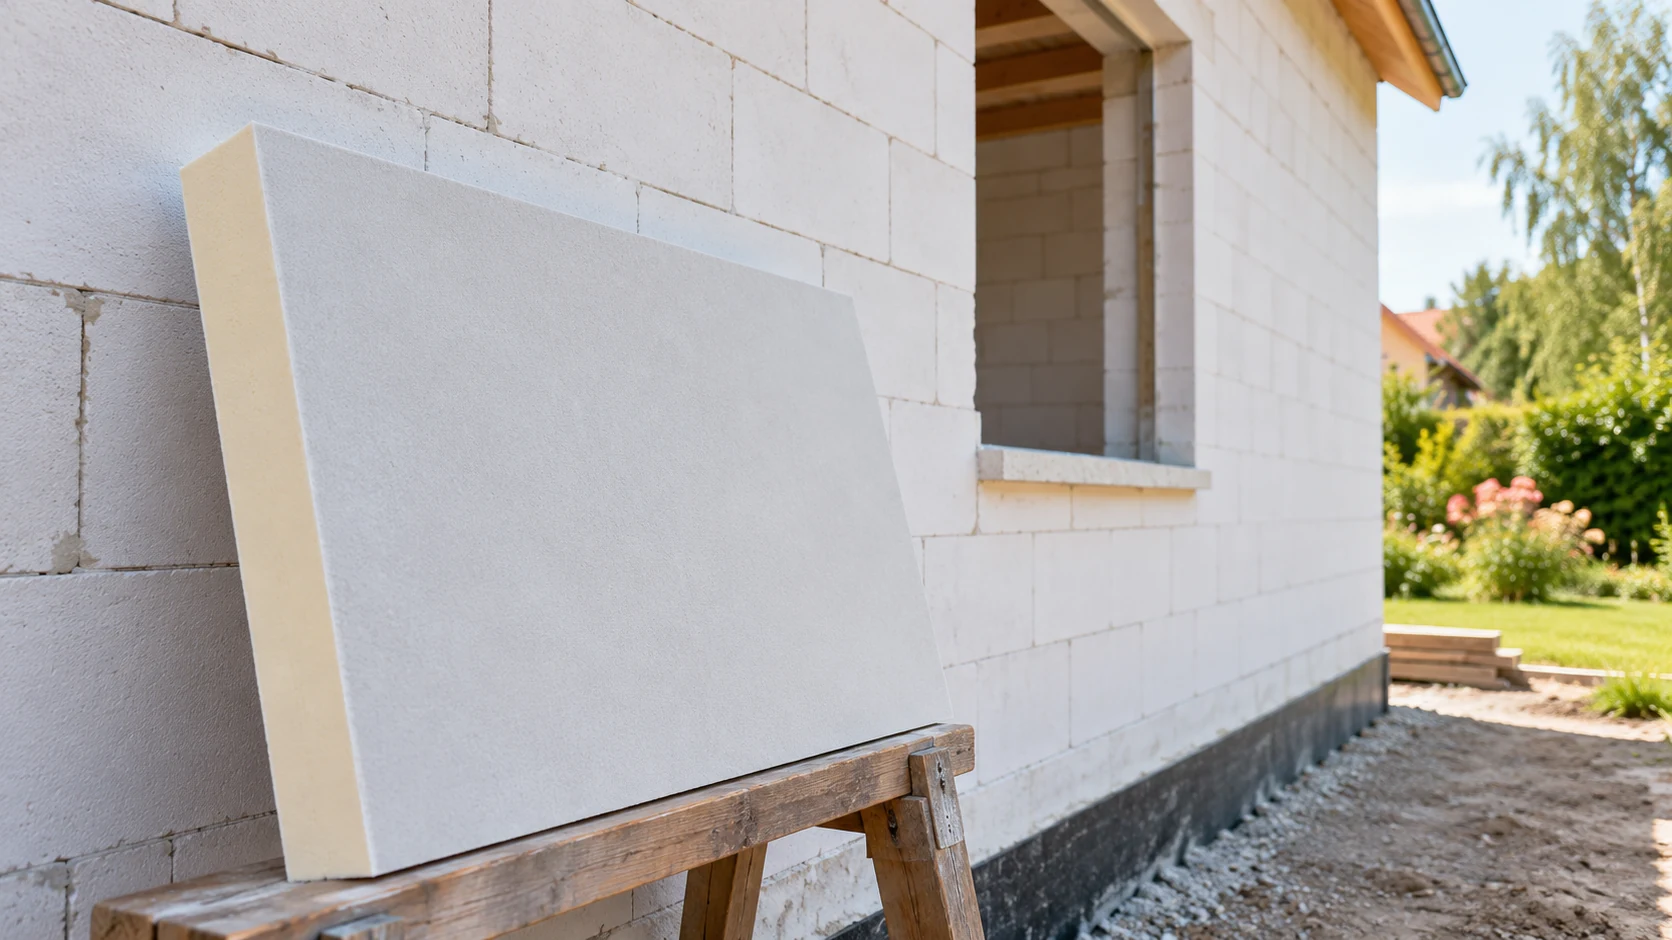
Aerated concrete masonry and PIR can make a well-insulated wall when the board, render system and fixings are selected together. Aluminium-faced PIR…
If a supplier offers an aluminium-faced board in place of BauderPIR M or MF, start with two questions. How will the layer’s…
A bonded roof with Powerdeck F has two interfaces to check. The first secures the insulation to its substrate. The second bonds…
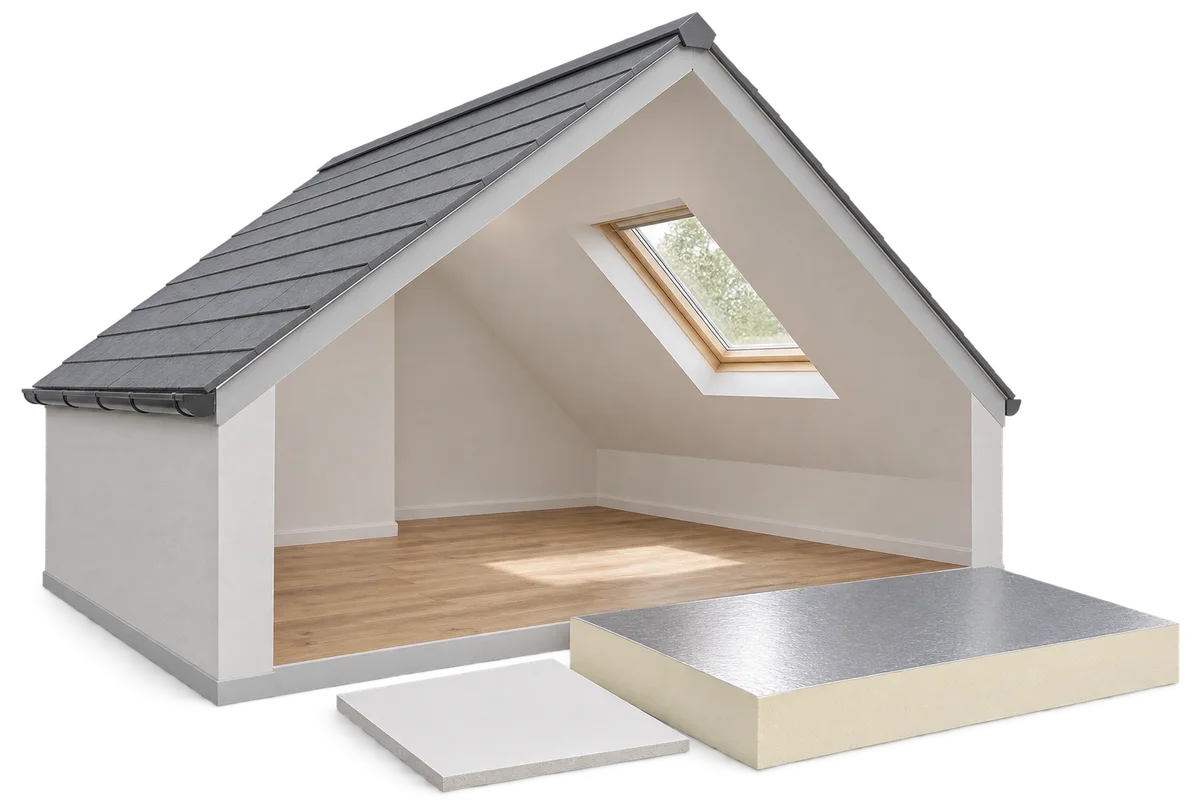
A loft fit-out starts well before the first plasterboard goes up. Inspect the roof, plan the insulation and establish how the layers…
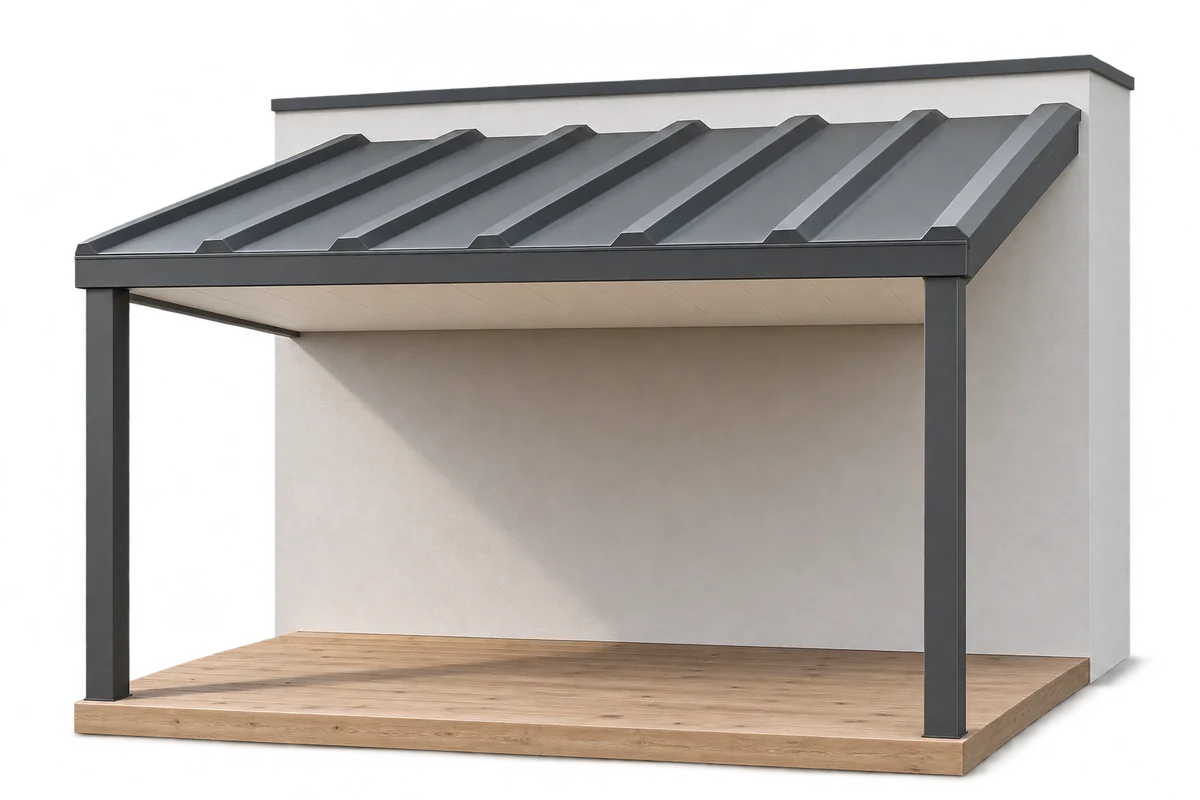
A canopy shelters the people on a terrace from rain and sun. If there is a heated room below, the terrace floor…
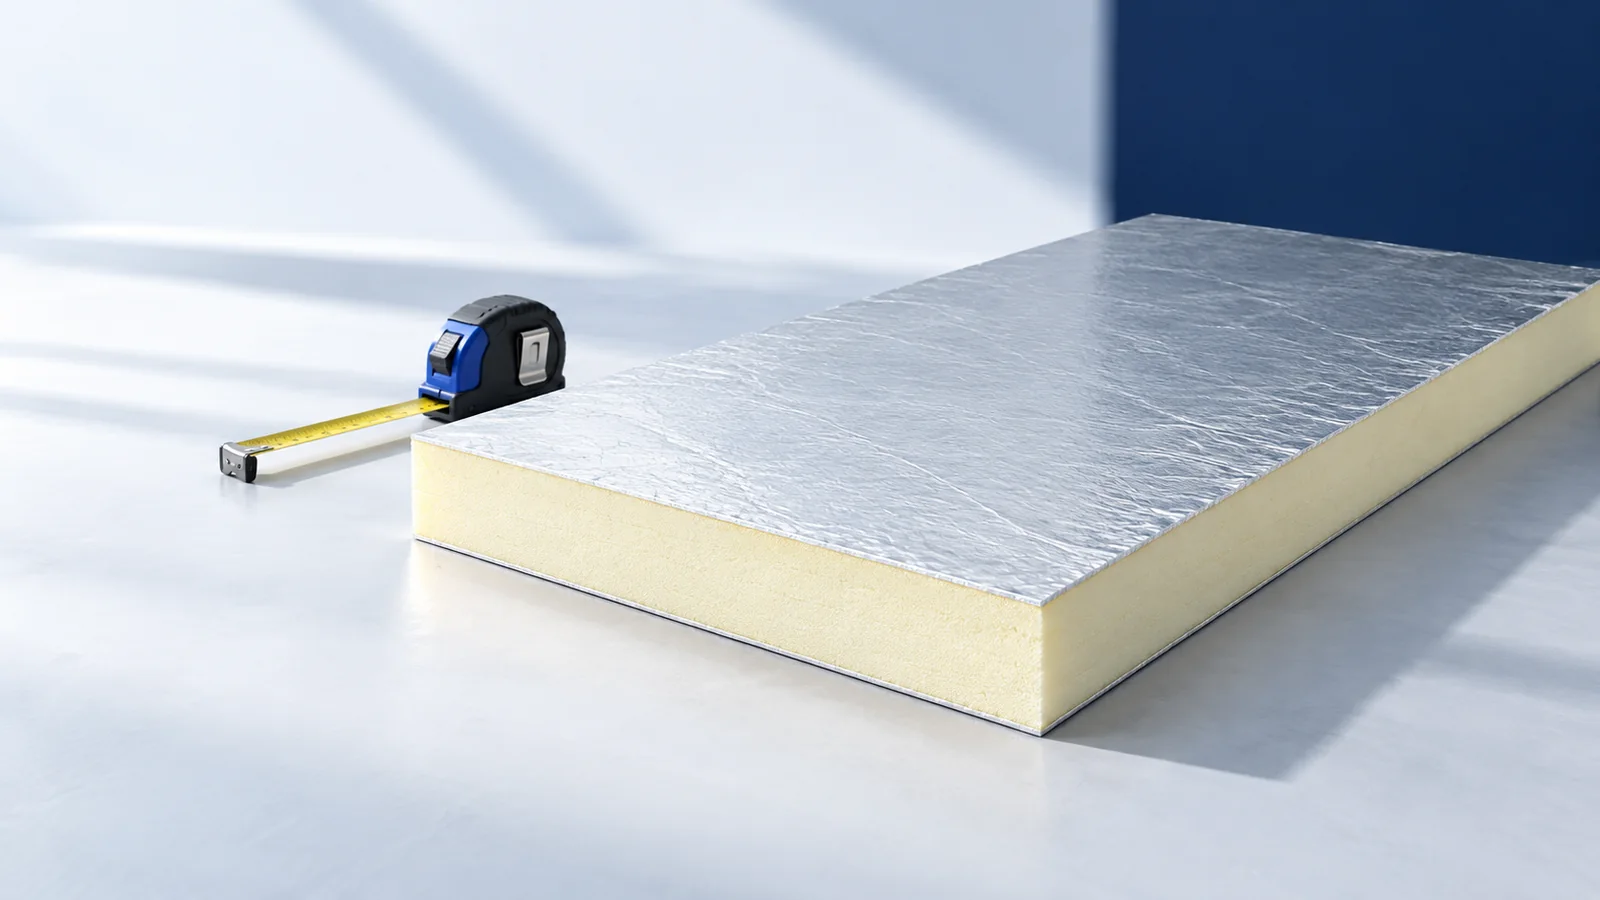
Measure the depth available at the eaves, roof windows and parapets, then compare insulation products at the thermal resistance your roof needs.…
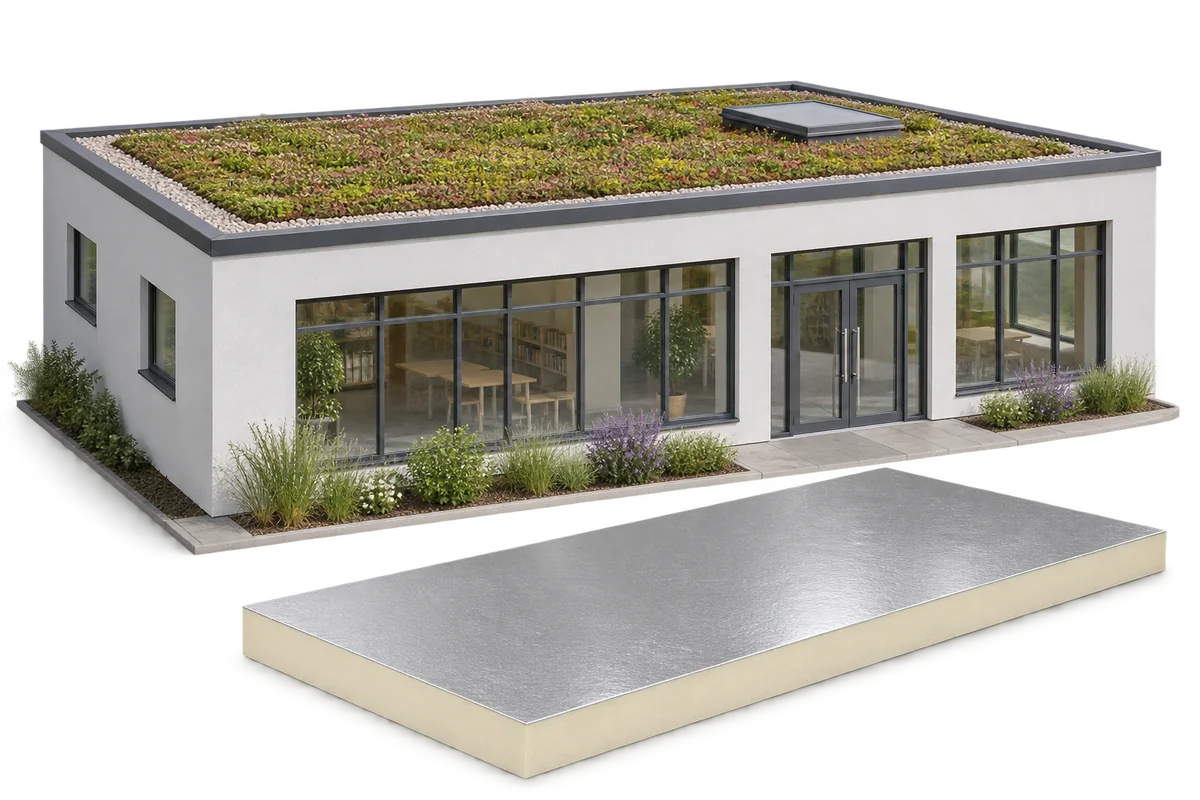
A green roof can form part of a nursery retrofit. The structure must support the full build-up and the insulation must be…