






How to insulate a roof without leaving gaps
Insulation and lofts
Trace the boundary of the heated rooms on a section through the building. For an unheated loft it may run across the top-floor ceiling; for a habitable loft it usually follows the slopes and the walls enclosing the rooms. This line shows where insulation must continue through eaves, wall junctions and roof windows. Then compare materials, calculate the thickness for the complete roof and decide how to seal the warm side while allowing the assembly to dry. Inspect the joints and ventilation paths before fitting the lining: gaps hidden behind a finished ceiling are much harder to find.
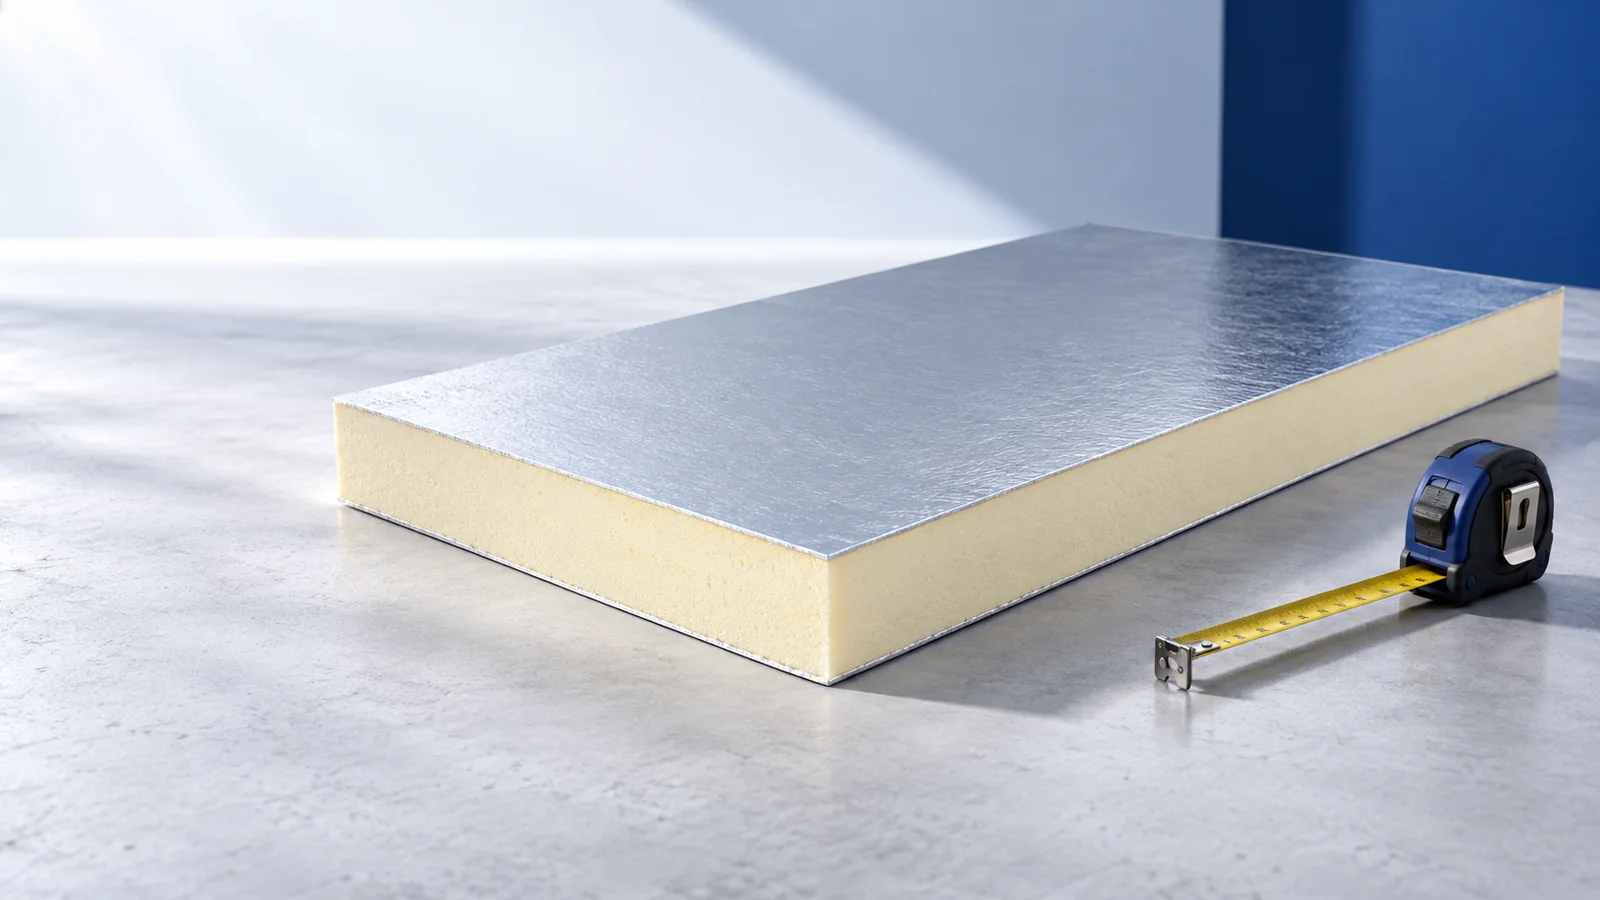
Step 1: Insulate the roof slopes or the top-floor ceiling?
If the loft will remain unheated, the insulation can sit at ceiling level above the heated rooms. In a habitable loft it usually follows the slopes and the walls separating inside from outside. This choice affects the area to insulate, the cost and the ventilation design. Do not insulate both boundaries without a plan.
Repair leaks and assess the structure before adding insulation. Wet timber or damp layers need investigation; insulation cannot repair the covering. Start the upgrade with a sound, dry assembly. A change in how the loft is used may require a wider design review.
Step 2: Which insulation material suits the roof?
Rigid PIR boards have low thermal conductivity, which can help where build-up depth is limited or a continuous layer is required above the rafters. Mineral wool fits readily between structural members and can offer favourable fire performance. Make the choice for the roof assembly as a whole.
Use EPS or XPS only in applications for which the particular product is suitable. XPS may be useful where moisture exposure and compressive loads are higher, but not every roof needs those properties. Compare declared conductivity, strength, reaction to fire, water absorption and the board’s intended use.
Step 3: How thick should the insulation be?
For one homogeneous layer, divide thickness in metres by thermal conductivity. For example, 0.12 m divided by 0.022 W/(m·K) gives a thermal resistance of about 5.45 m²·K/W. That figure describes the insulation layer alone. It is not the U-value of the finished roof or proof that the design requirements are met.
The whole-roof calculation includes other layers, surface resistances, structural members and applicable corrections. Rafters interrupting the insulation change the result. Two roofs with the same nominal insulation thickness can therefore perform differently. Confirm the thickness before ordering, particularly when combining materials or insulation positions.
Step 4: How do you keep the insulation continuous?
Fit boards together as the system specifies. Set out the joints to avoid continuous gaps. With rigid boards, accurate cutting and properly fitted edges matter. Do not assume any expanding foam will do: the gap treatment must be compatible with the insulation and meet the fire requirements.
Work out the junctions at eaves, ridge, walls, chimney and roof windows. The roof insulation must connect to the insulation of adjoining elements, using the appropriate detail at each junction. Extra insulation in the middle of the slope will not remove a thermal bridge at the wall plate. Draw these details before battens or roofing conceal them.
Step 5: How do you limit moisture entering from indoors?
On the room side, provide an air and vapour control arrangement suited to the assembly. Seal overlaps, wall junctions and service penetrations. Even a suitable membrane loses its function if the perimeter is open: air moving through small gaps carries moisture with it.
A foil facing on a PIR board does not automatically replace a separate vapour control layer. Its function depends on the design and continuity of the joints. The outer layers must provide weather protection and allow the intended drying process. Consider indoor and outdoor conditions when combining layers with different vapour resistances.
Step 6: How do you select fixings and linings?
Above-rafter insulation needs a designed load path from the roof covering to the structure. Fastener length and spacing depend on pitch, snow, wind and the support, as well as on board thickness. If the design calls for a protective lining, do not leave the insulation exposed below the roof.
A board’s reaction-to-fire class is different from the fire resistance of the complete roof assembly. The specified construction includes framing, lining and connections. Avoid cutting through the sealed layer when installing services. A service void can make it easier to route cables without interrupting the insulation or air seal.
Step 7: What should be inspected before closing up?
Check board fit, continuity of insulation and the seals in the inner layer. Photograph junctions and service routes. Make sure any required ventilation gap remains open. An incomplete seal can still be put right now; tracing the same fault after the lining is finished is harder.
Once the rooms are in use, monitor humidity and signs of damp. Insulation changes temperatures within the assembly; it does not ventilate the room. The aim is a roof whose layers work together to limit heat loss while allowing moisture to leave by the intended route.

Free quote
What to include in your enquiry
Tell us how you plan to use the material, the dimensions and the quantity you need. Include the thickness, grade or variant name, along with the delivery town or your preferred collection branch. For a specific product, add its name or a link to the product page. We will reply to the email address you provide to discuss availability and the terms of your order.

Read next
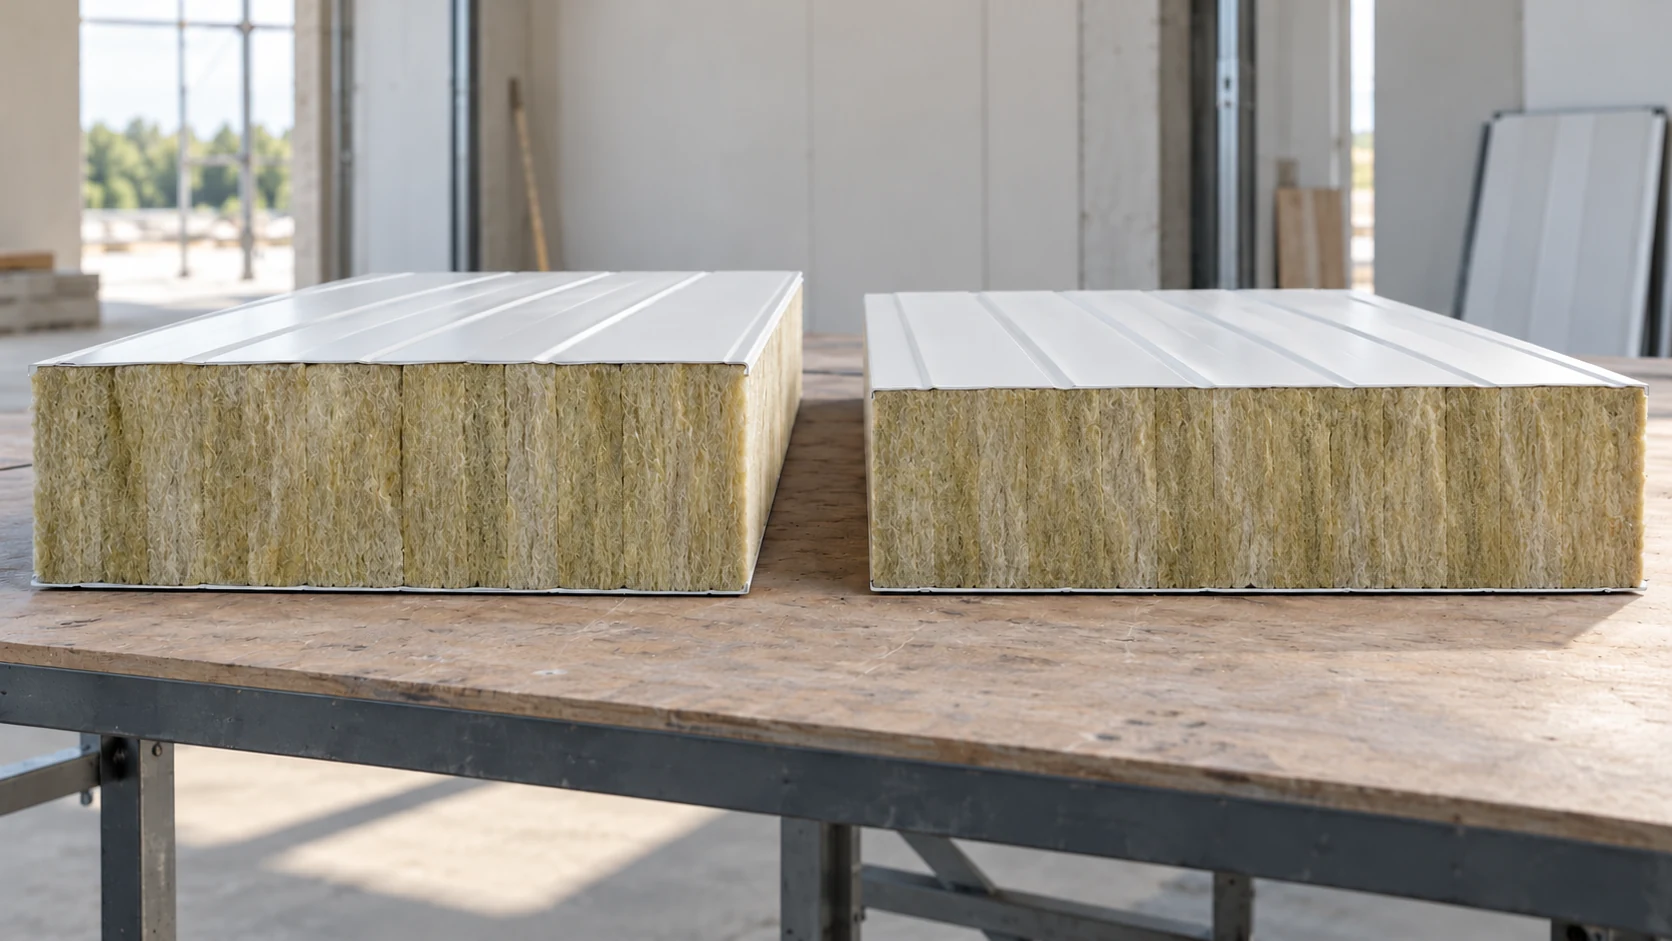
One mineral wool panel range may include standard, lighter or differently fire-rated variants. Their names do not tell you what changed. Compare…
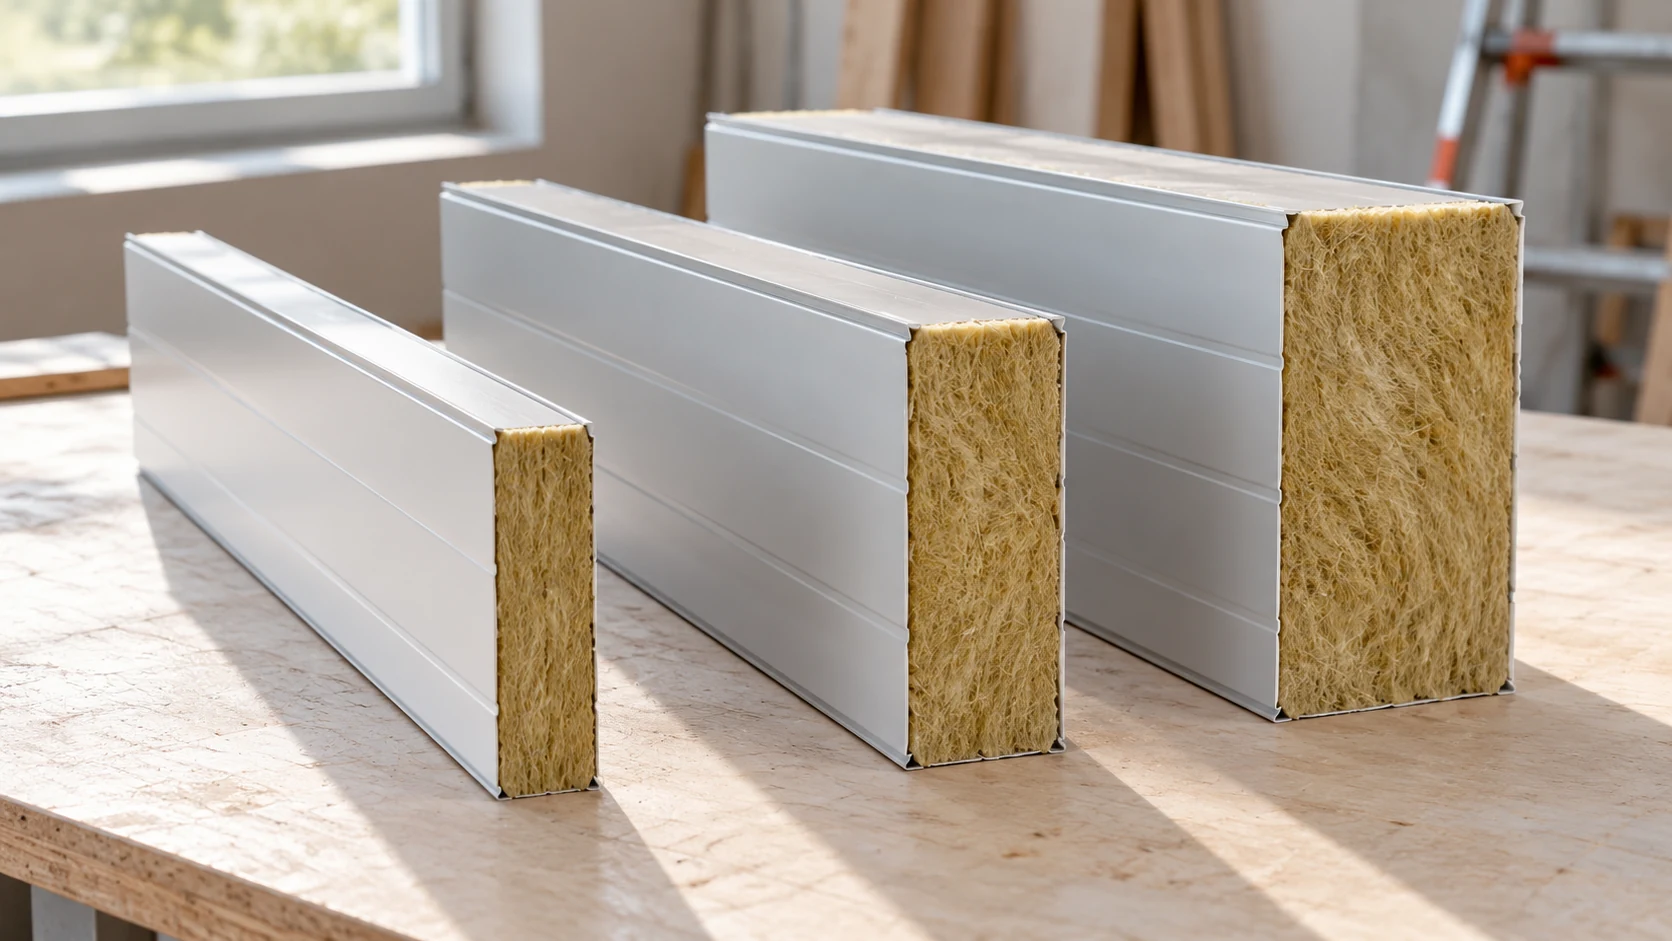
Choose wall panel thickness for the complete partition or envelope. Temperatures, fire protection, support spacing and room for detailing all matter. A…

There is no single service life in years for a mineral wool panel wall. A sheltered warehouse, a vehicle wash and a…
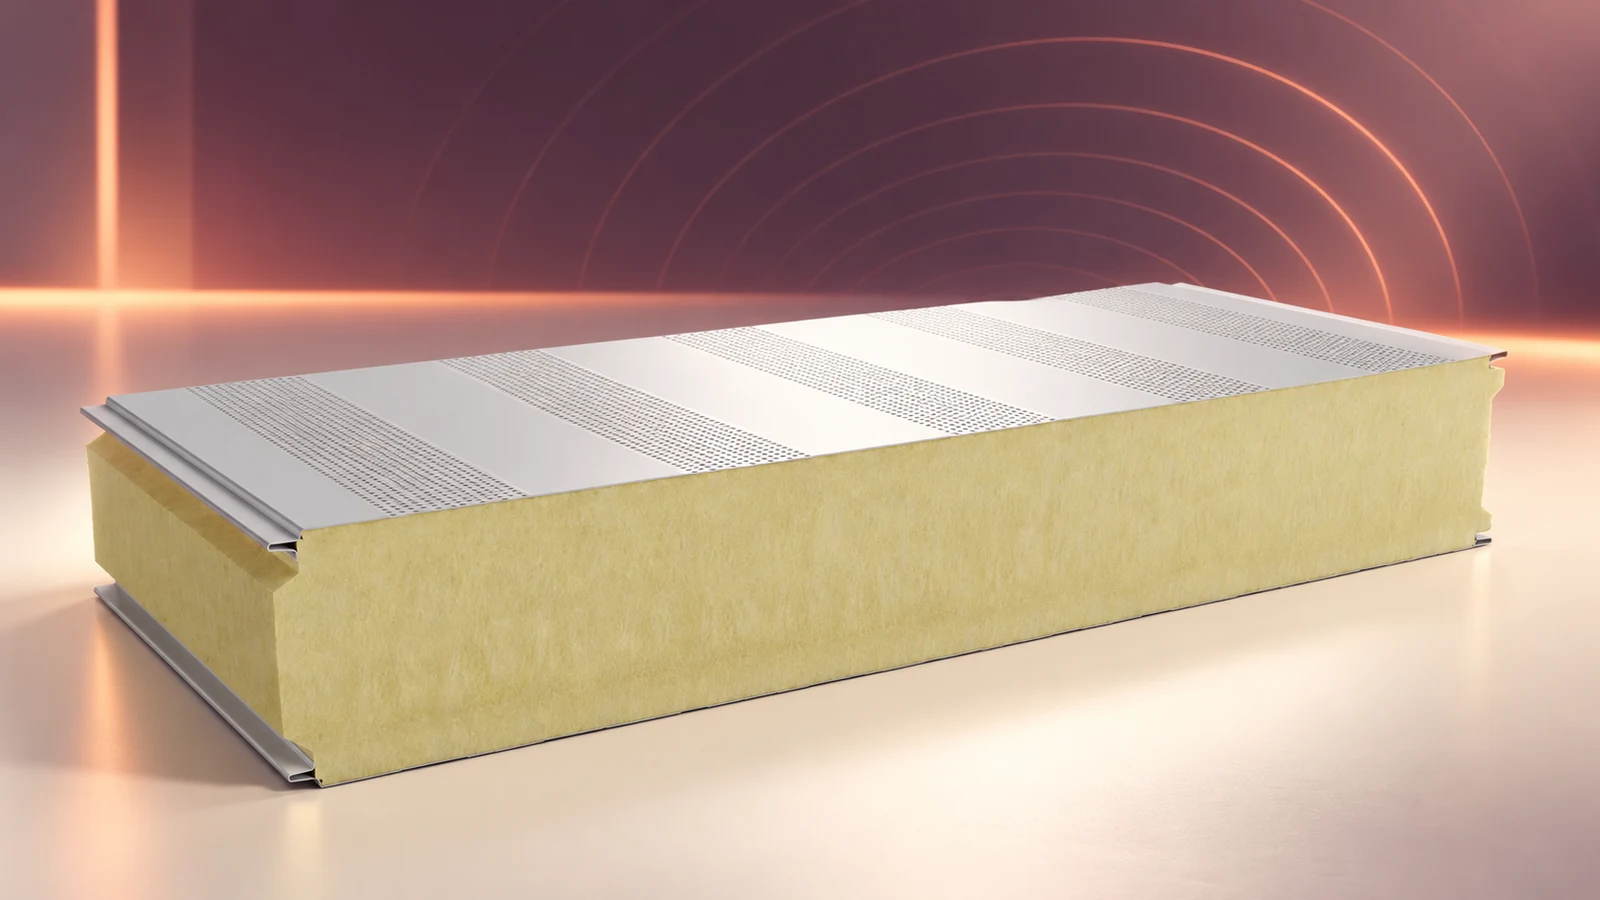
A mineral wool acoustic sandwich panel can enclose a building and absorb sound on its inner face. A perforated facing distinguishes this…
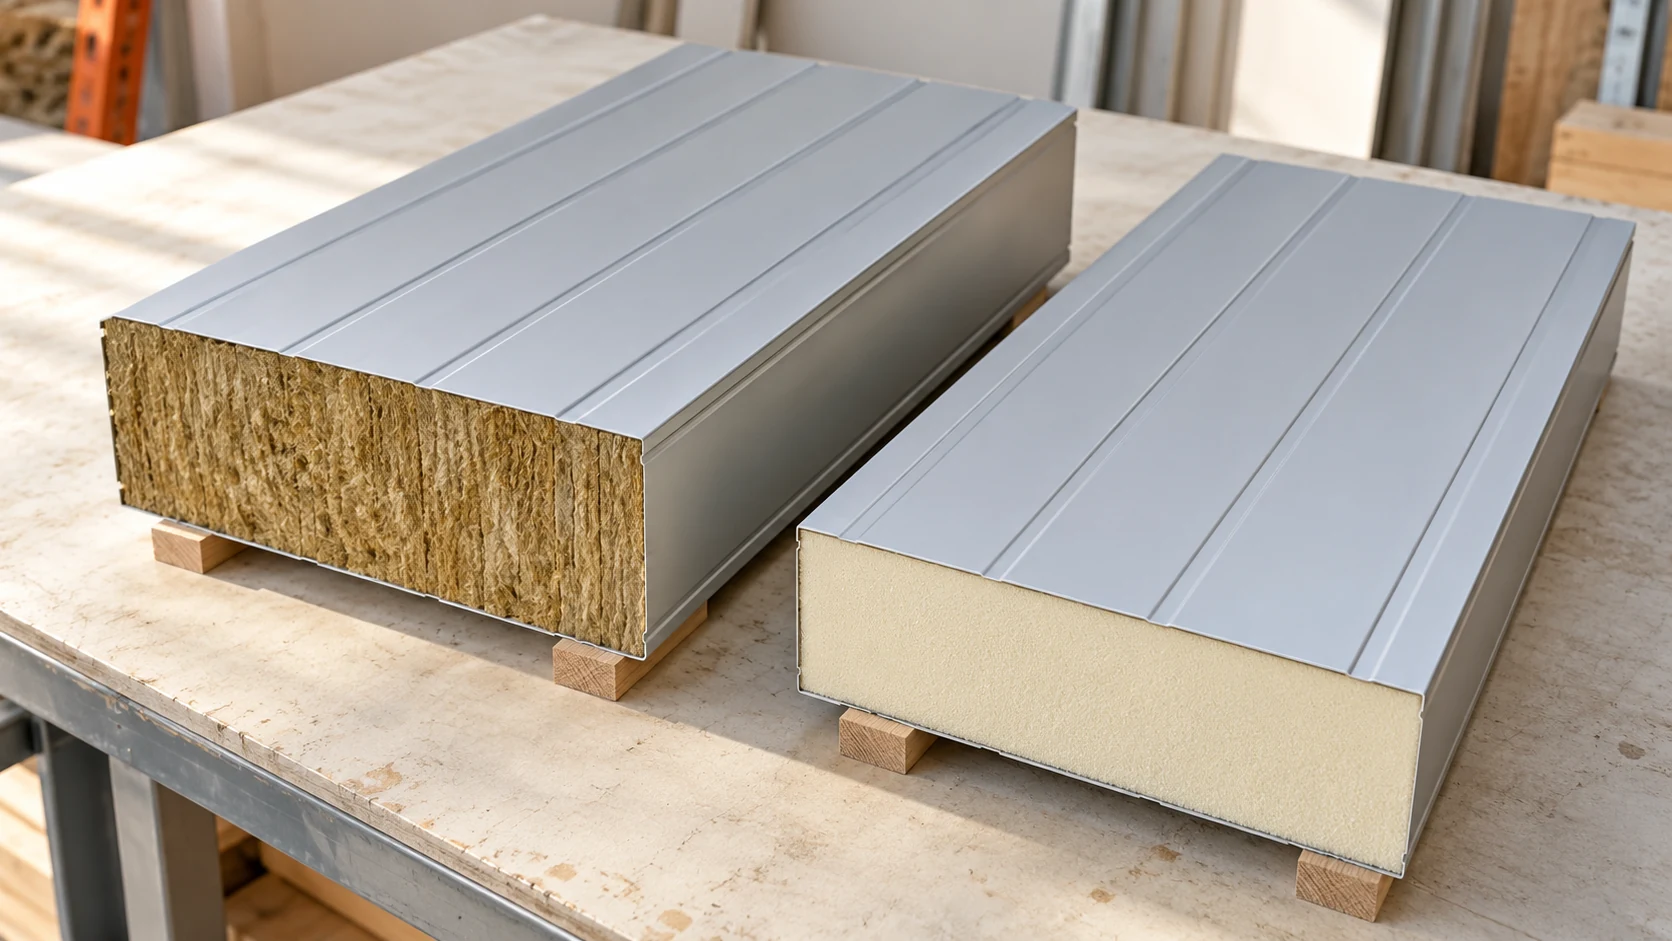
Choose the core for the job the wall or roof must do. Mineral wool and PIR offer different combinations of insulation, weight…
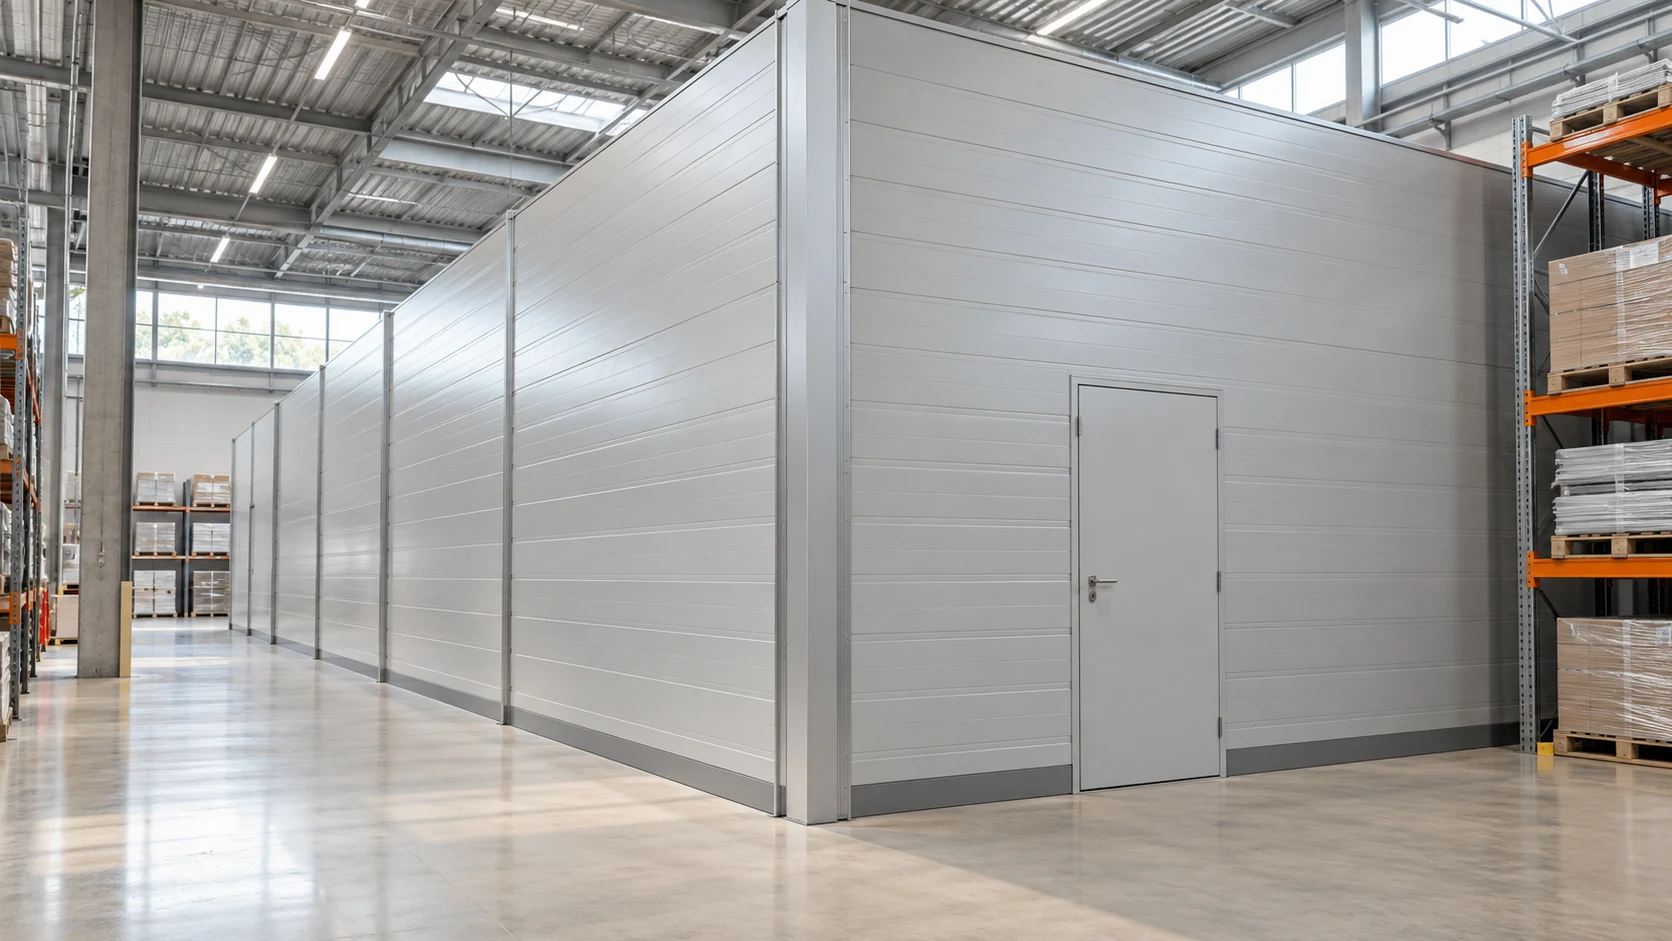
A mineral wool wall panel can form an external enclosure or an internal partition. Choose it where the properties of a specific…
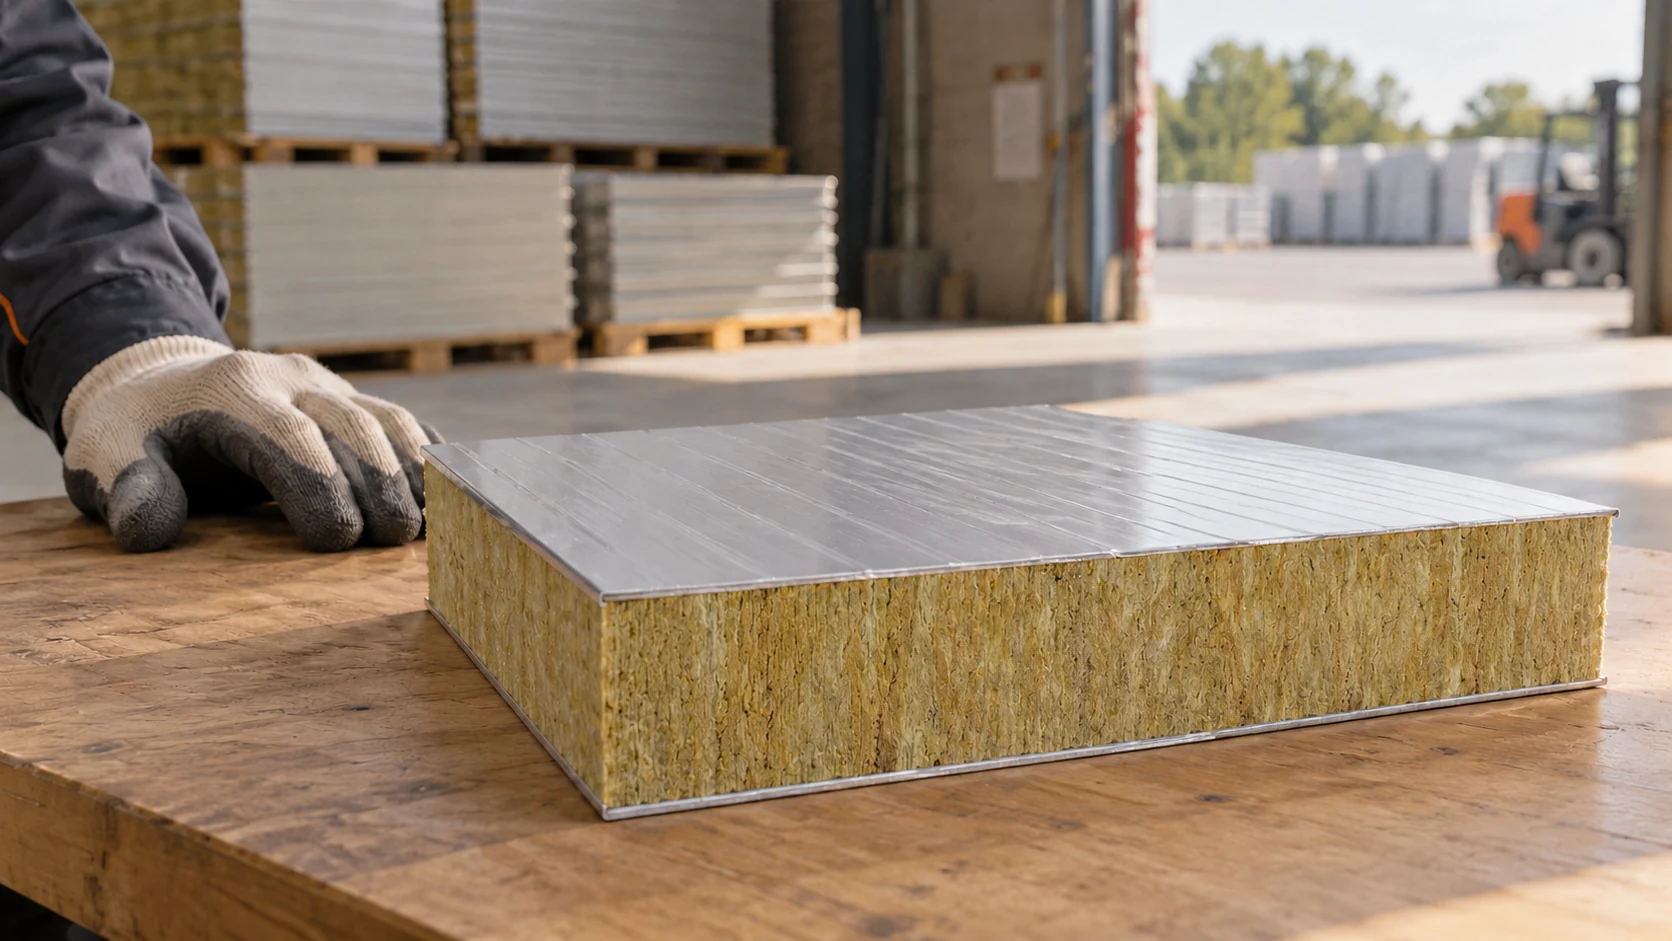
A thickness of 100 mm does not define a mineral wool wall panel. Two products can differ in weight, U-value and cover…
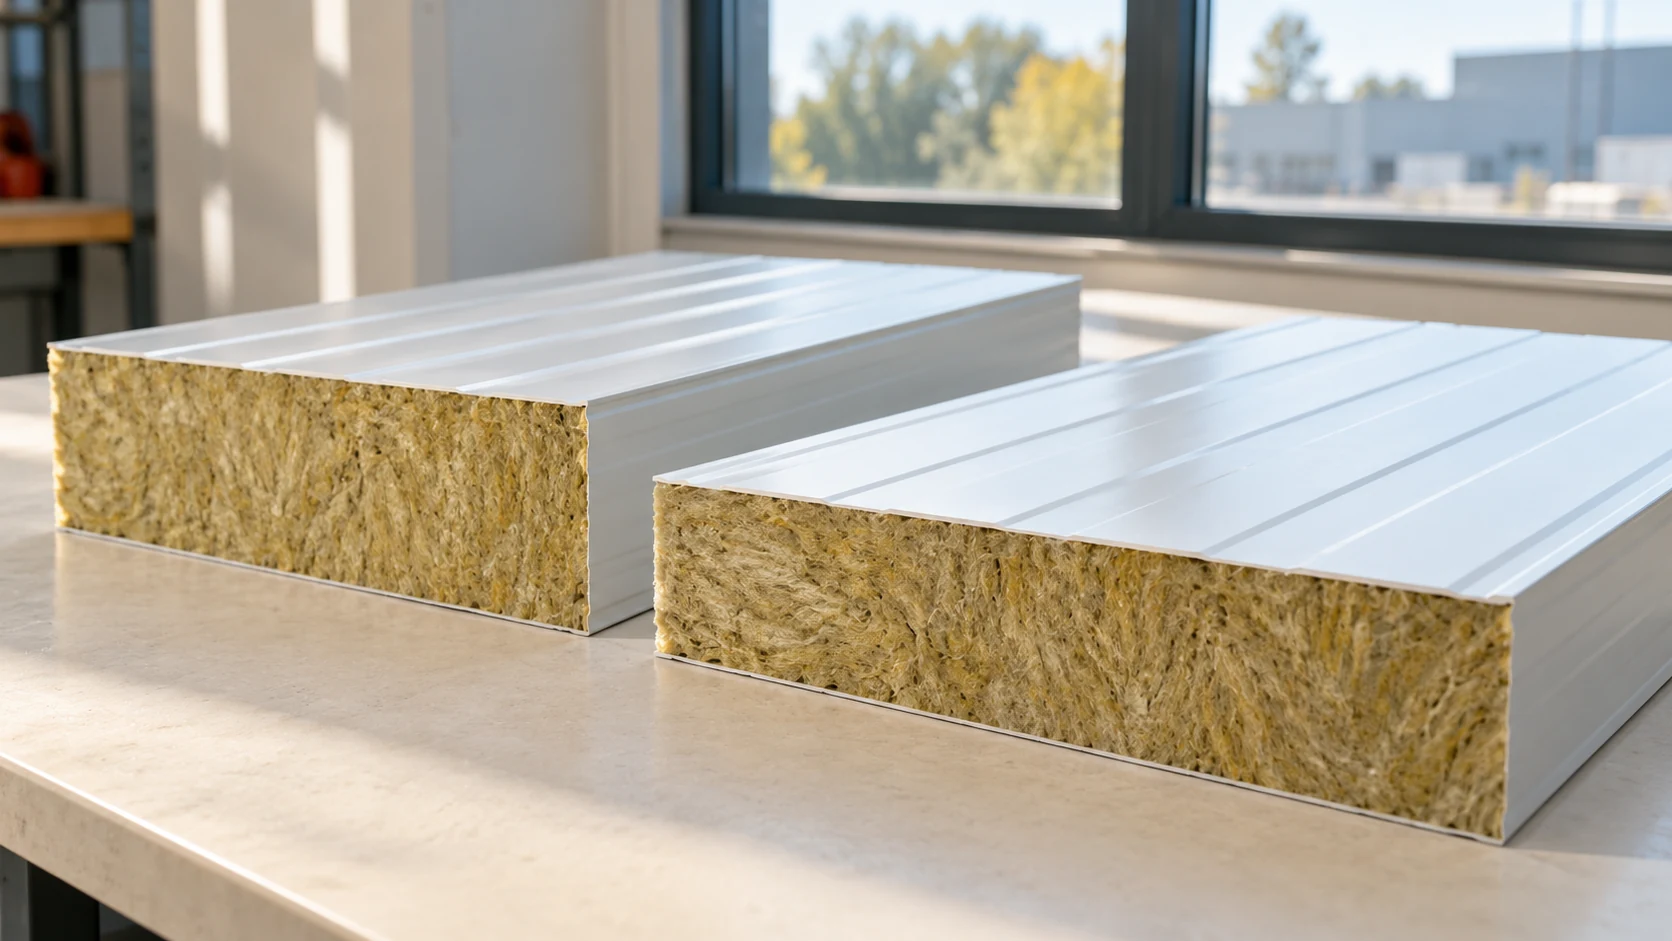
Two quotations for a 100 mm mineral wool wall panel can refer to quite different products. Weight, geometry, facings and permitted applications…
