






Chimneys through sandwich panel roofs: what the flashing does
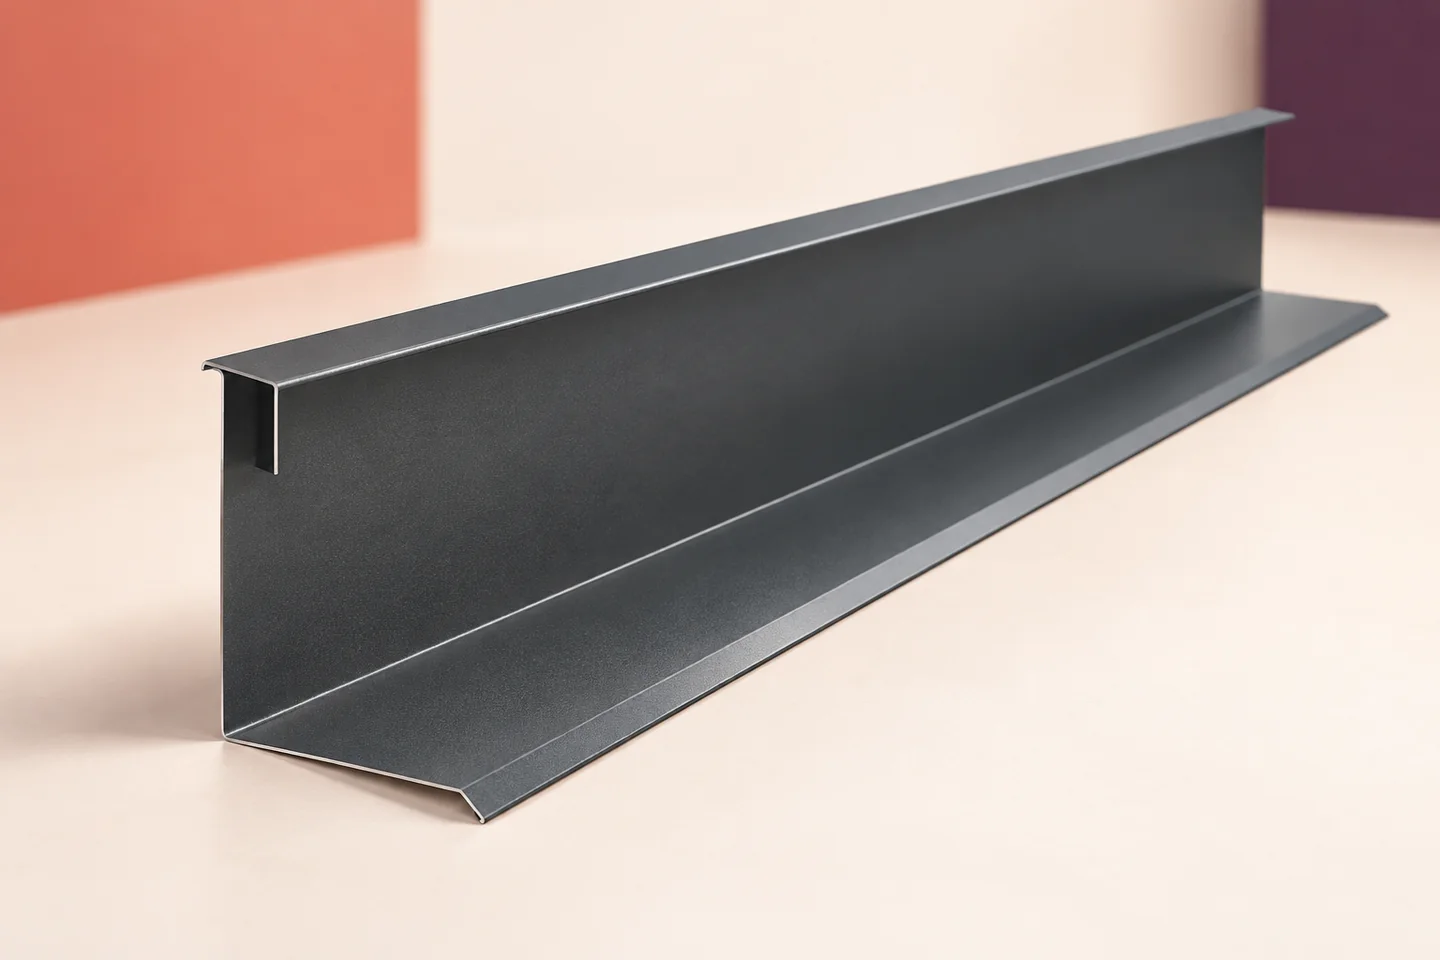
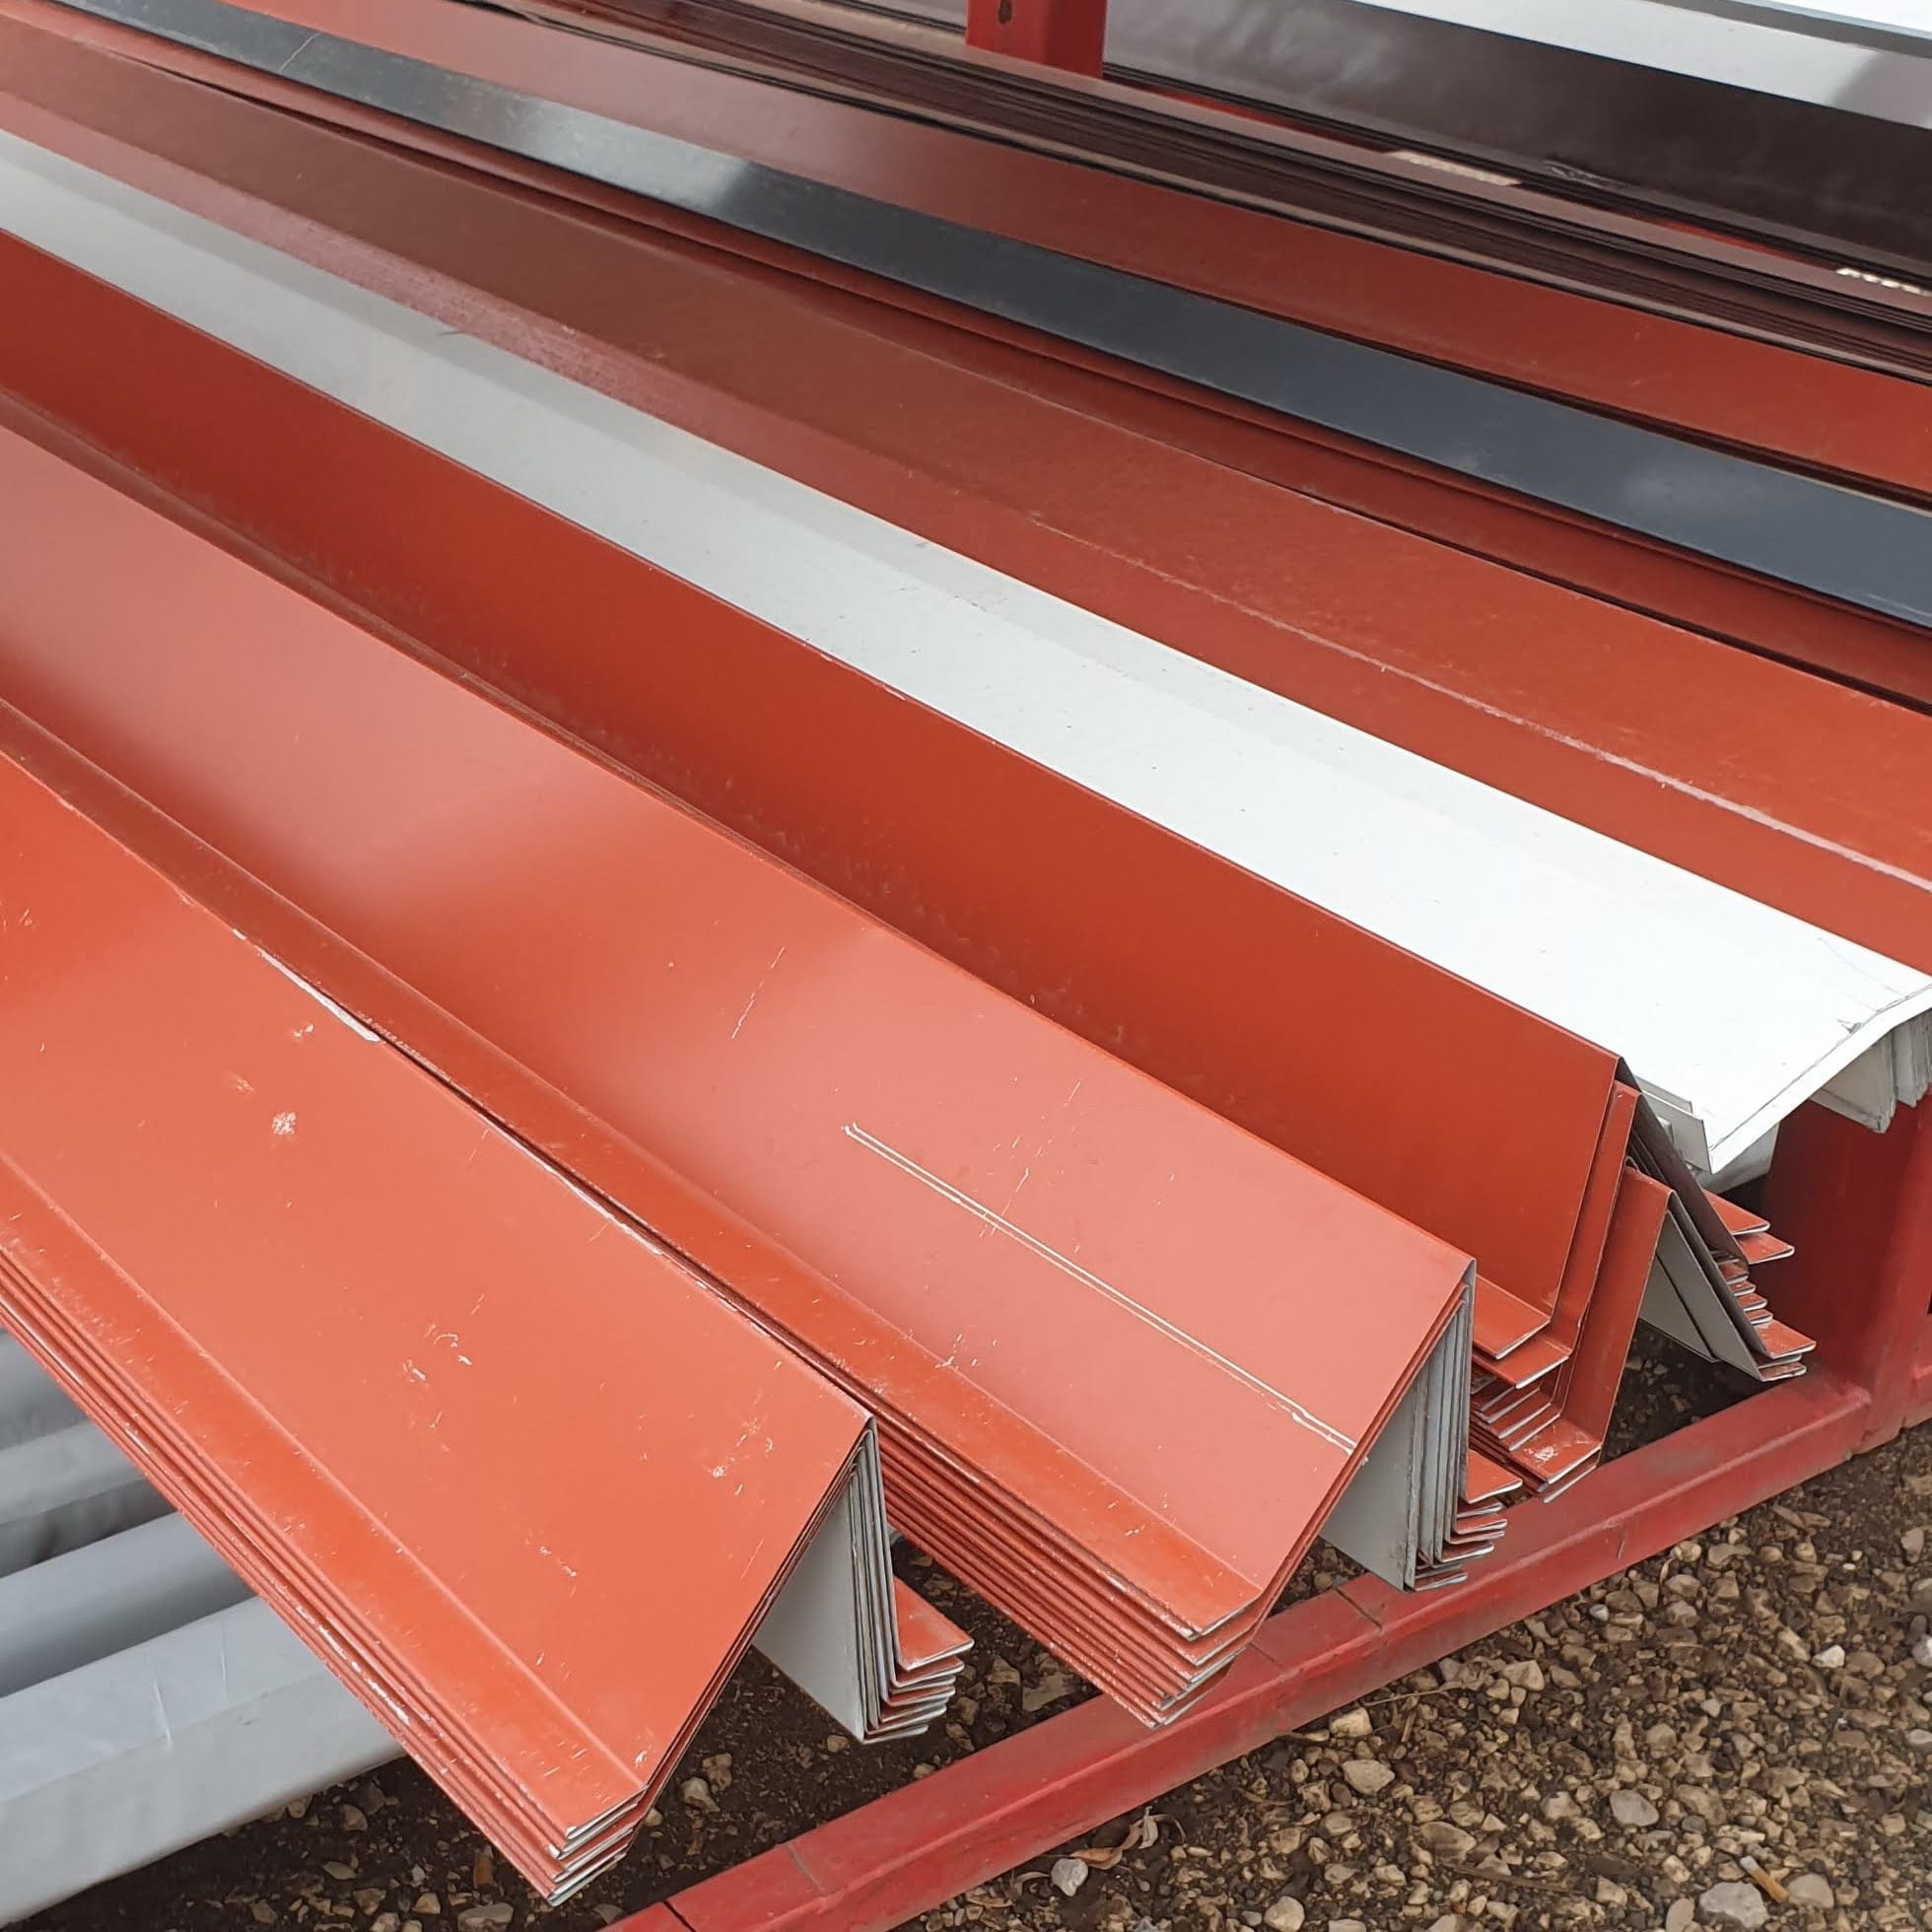
Sheet metal flashings
Chimney flashing keeps rain out of the junction and directs runoff around the obstruction. It does not support the flue or establish that the penetration meets fire requirements. Before cutting a sandwich panel, identify what will pass through it: a masonry chimney, a proprietary flue and a ventilation pipe have different requirements. Check the system documentation, panel core and thickness, opening dimensions and support positions together. The detail should show how loads are carried, how the cut panel edges are closed and where water leaves the flashing. The diameter visible above the roof is not enough to specify the assembly.
In this guide
Identify the type of penetration
Core material and thickness, as well as the position of both facings, matter at the opening. The design must cover the cut-out and its surroundings. The flashing forms only one part: a sheet metal cover does not establish permissible clearances or a fire resistance rating for the penetration.
Coordinate opening, supports and roof position
The location of the penetration affects runoff and the connections that can be made. Locate it relative to the supports, panel ribs and nearby joints. Agree both dimensions and position before cutting; searching afterwards for a flashing large enough to cover the hole is no substitute for setting it out.
Provide a suitable support for the flue and any attached equipment. Do not load a thin flashing or panel facing unless the design specifically permits it. Allow for movement between components. A drawing of the weather cover alone cannot establish whether the entire roof penetration is suitable.
Provide a drainage route around the chimney
Intercept the water coming down from the ridge and return it to the roof downslope. A rectangular chimney generally has a back flashing, side flashings and a front apron. Fit these to the facing profile, avoiding folds and joints that create pockets with no outlet.
A wide obstruction or a nearby valley may require extra provision to divert runoff. Coordinate any bespoke metalwork with that whole part of the roof. A small chimney detail cannot simply be enlarged: the dimensions and drainage route must reflect the actual geometry and roof conditions.
Close each layer for its intended function
The opening interrupts both metal facings and the core. Detail the closure of their edges and continuity of the required seals. An external apron cannot correct an unfinished internal joint. The weatherproofing and the seals within the envelope must connect as designed.
Specify the sealant for its substrate, location and operating conditions; check its compatibility with the coating and the penetration system. Locate the flashing fixings on the drawing. Unplanned holes through a panel create extra points to seal and make the completed detail harder to inspect.

Choose flashing material for the local exposure
Galvanised, aluminium-zinc-coated and colour-coated sheets are all used for flashings. Stock availability does not establish suitability at a chimney. Consider outdoor exposure, deposits and contact with neighbouring components; the sheet specification does not supersede the flue system requirements.
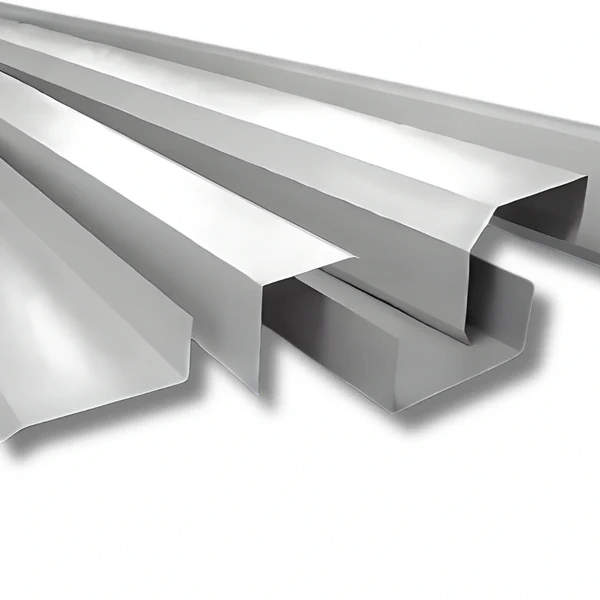
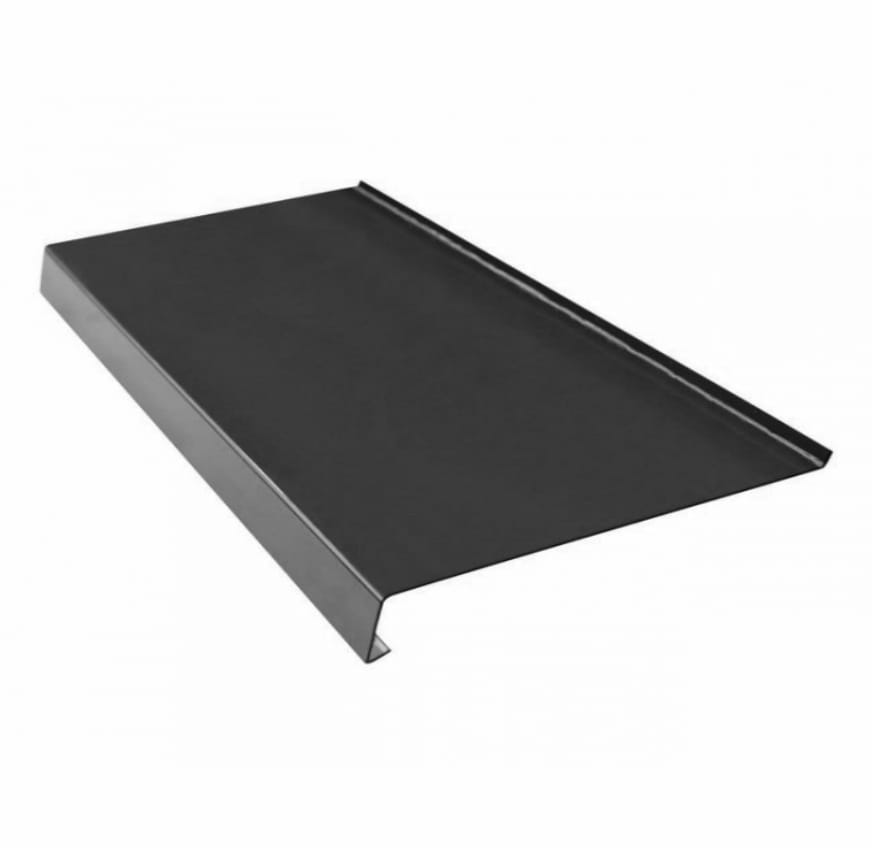
Chimney flashings can match the colour of ridge caps, verge trims, gutter aprons, wall starter sections and corner trims. Each still has its own cross-section and function. Use a common finish where appropriate rather than trying to make one folded section serve at every junction.
Inspect the penetration before covering it
Inspect the opening, support, cut panel edges and layer connections in stages. Record them before the external flashings restrict access. The records should also show how the installation meets the requirements specified in the project for that penetration.
At completion, check the direction of the laps, the coating and the discharge path behind the chimney. Clear swarf and offcuts from the roof. Subsequent inspections should cover both the flashing and the penetration itself, assessing each against its own purpose.
Questions and answers
Does the flashing show that a chimney penetration is safe?
No. The project and the chimney system documentation set the requirements. The outer flashing is just one part of the complete assembly.
Can the flue rest on the flashing?
Do not assume so. The support and load path must be provided separately in accordance with the structural and installation design.
Are all roof penetrations sealed in the same way?
No. Purpose, operating temperature, geometry and other requirements differ. Select the detail for the actual component and panel type.

Free quote
What to include in your enquiry
Tell us how you plan to use the material, the dimensions and the quantity you need. Include the thickness, grade or variant name, along with the delivery town or your preferred collection branch. For a specific product, add its name or a link to the product page. We will reply to the email address you provide to discuss availability and the terms of your order.
Read next
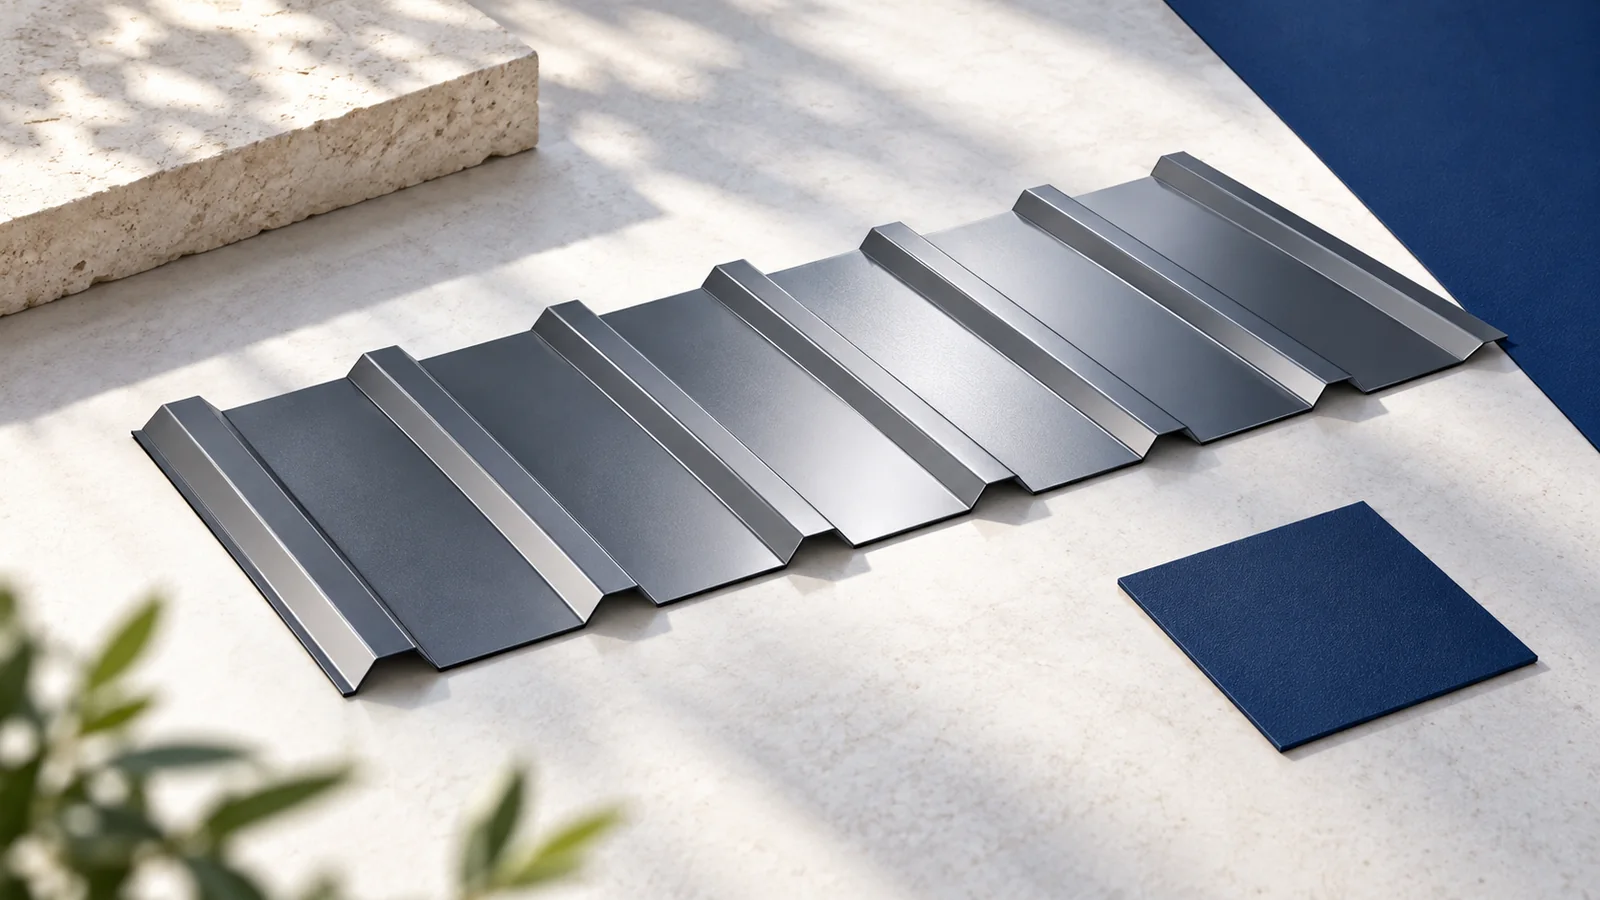
On a pitched roof with rows of roof windows, a Utherm Sarking LE Plus layout should show both the PIR board joints…
Draw the partitions and furniture on the loft plan before choosing the glazing. A gable window offers a view at the end…
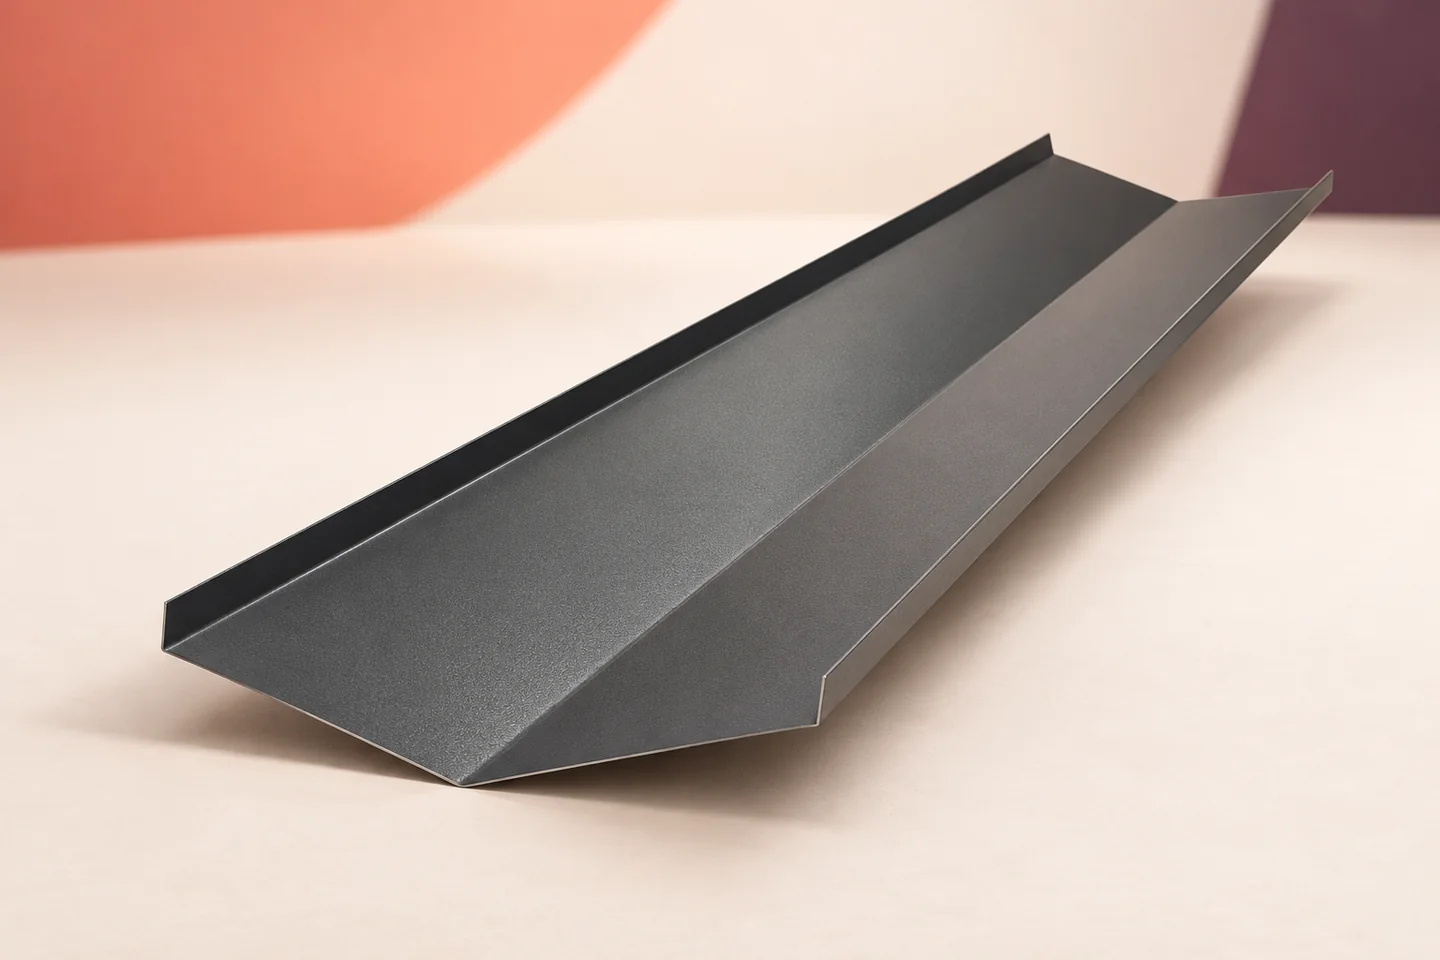
Size a roof valley or internal gutter for the water that reaches it, not simply for its length or the width of…
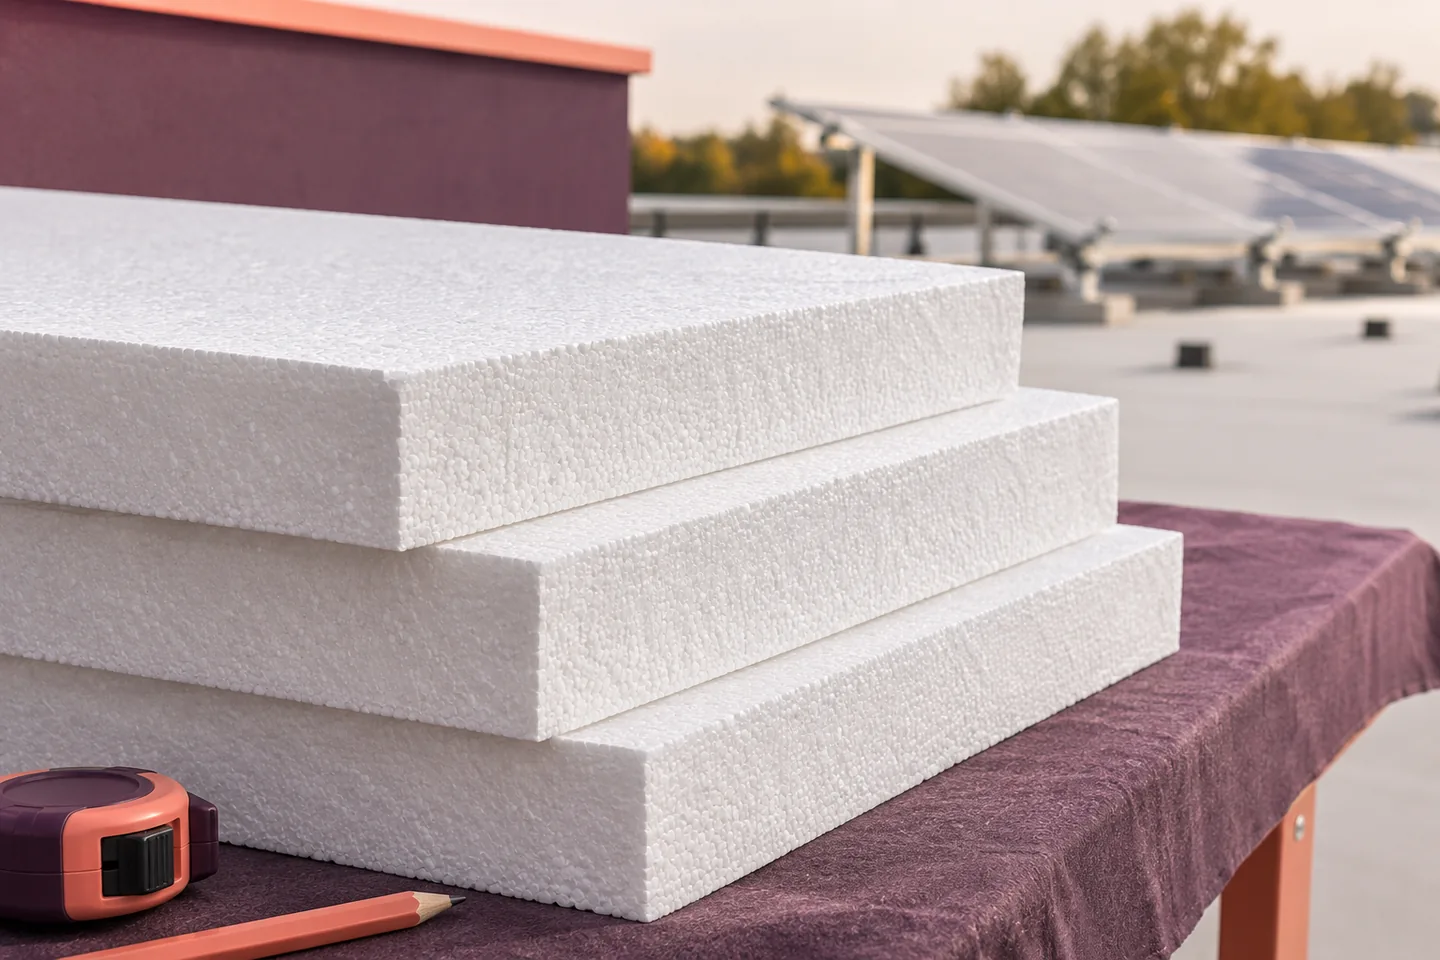
Before fitting solar panels to an existing EPS-insulated roof, identify what will carry each mounting foot. Record the roof structure, insulation grade…
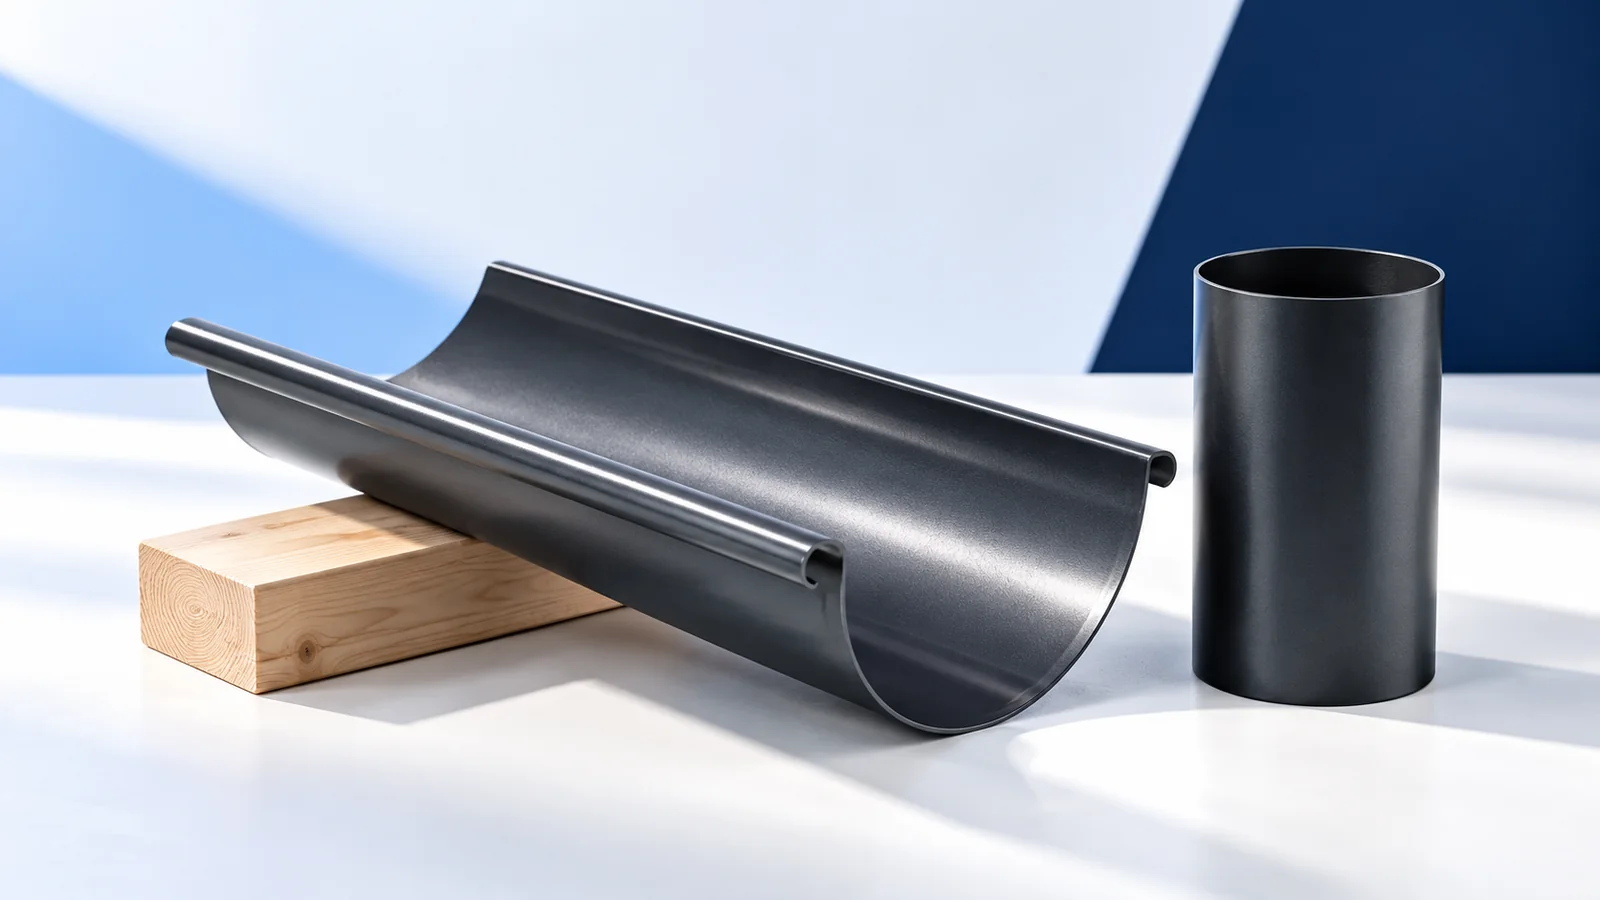
A concealed gutter can give a metal roof a straight eaves line if the detail leaves room for the gutter, the downpipe,…
Start with what happens beneath the roof. An open shelter may need only a weather skin; a heated workshop needs a thermally…
A quotation for “100 metres of sheeting” needs a unit. It could refer to sheet length or area, and the area could…
Start the autumn roof inspection from the ground and the loft. Look for overflow marks beneath gutters, displaced flashings and damp patches…
