






termPIR AL GK in staff rooms adjoining a cold warehouse
PIR insulation
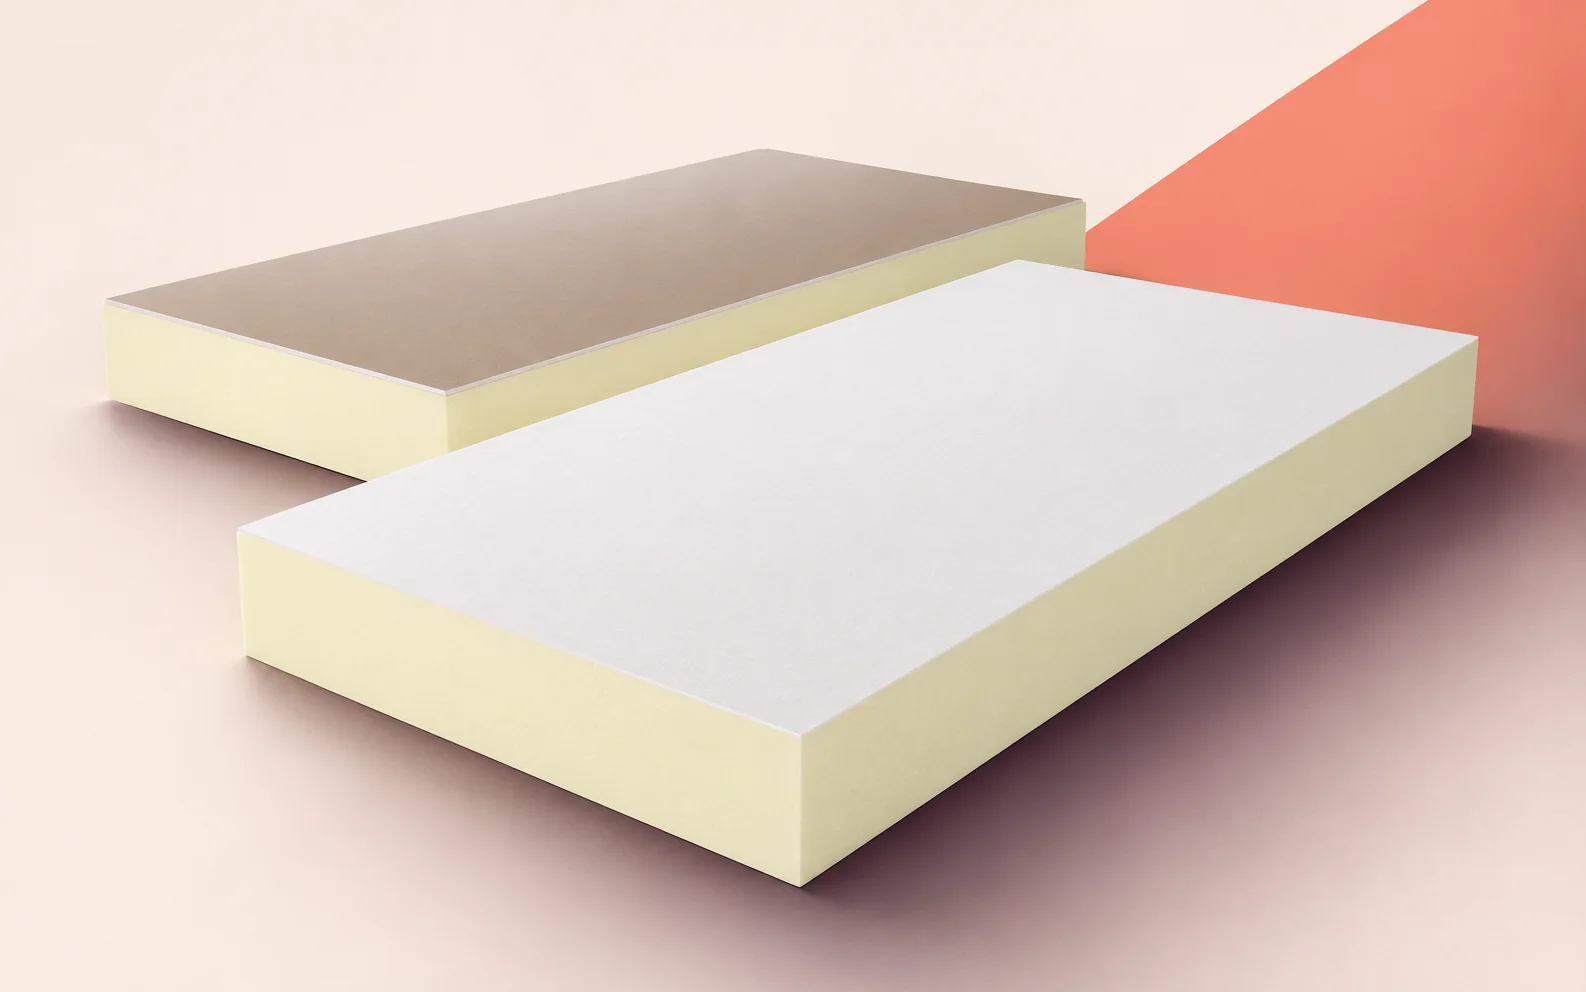
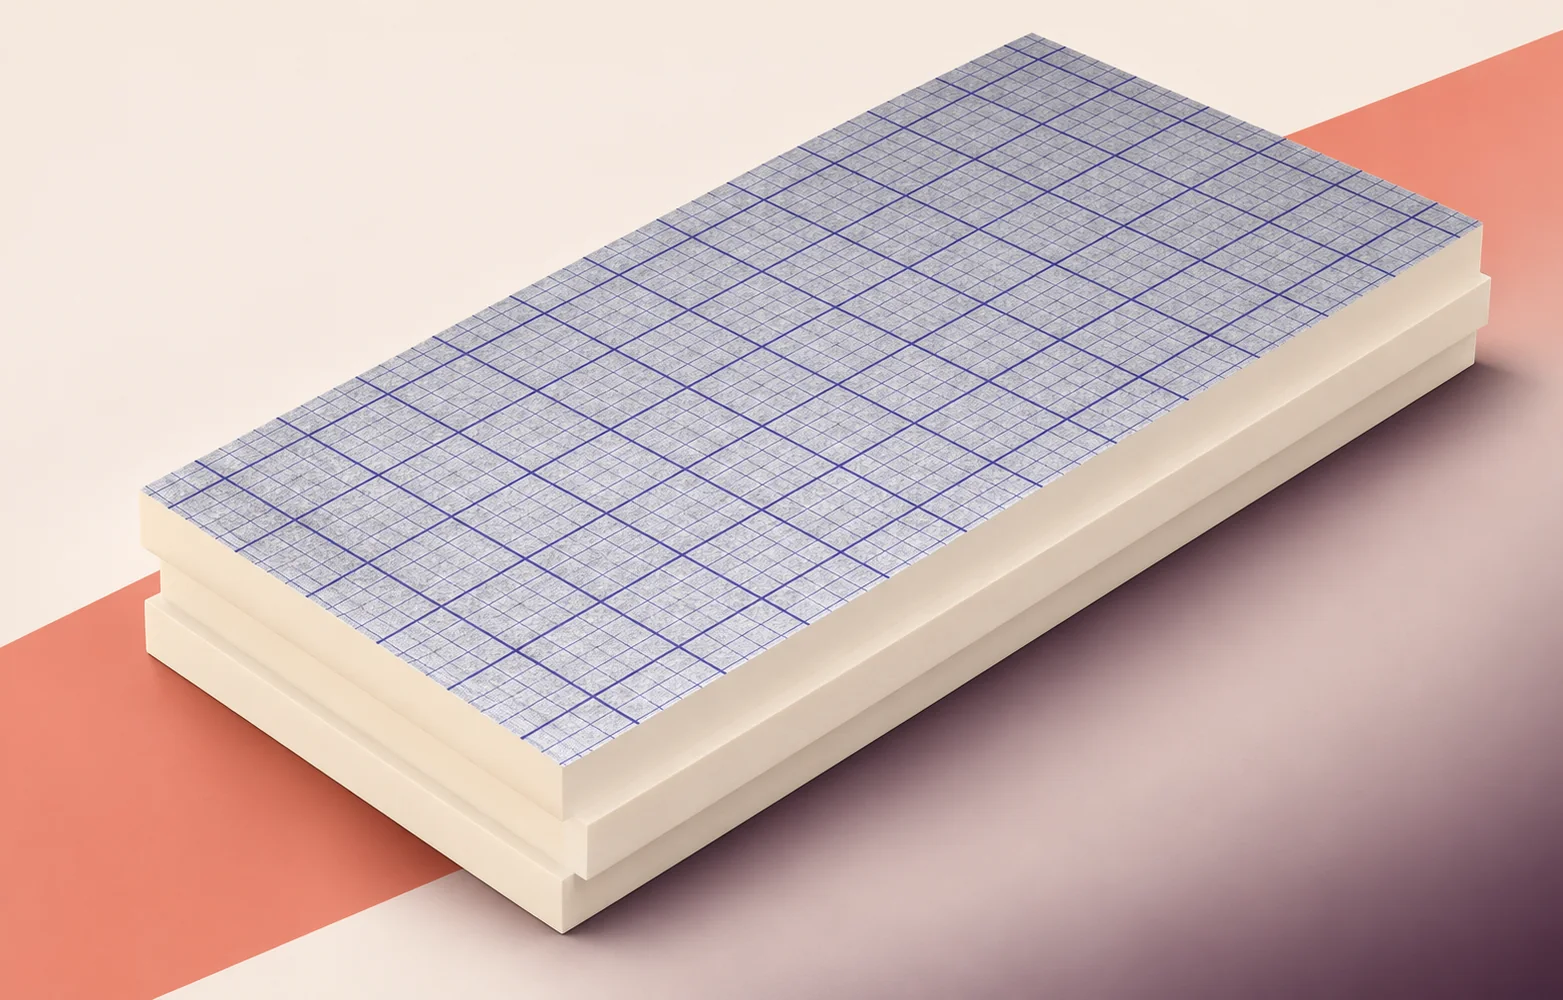
When insulating the heated side of a wall between staff rooms and a cold warehouse, trace the thermal boundary at the ceiling, doors and adjoining walls. A termPIR AL GK panel combines PIR insulation with gas-tight facings on both sides and a 12.5 mm plasterboard lining. Use the PIR thickness to calculate the resistance of that layer and the full panel thickness to set out the finished wall face. Before installation, check masonry condition, moisture exposure, socket locations and cabinet supports. Rooms of similar size can require different cuts and fixings because of their door and equipment layouts.
In this guide
Tracing the insulation between staff rooms and warehouse
Mark the heated rooms and cooler spaces on the plan. Where the warehouse wall meets a suspended ceiling, inspect the partition above it. Insulation that stops at the visible ceiling line may leave a strip of masonry exposed.
Give each wall a reference. Add its length, height, reveal widths and door swing to the sketch. Marking the new wall face shows whether there will be room for the architrave and fittings beside the entrance.
Cabinets, brackets and fire requirements
Mark equipment fixing points before installing the panels. For a heavy cabinet, establish the load, masonry type and distance from the bracket to its structural support. The fixing design must account for the full lining depth and the routes of concealed services.
The manufacturer gives a reaction-to-fire class of B-s1,d0 for termPIR AL GK in a specified end-use application. Check that the planned installation falls within the classification. Where the design requires a fire resistance rating for the wall, obtain evidence for the complete partition.
Core thickness and the finished wall line
The manufacturer’s conductivity value of 0.022 W/(m·K) applies to the PIR insulation. For a panel with a 60 mm core, use 0.060 m when calculating the resistance of the core alone. Account for the plasterboard as a separate layer.
In this example, 60 mm of PIR plus 12.5 mm of plasterboard gives a nominal 72.5 mm before allowing for the fixing layer. Check that distance at radiator positions. Setting out from the insulation thickness alone understates the depth needed for the bracket.
Getting panels into place and planning cuts
For a 2600 × 1200 mm panel, the turn beyond the doorway can determine whether the board will fit. Measure the clear opening, corridor width and space to rotate the panel. Plan delivery before the route is lined with finished surfaces.
Mark panel edges and service openings on the wall elevation. If a panel must be divided for access, allow for the extra joint at a suitable location. Check socket positions against measurements in the room before cutting.
Checking wall moisture before lining
Insulating from the warm room reduces heat flow into the existing masonry and changes its drying conditions. Record the condition of the wall before lining it, particularly at floor level, at the soffit and around past leaks.
Where there are signs of damp, identify the source and assess how the wall can dry after refurbishment. This assessment also needs the temperature and humidity on both sides. Record the findings against the room reference before handing it over to the finishers.
Pricing a wall ready for painting
List panel area, joint length and perimeter junction length separately in the take-off. Include cuts and reveal finishing at each opening. This defines the same finished condition for each quotation.
State who will prepare the masonry, install the fixings and finish the joints. Specify the surface finish required for painting. Inspect a complete wall, including corners, sockets and the ceiling junction.

Free quote
What to include in your enquiry
Tell us how you plan to use the material, the dimensions and the quantity you need. Include the thickness, grade or variant name, along with the delivery town or your preferred collection branch. For a specific product, add its name or a link to the product page. We will reply to the email address you provide to discuss availability and the terms of your order.

Read next
The position of the waterproofing is the starting point for choosing flat roof insulation. On a warm roof the insulation sits below…
When laying BauderPIR T, first set out the valley that will carry water to the outlet. Mark levels at both ends and…
An energy retrofit works best when the roof, wall and floor insulation is planned together with windows, heating and ventilation. PIR can…
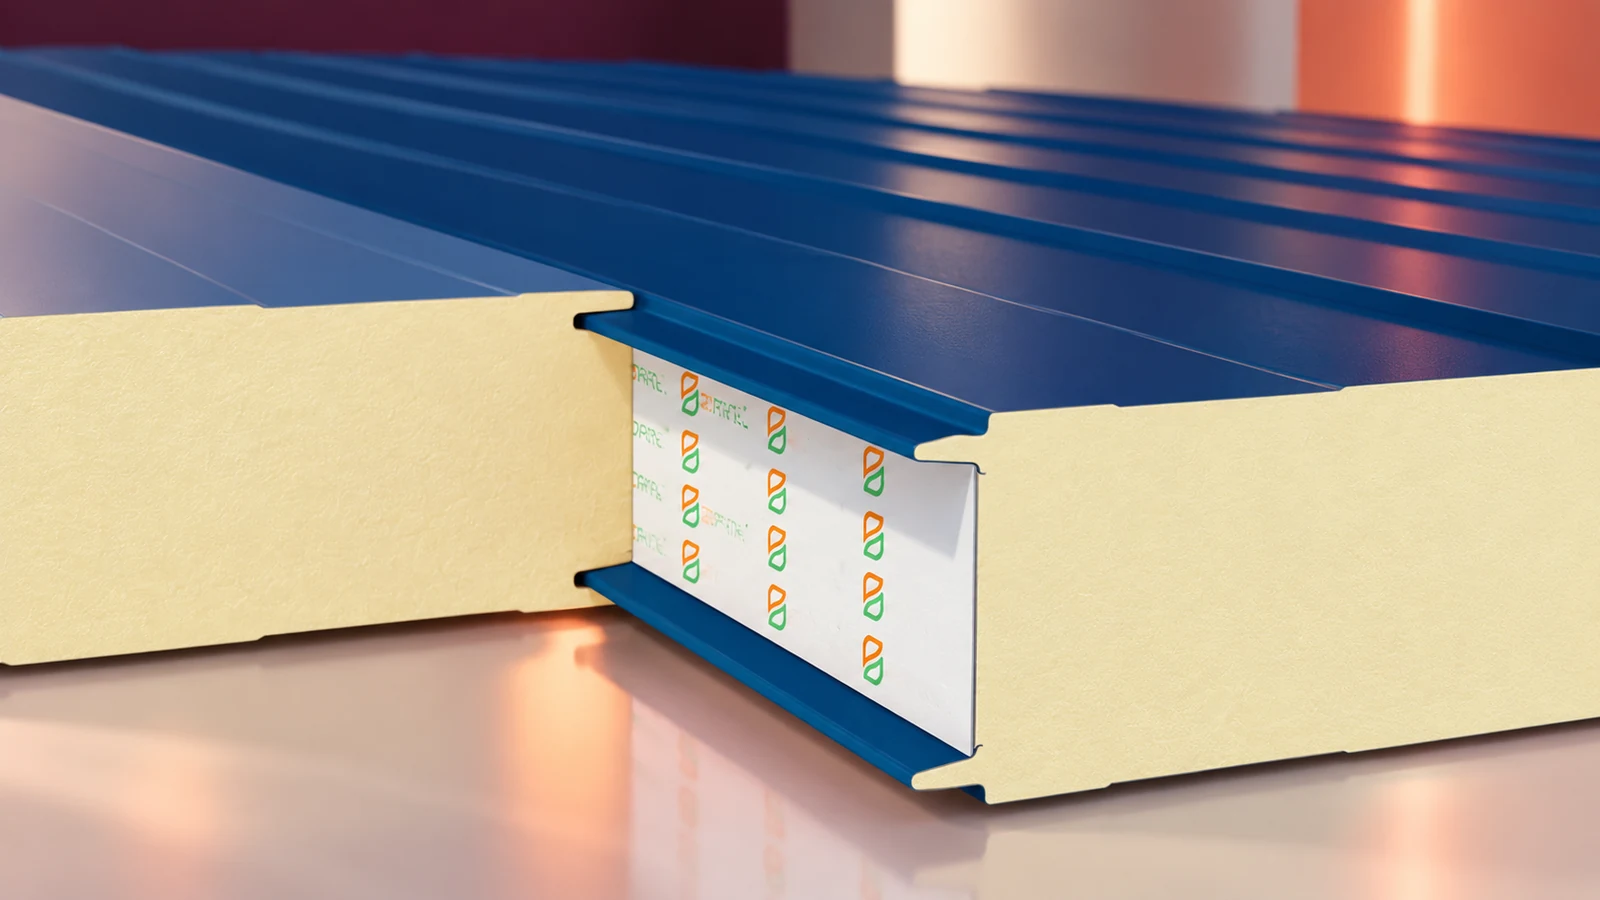
PIR sandwich panels are factory-bonded elements with an insulating core and metal facings. They are made for walls, roofs and specialist enclosures…
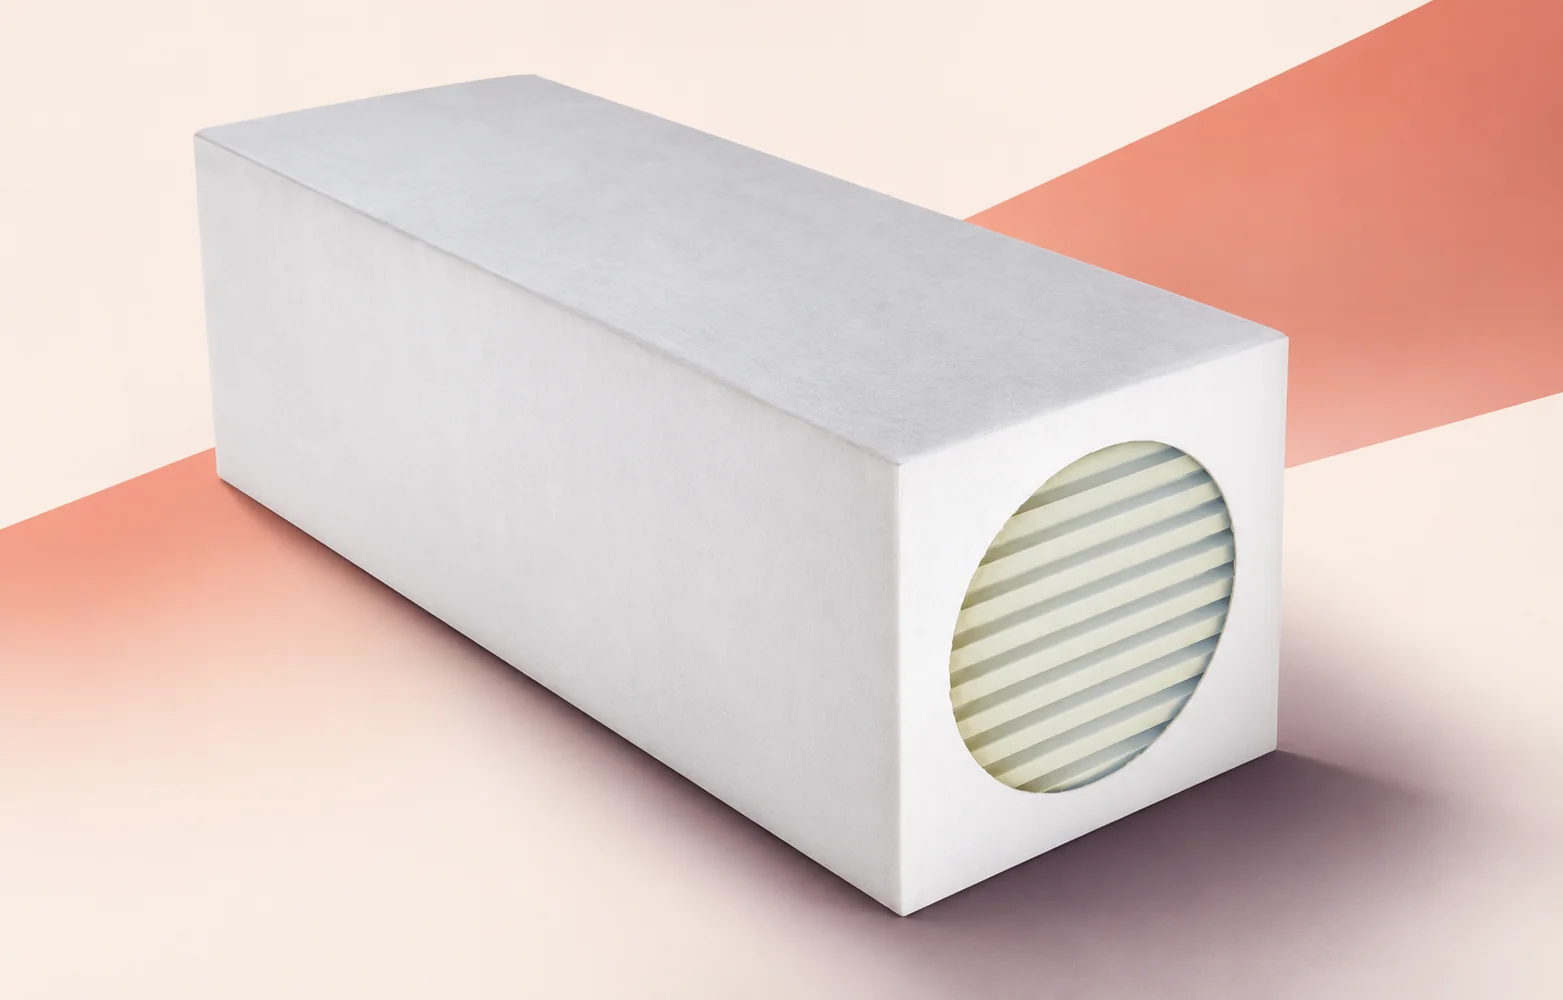
When ordering Thermano Compact for reveals, recesses and narrow perimeter strips, start with the dimensions of each insert. Two areas of equal…
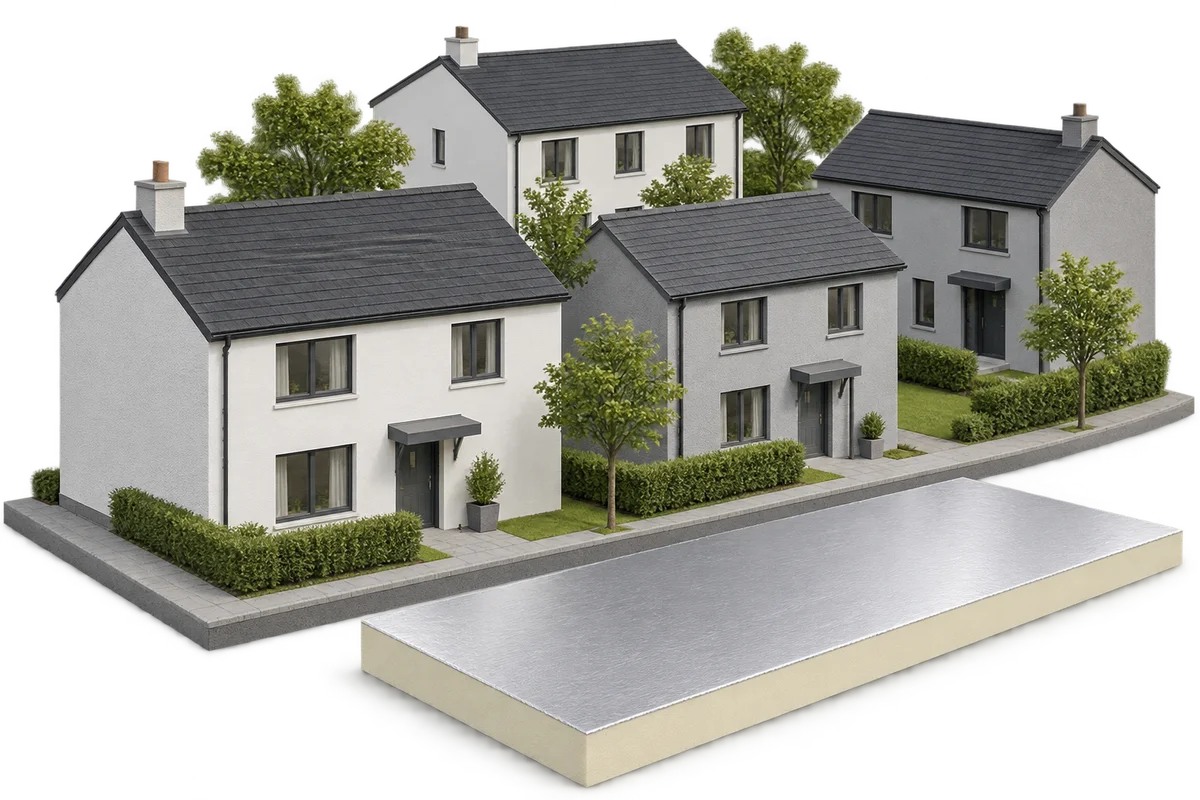
Roof works across a housing estate can be tendered together, but each block needs its own survey. The height of a roof…
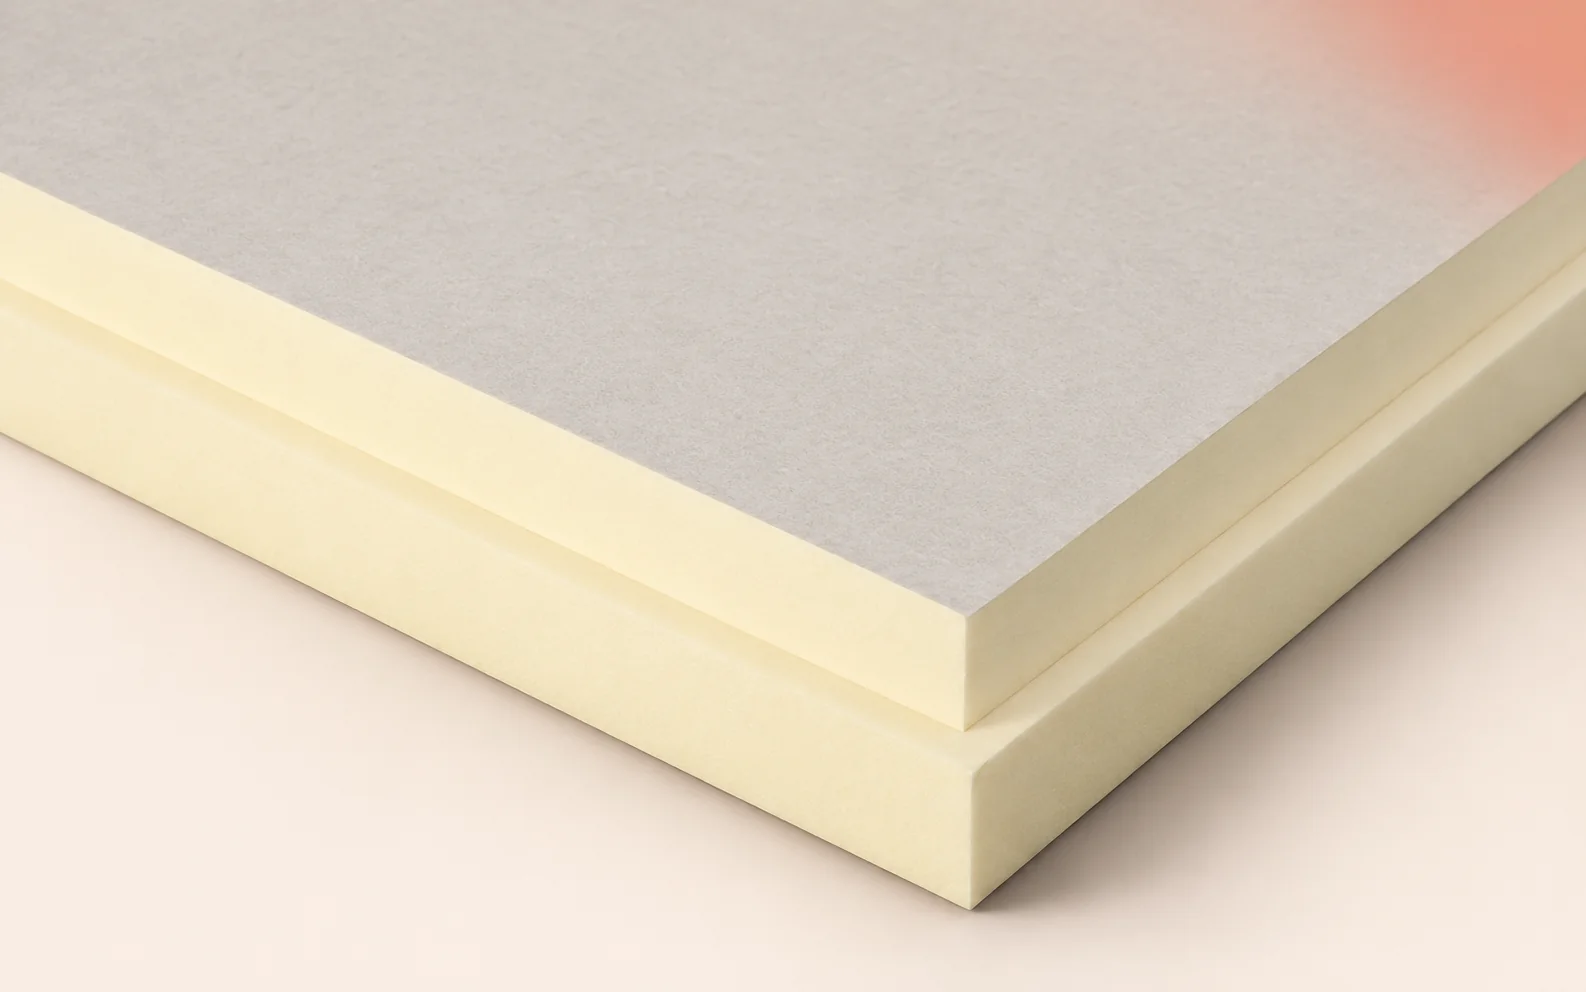
If a supplier offers an aluminium-faced board in place of BauderPIR M or MF, start with two questions. How will the layer’s…
Start laying swissporPIR Alu on an industrial roof in a bay that includes an outlet and a known profile of steel deck.…
