






Thermano GK for staff areas. Insulating walls between temperature zones
PIR insulation
A changing room beside a cool factory hall calls for a different wall specification from an office between two heated rooms. Before selecting Thermano GK, record the temperature and use of the spaces on both sides. The panel combines PIR insulation with 12.5 mm plasterboard. GK-A suits ordinary dry interiors, while GK-H2 has a lining with reduced water absorption. Enter the variant, total thickness, areas exposed to water and fixing arrangements for fittings on the room schedule. This allows the team to assess thermal performance and check clearances for doors, lockers and services after installation.

In this guide
Choosing which face to insulate
On the staff-area plan, mark continuously heated, intermittently heated and cooler spaces. Include plant shutdowns. The temperature difference across a wall may change when the hall is idle or the office heating is turned down at night.
For internal insulation, examine the existing masonry, moisture sources and drying potential once the lining is installed. Include the floor or ceiling junction and intersecting walls in the assessment. Surface temperatures at these points can differ from those in the middle of the insulated area.
Specifying GK-A and GK-H2 by room
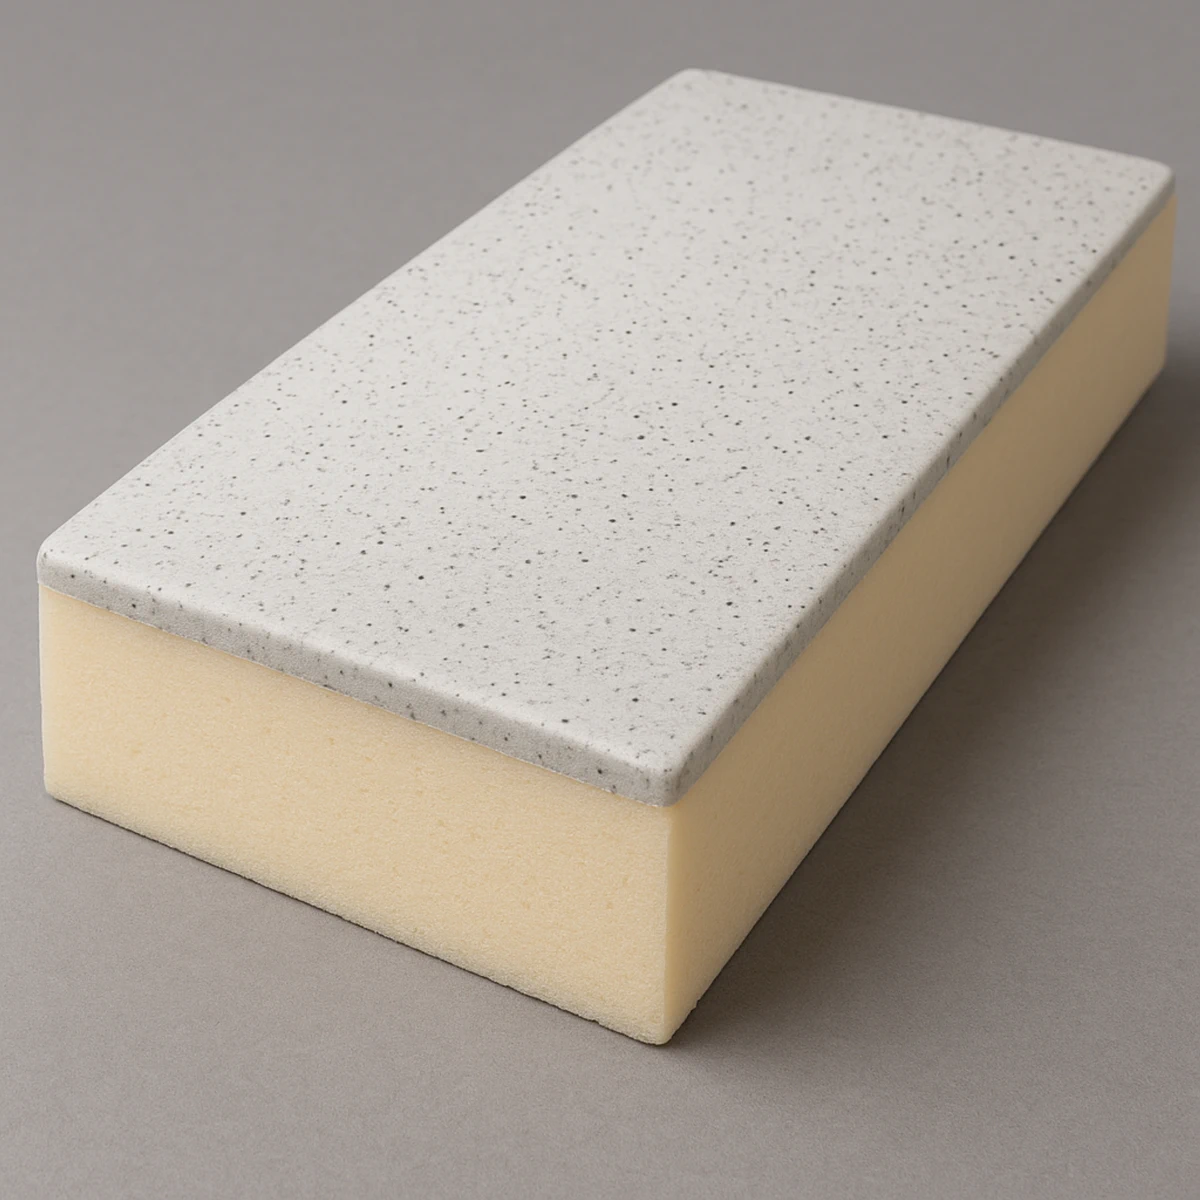
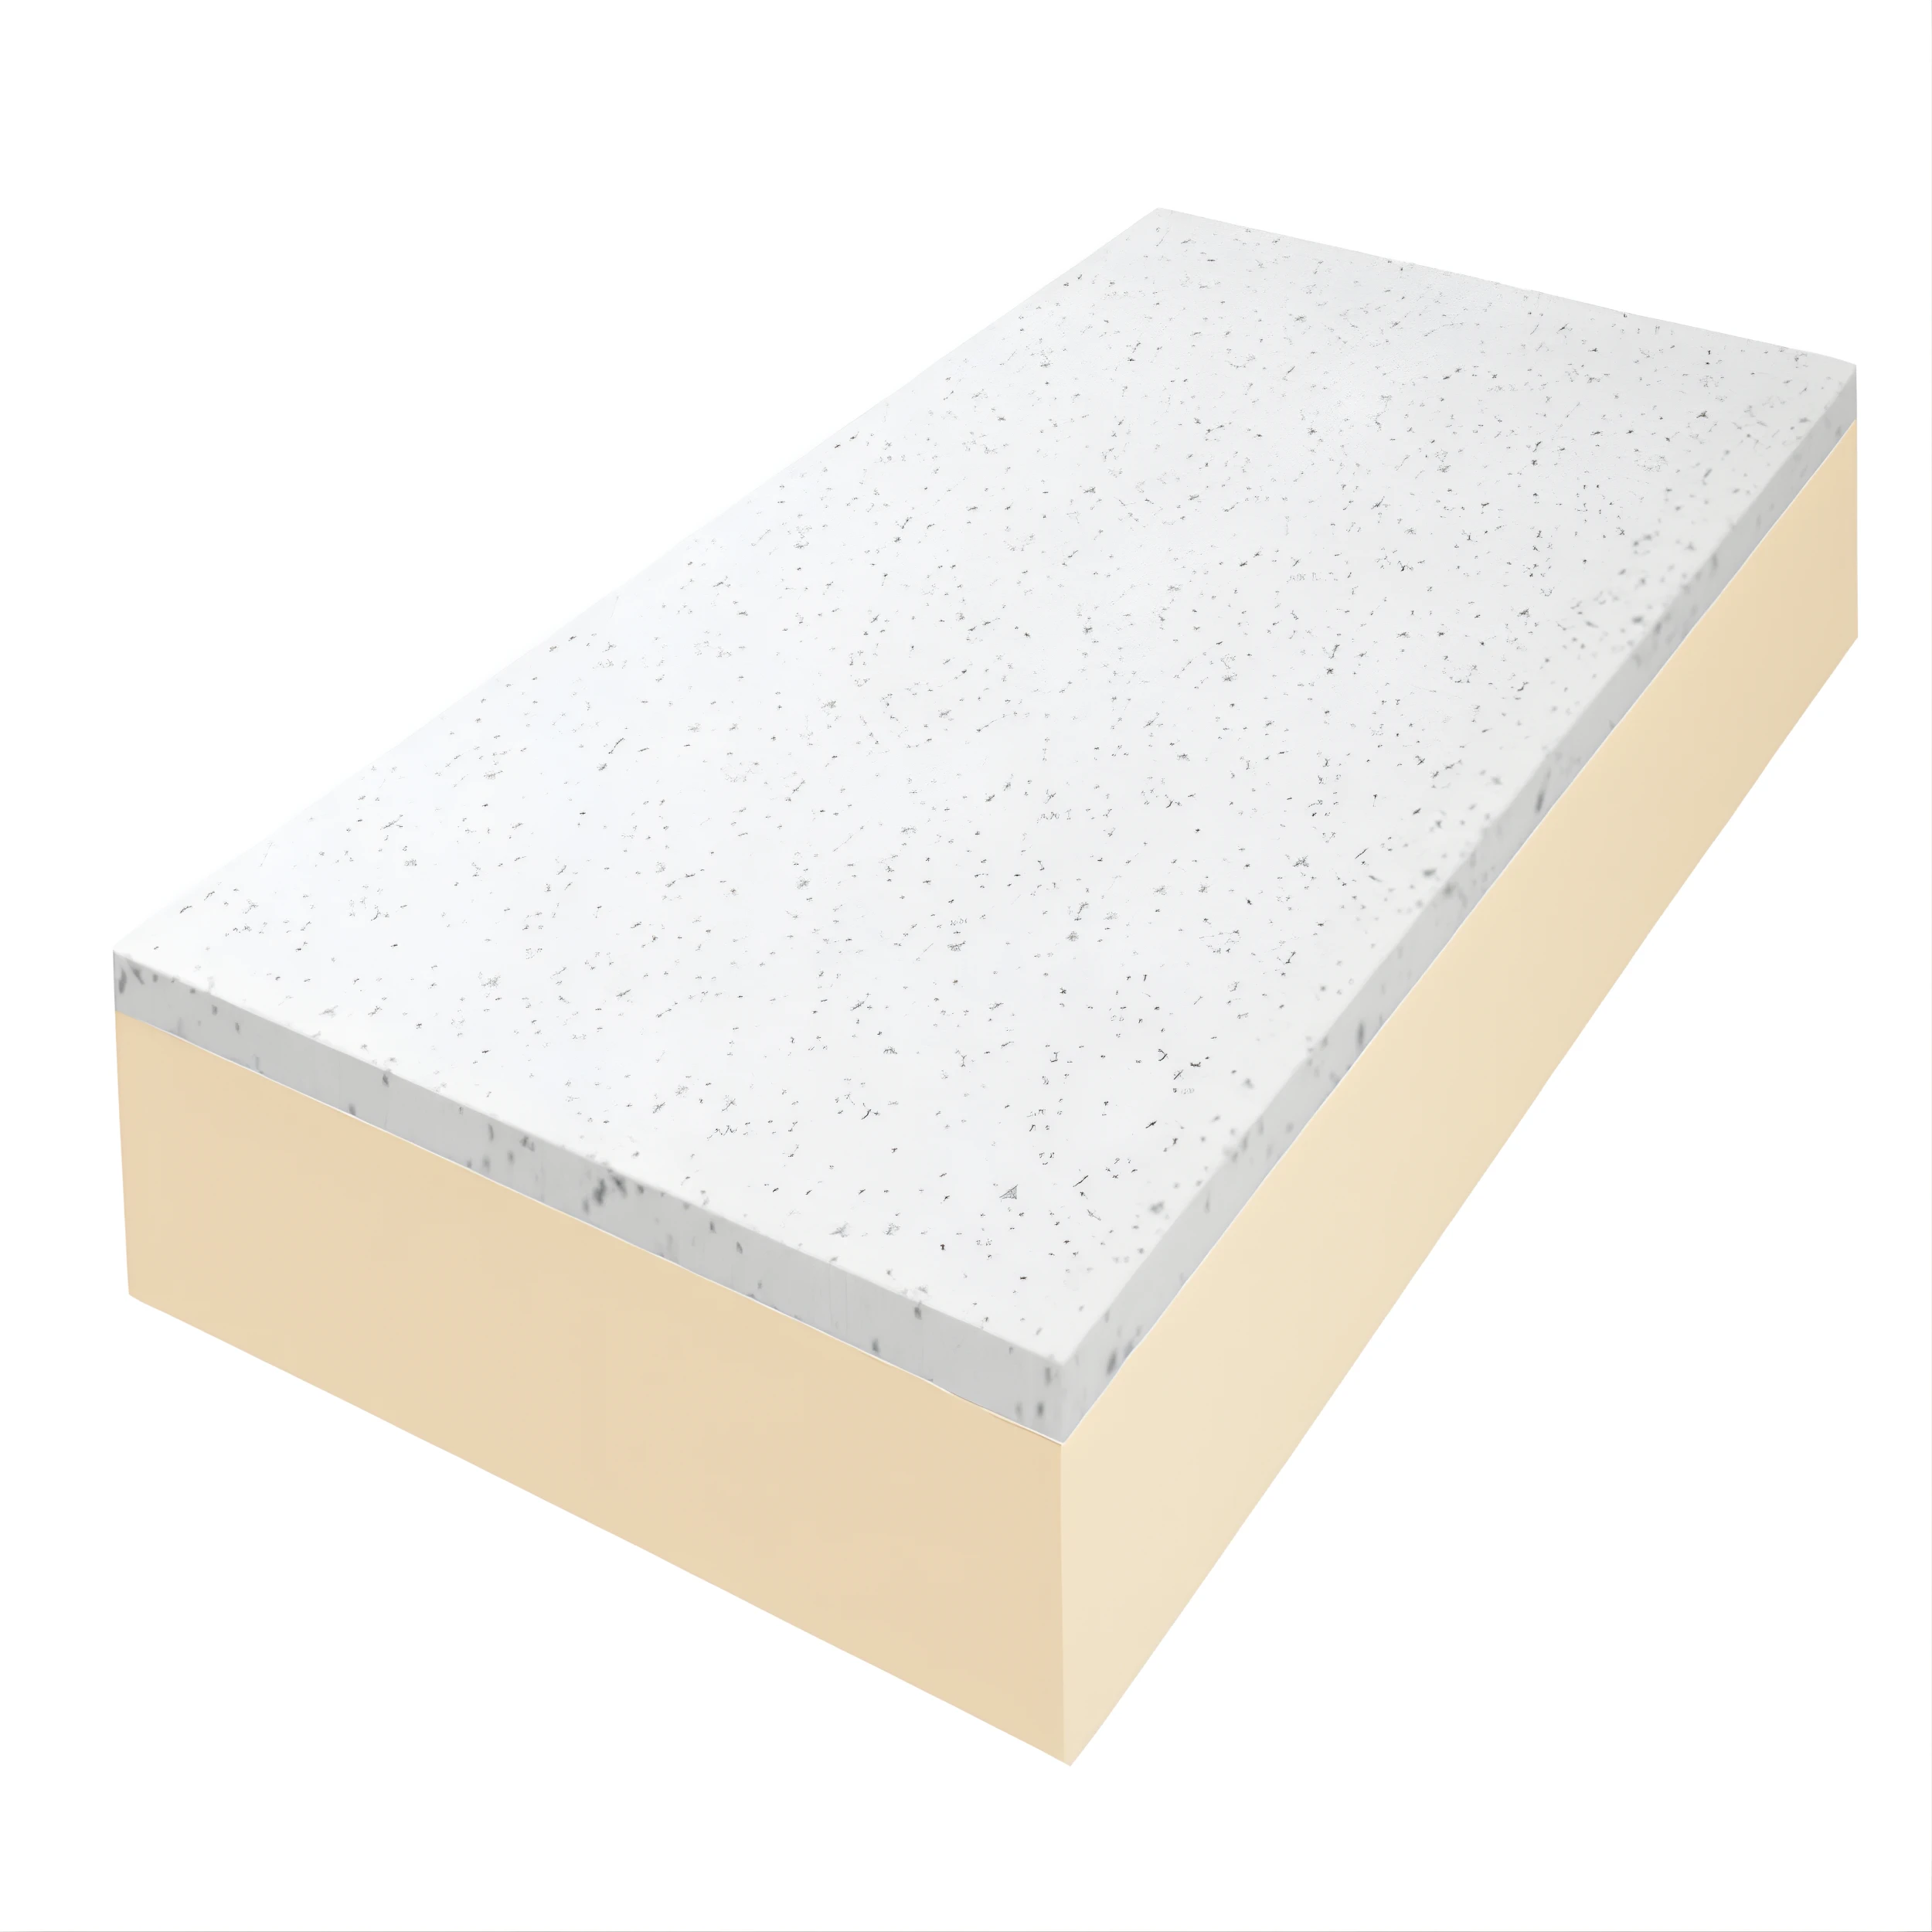
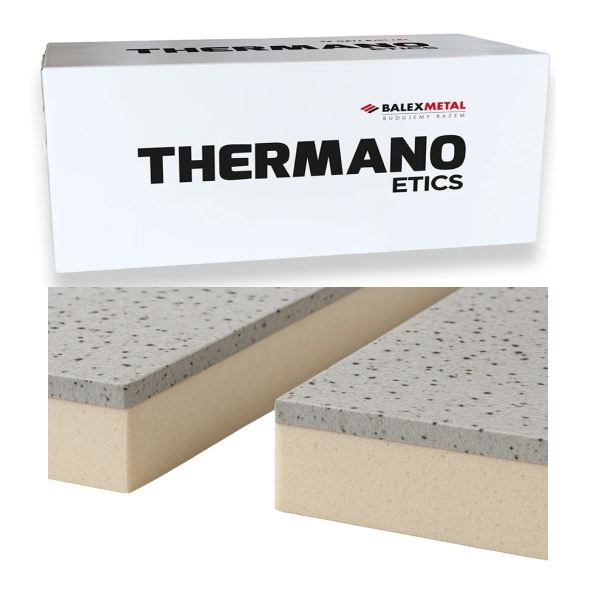
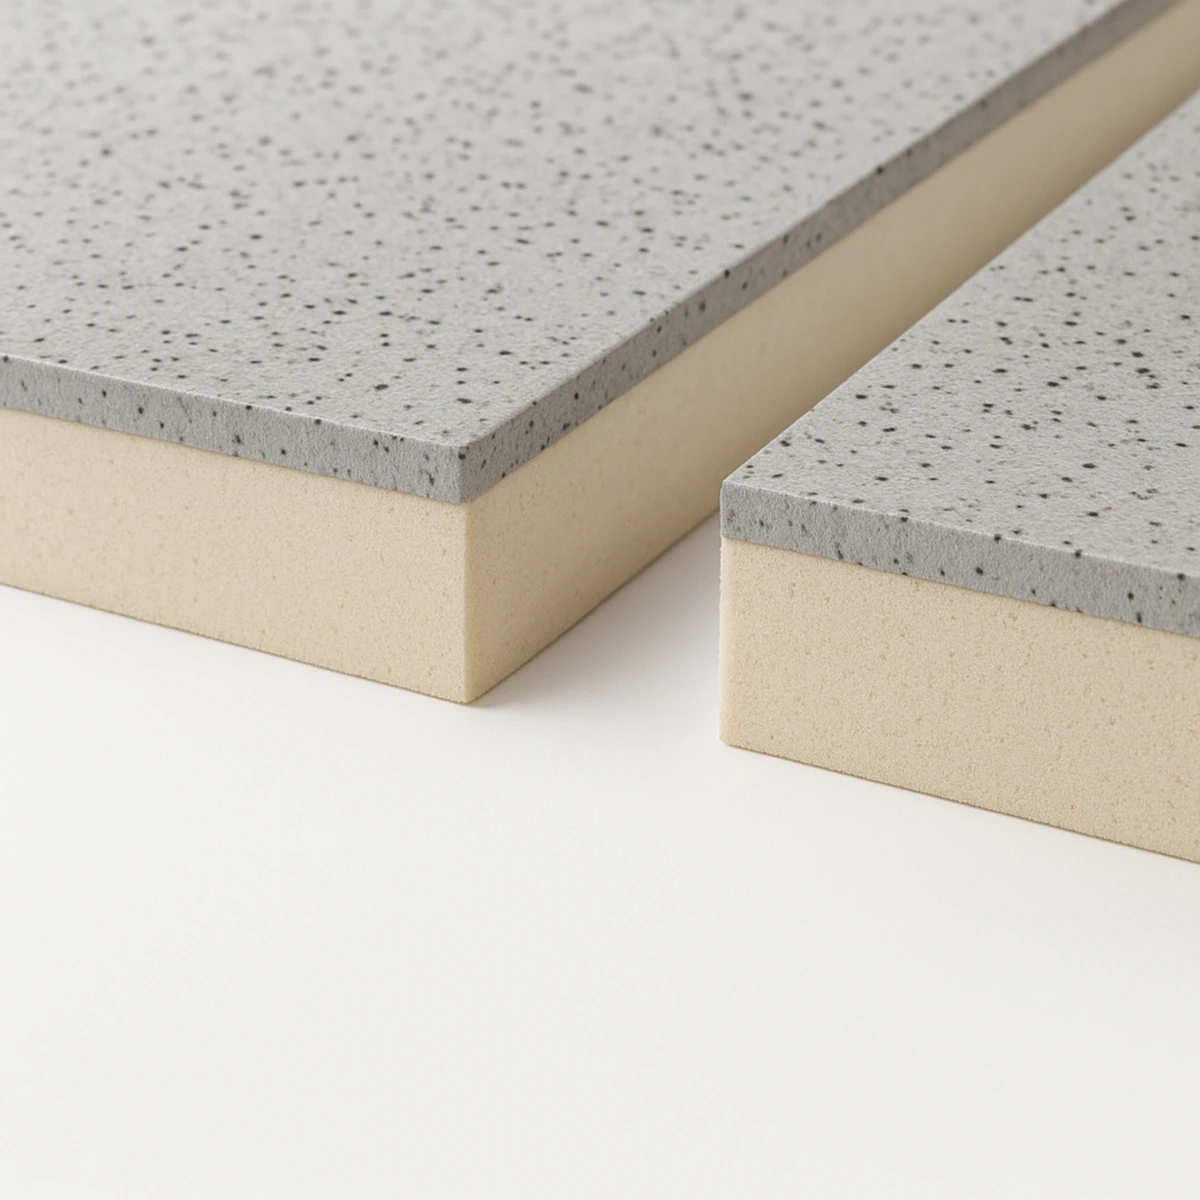
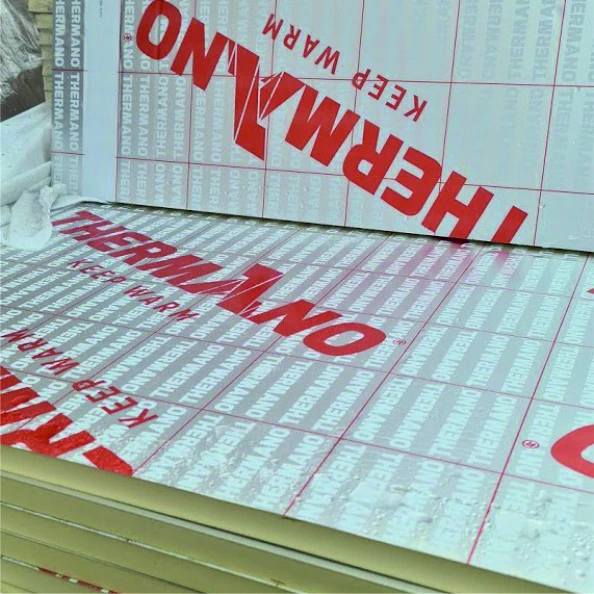
Enter GK-A against the dry rooms where it is specified. White plasterboard forms the exposed face of the composite. Behind it is the PIR layer with gas-tight multilayer facings containing aluminium.
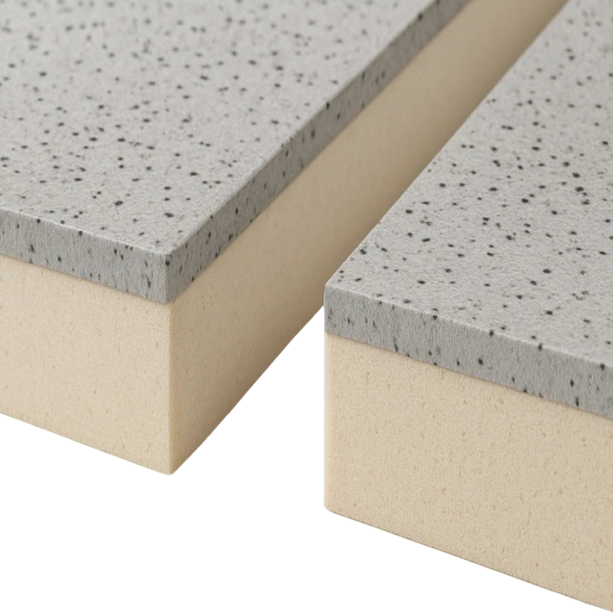
GK-H2 can be identified by its green plasterboard. On delivery, match the label to the room schedule. A single changing facility may contain dry walls as well as shower walls requiring a waterproofing detail.
What the chosen thickness provides
Thermano GK thicknesses refer to the finished panel, including the plasterboard. For GK-H2, for example, the manufacturer declares a resistance of 1.70 m²·K/W at 50 mm total thickness and 3.00 m²·K/W at 80 mm. Include the other wall layers when calculating the complete wall performance.
With the same installation method, choosing the thicker option brings the lining face another 30 mm into the room. Draw the new wall line to scale at the door swing, cabinet and passage. Allow separately for the fixing system and finish.
Doors, sockets and heavy cabinets
Set out 1200 × 2600 mm panels with BASIC square edges on each wall elevation. Show socket boxes and vertical joints on the same drawing as the door frame. Finalise the order after checking the room height at several points.
For a loaded wall cabinet, basin or grab rail, specify the load-bearing substrate and anchorage depth. Fixing length must allow for the added lining. Record the fixing centres before closing the wall so the installer can locate them afterwards.
Water exposure and fire requirements
Where water directly wets the wall, the design should specify waterproofing, corner treatment and pipe seals. The H2 designation applies to the plasterboard itself. Continuity of the waterproof layer also depends on junctions at the floor and fittings.
For GK-A and GK-H2, reaction-to-fire class B-s1,d0 applies from the plasterboard side. Where the wall forms a compartment boundary, the required fire resistance applies to the complete partition, including joints and service penetrations.
Inspecting the first completed room
Before finishing the first room, compare panel labels, joint positions and supports for fittings with the drawing. Photograph concealed junctions, particularly wet-area corners and penetrations. Identify the room in the photo record.
Itemise wall preparation, the specified panel variant, joint treatment, service alterations and waterproofing. This makes it possible to compare finished wall costs and assign responsibility for the final seals after the fittings are installed.

Free quote
What to include in your enquiry
Tell us how you plan to use the material, the dimensions and the quantity you need. Include the thickness, grade or variant name, along with the delivery town or your preferred collection branch. For a specific product, add its name or a link to the product page. We will reply to the email address you provide to discuss availability and the terms of your order.



Read next
A canopy shelters the people on a terrace from rain and sun. If there is a heated room below, the terrace floor…
A timber house for year-round use must meet the requirements for a dwelling. In Poland, using timber does not in itself determine…
An aluminium facing restricts vapour diffusion through a board, but the insulation also depends on its connections to floors, ceilings, windows and…
The foot of an air handling unit transfers weight to a small part of the roof. To assess Thermano Roof boards beneath…
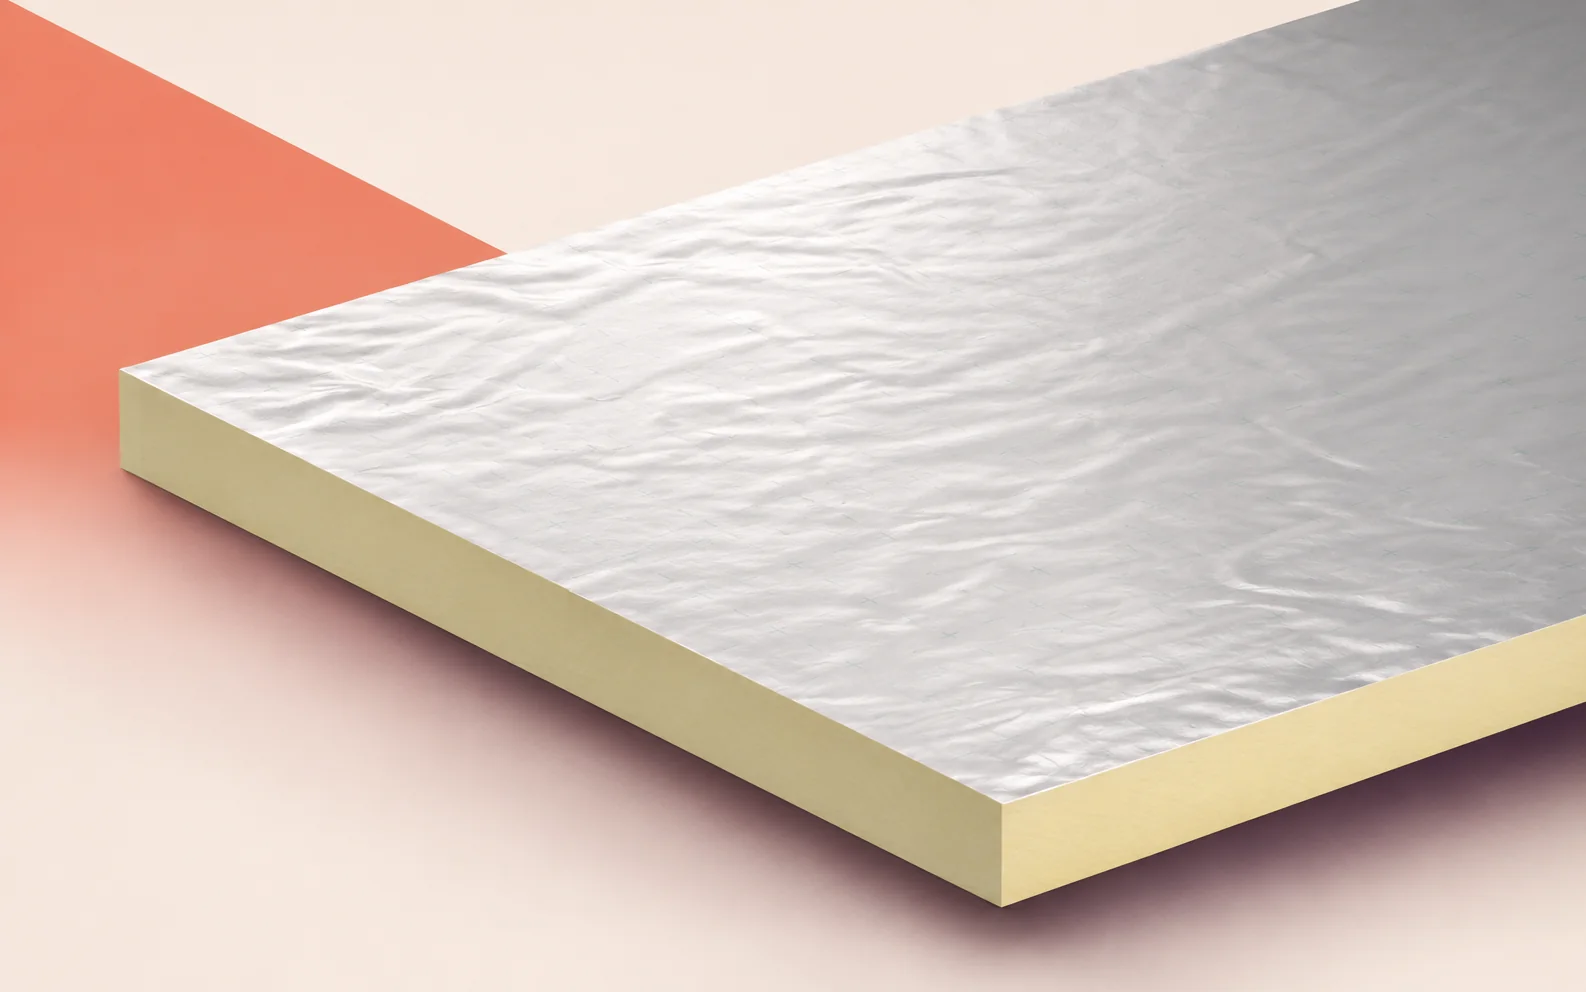
How much space is available for Kingspan Therma TF70 at a doorway between a changing room and a factory corridor? Measure from…
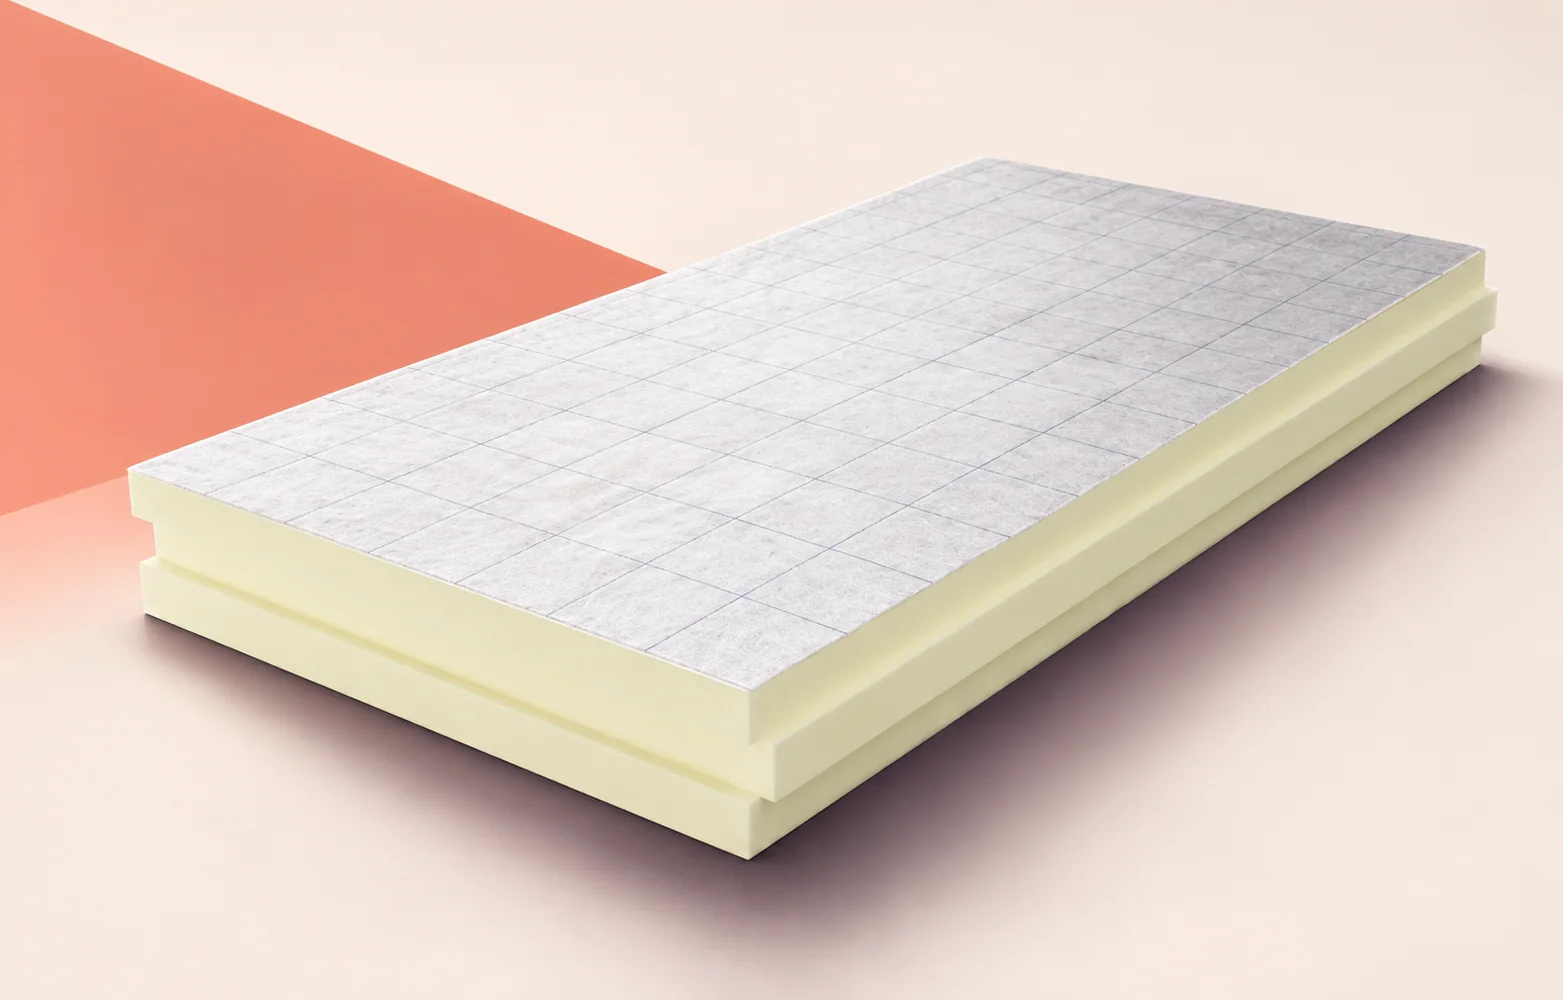
When refurbishing an industrial building with low door thresholds, measure the height from the substrate to finished floor level before choosing termPIR…
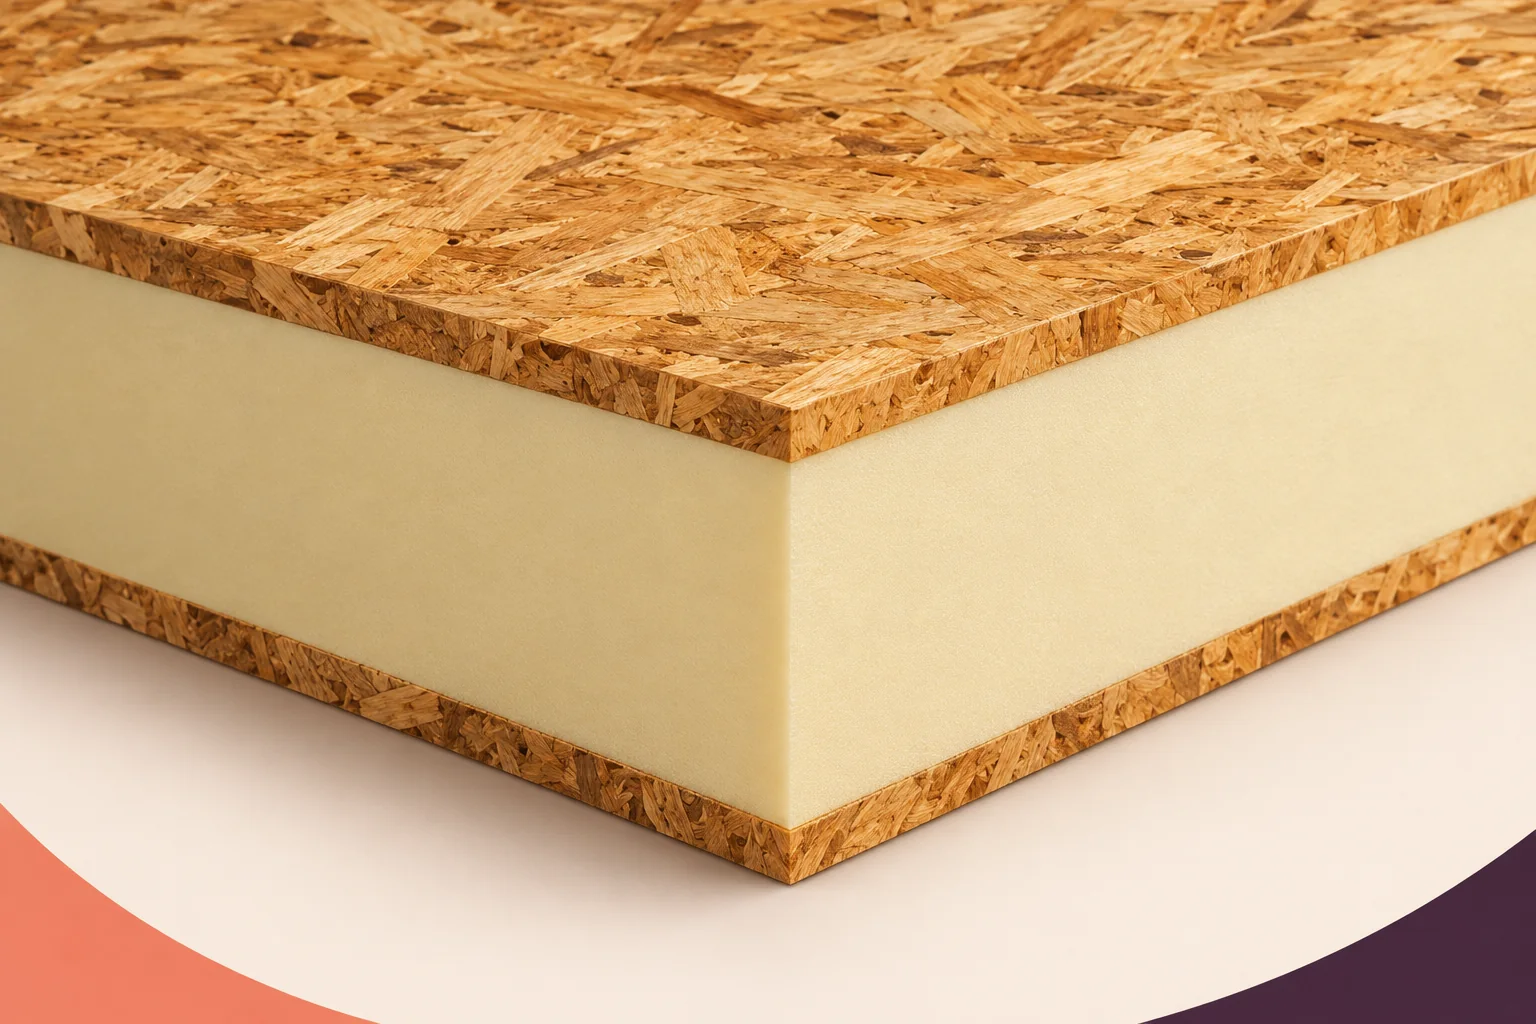
When comparing structural insulated panels, first identify what each quoted figure describes. Thermal conductivity, λ, belongs to a material. Thermal resistance, R,…
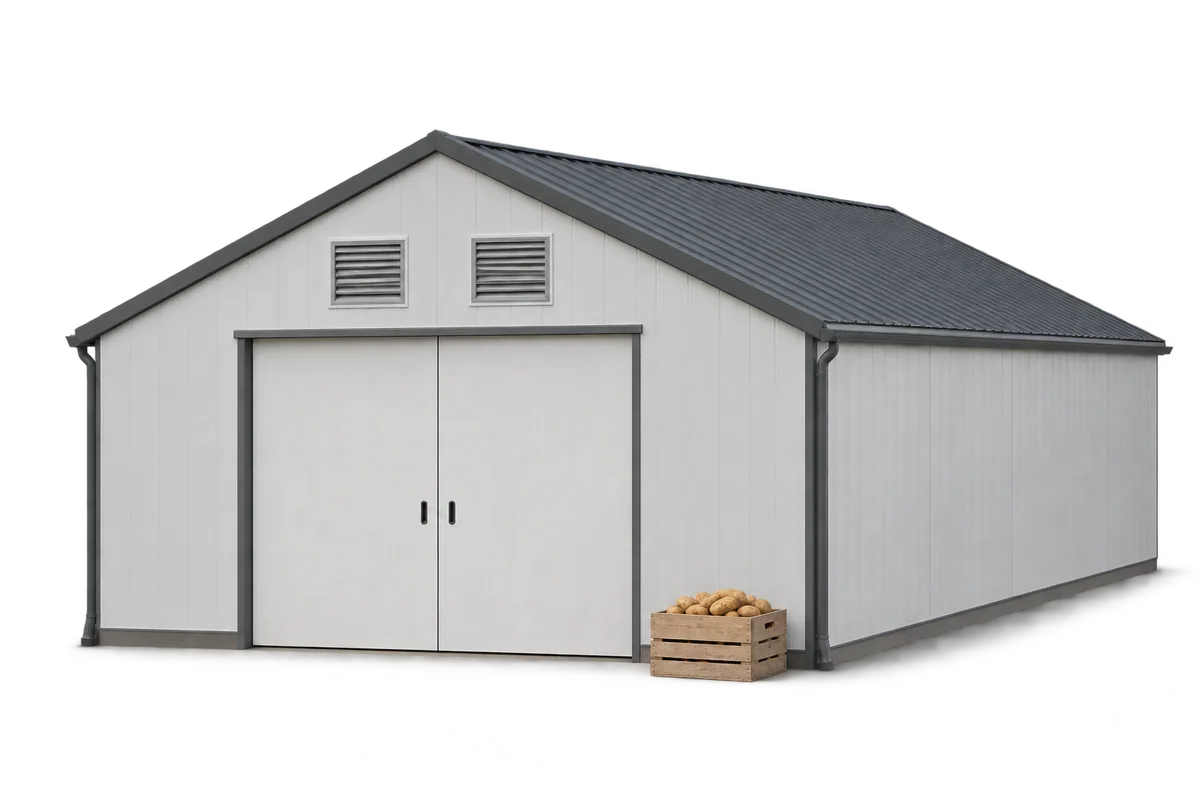
An old warehouse can often be adapted to store potatoes without building a new hall. Three things must work together: an airtight…
