






How do you keep roof insulation continuous at the wall plate?
Insulation and lofts
Trace the wall insulation up to the eaves on a section through the roof. At the wall plate it needs to meet the roof insulation, while the airtight layer on the room side needs its own continuous connection. If the roof is ventilated, allow a separate, clear route for air under the covering. Rafters, anchors and the ring beam can restrict access to all three details. Agree who will complete the junction and inspect it before the soffit and internal lining go on. Insulating only the exposed face of the timber can leave a cold strip above the wall.
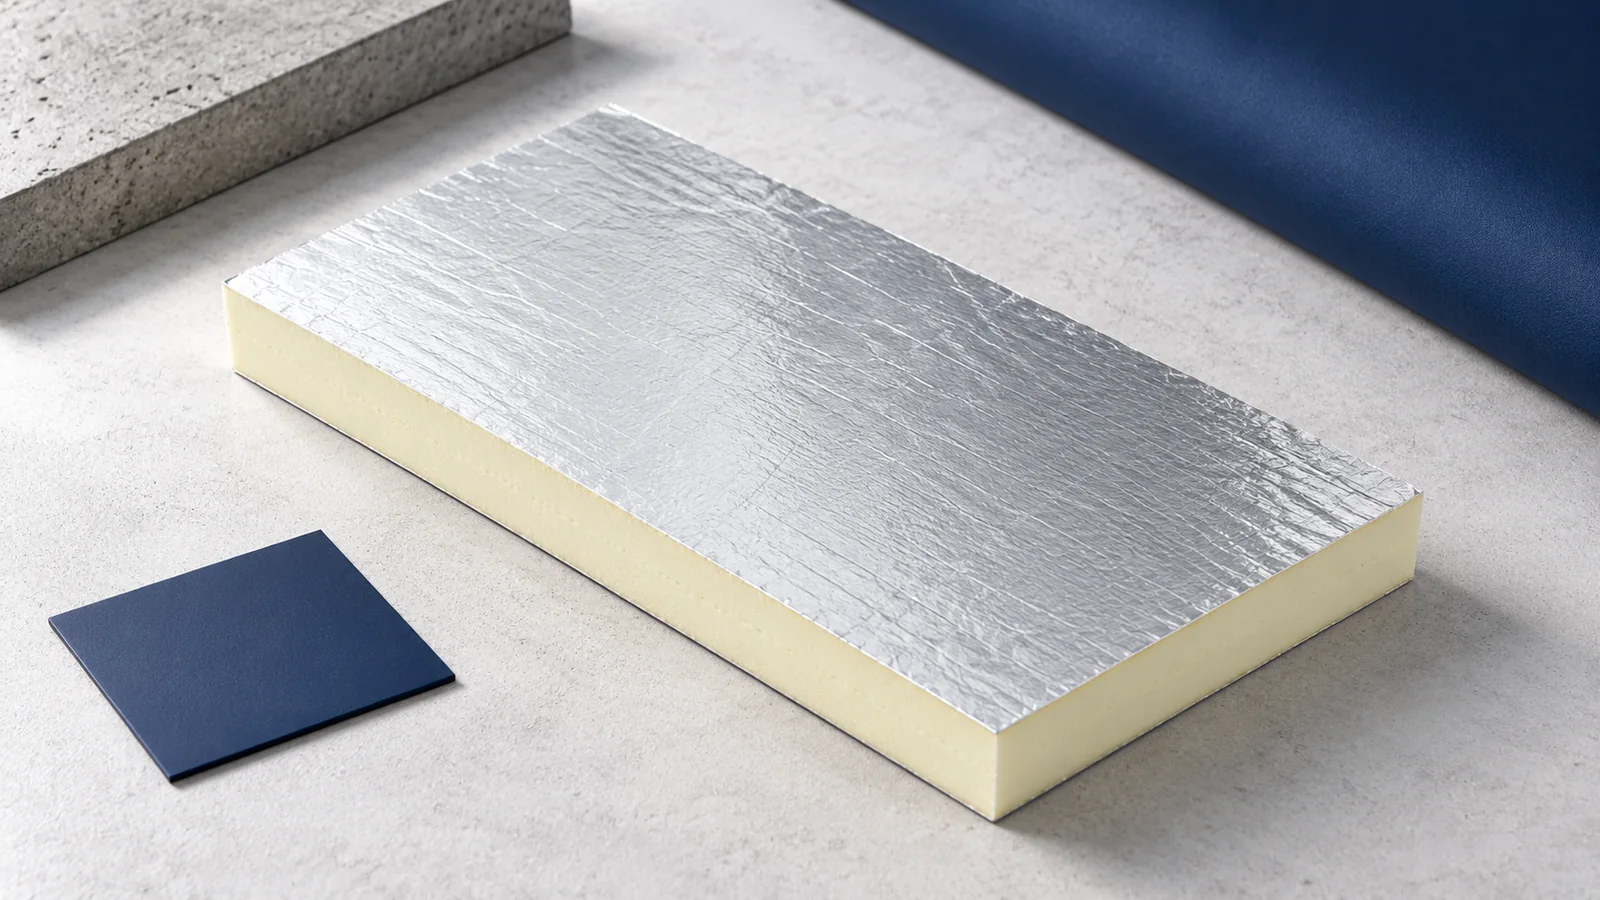
Why is the wall plate junction difficult to insulate?
The wall plate sits close to the eaves and ring beam. Rafters, anchors and eaves components leave little room to work. Insulation installed from the loft may stop short of the wall insulation, and the external layer may end too low. The strip between them is then exposed.
Draw a section through the wall, ring beam and roof to see where heat could bypass the insulation. The whole junction matters, including the areas beside the timber. In a refurbishment, first establish where the existing layers actually run. They may differ from the original drawings.
How should the wall and roof insulation meet?
The layers should meet as drawn, without open gaps or abrupt reductions in thickness. The position of the plate, the height of the ring beam and the rafter layout determine the shape of each cut piece. Coordinate the work of the façade and loft insulation teams.
Above-rafter insulation can pass over the timber and still needs a sound junction with the wall. Between-rafter insulation must fill the space around the bearings. Complete this part while both sides can be inspected and before the soffit or lining conceals it.
Where several trades are involved, assign responsibility for joining the two layers. Otherwise each team may stop at its own boundary. Arrange a joint inspection and photograph the materials in contact while they are visible. A photo of the finished lining cannot show that junction.
Which material suits a confined space?
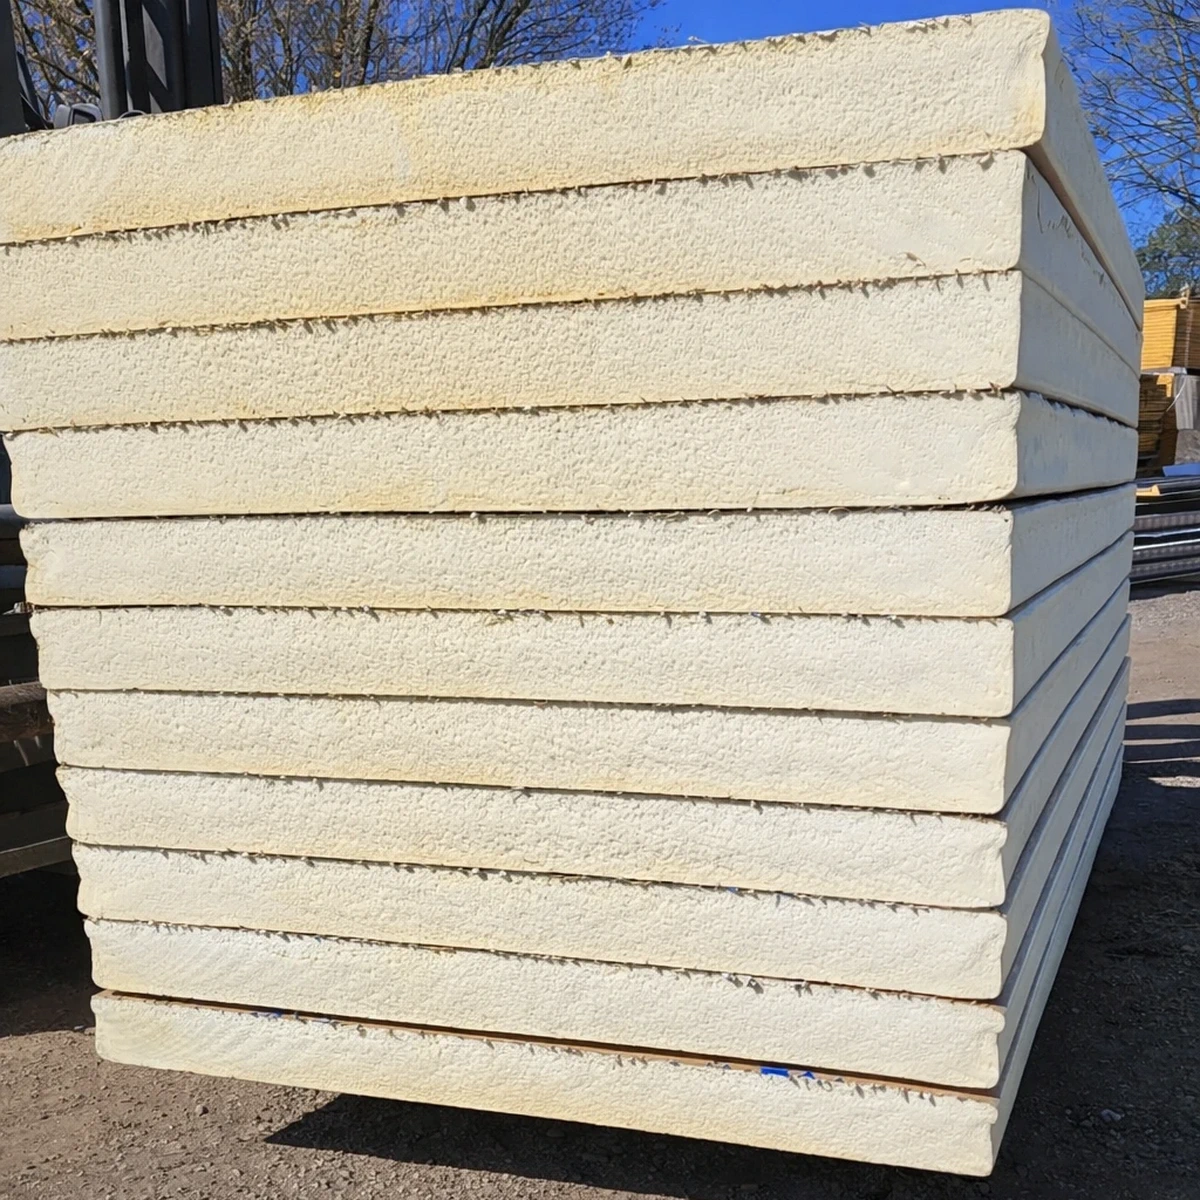
PIR can provide high thermal resistance with limited thickness. Rigid boards can be cut accurately where the geometry and access permit. Pay attention to the joints: a wide gap reduces the effectiveness of the layer. Choose a board and facing that suit the roof design.
Mineral wool can fit some irregular spaces more readily, provided it is not compressed excessively. Do not assume that a general-purpose installation foam can replace the specified insulation thickness. Compare the thermal, moisture and fire properties of the materials for the whole junction.
How do you make the room side airtight?
An air leak can carry warm, moist indoor air into the colder zone near the wall plate. Join the airtight layer in the roof continuously to the wall or the relevant part of the ceiling. Select tapes and sealants for the substrate and prepare rough masonry or dusty timber before bonding.
Corners, anchors passing through the layer and changes of direction are particularly vulnerable. Maintain a continuous seal around each of them, allowing for movement of the timber. A membrane that covers the slope says little about the airtightness of its edge at the wall.
What must the insulation leave clear?
For a ventilated roof, keep the airflow path open. Insulation pushed too far into the eaves can close the inlet. An accidental gap admitting cold air into the insulation is equally undesirable. The ventilation path runs separately from the insulating layer.
Check the timber and fixings before covering them. Investigate a wet wall plate, a leak or damage at a rafter bearing and deal with the cause first. Close to a chimney, observe the requirements for the particular flue system and adjacent materials.
How can you check the completed detail?
Inspect the continuity of the insulation and airtight connections before closing the eaves and sloping ceilings. Photograph each section, especially at corners. After completion, thermal imaging under suitable conditions can show surface temperature patterns. Interpreting those patterns requires knowledge of the construction and test conditions.
A cold strip at ceiling level may indicate missing insulation, air leakage or another defect. Identify the cause before specifying a repair. For a quotation, provide photographs and dimensions of the available space so the work can cover the junction between roof and wall in full.

Free quote
What to include in your enquiry
Tell us how you plan to use the material, the dimensions and the quantity you need. Include the thickness, grade or variant name, along with the delivery town or your preferred collection branch. For a specific product, add its name or a link to the product page. We will reply to the email address you provide to discuss availability and the terms of your order.

Read next
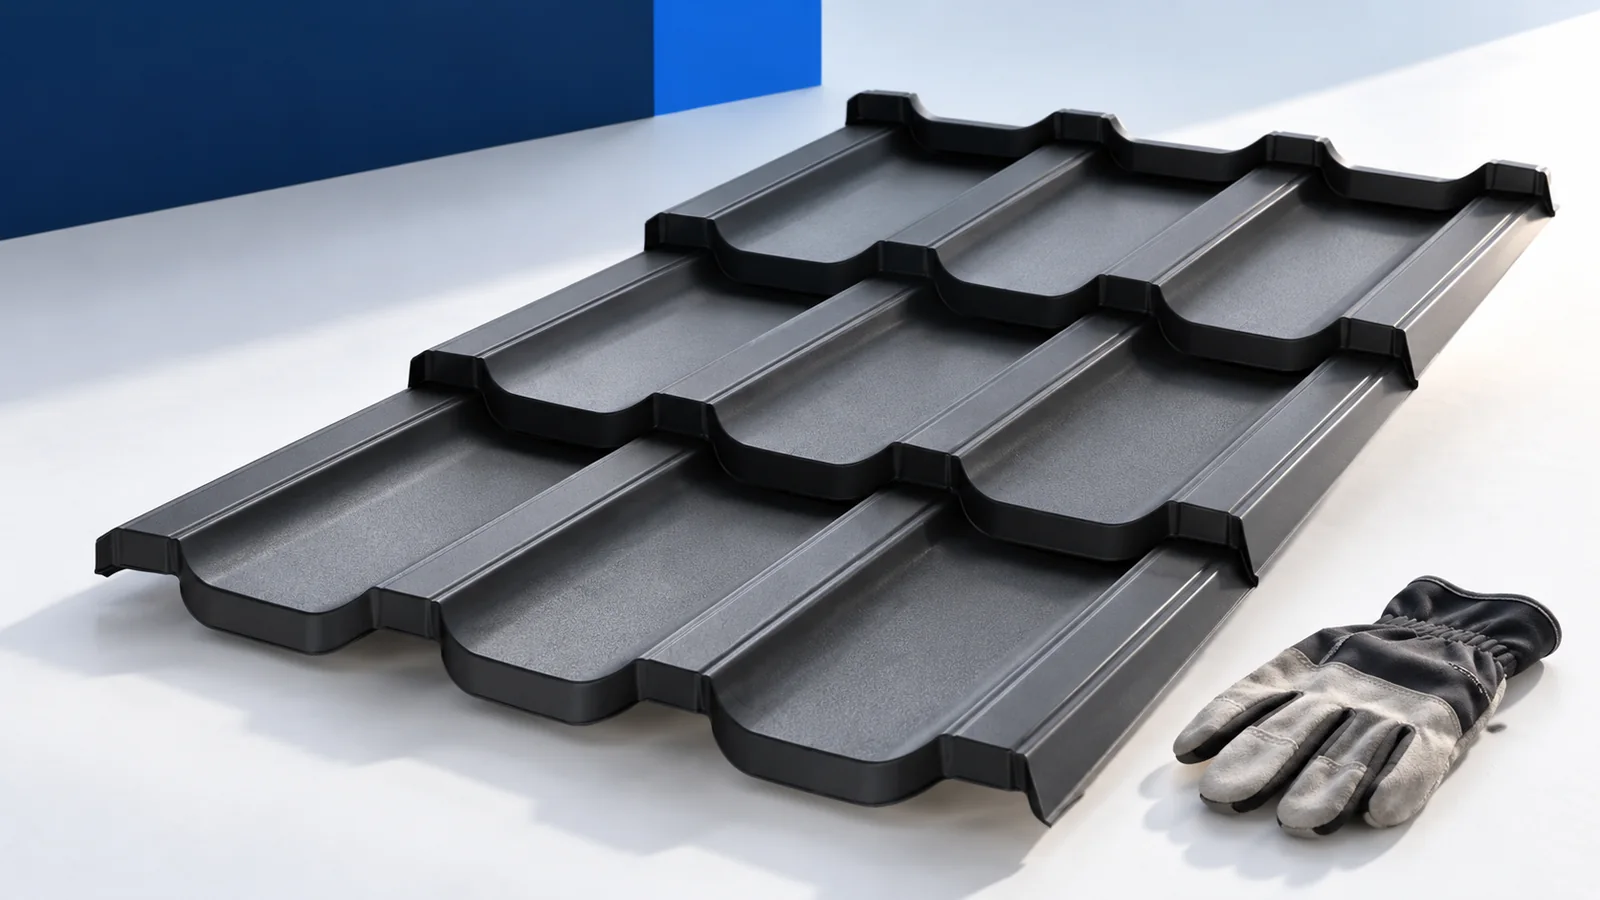
On a mono-pitch roof, one eaves line collects runoff from the entire slope. Before choosing the covering, draw a section through the…
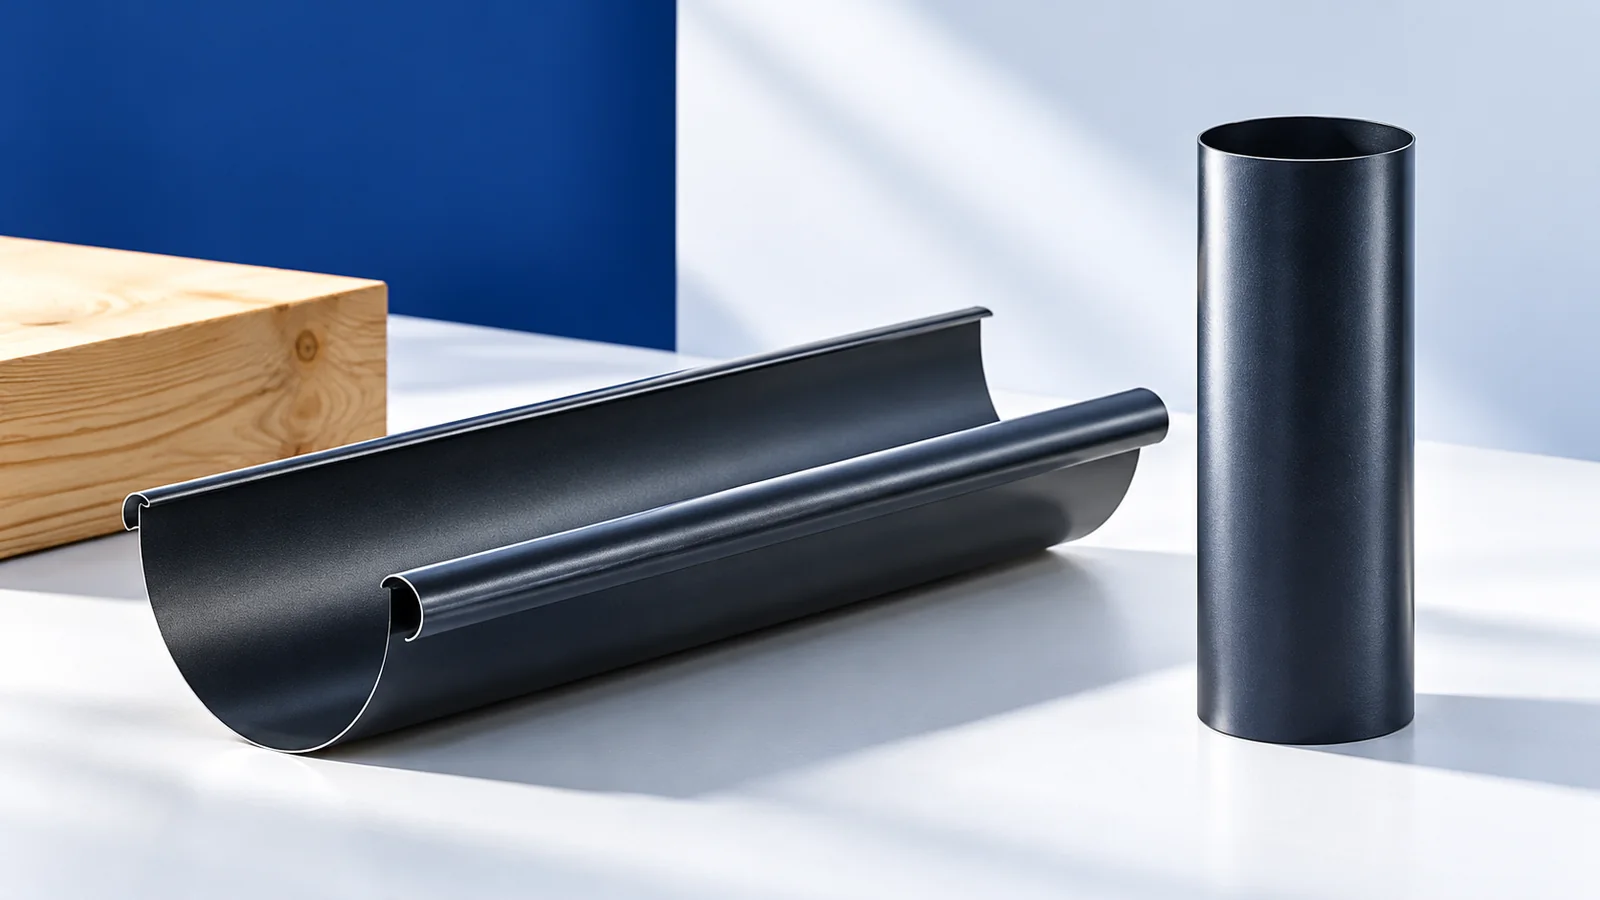
To select gutters for a metal roof, mark the area draining to each outlet on a roof plan. A valley may concentrate…
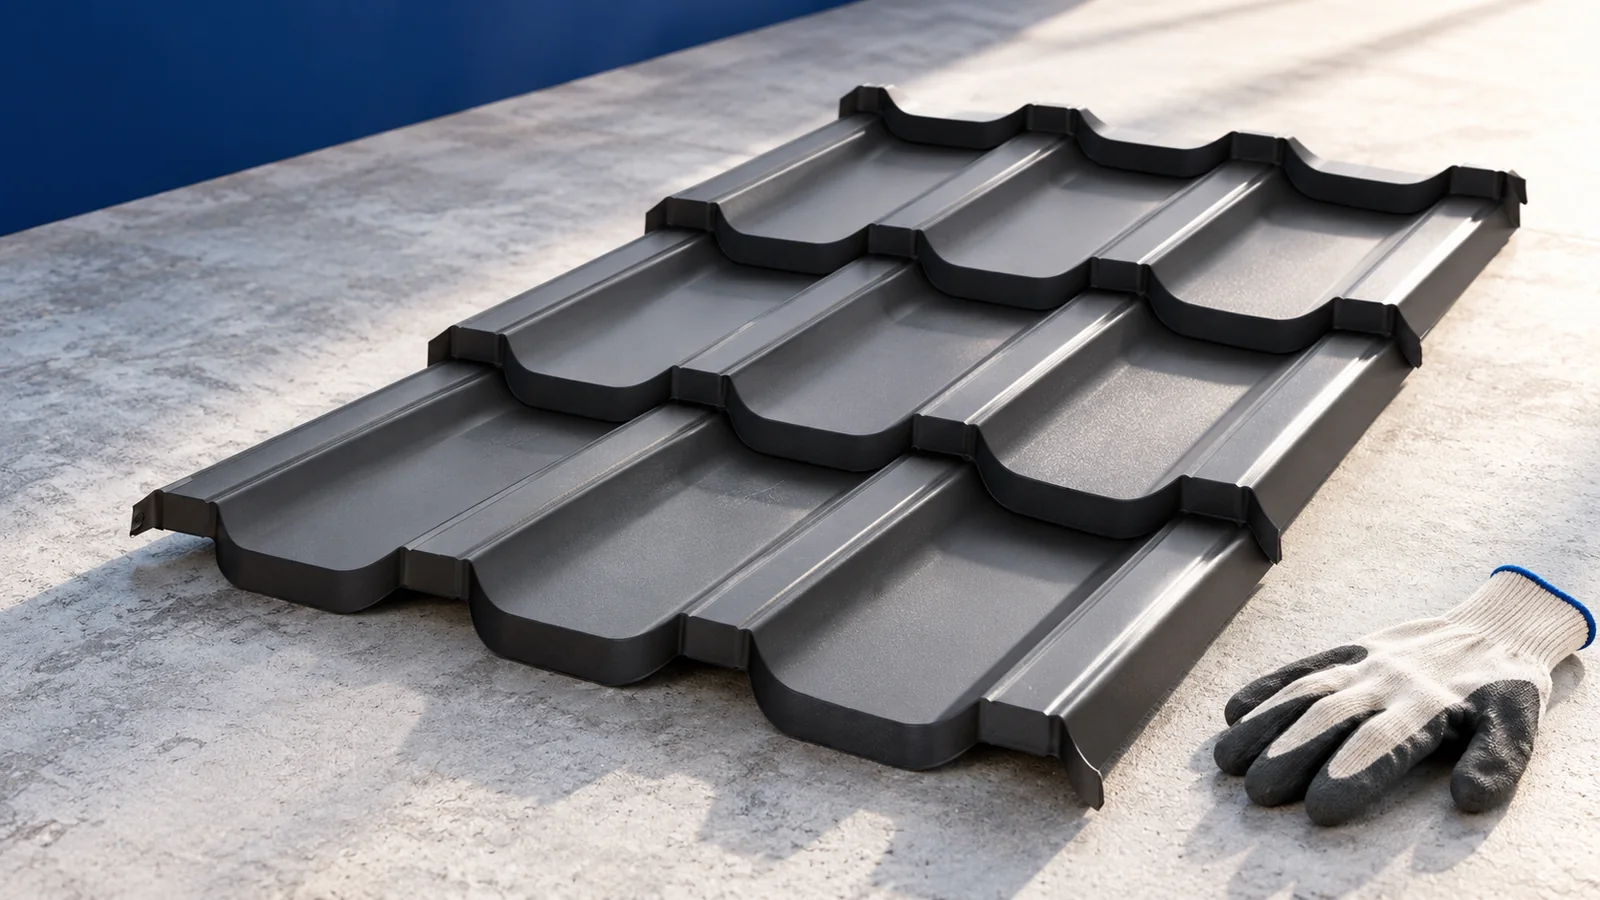
Two roofers can quote different prices per square metre for the same slope because they are pricing different work. One may include…
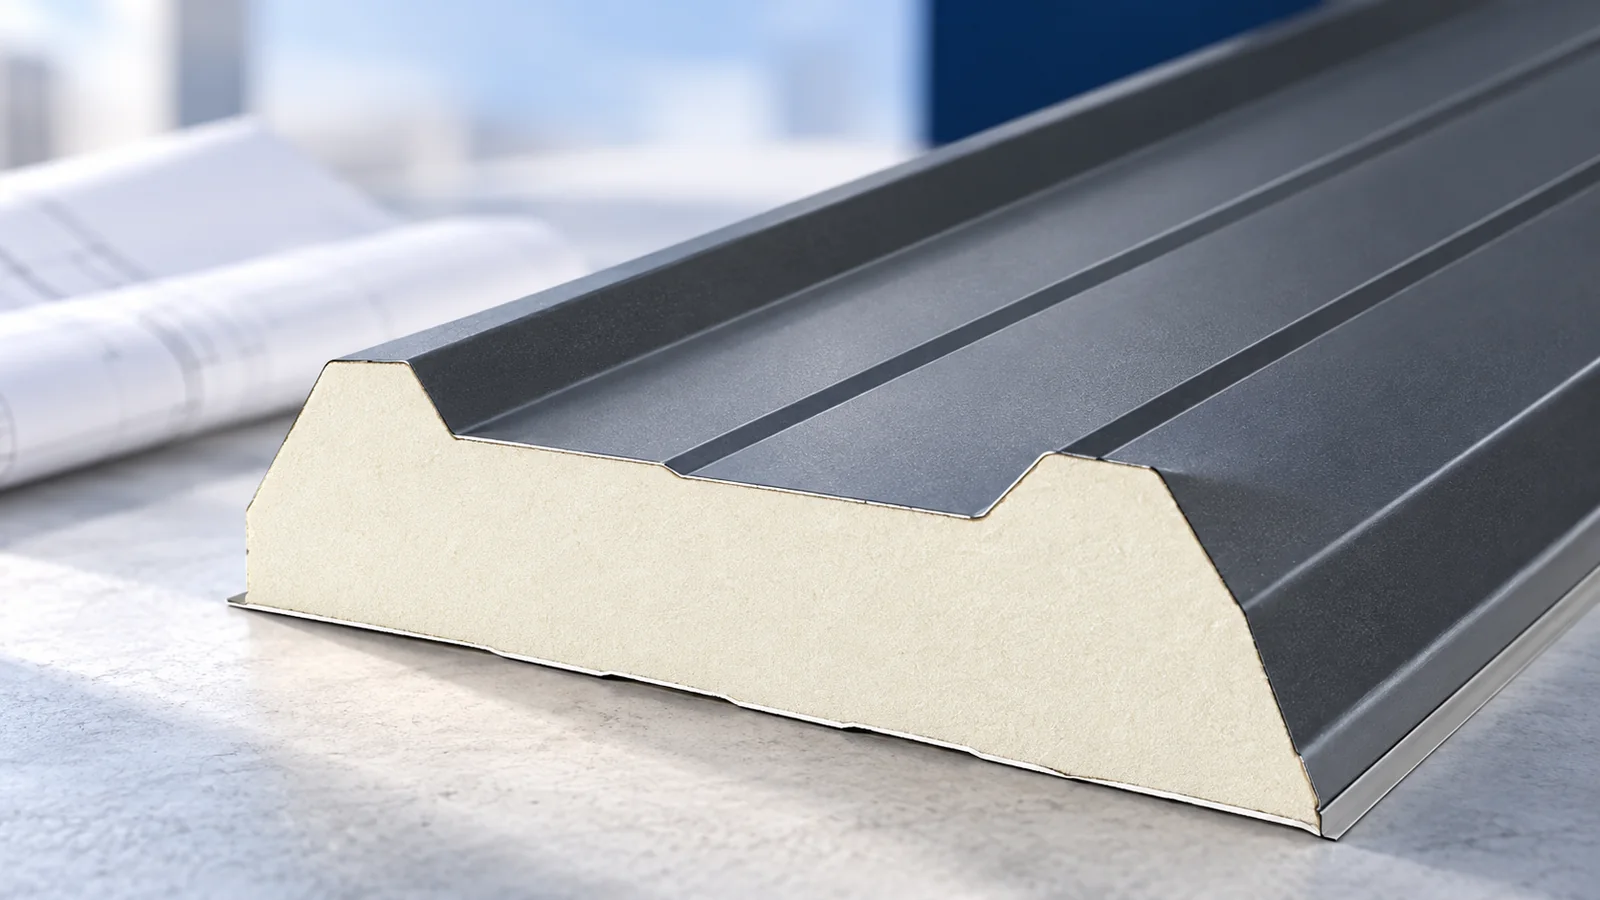
A sandwich roof panel combines the weathering sheet, insulation and inner face in one factory-bonded unit. It can close a heated garage,…
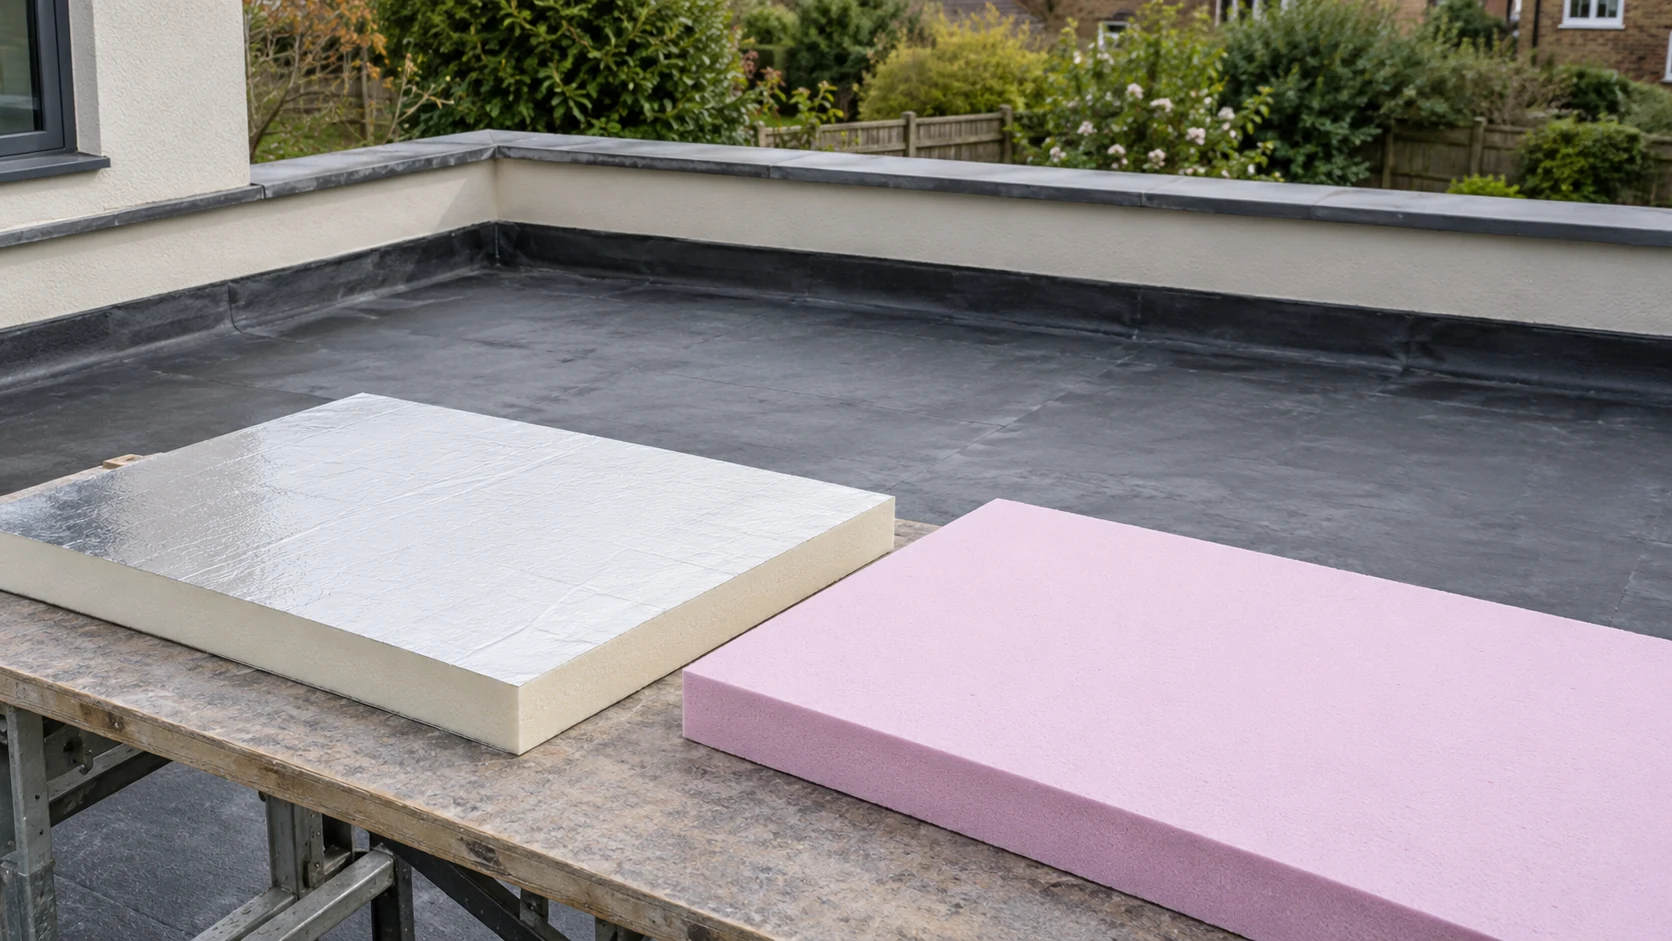
The position of the waterproofing is the starting point for choosing flat roof insulation. On a warm roof the insulation sits below…
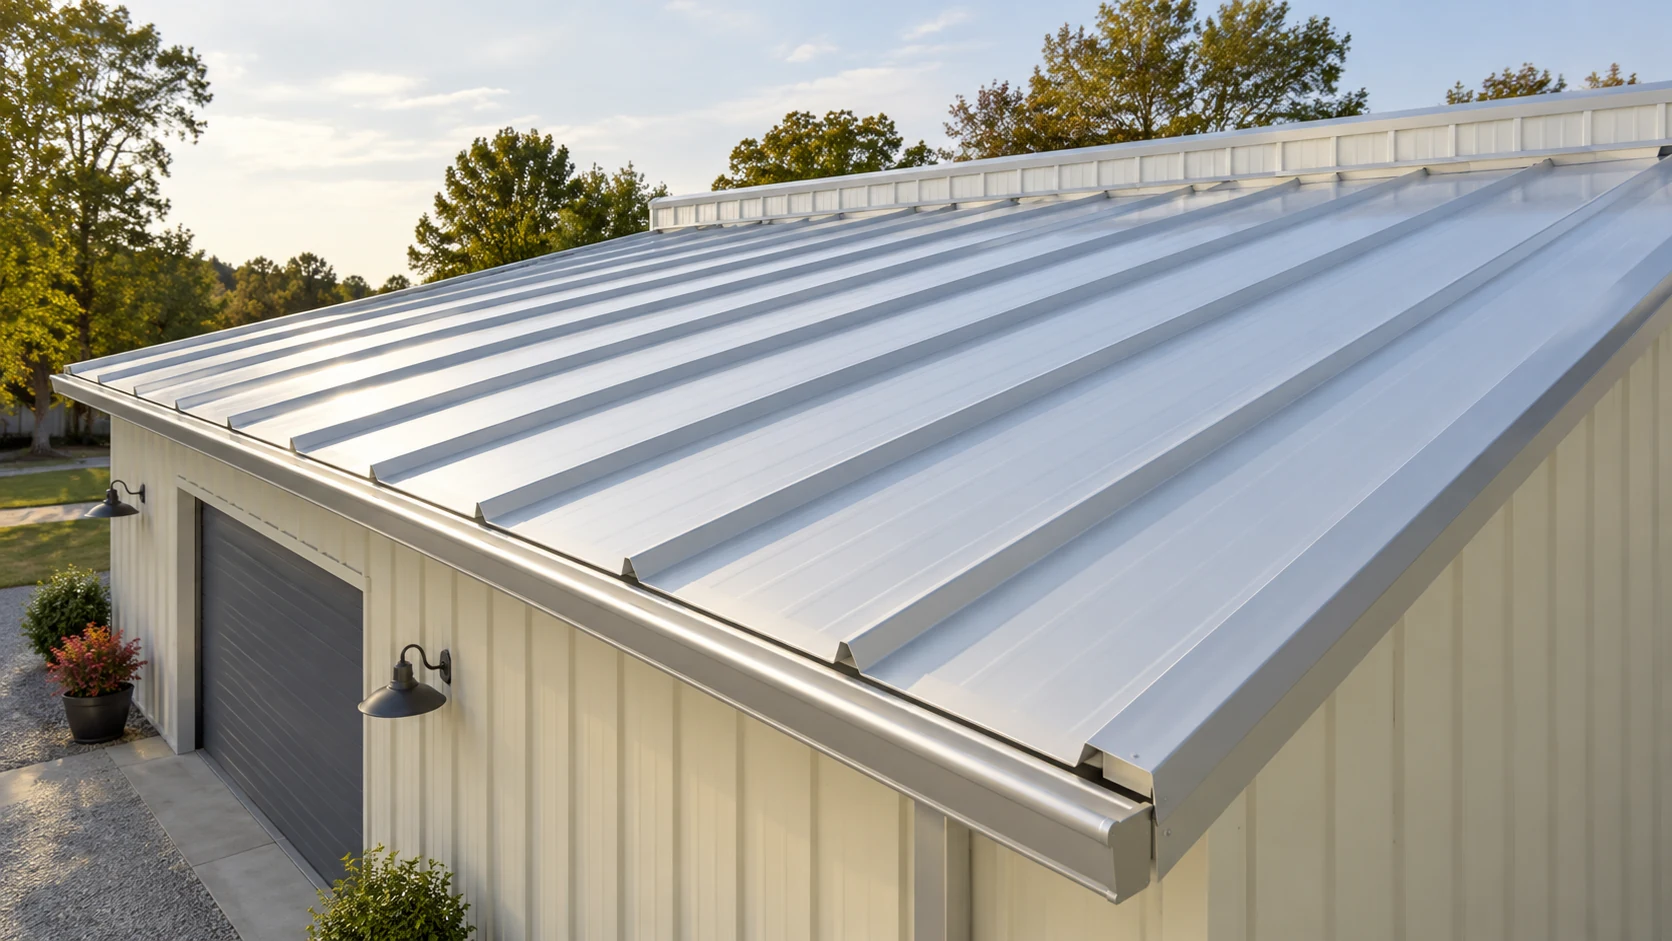
A roof that looks flat still needs a reliable drainage path. For a sandwich panel roof, check the minimum pitch for the…
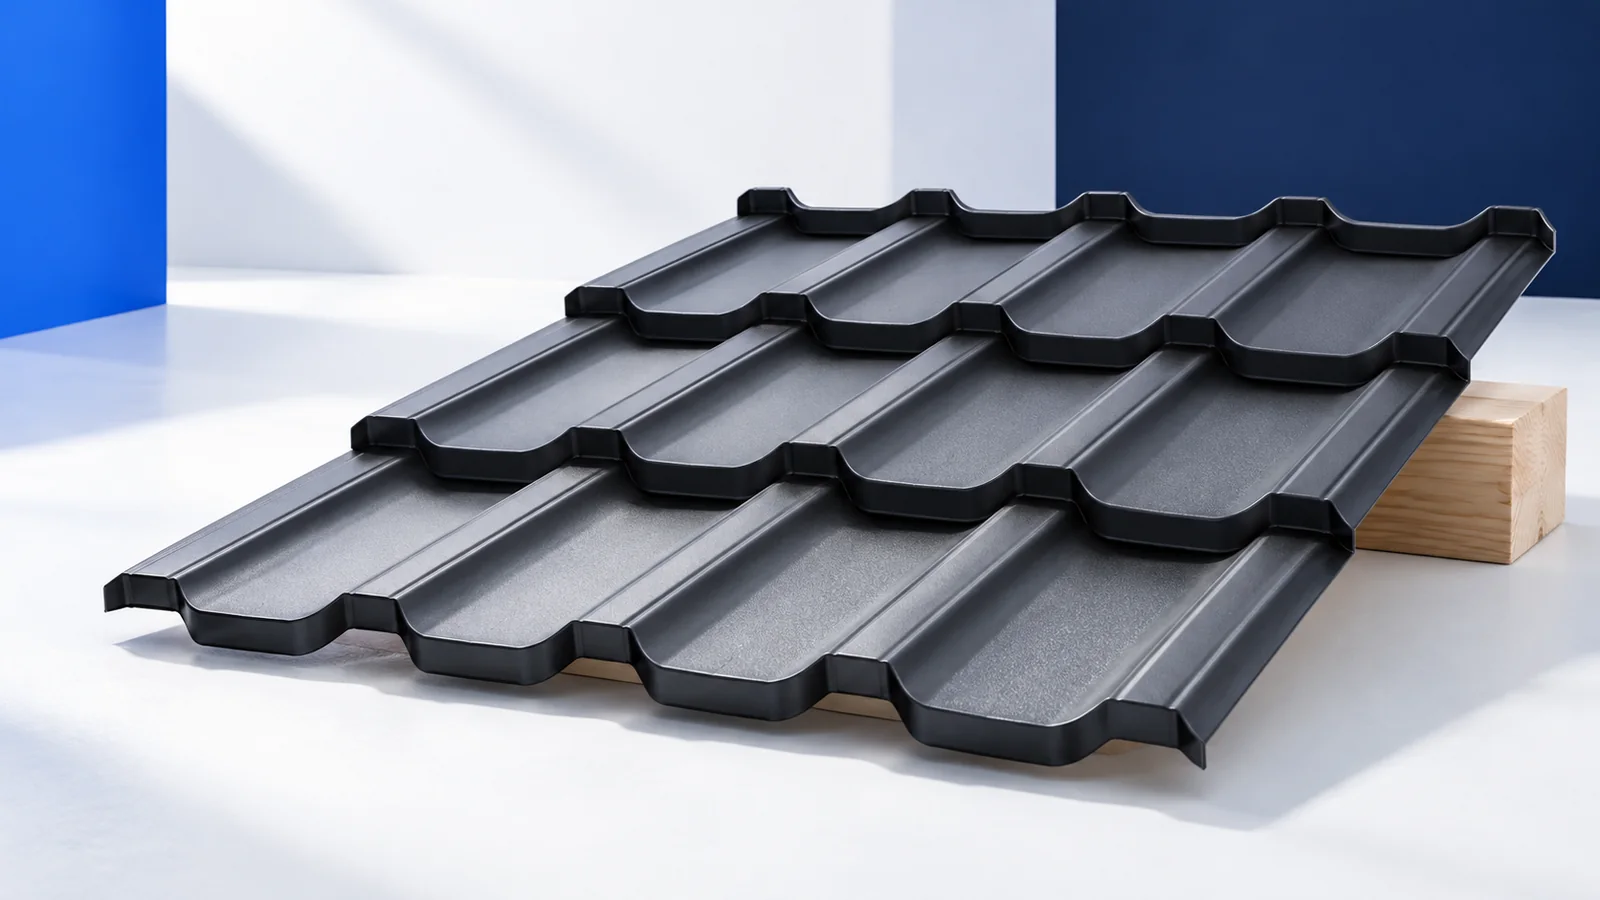
Follow the force of wind uplift from the roof sheet through its screws, battens or purlins and into the anchored structure. Each…
Before deciding to repaint a metal roof, find out what changed. Surface deposits may wash off, a streak below a fixing may…
