






Six ways to reduce wind damage to a roof
Roof structure and installation
Follow the force of wind uplift from the roof sheet through its screws, battens or purlins and into the anchored structure. Each connection must carry its share of the design load. On the roof plan, mark the corners, verges, ridge and eaves because the fixing pattern may change at these boundaries. Check large doors and roof equipment as well. They can affect internal pressure or introduce concentrated forces. During installation, photograph connections that will be hidden. After a storm those records help an inspector identify whether a fastener, sheet or support has failed.
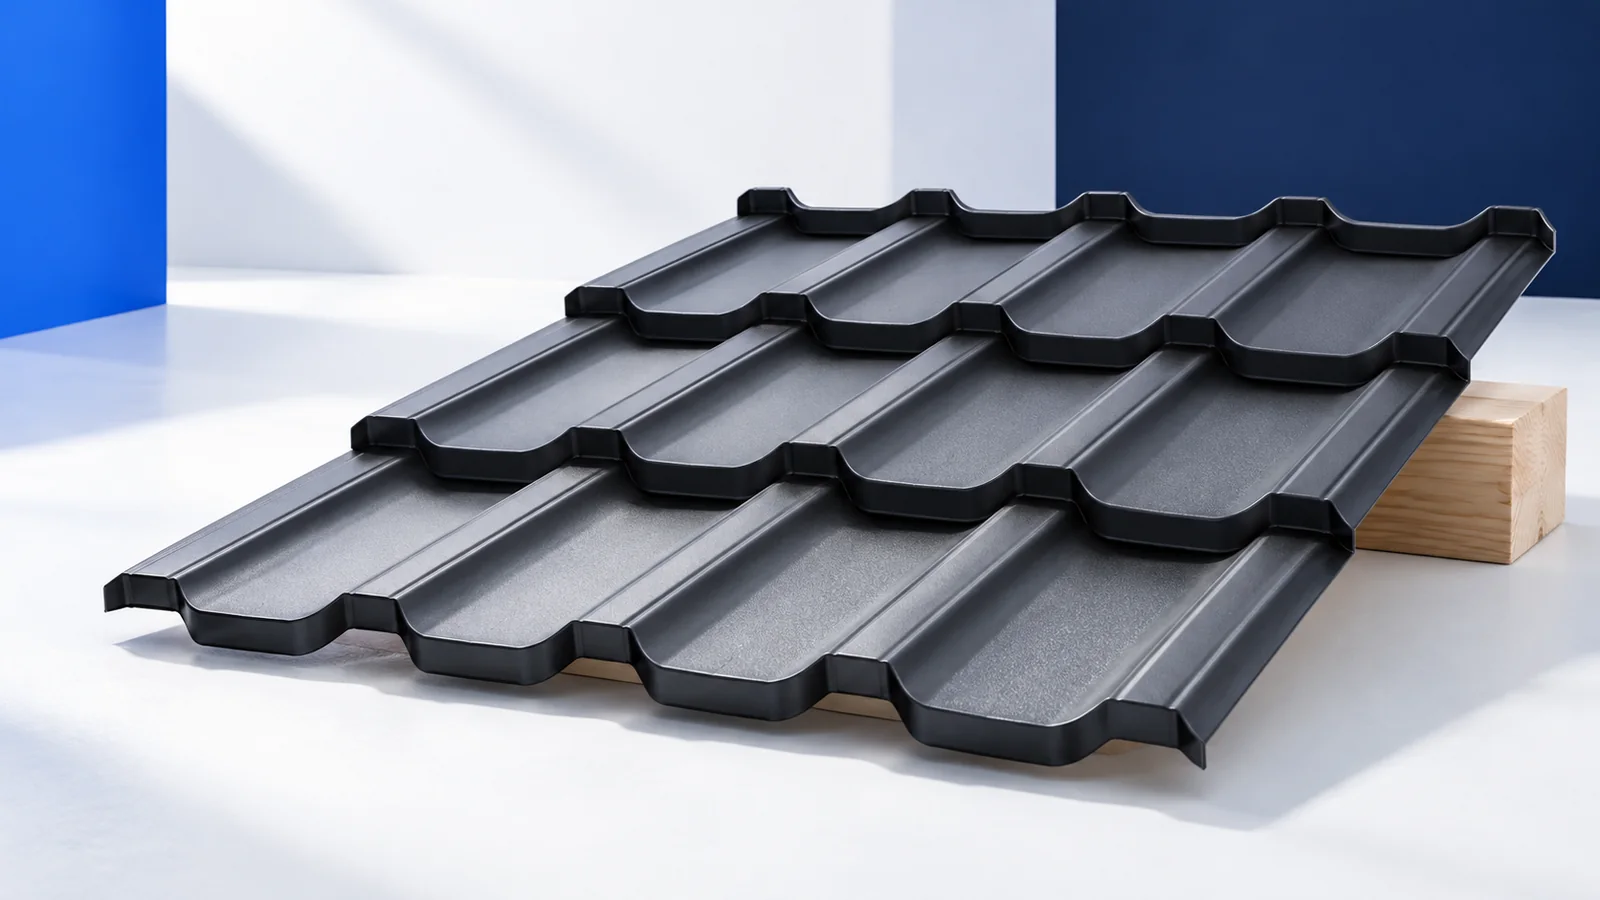
1. Establish wind loads for the site and roof shape
An exposed building experiences different wind action from one sheltered by neighbouring development. Height, geometry and surroundings affect pressure and suction. The structural design must account for uplift as well as downward forces in the relevant load combinations.
Large doors and changes to the enclosure can alter internal pressure. Recheck the original assumptions when extending a building, removing cladding or adding large roof equipment. Each change can affect how wind loads act on the whole structure.
2. Trace the load path into the structure
Loads pass through the sheet fasteners into battens or purlins, then through the frame to its anchors. A thicker covering cannot restore a weak rafter-to-support joint. Inspect concealed connections during refurbishment, particularly in an older building altered several times.
For insulated roof panels, check the support conditions assumed in the load table. Facing thickness, span, bearing width and connections matter alongside core thickness. Verify the complete load path when applying a table value to an actual roof.
3. Specify fasteners and their layout
Select the thread, fastener length, drilling capacity and washer for the sheet and substrate. Check both pull-out from the support and pull-over of the sheet around the fastener head. Number and layout of fixings must follow the calculated loads and system documentation.
A tilted screw or incorrect clamping force can compromise even a correctly specified fastener. Check that timber is sound and that steel supports have the specified thickness. If the support changes, review the screws before using those already ordered.
4. Check edges and corners separately
The eaves, ridge, corners and verges may need different fixing patterns from the middle of a slope. Loose components can start to lift in these areas. Use the zone-specific layout from the design and instructions when installing or repairing the roof.
Support edge flashings over their intended width. An unsupported overhang can vibrate and fatigue its joints. Inspect the soffit and fascia too. Damage there can admit wind underneath the covering. Keep the designed ventilation openings clear when repairing the eaves.
5. Detail openings and overlaps against wind-driven rain
Wind can force rain under a reversed lap or loose flashing. Check runoff direction, support and the required seals at roof windows, chimneys and service penetrations. A wide bead of sealant across a poorly formed overlap can open again when the roof moves.
Antennas and photovoltaic arrays need their own verified fixing arrangement. Check where the loads enter the structure and the local capacity of any thin facing. Keep a record of the mounting points so later inspections can identify exactly which joints to examine.
6. Inspect at handover and after strong winds
At handover, compare installed screws and flashings with the agreed details. Photograph connections before concealment. In service, investigate loose parts, new noises or changes after a storm from a safe position. A lifted sheet during strong winds requires a controlled response by trained personnel.
After damage, inspect the substrate and sheet profile before refastening anything. The screw may have torn out its support or pulled through the sheet. Restore the connection’s intended capacity and review the cause against the design, installation and maintenance records.

Free quote
What to include in your enquiry
Tell us how you plan to use the material, the dimensions and the quantity you need. Include the thickness, grade or variant name, along with the delivery town or your preferred collection branch. For a specific product, add its name or a link to the product page. We will reply to the email address you provide to discuss availability and the terms of your order.



Read next
Daylight can improve working conditions in an industrial building if it reaches the right places. Lay out the rooflights in relation to…

Start the autumn roof inspection from the ground and the loft. Look for overflow marks beneath gutters, displaced flashings and damp patches…
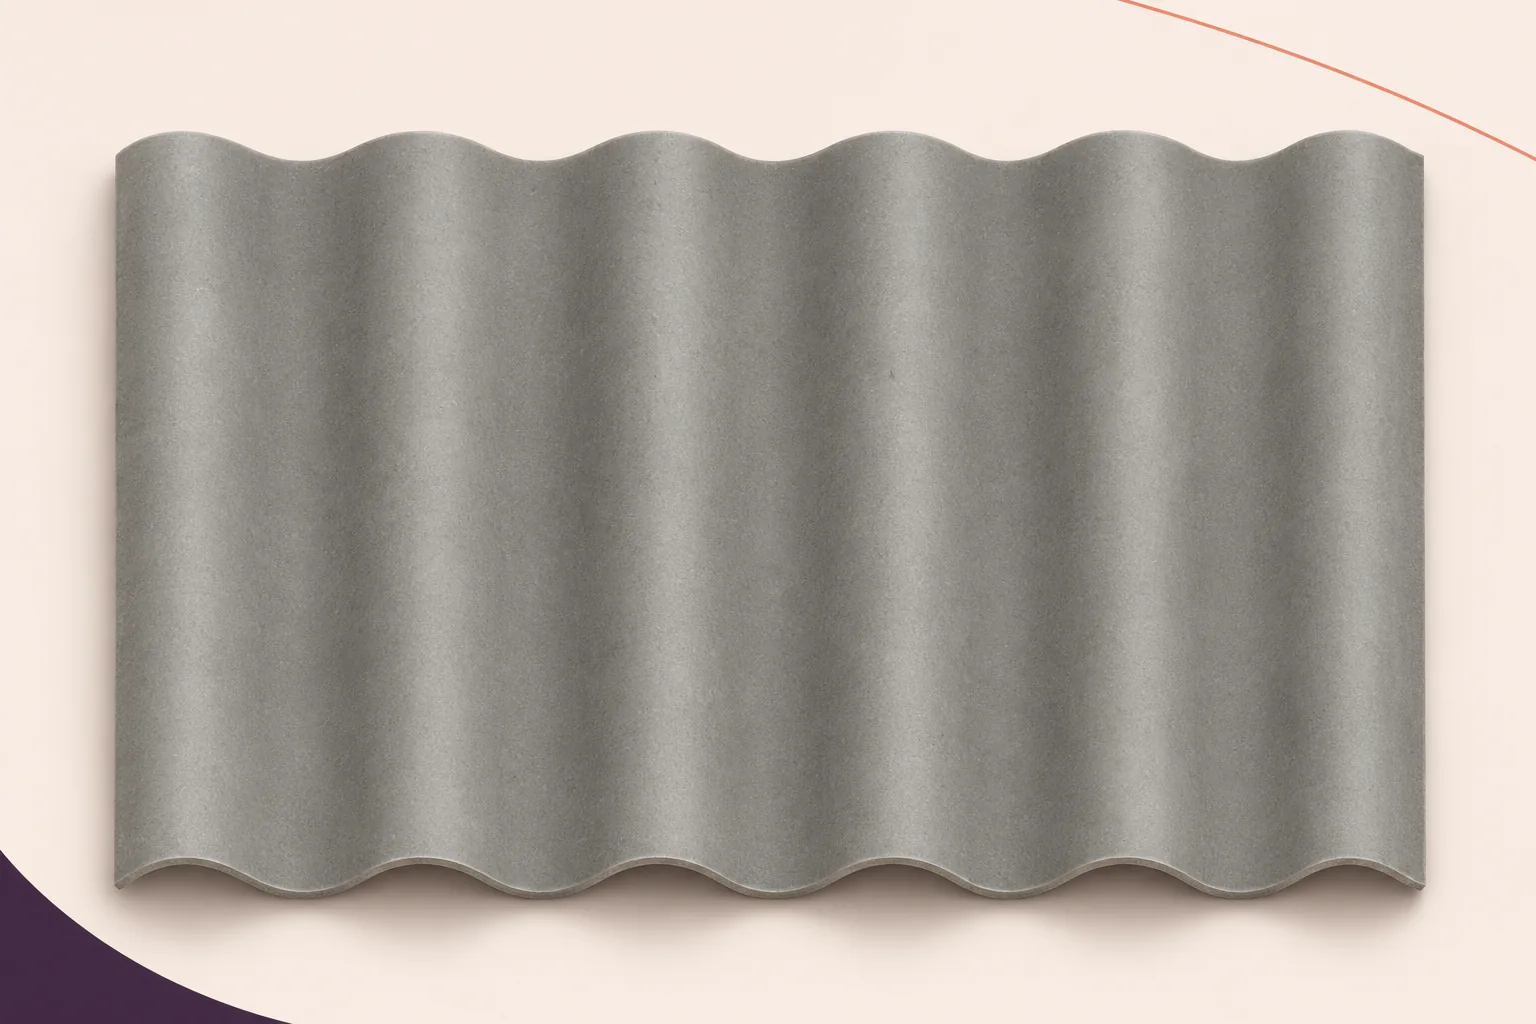
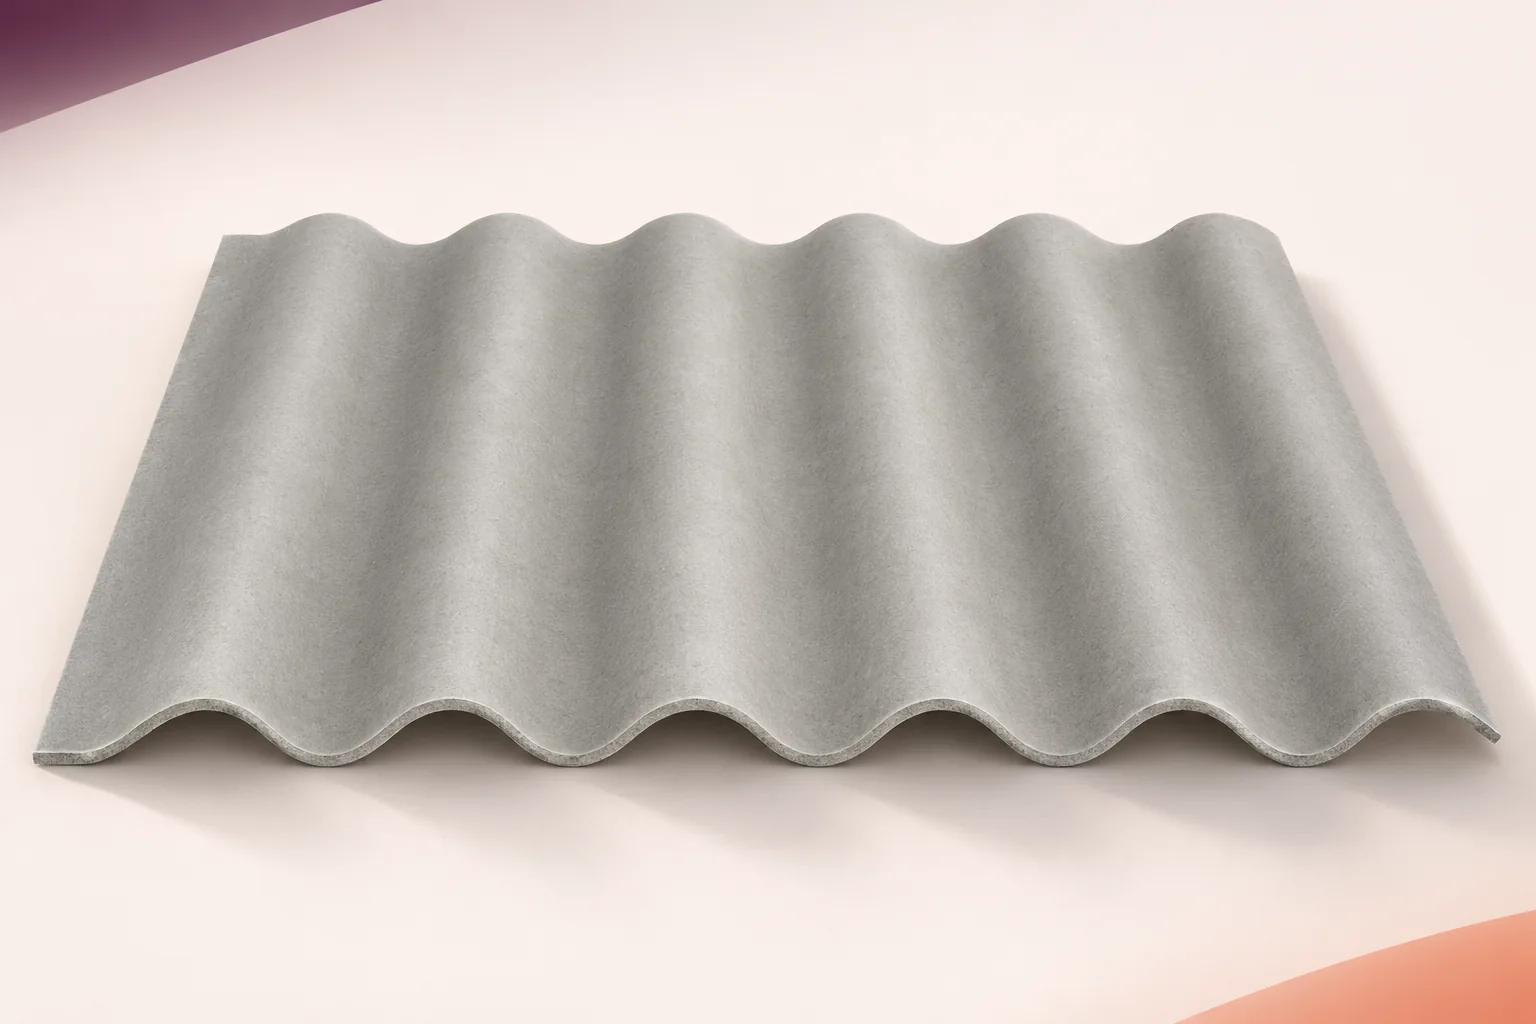
Every penetration interrupts the roof covering. Plan pipes, vents and brackets with the fibre-cement sheet layout before delivery. The services contractor needs…
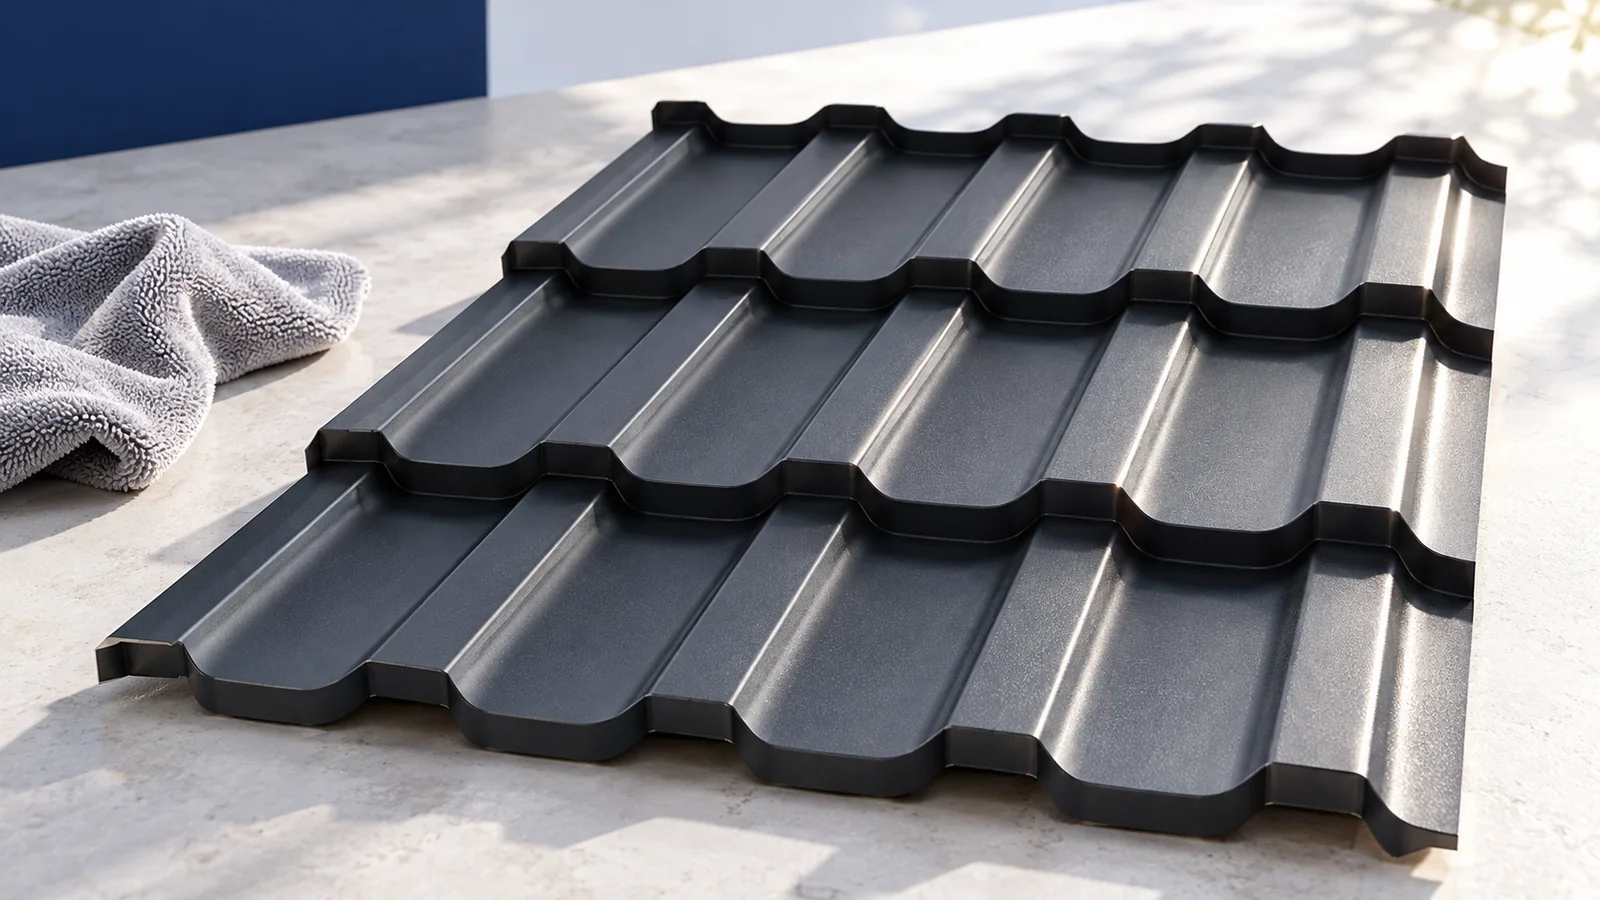
If a pack of roof sheets arrives with crushed corners, photograph it on the vehicle and record its label before unloading. Set…
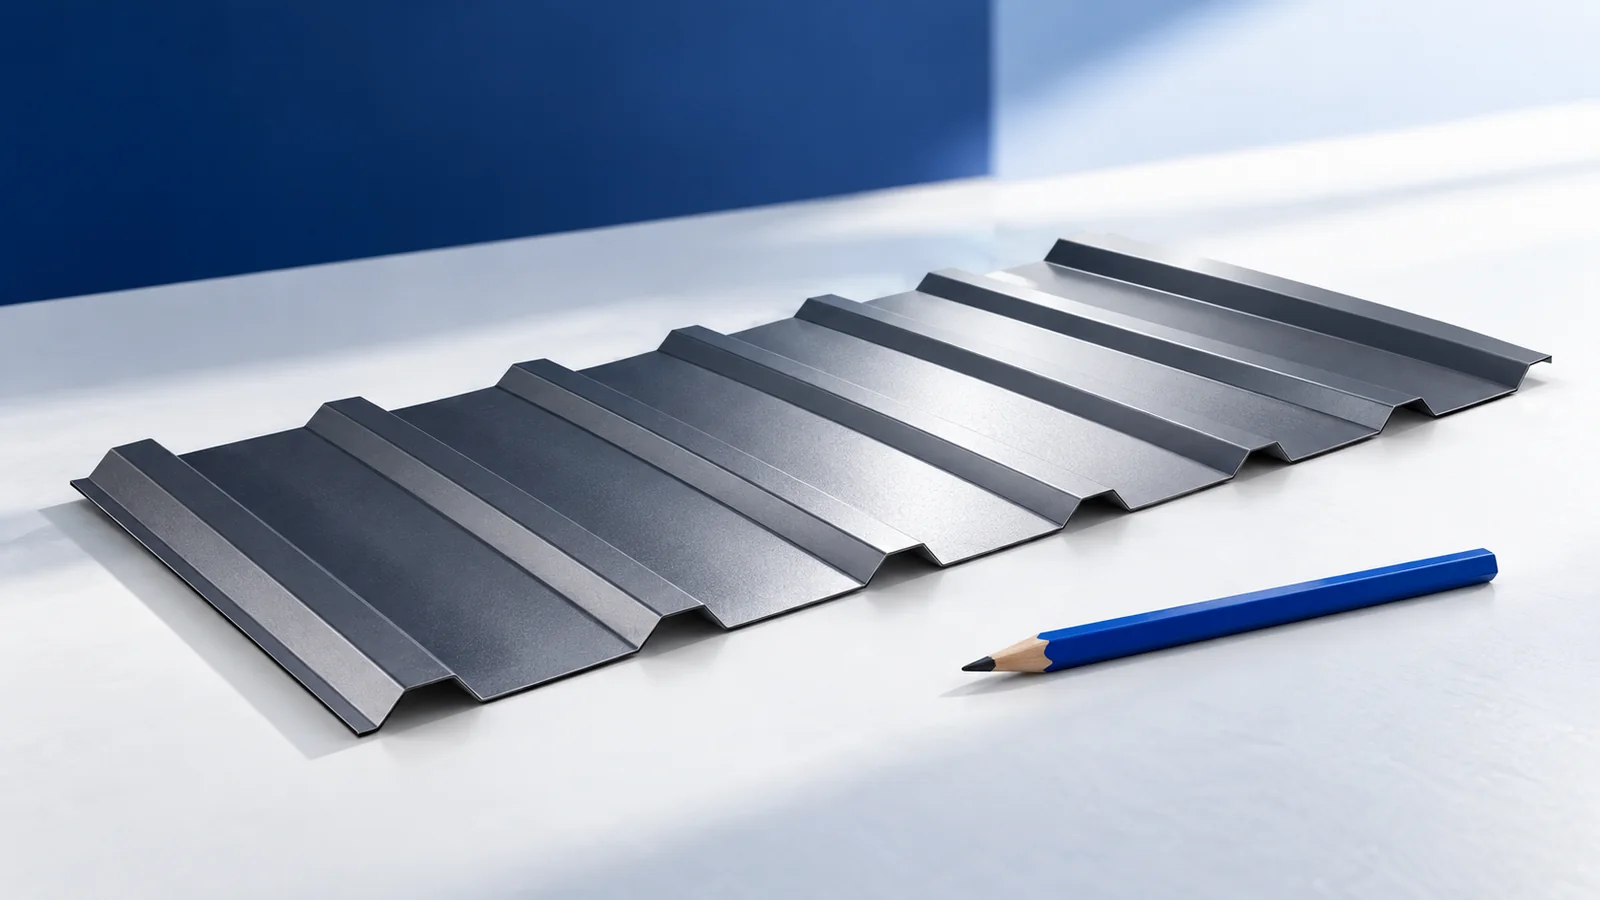
For an open shelter or carport, select the roof sheet together with the supports and anchors. Wind can reach the underside, and…
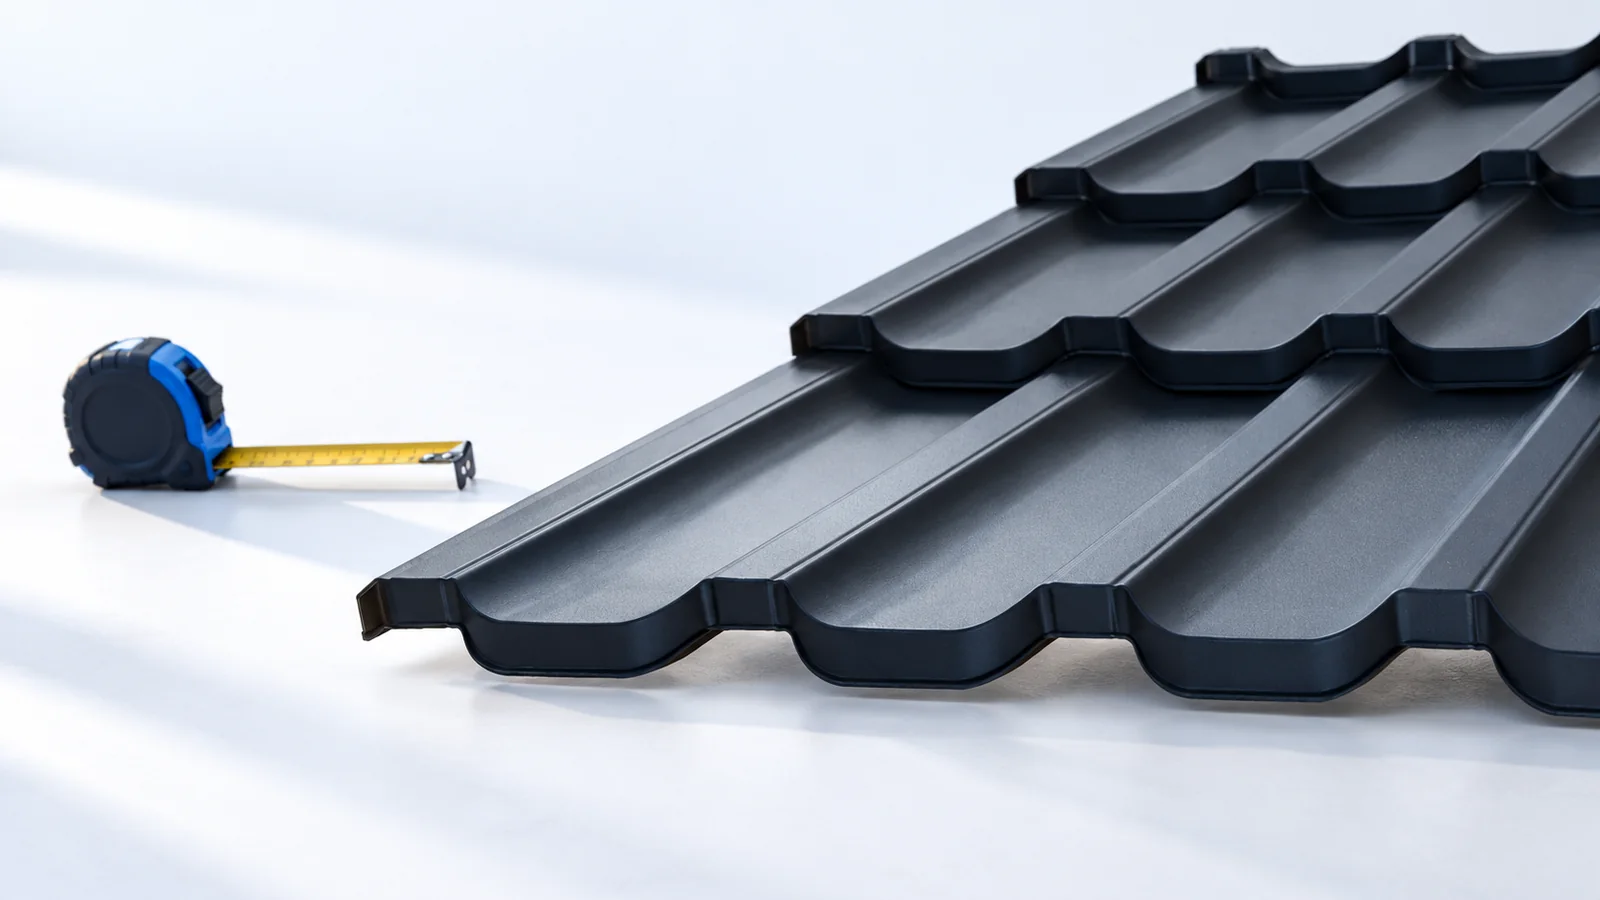
Before comparing colours, find out which coverings suit the pitch and the roof structure. Clay tiles and tile-effect steel sheets differ in…
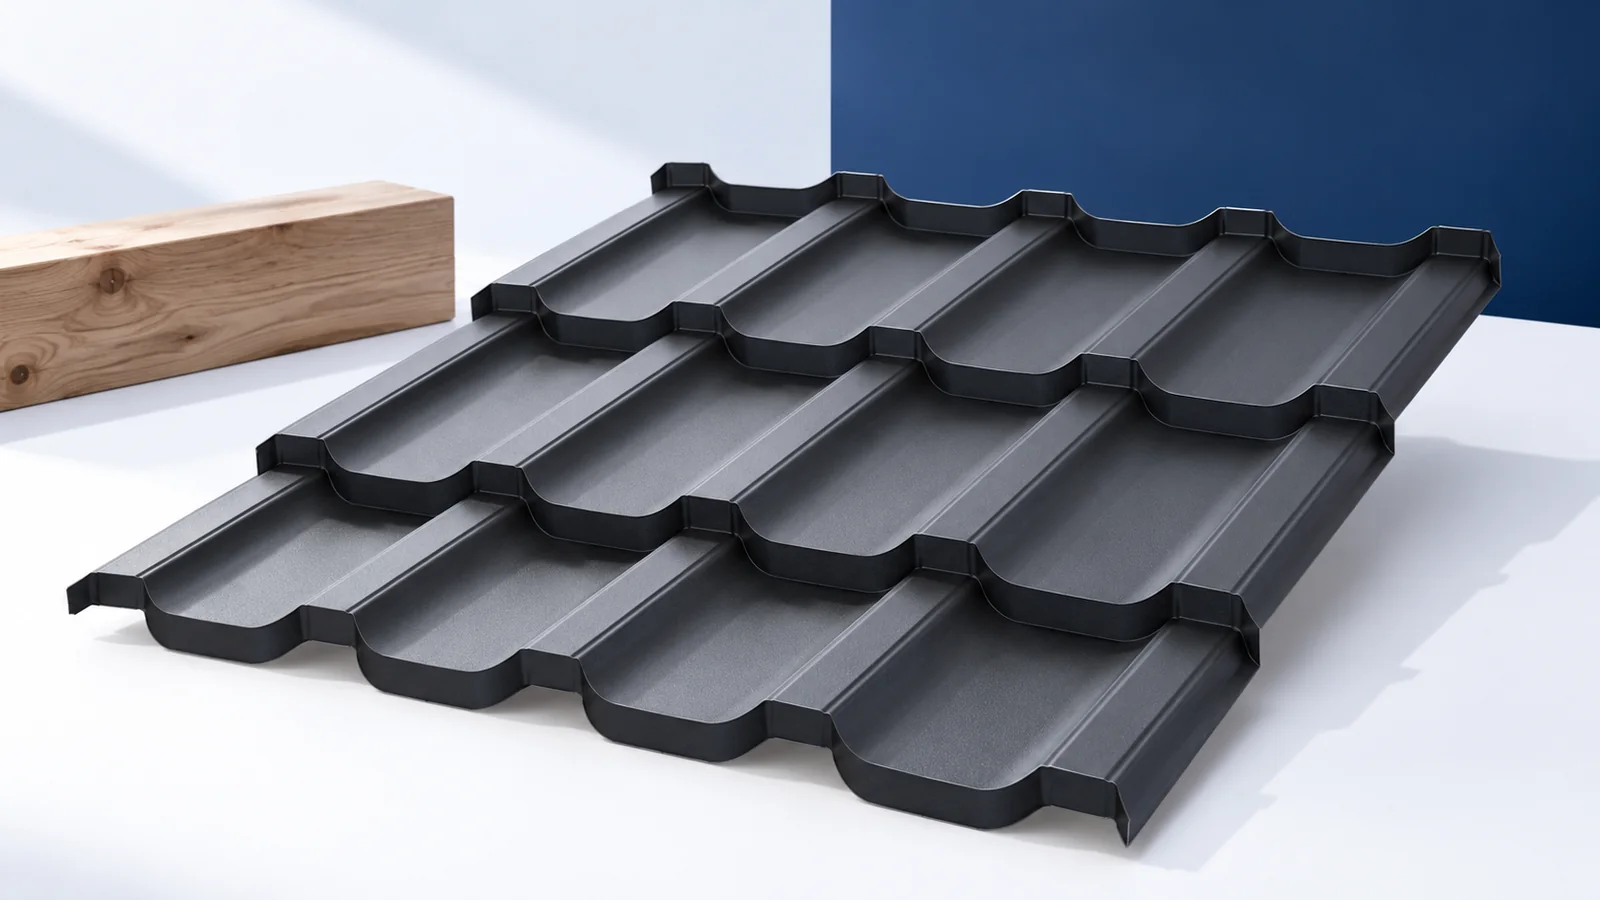
Take a sample of the profiled roof sheet outside and view it at the planned pitch beside the façade finish, window frame…
For a holiday cottage, start with the months you expect to use it. A building kept cold all winter and one heated…
