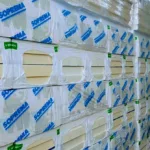
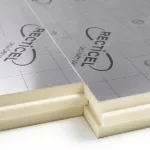
IDELCO α-therm SARKING on a large pitched roof: handling and setting out the boards
PIR insulation
An IDELCO α-therm SARKING board is 2.4 m long. On a large pitched roof its size helps cover uninterrupted areas, but it also affects unloading, lifting and cuts around roof windows and valleys. Before starting the over-rafter insulation, trace one board’s route from the pallet to the least accessible part of the roof. Check the build-up at the eaves in section, including the underlay level and its discharge into the gutter. Size each work area around the amount of insulation the crew can install and protect from rain in one shift.
In this guide
Which layers go above the rafters?
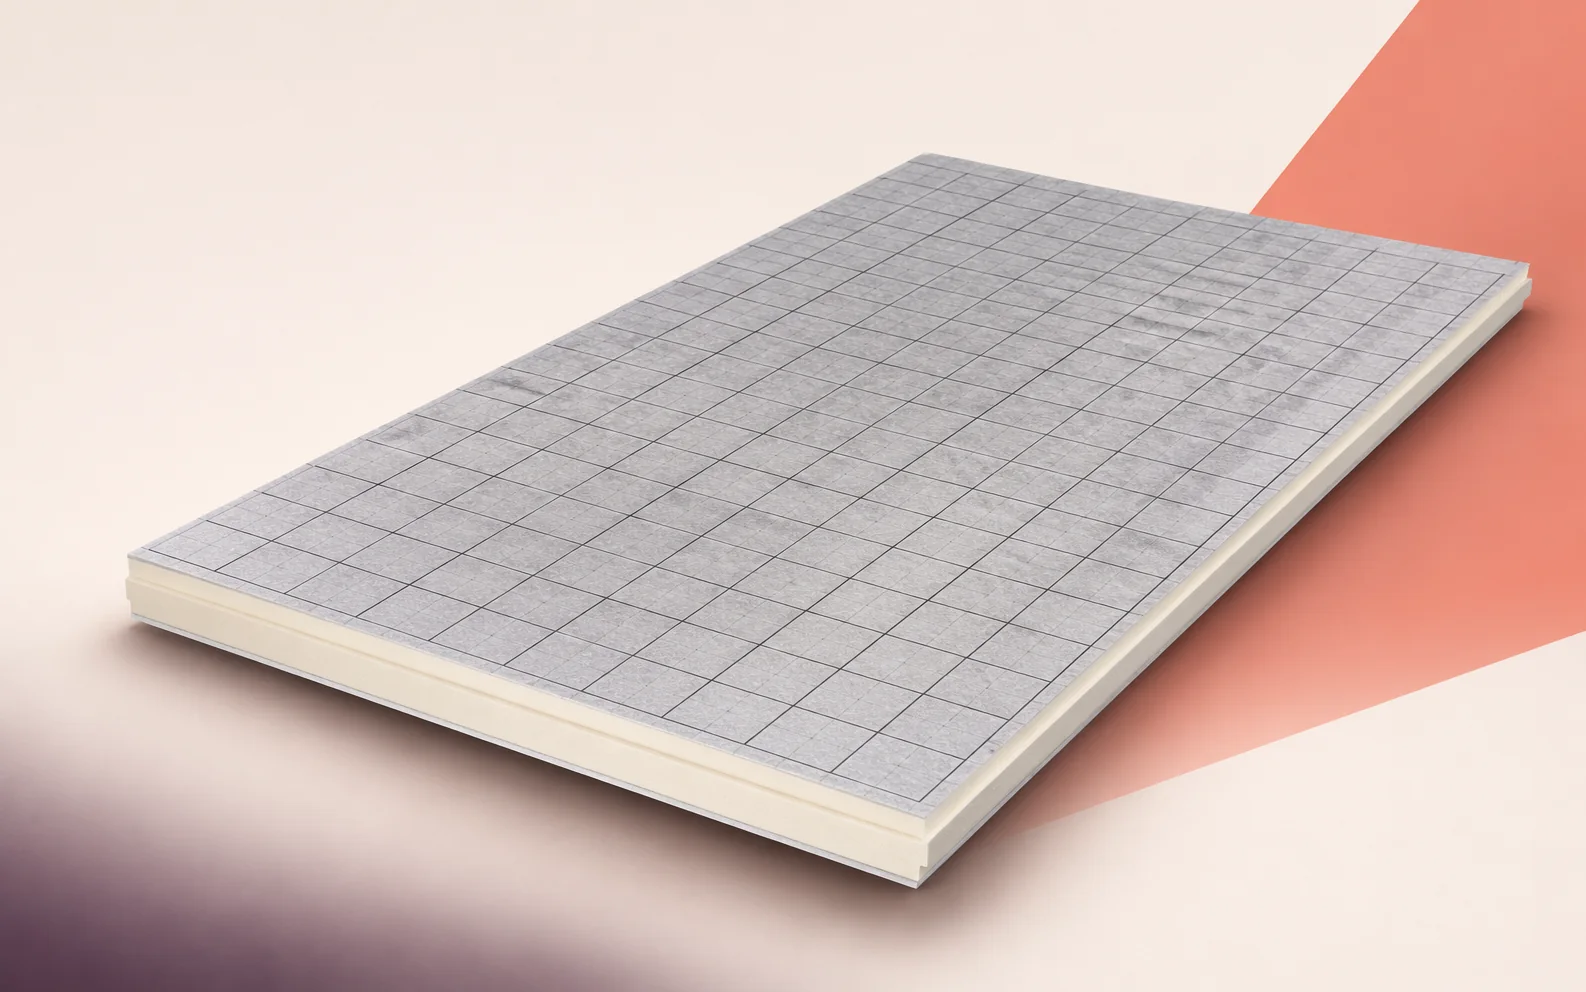
Draw the rafters, insulation above them, the underlay specified for the roof covering and the supports for the covering. Standard SARKING has a multilayer aluminium laminate on both faces. Specify the underlay separately, including how to join its laps and turn it up at obstructions.
Insulation continuity at the wall plate
With thermal conductivity of 0.022 W/(m·K), the over-rafter insulation also covers the upper face of the rafters. Its performance at the perimeter depends on the junction with the wall insulation. On an enlarged wall-plate section, trace a line through both insulation layers and examine where they meet.
The data sheet covers thicknesses from 100 to 160 mm. If a thicker board is proposed, compare sections at the same scale. Carry the height change through to flashing levels, access to fixings and the insulation connection at the roof window reveal.
Moving boards from the pallet to the valley
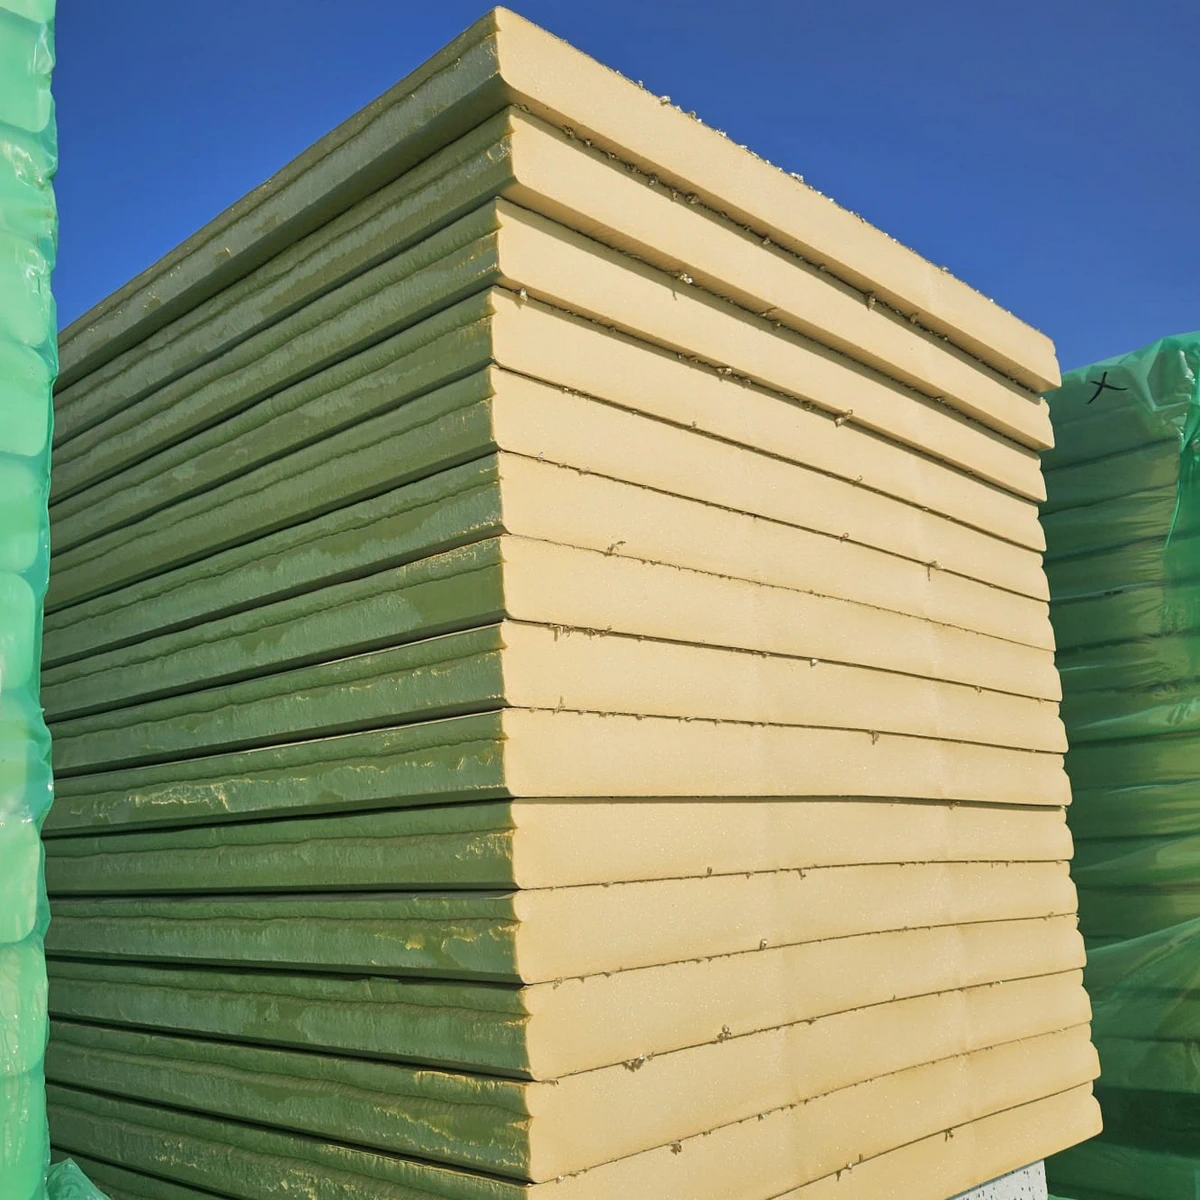
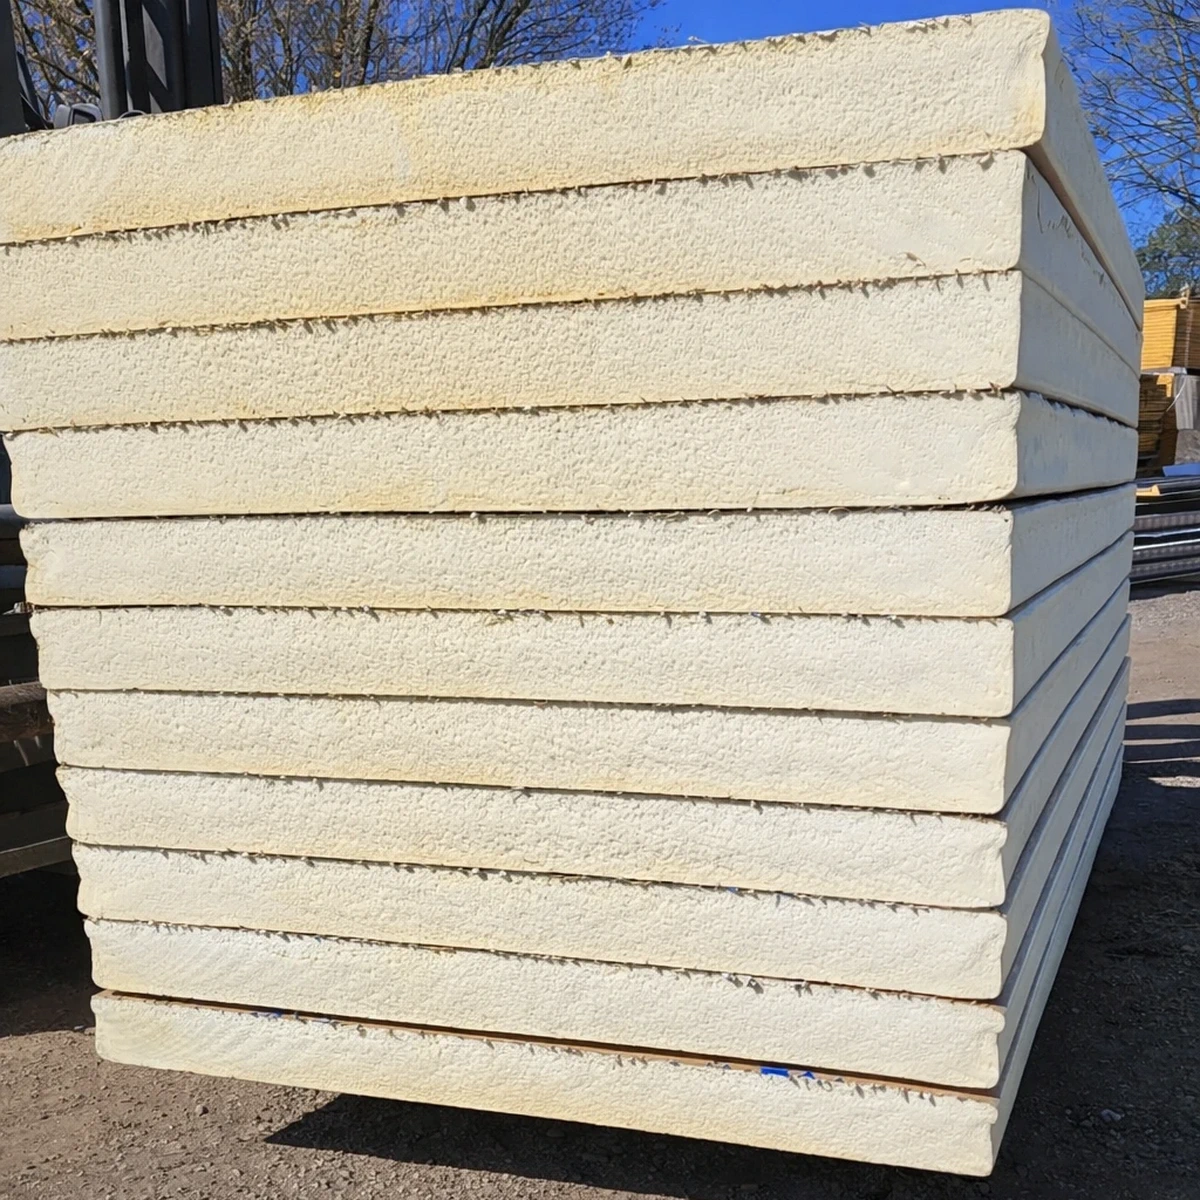
A 1200 × 2400 mm board covers 2.88 m² before cutting. Allow room to turn the board and support it securely during cutting. Protect all four profiled edges while lifting it to the roof: damage to a long tongue can prevent the joint from closing along its length.
At a valley, mark the cut angle and the side to keep for each slope. Before counting on reusing an offcut on the opposite slope, check the direction of the bevel and the tongue-and-groove orientation. A matching angle alone does not ensure a fit in the next course.
Eaves details after raising the roof surface
Add the new covering level and the underlay drainage path to the existing eaves section. The two levels may need different flashing details. Check them against the fascia, gutter bracket positions and the designed ventilation inlet beneath the covering.
At a roof window, read the frame installation level relative to the finished covering from the design. Before cutting boards for every opening, check one window for flashing clearance, underlay connection and insulation around the frame.
Fixings and chimney clearances
The SARKING sheet lists at least 150 kPa at 10% deformation. Fixings require a separate design taking account of supports, roof layers and applied loads. Mark the rafter lines on site before the boards cover them.
The board has reaction-to-fire class F. Transfer the required clearances and materials from the specific chimney system documentation and the project design onto the junction drawing. Establish where the PIR ends and how the flashing fits before cutting boards.
Measuring roof area and flashing lengths
Count rows of full boards for rectangular fields. Draw a separate cutting layout for valleys and dormers. Alongside insulation area, measure eaves, ridges, valleys and junctions with vertical walls. These lengths determine the extent of the flashings.
Two roof slopes of equal area can cost different amounts if one has four windows and the other only one. Count flashing kits, allow time for fitting the underlay and plan lifts to the work area separately. Comparing quotations against these quantities makes omissions easier to spot.
How much roof can be completed in a day?
Start with a strip running from the eaves past one window. Record the time needed to lift the boards, fit the edges and complete the underlay connection at the frame. Use that trial strip and the weather forecast to decide how much of the next area can be made weathertight by the end of the shift.

Free quote
What to include in your enquiry
Tell us how you plan to use the material, the dimensions and the quantity you need. Include the thickness, grade or variant name, along with the delivery town or your preferred collection branch. For a specific product, add its name or a link to the product page. We will reply to the email address you provide to discuss availability and the terms of your order.

Read next
Three layers with different functions meet at a rooflight kerb. On the warm side, the vapour control layer needs a continuous junction…
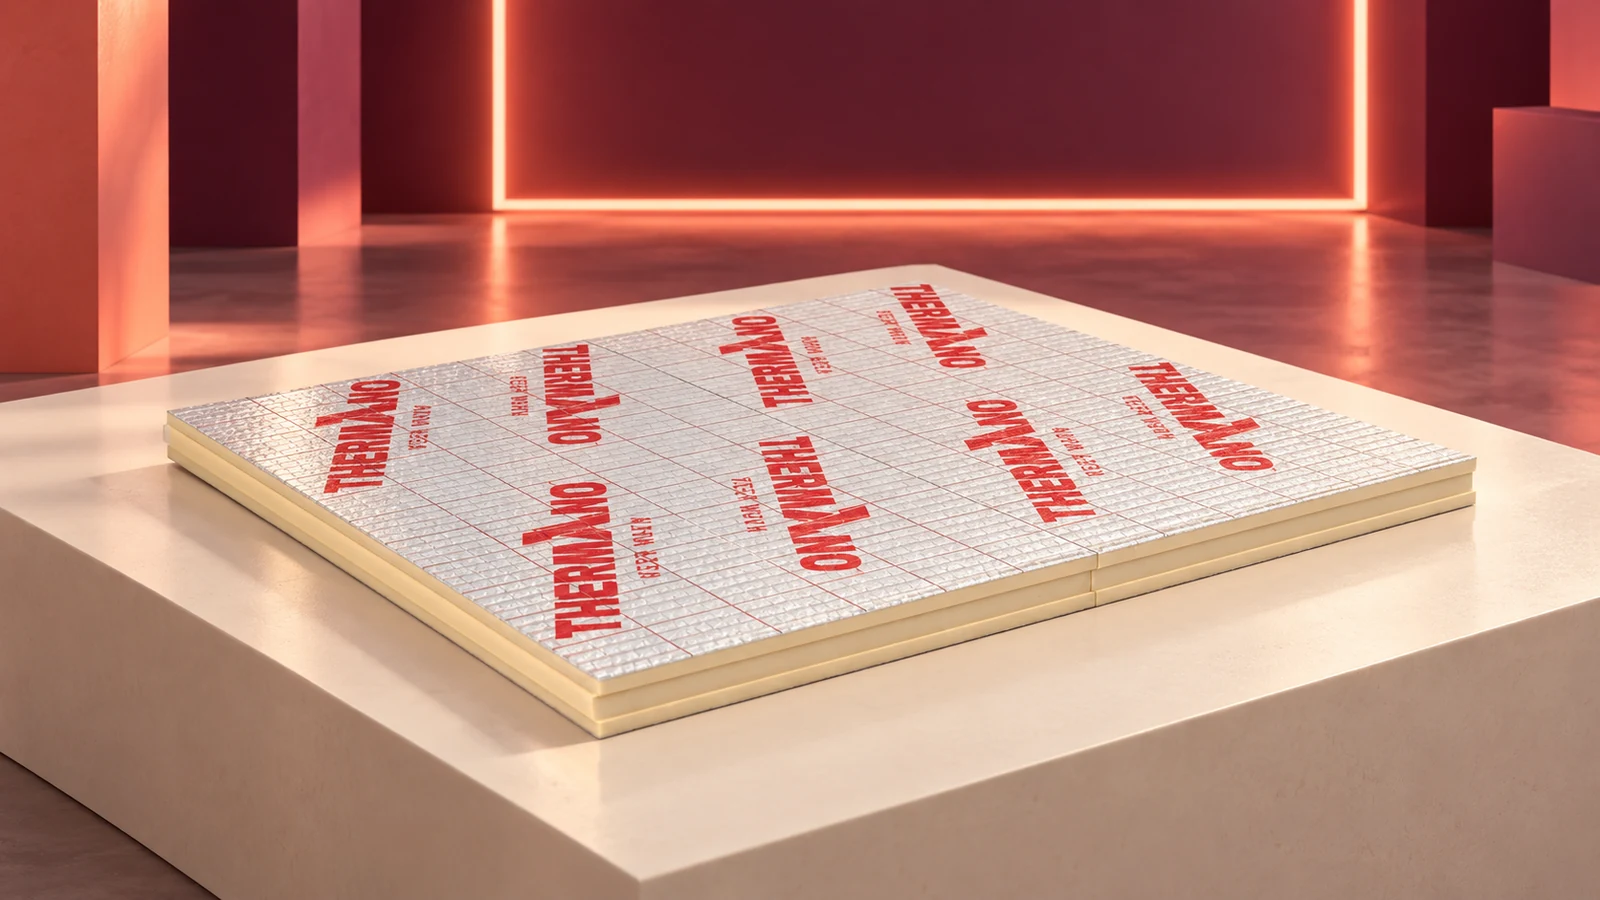
PIR insulation boards reduce heat flow through roofs, walls and floors. They have a rigid polyisocyanurate foam core but vary in their…
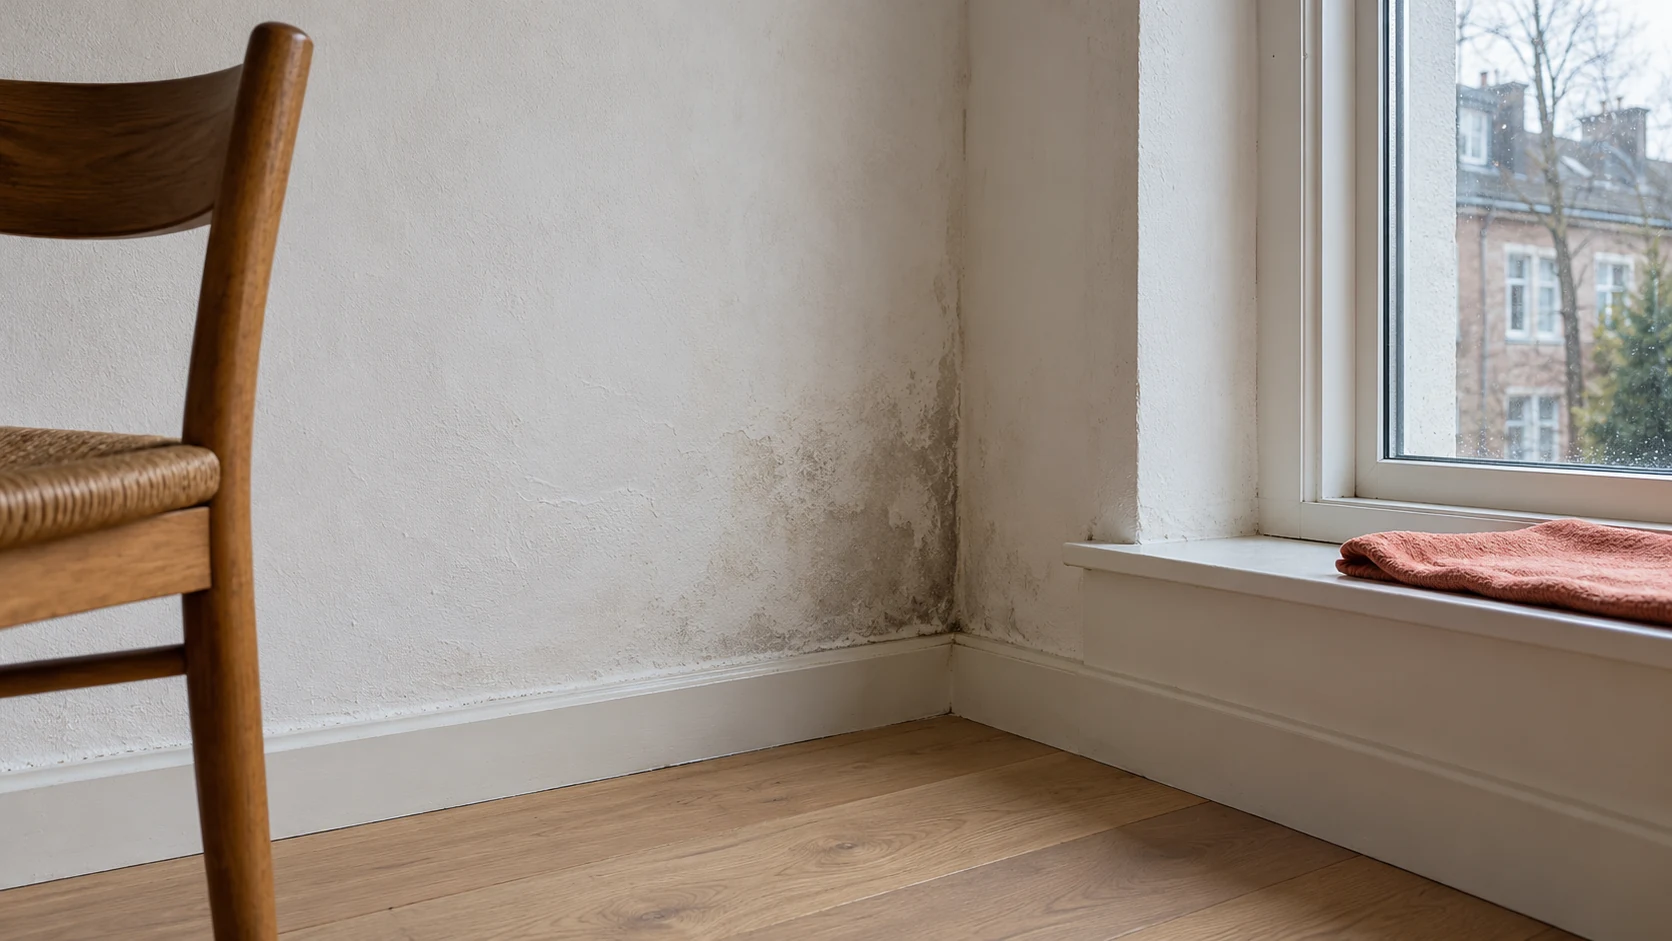
A cold surface, poor ventilation, rain penetrating the façade and a leaking pipe can leave similar marks. Several causes can coexist. Before…
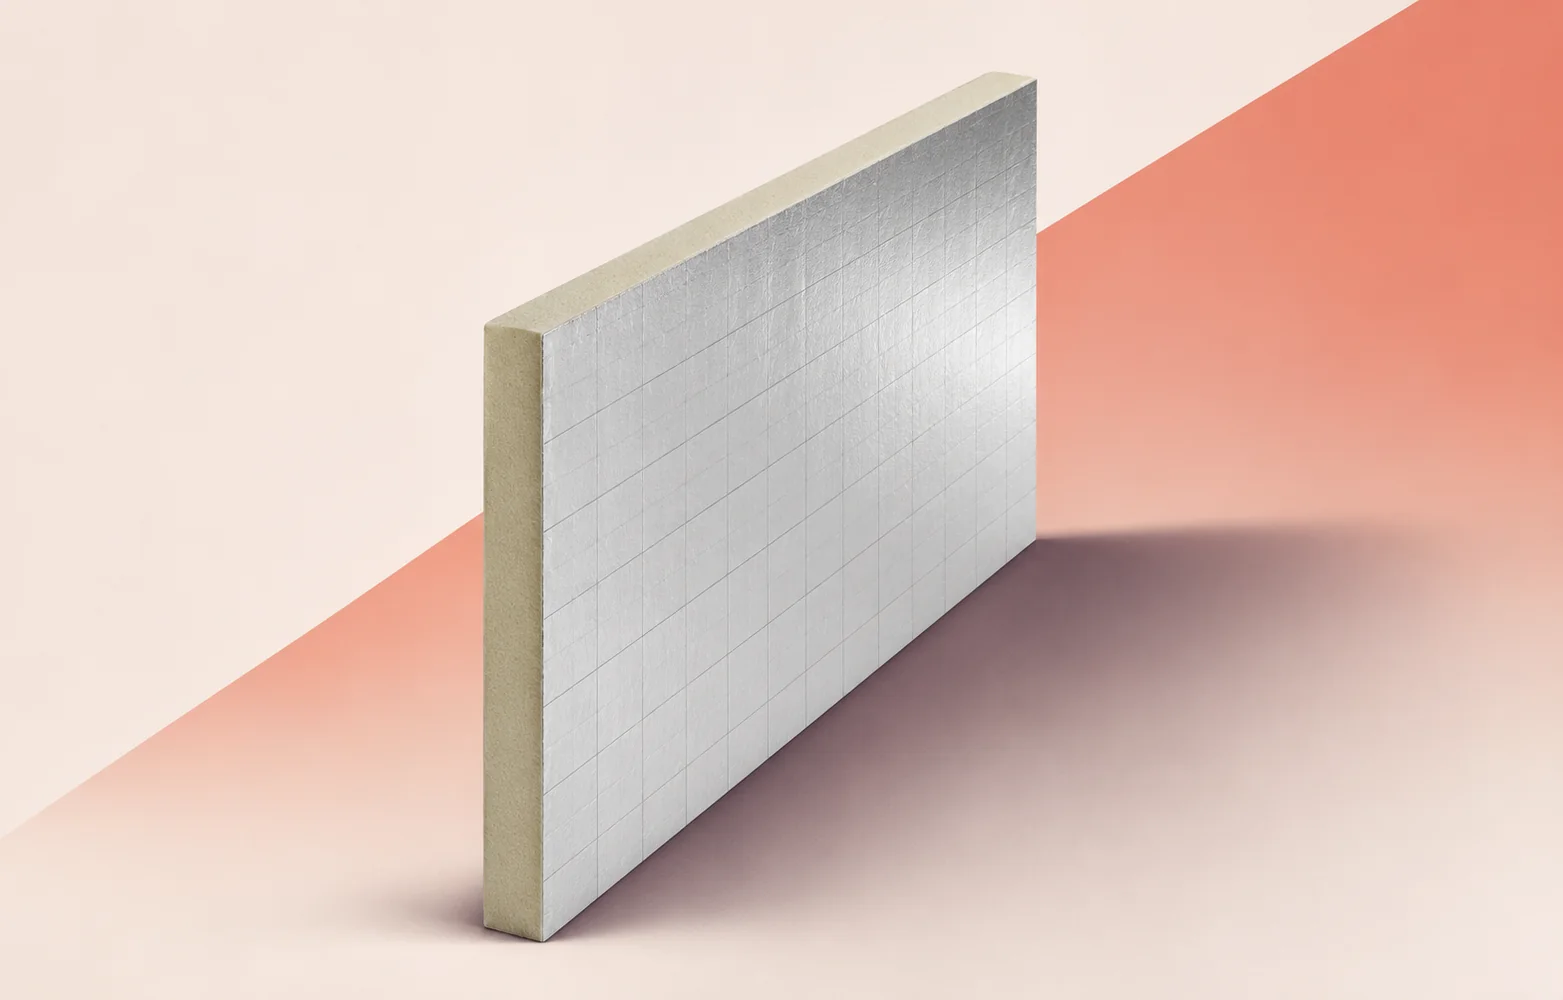
Where IKO enertherm ALU is used on the roof, in walls and below the floor on one project, assign each delivery to…
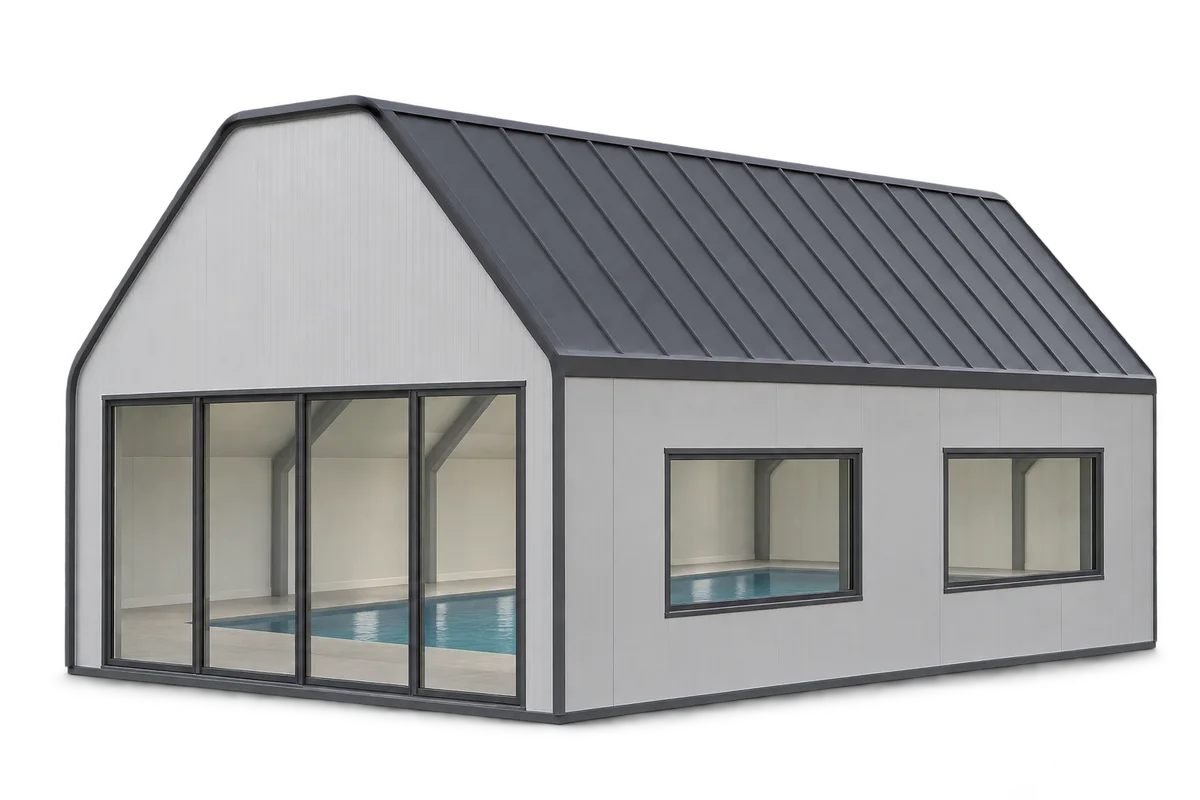
A roof over a heated pool has to withstand warm, humid air and the chemicals used to treat the water. Specify the…
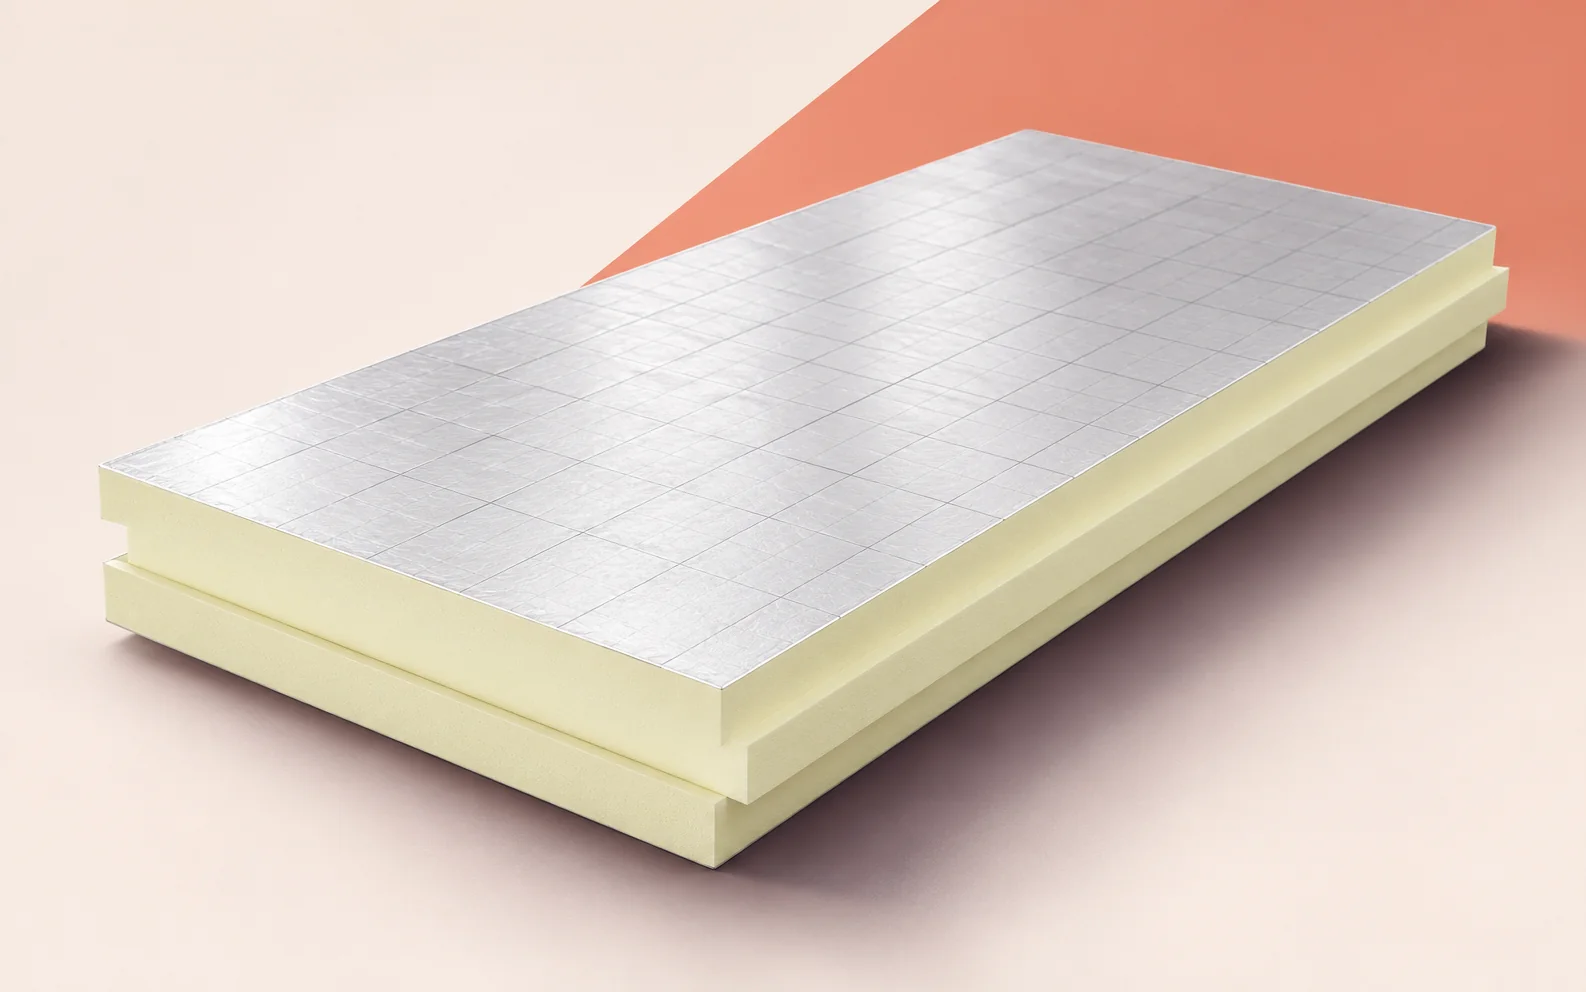
On a large pitched roof, laying PIR boards above the rafters creates a continuous insulating layer across both the timber and the…
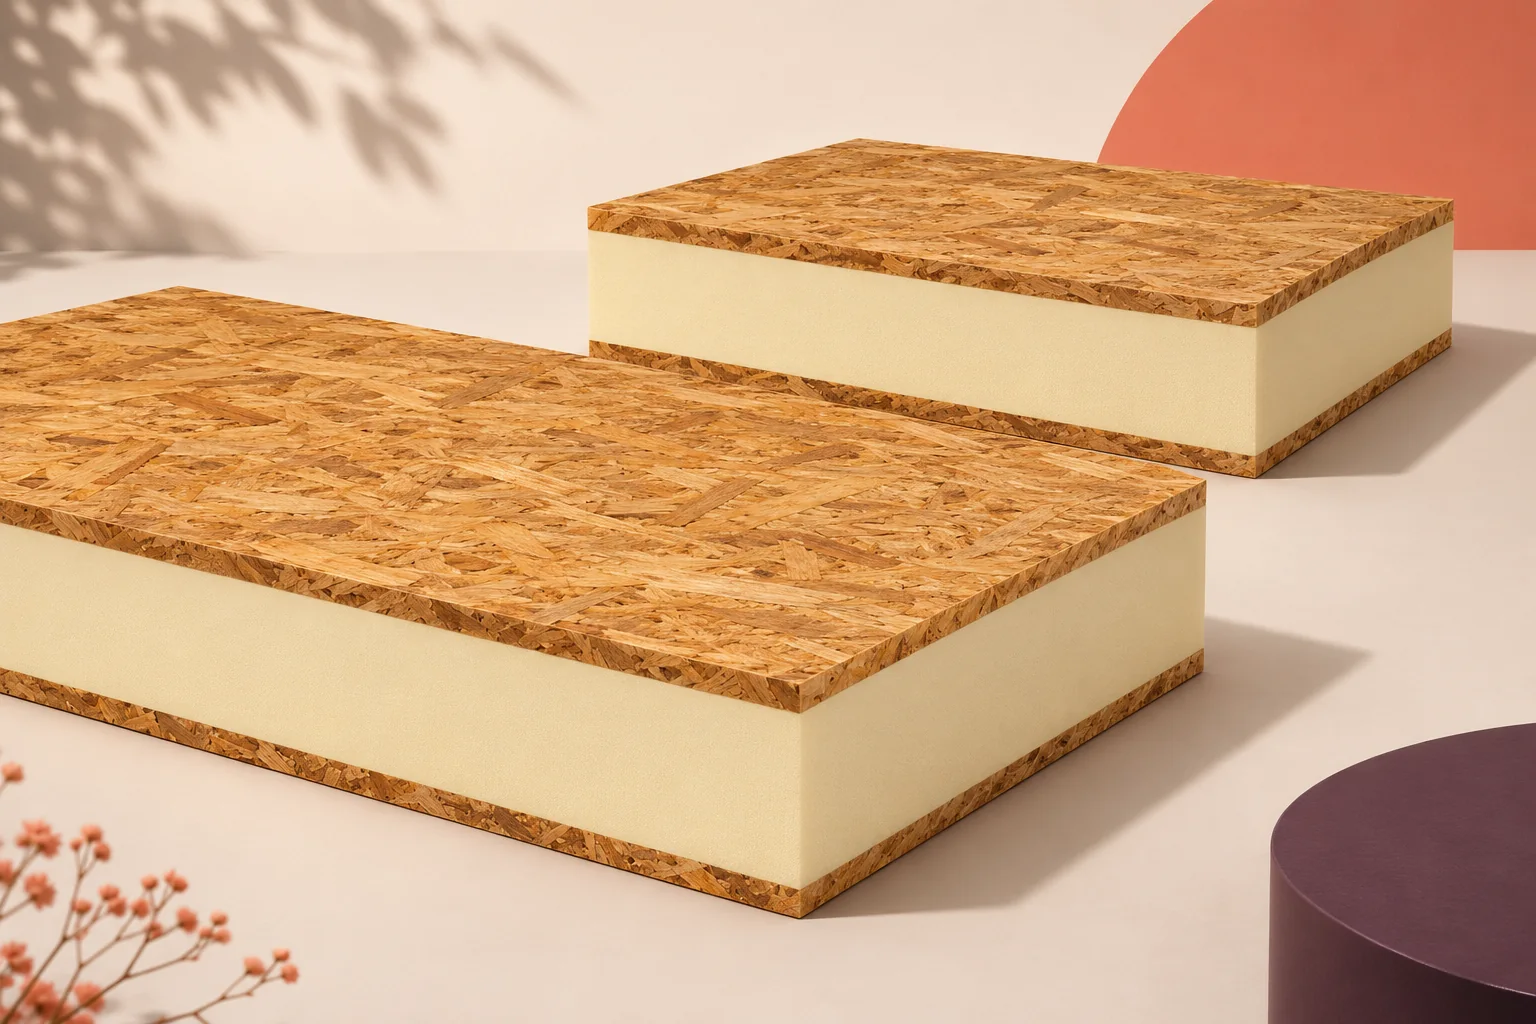
Two boards with foam cores and OSB faces can look alike yet perform different jobs. To establish whether a structural insulated panel…
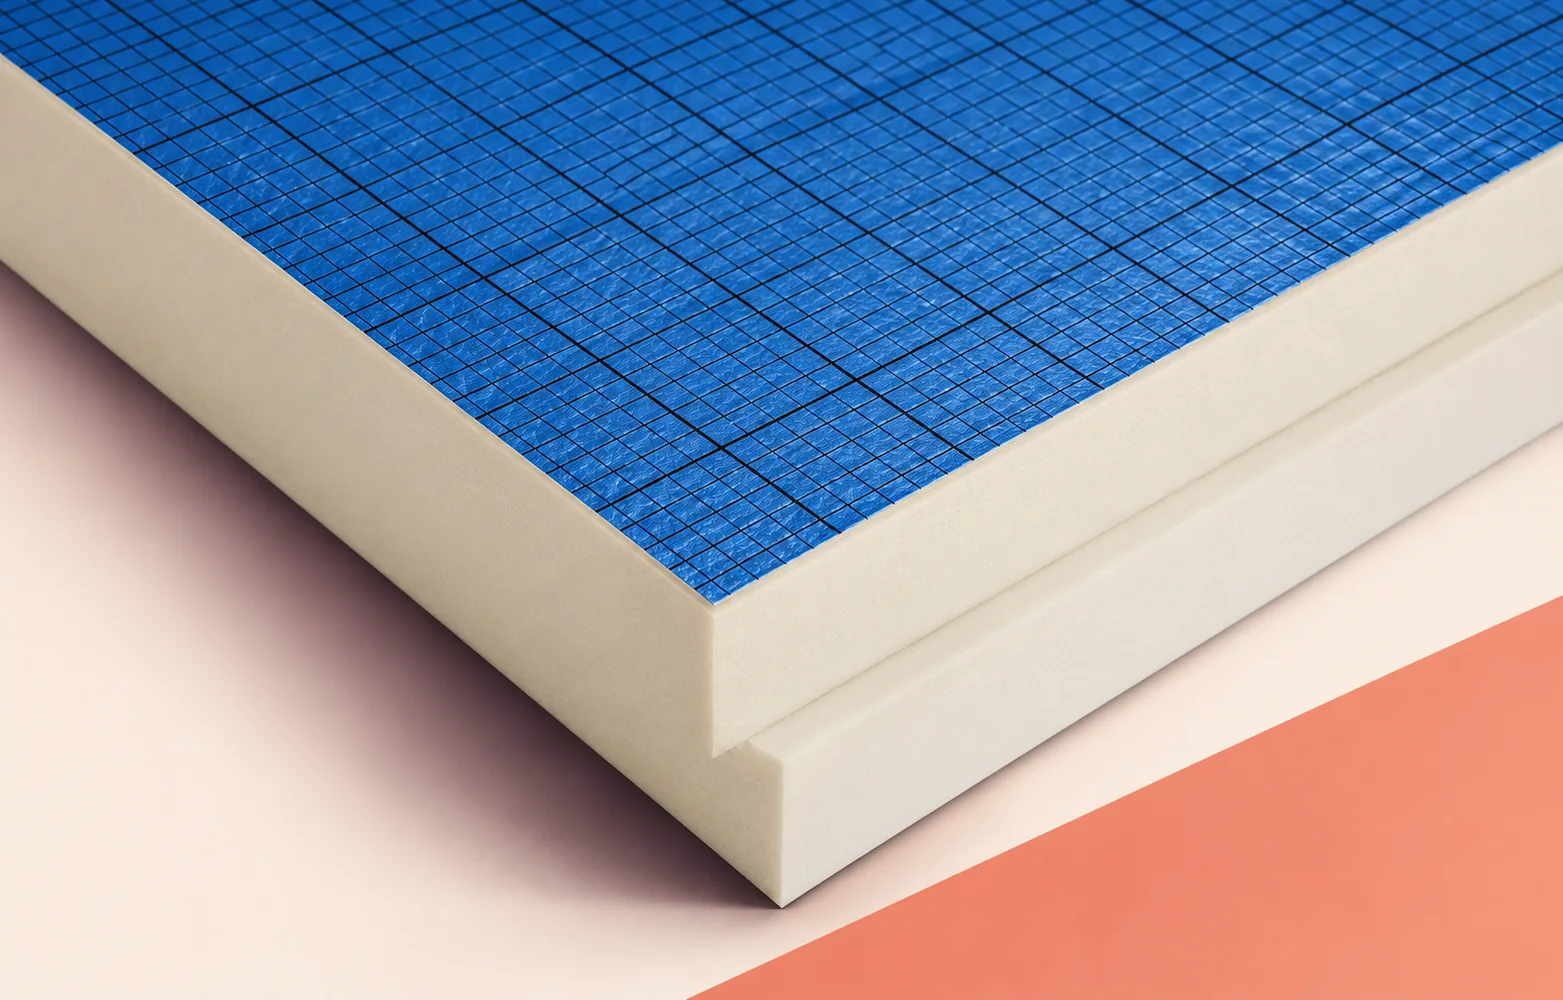
When specifying EFYOS BLUE A on an industrial roof, measure from the finished membrane to its termination at the parapet. Clearance can…