What is a roof valley and how do you keep it watertight?
Roof coverings
A roof valley is the inward junction where two slopes drain into one channel. Trace it from its head to the gutter before deciding how wide to cut back the sheets. The flashing needs enough capacity for both roof areas, a stable base and laps arranged in the direction of flow. The underlay also needs a continuous drainage route beneath the metal. At the lower end, check that concentrated runoff lands inside the gutter. When inspecting a leak, look along the full valley, because water beneath the covering can travel before it becomes visible indoors.

Why does the valley need special attention?
Water from two roof areas converges here. Snow may accumulate, while leaves and small branches can obstruct the channel. During heavy rain the flow is more concentrated than on an open slope. Detail the valley as a drainage channel in its own right.
The length and pitch of the slopes and the area draining into the valley determine its requirements. A narrow detail at a small dormer may be unsuitable for the junction of two large wings. Set the flashing width and arrangement using these dimensions as well as the desired appearance.
Inspect the outlet at the eaves. The concentrated stream should discharge into a correctly positioned gutter. A sound flashing farther up cannot compensate if water overshoots the gutter or hits an unsuitable corner. Inspect the lower end with the gutter system at handover.
How should the base and underlay be prepared?
Support the valley flashing as specified in the design and covering instructions. Provide the fixing locations and keep the underlay continuous. Water reaching the secondary layer also needs a safe outlet. Avoid a fold or termination that forms a pocket in the membrane.
During refurbishment, expose the valley and inspect its timber supports. A long-standing leak can damage them before marks appear indoors. Identify and remedy the moisture source and restore sound support before fitting new metal.
How should the flashing follow the runoff?
Lap the upper flashing onto the lower one so incoming water does not meet an edge facing upstream. Use the lap length and sealing method specified for the system and pitch. These dimensions vary with the material and roof geometry.
Locate fasteners as detailed, clear of the main watercourse where unintended penetrations could leak. Long flashing sections need allowance for thermal movement. Restraining them in the wrong place can distort the channel and interfere with drainage.
How should tile-effect steel sheets be cut at the valley?
Set out the sheet edges to leave a clear water channel. Excessive projection narrows it and makes cleaning difficult. Cutting back too far exposes more of the valley and changes its appearance. Follow the covering instructions for the particular roof.
Modular tile-effect roofing makes smaller pieces easier to handle but still needs accurate cuts. Long, made-to-length sheets can produce larger diagonal offcuts. Use approved tools, remove swarf and support and secure any narrow pieces that remain.
Can seals compensate for a poorly formed valley?
Profiled seals can limit the entry of wind-driven rain, snow and debris at specified locations. Match each seal to its function and profile. Keep drainage and required ventilation paths open. Filling the whole valley with foam can create a blockage.
Sealant cannot reverse a wrongly laid lap or widen a narrow channel. Select sealant compatible with the substrate and exposure after finding the fault. Adding beads over dirt complicates removal and can obscure the condition of the flashing.
How should a valley be inspected in service?
Inspect the clear width, cut edges, coating and fixings, especially after leaf fall. Arrange safe access for cleaning. Keep off wet slopes and avoid positioning a ladder where it can crush the gutter or flashing.
For a repair, provide photographs along the full valley. A stain can appear downslope of the point where water entered. At completion, follow the drainage path through its laps and both end details. Include this check in the handover of any roof with valleys.

Free quote
What to include in your enquiry
Tell us how you plan to use the material, the dimensions and the quantity you need. Include the thickness, grade or variant name, along with the delivery town or your preferred collection branch. For a specific product, add its name or a link to the product page. We will reply to the email address you provide to discuss availability and the terms of your order.




Read next
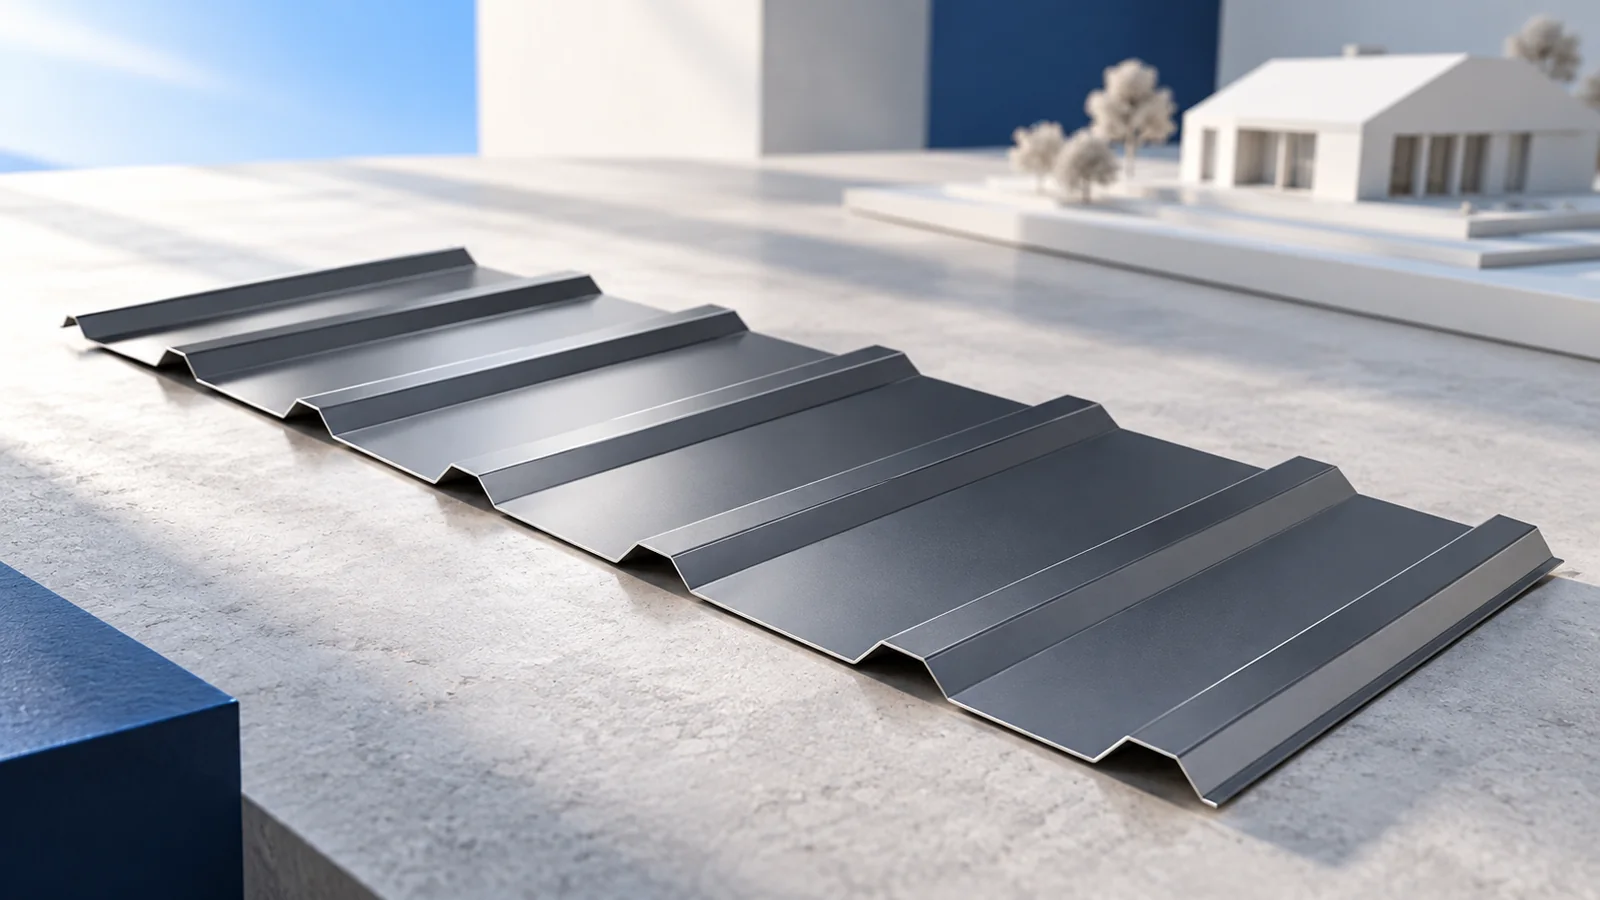
A practical roofing course gives installers a chance to set out a slope, form a flashing and check a fixing while the…
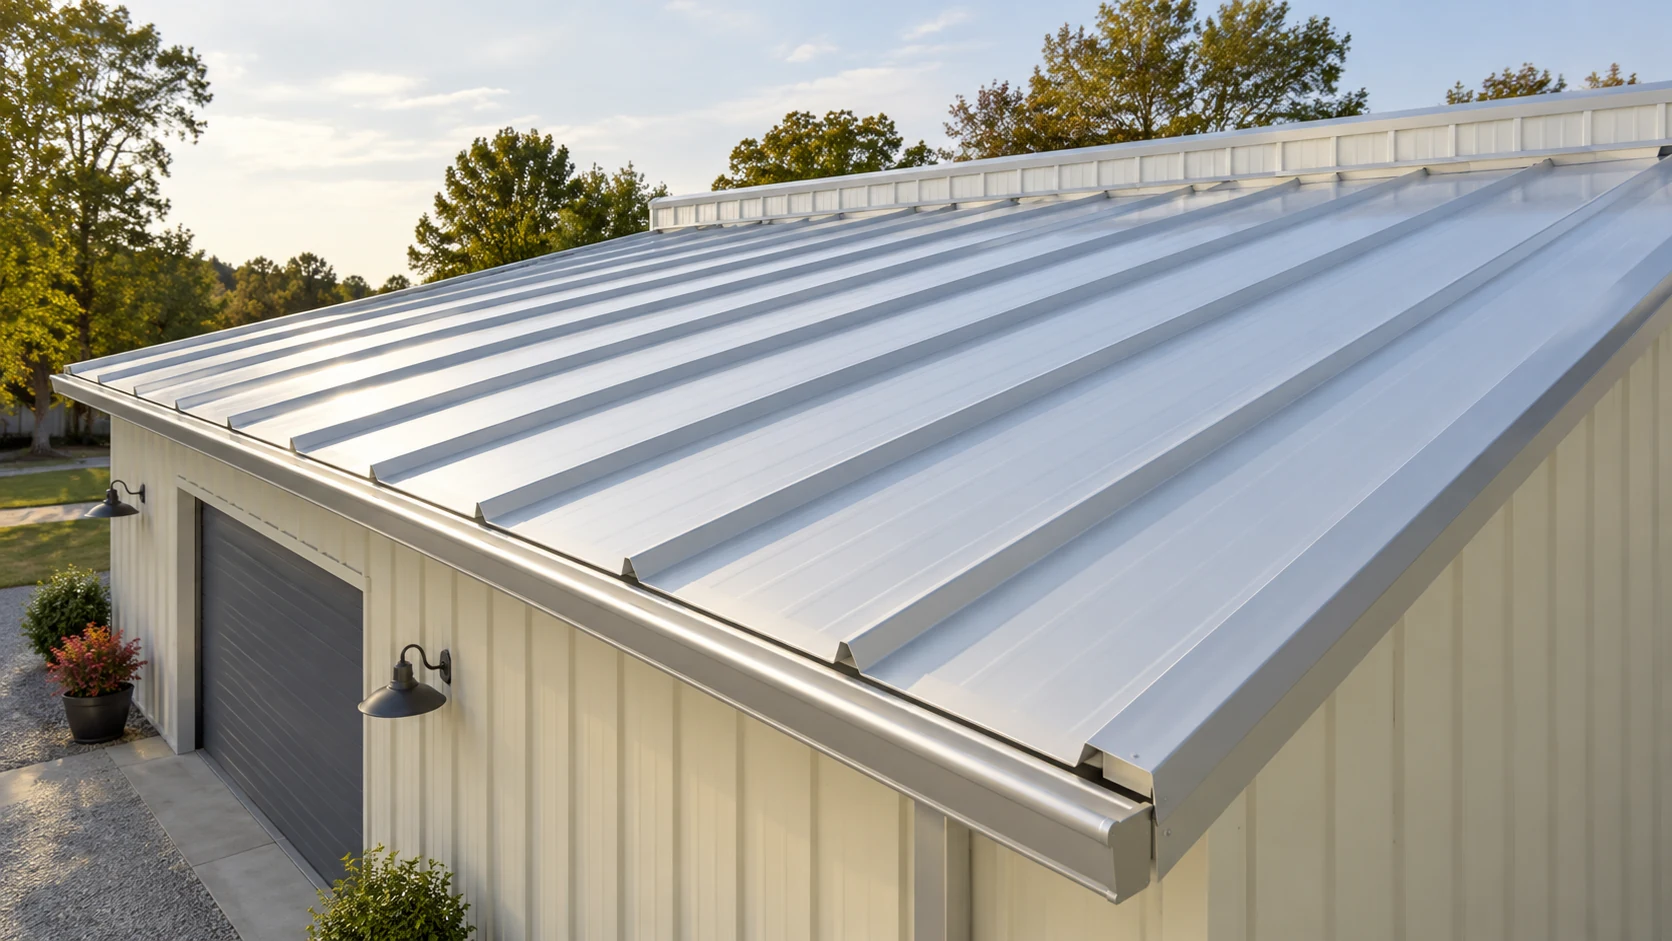
A roof that looks flat still needs a reliable drainage path. For a sandwich panel roof, check the minimum pitch for the…
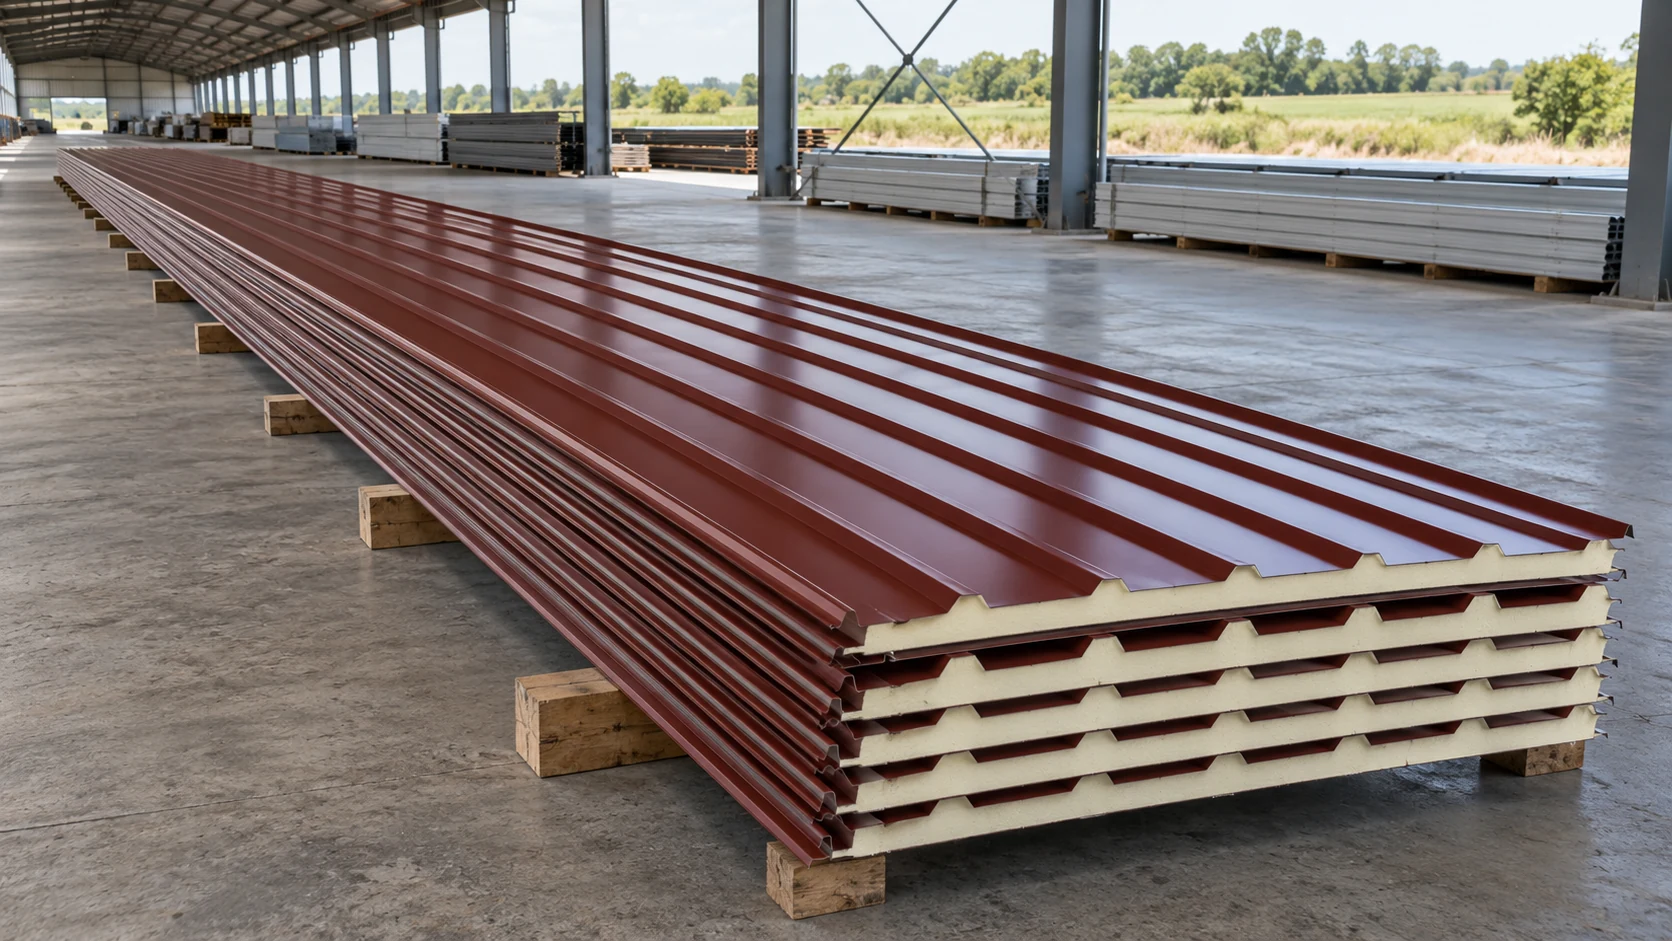
A single panel running from ridge to eaves can eliminate an end lap and the support and sealing detail it would otherwise…
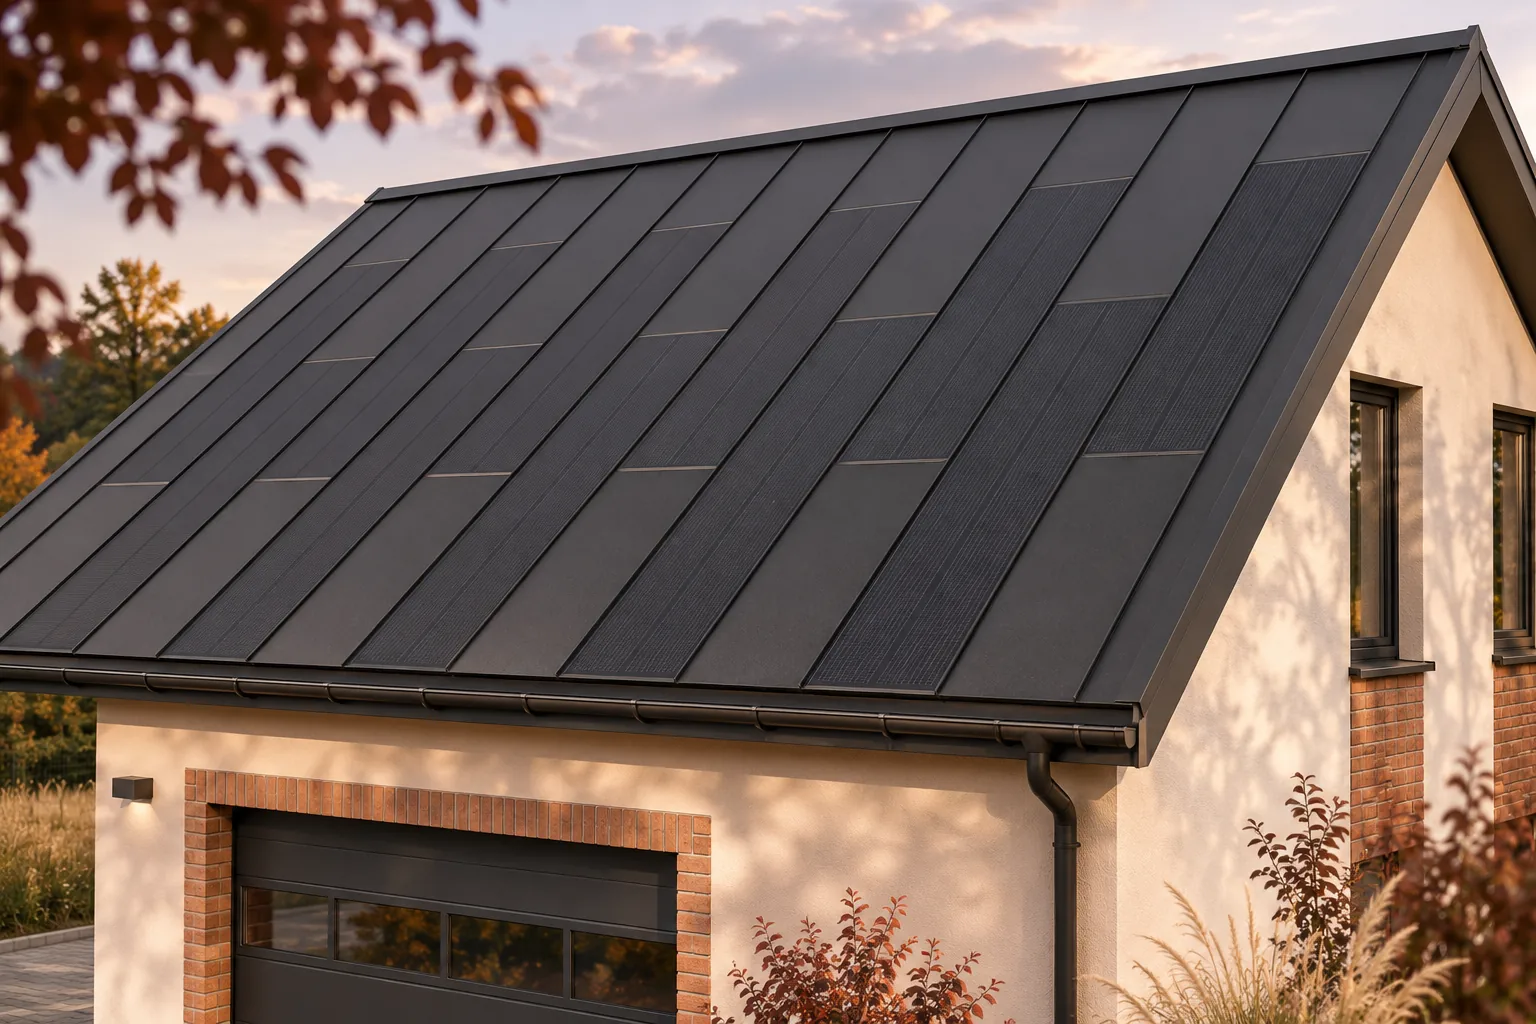
A workshop that draws power during the day may be able to use electricity from its own roof. Before choosing building-integrated photovoltaics…
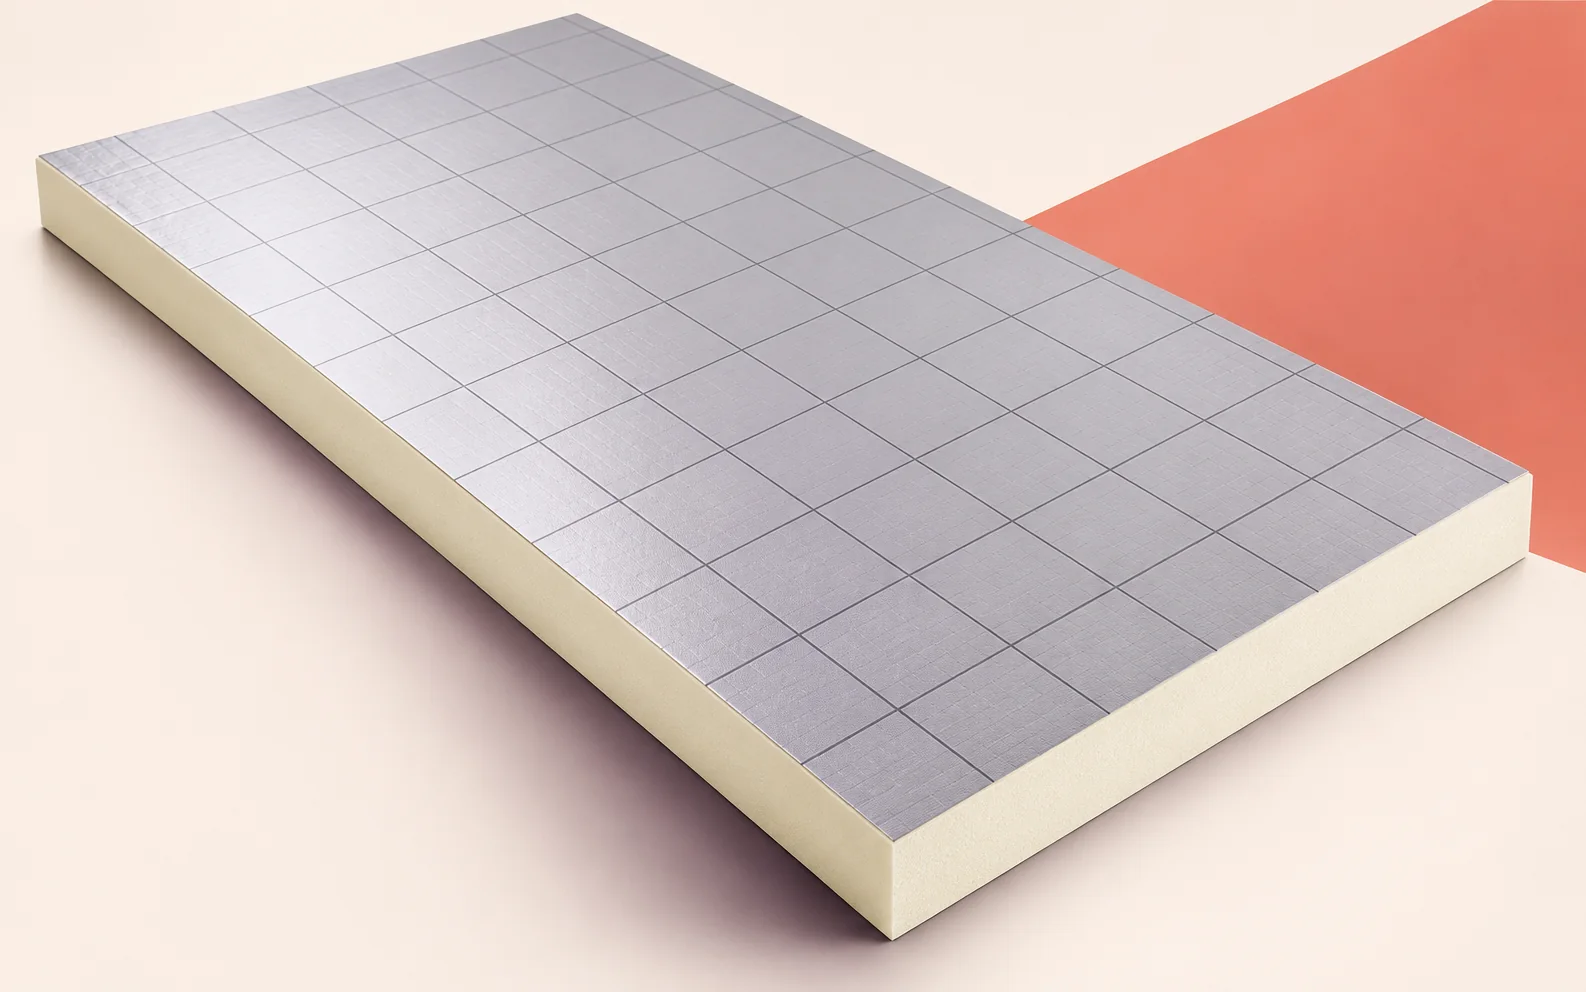
A roof plan for Eurothane Silver should show what holds the covering and insulation against wind uplift and how equipment loads reach…
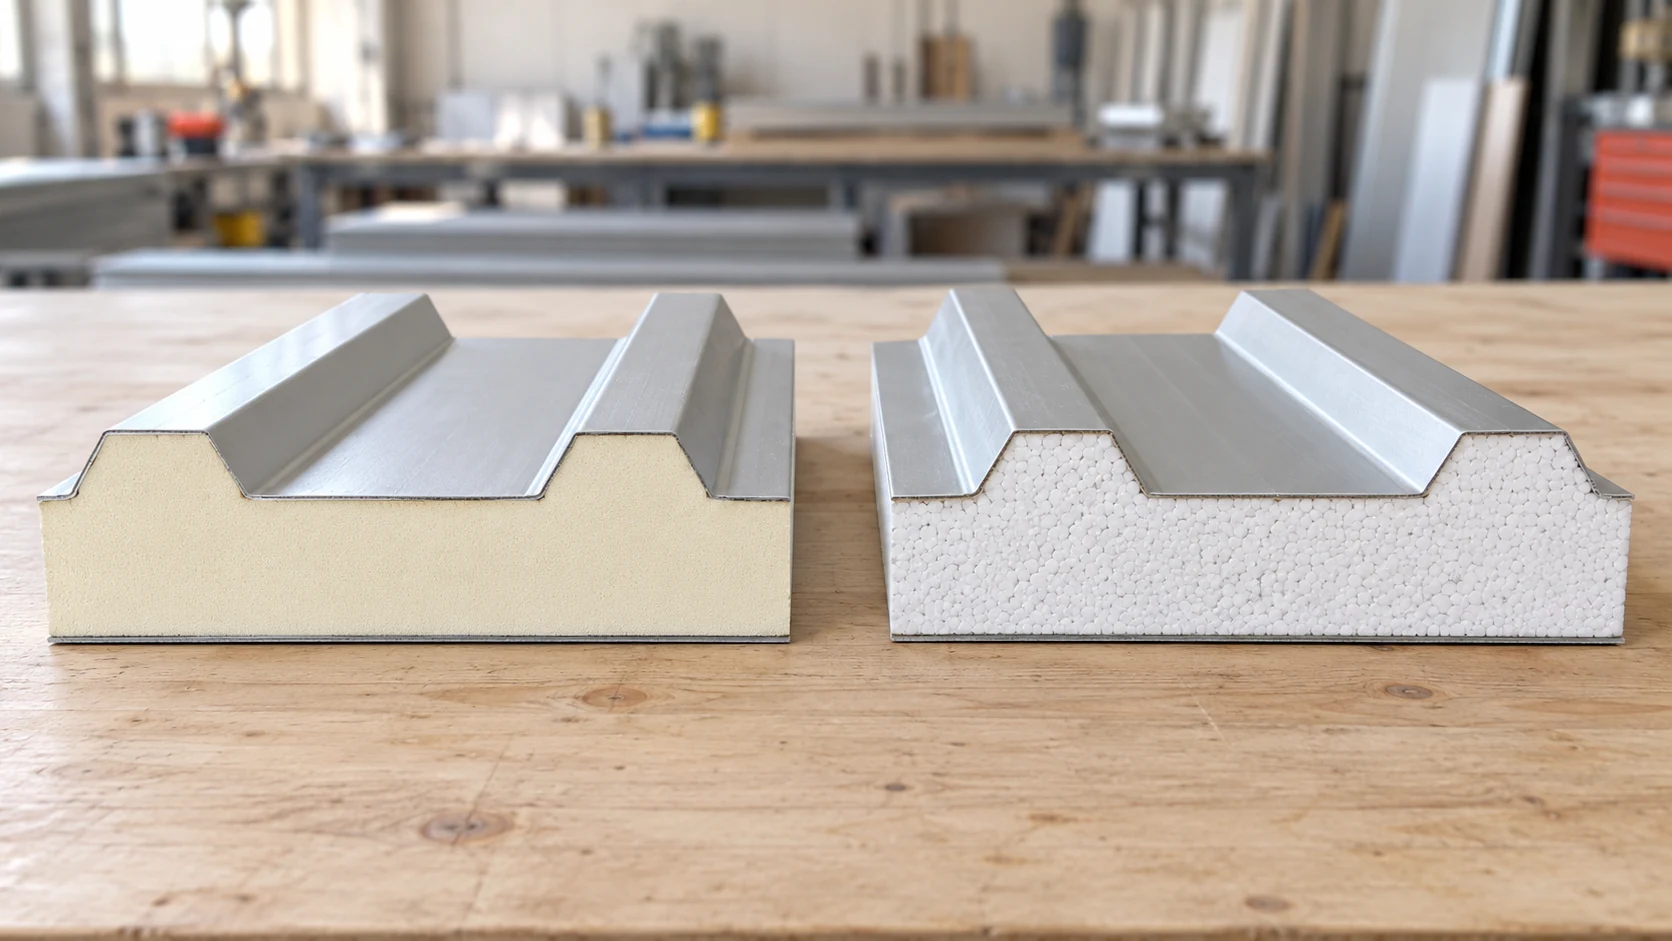
Compare PIR and EPS roof panels against the same design brief. Set the required U-value, loads, fire performance and exposure conditions, then…
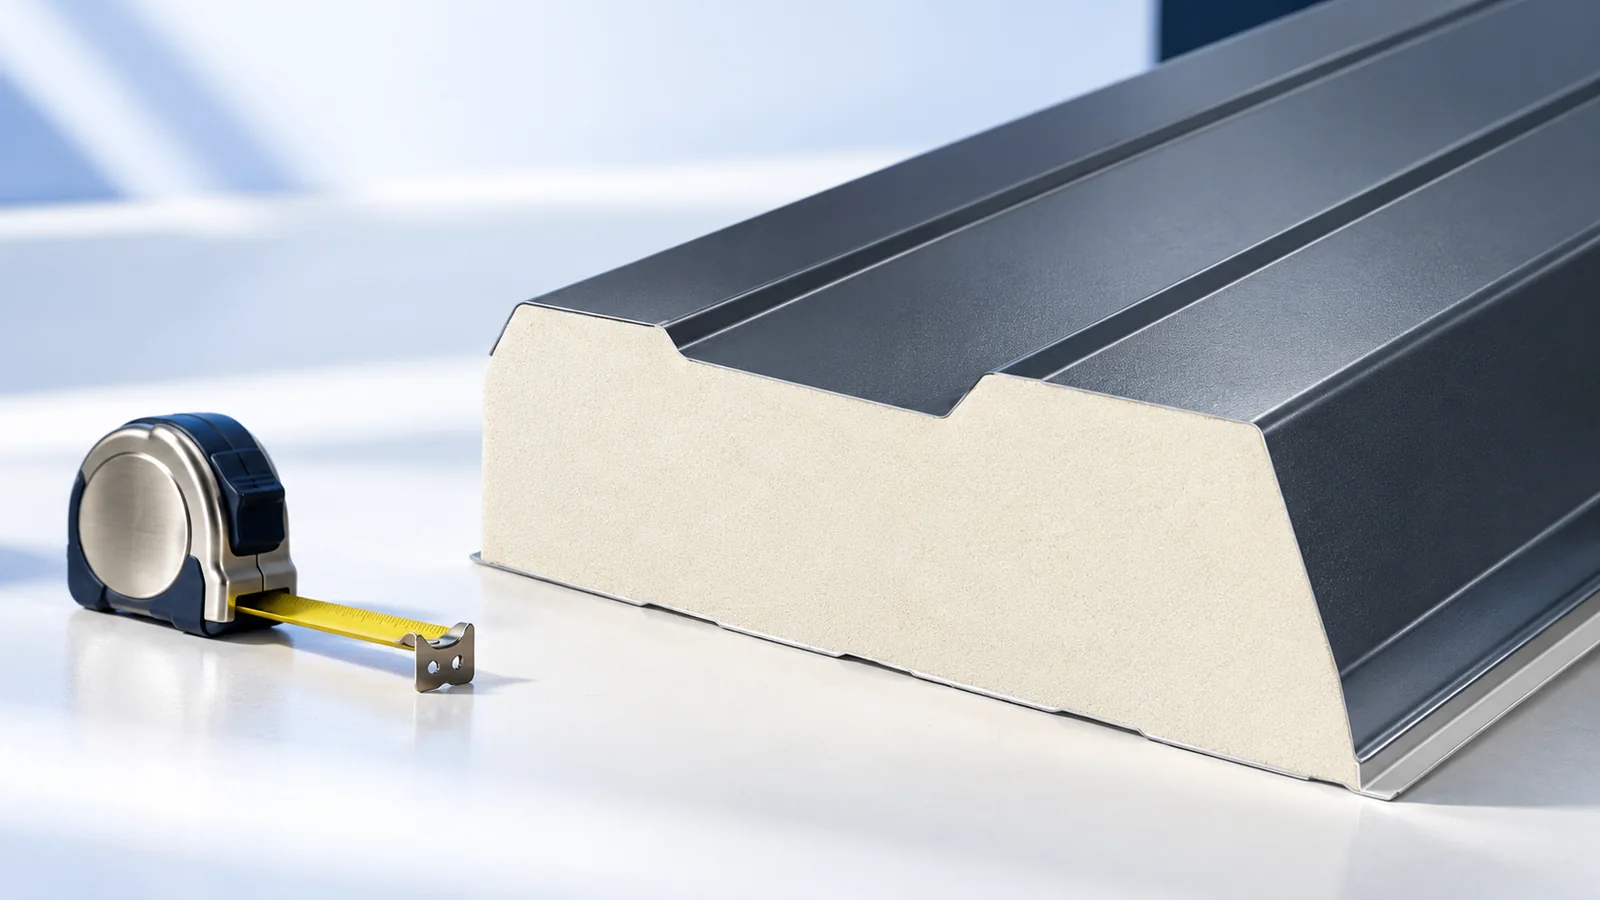
Start with the roof section and support plan when choosing a sandwich panel. The two steel facings and insulating core act together…

A collar beam joins two opposing rafters at a height set by the structural design. Its position matters twice over: it affects…