






How to choose a PIR render carrier board for an aerated concrete wall
PIR insulation
At a glance
Aerated concrete masonry and PIR can make a well-insulated wall when the board, render system and fixings are selected together. Aluminium-faced PIR is not a substitute for every board intended to receive render. Before ordering, check the masonry properties, board facing, fixing substrate and details for shedding water. Aerated concrete blocks come in different densities and thicknesses. Establish the actual wall properties from records or inspection, including joints, moisture and existing finishes. In a new building, assess how construction moisture can dry out before covering the masonry with insulation.
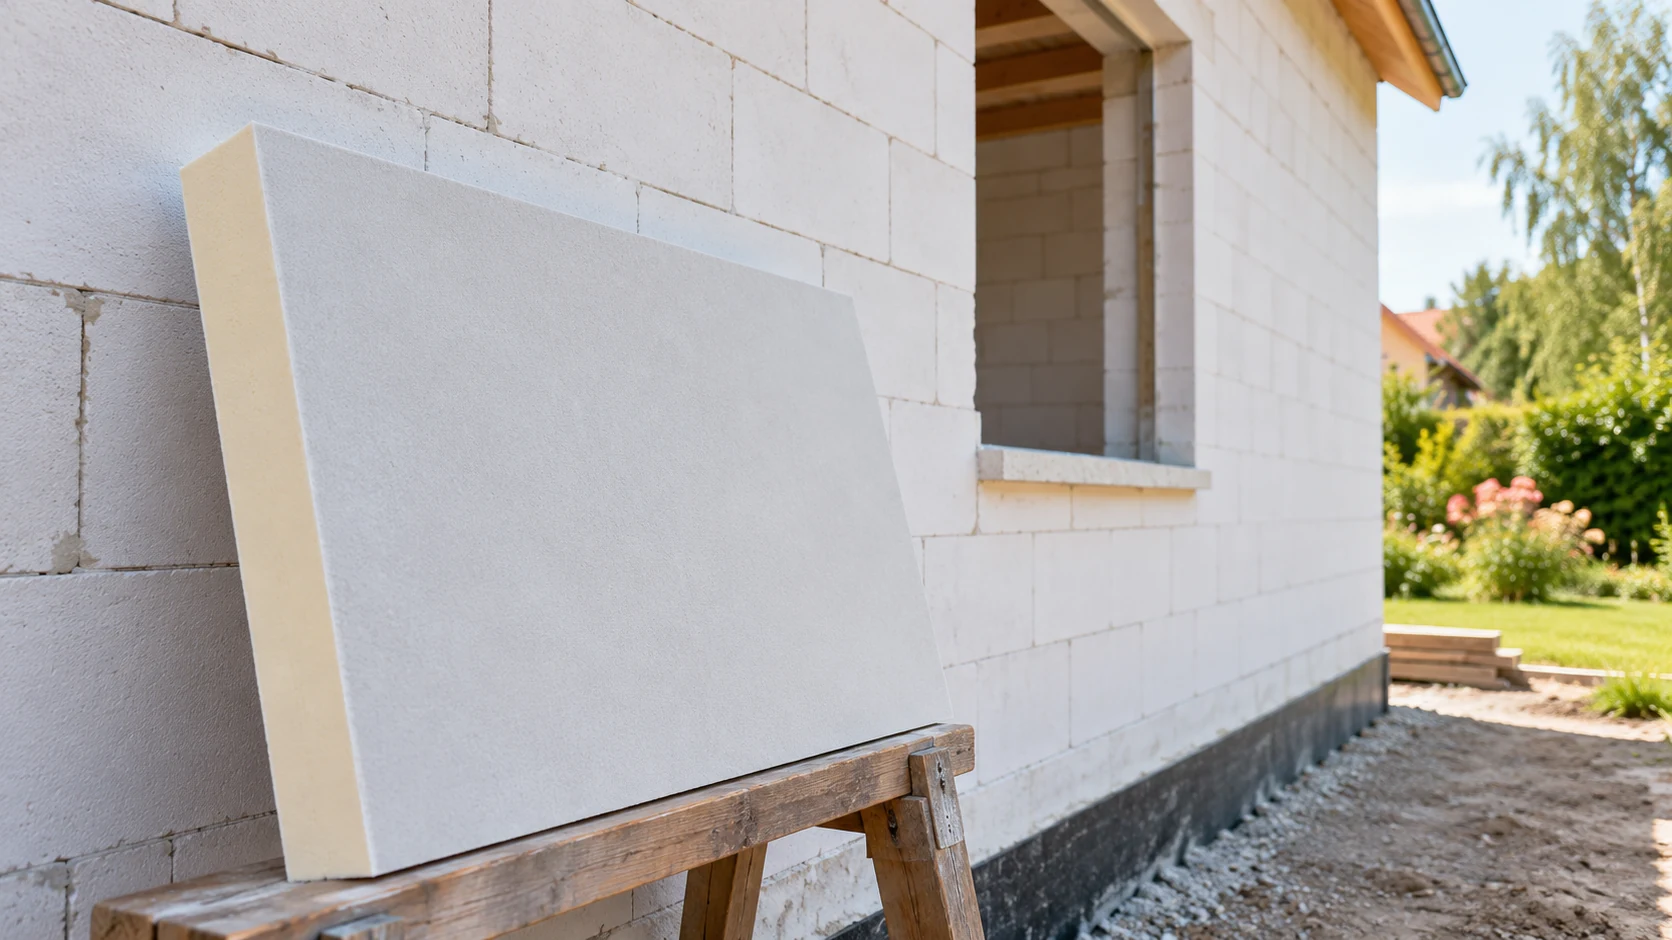
Establish substrate properties and condition
Before bonding, check surface strength, dust, flatness and absorbency. Loose cutting dust reduces adhesion. Follow the system instructions for preparation and primer. Include patched areas, infill and reinforced concrete in the substrate assessment.
Select a board intended to receive render
In an external thermal insulation composite system (ETICS), the board must work with both the adhesive and the reinforced base coat. Suitable facings include glass fleece approved for the particular system. Their thermal conductivity may differ from that of a board faced with aluminium on both sides. A common core material does not make boards interchangeable.
Check which side faces the substrate and which components the system permits. Changing adhesive, mesh or render affects the assessment of the assembly. Check the fire requirements for the building as well. Neither facing colour nor the board’s appearance in a shop identifies a system reliably.
Calculate with the correct conductivity
Suppose the wall, finishes and surface resistances together give R = 1.80 m²K/W. An 80 mm render carrier board with conductivity 0.026 W/(mK) adds about 3.08 m²K/W. The simplified U-value for the uninterrupted wall area is about 0.205 W/(m²K). At 100 mm the same board gives about 0.177 W/(m²K).
If the design target is 0.20 W/(m²K), the first option needs revision. This calculation uses the assumed masonry and conductivity, without fixing corrections. It is not a thickness table for every aerated concrete wall. Recalculate and reassess the junctions if the block, board or assembly changes.
Match the fixings to the block
Use fixings intended for aerated concrete. Check the fixing type, installation method, embedment and load capacity in the actual substrate class. The fixing pattern depends on the design, wind load and façade zone. Corners and edges may need a different arrangement from the middle of the wall.
For refurbishment or an uncertain substrate, allow for on-site fixing tests. Smooth-looking old render is not necessarily load-bearing. The fixing length must accommodate all intermediate layers and the required anchorage. Do not determine it by adding an arbitrary allowance to the PIR thickness.
Detail the junctions to shed water
Design the roof, balcony, sill and plinth junctions before insulating. Water should drain clear of the finished façade face. Check falls on horizontal surfaces and the ends of flashings. Design the geometry to keep water out rather than relying solely on a final bead of sealant.
Follow the system layout and reinforcement details around openings. Cracks at window corners can let water in. Prepare fixing points for lights, canopies and downpipes in advance. Detail each attachment so tightening a screw does not crush the insulation.
Compare complete quotations
Specify the system type, thickness, facing, edge profile and area of each façade zone in the enquiry. Check boards per pack and how much material the order actually buys. Estimate cutting waste on a façade drawing. Small reveals often take more labour than their area suggests.
Include system adhesives and compounds, mesh, profiles, fixings, substrate preparation and scaffolding. Specify documentation and how substitutes will be accepted. On delivery, inspect labels and edges. A different facing needs confirmation of compatibility even if colour and thickness look similar.
If the quote includes several thicknesses, check that profiles and fixings suit each. Switching from 80 to 100 mm may mean different accessories. Update the complete order list when the board changes.
Questions and answers
Will any thin PIR board do on insulating aerated concrete?
No. Thickness depends on the complete wall and the design target. Check the render system requirements, fixings and thermal bridges separately.
Do all PIR boards have a conductivity of 0.022 W/(mK)?
No. It varies with the product, facing and sometimes thickness. Use the render carrier board’s own data, not the value for a foil-faced version.

Free quote
What to include in your enquiry
Tell us how you plan to use the material, the dimensions and the quantity you need. Include the thickness, grade or variant name, along with the delivery town or your preferred collection branch. For a specific product, add its name or a link to the product page. We will reply to the email address you provide to discuss availability and the terms of your order.

Read next
A canopy shelters the people on a terrace from rain and sun. If there is a heated room below, the terrace floor…
Before choosing insulation or finishes for a historic building, establish which features give it its character, what condition it is in and…
A well-designed pig house keeps conditions suitable for the animals, can be washed efficiently and is straightforward to operate. Insulated walls and…
Every centimetre counts when insulating from the inside, particularly in a hallway or under a sloping roof. PIR boards can reduce the…
The position of the waterproofing is the starting point for choosing flat roof insulation. On a warm roof the insulation sits below…
A short panel can suit a small room, but first check its length against the plinth and head details. White facings and…
PIR insulation boards reduce heat flow through roofs, walls and floors. They have a rigid polyisocyanurate foam core but vary in their…
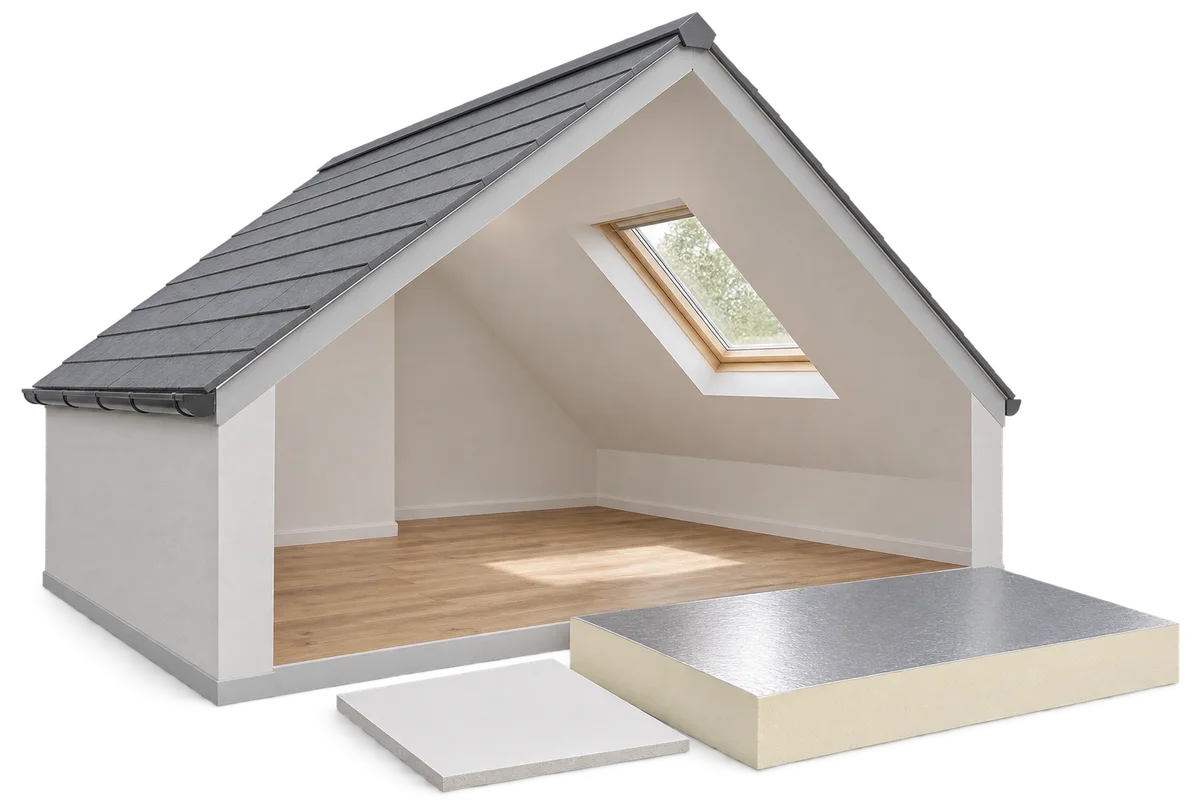
A loft fit-out starts well before the first plasterboard goes up. Inspect the roof, plan the insulation and establish how the layers…
