






Installing sandwich panels on cold-formed steel: checks before closing the envelope
Steel sections and structures
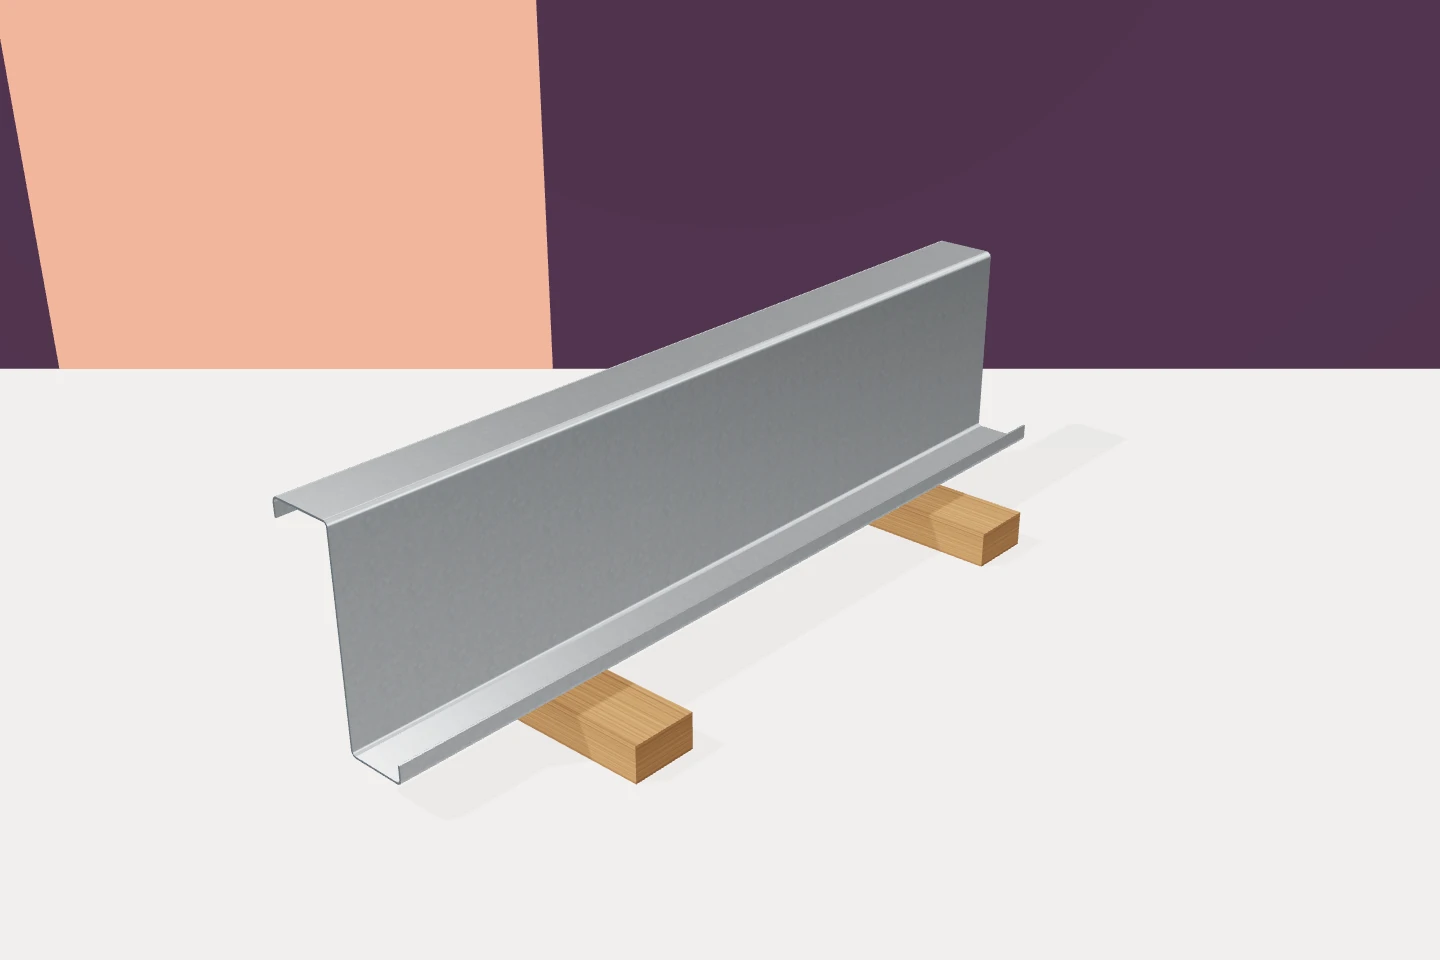
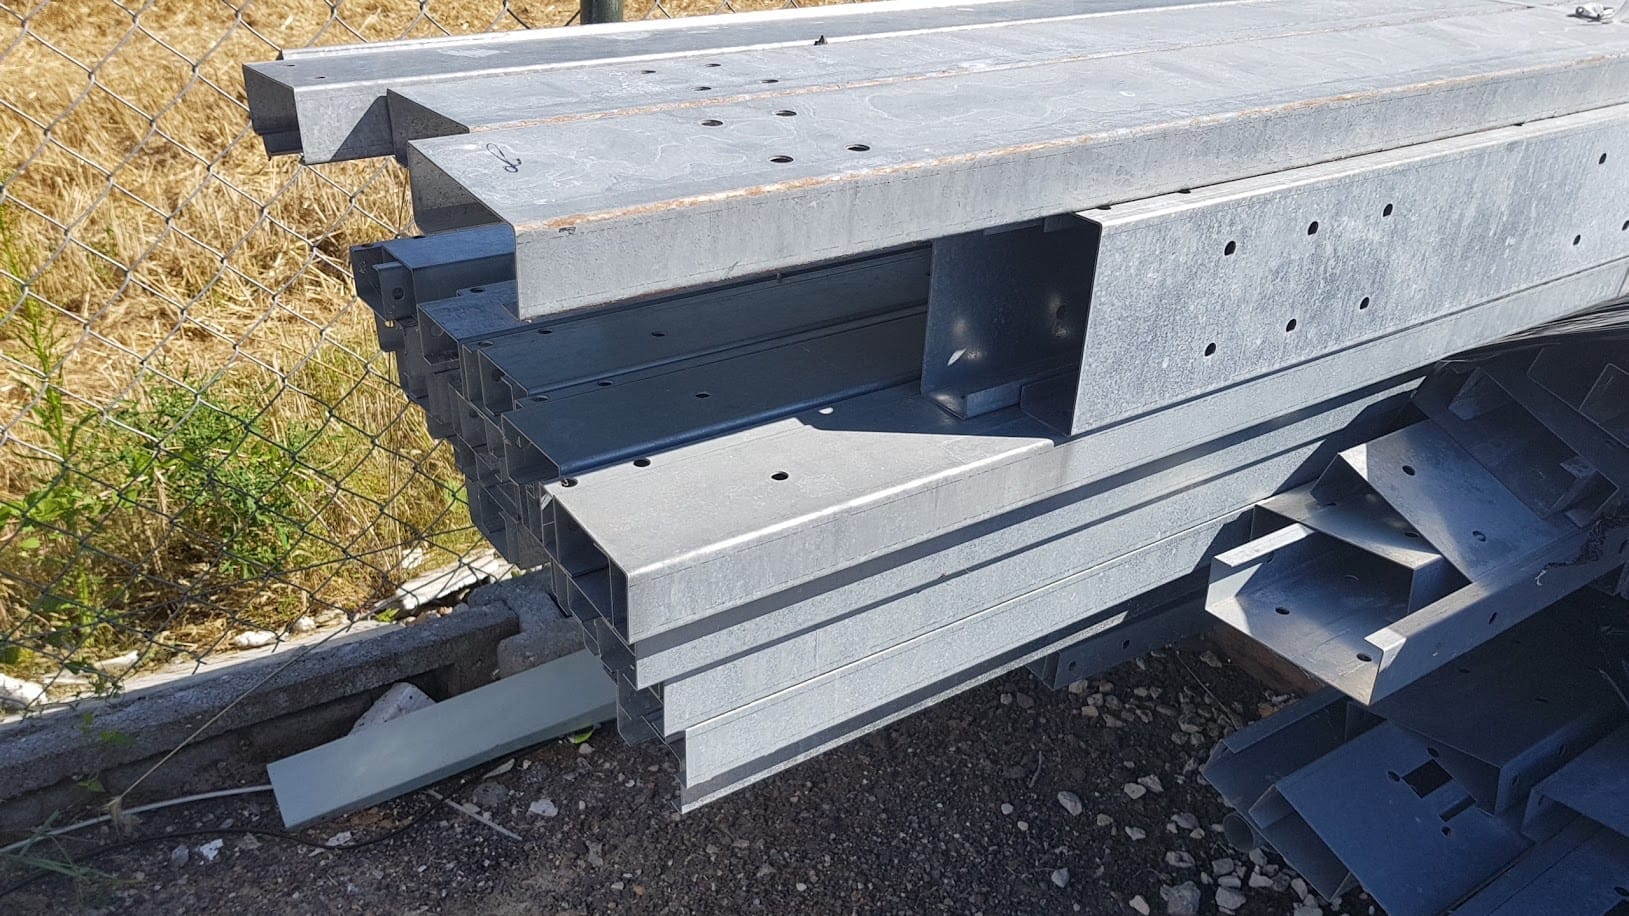
Inspect the supporting steelwork before the first sandwich panels go on. Once a wall bay or roof slope is covered, connections that were easy to inspect or adjust can become inaccessible. Check that Z purlins, channel rails and other cold-formed sections provide the supports specified in the panel documentation. The steelwork and cladding crews need one handover plan showing which bays are ready, the order in which they will be closed and which connections still need access. This prevents panels from concealing unfinished structural work and lets the team schedule deliveries to match the areas actually available for installation.
In this article
Agree when each bay can be handed over
Confirm which drawing revision governs the work. Following a change to the steelwork, review the panel layout and fastener schedule. Moving a single rail can affect more than one panel. Circulating the same revision to both crews keeps them working to the same detail.
Survey the supports before the panels arrive
Check purlin and rail spacing, straightness and the plane of the fixing faces. Confirm bearing widths at typical and special supports. Panel joints, openings and corners may need additional members. These are easiest to install before cladding starts.
Do not use a panel to straighten misaligned steelwork. Pulling it into place by force can impair panel behaviour and make a joint difficult to seal. Agree how deviations will be corrected. Shims and extra plates can change the connection behaviour. Start installation from a correctly aligned support plane.
Verify the sections and the thickness of the fixing substrate
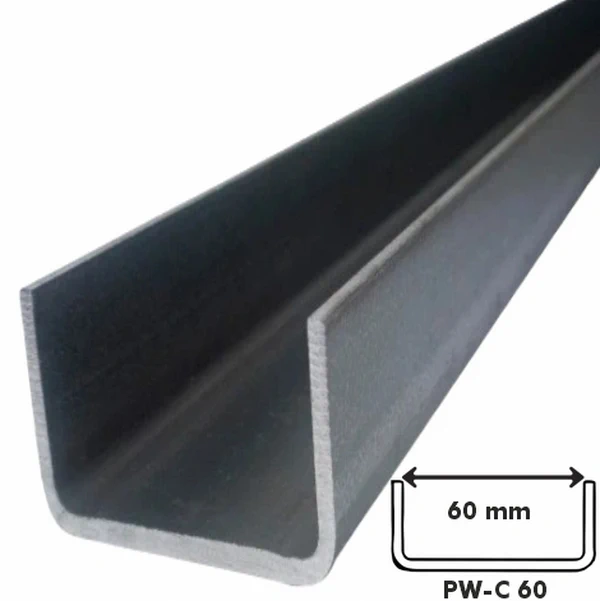
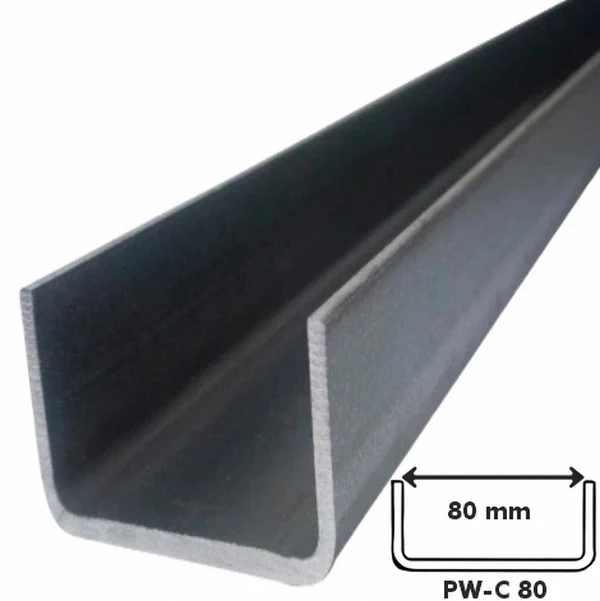
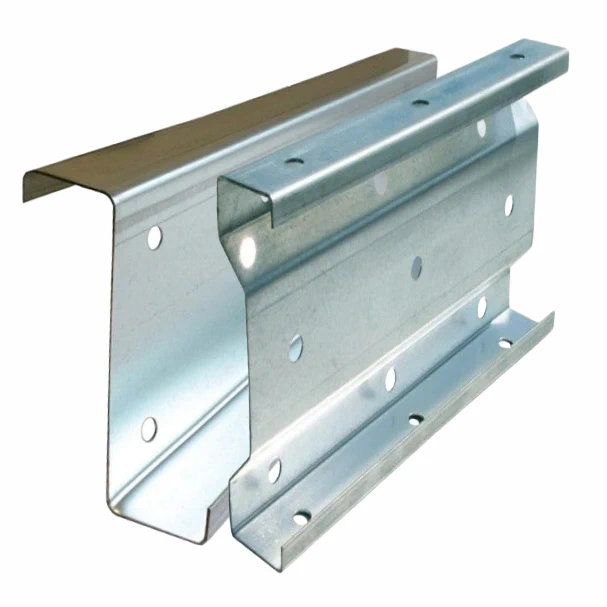
Compare each C, Z or sigma section with the schedule. Check flange dimensions, sheet thickness and hole pattern as well as section depth. A difference in steel thickness can change the screw required for the panel. Verify that the selected fastener suits the steel actually installed.
Where the secondary framing includes hat sections, verify their function and shape. A narrow crown must line up accurately with the fixing centres. Check member markings before covering them. Similar-looking sections with different hole patterns or geometry are easier to identify now than when drilling starts.
Confirm that connections and bracing are in place
Install the connections and restraints required for the current erection stage. Check ties, fasteners and bracing against the plan. Cladding must not take the place of a missing structural member. Where the design relies on restraint from the panels, install the specified fixing pattern.
Lay the panels in the sequence required by the erection plan and the stability conditions. Only set down bundles on a partly completed roof at locations prepared for that purpose. Plan the lifting operation and landing positions so prefabricated panels can be handled without imposing unintended loads on the lightweight steelwork.

Prepare the specified fasteners and seals
Select screws for the substrate material, steel thickness and panel thickness at the fixing position. Check exposure requirements and the specified washers. Count fasteners by cladding zone because the number required can change across the façade or roof.
Match tapes, sealants and flashings to the individual details. A material substitution can change compression or joint geometry. Assemble the required components and tools in advance to avoid interruptions and follow the installation method specified for the system.
Inspect surfaces that will soon be concealed
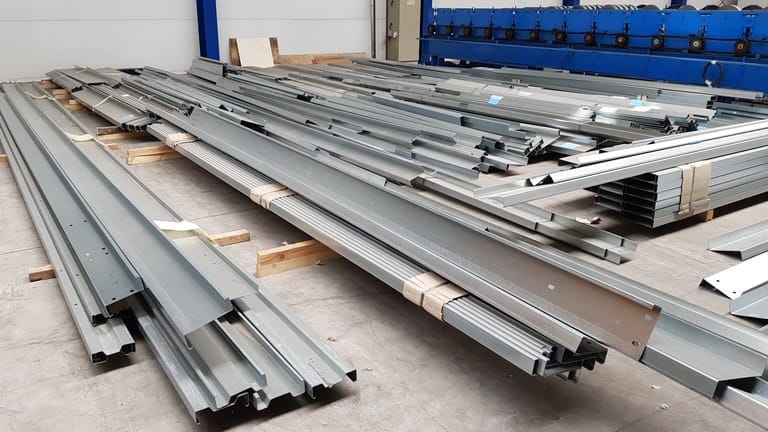
Clean machining debris from the galvanised sections and inspect the coating for damage. Use a repair method appropriate to the finish. A distorted web or flange requires a separate structural assessment. Painting over the area addresses neither the deformation nor its effect on the member.
Look for details that can trap water. A local leak may remain hidden after the envelope is closed. Use the steelwork handover to check the routes of seals and flashings, particularly at plinths, roof edges and openings where several materials meet.
Record decisions and changes
Record which bays are ready for cladding and which corrections are outstanding. Note agreed deviations and update the drawings. A concise, unambiguous as-built record helps with handover, later inspections and future extensions.
Correctly prepared galvanised sections provide the intended bearing and fixing points for the panels. Z purlins, channels, sigma and hat sections each serve a different purpose, and their alignment affects the finished surface. Checking them before covering the frame reduces remedial work and lets installers follow the agreed sequence from one panel to the next.

Free quote
What to include in your enquiry
Tell us how you plan to use the material, the dimensions and the quantity you need. Include the thickness, grade or variant name, along with the delivery town or your preferred collection branch. For a specific product, add its name or a link to the product page. We will reply to the email address you provide to discuss availability and the terms of your order.
Read next
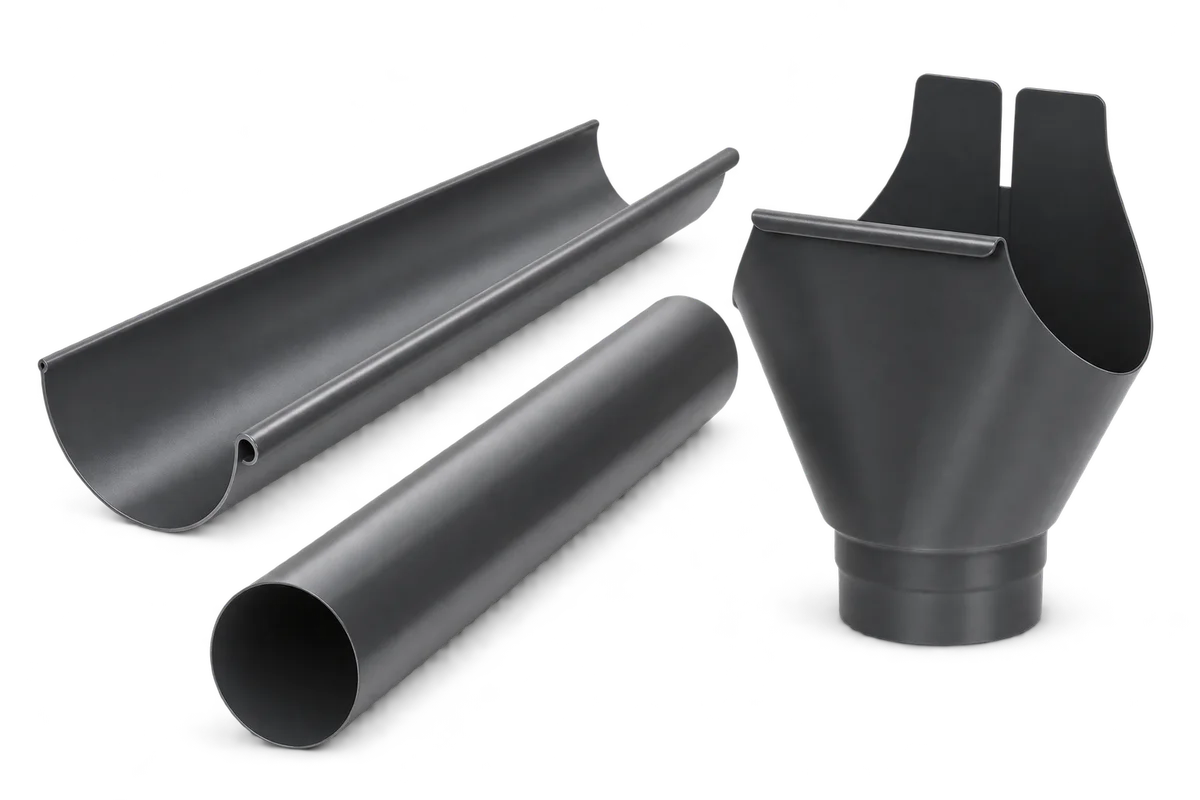
Concealed rainwater drainage needs coordination with the façade before finishes hide the connections. Inspecting the completed wall cannot replace checking parts that…
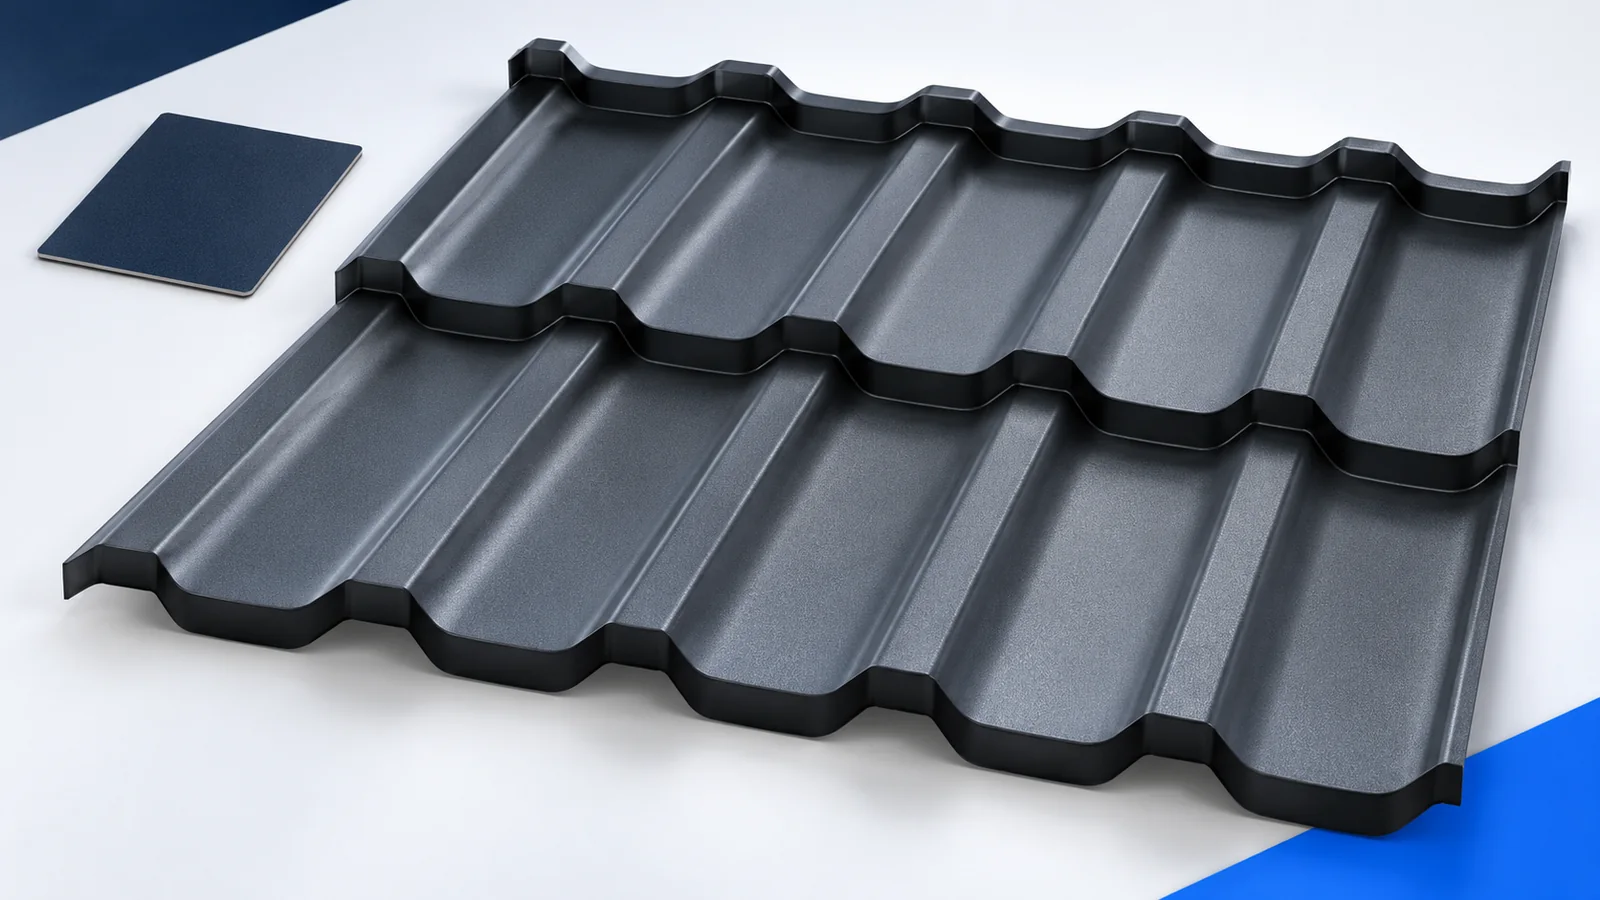
Compare tile-effect steel sheets by the square metre of roof they actually cover. For example, a Polish price list effective from 28…
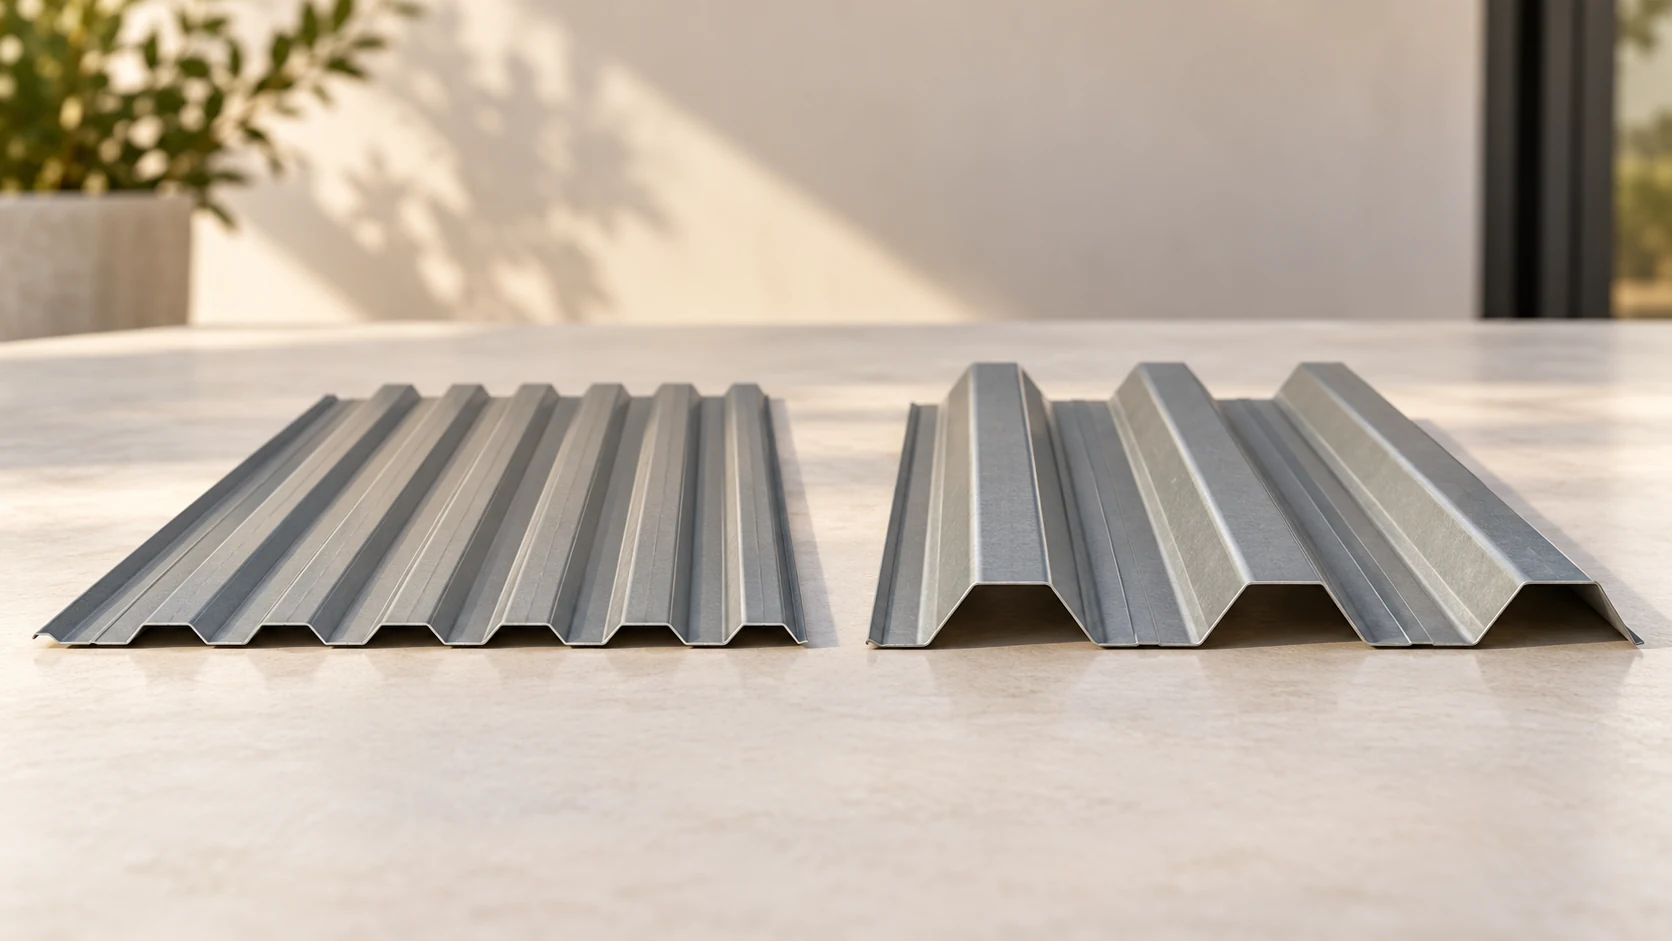
Changing the depth of a trapezoidal steel sheet changes its stiffness and can also change its effective cover width. Compare T18 and…
Choosing between a local roof repair and replacement of the covering requires investigation and clearly described scopes. Sheet age, a single damp…
A roofing schedule starts with the supports and ends with a roof that sheds rain. Between those points, a housebuilder needs dates…
A factory-made roof panel can combine the weather skin, insulation and inner lining in a single lift. Whether that saves work depends…
In Poland the construction site manager (kierownik budowy) organises and directs the work in accordance with the design, applicable rules and safety…
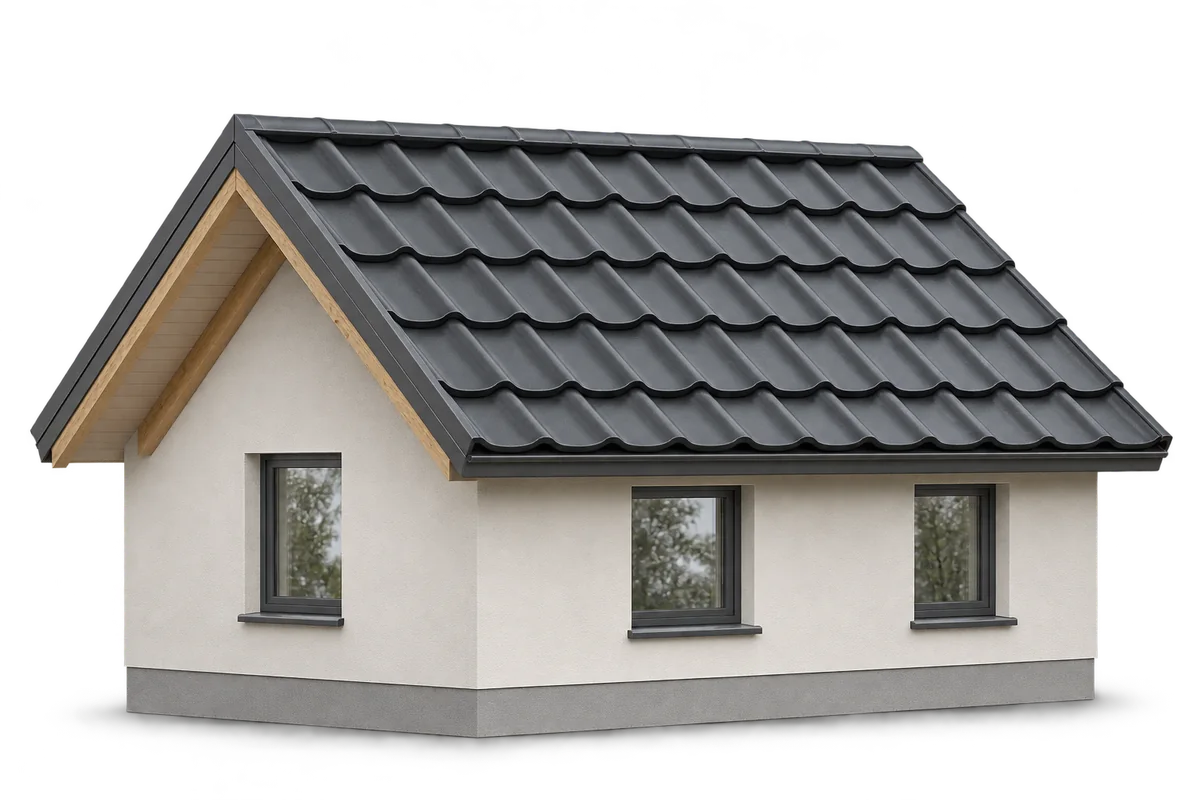
A gable roof has two slopes that meet at the ridge. This simple shape makes the roof covering easier to lay out…
