






Utherm Sarking LE Plus on a large pitched roof: detailing the roof windows
PIR insulation
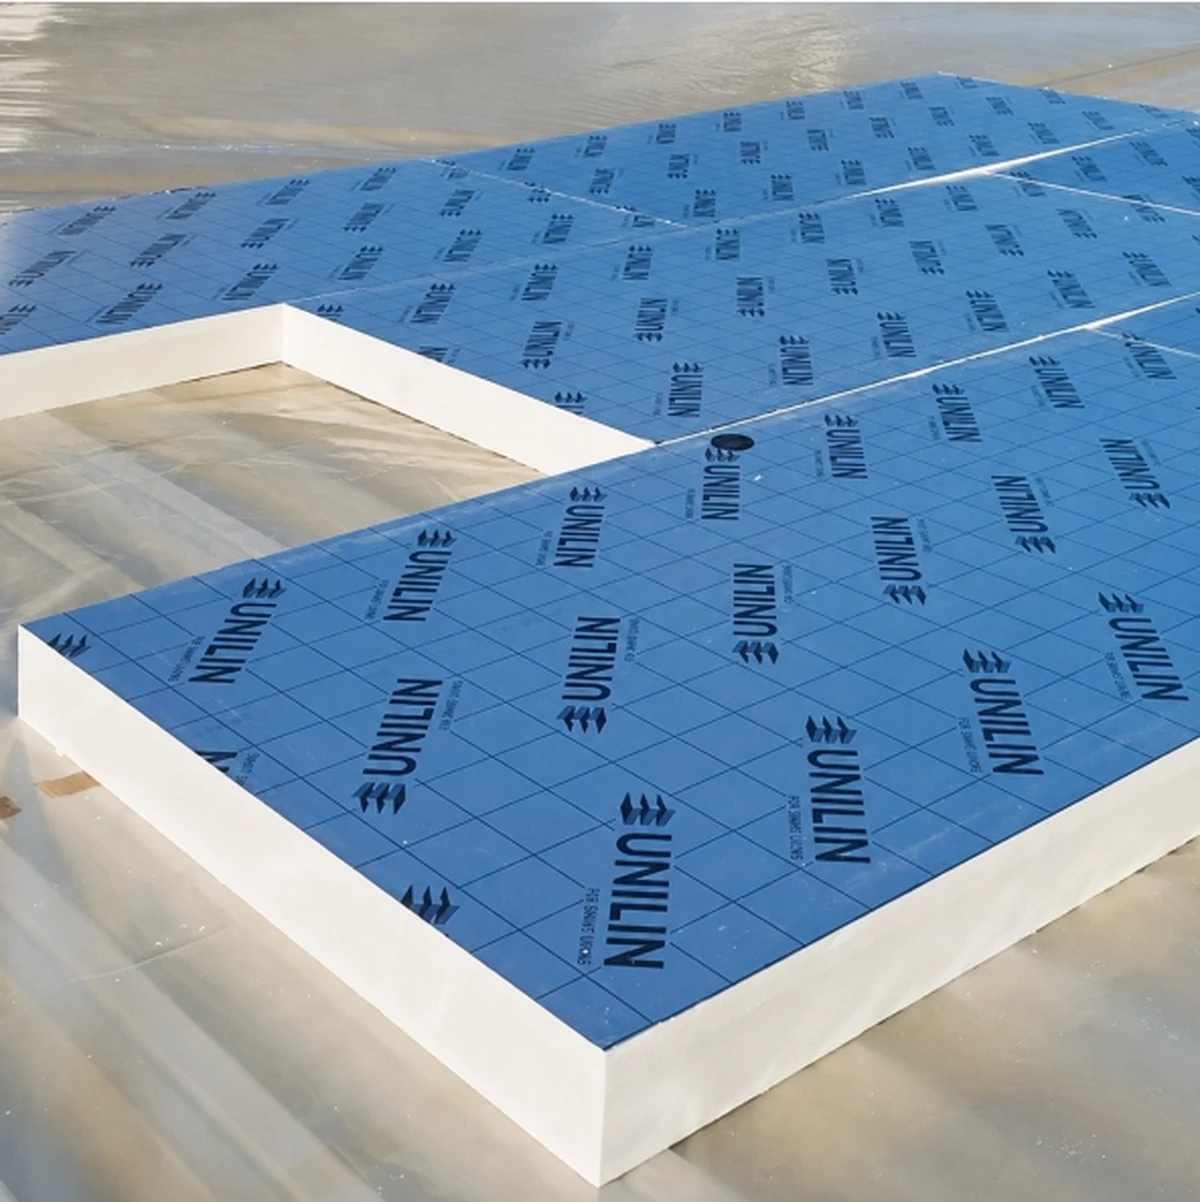
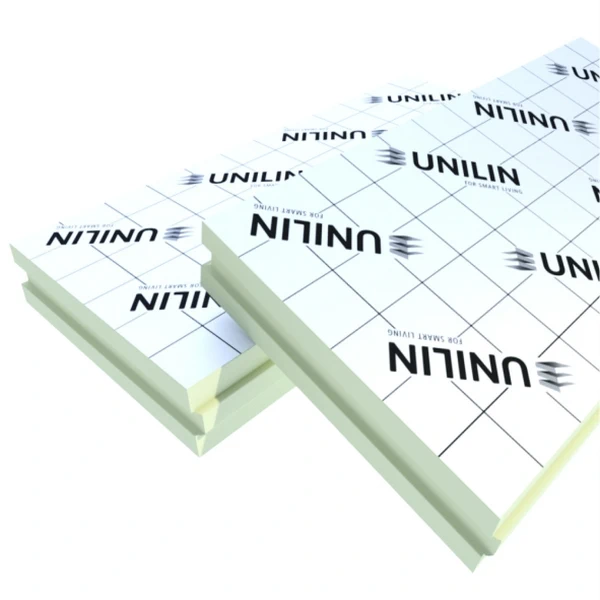
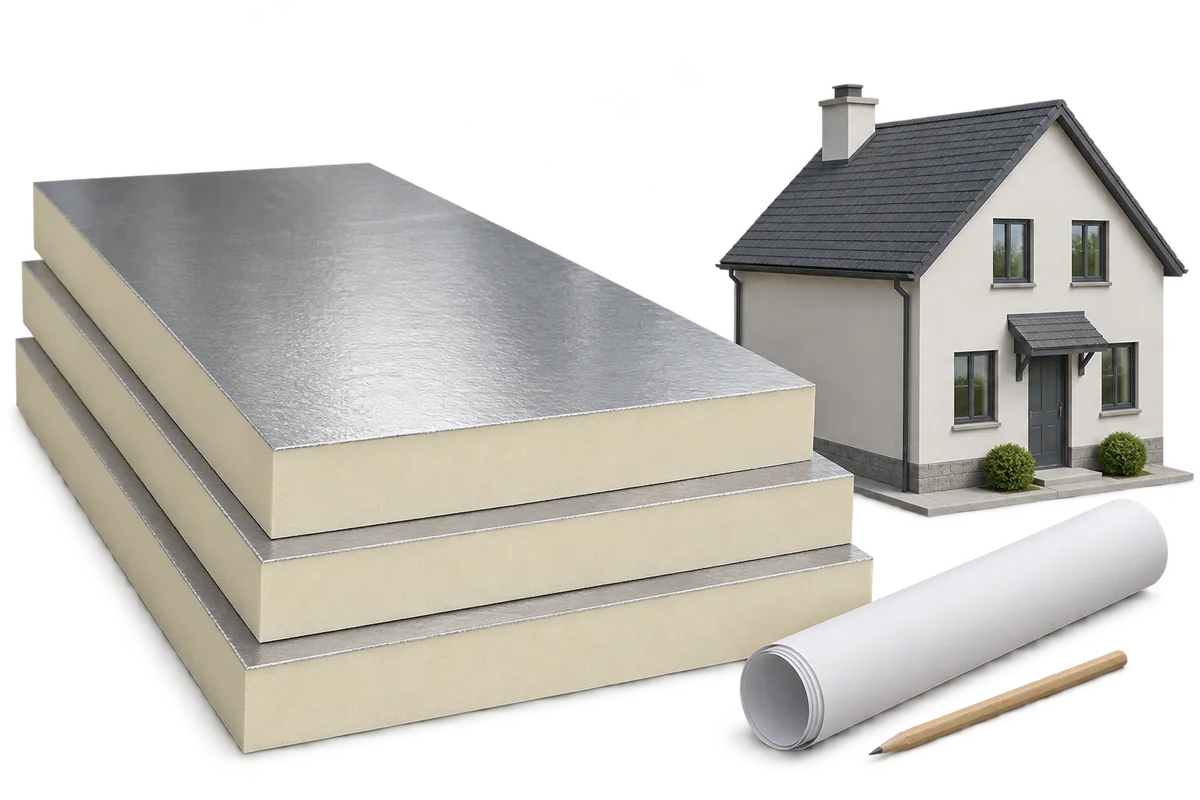
On a pitched roof with rows of roof windows, a Utherm Sarking LE Plus layout should show both the PIR board joints above the rafters and the drainage path on the underlay. Each board has tongue-and-groove edges on all four sides and a factory-bonded underlay with an overlap on the outside. Cutting a window opening removes some of those edges. Before ordering, draw one window with the adjacent boards, counterbattens and underlay connection to the frame. This detail identifies the extra material, support for cut pieces and access the roofer needs to complete the junction.
In this guide
What comes with the Plus board
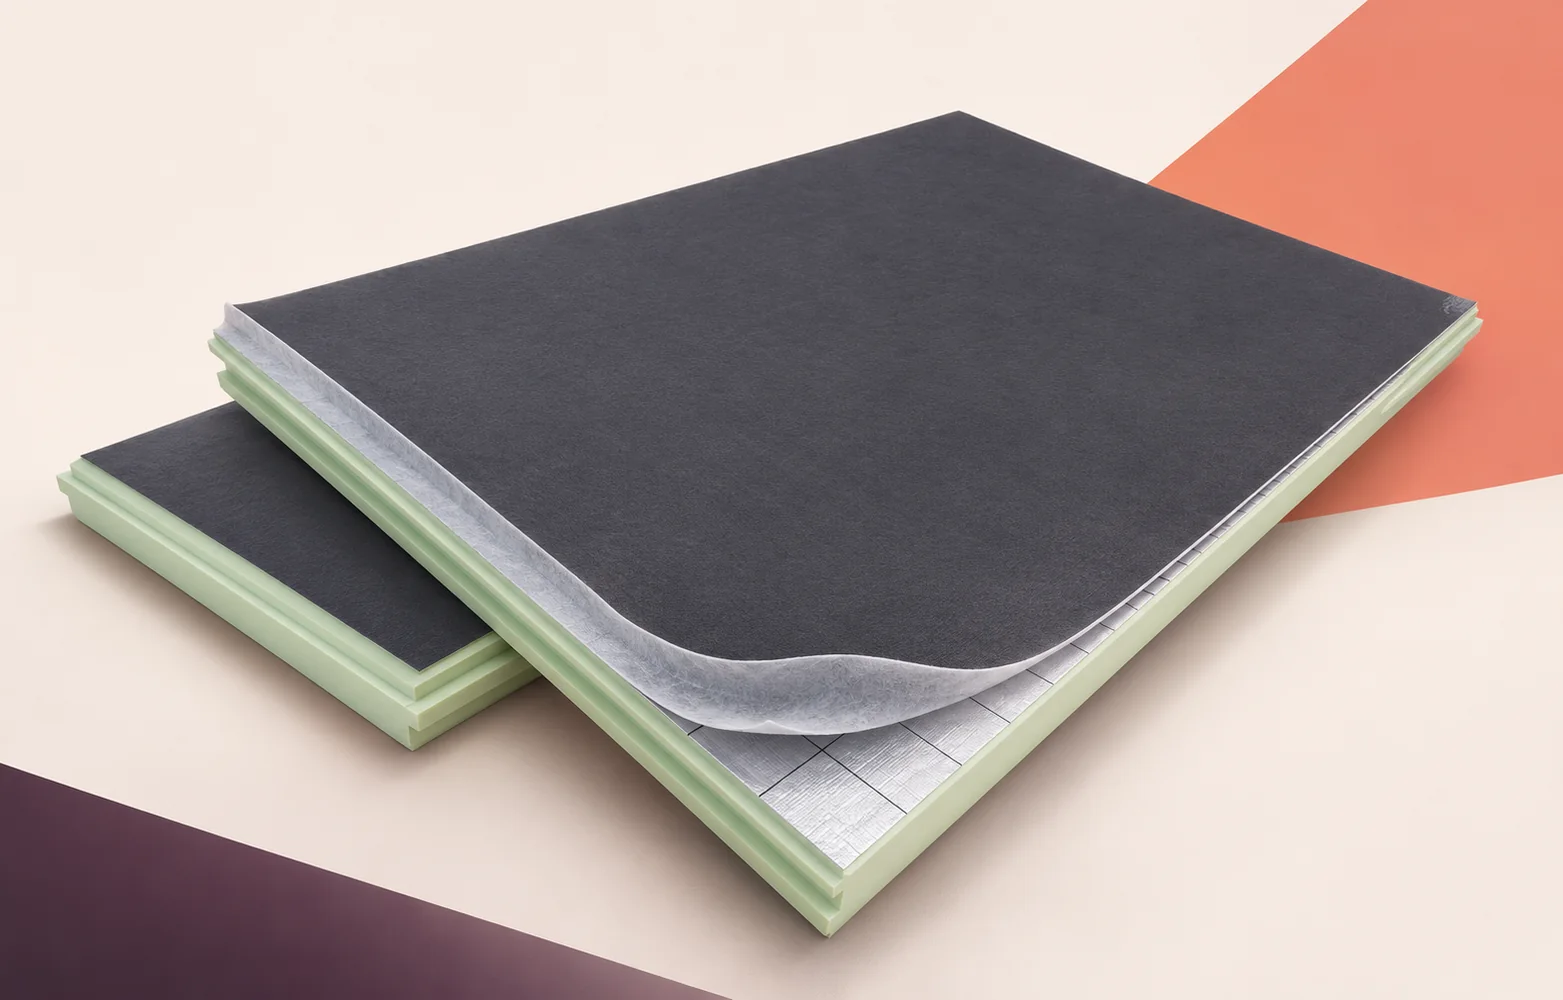
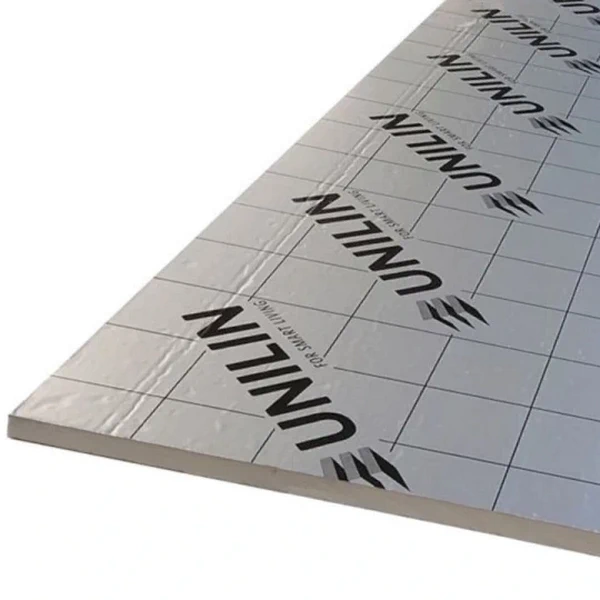
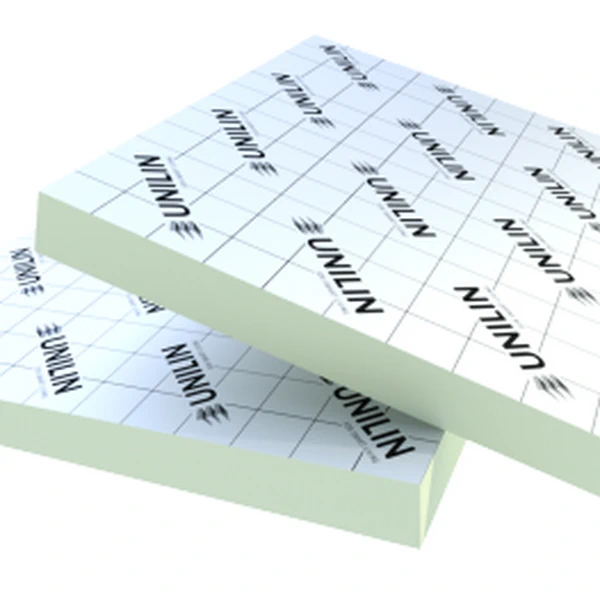
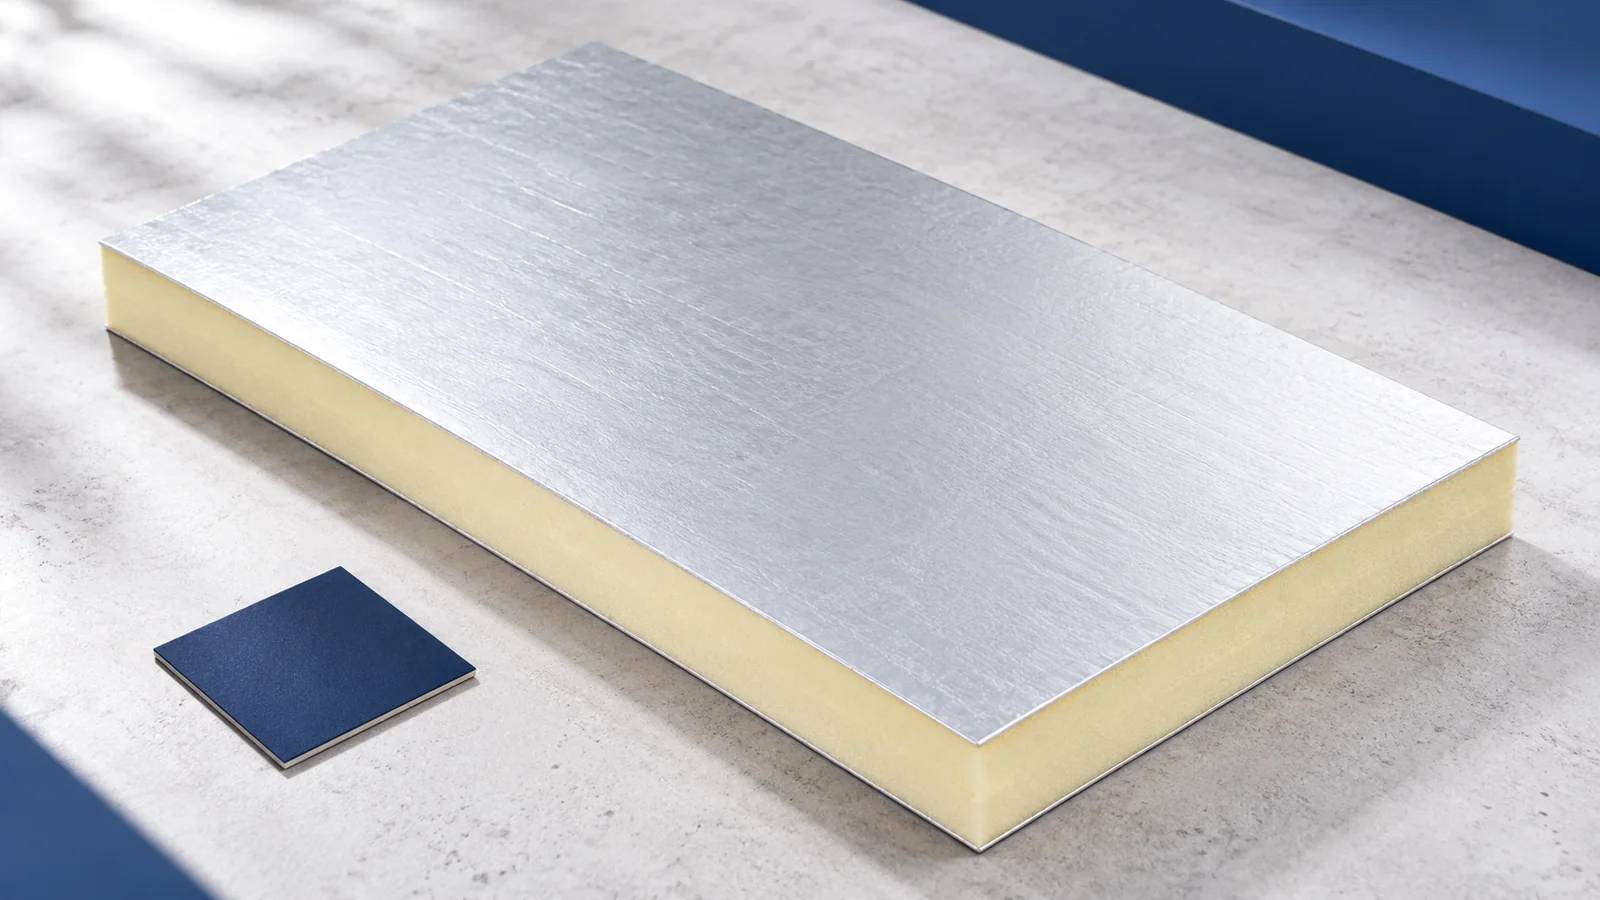
Check the full Sarking LE Plus designation on the pack. The PIR core has laminate facings on both sides. The additional vapour-open membrane on the outer face forms the underlay once the laps and junctions have been completed. Inspect the projecting membrane edges on the first pallet and check the variant against the order.
Continuous insulation from eaves to ridge
Unilin lists a declared thermal conductivity of 0.022 W/(m·K) for Sarking LE Plus. Above-rafter boards carry the insulation across the timber lines too. On the section, show where this layer meets the wall insulation and where it terminates at the window reveal.
For the roof as a whole, the thermal calculation includes the other layers and the effect of connections through them. If reroofing increases the insulation depth, also check the window height relative to the battens. Retaining the frame at its old level requires a compatible detail from the window supplier.
Setting out the boards around windows
The nominal board size is 2,400 × 1,200 mm. Mark the openings and the clear gaps between them, then draw the board edges. Check offcuts from the eaves side separately from those on the ridge side. Pieces of equal size can retain different edge profiles or underlay laps.
Where a cut removes a tongue or groove, use the support detail specified for that board end. Counterbatten positions and their fixings through the insulation must suit the structure. Count an offcut as reusable only after checking that the remaining edge fits the adjoining board.
Taking water past the head of the window
Trace the path of water arriving from above on the window head detail. If the window system calls for a drainage gutter, show its position and where it discharges. Set out the laps before counterbattens restrict access to the underlay.
Inspect the jambs and sill separately. The junction between the underlay collar and board membrane should carry water onwards towards the eaves. Mark any fold or torn lap edge for repair to the system instructions before installing parts that conceal it.
Chimney details and rooms beneath the roof
The data sheet gives the board a reaction to fire class of E. Determine chimney clearances and materials at the penetration for the particular flue system. The roofer needs a dimensioned section at this location before cutting the PIR.
When the roof space is occupied, include glazing area and orientation, shading and opportunities for ventilation in the summer temperature assessment. Rooms with identical insulation can receive different solar gains because their windows face different directions.
Measuring boards, junctions and flashings
For a quotation, give the roof area and the number and dimensions of the windows. Measure eaves, valleys, ridges and wall abutments separately. This allows tapes and junction accessories to be quantified by length or by item.
If insulation raises the roof covering, check its edge against the gutter position in an eaves section. Include any resulting flashing and fixing changes in the estimate. Plan how to protect the projecting underlay edges while unloading the boards.
Inspecting the first window before covering
Complete the junction around the first window. Photograph the head drainage detail, both jambs and the sill lap while they are visible. Add the sequence to the drawing and identify which steps require inspection before covering. The next crew can then reproduce the detail on matching windows.

Free quote
What to include in your enquiry
Tell us how you plan to use the material, the dimensions and the quantity you need. Include the thickness, grade or variant name, along with the delivery town or your preferred collection branch. For a specific product, add its name or a link to the product page. We will reply to the email address you provide to discuss availability and the terms of your order.
Read next
A calculator result is useful only when you know what was modelled. The same wall can give a different result if indoor…
Draw a section through the house and trace the heated space with a continuous line. In a cold loft the insulation can…
Start with the fire requirements in the building design and the function the roof must perform. A PIR roof panel can meet…
On the floor plan, mark the heated part of the workshop and trace the airflow through the produce store. That will help…
An energy retrofit works best when the roof, wall and floor insulation is planned together with windows, heating and ventilation. PIR can…
An unheated warehouse wall and the envelope of a continuously heated office face different conditions. In a workshop, the time doors stand…
Installing swissporPIR Alu above the rafters raises the roof covering relative to the eaves, roof windows and chimney. On a large slope,…
When ordering Thermano Compact for reveals, recesses and narrow perimeter strips, start with the dimensions of each insert. Two areas of equal…
