






Five installation mistakes to avoid on a metal roof
Structure and installation
Check the roof while the parts that keep it dry are still visible. Start with the bearing lines and the fixing schedule for the actual profile. During cutting, protect nearby sheets and remove swarf before it stains the coating. At a valley or wall junction, trace the water over every lap to the outlet. Beneath the covering, check where moisture can drain or dry and whether the air seal is continuous. Photographs taken at these stages can help distinguish a fixing problem, a flashing leak and condensation if water appears indoors later.
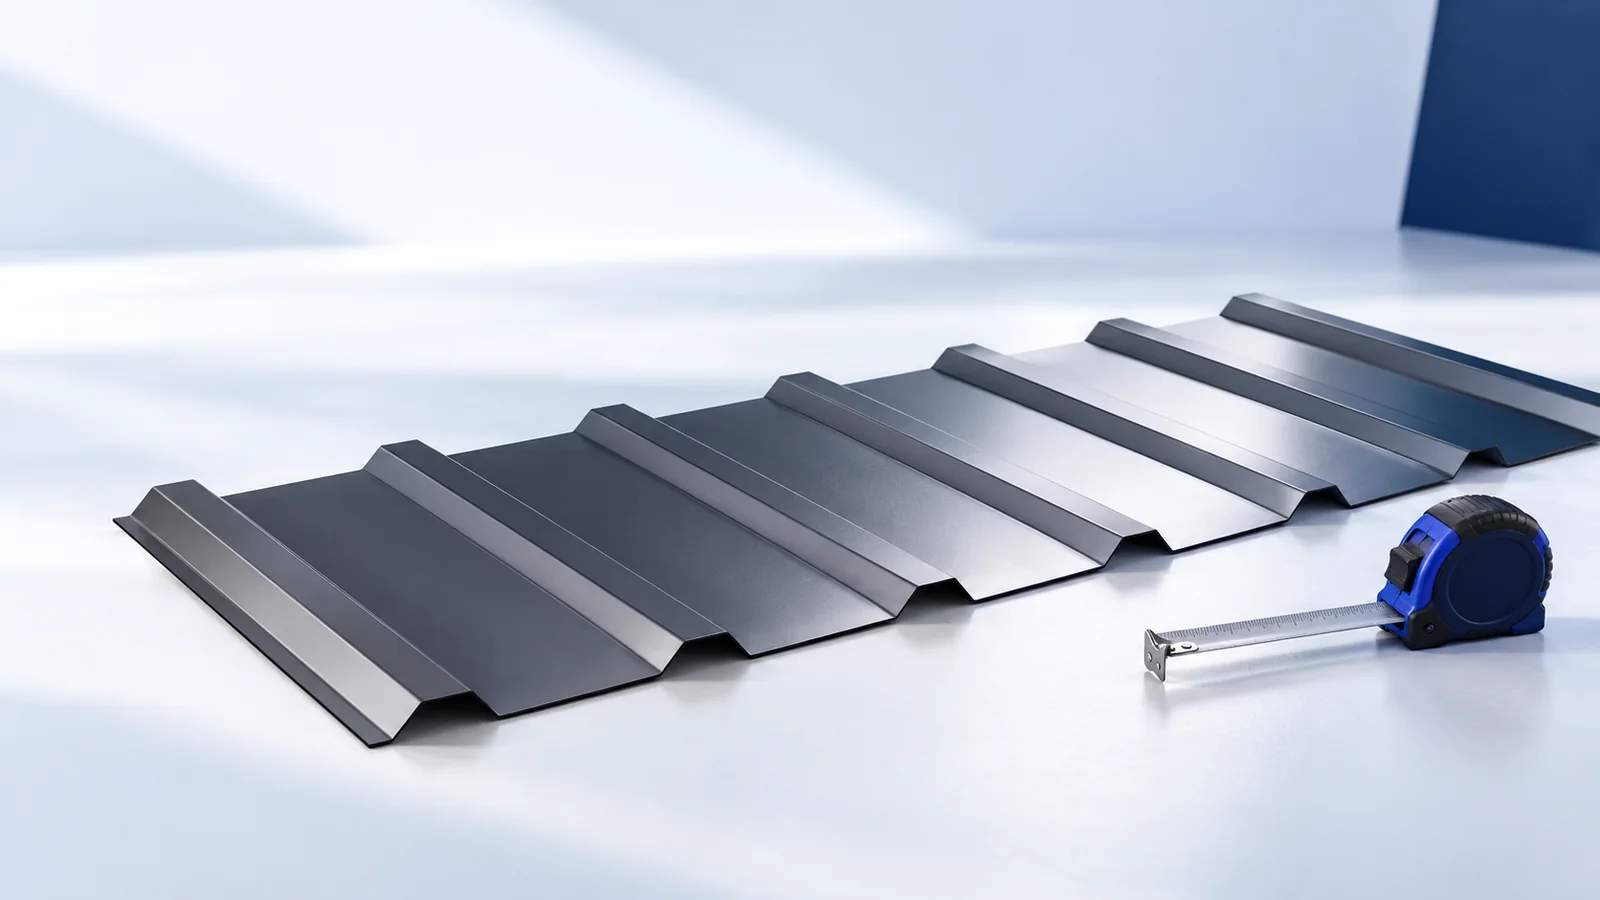
1. Are the supports right for the profile?
Trapezoidal steel sheets, tile-effect sheets and sandwich panels need different support arrangements. For tile-effect sheets the module geometry determines the batten spacing. For trapezoidal sheets, check span against profile, thickness, steel grade and design loads. A T18 or T35 designation gives insufficient information to specify the spacing.
Check the plane of the supports before laying. Twisted or uneven battens can distort the sheets. For sandwich panels, check the bearing width and joint position. Use the load table for the exact product. If support spacing changes, recheck the specification even if the overall roof area stays the same.
2. Do the fasteners suit the substrate?
Timber and steel purlins require screws with suitable length, drilling capacity, thread and washer. The design determines fixing positions and quantities. Wind at the edges may require a different pattern from the middle of the roof. An average screw count per square metre cannot tell an installer where these additional fixings belong.
Excessive tightening can damage a sealing washer and distort the sheet. Too little pressure can leave a leak path and allow movement. Seat the fastener correctly in the substrate and check tool alignment and washer compression as you go. On panels, overtightening can also crush the facing and core locally.
3. How and where are the sheets cut?
Overheating the edge or spraying hot particles onto adjacent sheets can damage protective coatings. Use a cutting method approved for the product, typically a cold-cutting tool. Support the sheet and offcut so the edge does not kink as the cut is completed. Lift sharp edges clear of finished roofing.
Clear swarf after drilling or cutting. Steel particles can rust on the coating and leave brown marks that resemble corrosion of the sheet itself. Follow the coating specification for cut-edge treatment and touch-up paint. Assess extensive damage before laying the affected sheet.
4. Do the flashings shed water to the outside?
Valleys, chimneys, walls and roof edges need carefully formed junctions. A flashing must collect runoff and discharge it downslope. At a wall, allow for movement between the roof and wall. A gap covered solely with an unsuitable sealant can reopen as the parts move.
Check lap direction and the specified fixing positions clear of drainage channels. A misplaced fastener can puncture a water path. Correct the geometry before sealing and follow the covering instructions and project detail. Photograph concealed laps to help diagnose later defects.
5. Can the roof assembly dry out?
Water vapour can condense on the underside of metal. An insulated roof needs coordinated layers and a continuous air seal on the room side. Where a ventilation gap is specified, keep its inlet and outlet clear. Insulation pressed into that gap can block the intended route for drying.
An anti-condensation fleece temporarily holds droplets and needs conditions in which to dry. Insulation and vapour-control layers serve other functions. If the roof drips on a dry morning, check indoor humidity and ventilation as well as possible leaks. Locate the water source before attempting a repair.
What should be checked before handover?
Agree inspection stages before the layers are covered. Record the specified profile, coating and fixings and compare them with the delivery labels. At handover inspect edges, flashings, fasteners and drainage. Check that swarf and waste have been removed and that protective film was stripped within the specified time.
Use the agreed scope of work for handover. Where the installed roof differs from the design, establish the reason and record the accepted change. Identify the fastener, lap or support arrangement actually used at each detail. This record assists maintenance, repairs and clarification of responsibility if a defect develops.

Free quote
What to include in your enquiry
Tell us how you plan to use the material, the dimensions and the quantity you need. Include the thickness, grade or variant name, along with the delivery town or your preferred collection branch. For a specific product, add its name or a link to the product page. We will reply to the email address you provide to discuss availability and the terms of your order.

Read next
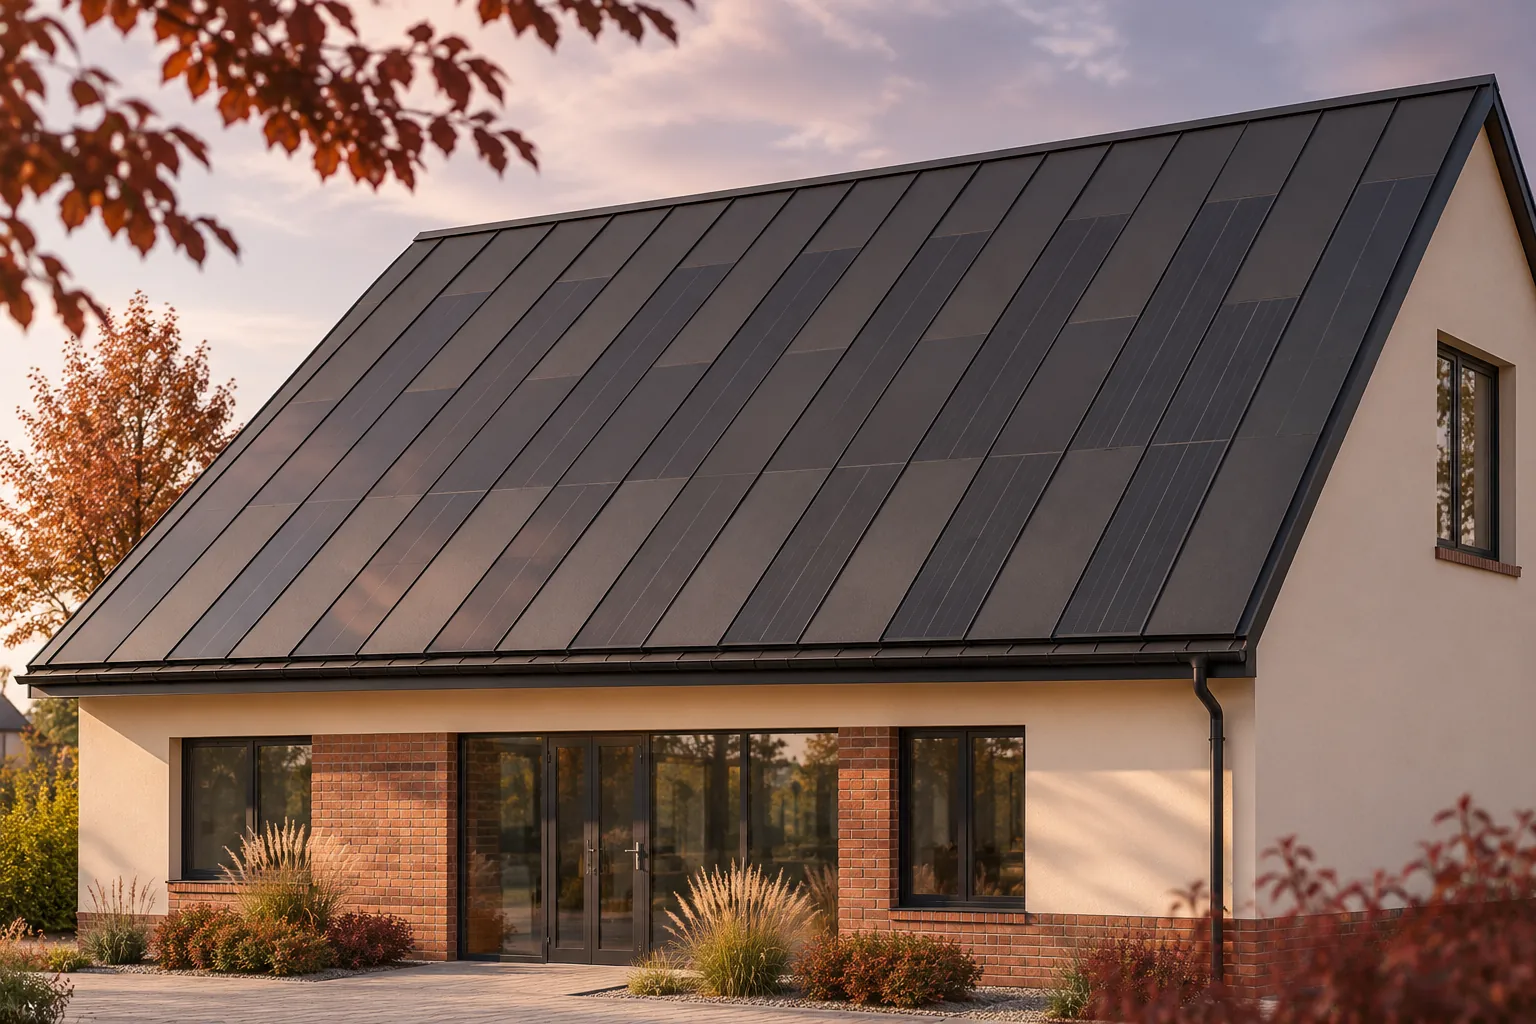
A building-integrated photovoltaic roof brings roofing and electrical work together on the same slope. A shared construction programme can reduce repeat visits…
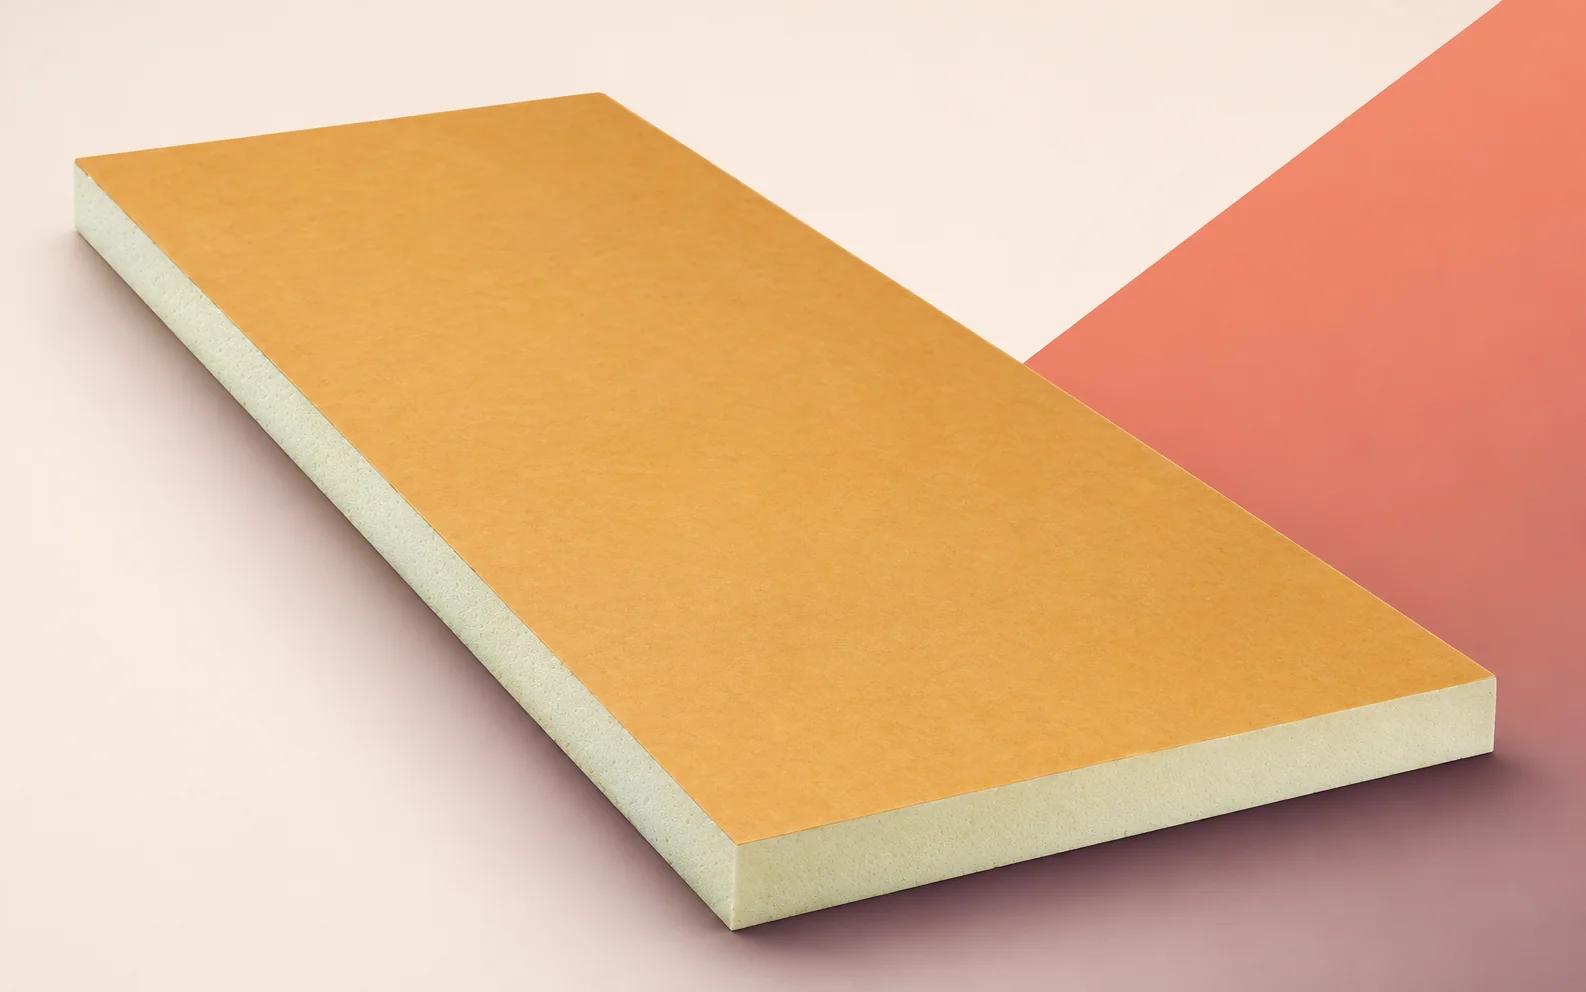
Divide the roof into the open field and the services strip before choosing an EFIGREEN ALU+ XL board size. Full boards fit…
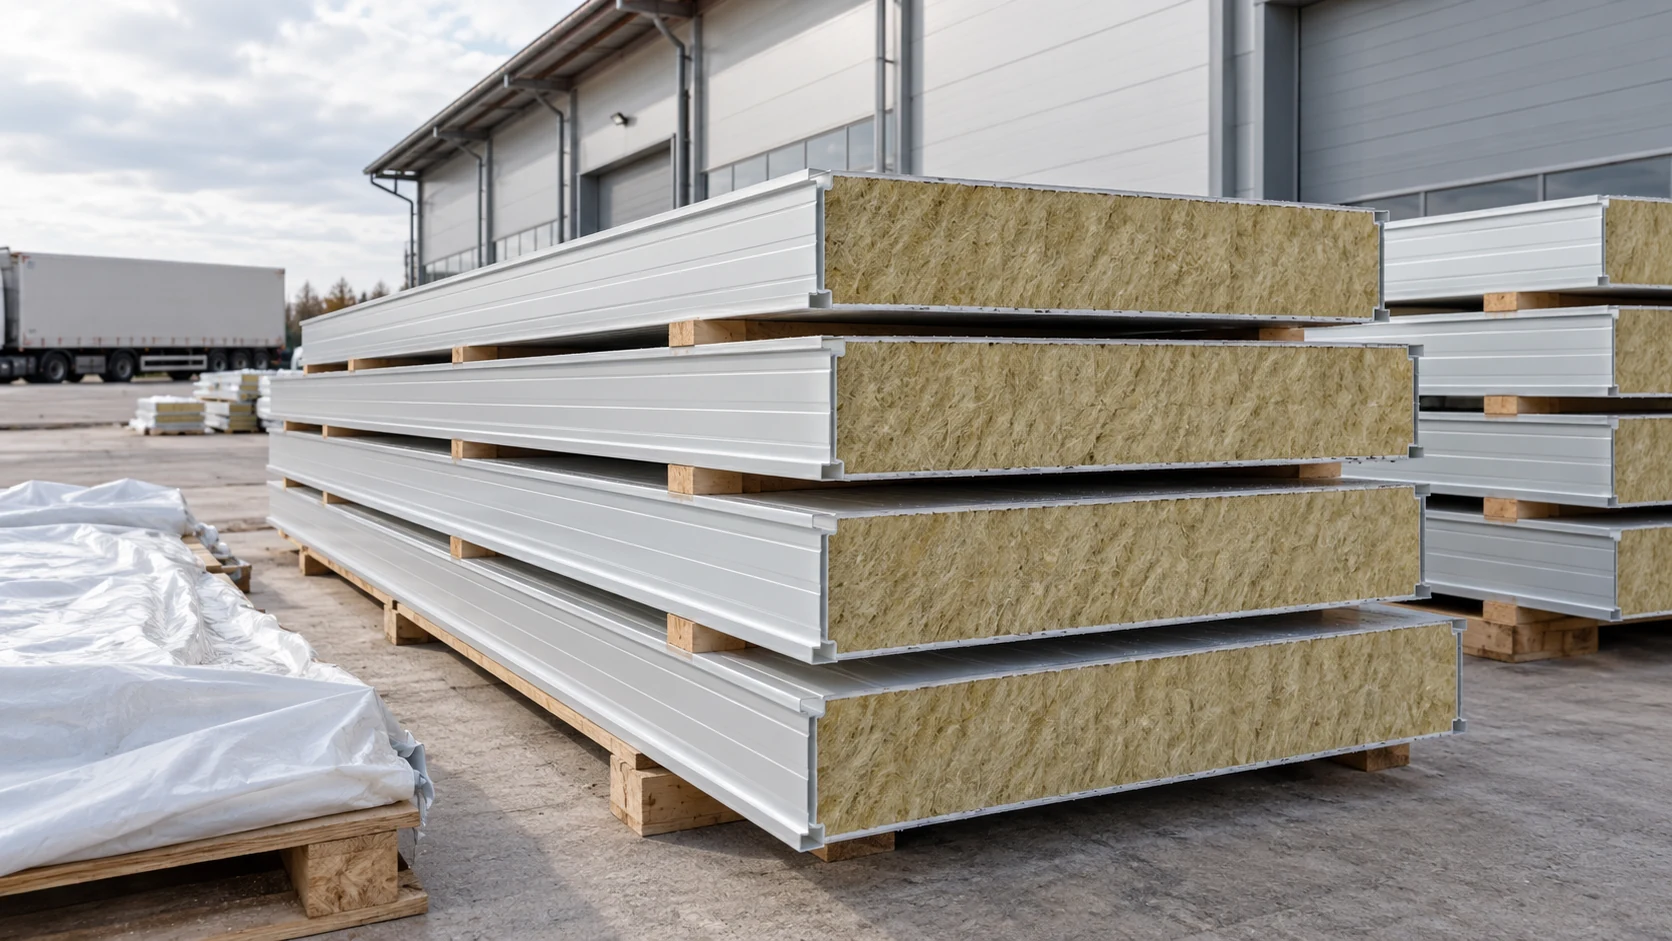
Before booking transport or lifting equipment, find the weight of each panel and each pack. A figure in kilograms per square metre…
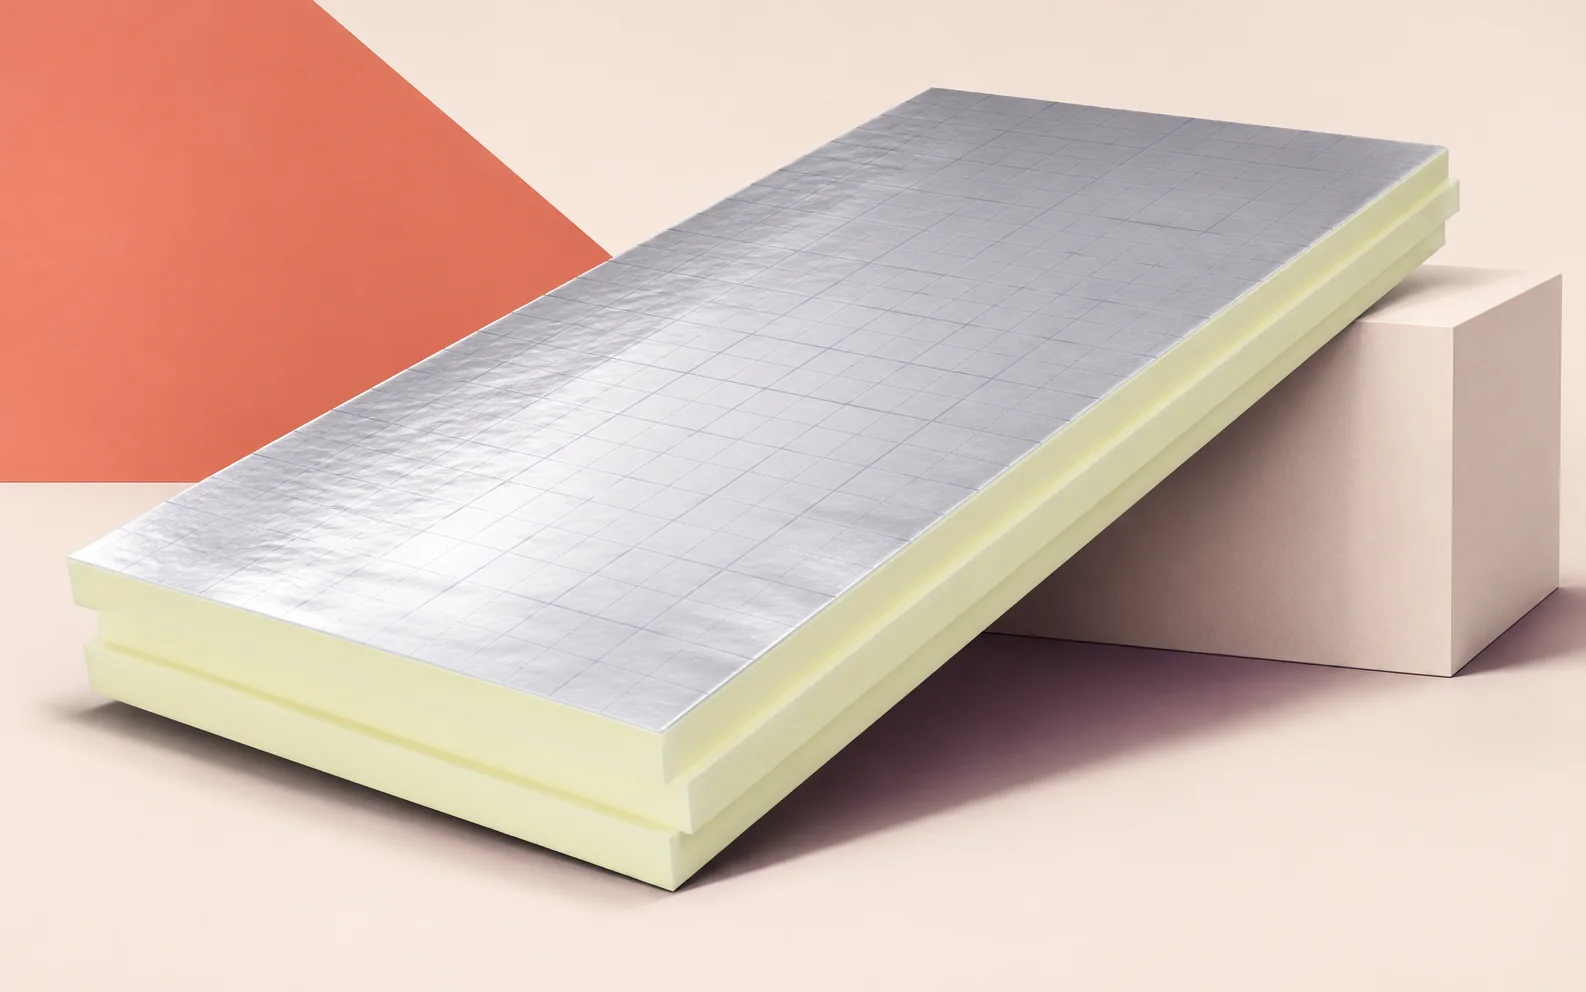
PIR insulation can be useful where wall thickness is restricted. In a large building, choose the board to suit the frame, external…
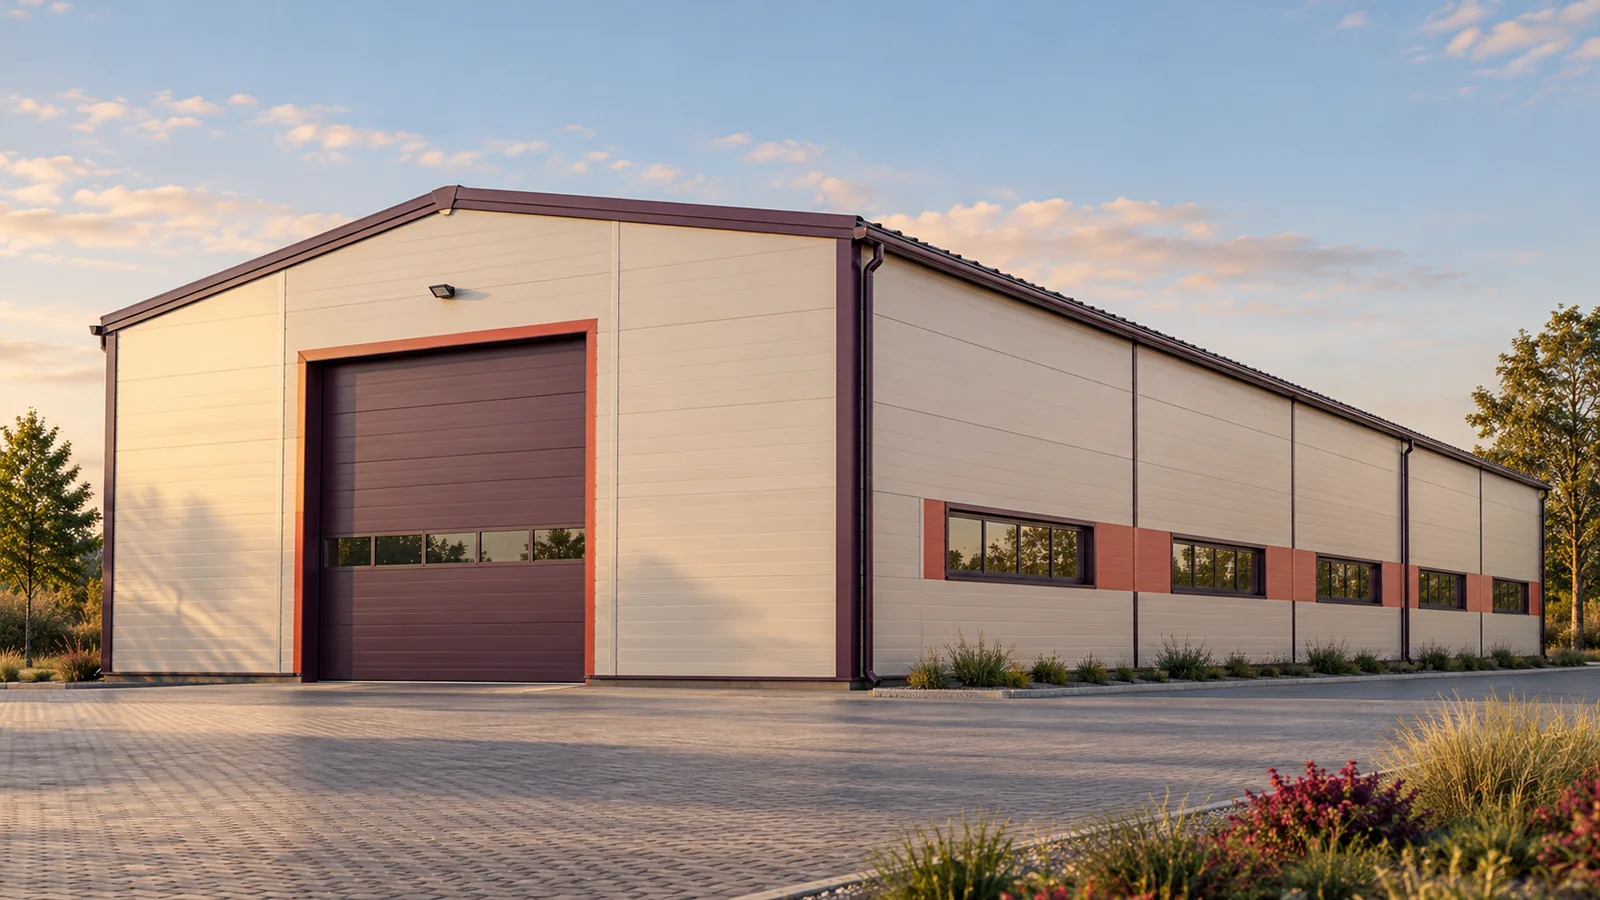
On a section through a panel joint, trace the line that keeps rain out and the line that prevents air leakage. An…
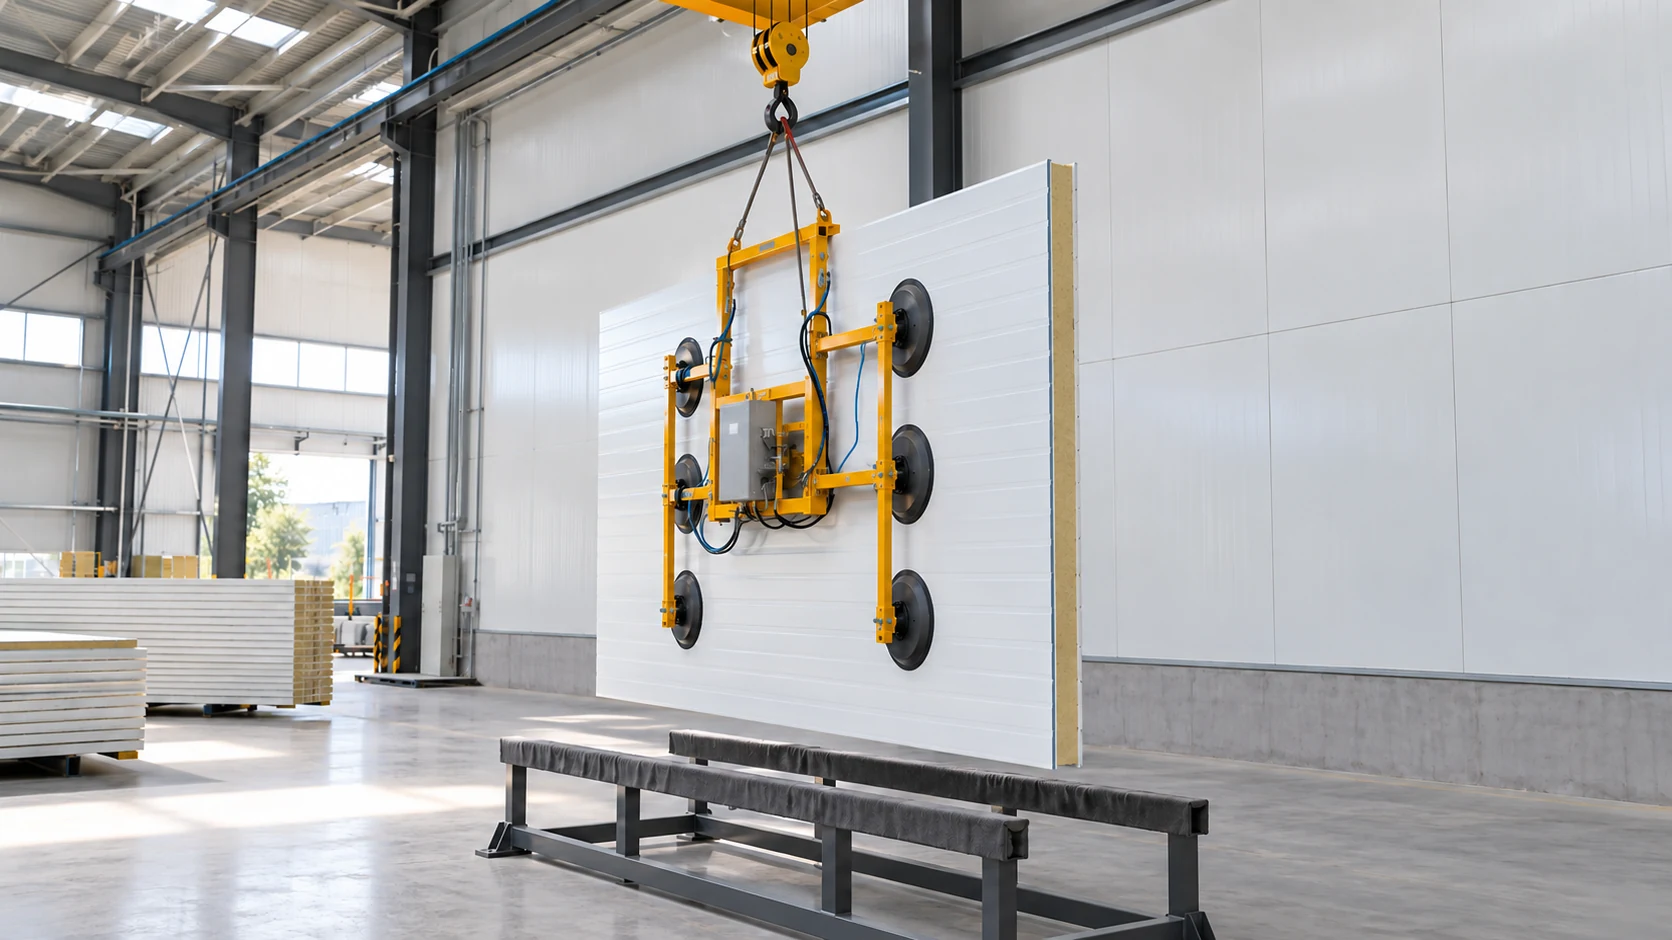
Wall panels and their junctions with the roof need an agreed installation sequence. Identify the work that must be inspected before the…
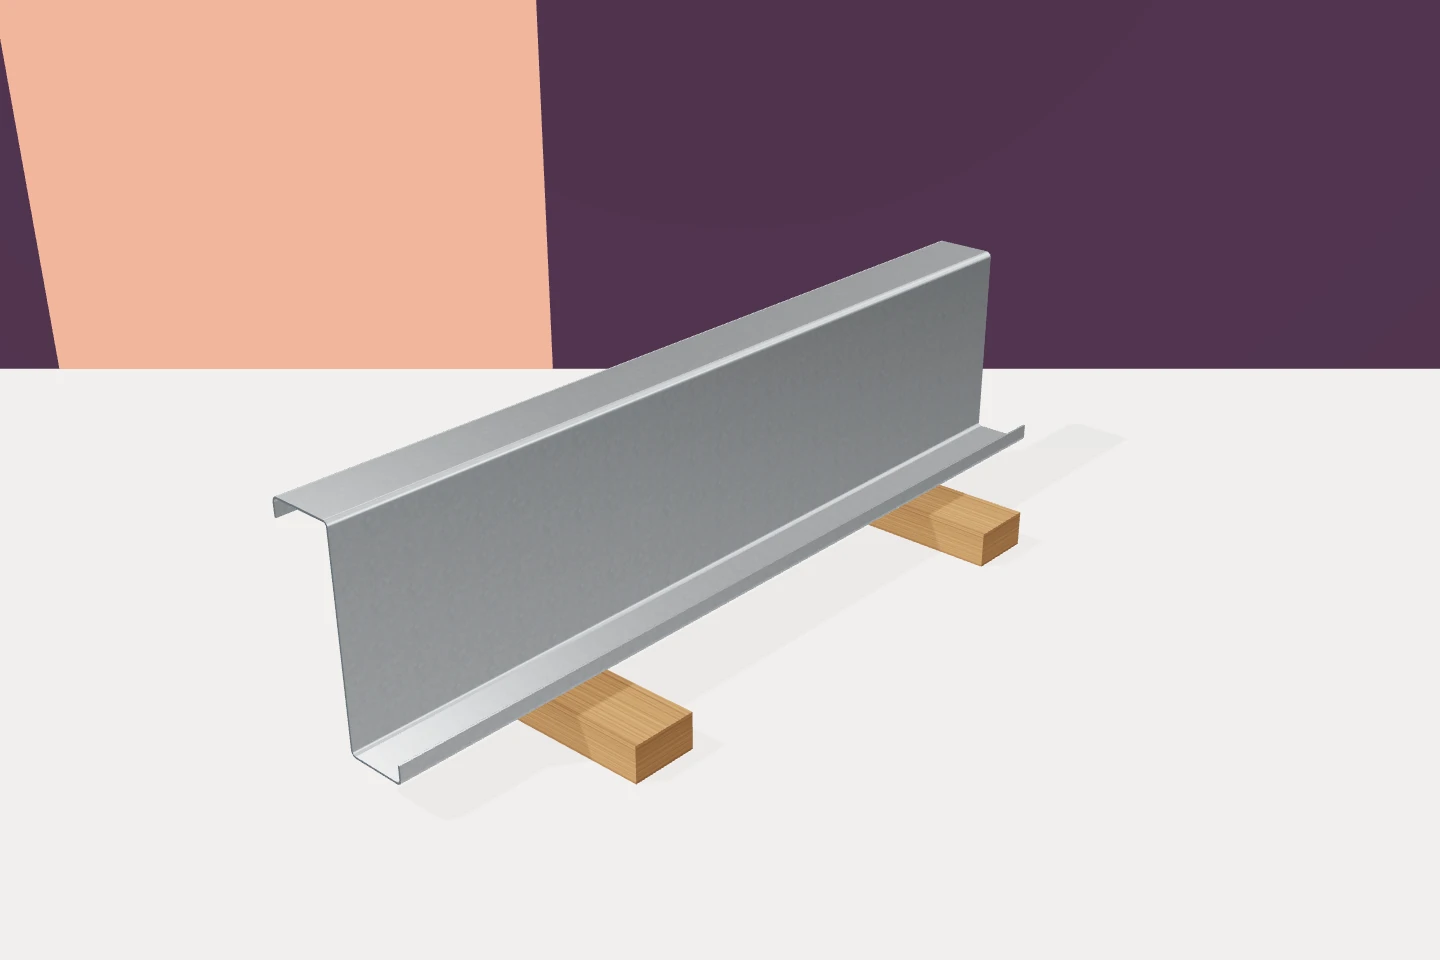
Inspect the supporting steelwork before the first sandwich panels go on. Once a wall bay or roof slope is covered, connections that…
Place the downpipe gully where the downpipe meets the drainage line, and set its cover to the finished ground level. Check more…
