Airtight steel buildings: what to check at sandwich panel joints
Steel buildings and structures
On a section through a panel joint, trace the line that keeps rain out and the line that prevents air leakage. An outer flashing can shed rain while a gap behind it lets air pass along several metres of wall. Agree who will fit the concealed seals at corners, door frames and the plinth, and inspect them before the flashings go on. Along straight runs, check the condition of the panel edges, the support alignment and the compression specified for the seals. If the design sets an airtightness target, arrange a suitable test while defects can still be reached.
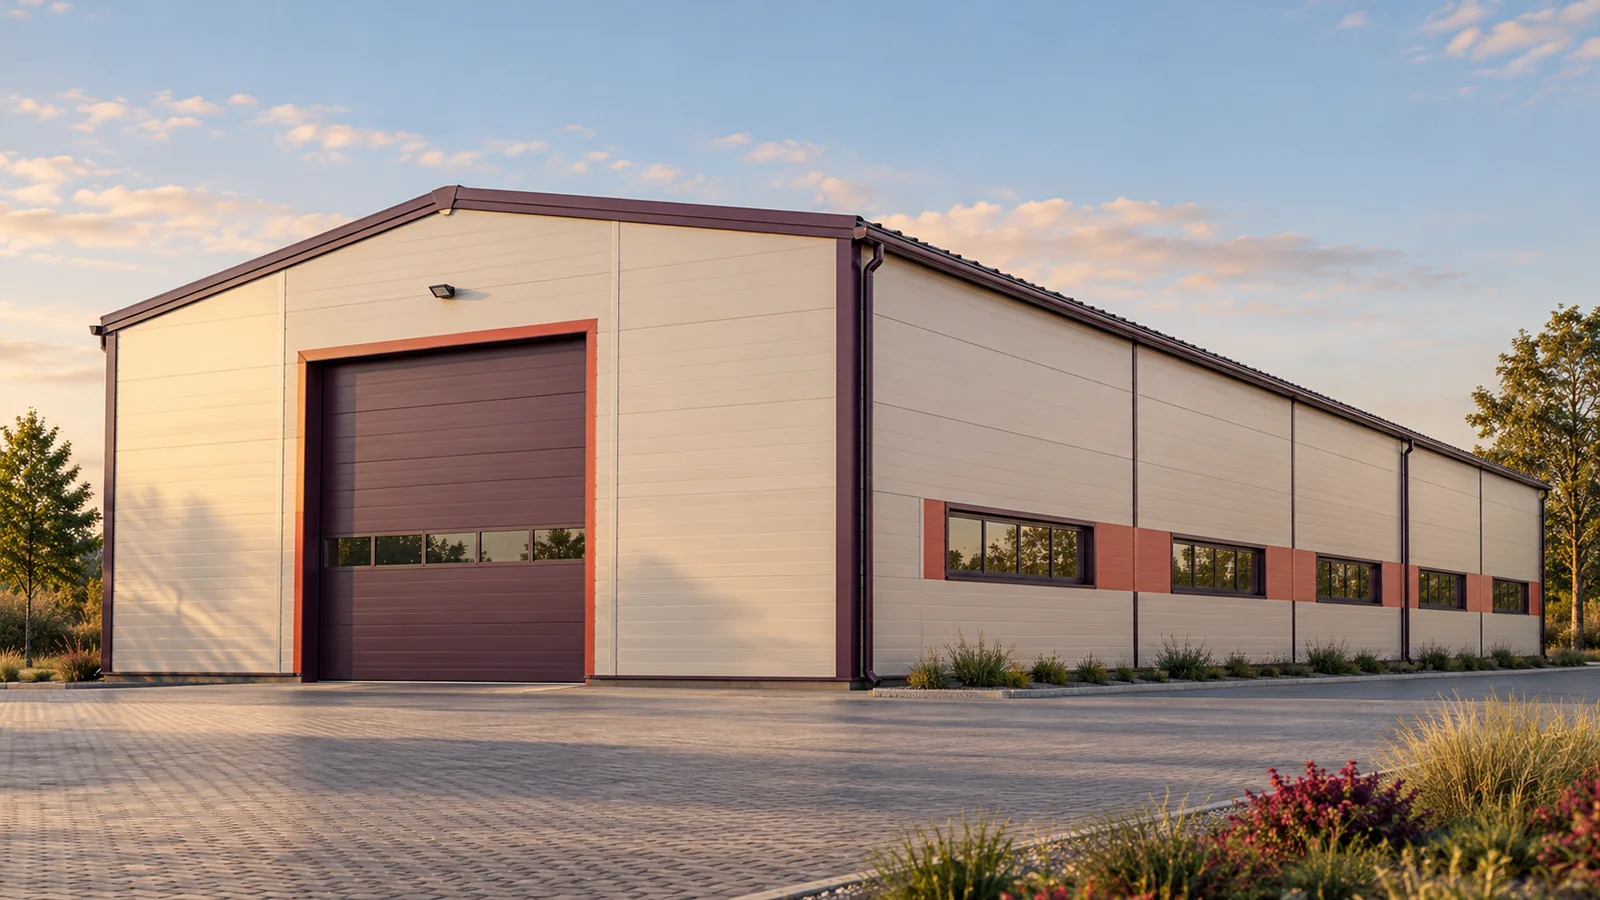
In this guide
Keeping out rain and controlling air leakage
An airtight envelope still needs planned ventilation. A ventilation system supplies and extracts air along intended paths at a specified rate. Air leaking through a joint gives no dependable fresh-air supply. Set the indoor conditions to suit the production process, warehouse or agricultural store.
Engaging the panel joint correctly
Joint profiles and gaskets vary by panel system. Align both panels so their edges engage as the installation instructions show. Too little compression can leave a gap, while forcing the panels together can damage the edges. Misaligned steel supports make it difficult to close the joint evenly along its length.
Check the interlocking edges for transport damage before lifting the panel into position. Have a distorted edge assessed while it is still accessible. A wall that looks straight from a distance can have a concealed gap that first becomes apparent in high winds.
Connecting the seals at corners and the base
The air seal must continue as the envelope turns a corner. Look closely at the junction of wall, roof and corner flashing. An insulation infill can close a thermal gap while still allowing air through. The detail should show the insulation, the air seal and the order in which both are installed.
At the plinth, keep rainwater away from the panel’s lower edge and maintain the air seal behind the flashing. The fixing arrangement must leave room for all specified layers. Fit each layer while it is accessible instead of attempting to close the whole junction with a bead of sealant at the end.
Inspecting doors, windows and service openings
Loading doors, personnel doors, windows and service penetrations each interrupt the envelope. A neatly finished frame can conceal a missing section of seal. Inspect the perimeter before it is covered and agree which contractor takes responsibility where one trade’s work meets another’s.
Inspect the door’s perimeter and bottom seals as well as the panel-to-frame joint. A heavily used door may need adjustment. The framing around the opening must be stiff enough to limit movement that would prevent the leaf from closing fully or the seals from compressing evenly.

Scheduling inspections before work is concealed
Inspect the supports, gasket positions and junctions before a fault would require taking down several panels to reach it. Photograph concealed work. On a building with repeated bays, use the same inspection points as each wall bay is completed.
If the specification includes an air leakage requirement, agree how to verify it. A fan pressurisation test can measure overall leakage and help locate leaks during a survey. Prepare the building for the agreed test conditions and interpret the result against the requirement for its size and use. An absence of noticeable draughts is insufficient for that comparison.
Bring the cladding contractor, door supplier and services installer together to review a shared junction drawing. Assign preparation of the substrate, installation of the seal and inspection to named parties. Show the work sequence on the drawing: a gasket that sits behind a flashing must go in before that flashing closes access. This makes the interface easier to inspect at handover.
Maintaining airtightness after handover
Temperature changes, wind and everyday use cause movement in the envelope. Recheck seals, especially around openings and service entries. Reinstate the specified detail when cables are added or rerouted. During phased extensions, also look for holes left behind by equipment that has been removed.
A modular frame divides the building into repeated bays, but the junction between existing and new cladding needs a detail of its own. Show where the seals meet across the extension joint and how the weather protection continues. Extra cover flashings cannot close a break in the concealed air seal.

Free quote
What to include in your enquiry
Tell us how you plan to use the material, the dimensions and the quantity you need. Include the thickness, grade or variant name, along with the delivery town or your preferred collection branch. For a specific product, add its name or a link to the product page. We will reply to the email address you provide to discuss availability and the terms of your order.
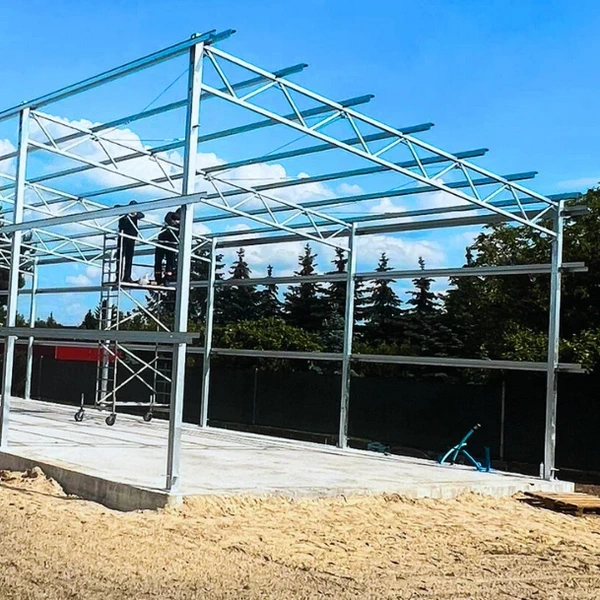

Read next
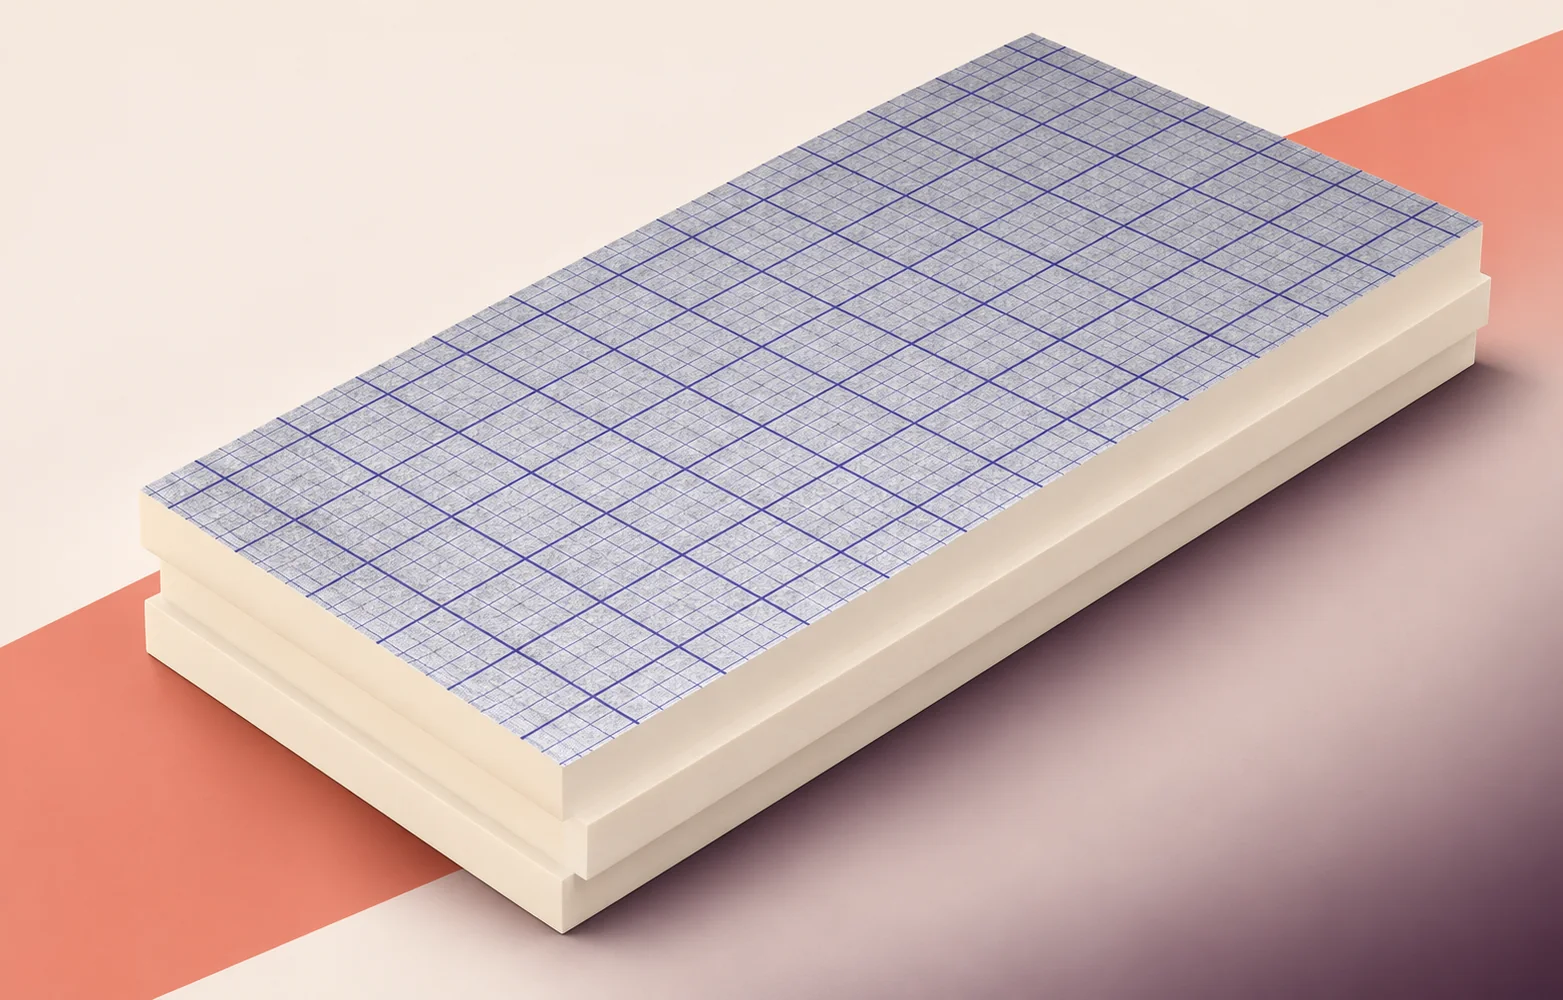
Start laying swissporPIR Alu on an industrial roof in a bay that includes an outlet and a known profile of steel deck.…

Use the first window on the hall façade as a sample for the remaining bays. Show the EFIGREEN ITE insulation return at…
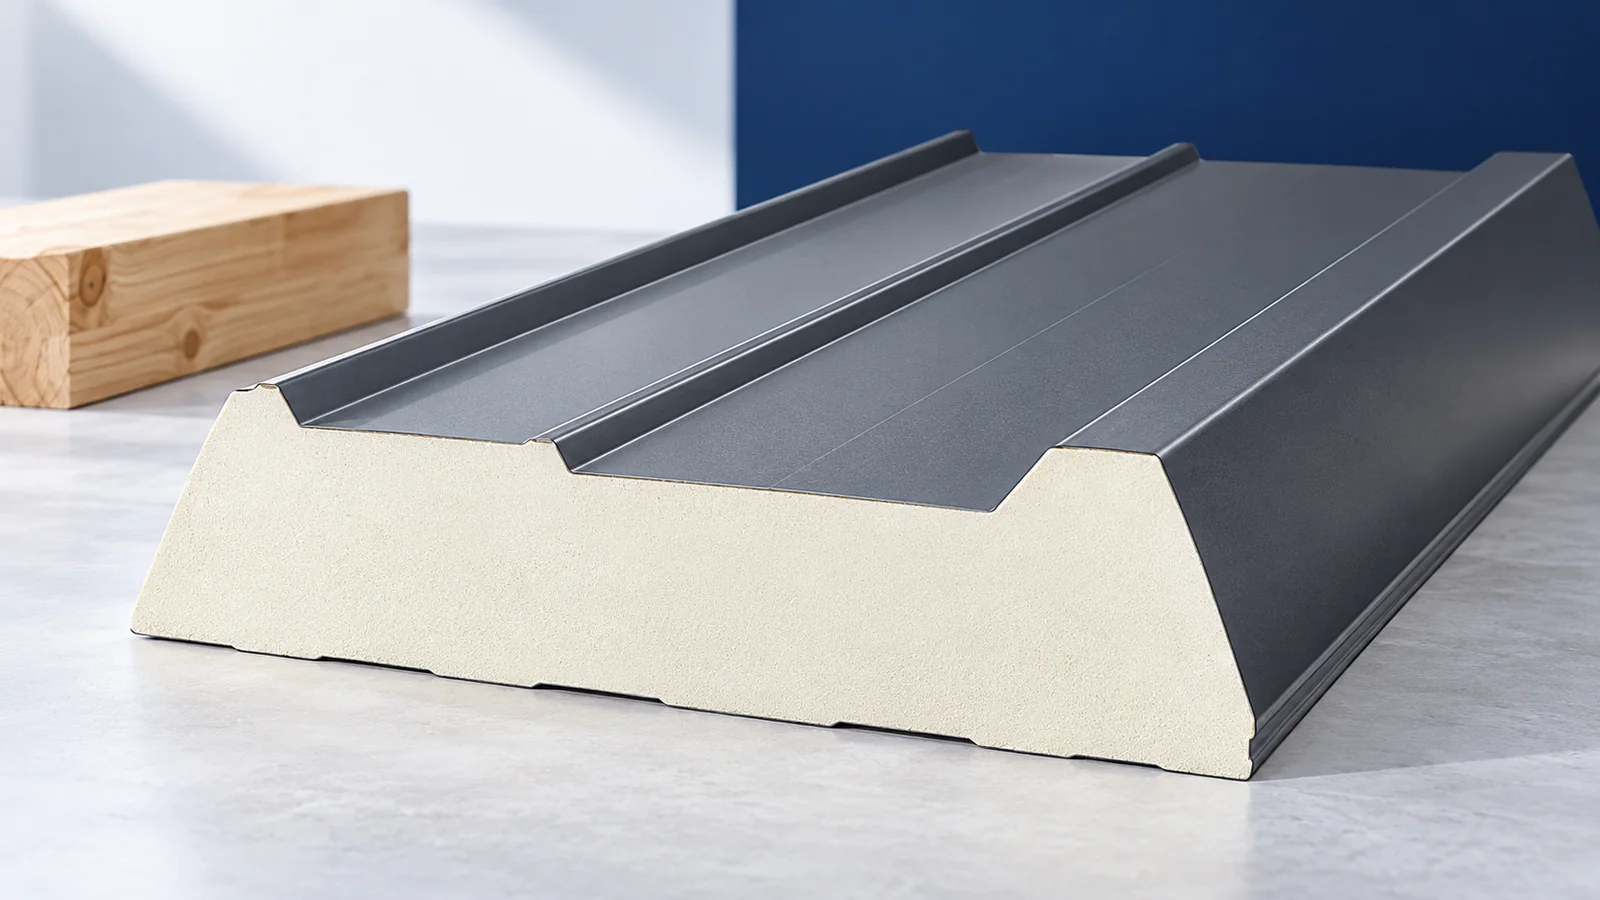
Plan the joints before ordering roof sandwich panels. Show the supports, laying direction, end laps, rooflights and penetrations on the layout drawing.…
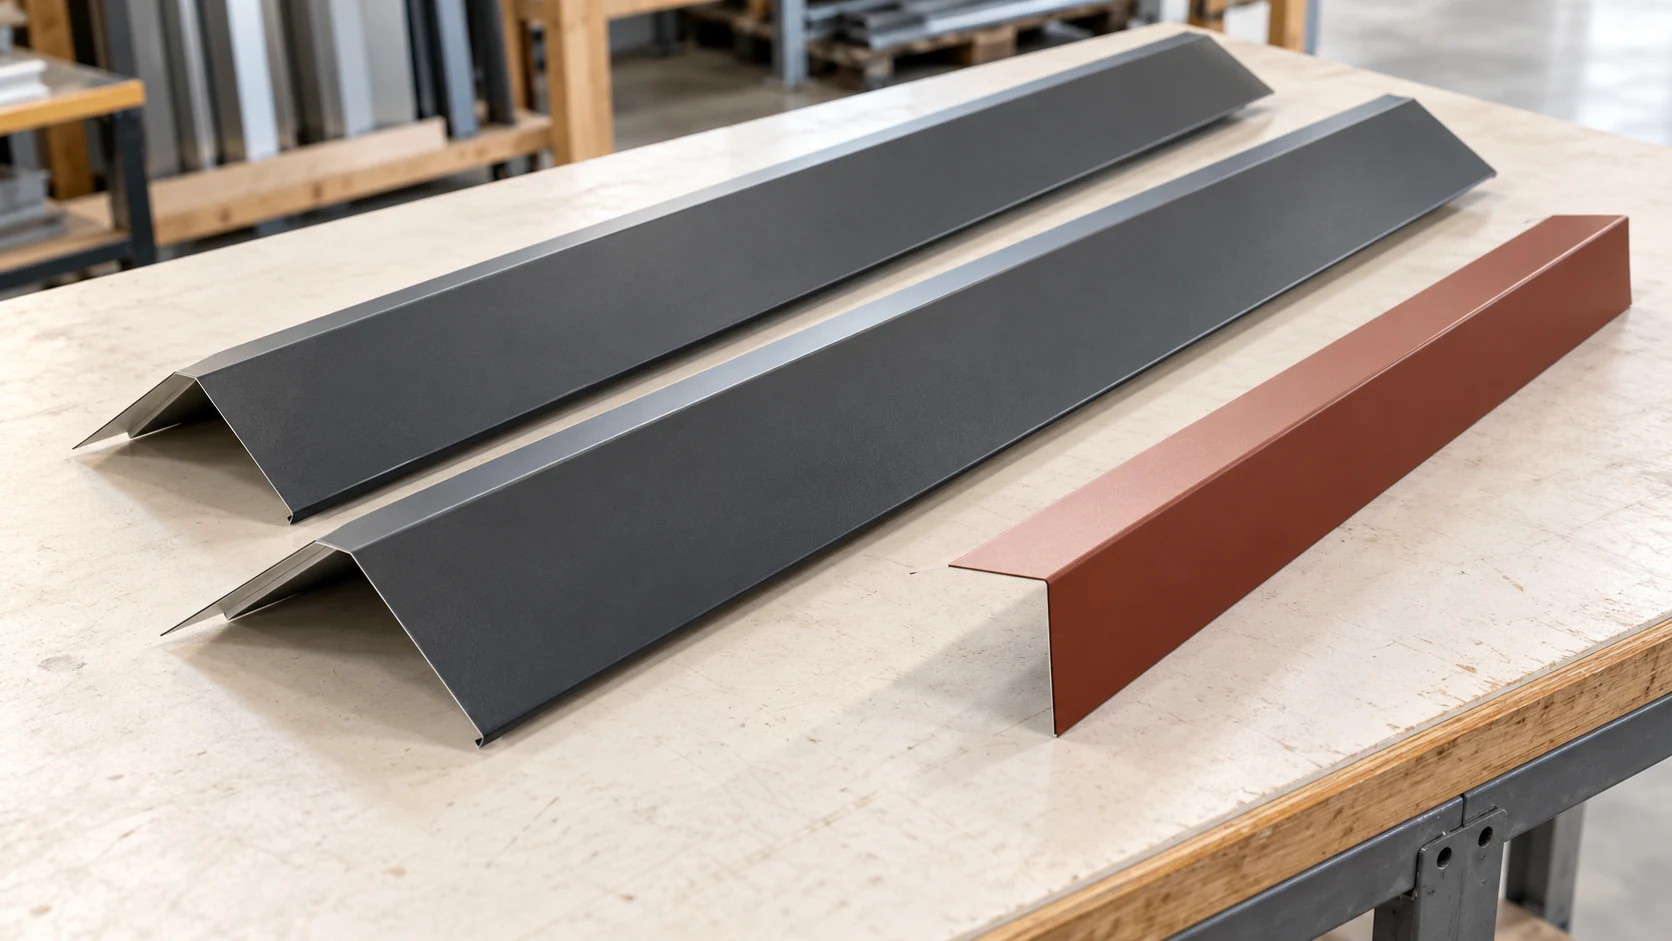
The roof area alone tells you little about how many flashings to order. Mark each eaves, verge, ridge and valley on the…
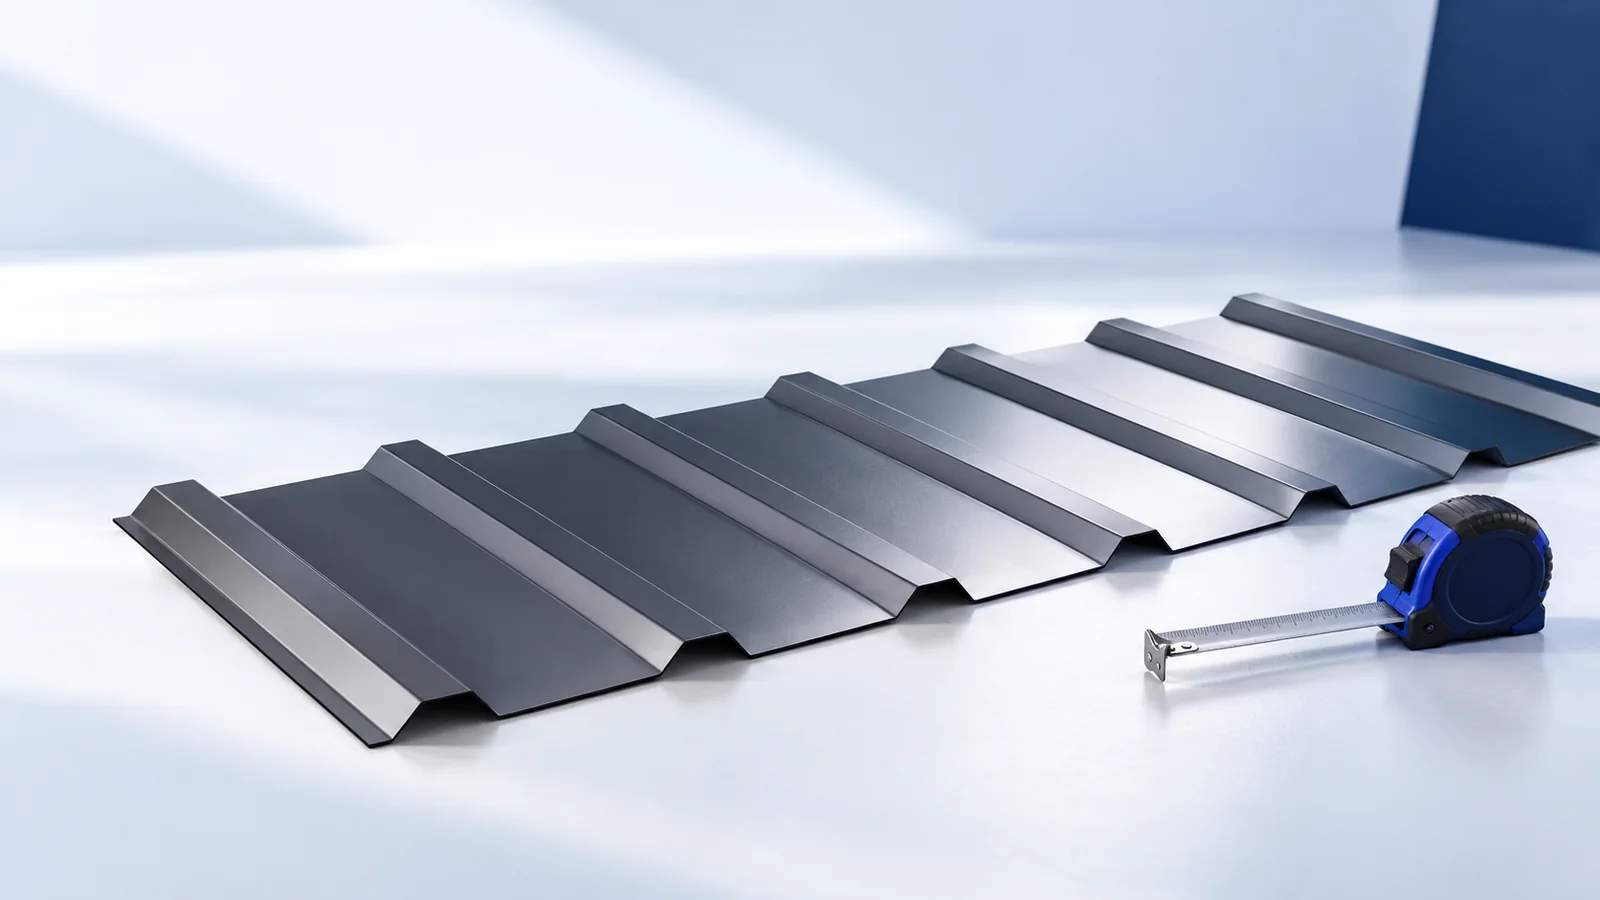
Check the roof while the parts that keep it dry are still visible. Start with the bearing lines and the fixing schedule…
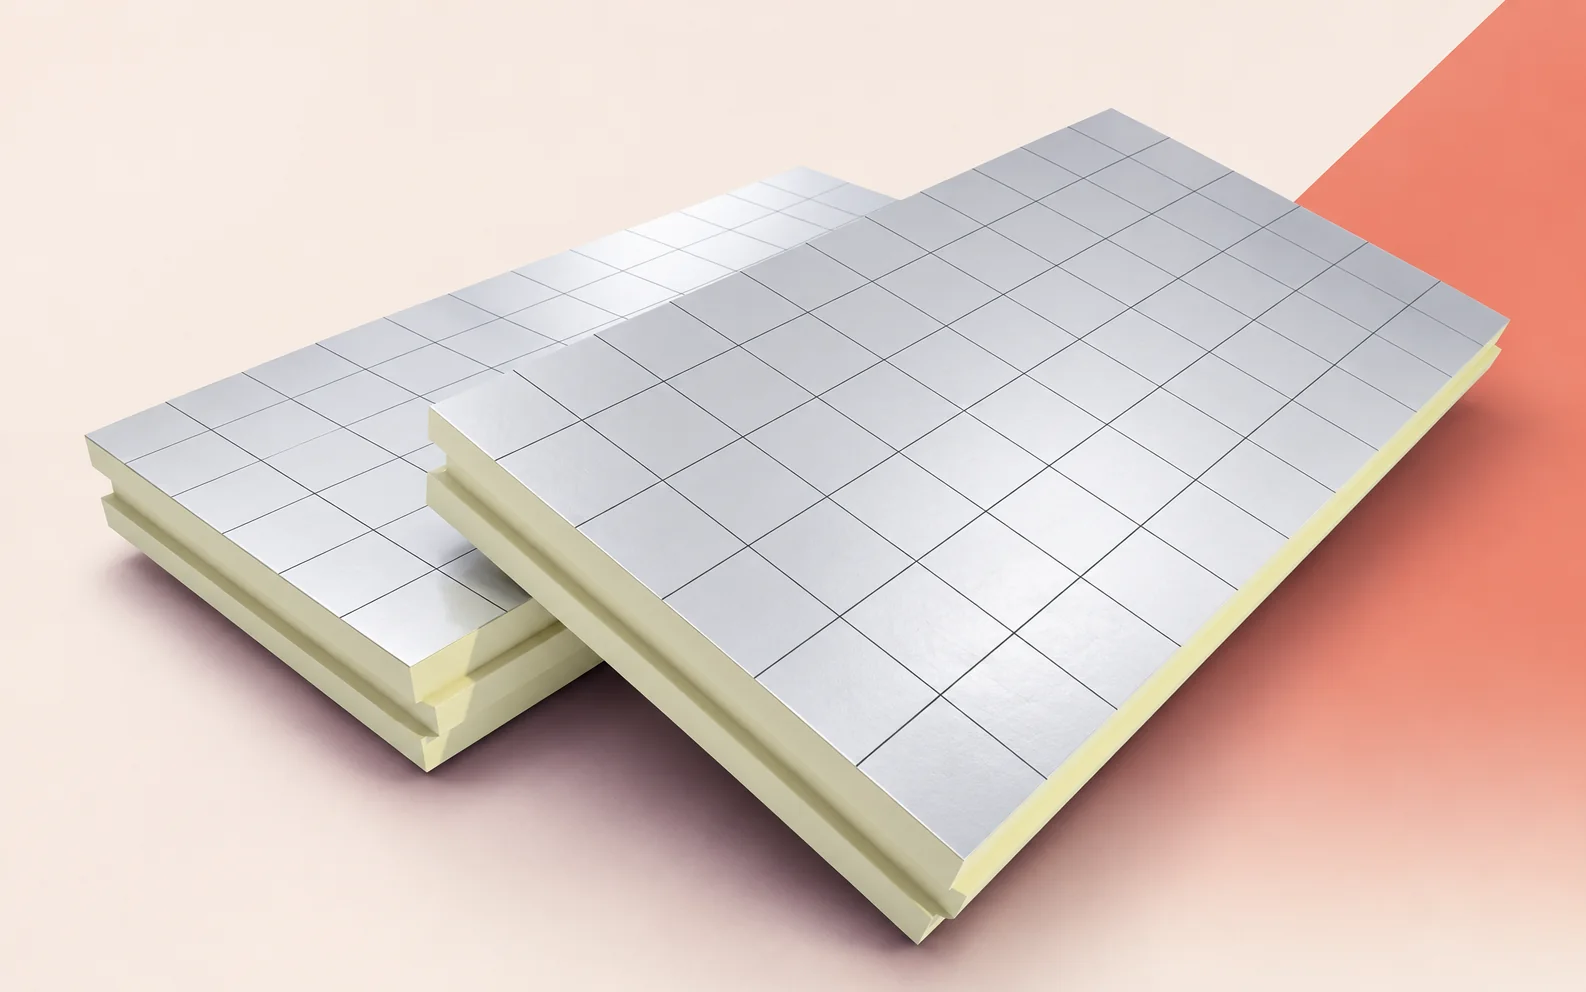
Choose a window bay when inspecting Utherm Wall LE in a cavity wall. Here the crew can see the main insulation layer,…
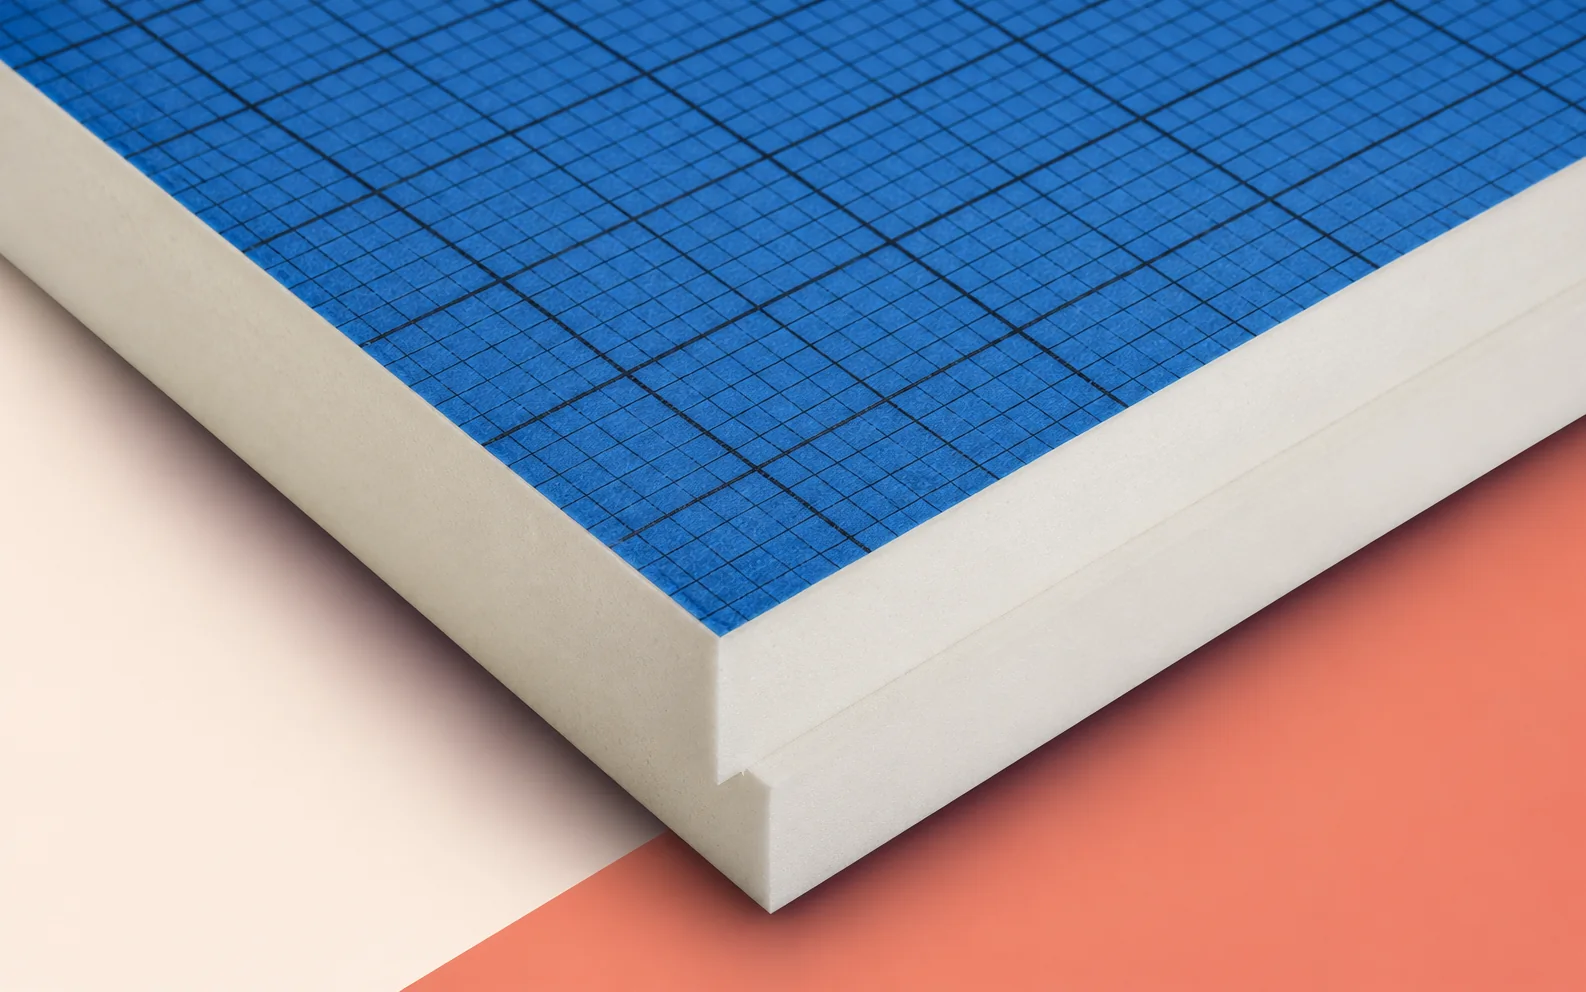
Three layers with different functions meet at a rooflight kerb. On the warm side, the vapour control layer needs a continuous junction…
A wall plate forms the bearing between the rafters and the supporting wall in many timber roofs. Its size, joints and anchors…