






How to install cut-to-length and modular tile-effect roofing sheets
Roof structure and installation
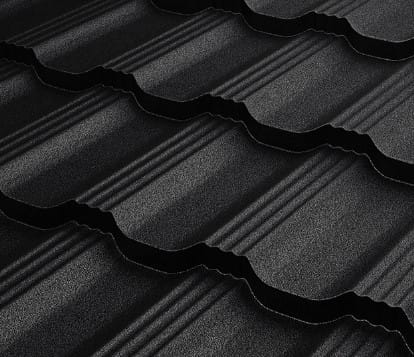
The first course of tile-effect roofing sets the alignment of every sheet above it. Before laying it, check the eaves line, diagonals, batten spacing and the drainage path beneath the covering. Use the installation drawing for the exact profile supplied. It specifies how the sheets overlap, where the screws go and how the eaves detail is formed. Long sheets and short modules require different handling and setting out, but both depend on accurate supports. Plan the work around the chimney, valleys and roof windows before covering the underlay, and photograph details that will be hidden at handover.
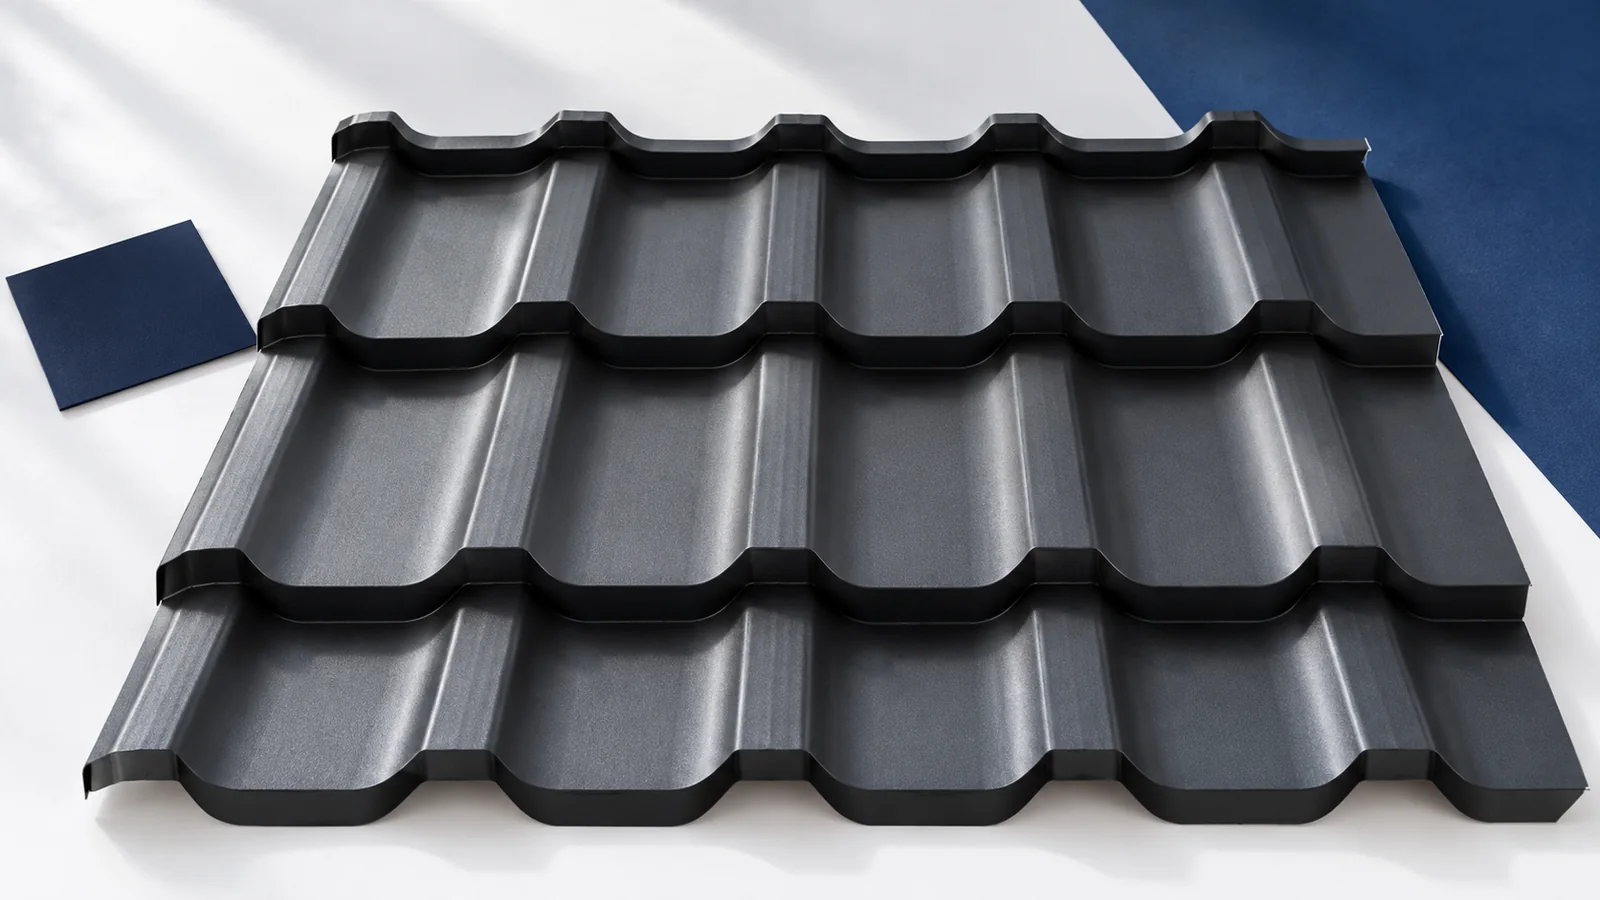
What should you check before unpacking the sheets?
Compare the delivery with the order specification. Check the profile, finish, colour and sheet lengths, inspect the packaging and exposed edges, and record any damage straight away. Store the sheets so that moisture cannot accumulate between them. Follow the product instructions for removing the protective film on time.
Plan how the sheets will reach the roof. Long sheets need even support and enough people to handle them. Lift them clear of one another to prevent scratching. Short modules are easier to carry, but their edges and finish also need protection against bending and abrasion during unloading.
How should you prepare the roof slope and battens?
Check the diagonals, eaves line and evenness of the supporting surface. Batten spacing has to match the chosen profile. A tile module might measure 350 mm, for example, but other profiles have different dimensions. Check the first batten and its position at the eaves separately against the installation drawing.
Inspect the underlay while it is still visible. Check that its laps and drainage path are correct and that the ventilation space is clear. Repairs become difficult after the sheets go on. Settle the details at the chimney, roof windows and valleys before covering them.
How do you align the first sheets?
Set the first sheets out against the eaves and check their alignment with one another. The profile determines the laying direction and the way laps fit together. Forcing a sheet into shape over an uneven support can carry the error into every subsequent row.
With modular sheets, check the line every few units so that small deviations do not accumulate. With cut-to-length sheets, check the full arrangement before final fixing. If lengths vary across the slope, give the crew a layout drawing that identifies each sheet position.
How do you select and tighten the screws?
Choose fasteners for the support material and the type of joint. Fixing a sheet to timber is a different task from stitching two sheets together. Take screw positions and quantities from the design and the product documentation. Edge zones may require a different pattern from the middle of the roof, so a single figure per square metre is insufficient.
Drive screws perpendicular to the bearing surface and compress the seal as specified. A crushed or displaced washer can leak, as can a screw left loose. Check the tool setting during installation, particularly when the support hardness or the thickness of the layers being joined changes.
Which cutting tools and flashing details are appropriate?
Use cold-cutting tools approved in the installation instructions. Sparks and heat can damage the protective finish at the cut edge. Remove swarf after cutting and drilling, including from profile recesses and valleys. Treat minor coating damage with the touch-up product specified for that finish.
Shape flashings to carry water out over the adjoining layers. Pay particular attention to chimneys, corners and wall junctions. Include seals where the detail calls for them. Extra sealant cannot compensate for a faulty upstand or a lap that faces the wrong way, particularly in wind-driven rain.
How does sheet size affect installation?
On a simple slope, cut-to-length sheets can reduce the number of end laps. They require accurate measurements and careful handling. Short modules can make quantities easier to plan on a complex roof. Compare actual cutting layouts to see which format produces fewer offcuts.
Use components from a compatible system for either format. Similar-looking profiles may fail to interlock. If ordering more sheets, check the profile version and compare shades. Different coating batches can look different even when they carry the same colour code.
What should the handover inspection cover?
Check sheet alignment, flashings, fasteners and the cleanliness of the roof. Confirm that the required ventilation inlets and outlets are open. Look for remaining protective film and debris in gutters. Arrange safe access for a close inspection of details that cannot be assessed from the driveway.
Keep the product documentation and installation photographs. Agree what needs periodic inspection and how maintenance staff can reach it. At handover, check how the measured roof geometry, supporting surface and finished joints work together, from the first course at the eaves to the last flashing.

Free quote
What to include in your enquiry
Tell us how you plan to use the material, the dimensions and the quantity you need. Include the thickness, grade or variant name, along with the delivery town or your preferred collection branch. For a specific product, add its name or a link to the product page. We will reply to the email address you provide to discuss availability and the terms of your order.

Read next
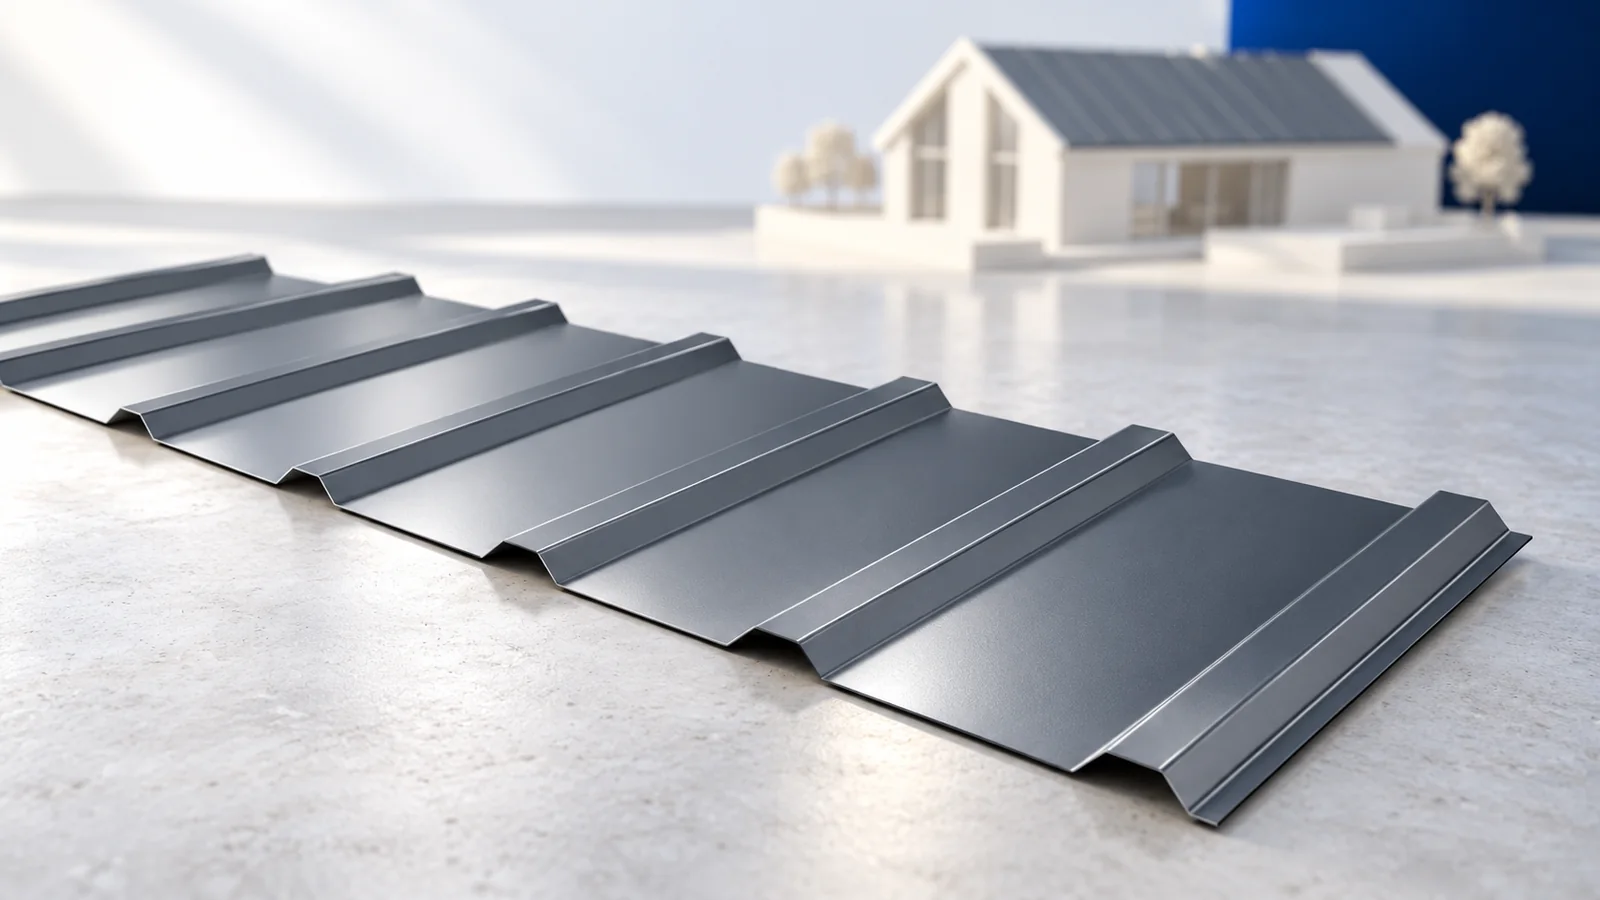
A good installation plan for T18 or T35 starts at the eaves, before the first sheet goes up. Check the diagonals of…
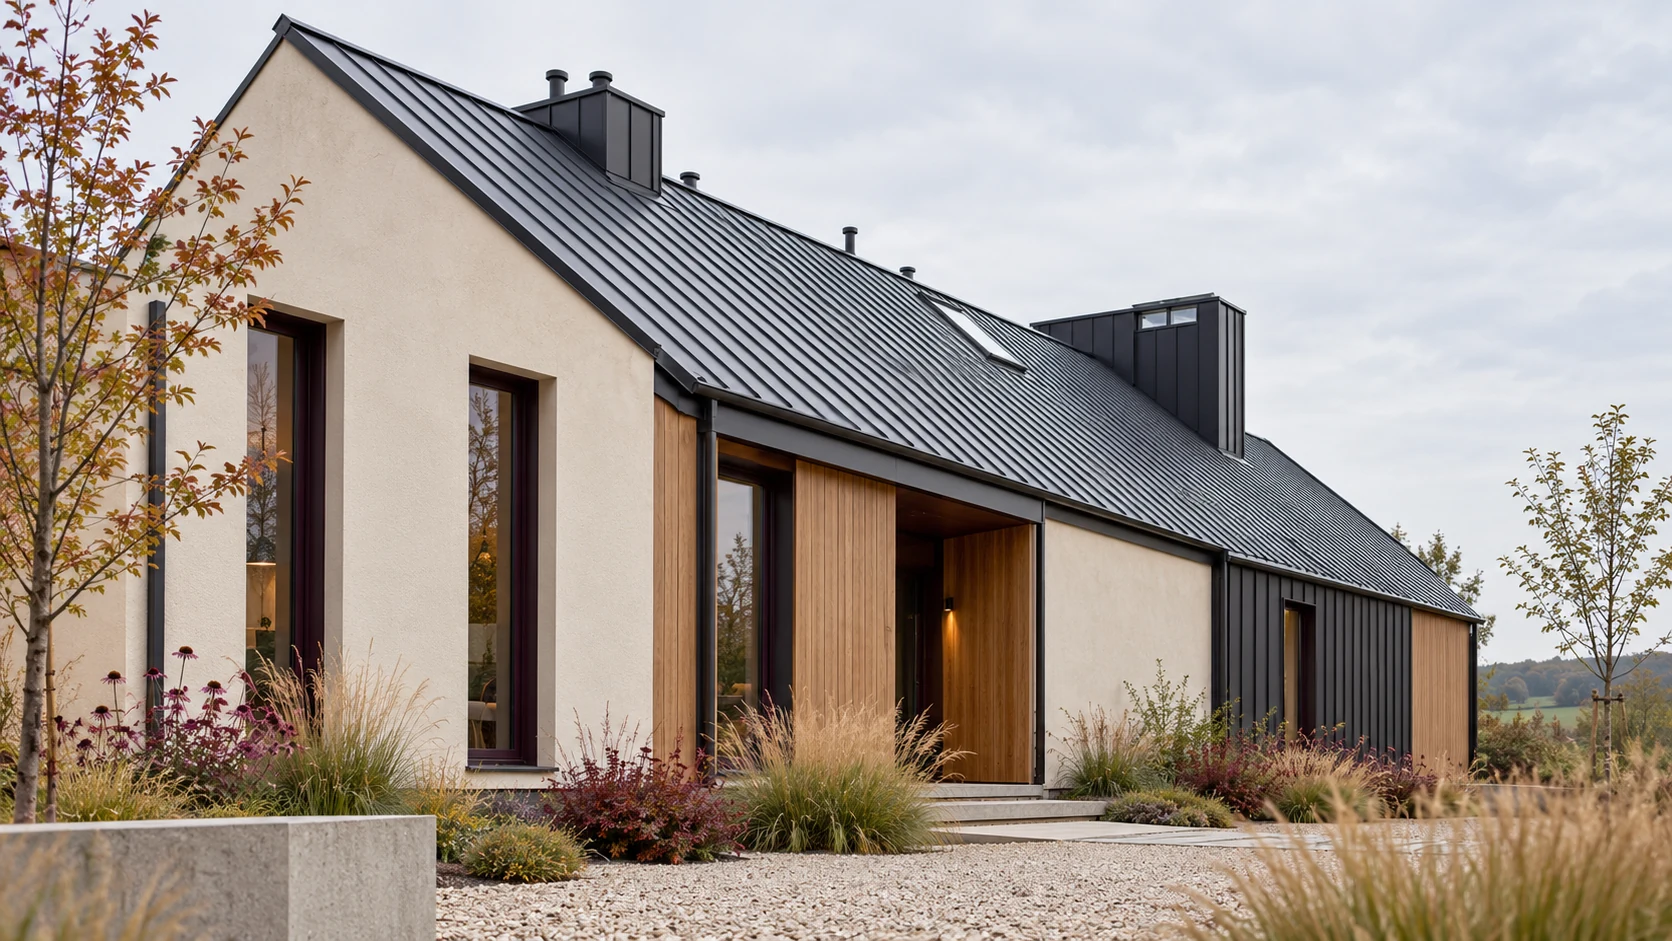
Similar vertical ribs on two roofs can conceal quite different joints. Snap-lock panels have factory-formed edges that engage with one another. In…
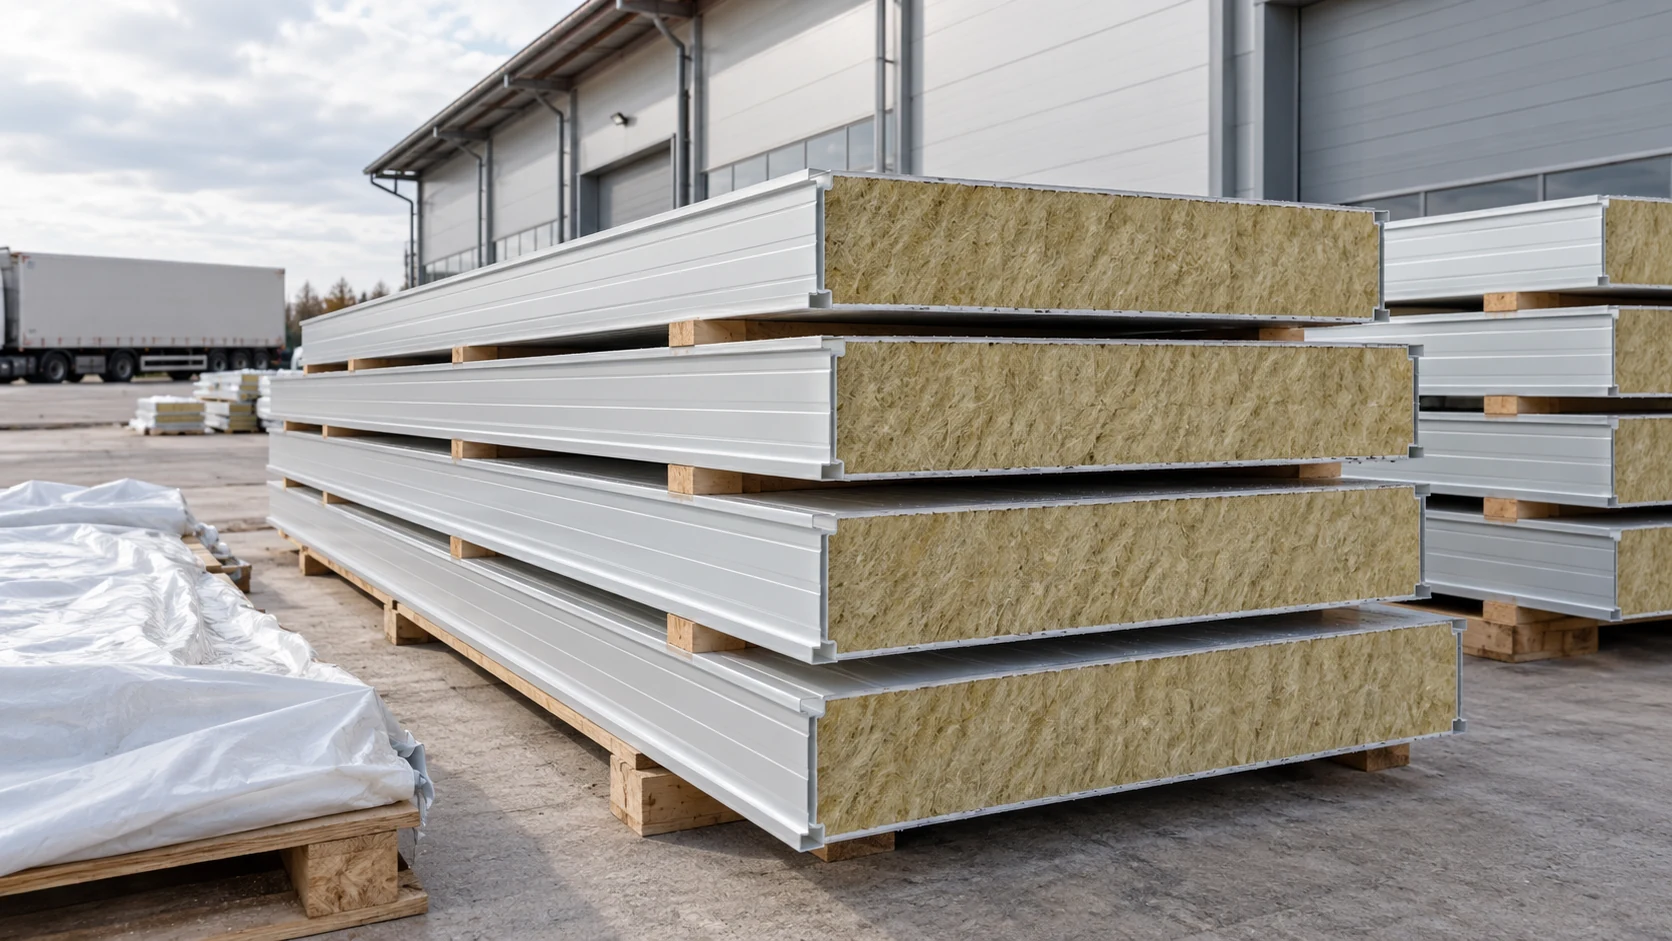
Before booking transport or lifting equipment, find the weight of each panel and each pack. A figure in kilograms per square metre…
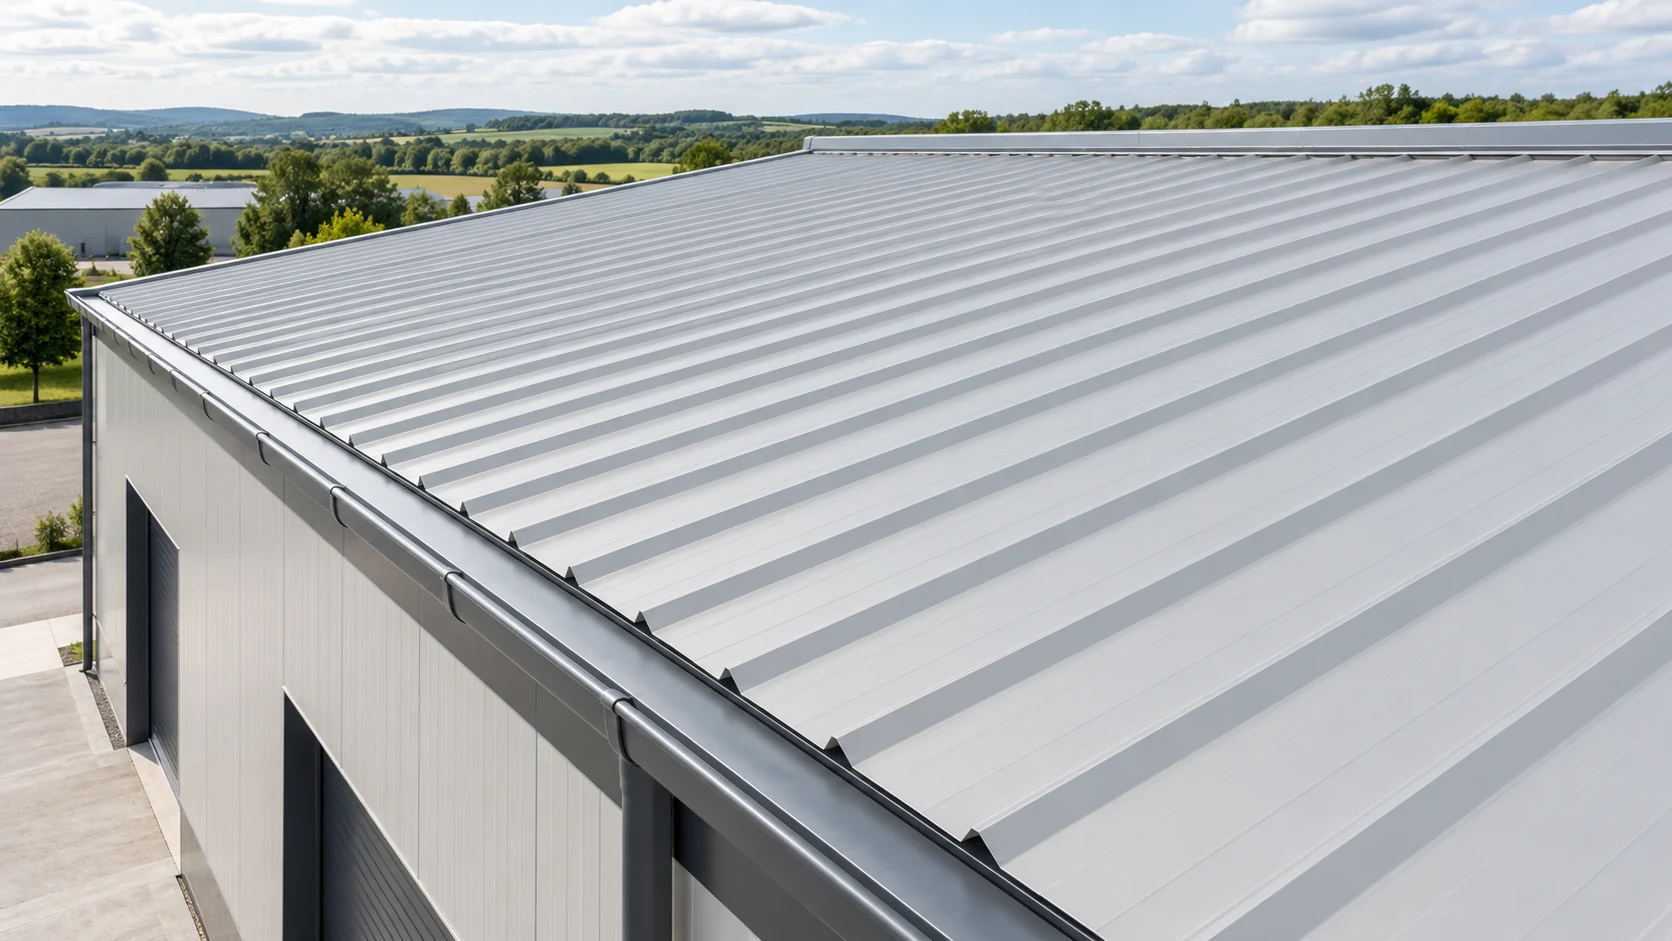
Most problems with a sandwich panel roof are easier to correct before the first lift. Check the supports, laying direction, crew equipment…
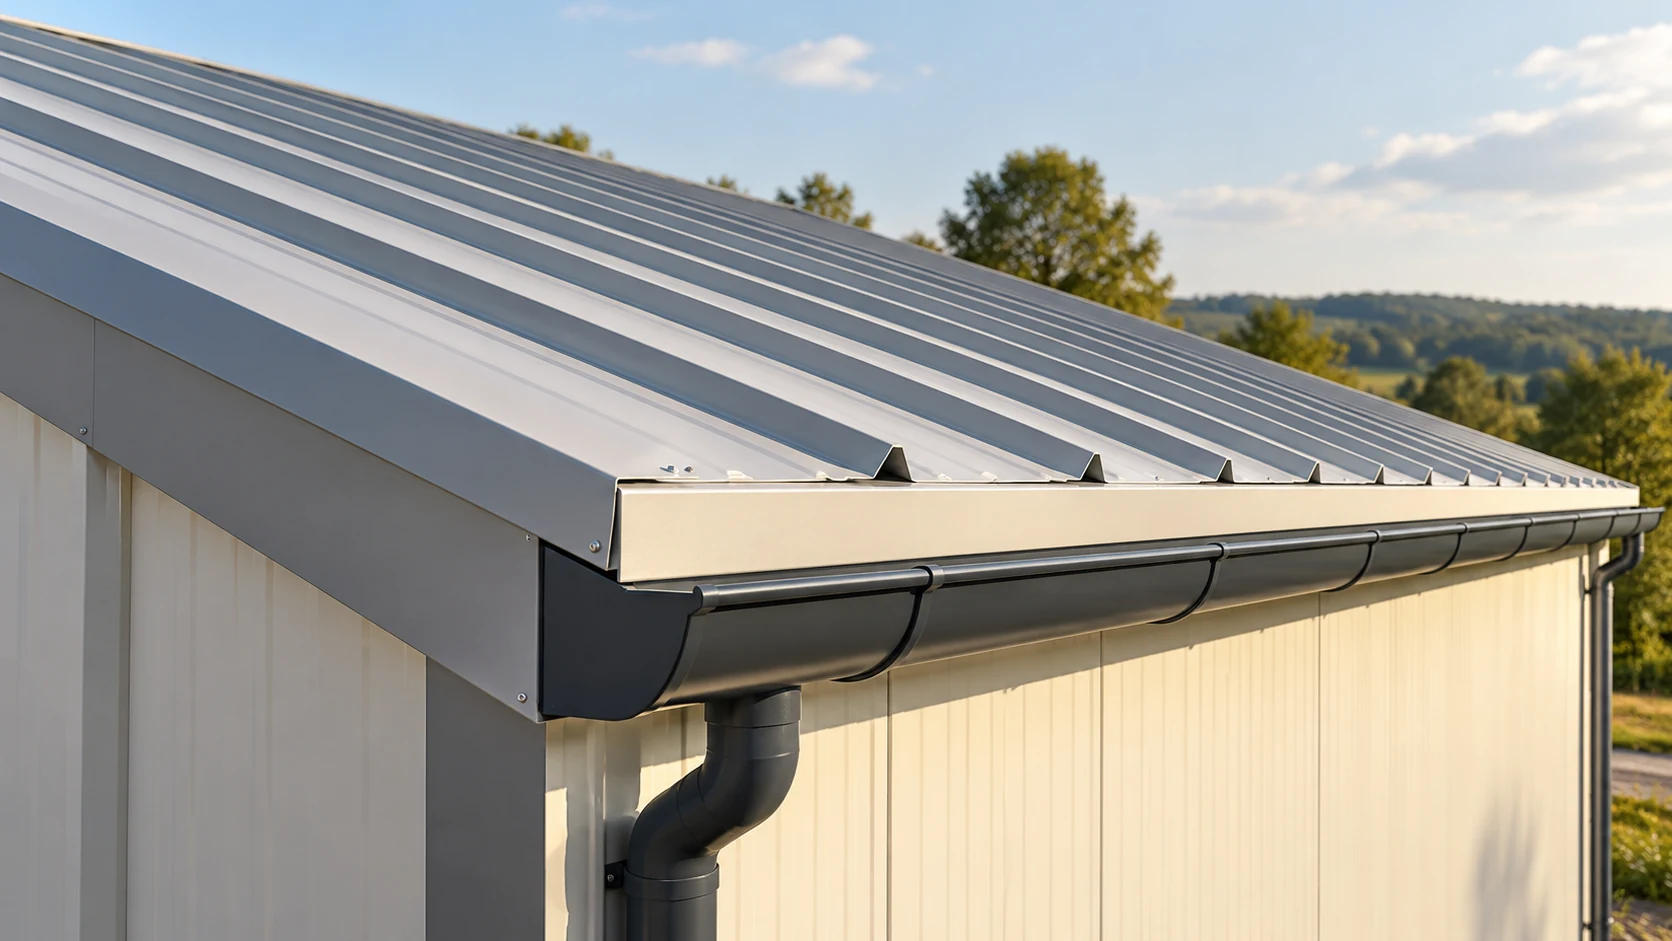
A roof estimate starts with slope dimensions and ends with the weatherproof details. Distinguish the area to be covered from the quantity…

Inspect sandwich panel work in stages while each junction is still accessible. Start with the frame, then inspect the first panel and…
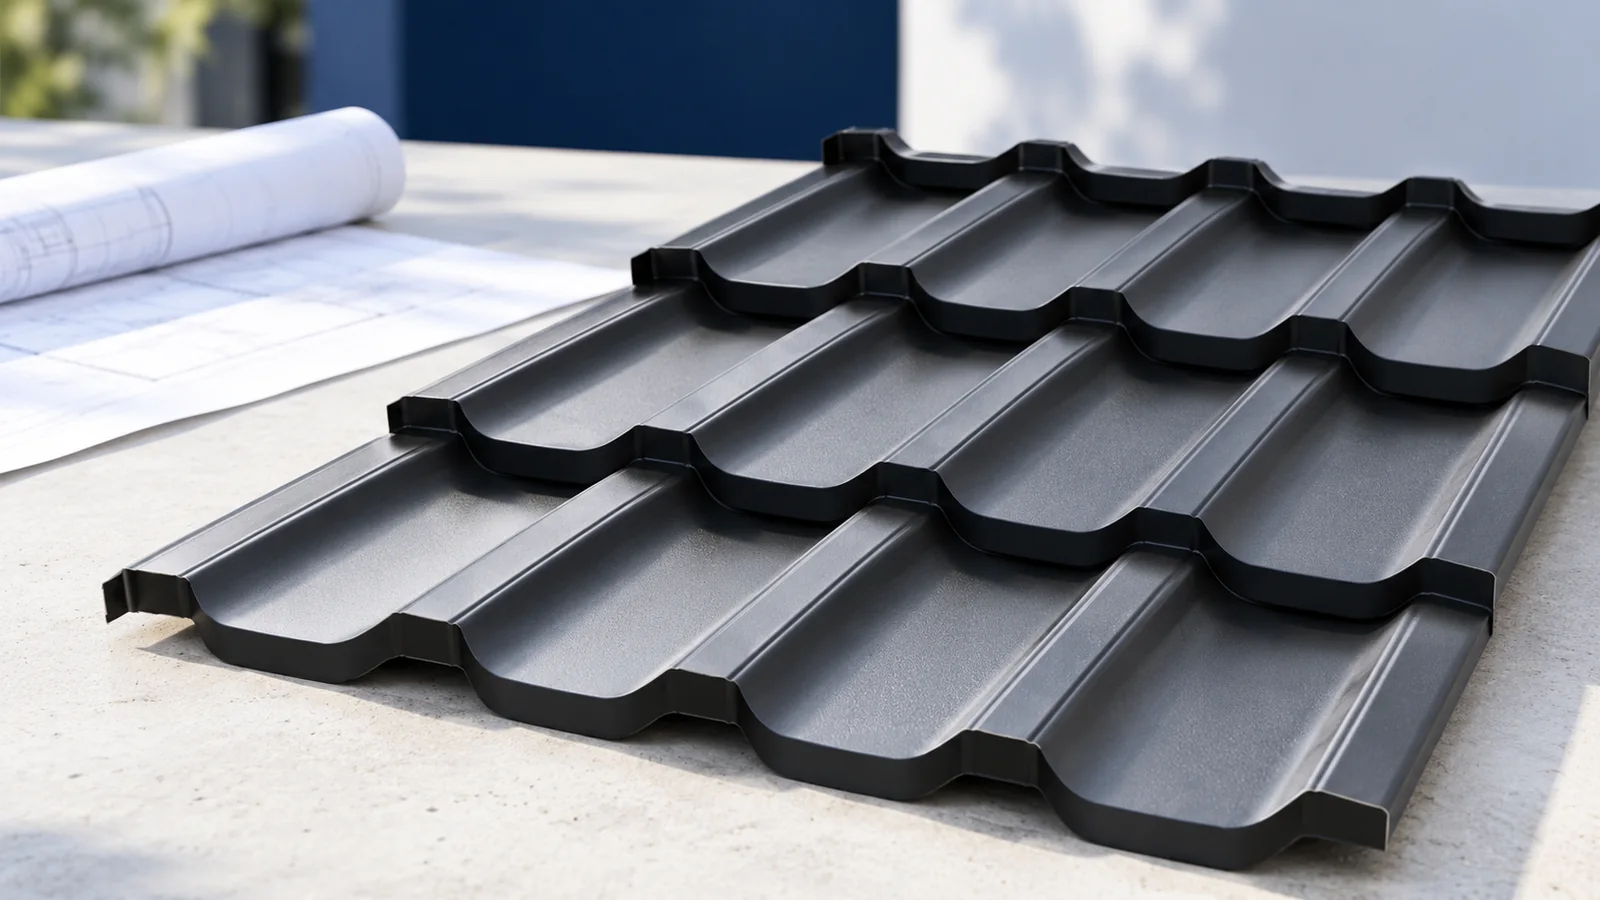
A metal roof can carry a photovoltaic array when the mounting system suits the particular roof and the structure can take the…
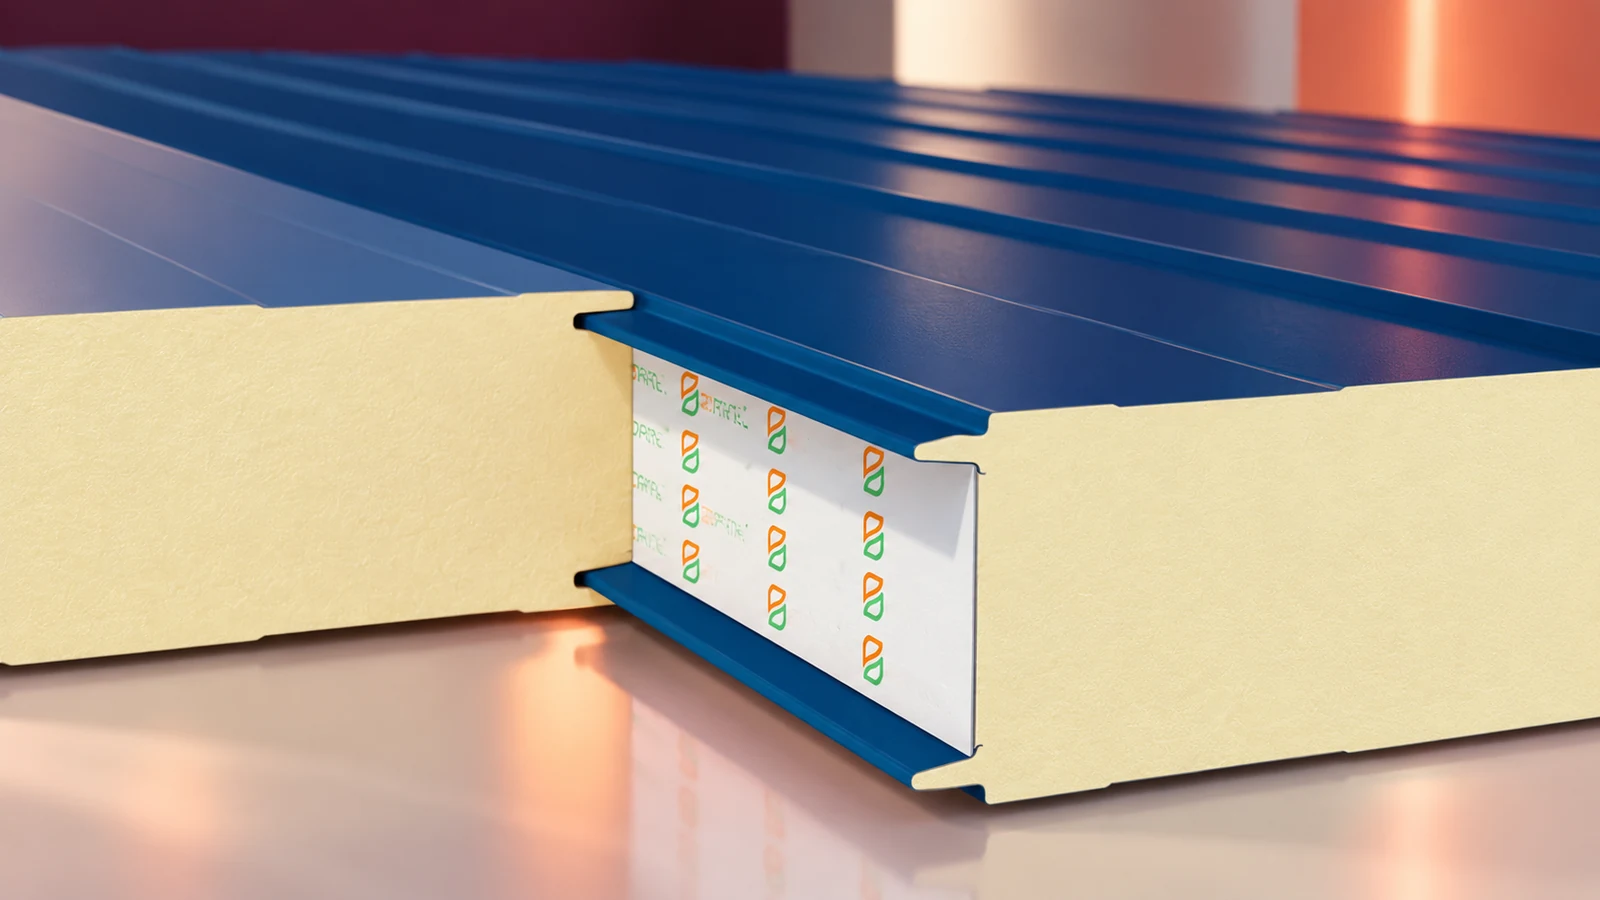
PIR sandwich panels are factory-bonded elements with an insulating core and metal facings. They are made for walls, roofs and specialist enclosures…
