






How to insulate a flat while preserving its historic façade
PIR insulation
At a glance
When a historic façade must be preserved, internal insulation may be an option. First establish how the walls and floors are built. Damp brickwork, embedded timber joists and deep window reveals cannot be assessed from PIR thickness alone. Check masonry type and thickness, mortar joints and previous repairs. Walls may vary even within a single storey. Look for damp, salt deposits and cracking. Fresh paint is no proof of a dry substrate. Before covering the wall, identify where water enters, how it can drain and whether the proposed assembly suits this particular flat.
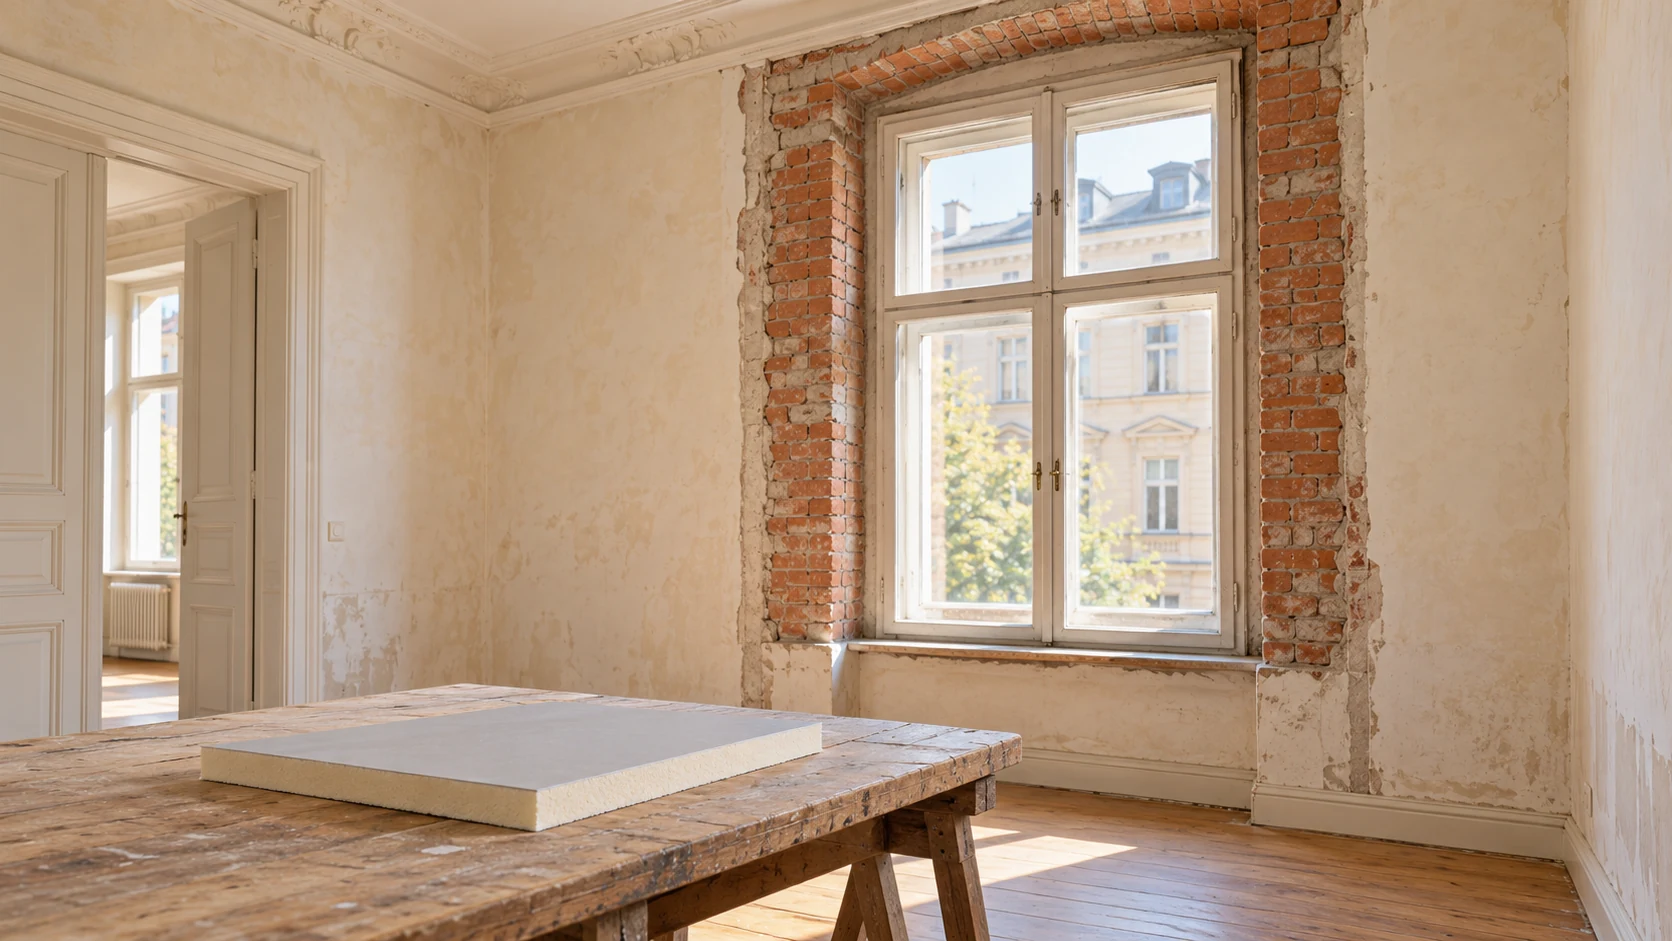
Investigate the wall beneath the plaster
Inspect the façade, cornices and junctions at the roof or balcony. Defective flashing on an upper floor can affect the flat below. Agree the scope with those responsible for the building and the other parties whose involvement is required. Preserving the façade’s appearance still requires the technical conditions of the work to be established.
Inspect floors and joist ends
Where timber joists bear in the masonry, their condition is part of the assessment. Internal insulation reduces heat flow into the wall and may change moisture conditions at the bearings. A satisfactory result for the brickwork between windows says little about conditions at a joist end.
Plan inspections and any local opening-up to give a reliable picture of the structure. Do not seal in damp or unexamined timber on the strength of a general guide. The designer may require a detailed junction model or a different solution locally from that used across the wall.
Match the assessment to the old masonry
Assess both heat and moisture for the wall as surveyed. A simple diffusion calculation cannot capture all water transport from rain, capillary rise or leaks. These effects can matter greatly in masonry that stores substantial moisture. Select the calculation method to suit the actual problem.
PIR with a vapour-tight facing can be considered in a suitably designed assembly. It is not a requirement for every historic building. Consider the substrate, expected benefit, drying potential and finish. If the assessment identifies limitations, revise the design rather than concealing them behind a thicker board.
Detail deep window reveals
Windows may sit deep within a thick wall, with little space at hinges or decorative plasterwork. Measure all sides of the reveal. Check how the frame, sill and insulation will meet. A narrow uninsulated strip may remain the coldest spot after renovation even if the main wall improves markedly.
Allow for air movement, drainage and sash opening. Do not reduce insulation thickness locally without checking the surface temperature. If historic interior features are to remain, specify how the new work terminates against them. Agree a sample junction before repeating it throughout a storey.
Set a clear scope for the first stage
In an occupied flat, choose a work area that can be prepared, insulated and sealed around its perimeter. A small trial area may help assess flatness, adhesion and the finished appearance. It cannot replace calculations or structural inspection. Define the purpose of the trial first.
Plan service relocations and fixing points in advance. Check clearances for radiators, curtains and furniture. Detail every penetration through the airtight layer. Photograph finished junctions before covering them. In an older building these pictures may become the only accurate record of the new layers.
Leave an inspection and use plan
After completion, the flat still needs effective ventilation and heating suited to its use. List the points to watch: reveals, floor junctions, corners and areas behind fittings. If moisture monitoring is specified, establish the measurement locations and how readings will be interpreted.
Keep the specifications, drawings and conditions under which the solution was accepted. Future owners should know that new holes and enclosed fittings can affect performance. If damp returns, inspect both the interior and the shared façade. Renovating one flat does not repair defects elsewhere in the building.
Questions and answers
Is vapour-tight PIR suitable for every old brick wall?
No. The choice depends on masonry moisture, incoming water, drying potential and an assessment of the assembly. Unfavourable conditions may call for a different solution.
Why inspect timber floors?
Internal insulation changes masonry temperature and conditions at joist bearings. The timber and the floor-to-wall junction need a separate assessment.

Free quote
What to include in your enquiry
Tell us how you plan to use the material, the dimensions and the quantity you need. Include the thickness, grade or variant name, along with the delivery town or your preferred collection branch. For a specific product, add its name or a link to the product page. We will reply to the email address you provide to discuss availability and the terms of your order.

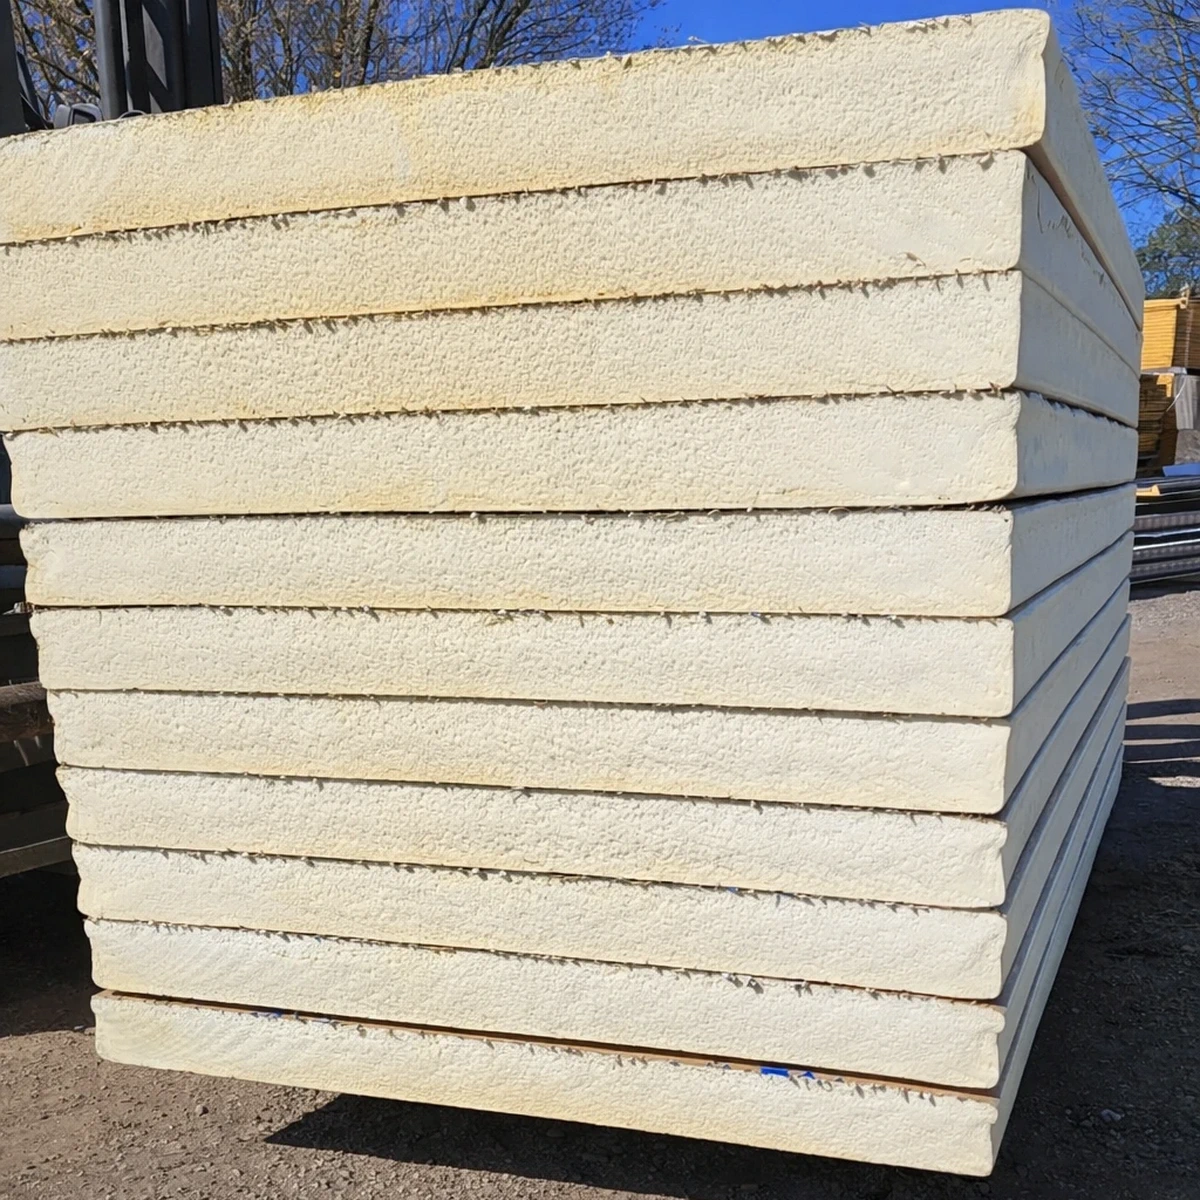
Read next
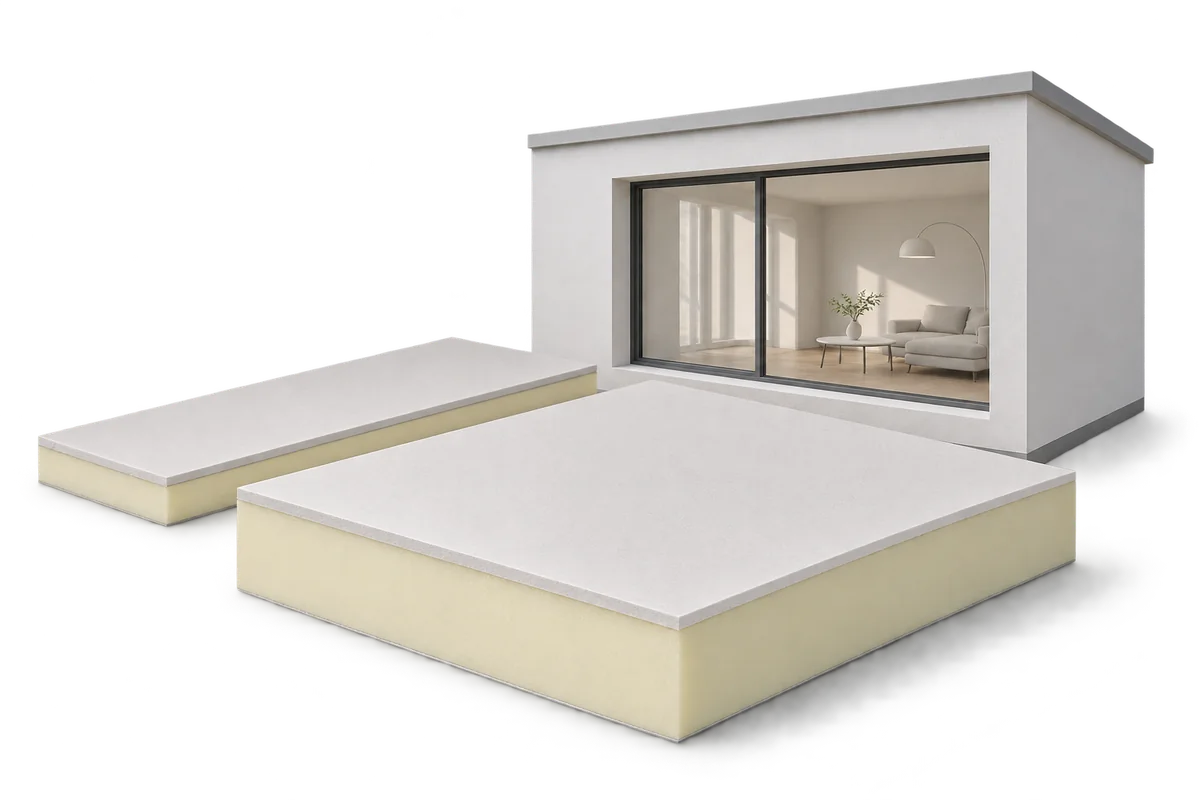
Every centimetre counts when insulating from the inside, particularly in a hallway or under a sloping roof. PIR boards can reduce the…
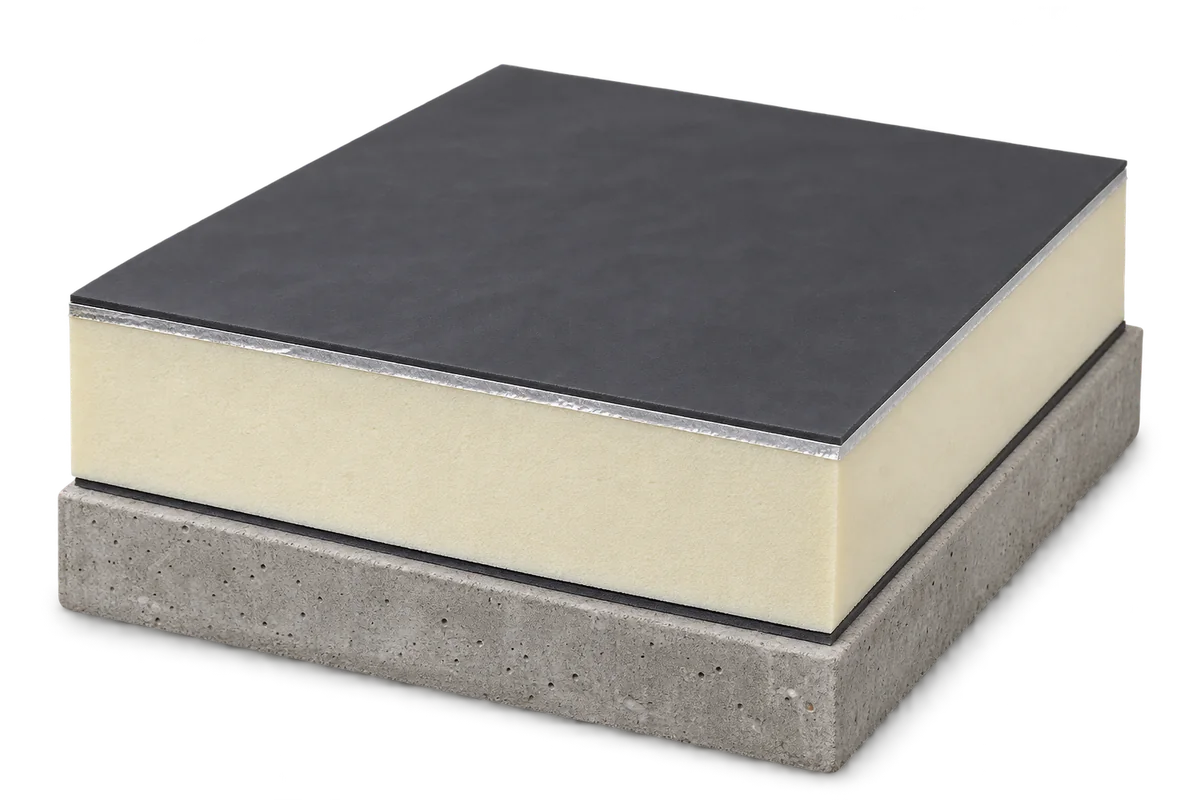
A flat roof consists of several layers that work together. The structure carries the loads, insulation reduces heat loss and waterproofing keeps…
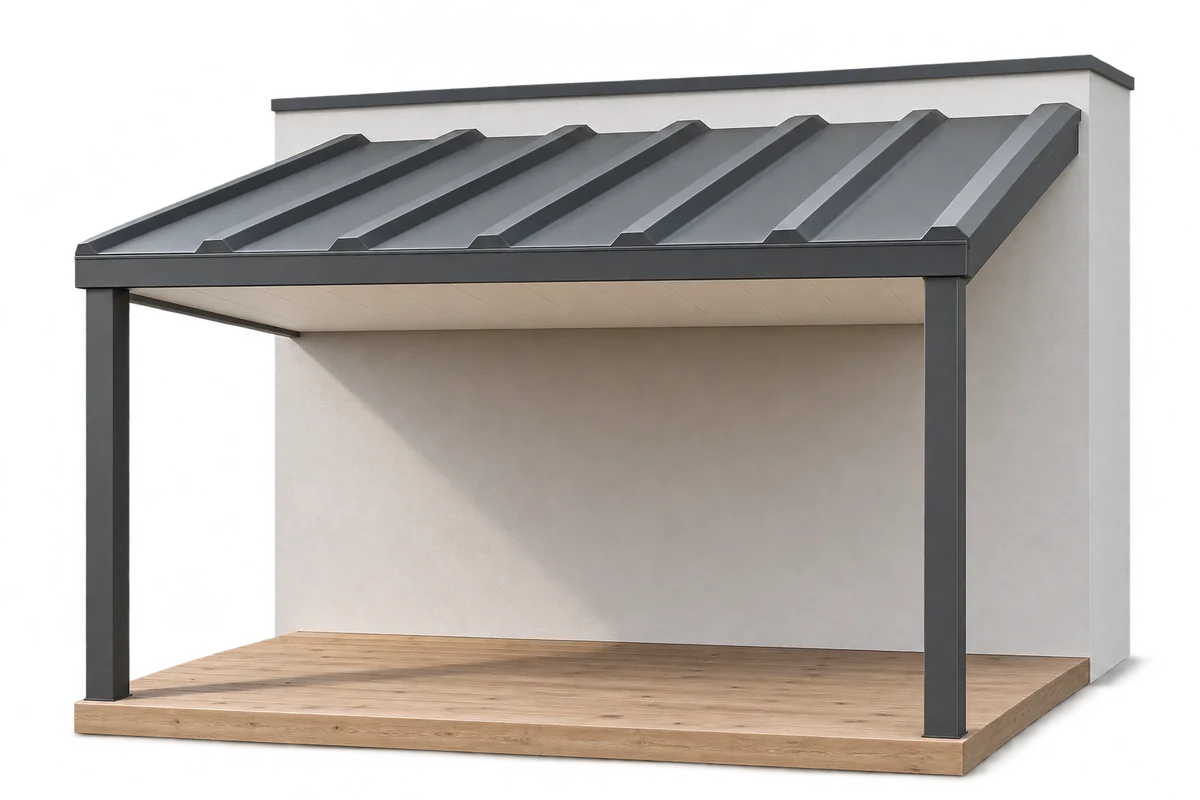
A canopy shelters the people on a terrace from rain and sun. If there is a heated room below, the terrace floor…
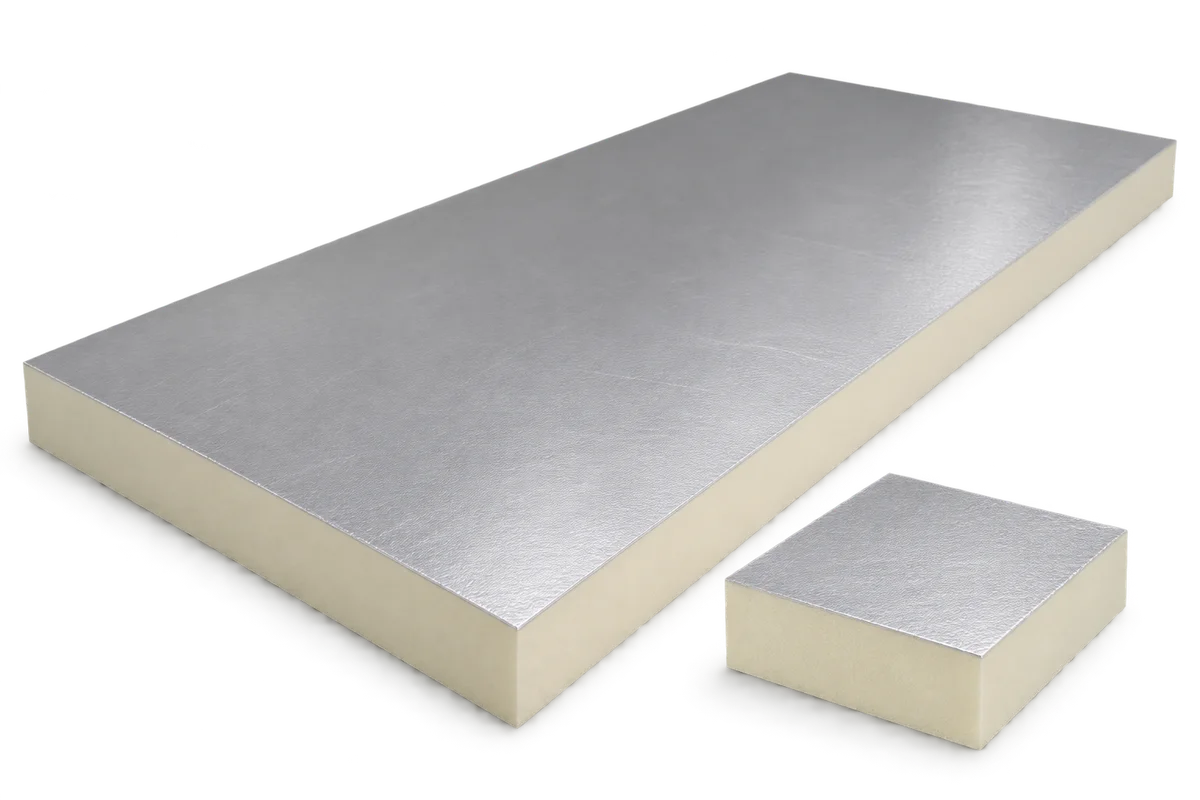
The distance from the roof hatch to an air handling unit matters before the roofing is ordered. A technician needs to reach…
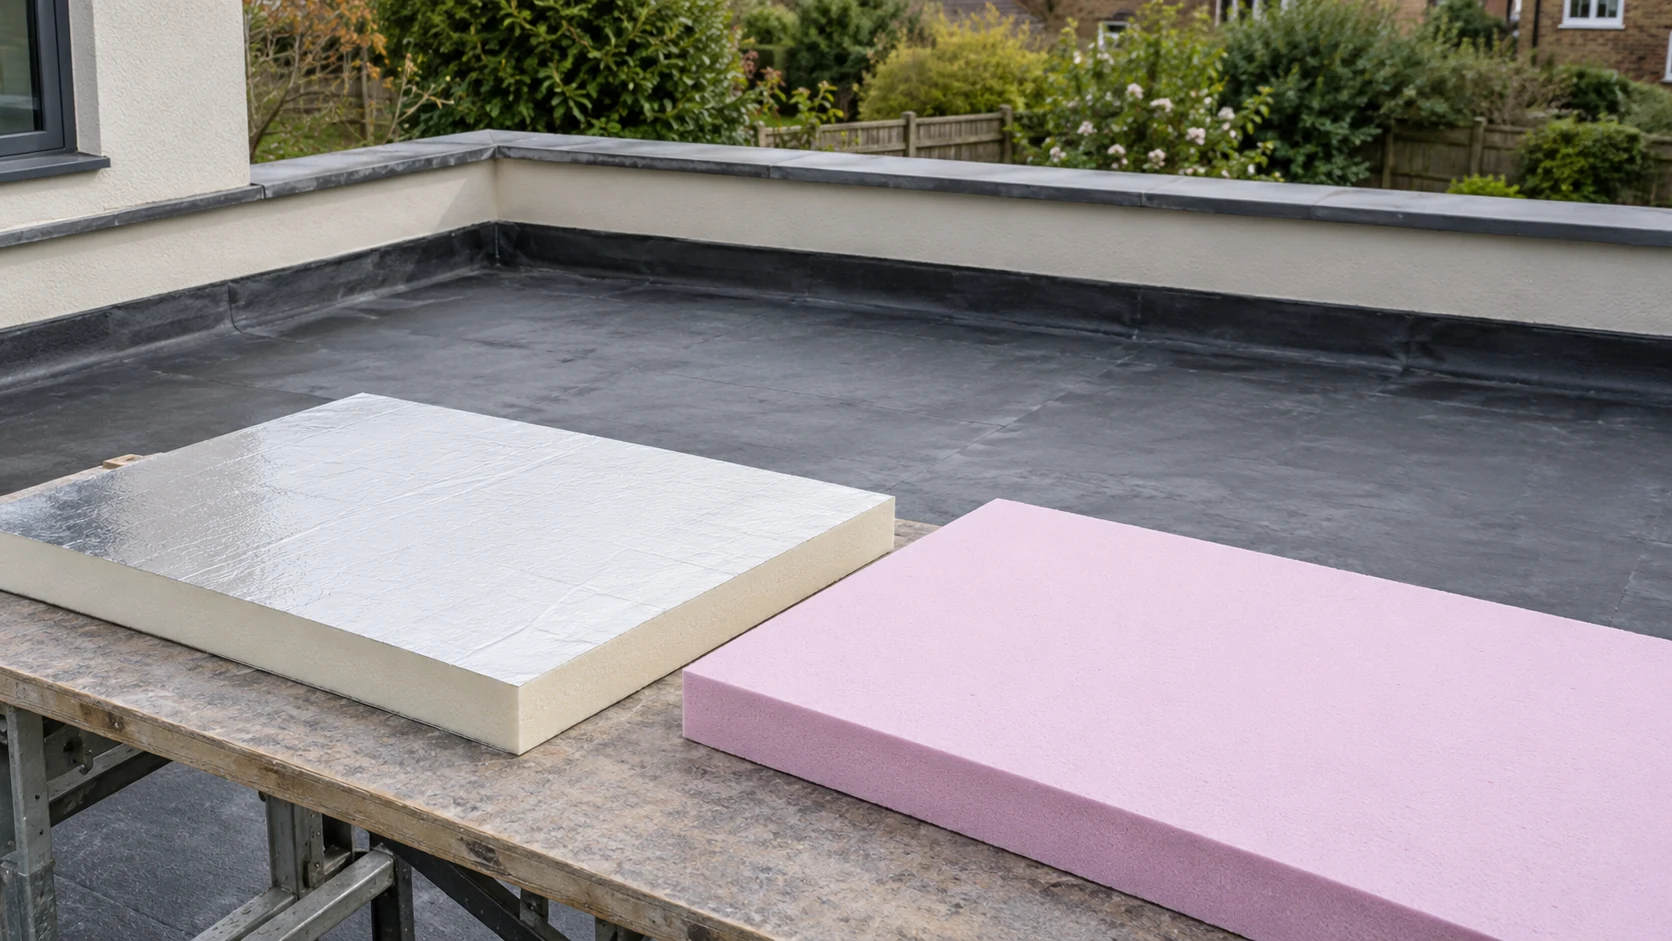
The position of the waterproofing is the starting point for choosing flat roof insulation. On a warm roof the insulation sits below…
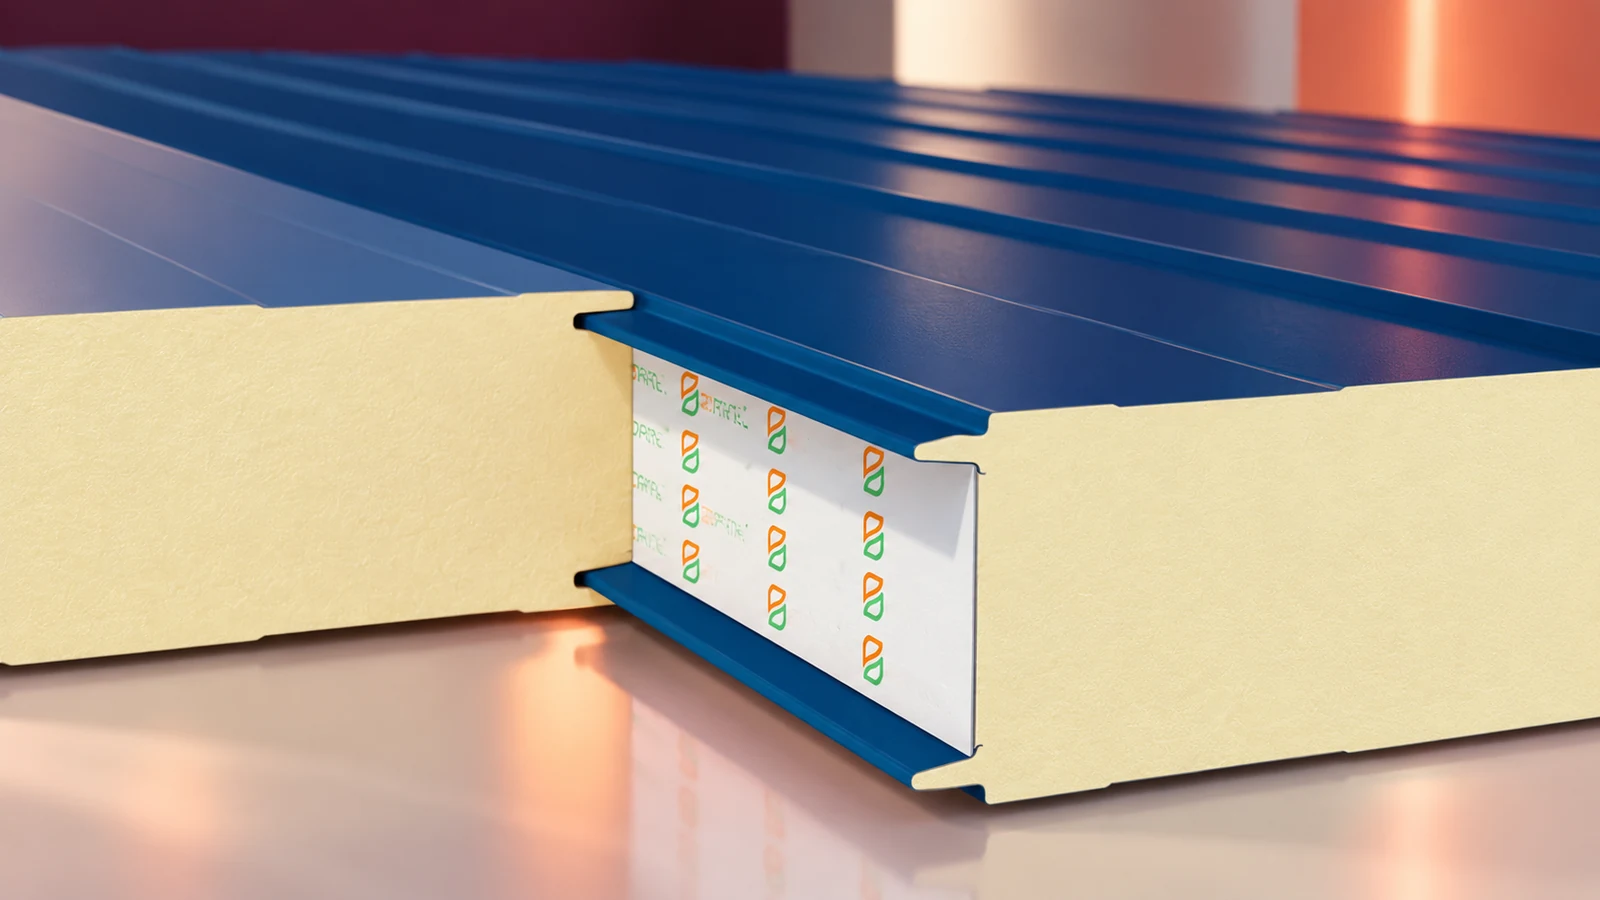
PIR sandwich panels are factory-bonded elements with an insulating core and metal facings. They are made for walls, roofs and specialist enclosures…
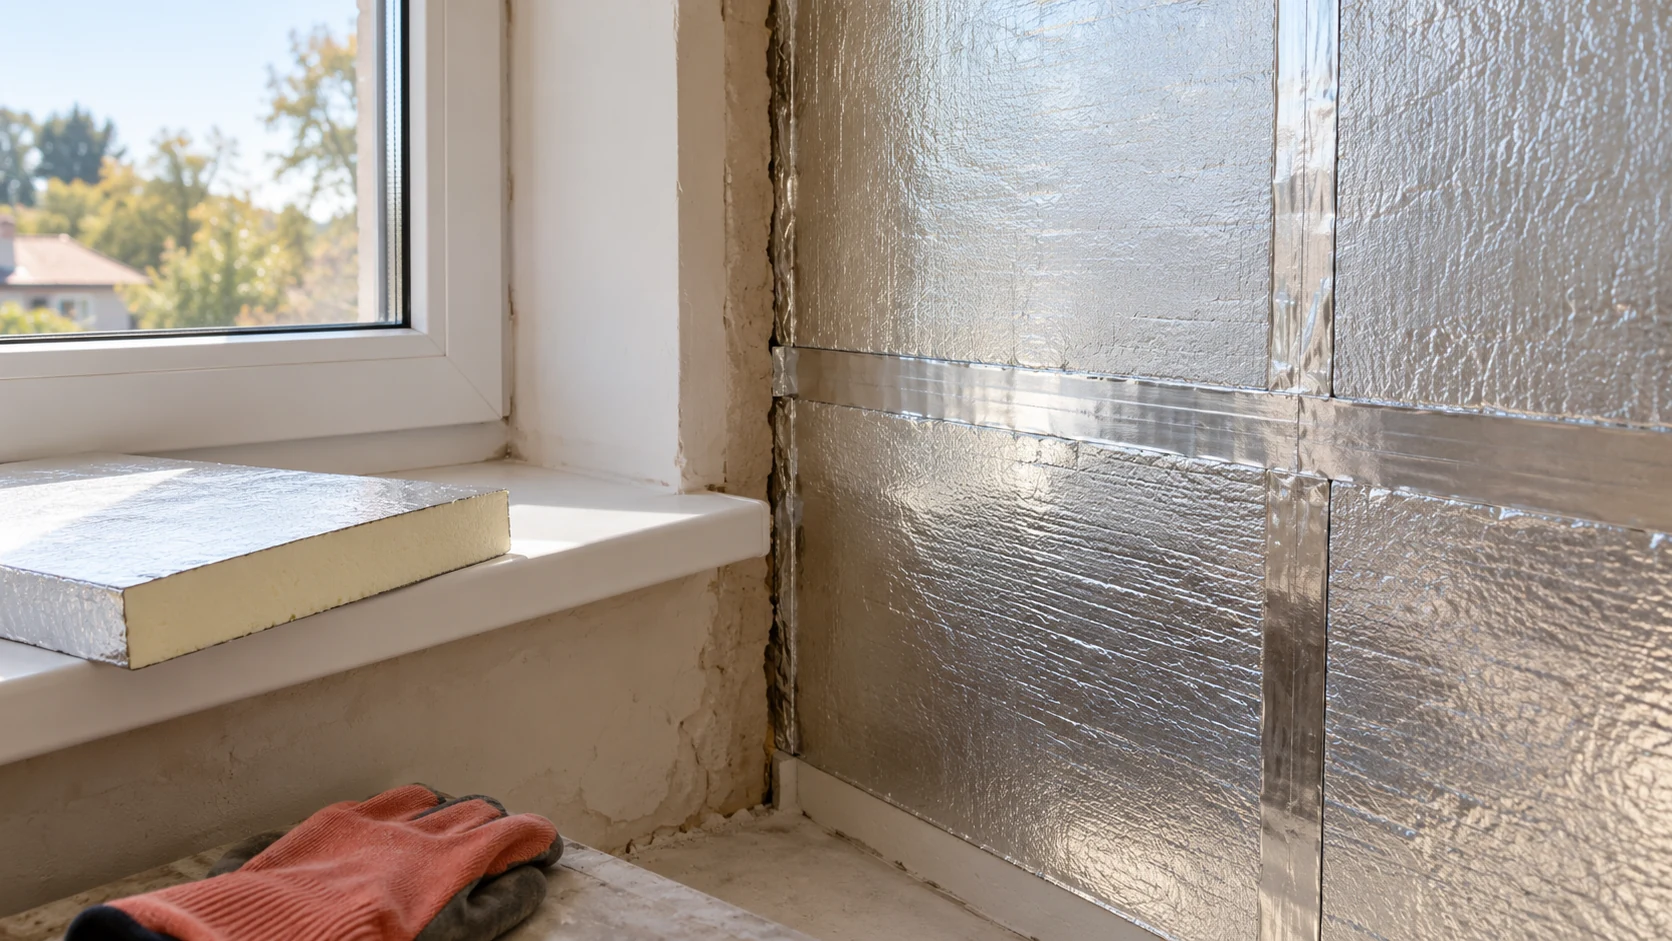
An aluminium facing restricts vapour diffusion through a board, but the insulation also depends on its connections to floors, ceilings, windows and…
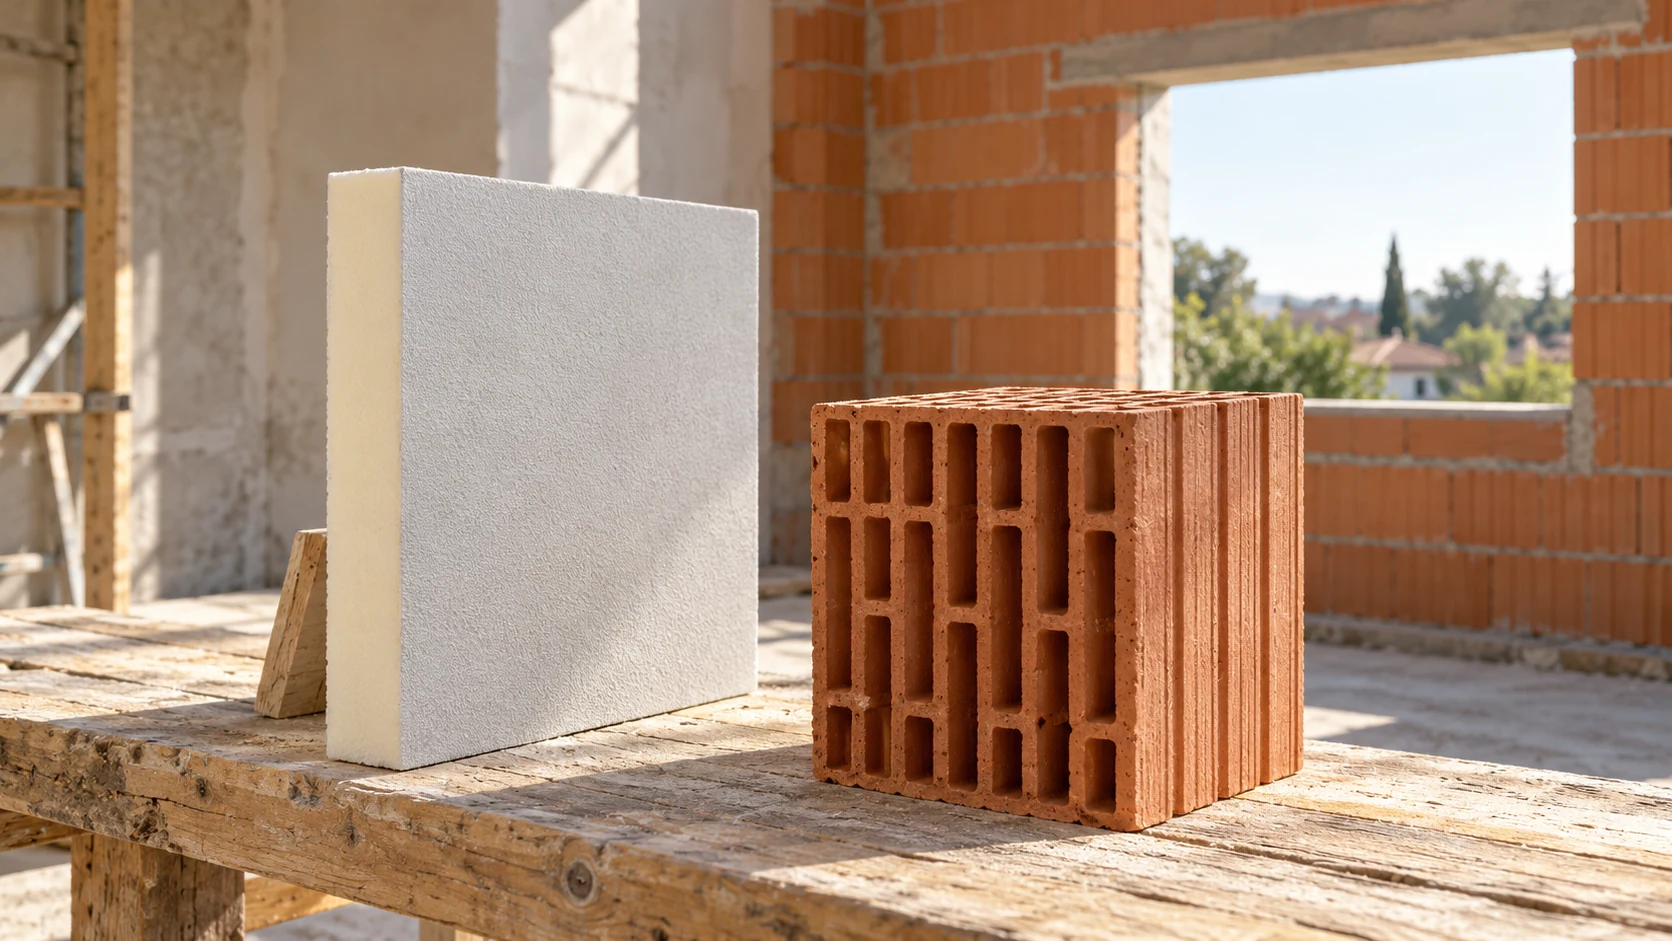
Block thickness alone cannot determine insulation thickness. You need the properties of the masonry, mortar, ring beams and intended finish. With PIR,…
