Installing cut-to-length metal roof tiles: from setting out to handover
Roof coverings
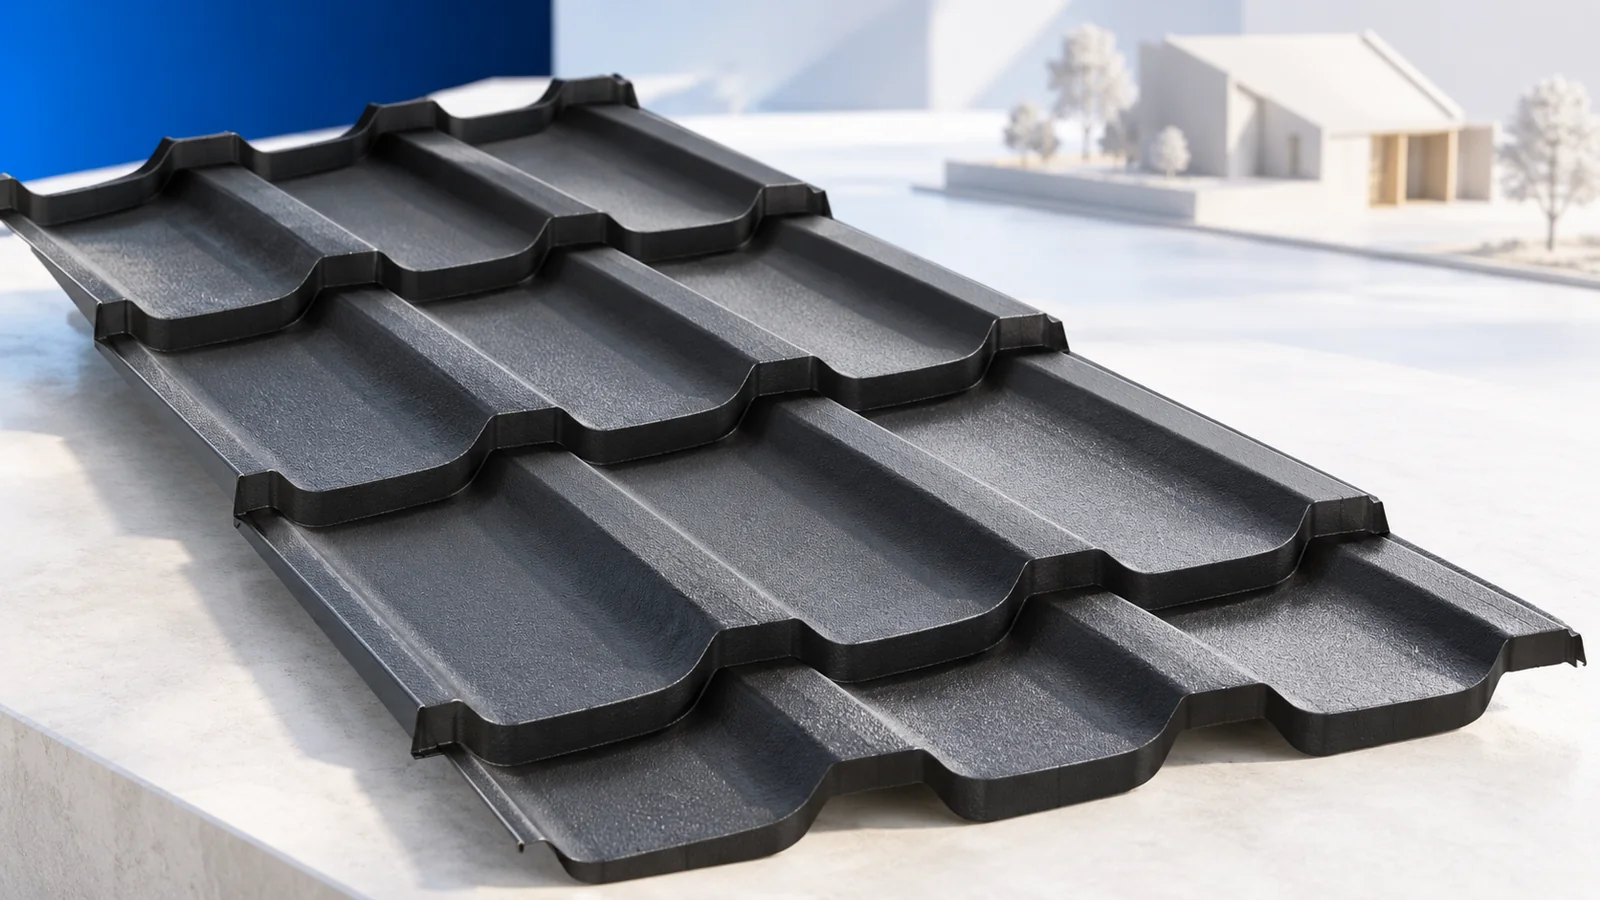
A cut-to-length metal tile sheet follows several rows of tiles in one piece. This reduces end laps, but an error in the first sheets can carry across the roof. Start with the manufacturer’s profile drawing, then set out the battens, eaves and sheet lengths together. Plan how each pack will reach the correct slope without bending the sheets. Before fixing a full run, check that the side laps fit freely and that the lower edges line up at the eaves. Leave the joints, drainage paths and fasteners accessible for inspection before handing over the roof.
How should you plan the order and receive the sheets?
Measure each slope, check its diagonals and mark the openings. Sheet lengths must suit the roof and the permitted cutting positions of the profile; the tile steps may rule out certain lengths. Show laps and cuts on a setting-out drawing. On a roof with several intersecting slopes, compare the layout with modular sheets.
Set aside space for unloading and storage. Inspect the packaging, count the sheets and check the coating for transport damage. Do not drag long sheets over one another or lift them unsupported. A kink can prevent a lap from closing; identify damaged pieces before they reach the roof.
Agree the unloading sequence. Packs for the first slope should be accessible without moving the other sheets repeatedly. Mark the packs to match the roof drawing: it reduces scratches and mix-ups between lengths, especially with several installers on site.
What should you check beneath the sheets?
Check that the battens form a true plane, are stable and are spaced for the selected tile module. The first batten at the eaves may have a different position or height. Do not transfer batten spacing from another profile just because the tile shapes look similar.
Install the underlay, provide the required ventilation path and fit any flashings that must go on first. Check where water from the underlay will leave the roof at the eaves. On an insulated roof, plan the interfaces with the other layers. The outer covering cannot do the job of the internal air seal or the junction at the wall plate.
Why do the first sheets matter?
The first sheets establish the line of subsequent rows. Check their position against both the eaves and the side edge as directed for the product. A small starting error can become conspicuous across a wide roof. Do not hide it by pulling the laps apart or bending the sheet.
Follow the laying direction dictated by the profile and side joint. Sheets should engage without undue stress. If the edges do not meet, check alignment, batten geometry and possible damage. Extra screws will not correct a poorly fitting joint.
How should the sheets be fixed and cut?
Choose screws for the substrate and the job of the connection. Use the fixing layout specified by the manufacturer and the design loads. Seat sealing washers without leaving them loose or crushing them. Edge zones and accessories may have different fixing requirements from the middle of the slope.
Use approved cutting tools that do not overheat the coating. An abrasive disc can damage the cut edge and throw hot particles onto adjacent sheets. Remove drilling and cutting swarf as you work. The first rainfall will not reliably wash particles out of recesses, where they may rust.
How do you finish the critical junctions?
Chimneys, valleys, ridge and verges each need their own detail. Lap flashings so they discharge in the direction of flow and fit them without blocking a required ventilation opening. Match accessories to the covering profile; a colour match does not guarantee a matching shape.
Use penetration fittings made for the selected roof tile sheet. Do not bridge a large mismatch using sealant alone. Accessories that carry snow or maintenance loads need a load path to the structure. Thin sheet alone is not a suitable base for every installation.
What should you check at handover?
Inspect the laps, fixings, finish and drainage routes. Check the upslope side of chimneys and valleys that cannot be seen from the ground. Remove protective film as specified, along with swarf and waste. Keep photographs of the junctions and records of the materials used.
Follow the manufacturer’s access instructions and use fall protection when walking on the roof. Only step where the system permits it. Agree a maintenance and inspection routine after installation. Accurate measurement, preparation and laying all contribute to a straight, weathertight finished roof.

Free quote
What to include in your enquiry
Tell us how you plan to use the material, the dimensions and the quantity you need. Include the thickness, grade or variant name, along with the delivery town or your preferred collection branch. For a specific product, add its name or a link to the product page. We will reply to the email address you provide to discuss availability and the terms of your order.

Read next
Place the downpipe gully where the downpipe meets the drainage line, and set its cover to the finished ground level. Check more…
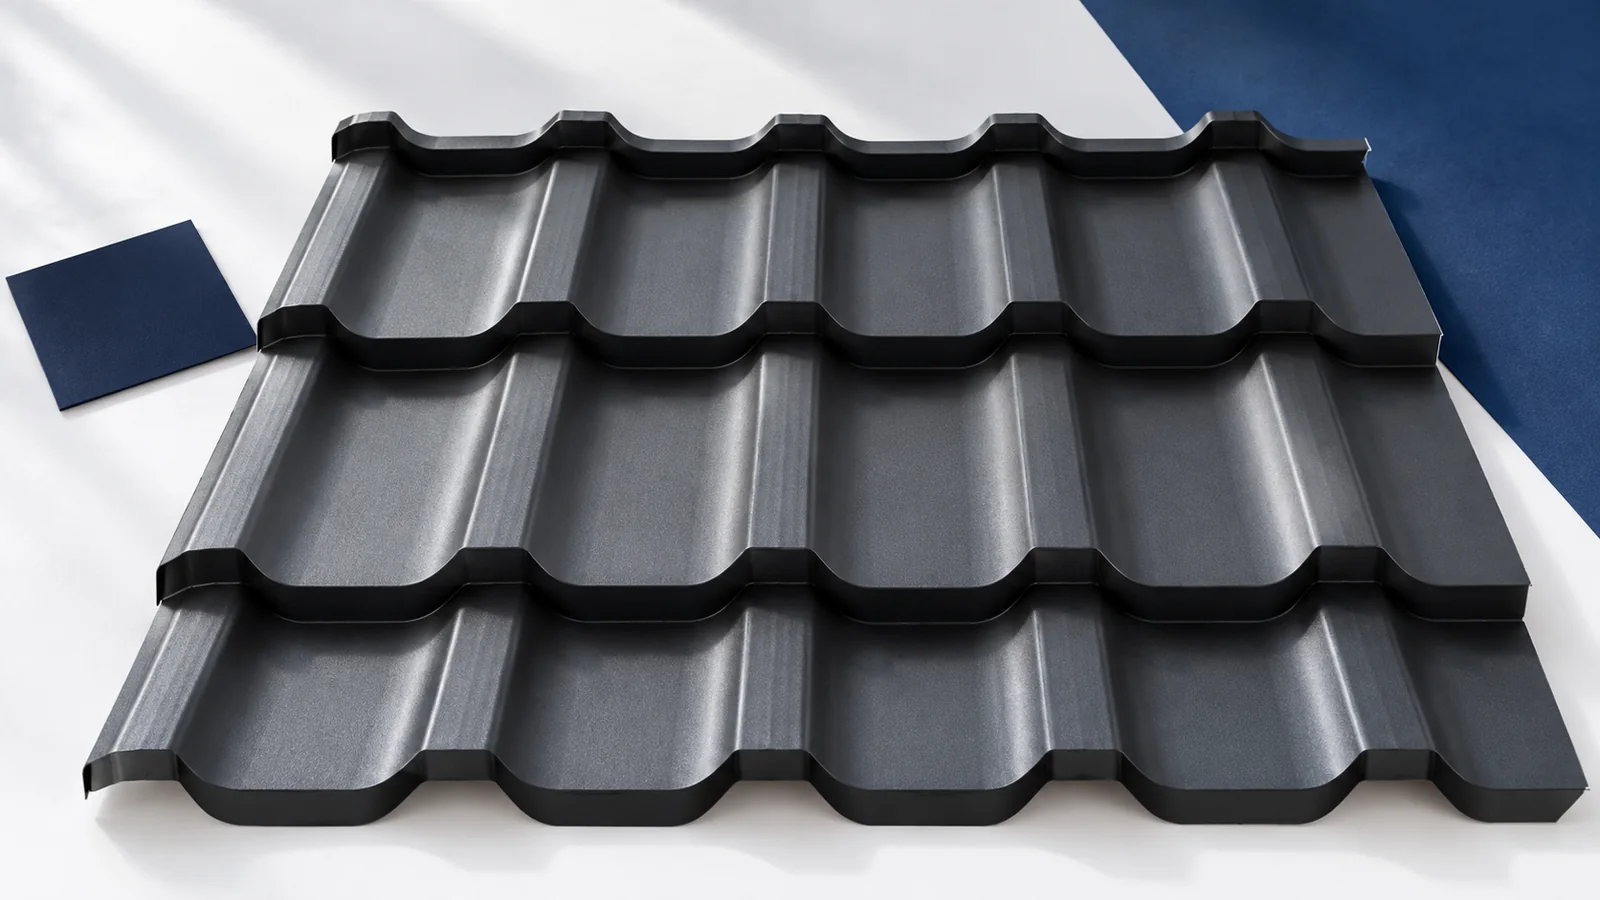
The first course of tile-effect roofing sets the alignment of every sheet above it. Before laying it, check the eaves line, diagonals,…
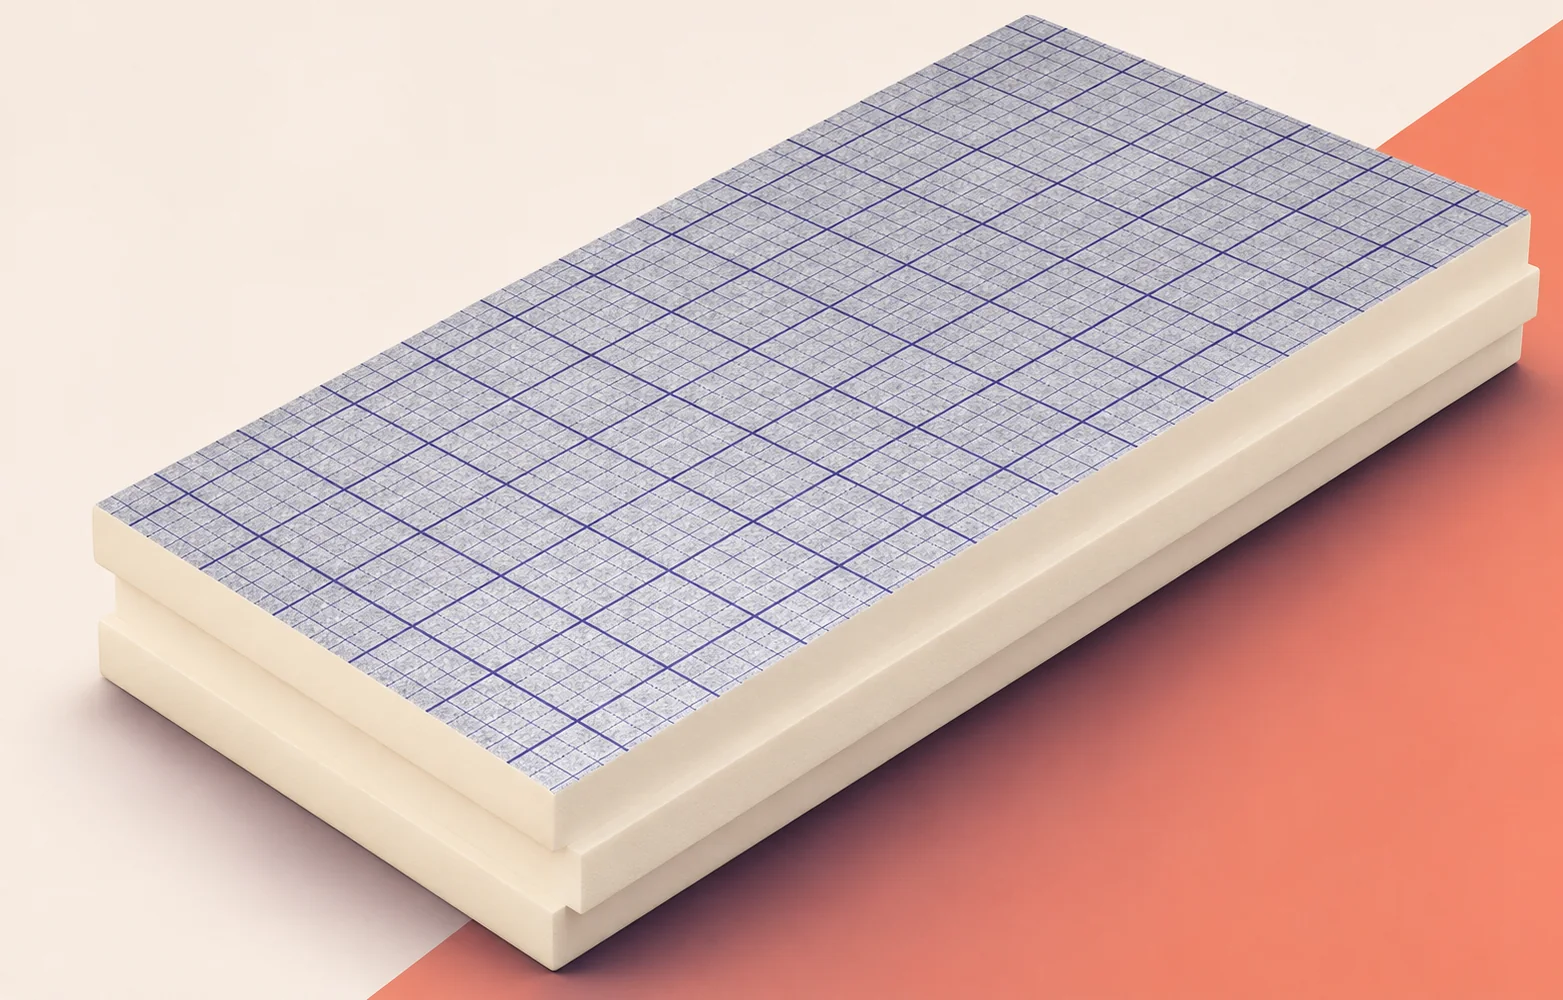
Installing swissporPIR Alu above the rafters raises the roof covering relative to the eaves, roof windows and chimney. On a large slope,…
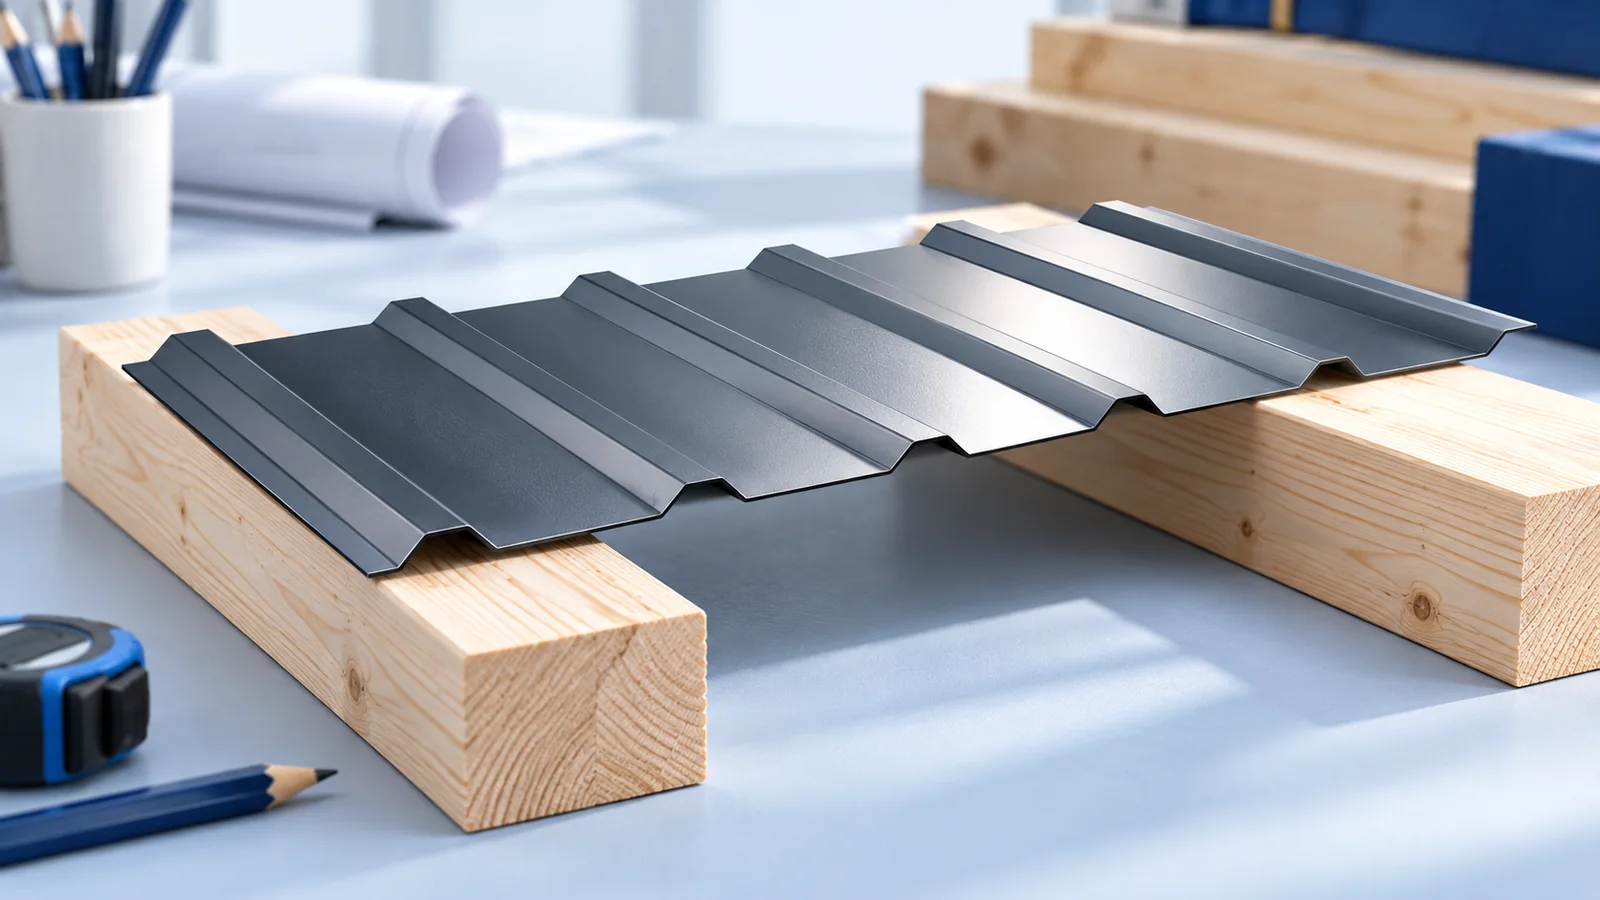
The position of a timber joint determines which forces it has to transmit. A splice over a post can use the bearing…
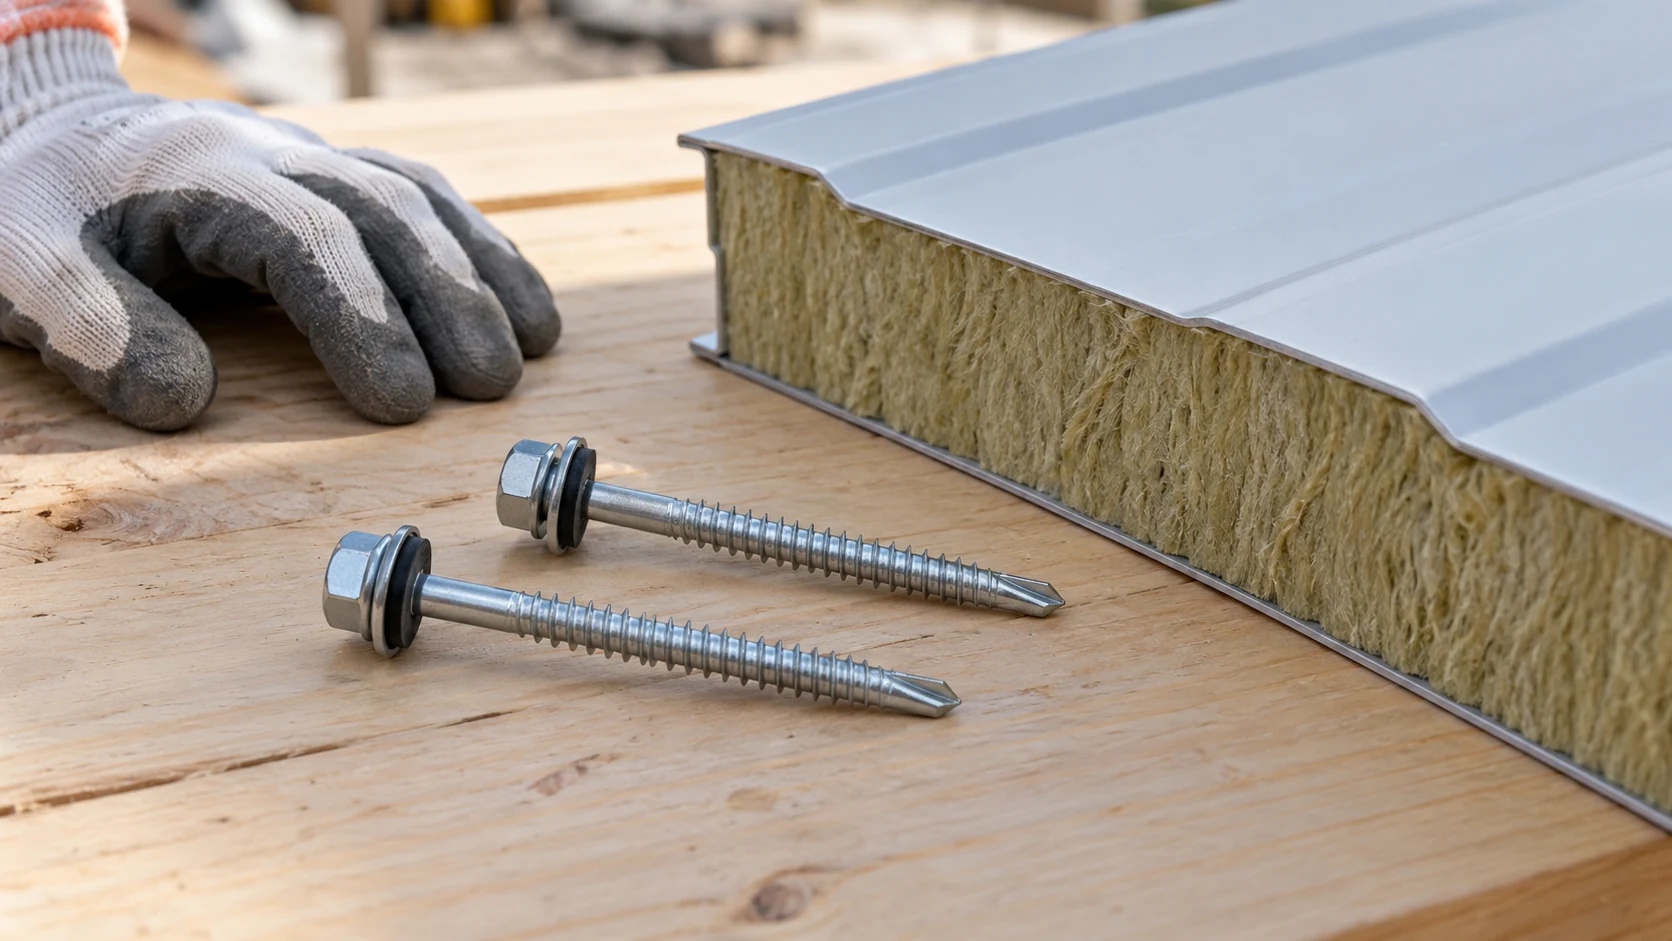
A panel fixing must suit the panel, support and expected loads. Wool thickness alone is not enough to select a screw. Check…
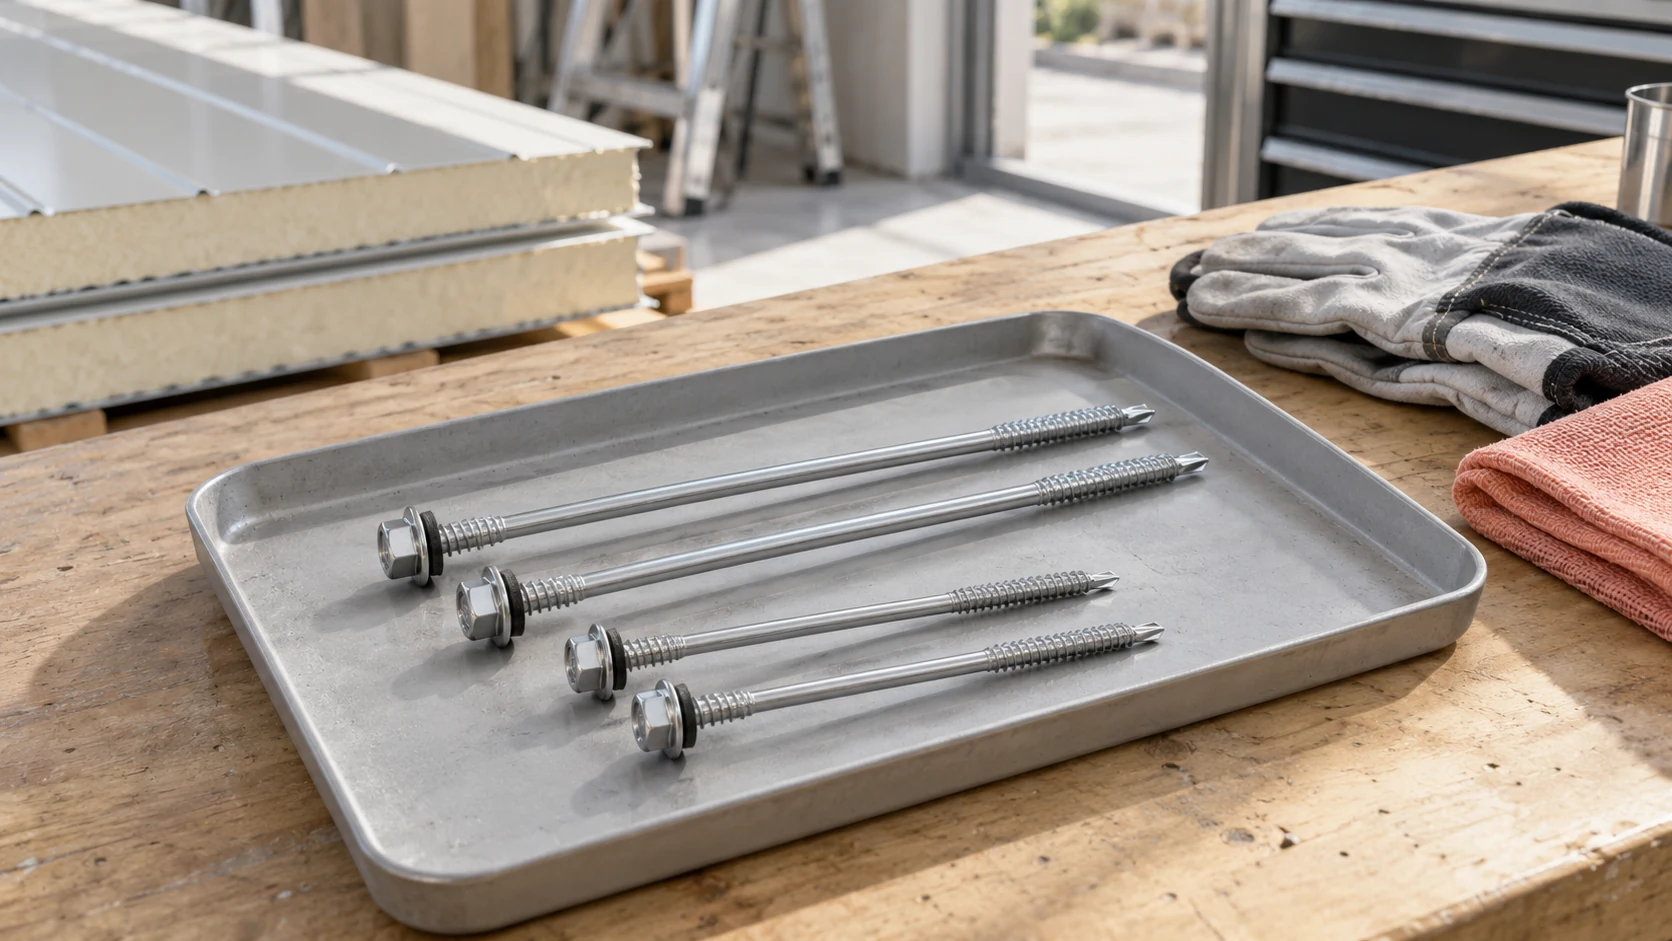
To work out how many screws to buy, start with the fixing layout for the building. It shows the panel joints, supports…
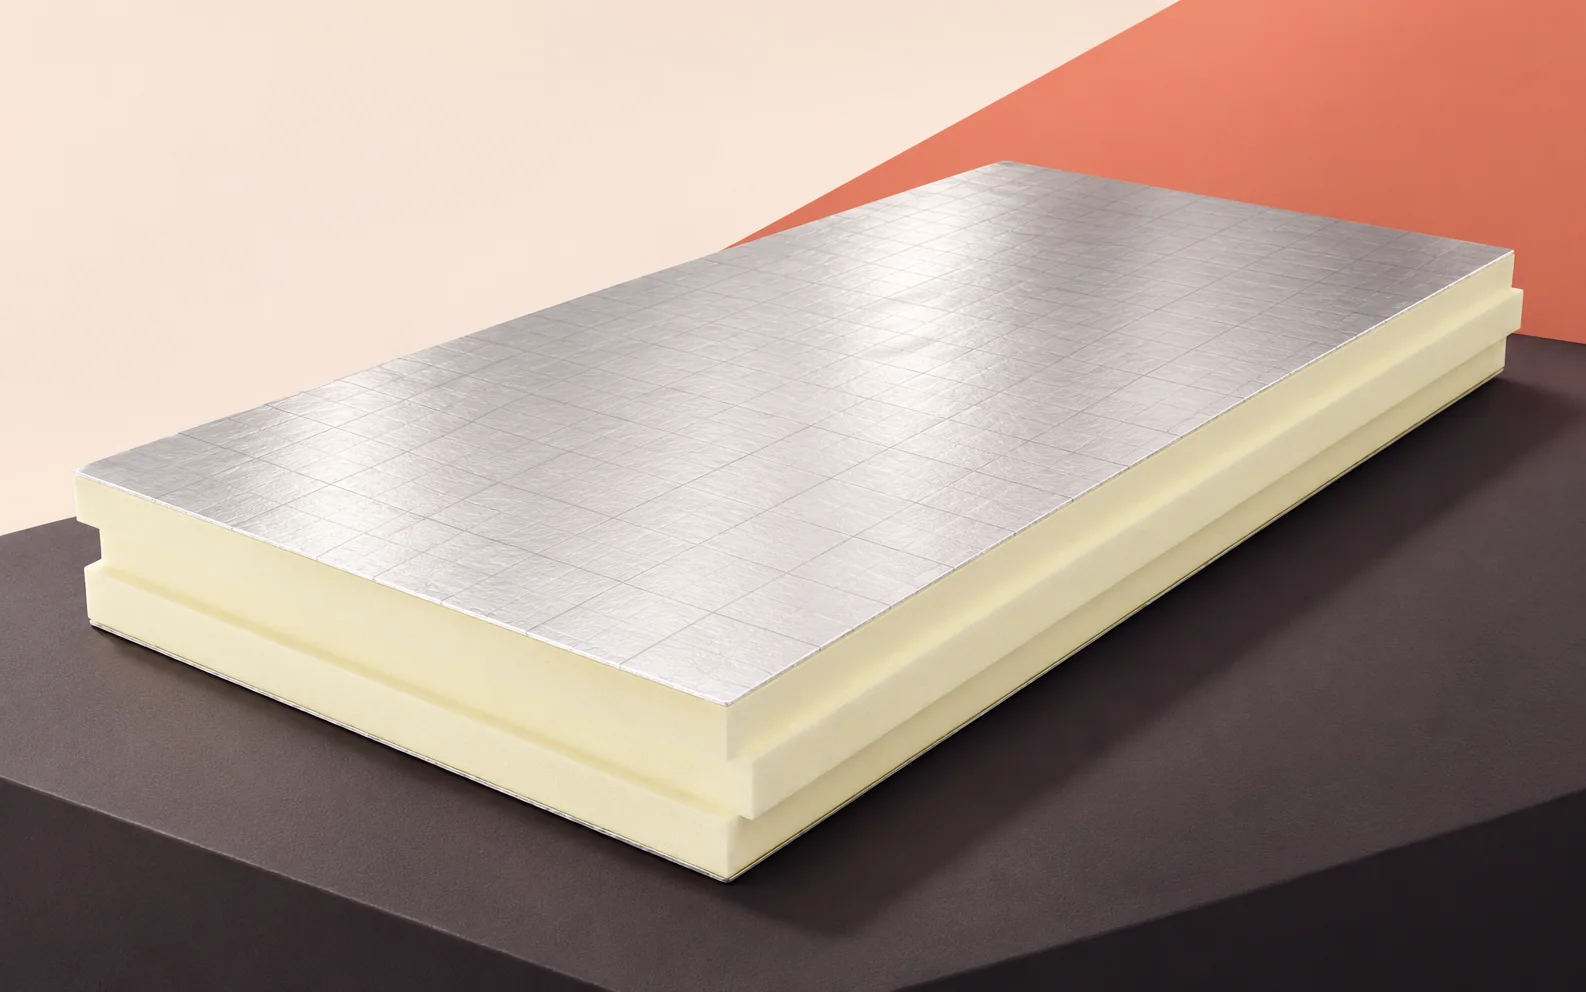
On a flat industrial roof, design the insulation, waterproofing, outlets and rooftop plant together. PIR boards can reduce the thickness and weight…
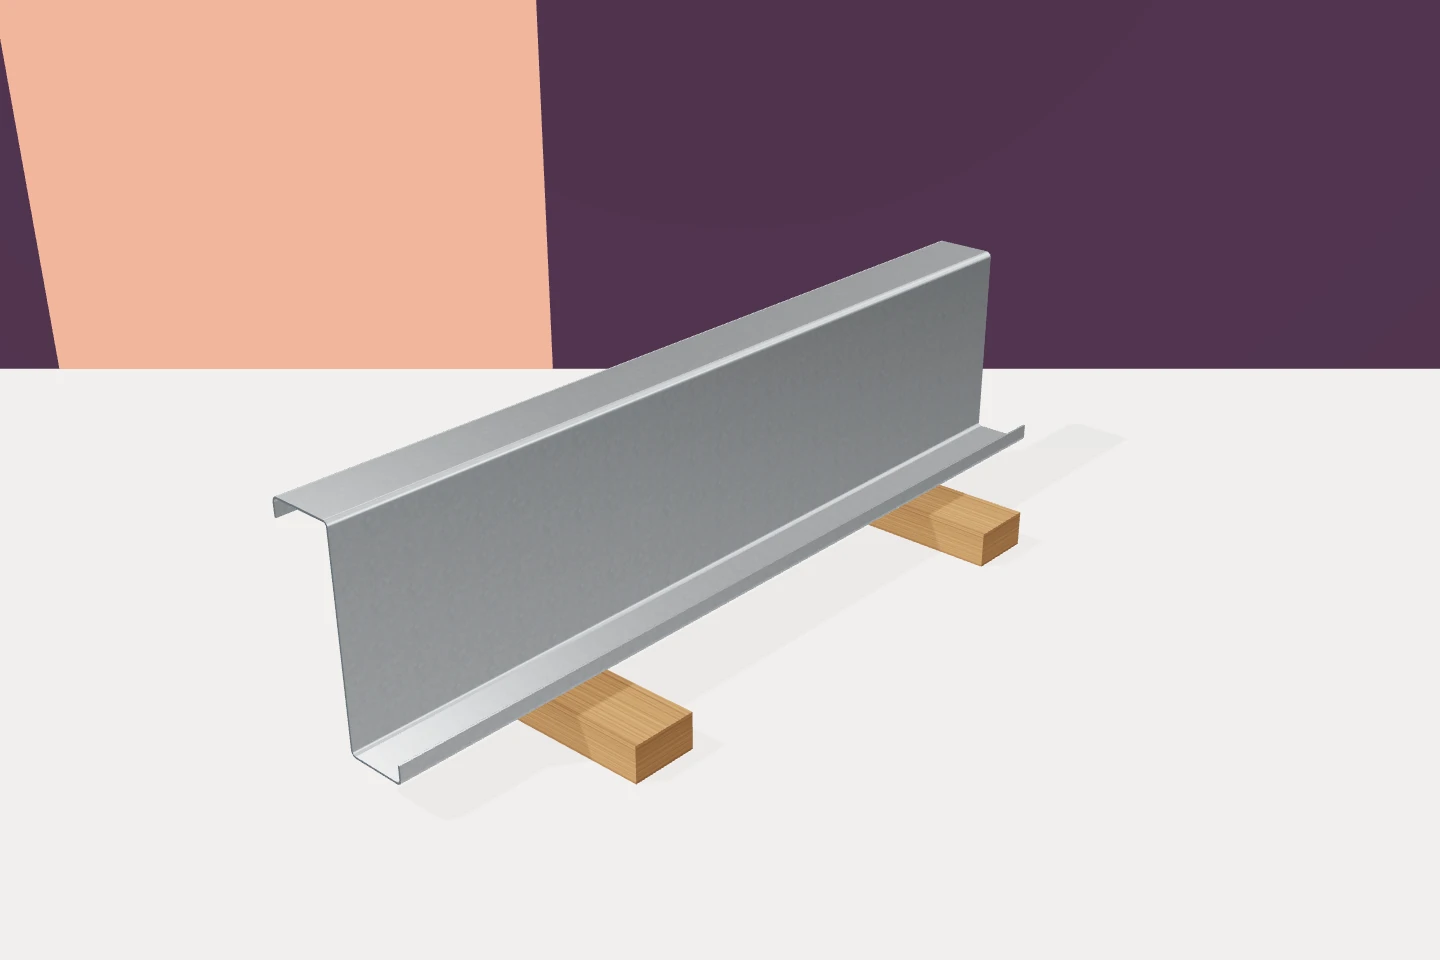
Inspect the supporting steelwork before the first sandwich panels go on. Once a wall bay or roof slope is covered, connections that…