Installing trapezoidal steel roof sheets: from survey to handover
Roof coverings
Start the layout at the eaves and work backwards from the joints that need support. Survey the slopes, diagonals and openings, then compare the actual pitch and purlin positions with the drawings for the selected T18 or T35 sheet. Before covering the roof, check that the underlay drains correctly and that the ventilation route stays clear. Set the first sheet to a straight reference line. Inspect laps, fixings and concealed flashings as work progresses; once the neighbouring sheets are secured, correcting an alignment error can mean dismantling several rows.
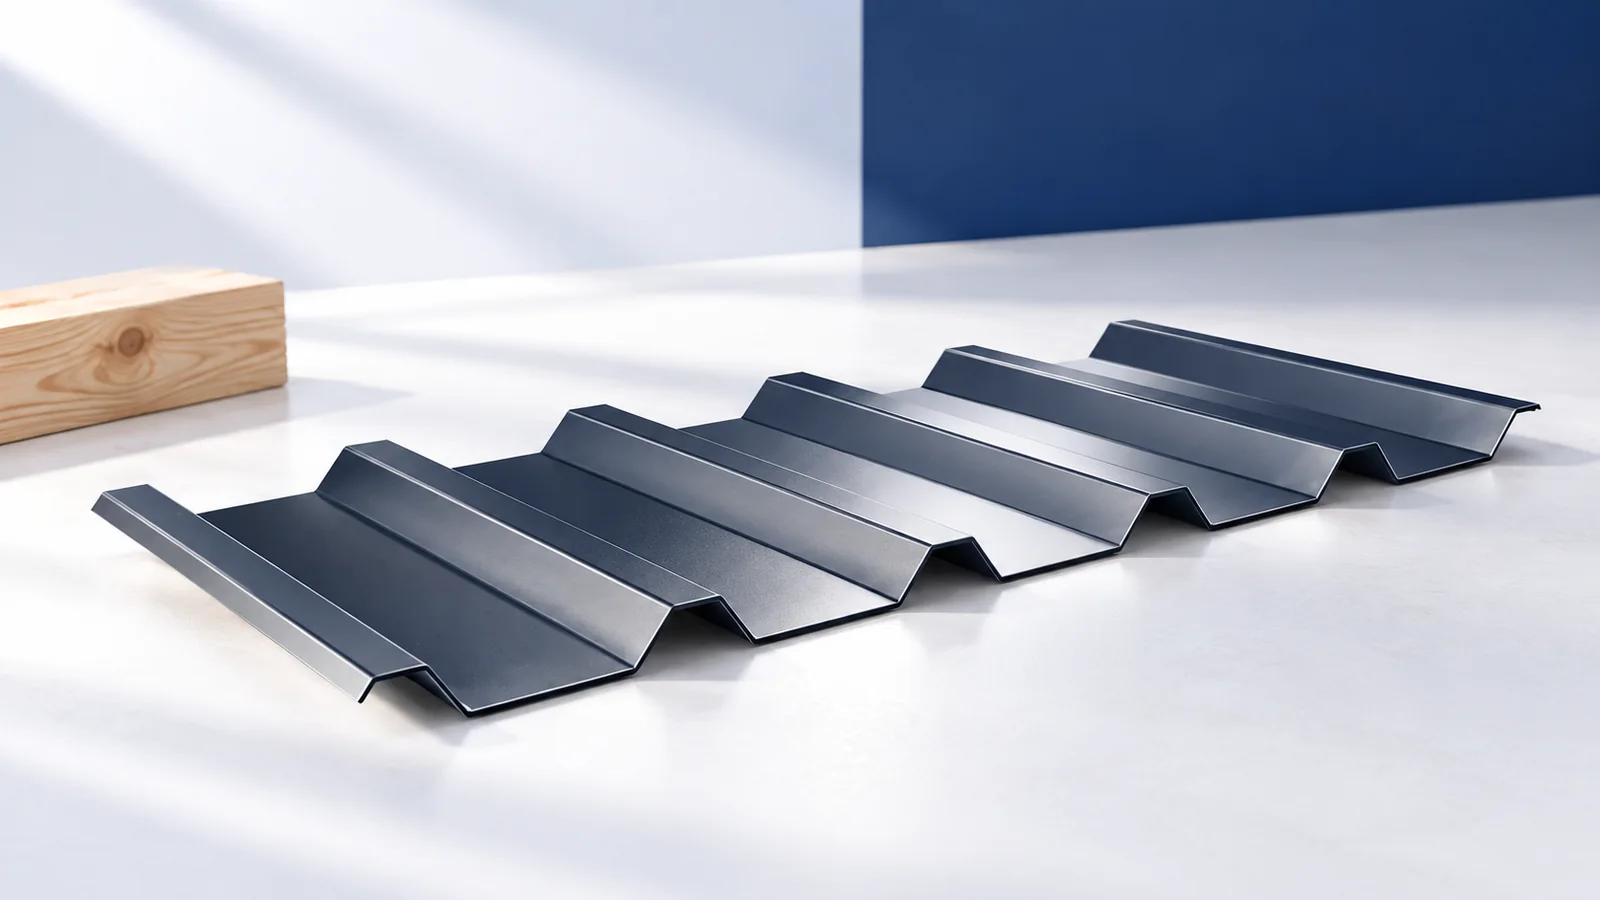
What should you measure before ordering?
Measure the as-built slopes, diagonals and positions of obstructions. Check the actual pitch against the requirements for the exact product. Neither T18 nor T35 is a complete specification for laying the roof.
Confirm the steel thickness, cover width, sheet lengths and design support spacing. Load capacity depends on steel grade, loads, span arrangement and fixings as well as profile depth. Arrange unloading and a dry storage area before the sheets arrive.
How should the supports and underlying layers be prepared?
The supports need to be aligned, correctly spaced and capable of carrying the design loads. Pulling a sheet down hard with screws to compensate for an uneven support can distort the profile. Timber and steel supports may require different fasteners.
Follow the designed build-up for underlay, ventilation and insulation. A heated loft and an open shelter need different moisture control. An anti-condensation backing on the sheet must be able to dry and cannot simply take the place of insulation or a vapour control layer.
Where does laying begin?
Fit the eaves components and other concealed details at the stage shown in the drawings. Check how water from the covering and from the underlay will drain. Some flashings must be installed before the first sheet hides their fixing points.
Align the first sheet to the designed eaves line, not to an irregular wall edge. Check the position of subsequent sheets before fixing them fully. A small error repeated across a wide slope can leave an obvious mismatch at the last sheet.
How are side and end laps formed?
Side laps follow the direction of the slope; end laps join sheets along its length. Check the required overlap, seals and fastening pattern for each joint. The instructions may vary with pitch and slope length, especially for shallow roofs.
There is no single permissible lap length for every T18 or T35 sheet. Where the system requires a supported joint, provide the support in the right position. Do not place a joint between purlins by convenience or substitute an unspecified sealant.
How should the sheets be fixed?
Match each fastener to the support material, its thickness and the required resistance. Tighten a sealing washer until it seats as specified. Overtightening can damage the seal or deform the sheet; insufficient pressure may leave a gap.
Use the project fixing plan. Edge and corner zones may require a different pattern from the centre of the roof. Distinguish screws that secure sheets to the structure from stitching fasteners at sheet laps; a generic screw count per square metre cannot replace either specification.
How do you handle cuts and roof penetrations?
Use approved cold-cutting tools and follow any prohibition on angle grinders. Hot particles can damage the finish well away from the cut. Remove swarf after drilling and cutting, including particles trapped inside laps.
Shape flashings around chimneys, walls and service penetrations so that water runs away from the opening. Sealant cannot correct a flashing that directs water the wrong way. At the ridge, maintain the designed ventilation path while preventing rain entry.
What should you check at handover?
Inspect the eaves line, laps, flashings and visible fixings. Remove film, swarf and waste; make sure gutters and ventilation inlets are clear. Keep photographs taken before concealed layers were covered. They can help trace a leak later.
Plan safe access and fall protection before work at height. Follow the rules for the chosen roof system and identify where sheets are supported; never assume an unverified sheet is safe to walk on. Hand over the material and installation documents with the finished roof.

Free quote
What to include in your enquiry
Tell us how you plan to use the material, the dimensions and the quantity you need. Include the thickness, grade or variant name, along with the delivery town or your preferred collection branch. For a specific product, add its name or a link to the product page. We will reply to the email address you provide to discuss availability and the terms of your order.

Read next
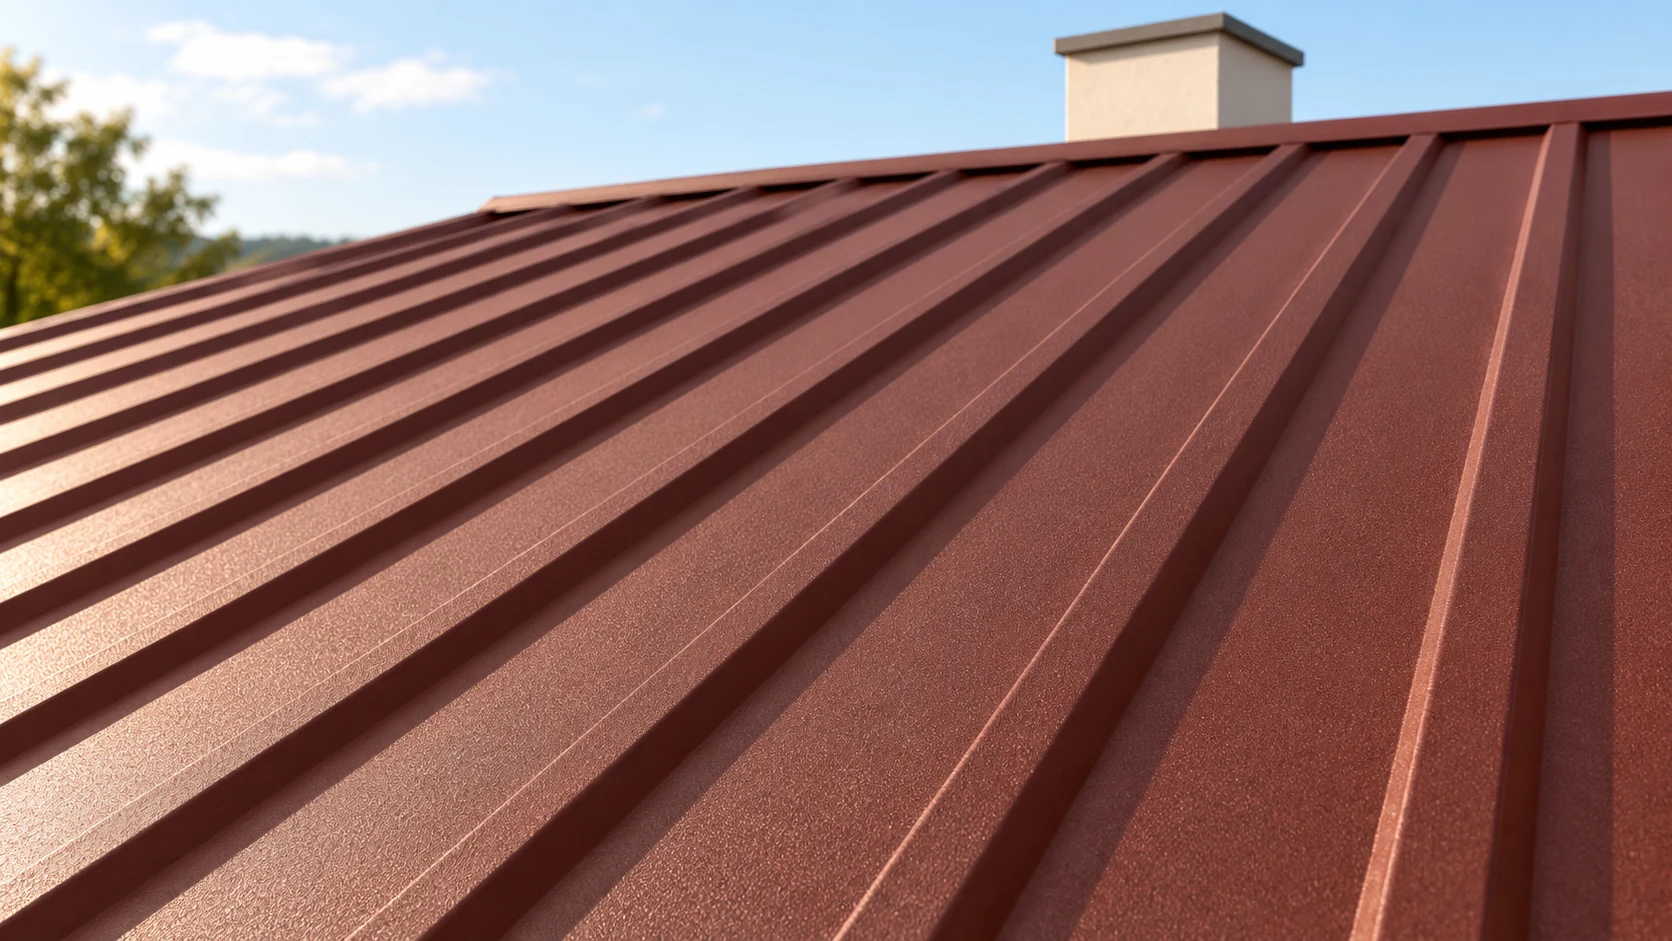
The junction between a chimney and a metal roof acts as a small drainage system. It collects water upslope, directs it past…
Start a hipped roof plan by drawing the hips and ridge over the measured outline of the building. The hip rafters receive…
To work out the weight of a roofing order, start with the exact profile, steel thickness and unit on the product sheet.…
Compare roof coverings by the weight needed to cover one square metre of finished roof. Divide the weight of a sheet or…
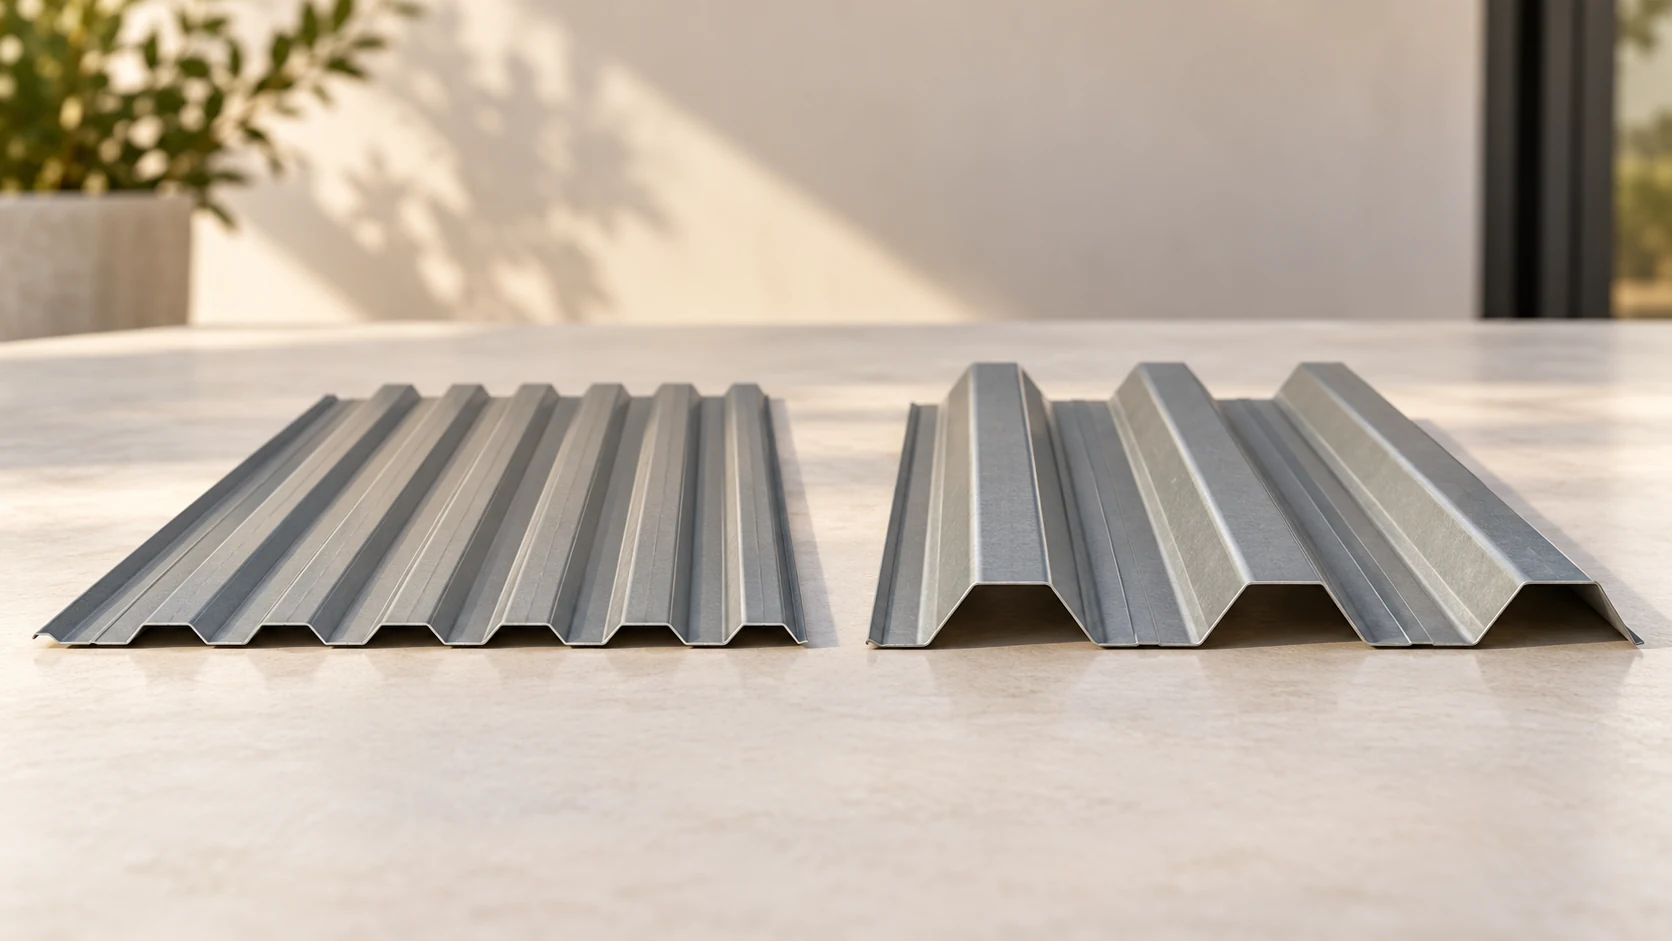
Changing the depth of a trapezoidal steel sheet changes its stiffness and can also change its effective cover width. Compare T18 and…
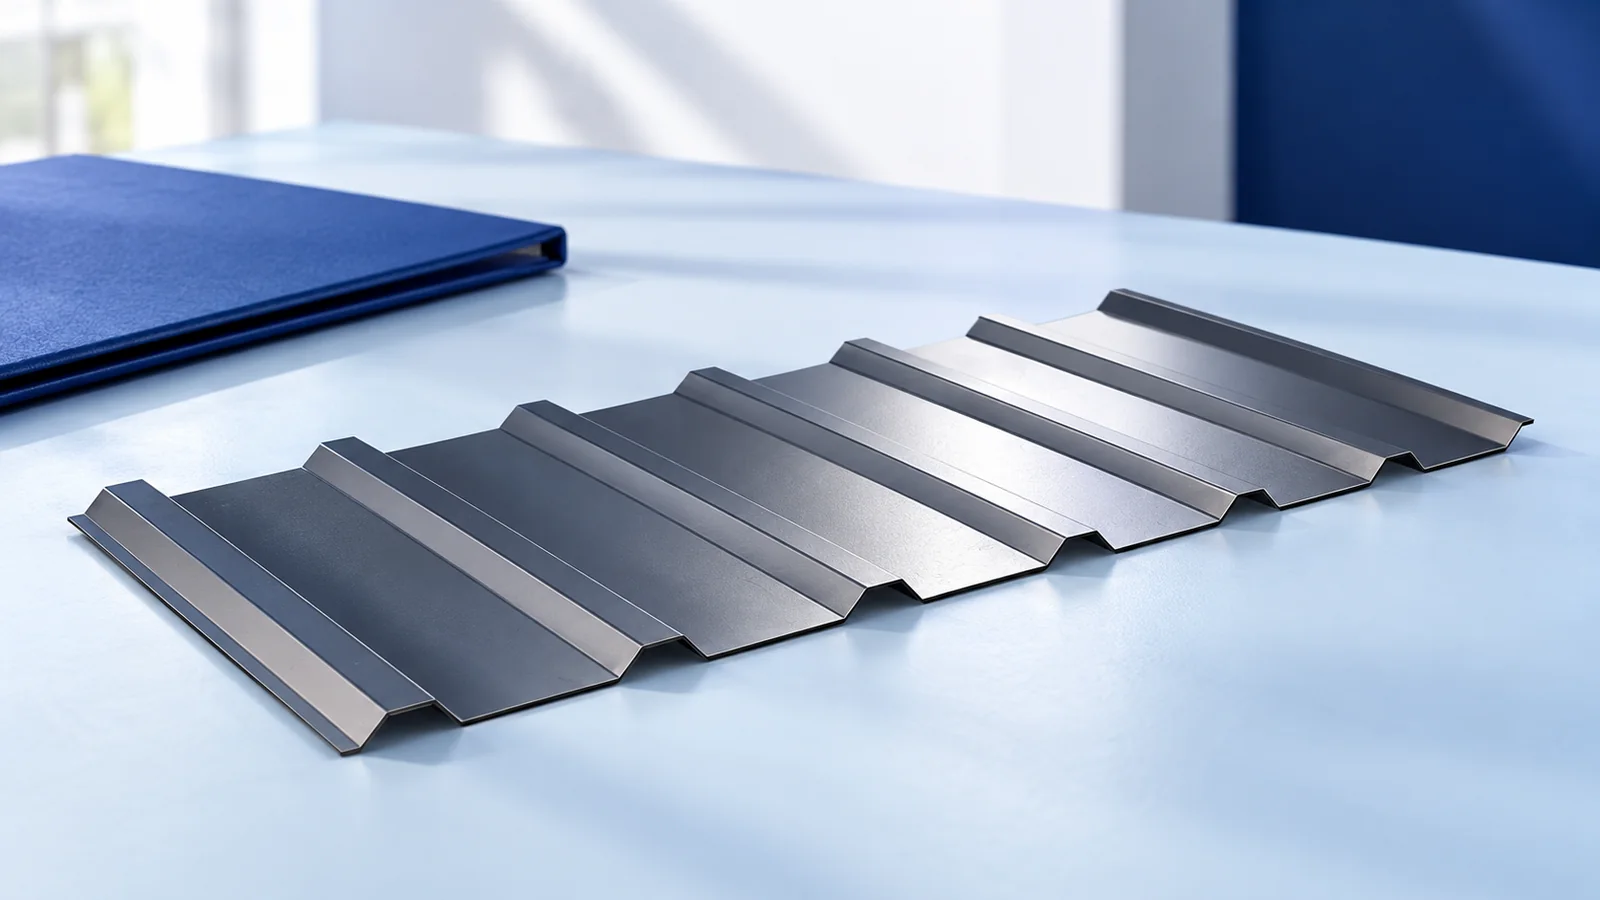
A T18 or T35 profile designation describes the shape of a sheet. To judge how long it may last, look at the…
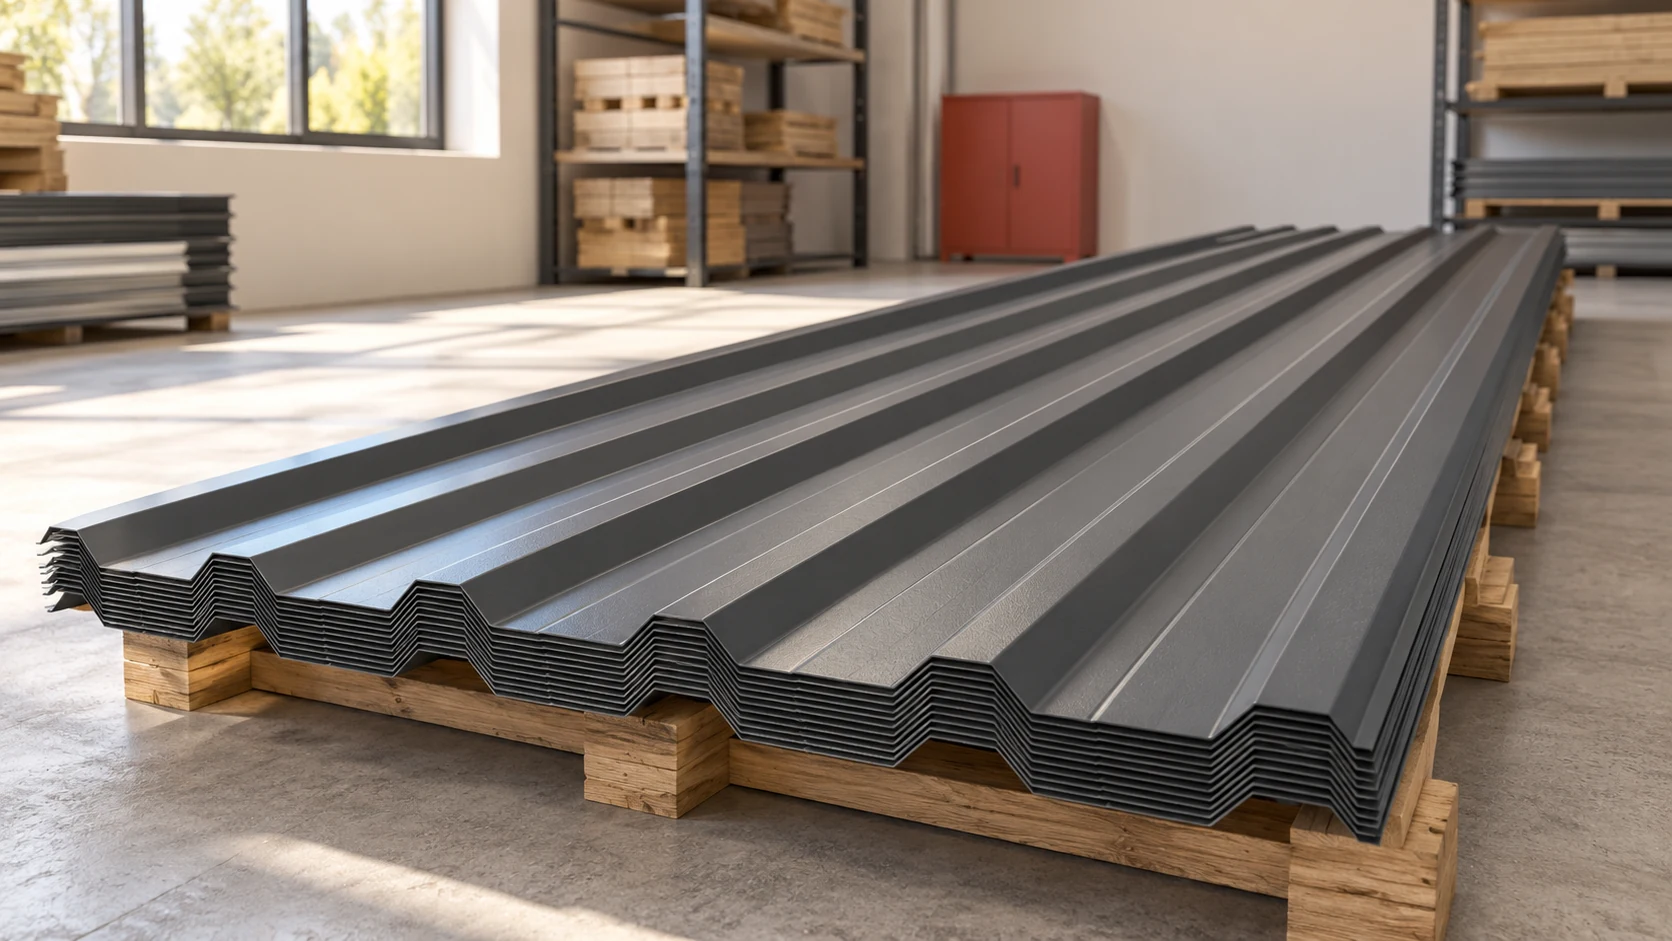
A price per square metre is not enough to select trapezoidal steel sheet. Comparable offers identify the profile, thickness, coating, dimensions and…
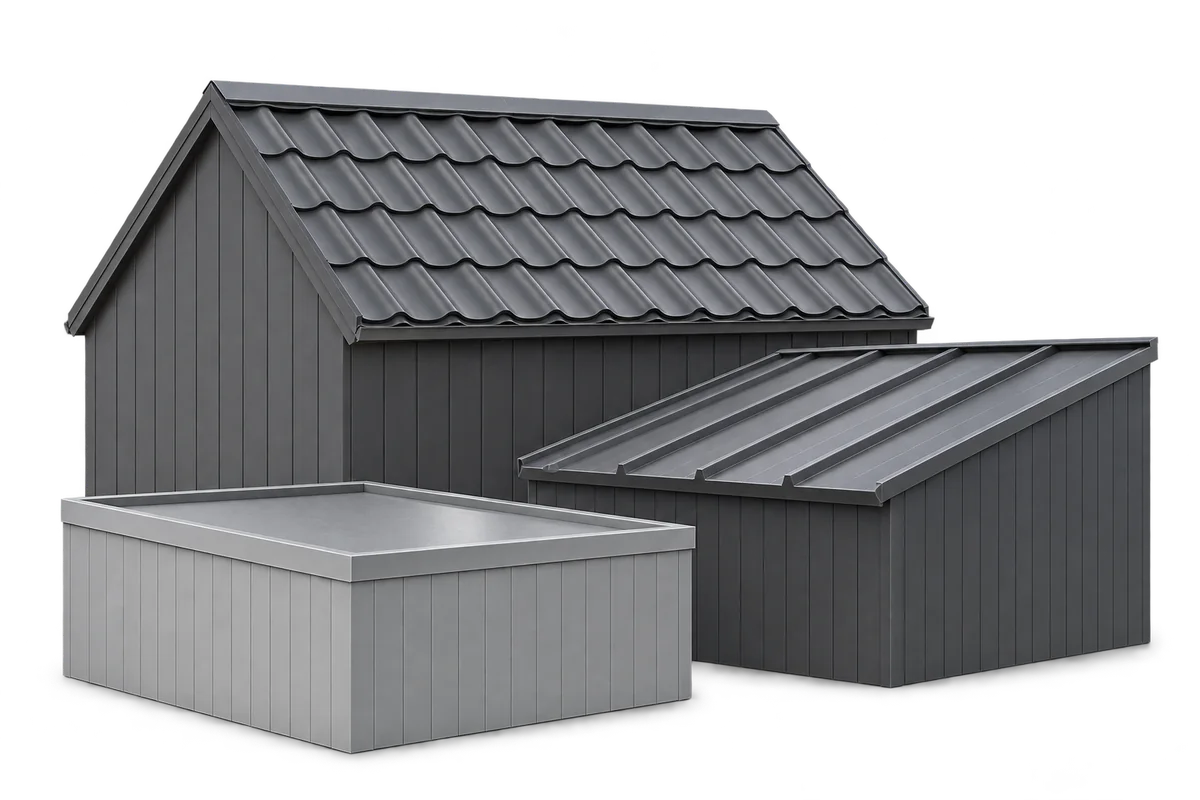
The proportions of a roof, the rhythm of its joints and the finish at its edges shape its appearance. Modular metal roof…