






Utherm Wall LE in cavity walls: checking insulation around a window
PIR insulation
Choose a window bay when inspecting Utherm Wall LE in a cavity wall. Here the crew can see the main insulation layer, wall ties passing through boards, the lintel junction and the drainage path together. Inspect the bay while the outer leaf is still low enough to see the work. On the window section, mark the face of the inner leaf, both faces of the PIR board and the specified clear cavity width. Compare these dimensions with the actual masonry, especially at projecting mortar joints and reveal corners. Photographs of the first bay with measurement points marked provide a reference for subsequent windows.
In this guide
Cavity dimensions on the window section
Use the face of the structural leaf as the datum. Measure to the intended inside face of the outer leaf and deduct the insulation thickness. Compare the result with the clear space specified in the design. Repeat at both jambs, where masonry tolerances may differ.
Insulation thickness in the wall and at the lintel
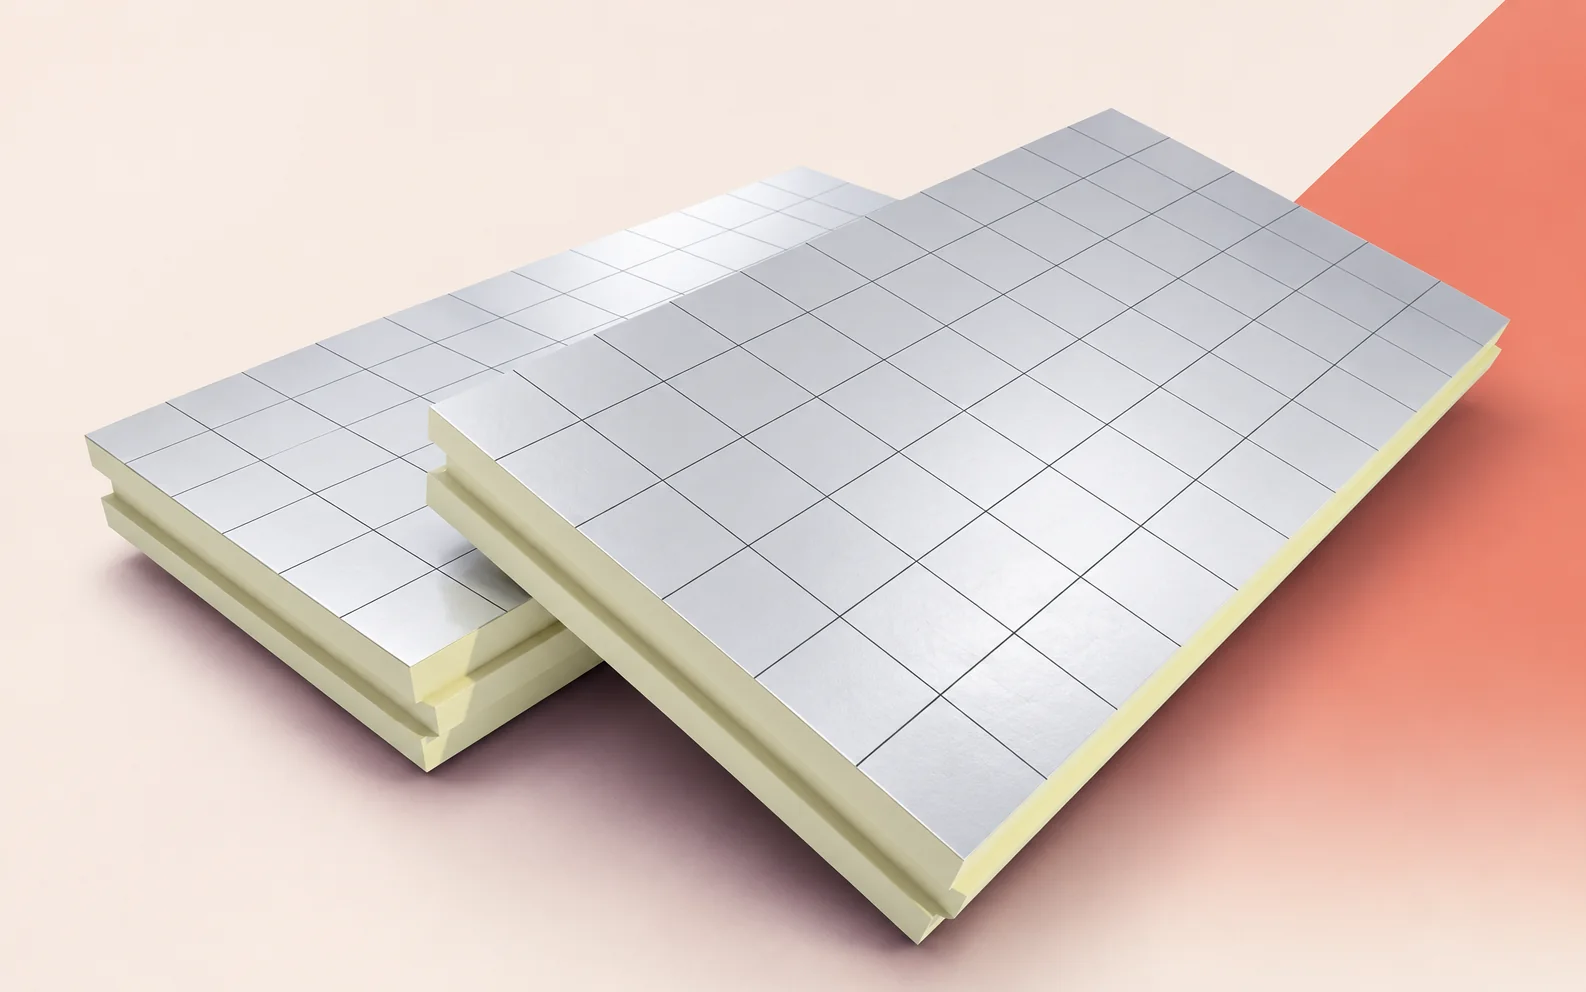
Utherm Wall LE is a PIR board with a multilayer laminate on both faces. Unilin lists a declared thermal conductivity of 0.022 W/(m·K). The declared resistance is 3.60 m²K/W at 80 mm and 4.50 m²K/W at 100 mm. Use the data sheet entry for the thickness to be ordered.
On the lintel drawing, trace the outer face of the insulation up to the window frame. If the line breaks or the insulation thins at a masonry support, flag the junction for thermal bridge analysis. Give the designer the total length of these junctions across the elevation.
Where a wall tie passes through a board
Prepare the substrate by removing projecting mortar as specified. Check the fit around the tie and the contact between neighbouring board edges. If a board stands proud of the masonry, measuring only at its midpoint may miss a narrowed cavity at the corner.
Take tie spacing from the masonry design, including any additional ties specified beside the opening. The board has a declared compressive stress of at least 150 kPa at 10% deformation. Determine the tie capacity and anchorage for the particular masonry substrate.
Drainage behind the outer leaf
Follow the water path from the back of the outer leaf to the discharge above the window. Check the specified cavity tray and that the outlets are open. Mortar droppings here can block an outlet that will be difficult to clear once the masonry is complete.
Protect the open top of the wall against rain during breaks in masonry work. Inspect the masonry and insulation before closing the bay. If the wall has been wetted, consider the available drying path and the vapour resistance of the facing when assessing whether work can proceed.
Fire and sound at the floor junction
Wall LE has reaction to fire class E. Where the design calls for a cavity barrier at a floor edge, refer to the detail and documentation for the specified barrier. Check its position relative to the insulation and outer leaf while both sides of the junction are visible.
For rooms with sound insulation requirements, assess both masonry leaves, the floor junction and the window specification. A gap between the frame and reveal can affect the performance of the whole façade. Include this seal in the window inspection.
Quantifying boards and accessories
In the take-off, list the area of uninterrupted wall, the length of reveals and the number of lintels. Check the effective coverage of the tongue-and-groove board before converting these figures to packs. Allow separately for cuts and components above windows.
Specify laminate-faced Wall LE for the cavity. If a separate item calls for insulation bonded to plasterboard, identify its installation location and both component thicknesses. Separate order lines help the masonry and finishing crews receive the right materials.
Inspecting a bay before it is concealed
At the first window, photograph the lintel junction, a wall tie with the board retainer and the drain outlet. Record the grid reference and measured cavity width with the photographs. On the next storey, check that the detail still fits the window dimensions and masonry support position.

Free quote
What to include in your enquiry
Tell us how you plan to use the material, the dimensions and the quantity you need. Include the thickness, grade or variant name, along with the delivery town or your preferred collection branch. For a specific product, add its name or a link to the product page. We will reply to the email address you provide to discuss availability and the terms of your order.
Read next
When swissporPIR Alu arrives for several industrial buildings, assign each pallet to a specific work area before lifting it to the roof.…
A livestock building, food store or workshop needs a roof that keeps rain out and limits heat transfer. The underside may also…
How can a site team check the continuity of IDELCO α-therm WALL insulation on a warehouse or office façade? Select a full…
An IDELCO α-therm SARKING board is 2.4 m long. On a large pitched roof its size helps cover uninterrupted areas, but it…
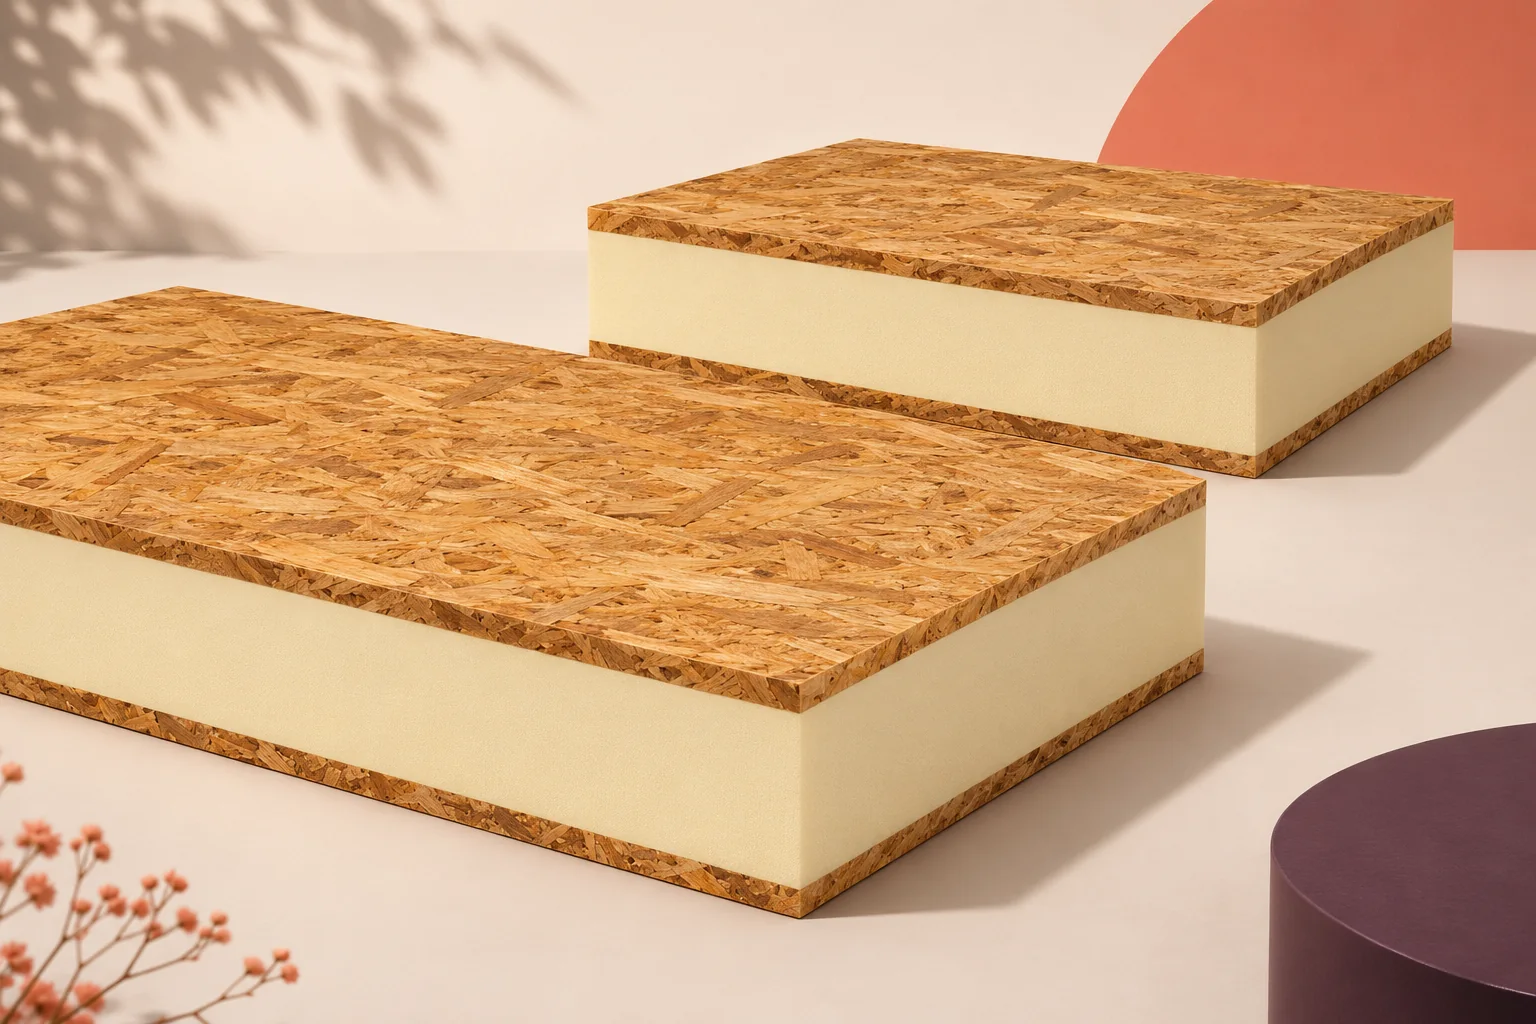
Two boards with foam cores and OSB faces can look alike yet perform different jobs. To establish whether a structural insulated panel…
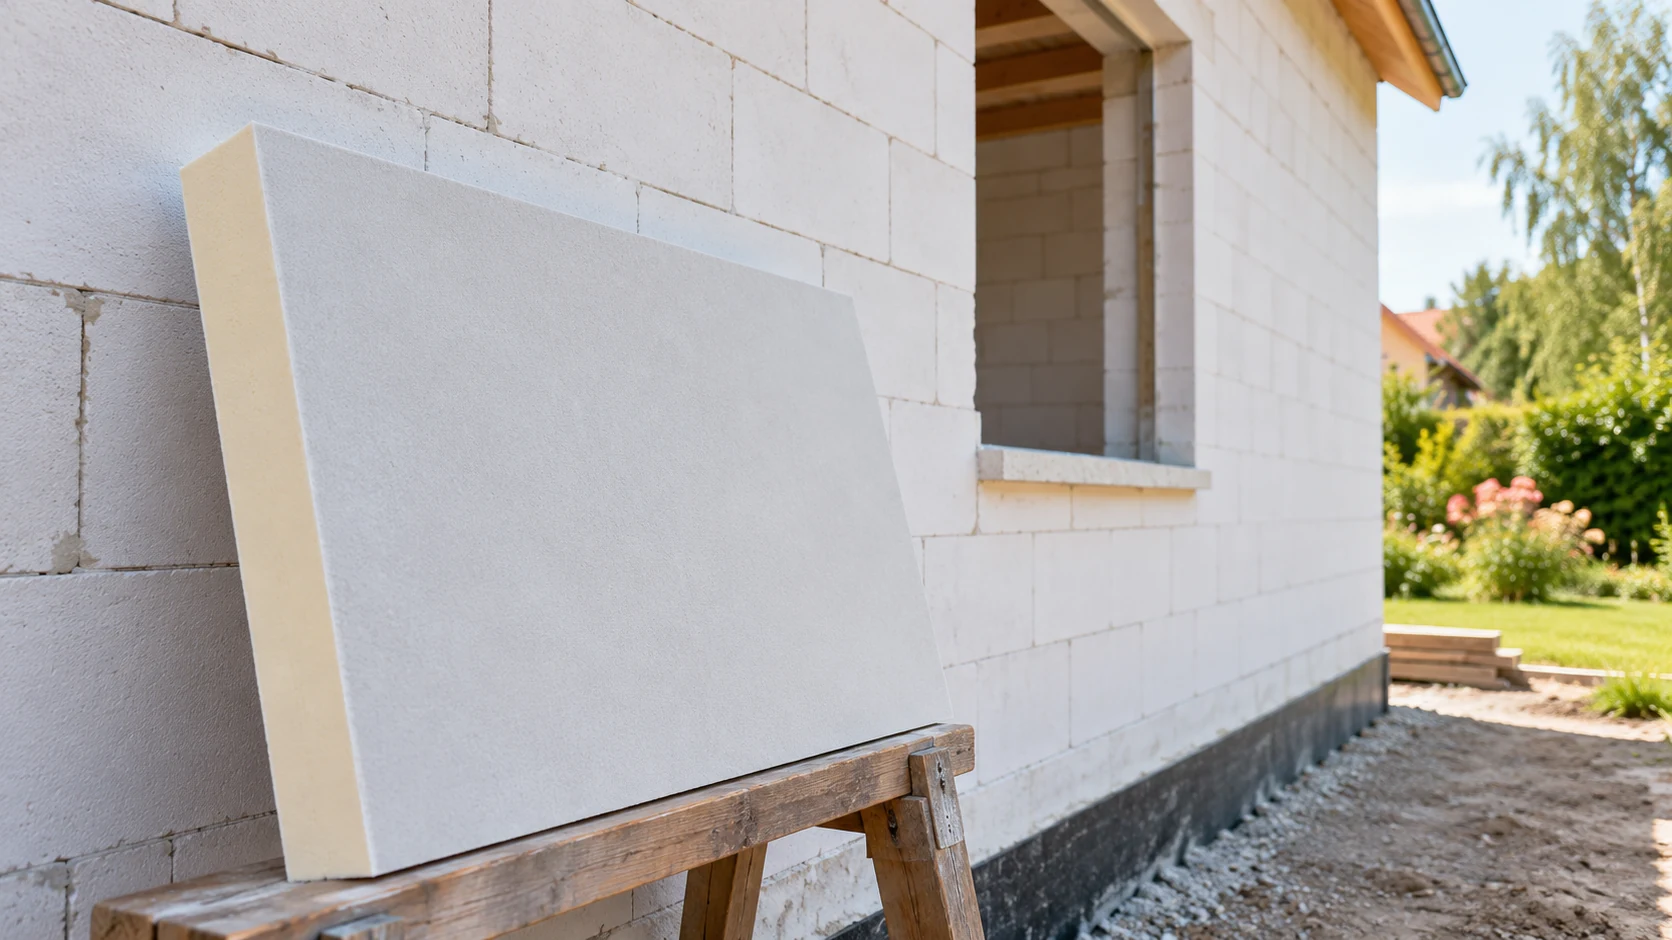
Aerated concrete masonry and PIR can make a well-insulated wall when the board, render system and fixings are selected together. Aluminium-faced PIR…

For IKO enertherm ALU TG, choose the laying direction before cutting the first row. The tongue on one factory edge must slide…
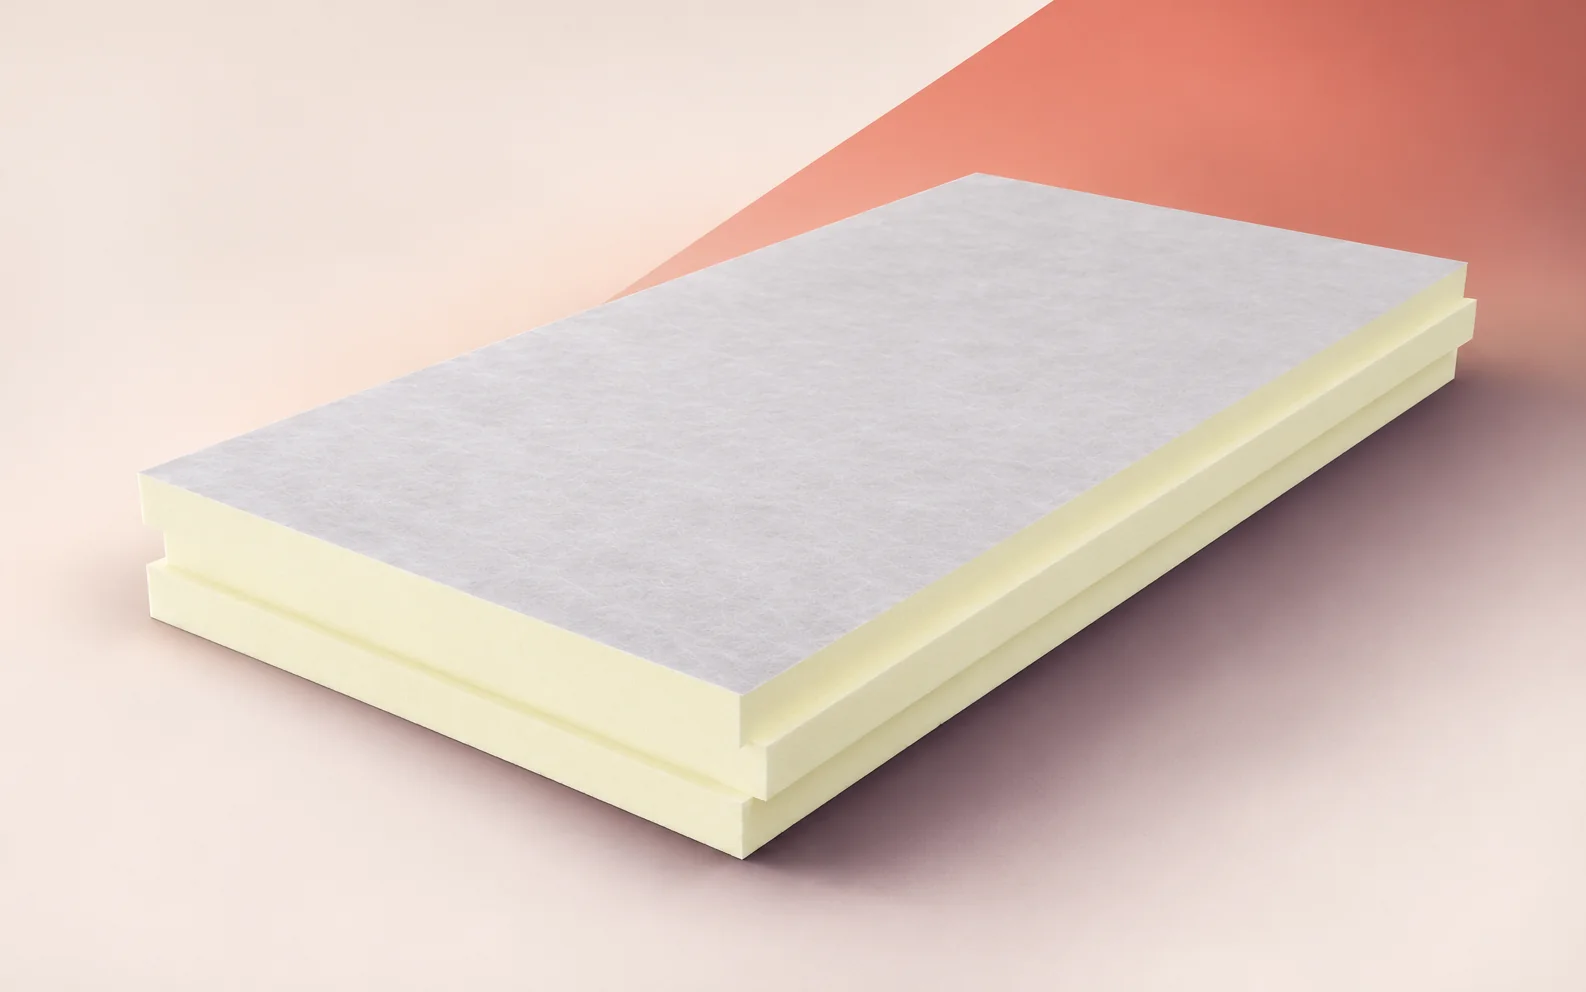
On a flat industrial roof, start by establishing how the waterproofing will be attached. The termPIR WS board has a rigid PIR…
