






Choosing a roofing underlay and finding its place in the roof
Insulation and lofts
Start with a section through the roof. Identify the deck or rafters supporting the underlay, the insulation below it and the route water will take to the eaves. That drawing tells you whether to look for a membrane approved for a solid deck, for unsupported spans or for contact with insulation. Check its water resistance, vapour resistance, tear strength and permitted exposure before the covering goes on. The choice also affects what you need to order for laps, roof windows and penetrations.
How does an underlay differ from a vapour control layer?
The roofing underlay sits outside the insulation at the position shown on the drawings. A layer on the room side controls the passage of vapour and air from indoors. Interchanging the two can prevent the roof from drying or allow humid air into its colder layers. The rolls can look alike despite serving different purposes.
Look up the declared sd value. It expresses vapour diffusion resistance as an equivalent thickness of still air. A lower value means water vapour passes through more readily. It tells you little about joint tightness or durability. A description such as breathable cannot replace the data sheet. Air leaking through accidental gaps is an unreliable way of ventilating a roof.
Does a heavier membrane always perform better?
Mass per unit area can reflect the construction of the membrane and its resistance to damage. Two membranes of similar weight can nevertheless have quite different functional layers. Compare the declared watertightness, tensile strength and resistance to tearing, including how these properties change after ageing.
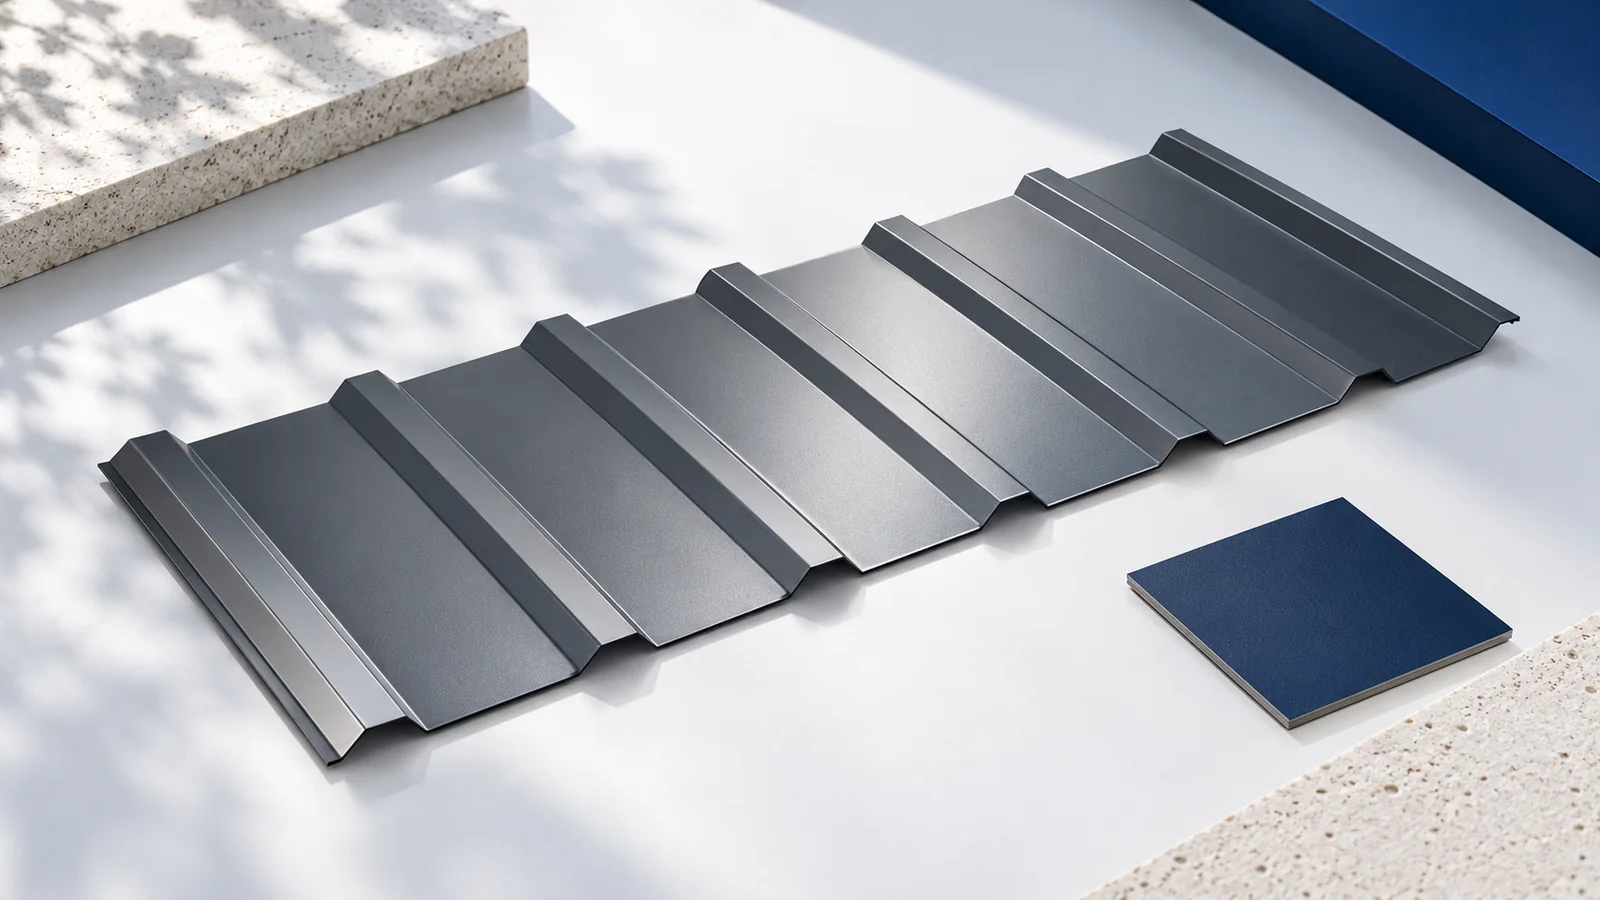
Check service temperatures and exposure limits. Dark metal roofing can get very hot, so the membrane beneath it needs to be suitable for those temperatures. Where the covering will be delayed, check how long the membrane may be left exposed. Do not assume it can serve as a temporary roof throughout the winter.
Which supports can the membrane be laid on?
Check the installation instructions for use on continuous decking, across gaps between supports or directly against insulation. Each imposes different demands. The wrong choice can damage the membrane or interfere with drainage and drying. Check that the proposed use appears in the technical documentation as well as in the supplier’s offer.
Some roof build-ups require a separate ventilation gap. Others allow a suitable membrane to touch the insulation. Consider the whole cross-section. With PIR boards, check their facings and how the joints are sealed. Rigid insulation alone gives no basis for omitting the other moisture control layers.
How should adjacent lengths be joined?
Lap the lengths so that water flows over each lower edge without finding its way underneath. Follow the instructions for lap width and bonding at the proposed pitch. Watertight joints become especially important on shallow roofs and in demanding details. Select tape for the actual surface and conditions.
Prepare the surfaces as specified. Dust, damp or cold can reduce adhesion. At pipes, roof windows and chimneys, use a compatible connection detail that still lets water drain away. Cutting a slit and sticking a spare patch over it offers little assurance that the connection will last.
Where should moisture go?
Water intercepted by the underlay needs a continuous route to the eaves. Its lower edge must discharge clear of the insulation and the back of the façade. Keep any specified ventilation channel open. Blocked inlets beside the gutter or outlets at the ridge can slow drying.
Droplets on the underside of metal roofing can result from excessive indoor moisture entering the roof or from insufficient ventilation. Inspect the vapour control layer, wall junctions and service penetrations as well as the underlay. Treating the visible wet spot alone may leave the cause further up the roof untouched.
How much should you order and what should you inspect?
A roll covers less finished roof area than its nominal area. Allow for laps, upstands and junctions, then count tapes and seals separately. For several roof slopes, sketch the layout of the lengths to reduce unnecessary joints and leave enough material at critical details.
Before covering the roof, inspect the whole underlay for tears and check all penetrations, laps and the outlet at the eaves. Take photos and record the membrane and accessories used. This helps a future roofer select compatible repair materials. The installation details determine how well the selected underlay works in service.

Free quote
What to include in your enquiry
Tell us how you plan to use the material, the dimensions and the quantity you need. Include the thickness, grade or variant name, along with the delivery town or your preferred collection branch. For a specific product, add its name or a link to the product page. We will reply to the email address you provide to discuss availability and the terms of your order.


Read next
Start with a roof plan showing where people walk, park or enter the building below the eaves. Mark the slope length, pitch,…
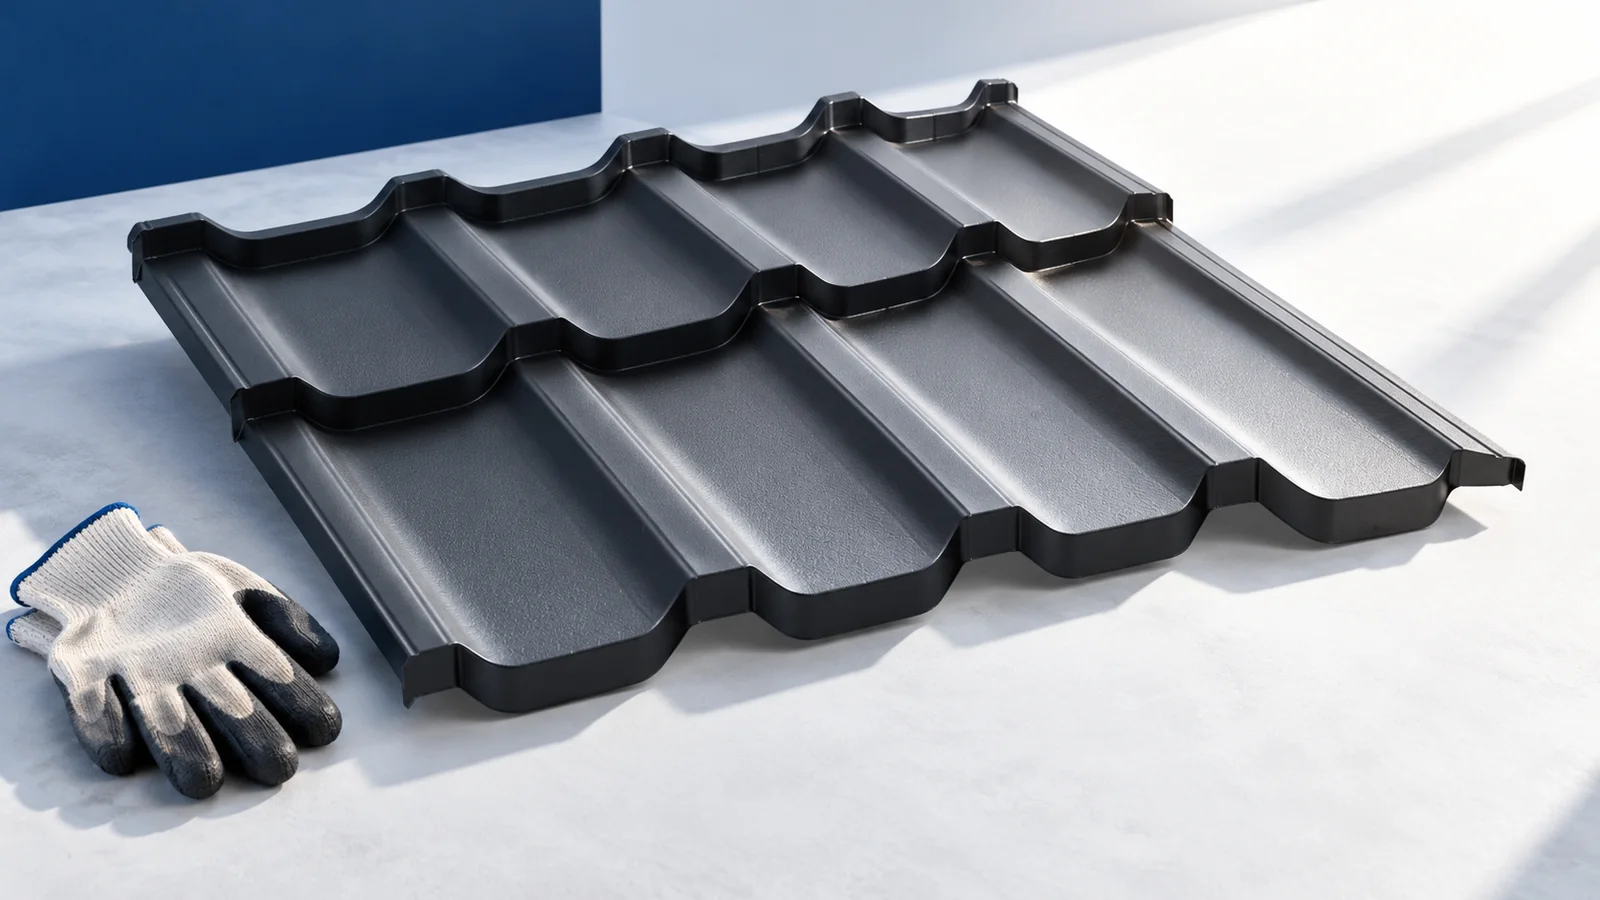
Choose the replacement roof for the building's future use. An unheated outbuilding may need a simple trapezoidal steel covering; a house may…
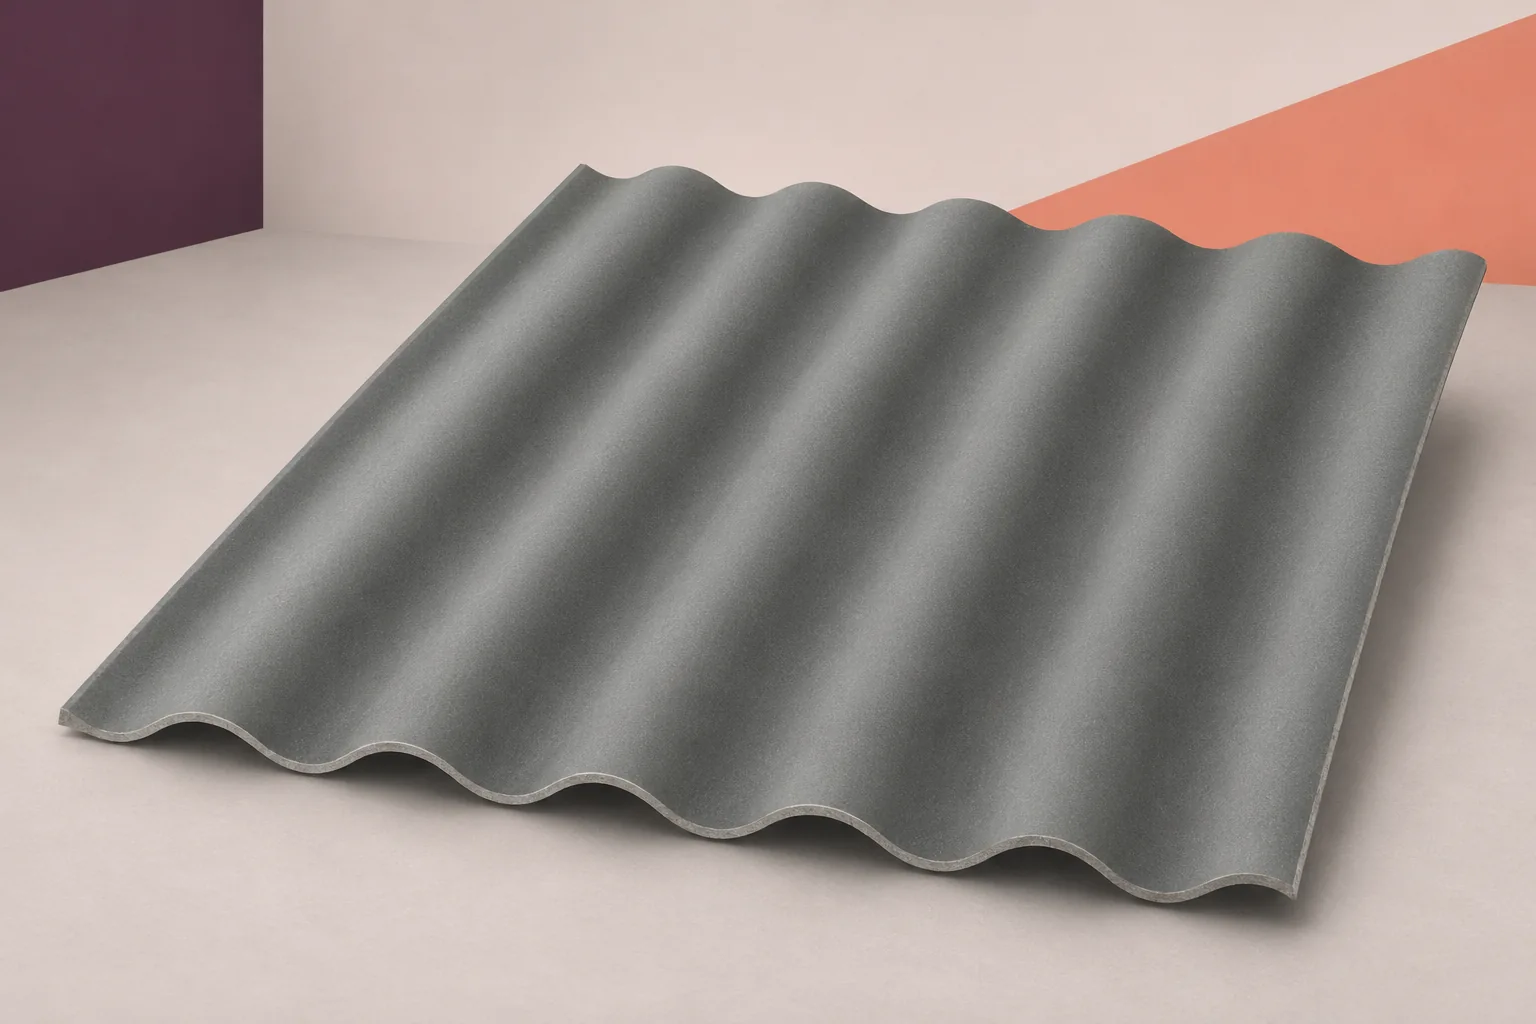
An unheated warehouse needs a roof that protects its stock from rain and stands up to the weather. Corrugated fibre cement can…
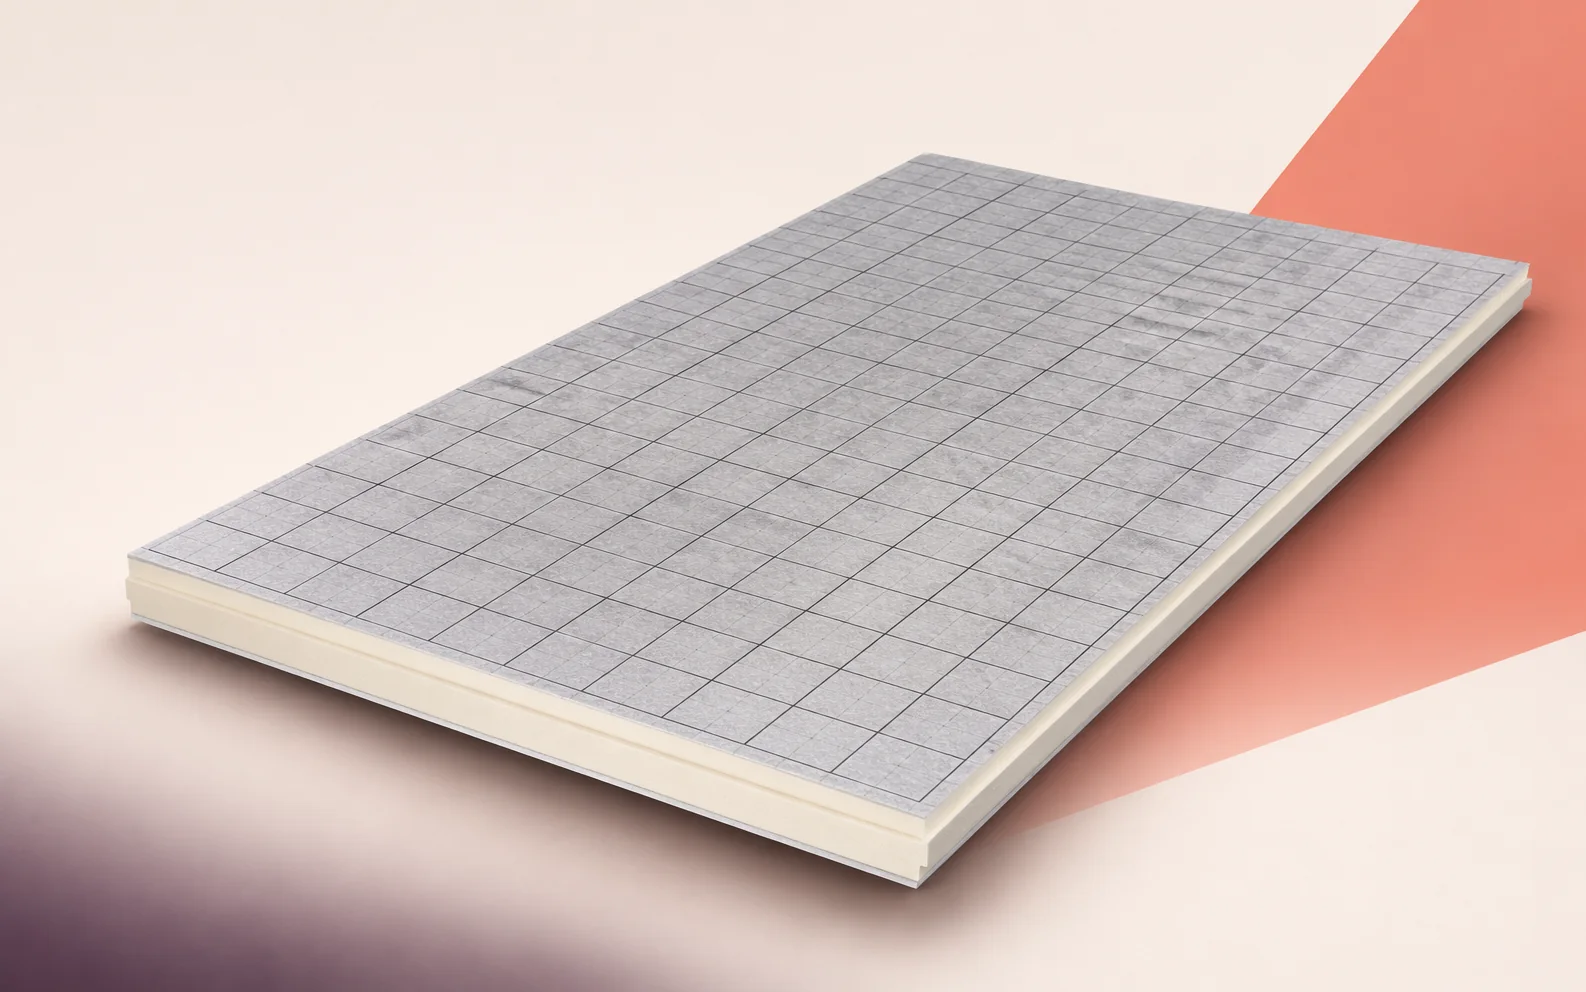
An IDELCO α-therm SARKING board is 2.4 m long. On a large pitched roof its size helps cover uninterrupted areas, but it…

A pitched roof carries the covering, resists wind and snow, and drains rainwater away from the building. Rafters and their supports carry…
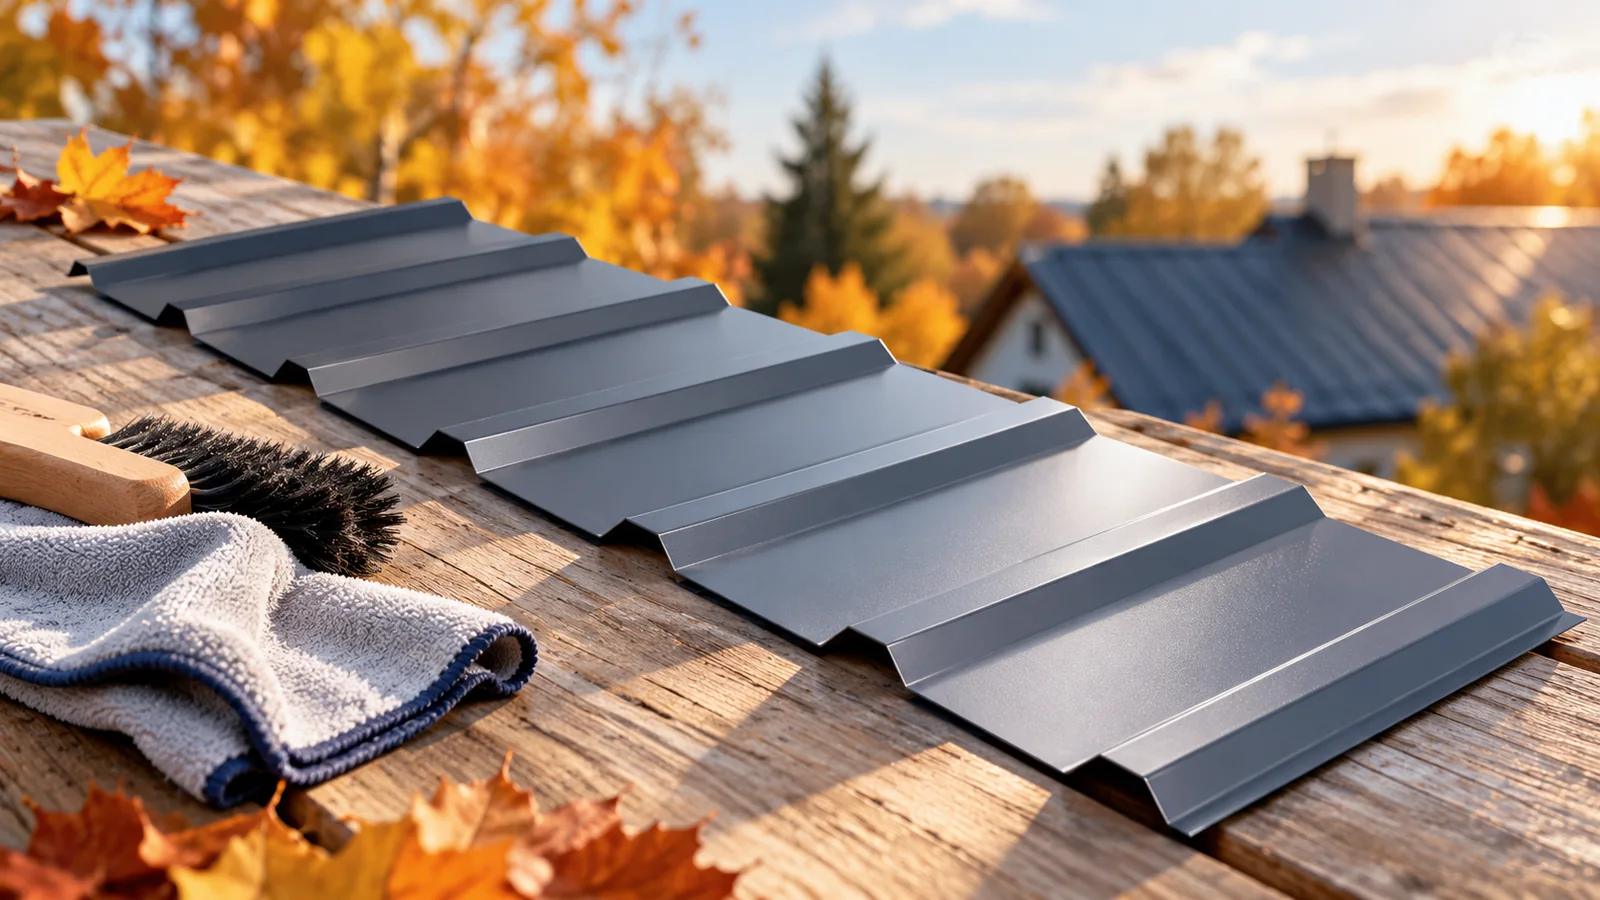
Start the autumn roof inspection from the ground and the loft. Look for overflow marks beneath gutters, displaced flashings and damp patches…
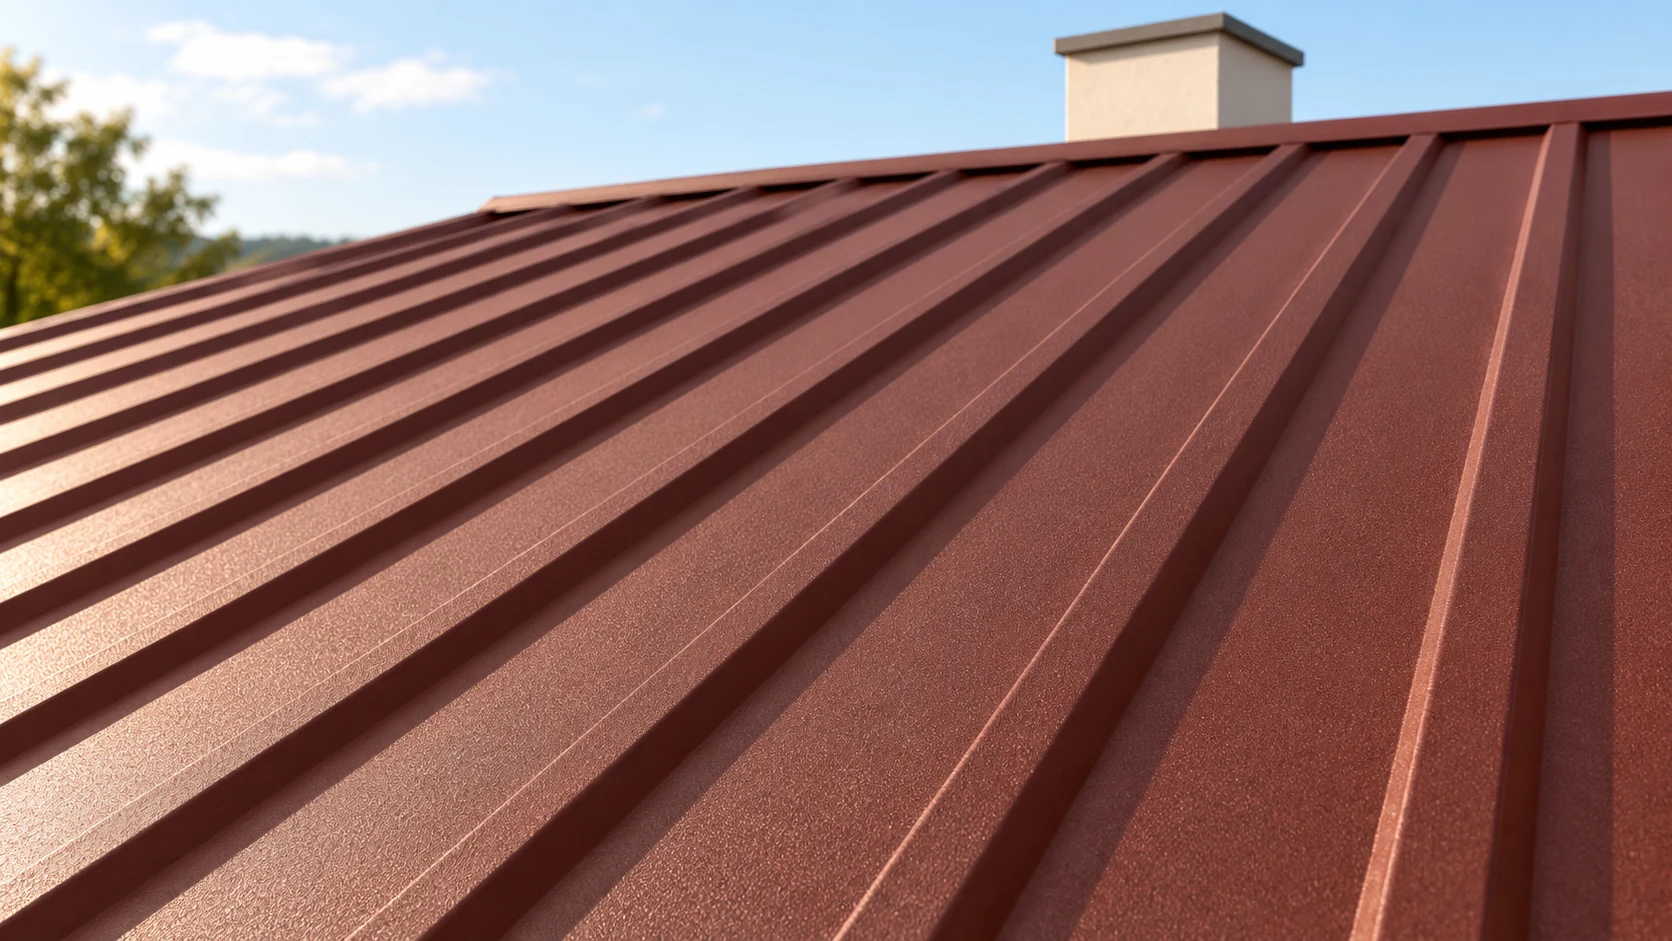
The junction between a chimney and a metal roof acts as a small drainage system. It collects water upslope, directs it past…
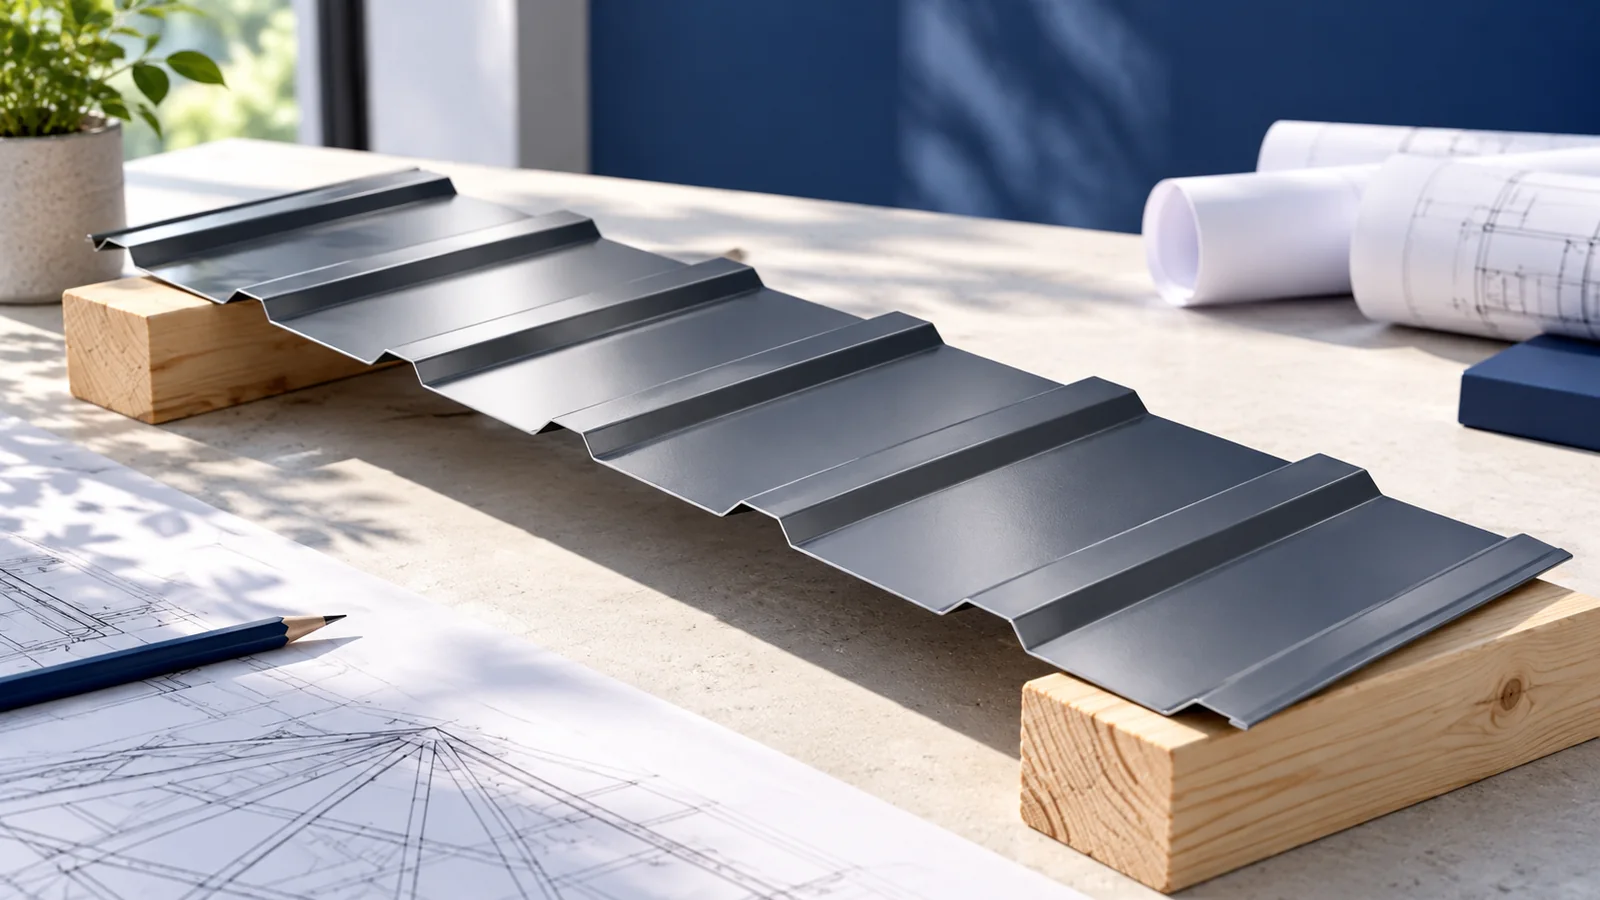
A useful quotation for roof framing starts with a structural drawing and a list of members. Together they show where loads reach…
