Kingspan Therma TT46 on large flat roofs: setting out falls and outlets
PIR insulation
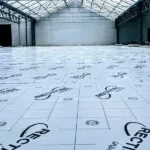
The roof outlet position is the starting point for laying out Kingspan Therma TT46 tapered insulation. On the warehouse roof plan, mark the catchment boundaries, drainage directions and level of each outlet. Overlay the outlines of plant bases, rooflights and thresholds. The drawing shows whether water can reach the outlet from behind an obstruction and how much flashing height remains at the high edge of the insulation. Moving one outlet can change several rows of boards. Before delivery, match each pack reference to its catchment and the current revision of the falls plan.
In this guide
Which levels should be surveyed first?
Survey the outlet, deck, thresholds and parapet top from one datum. Distinguish structural levels from the finished waterproofing. If the deck already falls, include its direction when setting out the PIR profile.
Divide the roof into catchments served by individual outlets. Number each catchment and trace the fall from the ridge through changes of slope to the drain. Draw a section along the longest drainage path, with levels at its critical points.
Supporting rooftop plant on a slope
At each plant foot, check the actual taper thickness, contact area and load path to the structural deck. The detail should also show how the base is levelled and how the waterproofing is protected at the bearing point.
The Polish catalogue lists a minimum of 120 kPa at 10% deformation and reaction-to-fire class E for TT46. Support design requires data for long-term loading. Check fire performance for the roof build-up specified for the particular hall.
Which thickness goes into the thermal calculation?
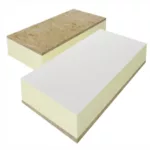
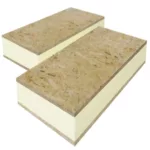
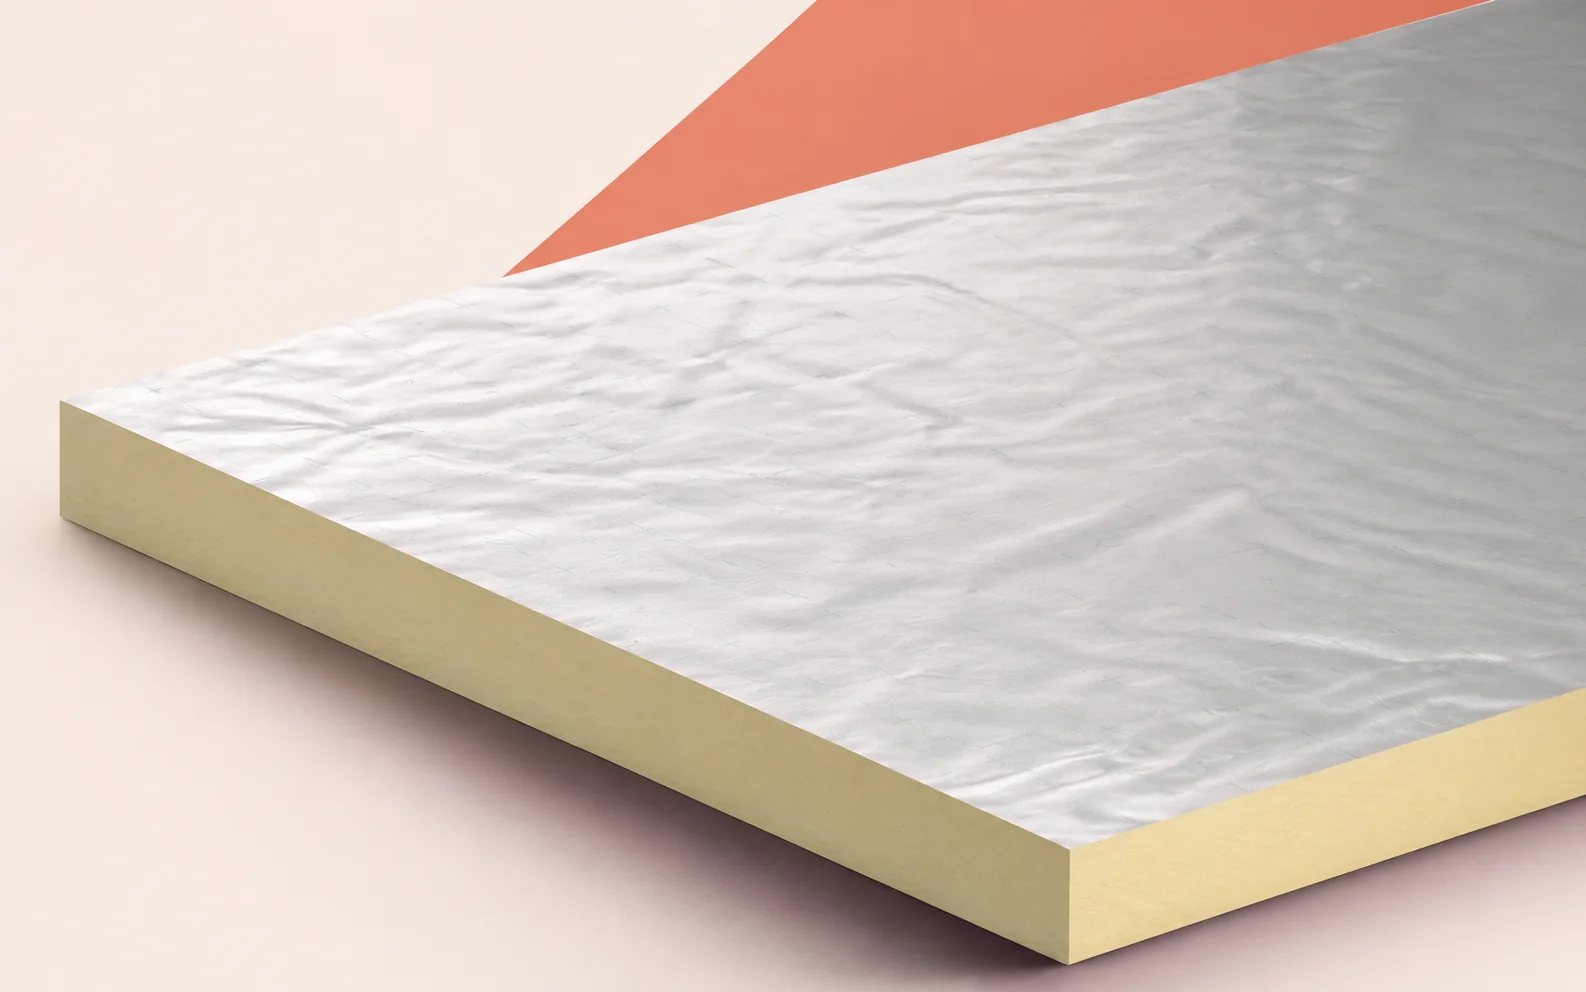
TT46 has a PIR core with declared conductivity of 0.022 W/(m·K) and an aluminium-containing facing on both sides. On a section through the catchment, record the starting and finishing thicknesses of each run and the area over which they apply.
Where the design calls for a constant-thickness layer such as Therma TR26 below the tapers, include both layers. The U-value assessment requires the geometry of the entire field. At the outlet, also check the local insulation thickness after forming the sump.
Reading the taper on a board
For 1200 × 1200 mm square boards with straight edges, the catalogue lists differences of 10, 15, 20 and 25 mm between opposite edges. A 20 mm change over 1200 mm gives a board gradient of about 1.67% measured perpendicular to those edges.
Record both edge heights and the direction of fall beside each board reference. Two boards with the same taper can have different starting thicknesses. Before covering them, check levels across row boundaries, in valleys and at ridges.
The drainage path behind a plant base
If an air-handling unit base crosses the drainage route, draw the water path on each side of it. Check the level behind the base and where each path rejoins the catchment. File a photograph of the measurements against that plant reference.
At a change of slope, the membrane needs a suitable substrate and joints detailed for the roofing system. At handover to the roofers, mark cut pieces and the verified directions of fall. A reversed board can then be corrected while the waterproofing is still open.
Measuring quantities by catchment
For pricing, count each type of taper, valley and ridge piece separately. Add the area of the constant-thickness base layer and the number of outlet details. Link each item to the catchment and drawing revision from which it was measured.
After relocating an outlet, compare the old and new layouts from the catchment boundary to the drain. Mark boards that remain usable in place, those needed elsewhere and new cuts. Use the revised list to amend the order and unload the correct packs near each field.

Free quote
What to include in your enquiry
Tell us how you plan to use the material, the dimensions and the quantity you need. Include the thickness, grade or variant name, along with the delivery town or your preferred collection branch. For a specific product, add its name or a link to the product page. We will reply to the email address you provide to discuss availability and the terms of your order.

Read next
A flat roof consists of several layers that work together. The structure carries the loads, insulation reduces heat loss and waterproofing keeps…
Start laying swissporPIR Alu on an industrial roof in a bay that includes an outlet and a known profile of steel deck.…
When laying BauderPIR T, first set out the valley that will carry water to the outlet. Mark levels at both ends and…
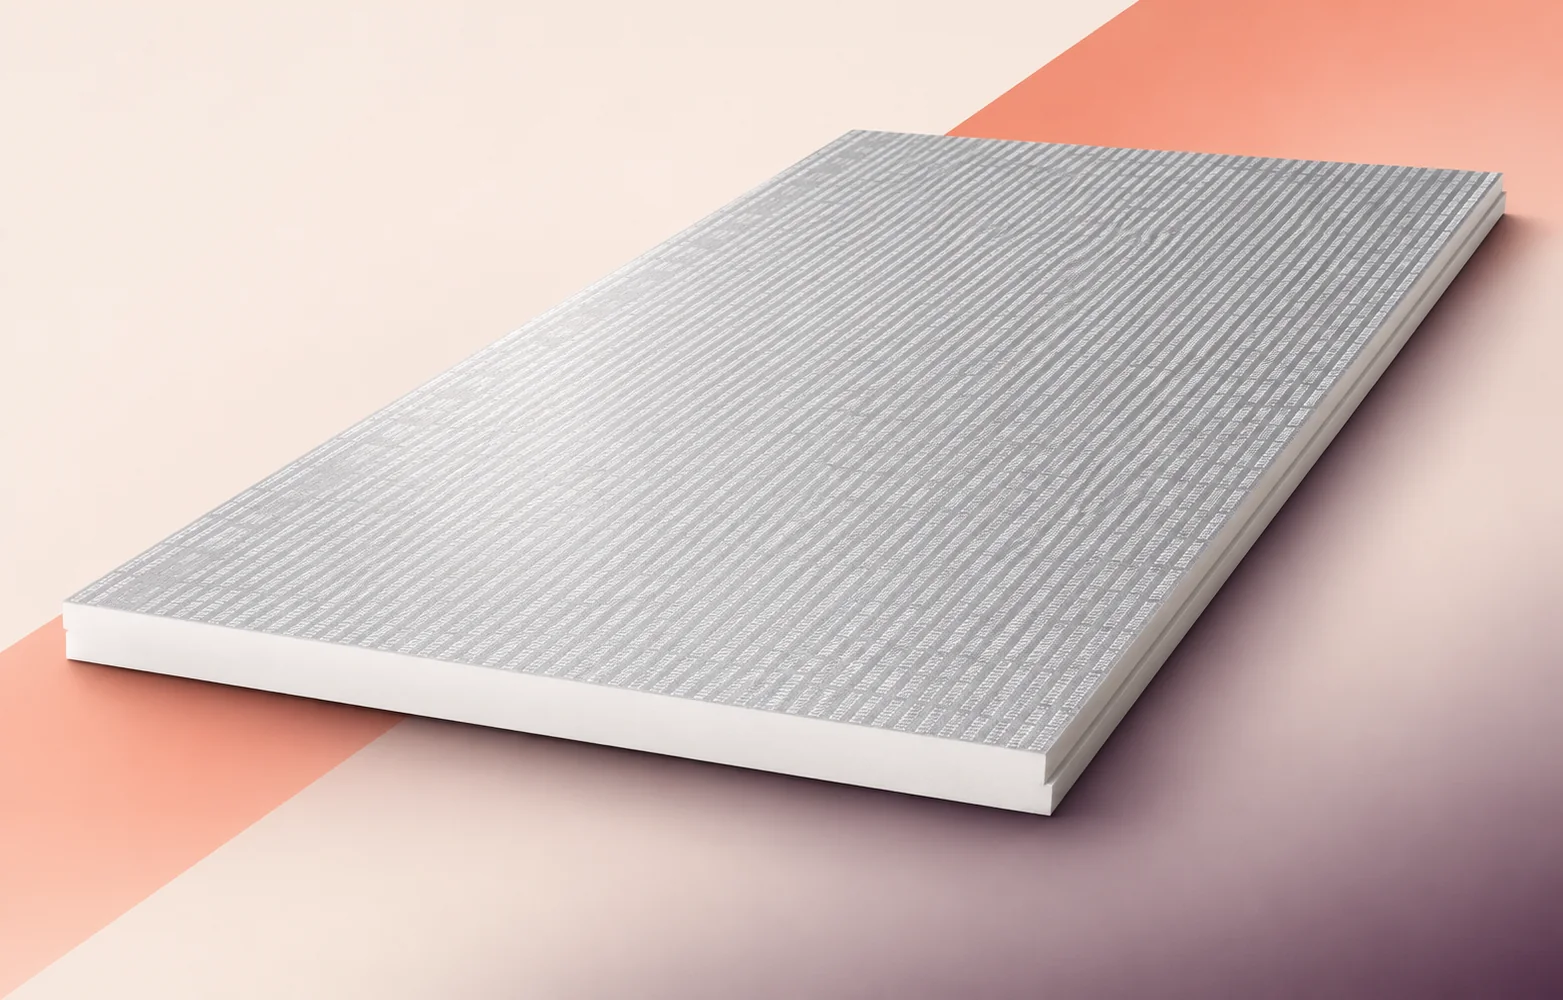
The foot of an air handling unit transfers weight to a small part of the roof. To assess Thermano Roof boards beneath…

When insulating a wall between a heated room and a cooler stairwell, the side chosen for Eurothane G matters. On the room…
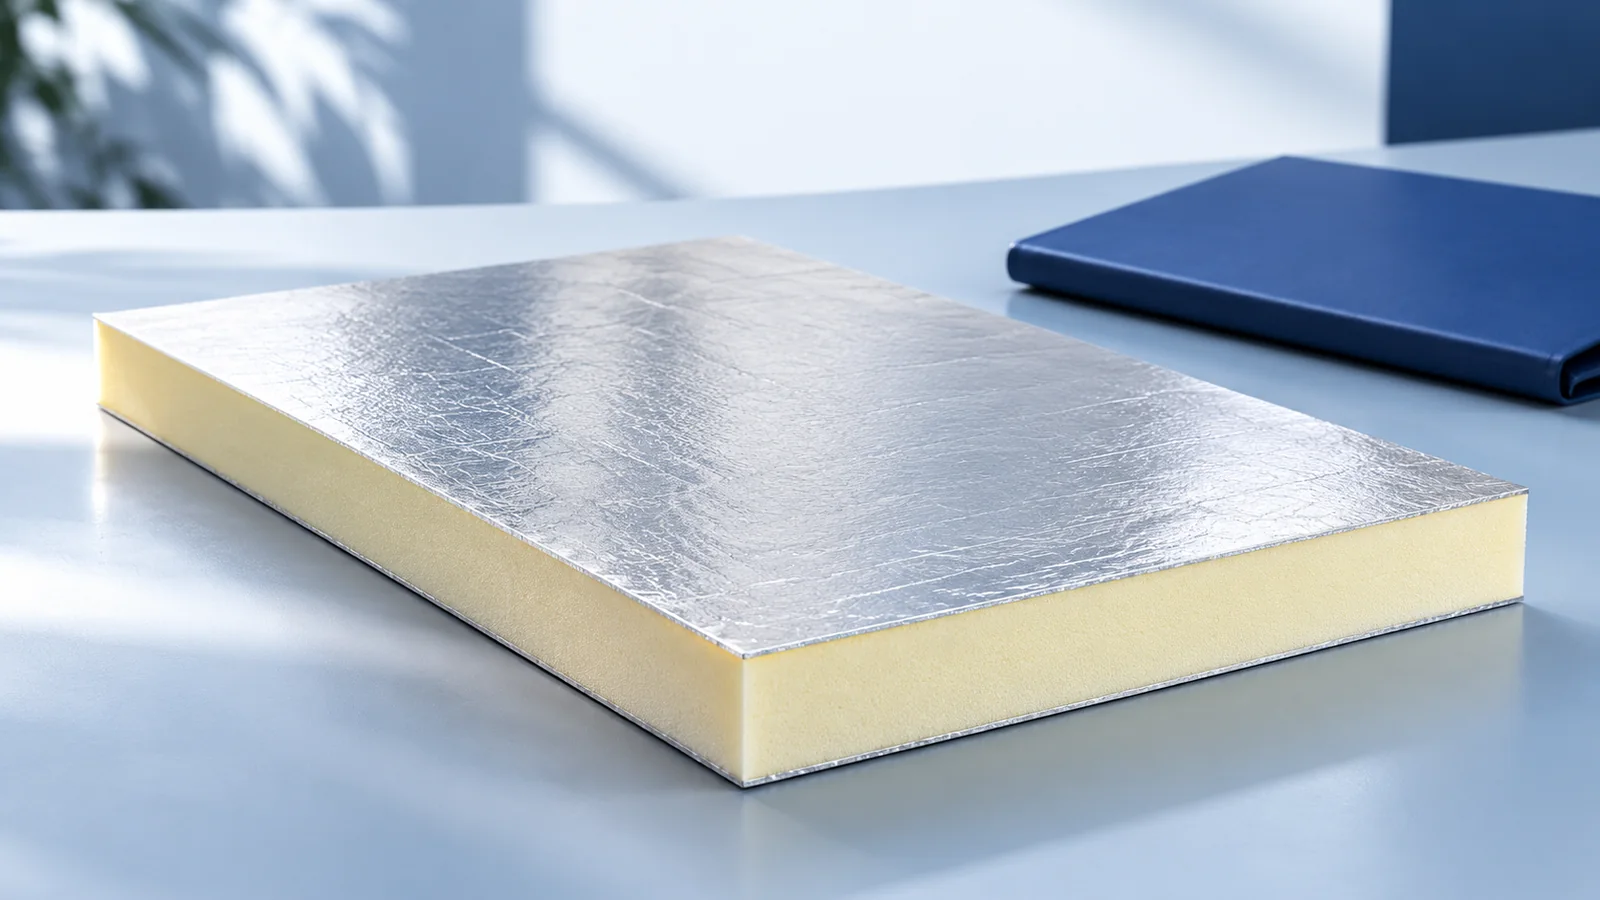
In a passive house, the roof is part of a continuous envelope around the heated rooms. Draw that boundary in section and…
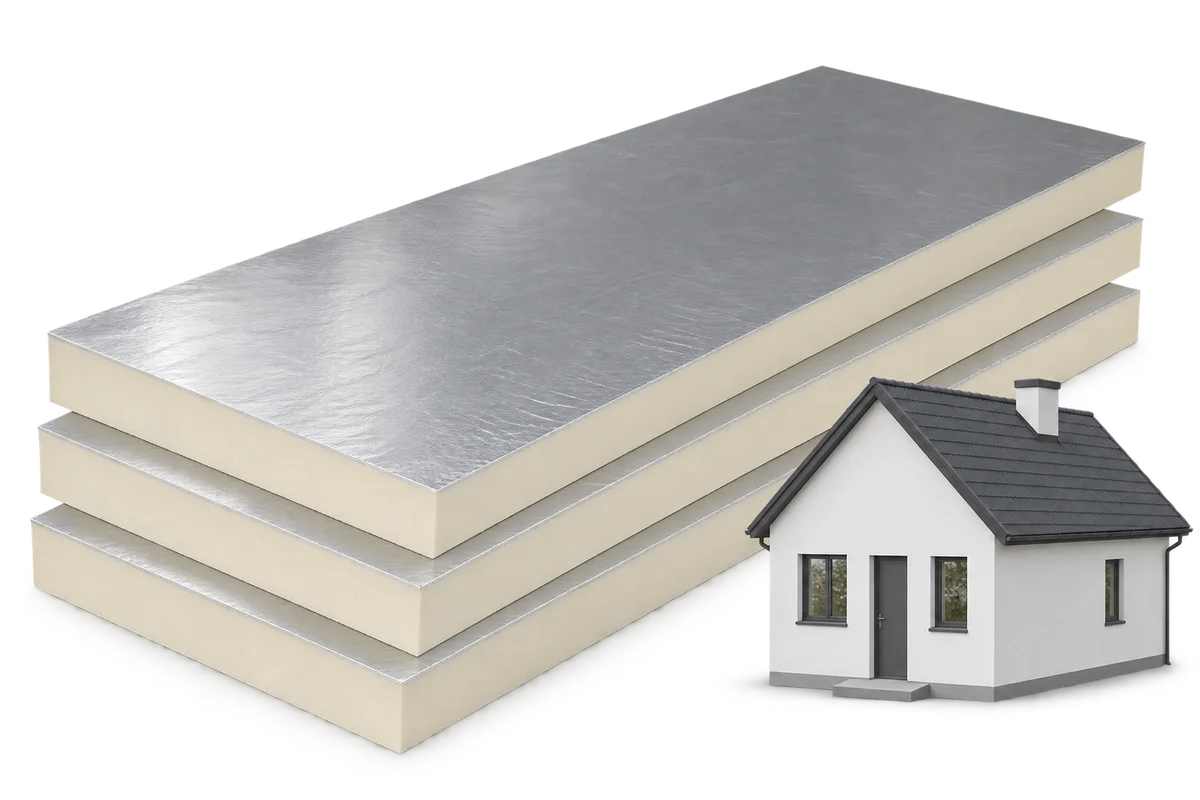
PIR insulation can reduce heat loss through the treated building element, but it does not set the heating controls for you. After…
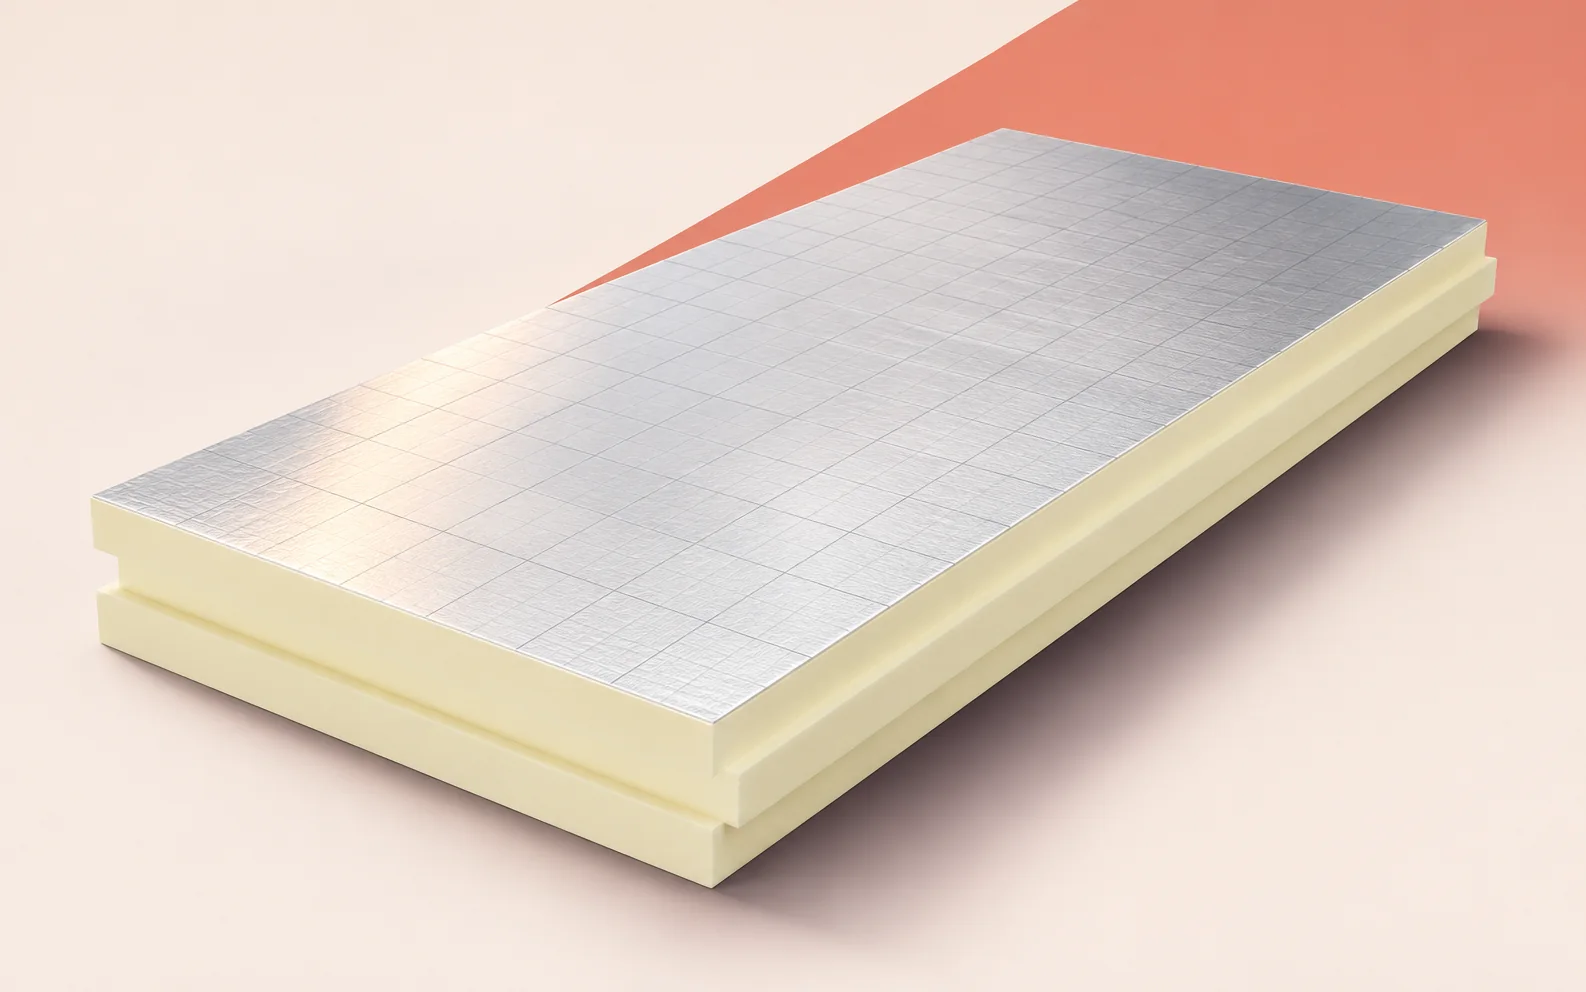
The production hall, offices and loft above the staff facilities can each call for a different form of insulation. Choose PIR boards,…