






How do you keep internal PIR insulation airtight?
PIR insulation
At a glance
An aluminium facing restricts vapour diffusion through a board, but the insulation also depends on its connections to floors, ceilings, windows and services. Plan these before ordering. Seals are hardest to repair once the finish conceals them. The design should identify a continuous layer controlling airflow and water vapour. A suitable board facing can fulfil that role together with the specified joint system. A shiny surface alone tells you little: check the properties and condition of the particular laminate and how it connects to the surrounding construction.
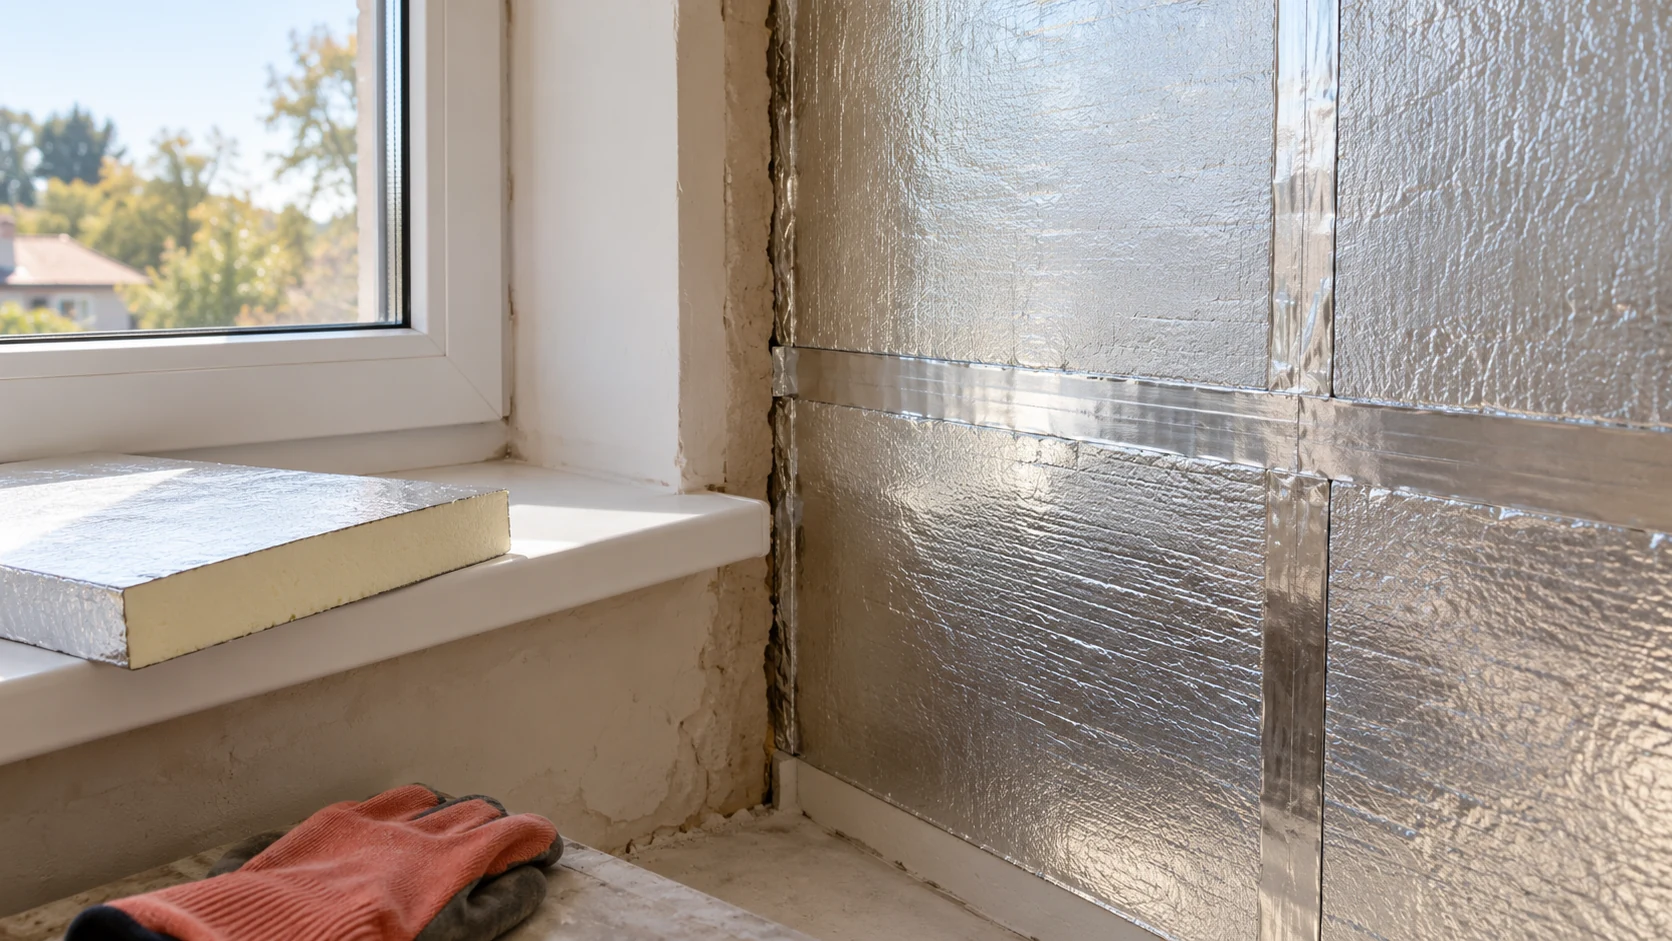
Identify the continuous sealing layer
A PIR board bonded to plasterboard has a different installation sequence from exposed foil-faced PIR. The foil can sit beneath the plasterboard, where it is no longer accessible for taping. Do not assume the same tape can seal every joint after installation; follow the details for the chosen build-up.
Check the wall behind the insulation
Fix leaks or rising damp before covering the masonry. Internal insulation changes the wall temperature and its ability to dry. Covering wet masonry can hide symptoms without stopping the water. Assess the substrate before choosing insulation thickness.
Check plaster adhesion, flatness and suction. Dust and loose paint weaken adhesive bonds. Plan levelling or a suitable fixing system for significant deviations. Avoid an accidental void behind the boards: if connected to room air, it can carry moisture to the cold side.
Draw each perimeter connection
Trace the air seal all around the room, from the floor through corners and reveals and back along the ceiling. Detail every break. Connections to concrete, timber and window frames differ. Prepare the substrate for the specified tape or sealant.
Show how boards end at partitions and floors or ceilings. Returning insulation along an adjoining surface can reduce a thermal bridge, but there is no universal return length. Determine it from geometry and thermal assessment. Give the installer a drawing rather than just saying “seal corner”.
Check tape compatibility and the pressure required for bonding. Dust, moisture and release-agent residue can weaken the seal. Repair lifting edges by the specified method while they are still accessible.
Plan sockets and cables in advance
A deep electrical box can cut through the airtight layer. Locate fittings before cutting boards. A designed service cavity on the room side takes up some space but can reduce penetrations through the main insulation layer.
Detail pipe and cable penetrations for expected movement and durable sealing to the correct material. Filling a hole with any available foam does not prove airtightness. Heavy cupboards and radiators need fixings that transfer their loads to a suitable substrate.
Inspect joints before covering them
Inspect joints, edge seals and terminations while visible. Check continuity, adhesion, wrinkle-free tape and closed corners. Record what will be concealed. Larger refurbishments may also specify an airtightness test for the building or a separate zone.
Do not bridge a broken seal with a skim coat alone. A decorative finish can crack as the substrate moves. Restore the function of the specified layer. At handover, identify the insulation line and the positions where subsequent drilling is permitted.
Match ventilation and heating to room use
Insulation reduces heat loss but does not remove water vapour from cooking, bathing or drying laundry. Match heating and ventilation to the room. After refurbishment, monitor temperature and humidity, especially in corners and behind deep fitted furniture.
If damp appears, compare its location with the connection drawings. A patch by a socket may have a different cause from a damp strip above the floor. Diagnose the cause before adding insulation. Good records enable a targeted repair with less damage to finishes.
Questions and answers
Does foil-faced PIR always replace a separate vapour control layer?
Only if the system and wall assessment allow it and the joints form a continuous layer. The facing on one board alone is insufficient.
Can PIR be bonded to old wallpaper?
The substrate must meet the system requirements. Wallpaper and weak coatings generally need removal, followed by checks of wall moisture and adhesion of the remaining layers.

Free quote
What to include in your enquiry
Tell us how you plan to use the material, the dimensions and the quantity you need. Include the thickness, grade or variant name, along with the delivery town or your preferred collection branch. For a specific product, add its name or a link to the product page. We will reply to the email address you provide to discuss availability and the terms of your order.

Read next
PIR insulation can reduce heat loss through the treated building element, but it does not set the heating controls for you. After…
A short panel can suit a small room, but first check its length against the plinth and head details. White facings and…
An environmental product declaration, or EPD, provides environmental impact data for the product it describes, but it is not a simple insulation…
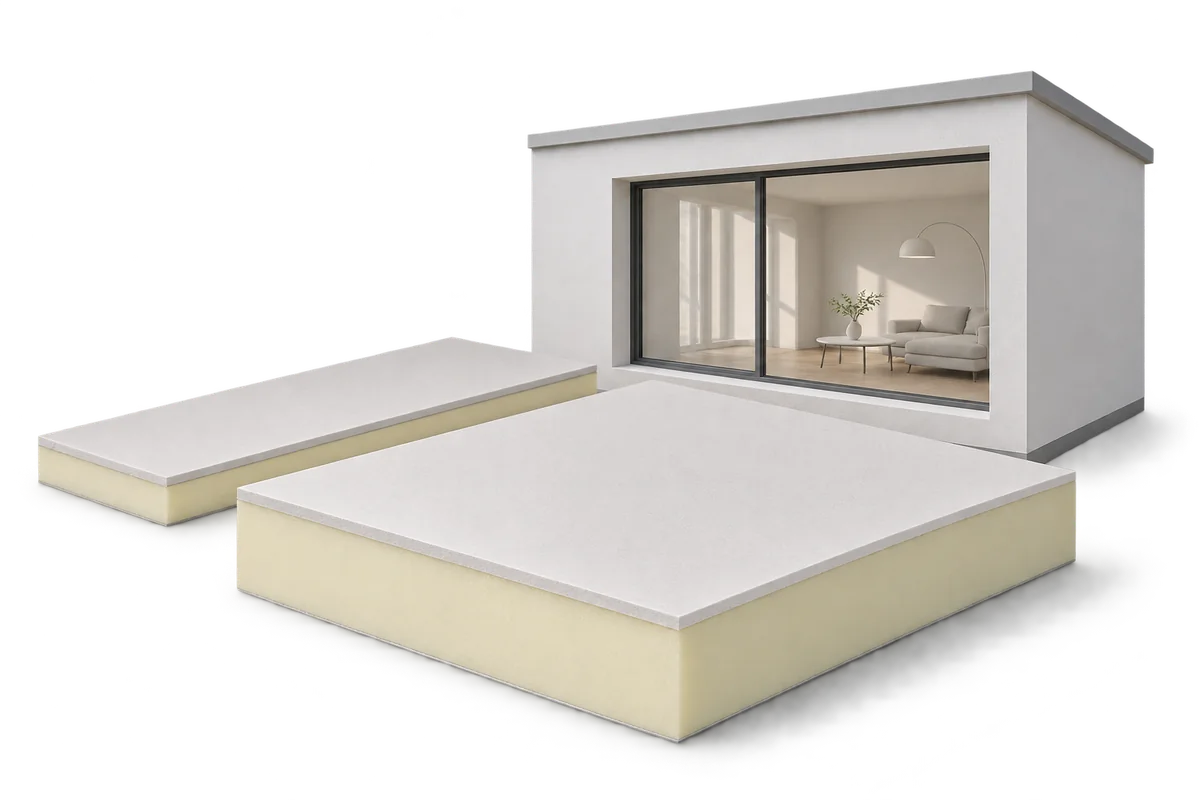
Every centimetre counts when insulating from the inside, particularly in a hallway or under a sloping roof. PIR boards can reduce the…
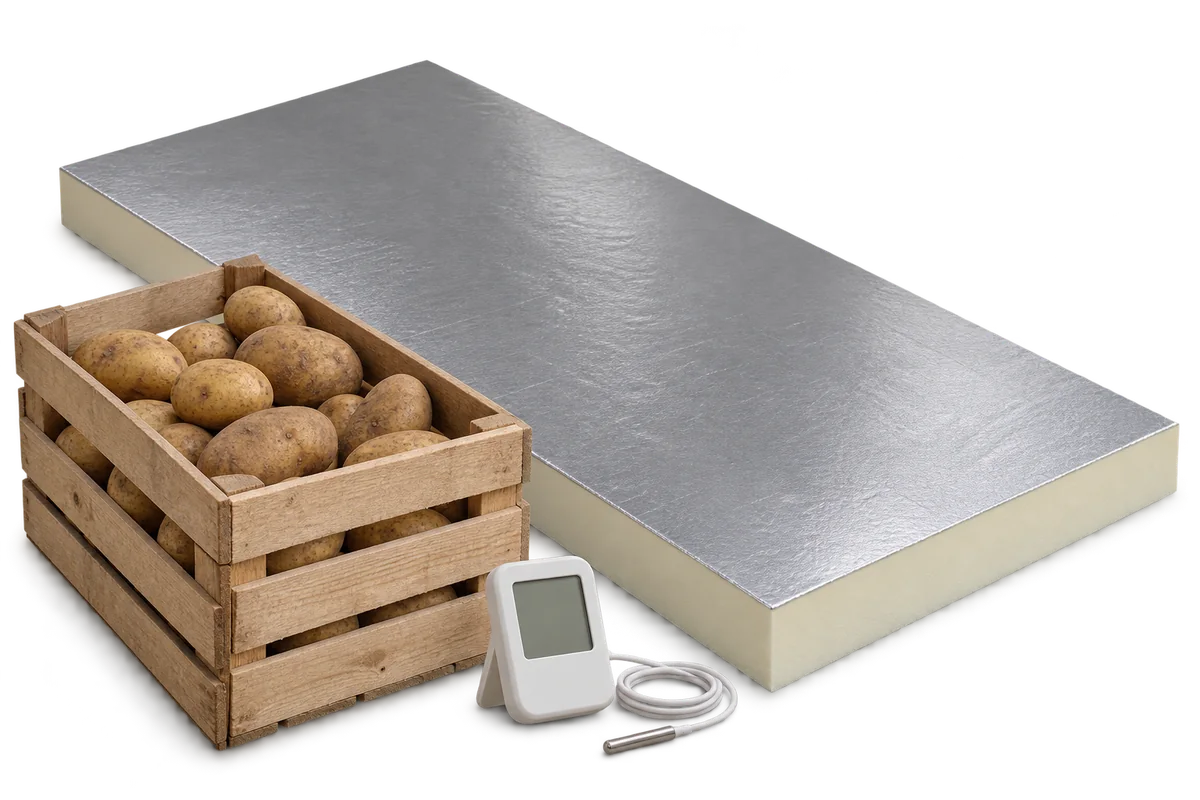
The withdrawal of a sprout suppressant formerly used in potato stores changed storage practices. Residues in older buildings need separate assessment even…
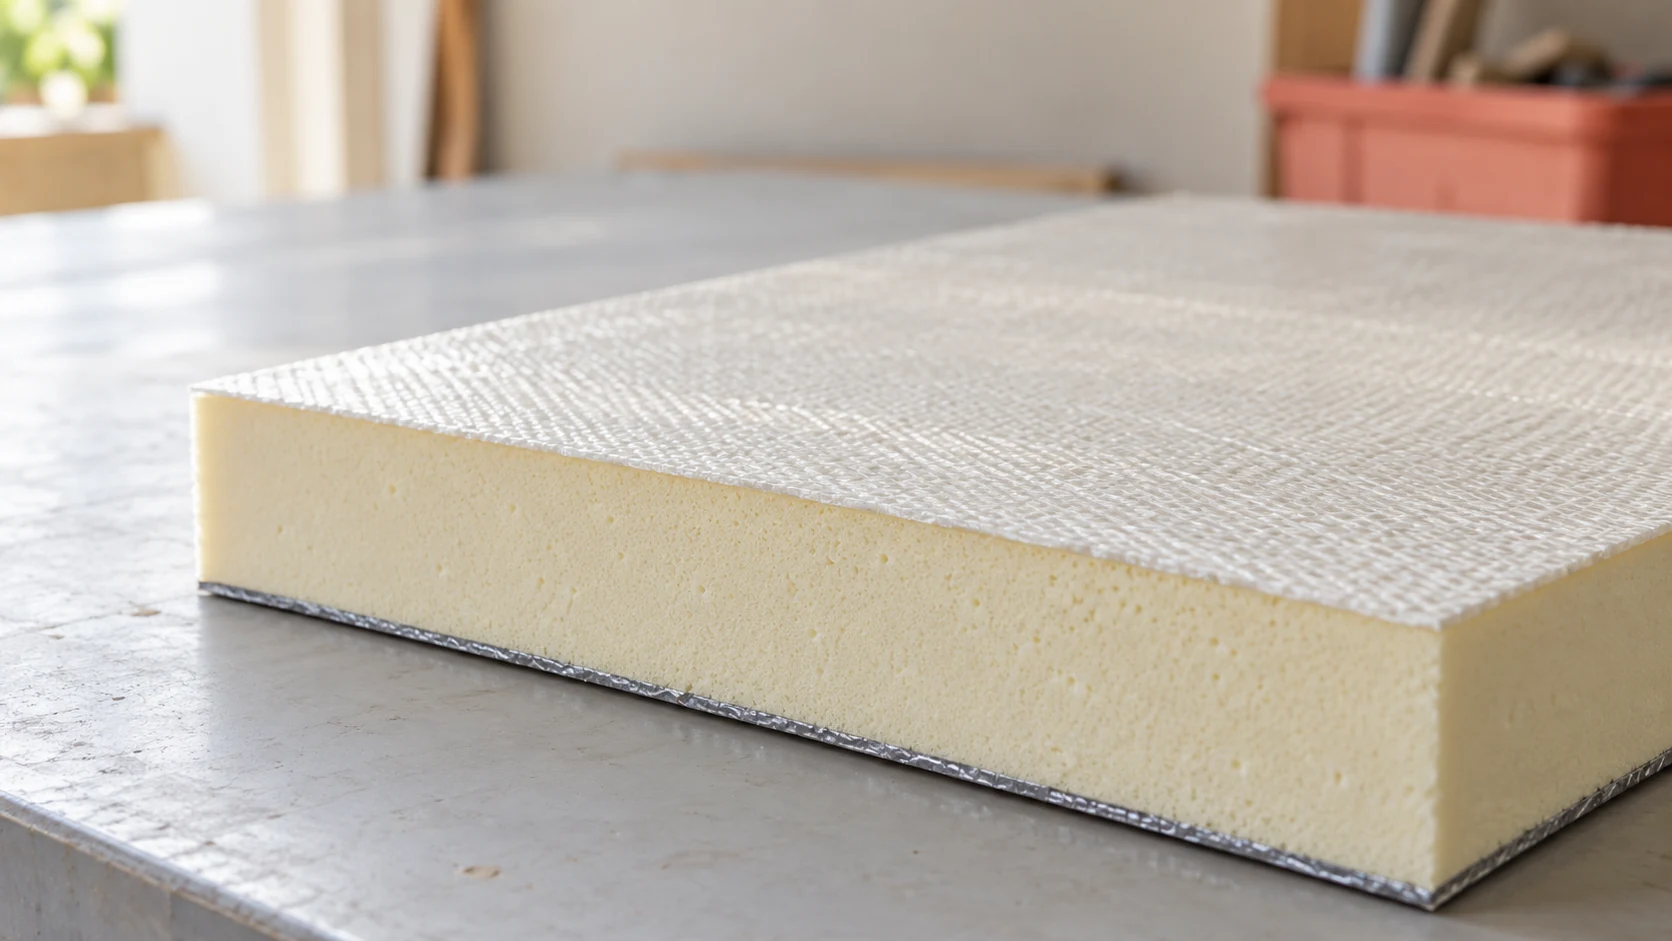
Glass-reinforced resin can form the inner facing of a PIR panel. It changes how that side of the enclosure is protected and…
A calculator can compare insulation thicknesses quickly if the inputs describe the actual construction. Common errors involve the wrong board, inconsistent units…
A loft fit-out starts well before the first plasterboard goes up. Inspect the roof, plan the insulation and establish how the layers…
