






Starter profiles for sandwich panel walls: supporting the first course at the plinth
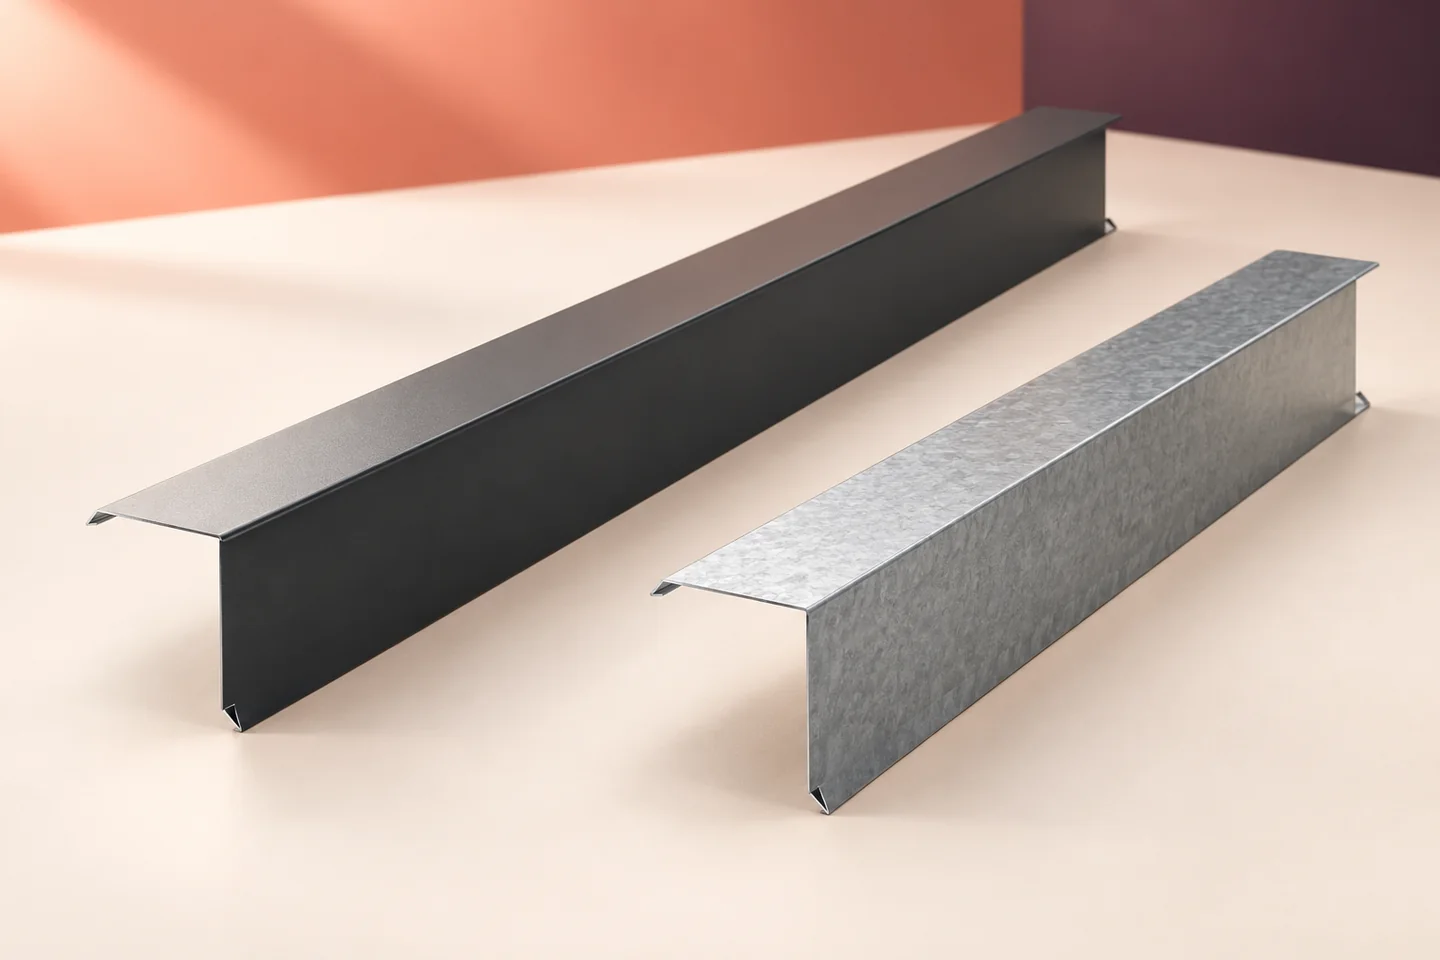
Sheet metal flashings
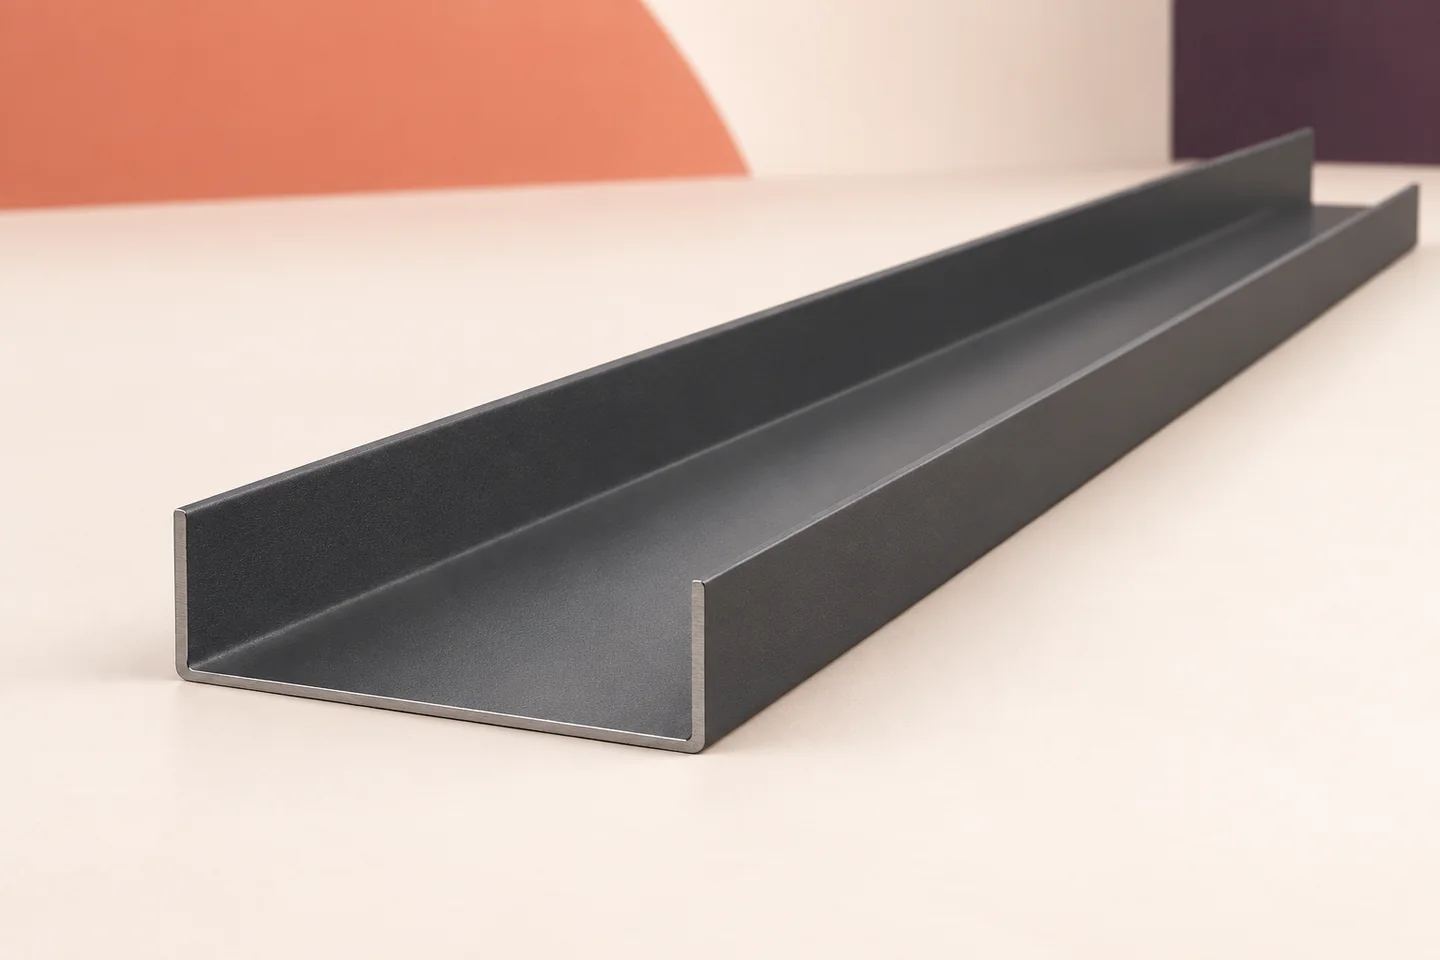
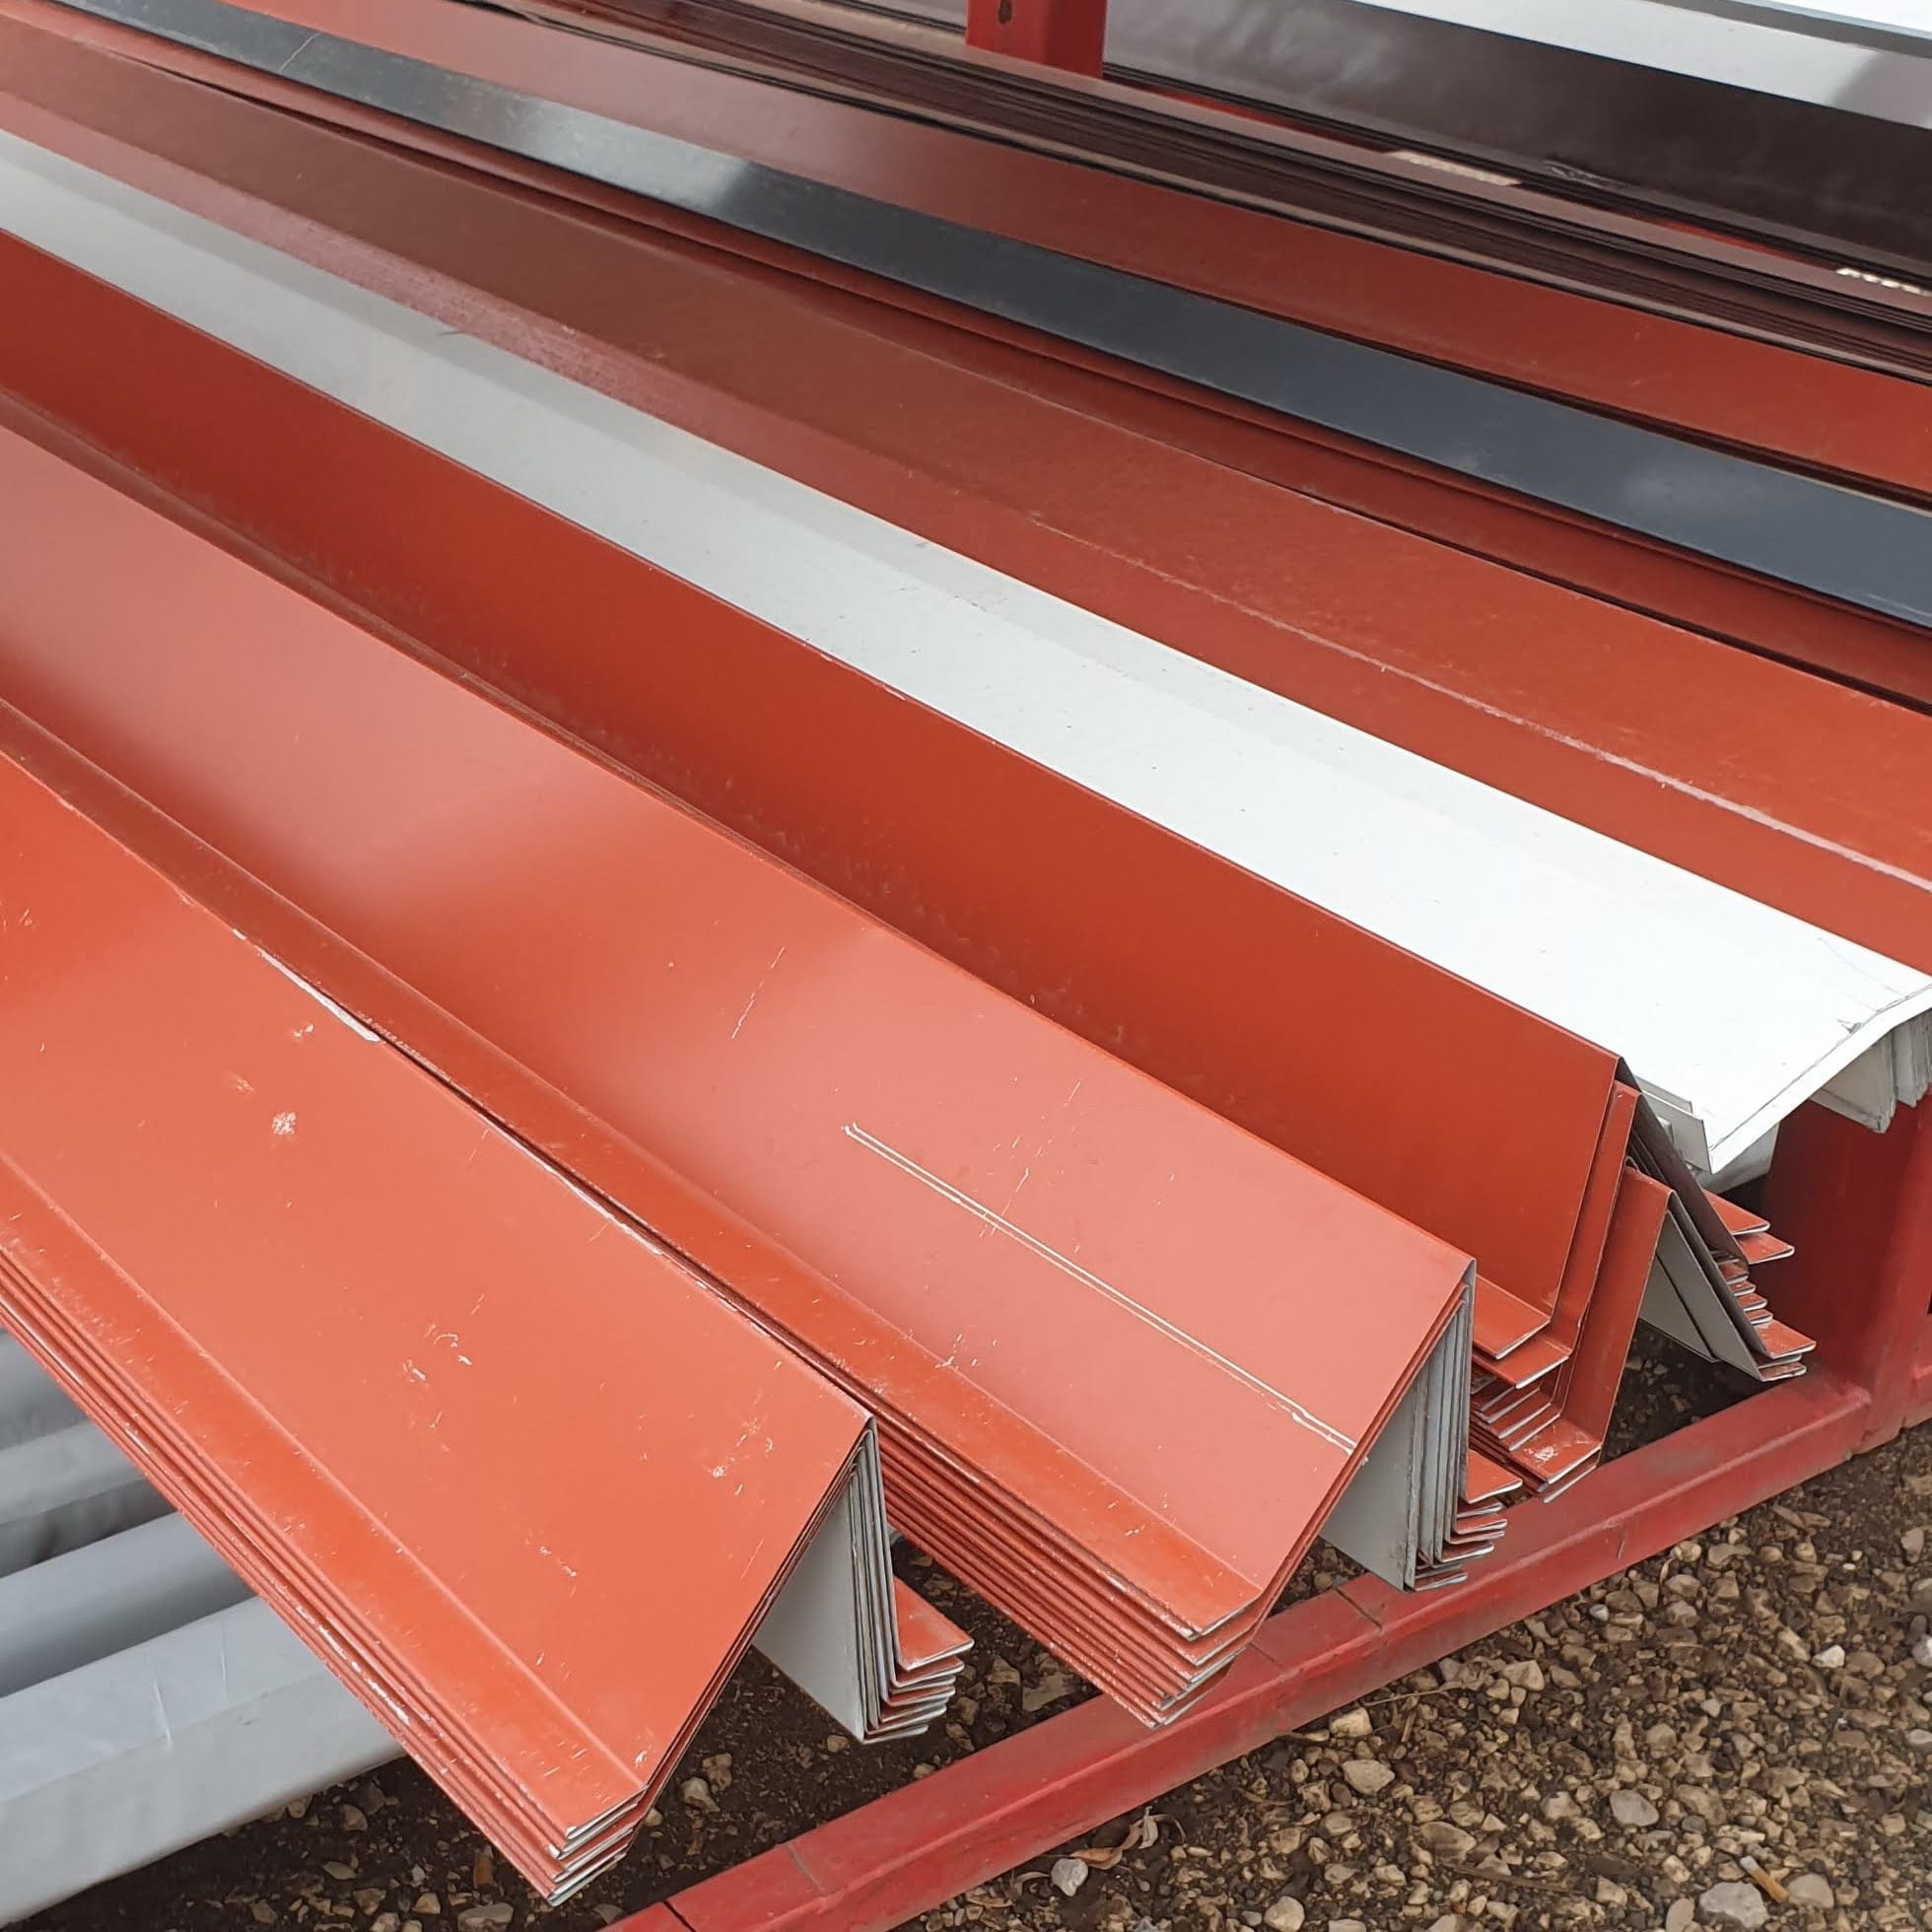
At the base of a sandwich panel wall, four jobs need to be shown on one section: supporting the panel, setting the starting line, sealing the junction and directing water away. A starter profile may carry the first course if the system is designed that way. A thin plinth flashing that covers the joint does not automatically carry its weight. Establish whether the panels run horizontally or vertically, then check the panel thickness, support positions and fixing method. Use the base detail for that arrangement and inspect the connections before the flashing conceals them.
In this guide
Choose the base detail for the panel layout
Show the plinth level, both panel facings and the specified seals on the drawing. Include the finished ground level outside. Without these references a flashing can fit the panel itself yet miss the junction where the wall actually ends at the foundation.
Distinguish a support from a cover trim
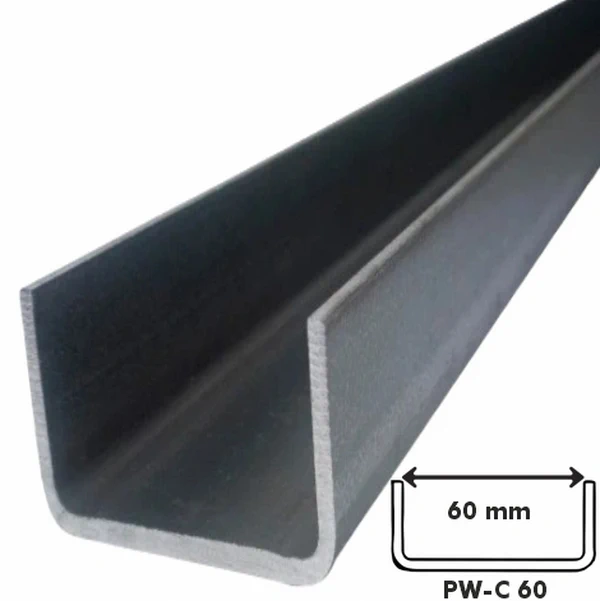
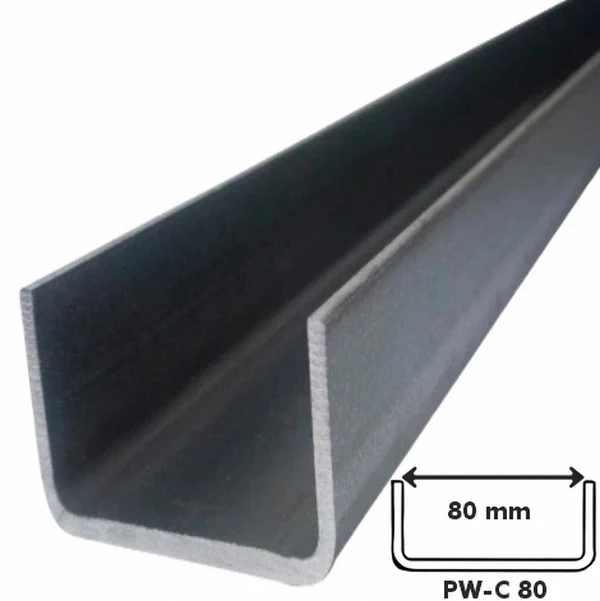
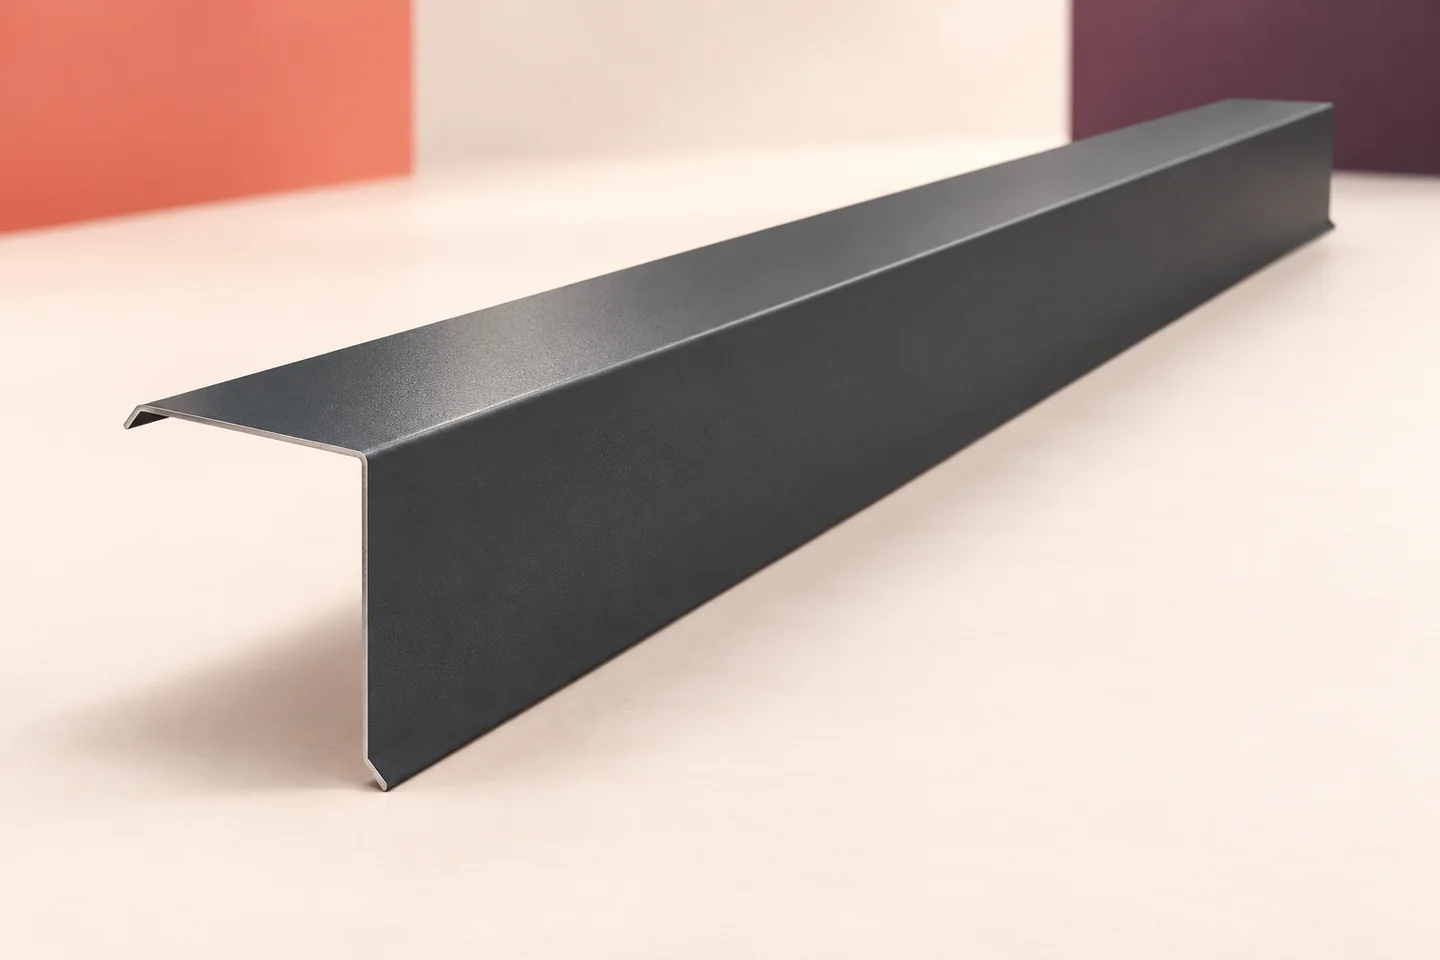
A system starter profile may be designed to help support the first course. A thin trim hiding a gap or covering the plinth edge is not an equivalent part. Check capacity and fixings against the design before considering a substitution, even if the sections look alike.
Order the mounting profile and the cover flashing as separate items, giving the material, thickness and complete cross-section of each. If the detail changes, check which part takes each load. A purpose-made flashing can fit an awkward junction without being suitable to take over the support function.
Set a straight, level starting line
Before fixing the first panel, check the height, straightness and position of the starter profiles against the wall grid lines. An error at the base shows up later at horizontal joints and corners. Do not force panels against a misaligned base to compensate for significant irregularities.
Inspect the fixing substrate as well as the profile. Select fasteners for that substrate and connection. If an anchor sits too close to an edge or is incorrectly installed, assess it before covering it. Access to the wall-base fixings becomes restricted as installation proceeds.
Give water a route out of the junction
Check how water leaves the plinth flashing and its drip edge, including at bends, ends and joints between lengths. Pay particular attention to corners and door openings. A schedule listing only a “starter strip” does not show whether all the parts needed to drain these locations are included.
Do not seal a visible gap until you know what it does. Place the specified sealing material on its intended line and continue it through adjoining details. As with a gutter apron at roof level, trace where water arrives and where each component discharges it.

Consider exposure on both sides of the wall
Moisture, dirt and cleaning products can reach the base of the wall. Specify starter sections and covers for that exposure. Galvanised, aluminium-zinc-coated and colour-coated sheets are not automatically interchangeable. Include compatibility with adjacent layers in the material specification.
For exposed parts, specify the colour and which face carries the finish. Corners, verges and ridge caps may share a colour scheme but perform different jobs. Chimney flashings face different conditions again. Do not apply the specification for one starter profile to every folded part of the building.
Inspect the base before closing it
Check the fixings, alignment and fit to the panel thickness, followed by seal continuity and the finished edges. Photograph the parts the plinth flashing will conceal. On a large building, mark photographs with the grid references so that each connection can be located later.
After installation, inspect the corners, ends at openings and condition of the surfaces. Remove swarf and leftover film. Keep the starter profiles identified in the cladding records so that anyone carrying out repairs can distinguish a support, a retaining section and a simple cover trim.
Questions and answers
Does every starter strip carry the weight of the panel?
No. Its function depends on the system and the project design. A thin cover trim is not necessarily a cladding support.
Can horizontal and vertical panels use the same base detail?
Only if compatibility has been established. Panel orientation affects joints, bearing and fixings, so the two arrangements cannot be assumed to be interchangeable.
When should the level of the starter profile be checked?
Before fixing the first course and before concealing the connections. At that stage the alignment can be corrected without dismantling a large section of wall.

Free quote
What to include in your enquiry
Tell us how you plan to use the material, the dimensions and the quantity you need. Include the thickness, grade or variant name, along with the delivery town or your preferred collection branch. For a specific product, add its name or a link to the product page. We will reply to the email address you provide to discuss availability and the terms of your order.
Read next
A finished foundation is not, by itself, clearance to drill the column anchors. First confirm the geometry, the concrete properties and the…
Three layers with different functions meet at a rooflight kerb. On the warm side, the vapour control layer needs a continuous junction…
Two steel halls with the same floor area need not cost the same. A long, narrow building has more external wall than…
Daylight can improve working conditions in an industrial building if it reaches the right places. Lay out the rooflights in relation to…
Inspect the concealed parts of each cladding junction before fitting its final cover, then inspect the finished flashings at handover. A photograph…
How should you set out IDELCO α-therm ROOF PIR boards on an industrial flat roof? Start with a plan showing rooflights, plant…
A row of rooflights creates two different tasks for a crew laying Utherm Roof LE on a hall roof. Board size affects…
A verge flashing covers the side edge of a sandwich panel roof and helps keep rain out of the roof-to-wall junction. Its…
